If you recently pulled your parent’s framed military portrait from a damp crawlspace to find powdery white and green fuzz across the glass and print, stop before reaching for liquid cleaners. Applying water or alcohol will liquefy the delicate gelatin binder and destroy the photograph forever.
Standard household advice ruins historical prints; silver gelatin mold requires a medical-grade, dry-only containment protocol using controlled HEPA suction through protective micro-mesh screening.
This guide walks you through the mechanical extraction process that arrests active fungal growth, protects your family’s respiratory health, and stabilizes your irreplaceable heirloom without a single drop of liquid.
Identifying Active Fungal Growth on Silver Gelatin Emulsions
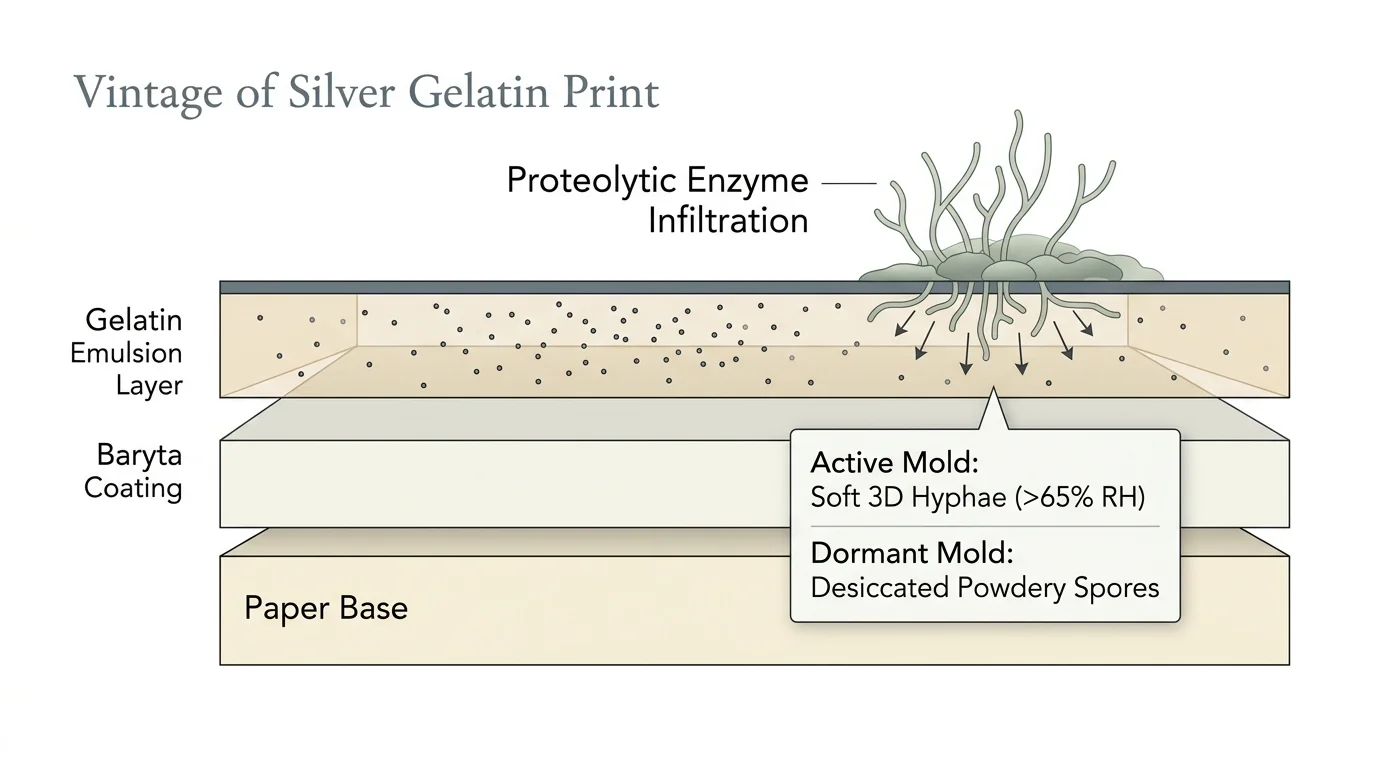
You must determine whether the fungal growth is active or dormant before attempting any physical handling. Active mold presents as a velvety, powdery, or fuzzy film that smears when brushed lightly.
If your collection suffered severe moisture exposure below ground, consult our guide on salvaging mold-spotted prints from damp basements for complementary triage techniques.
Dormant mold appears dry, powdery, and desiccated; it often leaves behind webbed stains or spiderweb-like tracks called mycelial branching. If you smell a sharp, musty odor radiating from the frame, the fungal colony is actively metabolizing.
Basement crawlspaces create the perfect microclimate for fungal colonization. When relative humidity exceeds 65 percent for more than 48 hours, dormant spores germinate rapidly across organic materials.
A vintage silver gelatin print contains three distinct layers: a paper base, a barium sulfate baryta coating, and an animal-protein gelatin emulsion. That gelatin emulsion suspends the microscopic metallic silver particles that form your parent’s image.
Mold fungi produce proteolytic enzymes that break down gelatin into amino acids for nourishment. In short, the mold is actively digesting the physical matrix holding the image together.
Distinguishing fungal colonization from common chemical decay prevents catastrophic treatment mistakes. You should inspect the print surface under raking light to evaluate the physical integrity of the print layers.
- Active mold colonies: Soft, 3D hyphae standing upright off the surface; displays white, green, grey, or black coloration; emits pungent musty odors.
- Dormant mold structures: Flat, dry, powdery residue; easily disturbed into airborne dust; lacks dampness.
- Foxing spots: Circular, reddish-brown chemical oxidation stains inside the paper fibers; smooth surface texture with no structural elevation.
- Silver mirroring: Bluish metallic sheen along high-density shadow areas caused by oxidized silver migrating to the surface; completely non-biological.
Confirming active mold means you must treat the object as a biohazard. Never wipe the surface with bare hands or blow loose spores away with your breath.
Why Liquid Cleaners Destroy Silver Gelatin Binders
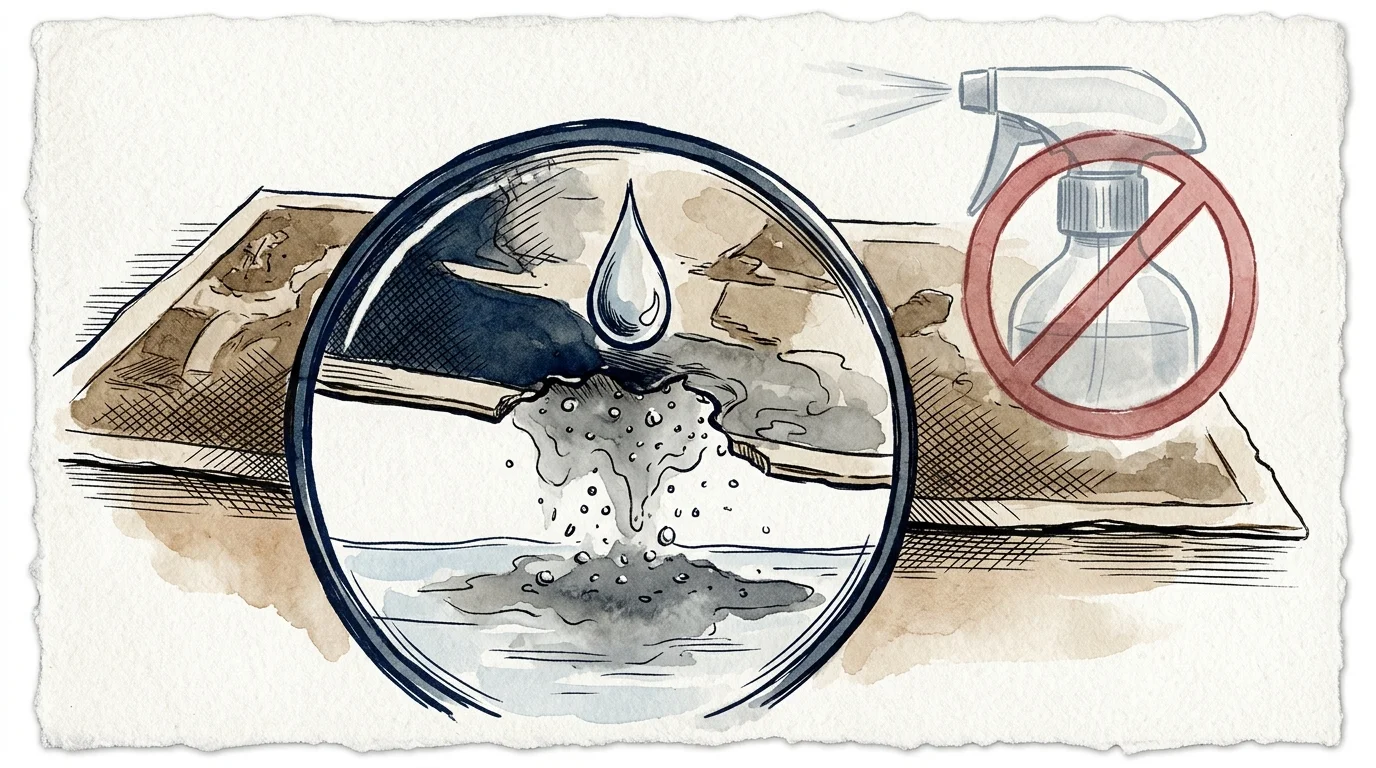
Never apply water, alcohol, commercial glass cleaner, or hydrogen peroxide to moldy vintage photographs. While liquids sanitize household counters, moisture immediately dissolves damaged animal gelatin.
For instances where moisture exposure was sudden rather than airborne humidity, see our protocol for salvaging water damaged photos.
When mold enzymes attack gelatin, they weaken its cross-linked molecular structure. Introducing water swells this degraded protein into a sticky, jelly-like sludge within seconds.
As you wipe a wet swab across the print, the emulsion slides cleanly off the paper substrate. You will erase the silver image particles permanently, leaving bare white paper behind.
Liquid treatments cause irreversible swelling, emulsion loss, and differential shrinkage in compromised photographic layers.
Rubbing alcohol presents equally severe hazards for historical silver prints. Isopropyl alcohol dehydrates the brittle gelatin unevenly, causing immediate emulsion cracking, curling, and permanent tide-line staining.
Household bleach chemically oxidizes metallic silver into colorless silver chloride. Swabbing bleach over a vintage print chemically bleaches the portrait away, turning historical figures into ghostly white voids.
Institutional research from the Image Permanence Institute demonstrates that chemical disinfectants leave corrosive residues inside paper fibers. These residues trigger rapid yellowing, image fading, and cellulose decay over subsequent decades.
A dry mechanical approach remains the only safe path for silver gelatin mold removal. Mechanical removal physically extracts fungal bodies without introducing moisture or reactive chemicals to the delicate emulsion.
Personal Protective Equipment and Workspace Containment
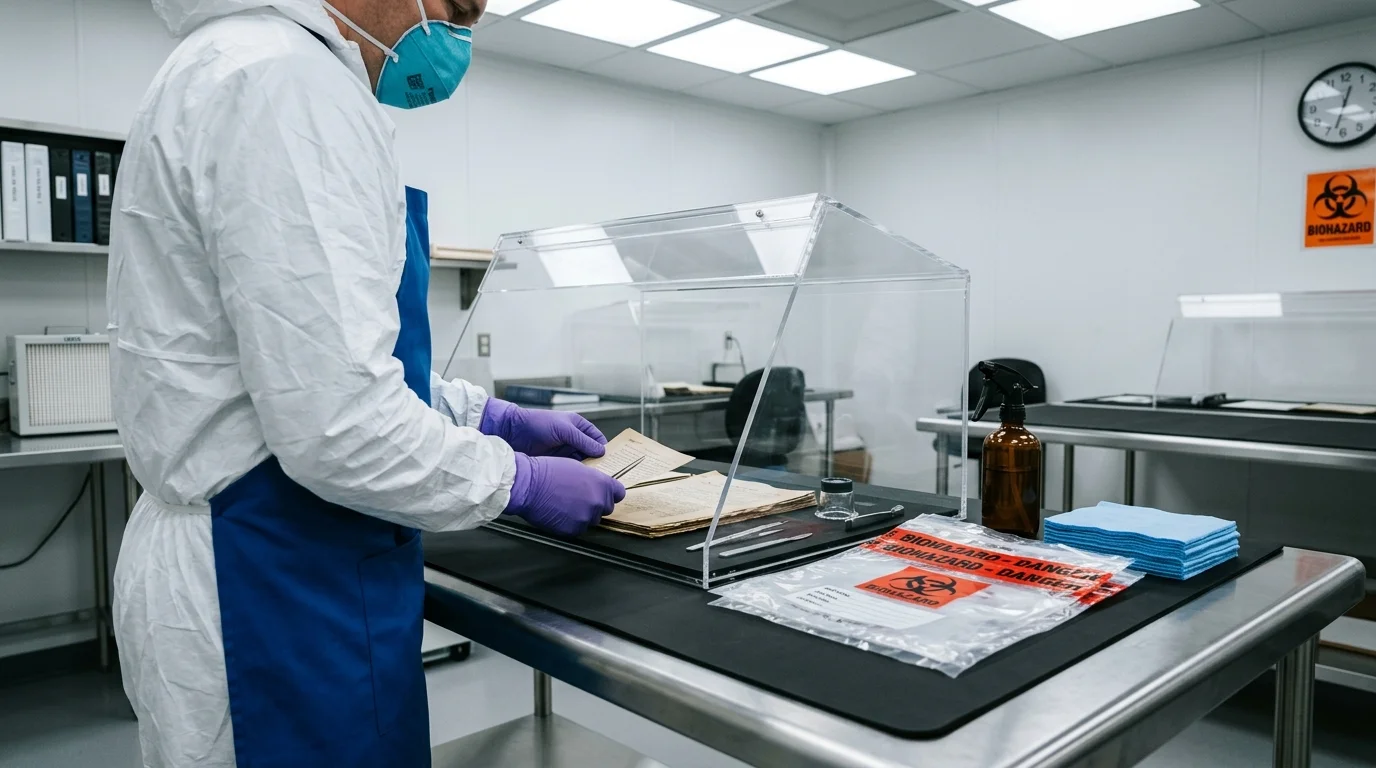
Active mold colonies release millions of microscopic spores and volatile organic compounds into the surrounding air. Inhaling these bioaerosols can trigger severe respiratory inflammation, allergic reactions, and chronic fungal infections.
You must wear personal protective equipment before touching the contaminated frame. Standard surgical paper masks offer zero protection against microscopic fungal spores.
Wear a tight-fitting half-face respirator equipped with certified P100 particulate filters, such as the 3M 6200 series facepiece. P100 filters trap 99.97 percent of airborne particles down to 0.3 microns.
Put on powder-free, disposable nitrile gloves with a minimum thickness of 4 mils. Avoid latex gloves, which contain natural proteins that can cross-contaminate delicate photographic surfaces.
Wear indirect-vent safety goggles to shield your mucous membranes from airborne spores. Long sleeves and an apron prevent spores from clinging to your everyday clothing during remediation.
Never remediate moldy heirlooms in your kitchen, living room, or carpeted office. You must isolate the workspace to prevent spreading billions of spores throughout your living environment.
Work outdoors on a dry, calm afternoon with relative humidity below 50 percent whenever possible. Natural outdoor airflow carries disturbed spores away from both you and the photographic print.
If you must work indoors, choose a room with non-porous hard floors and seal all HVAC supply and return grilles with plastic sheeting. Position a high-velocity exhaust fan in an open window facing outward to generate negative air pressure.
Cover your work table with heavy 4-mil polyethylene plastic sheeting taped down securely. Prepare a dedicated disposal bag nearby so you can discard contaminated materials immediately without leaving your workstation.
Equipment Specifications and Mechanical Calibration
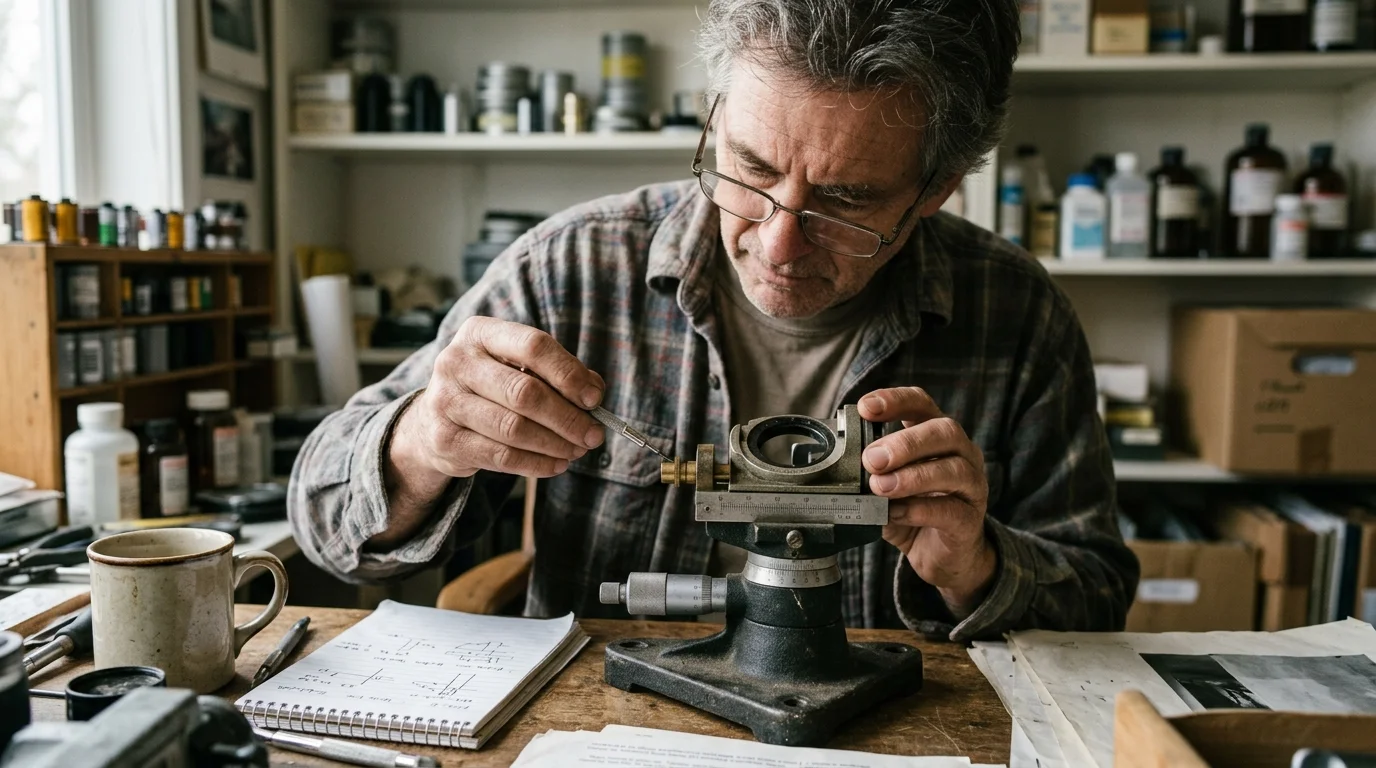
You need specialized mechanical tools designed to lift and trap fungal bodies without abrading soft gelatin. Standard home vacuum cleaners lack true sealed filtration systems; their exhaust vents spew fine spores back into the room.
Use a conservation-grade variable-speed HEPA vacuum, such as an Atrix Omega Supreme or Nilfisk GM80. Alternatively, fit a high-efficiency sealed canister vacuum with a HEPA exhaust filter rated at 99.97 percent efficiency.
Connect a miniature micro-vacuum attachment kit equipped with flexible narrow hoses and small crevice nozzles. These miniature nozzles concentrate suction across small surface areas without overwhelming fragile paper edges.
Procure a piece of charcoal fiberglass window screening with an 18×16 mesh count, measuring roughly two inches larger than your print on all sides. Smooth, flexible fiberglass will not scratch delicate photographic emulsions.
Do not use aluminum or stiff wire mesh; sharp metal edges will gouge the swollen photographic surface. Tape the outer edges of the fiberglass screen with archival artist tape to eliminate loose threads.
Gather leather-covered archival lead weights or smooth glass paperweights to anchor the screen securely over your print. These weights prevent friction damage caused by accidental shifting during remediation.
Acquire vulcanized natural rubber sponges, commonly sold as smoke-removal or soot-cleaning sponges. These dry, porous rubber blocks lift loose fungal residue mechanically from dry paper surfaces without leaving chemical films.
Never touch photographic emulsions with melamine foam sponges, commonly known as Magic Erasers. Melamine resin acts as microscopic sandpaper that permanently sands away silver image layers within a single pass.
Keep several ultra-soft, natural goat-hair dusting brushes on hand for manual manipulation. Ensure brush ferrules are wrapped in painter’s tape to prevent exposed metal from scratching the print.
Step-by-Step Dry Vacuuming Protocol Through Screening
Follow this multi-stage containment workflow to extract fungal colonies safely. Performing these steps in strict sequence prevents structural damage while capturing loose fungal structures.
If your heirloom includes wartime artifacts alongside photography, explore archival shadow box mounting for military portraits and medals to avoid chemical cross-contamination.
First, desiccate the active mold to transition fungal bodies from a sticky state into dry, brittle powder. Seal the framed print inside an airtight polyethylene container with dry silica gel packets for 48 hours.
Maintain the desiccation chamber at 35 to 45 percent relative humidity. Never bake prints under heat lamps or direct sunlight; rapid thermal shifts warp paper fibers and crack embrittled emulsions.
Lay the framed print face down on a disposable sheet of kraft paper. Slit the brown backing paper around the perimeter with an archival scalpel or utility knife.
Extract rusty framing brads or staples using needle-nose pliers, pulling straight back to avoid tearing the backing board. Carefully lift off the backing board and inspect it for fungal penetration.
Gently check whether the gelatin print has adhered to the glazing. If the print emulsion has fused to the glass, stop immediately; forcing the print away will tear the face off the photograph.
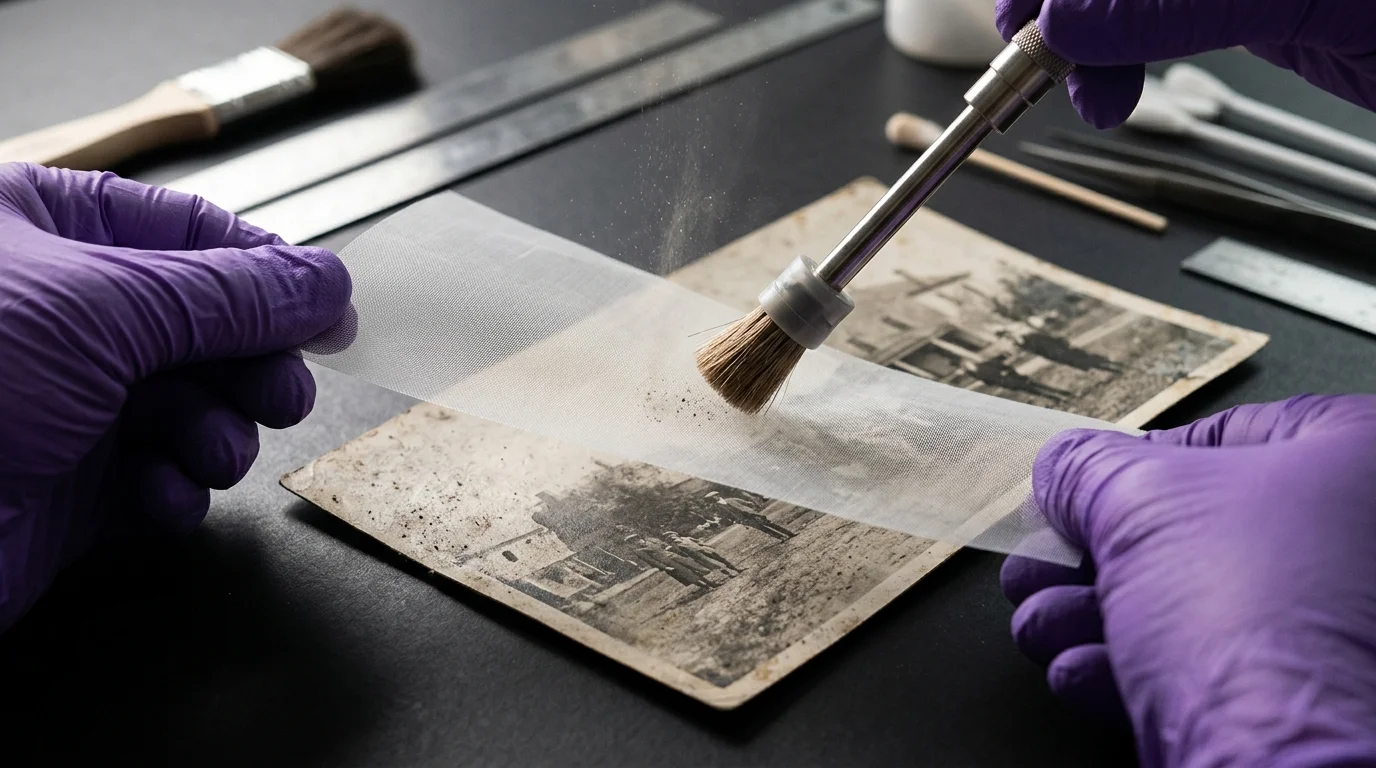
Place the photographic print face up on a clean sheet of acid-free blotter paper. Lay your pre-taped fiberglass screen flat across the face of the photograph.
Rest your leather weights along the taped border of the screen outside the image area. The screen creates a firm physical barrier that prevents vacuum suction from lifting or tearing fragile paper.
Dial your vacuum suction down to its lowest operational setting. Hold the micro-crevice tool vertically, positioning the opening approximately one to two millimeters above the fiberglass screen surface.
Never press the vacuum nozzle directly against the screen or the print. Hover the nozzle over the mesh, allowing air currents to pull dry spores up through the screening apertures.
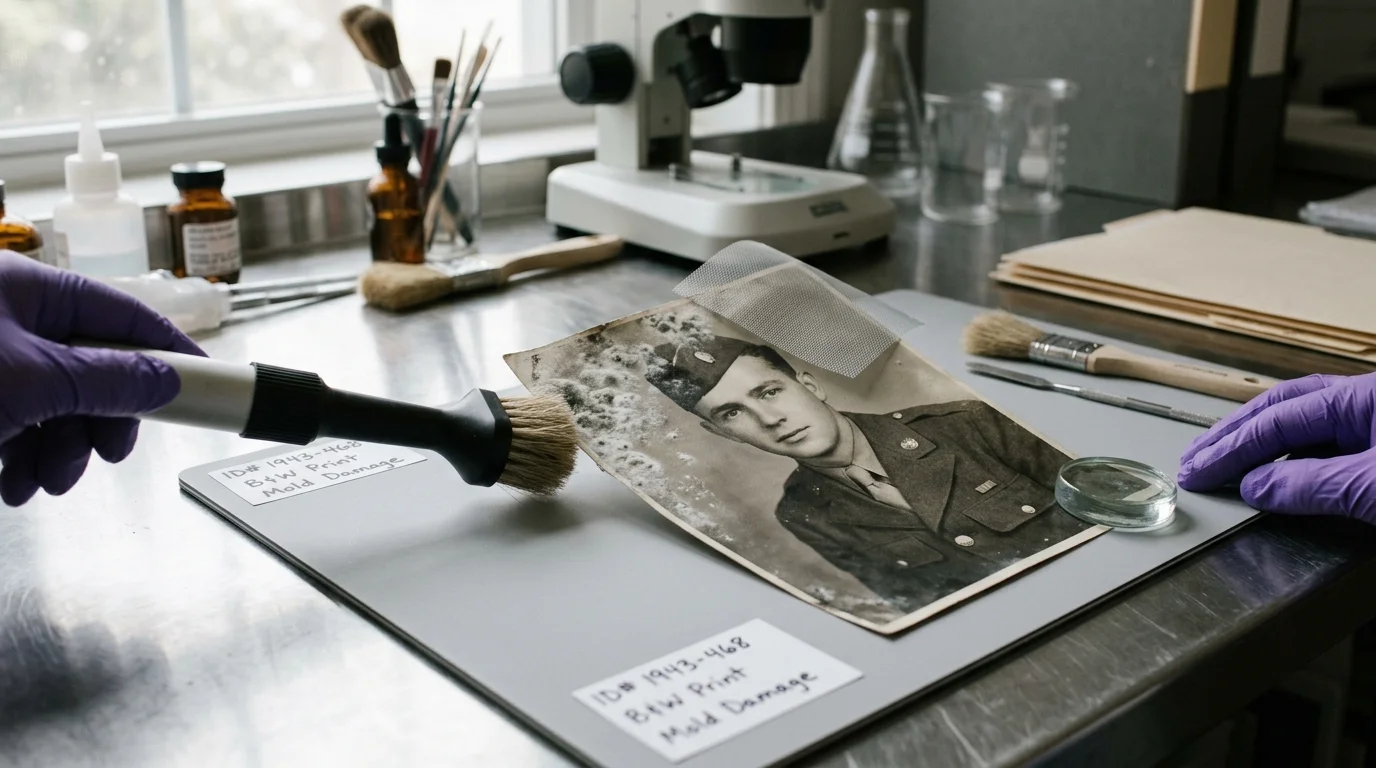
Guide a soft, natural goat-hair dusting brush through the screen openings toward the suction nozzle. Brush lightly with short, flicking motions; let the air stream immediately swallow the dislodged fungal debris.
Work systematically across the print in a grid pattern, moving from clean areas toward heavily colonized zones. This directional pattern prevents cross-contaminating pristine emulsion areas with dislodged spore clusters.
Turn the photograph over onto a fresh sheet of blotter paper to remediate the paper verso. Fungal hyphae anchor deeply into raw paper fibers on the reverse side of vintage prints.
Vacuum the back of the print directly using the goat-hair dusting attachment at low suction. Because no delicate gelatin exists on the reverse side, you can clean paper fibers with gentle surface contact.
Cut a vulcanized natural rubber sponge into a small one-inch cube with a clean utility knife. Roll the sponge cube lightly over stubborn mold stains on the back to lift embedded fungal crusts.
Discard the contaminated blotter paper and kraft paper immediately into a heavy-duty trash bag. Seal the bag securely before carrying it out of your remediation workspace.
The American Institute for Conservation recommends indirect HEPA vacuuming through mesh screens as the safest physical intervention for fragile, mold-damaged historic documents.
Wipe down all tools, work tables, and weights with 70 percent isopropyl alcohol wipes after completing remediation. Never allow sanitizing alcohol wipes to touch the historic photograph itself.
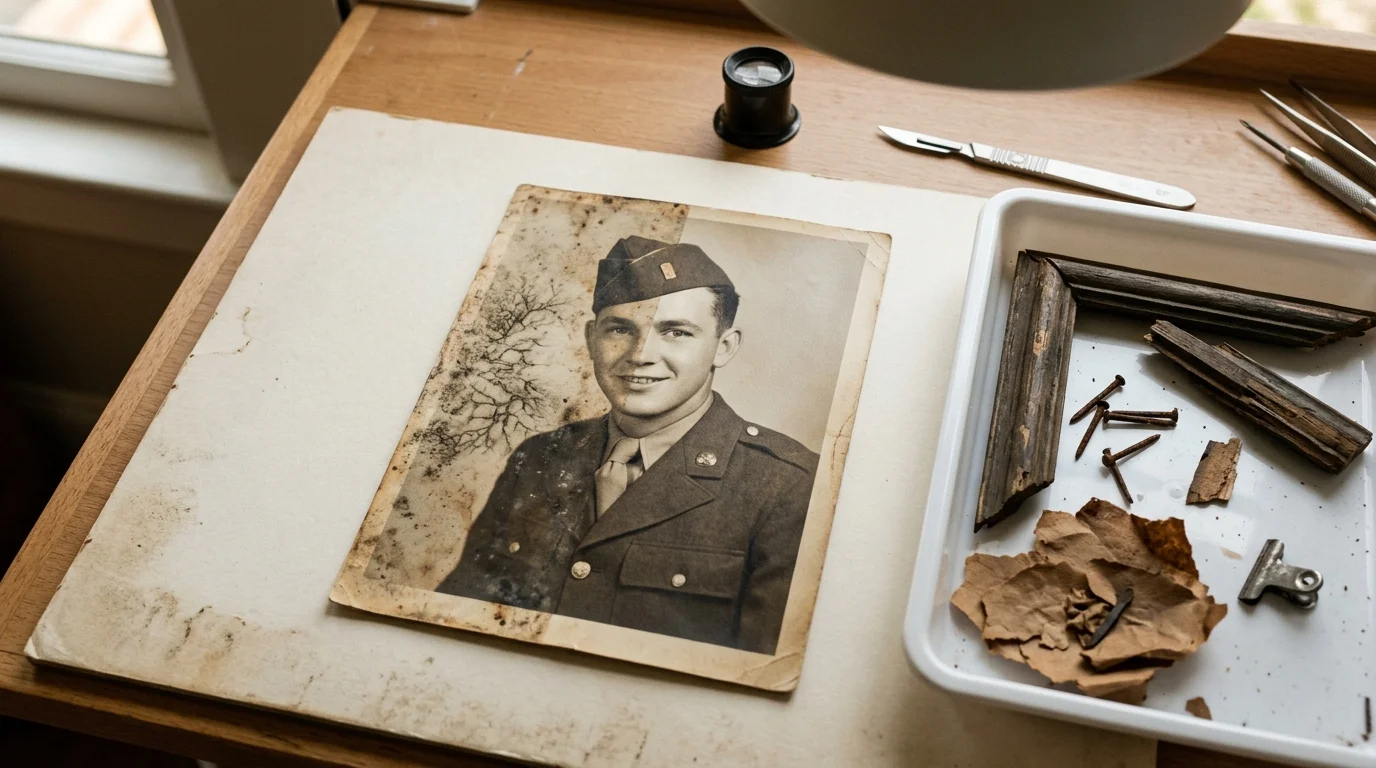
A Worked Example: Remediating a 1944 Framed Military Portrait
Consider a real-world remediation scenario involving an 8×10 inch silver gelatin portrait of a World War II Navy sailor. The portrait spent seven years inside an unventilated Michigan crawlspace at 78 percent relative humidity.
Upon retrieval, powdery white hyphae blanketed 35 percent of the print face, accompanied by dense green spore colonies clustered along the lower wooden frame edge. The print exhibited a pungent, cellar-like odor.
The heir assembled the necessary containment supplies for $246 total. The inventory included a variable-suction HEPA vacuum ($155), a 3M P100 respirator ($38), fiberglass screen ($11), rubber soot sponges ($14), and silica gel packets ($28).
The remediation began with a 48-hour desiccation phase inside a sealed 12-gallon plastic bin containing 300 grams of activated silica gel. A calibrated digital hygrometer confirmed the chamber humidity dropped from 74 percent to 36 percent.
Desiccation successfully converted the slimy mold clusters into brittle, chalky residues. The operator disassembled the 11×14 inch wood frame in 18 minutes, safely discarding the mold-infested cardboard backing.
The print emulsion had not adhered to the glass, permitting clean separation. The operator positioned an 18×16 mesh fiberglass screen over the print, anchoring it with four 1.5-pound leather-clad weights.
Using 30 percent vacuum power and a goat-hair micro-brush, the operator spent 32 minutes extracting spores through the mesh. An additional 15 minutes of direct vacuuming cleaned the fibrous paper reverse.
A final 10-minute pass with a vulcanized rubber cube on the verso lifted lingering fungal debris. In total, 95 minutes of active mechanical labor stabilized the portrait without removing a single speck of silver emulsion.
The operator rehoused the stabilized print inside an archival polyester sleeve and acid-free drop-front box. Today, the 1944 portrait rests safely in a climate-controlled room at 42 percent relative humidity.
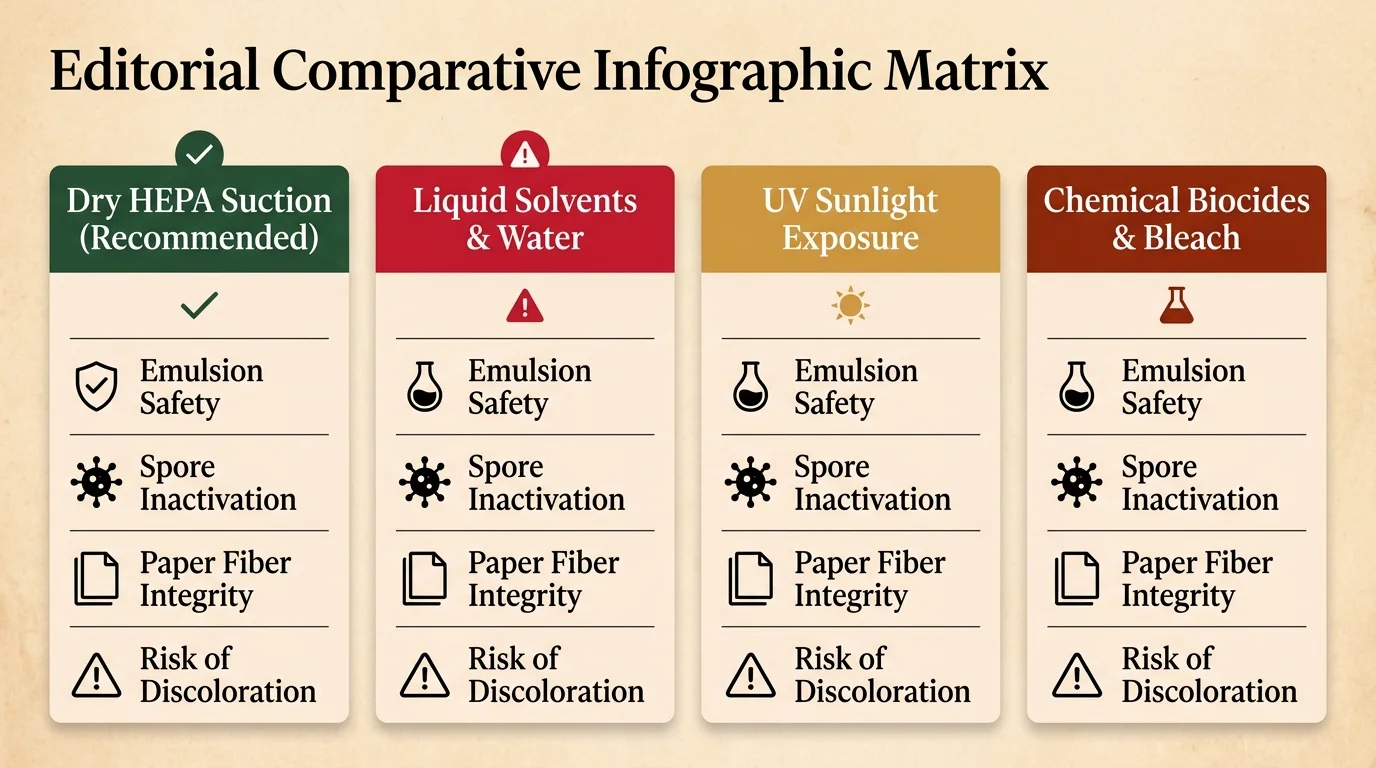
Remediation Methods for Photographic Prints Compared
Selecting the correct remediation method determines whether an irreplaceable vintage photograph survives treatment. Compare the mechanical and chemical characteristics of five common interventions before beginning work.
| Remediation Method | Emulsion Safety Rating | Spore Removal Efficiency | Primary Failure Mechanism | Typical Equipment Cost |
|---|---|---|---|---|
| Dry HEPA Vacuum Through Fiberglass Screen | High (Conservation Standard) | 95% to 98% surface removal | Operator abrasion from excessive downward nozzle pressure | $180 – $280 |
| Direct Household Vacuuming (No Screen) | Severe Risk | 80% surface removal | Suction pulls paper into nozzle, tearing prints and stripping emulsion | $0 (Existing vacuum) |
| 70% Isopropyl Alcohol Swabbing | Catastrophic Risk | 99% spore termination | Dissolves degraded gelatin binders, leaving tide lines and emulsion loss | $5 – $12 |
| Vulcanized Rubber Sponge (Direct on Emulsion) | Moderate to Poor | 70% surface removal | Friction abrades soft emulsion layers and creates silver smudging | $8 – $15 |
| Direct Sunlight / Ultraviolet Exposure | Catastrophic Risk | 40% spore dormancy | Rapid photo-oxidation, paper yellowing, and severe emulsion cracking | $0 |
The comparison proves that dry suction through protective screening offers the optimal balance of efficiency and preservation safety. Avoid quick-fix chemical shortcuts that trade permanent physical damage for temporary convenience.
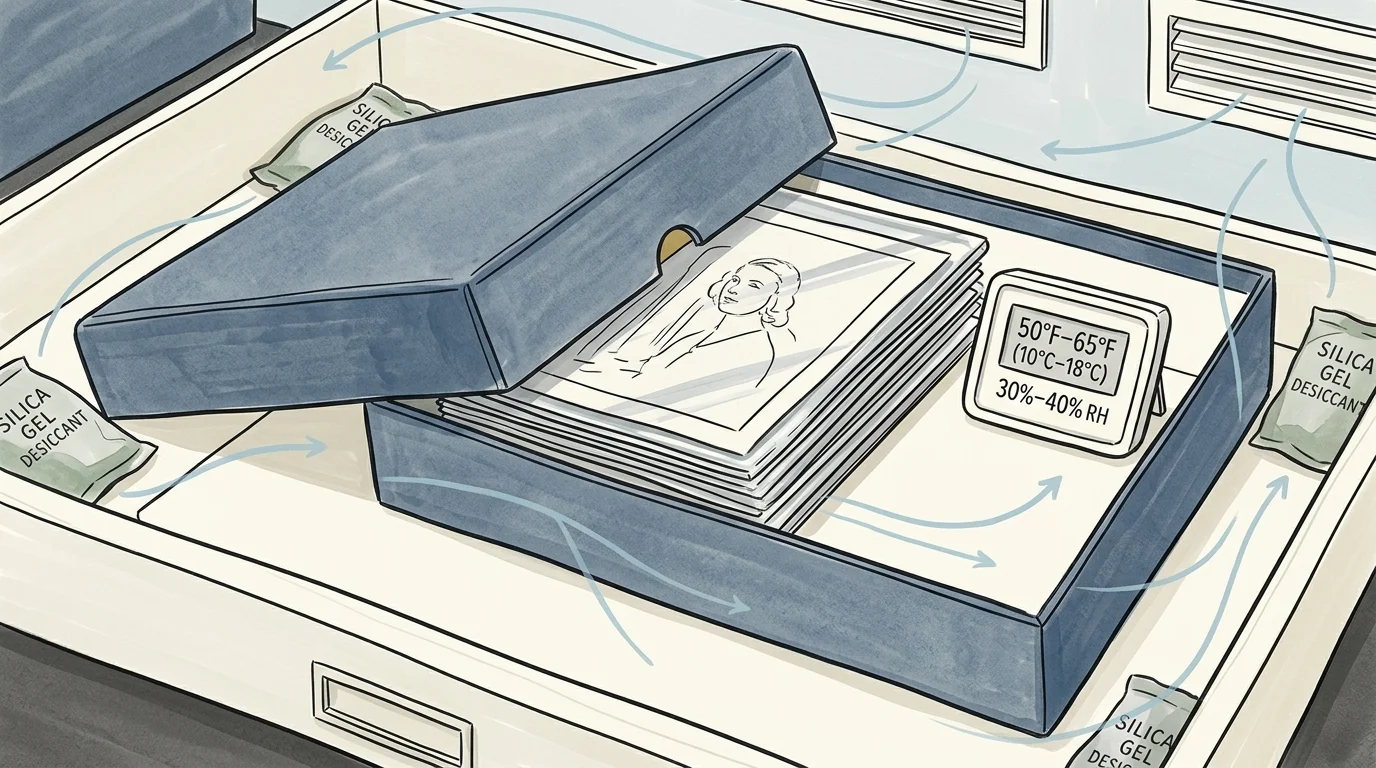
Stabilization, Storage, and Environmental Control
Mechanical remediation removes active fungal bodies, but microscopic spores remain dormant within paper pores indefinitely. You must control the ambient environment to prevent these surviving spores from germinating again.
House the remediated photograph in an archival polyester sleeve, such as Melinex 516 or DuPont Mylar D. These chemically inert sleeves provide rigid support and isolate the print from ambient atmospheric moisture.
Ensure all paper enclosures pass the Photographic Activity Test, an international standard designated as ISO 18916. The Library of Congress Preservation Directorate requires PAT certification for all photographic storage enclosures.
Store photographic collections in an interior room where temperature remains below 68 degrees Fahrenheit (20 degrees Celsius). Maintain relative humidity consistently between 30 and 50 percent.
Never return treated family heirlooms to basements, attics, or exterior crawlspaces. Crawlspaces experience chronic moisture vapor drive from uninsulated ground soil, guaranteeing relative humidity levels above 70 percent.
Place an inexpensive digital hygrometer with min/max tracking inside your photo storage area. Check the readings monthly to detect seasonal humidity spikes before spores can reactivate.
Avoid storing photographs in unventilated plastic storage tubs or cardboard shoe boxes. Archival metal-edge boxes made of unbuffered, lignin-free board allow gentle atmospheric equilibrium while blocking environmental dust and light.
Frequently Asked Questions
Can I use UV sunlight to kill active mold on old photographs?
No, you should never place vintage photographs in direct sunlight to kill mold. Ultraviolet radiation and solar heat accelerate paper embrittlement, cause severe yellowing, and permanently fade metallic silver image particles.
What is the difference between active mold and foxing stains?
Active mold creates raised, fuzzy, or velvety colonies that emit musty odors and smudge under light contact. Foxing appears as flat, rusty-brown circular spots embedded inside the paper cellulose caused by metallic chemical oxidation.
Is it safe to clean the original picture frame and glass?
Yes, you can clean the wooden frame and glazing, but only after completely separating them from the photograph. Disinfect glass with isopropyl alcohol and treat bare wood with fungicidal solutions, drying both items fully before reassembly.
How do I separate a moldy photograph that is stuck to the frame glass?
Never pull or pry an adhered print away from the glazing, as doing so tears the emulsion away from the paper. You must consult a professional conservator who can perform controlled humidity chamber treatments or enzymatic separation.
Disclaimer: This article is for informational purposes only. When handling valuable or irreplaceable photographs, consider consulting a professional conservator. Always test preservation methods on non-valuable items first.