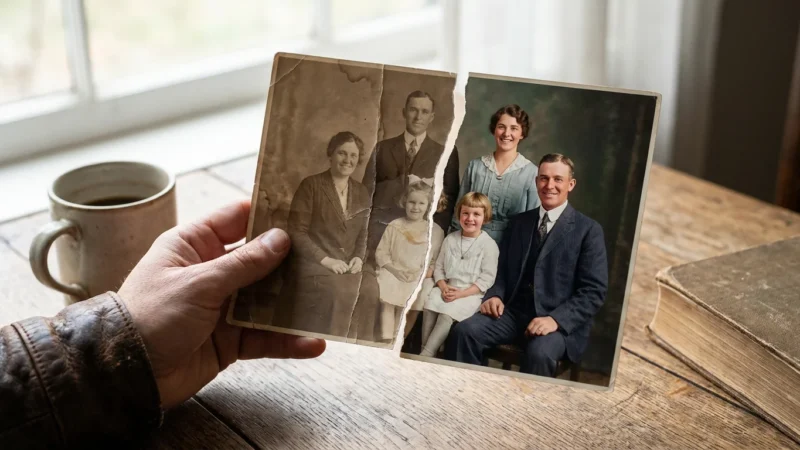
Finding a box of family heirlooms soaked by a burst pipe or a sudden flood feels like a punch to the gut. Those glossy snapshots and matte portraits represent decades of birthdays, holidays, and quiet moments that you can never recreate. However, water damage does not automatically mean the end for your photographic heritage. If you act decisively and use the right techniques, you can stabilize, dry, and eventually restore most water-damaged pictures.
Time is your greatest enemy in this process. Mold spores—the silent destroyers of paper and emulsion—typically begin to colonize damp materials within 48 to 72 hours. Your immediate goal is to arrest the damage by removing moisture or by stabilizing the photos in a way that prevents biological growth. Whether you are dealing with a handful of Polaroids or an entire basement of albums, the following steps will guide you through the delicate process of preservation.
Immediate Stabilization Steps
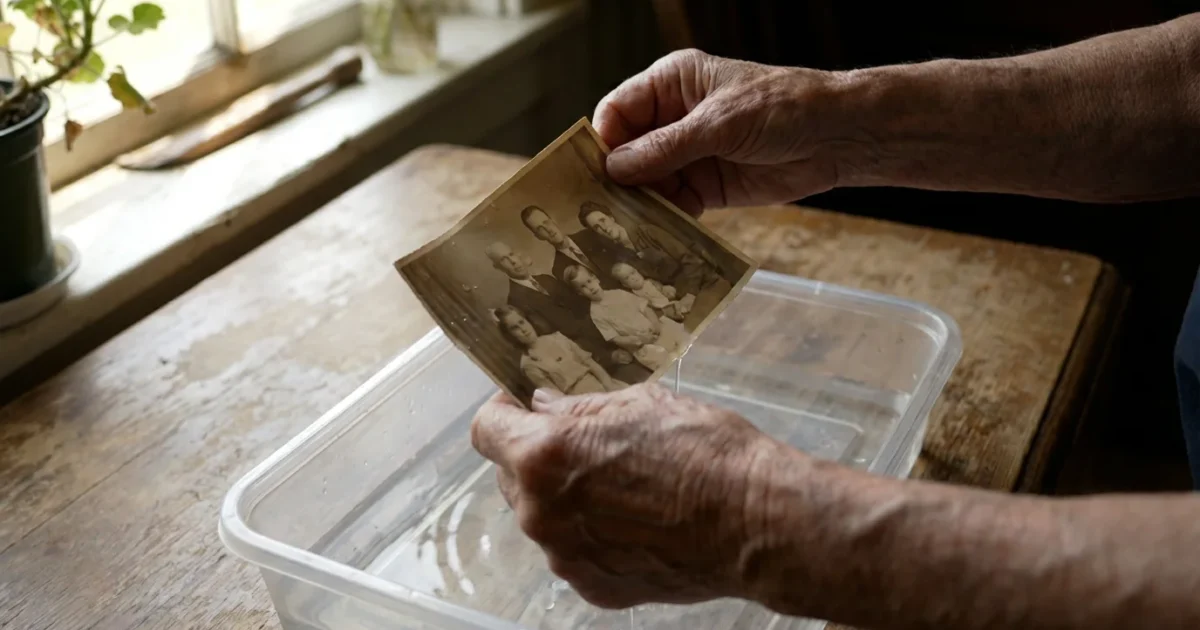
Your first move determines the survival rate of your collection. If the photos are currently submerged, do not rush to pull them out and spread them on the floor immediately—especially if they are stuck together. Paradoxically, photos often suffer more damage during the transition from wet to dry than they do while underwater. When the emulsion (the chemical layer containing the image) begins to dry, it becomes incredibly sticky, acting like a powerful adhesive that fuses neighboring photos into a solid block.
To prepare for future unexpected events, it is also wise to put together a photo emergency go-bag containing essential salvage tools.
If your collection is housed in older storage, you may also need to learn how to remove photos from old magnetic albums safely to prevent further tearing during the drying process.
If you cannot process all the photos at once, keep them in a container of clean, cold water. This prevents the drying-and-sticking cycle and buys you a few extra hours to set up a proper drying station. If you have thousands of photos, prioritize the most irreplaceable items—the wedding portraits of ancestors or the only existing photos of a late relative. Modern digital prints are often easier to replace if you have the original files, so focus your energy on the unique physical prints first.
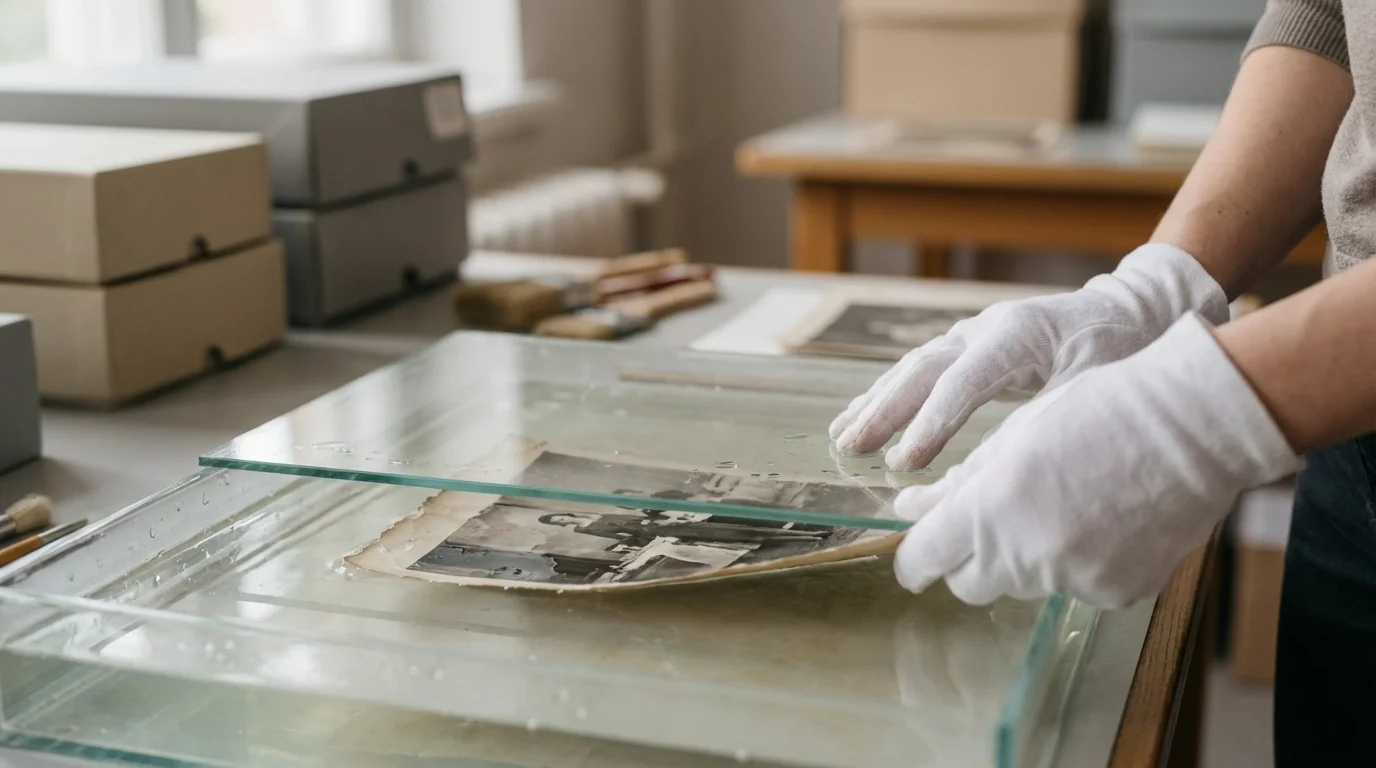
Remove the photos from their frames or plastic sleeves as soon as possible. Water trapped between the glass and the photo creates a vacuum-like seal that can permanently bond the image to the glass. To remove a wet photo from a frame, lay it face down and carefully remove the backing material. If the photo sticks to the glass, do not pull it. Instead, keep the photo and glass together and submerge them in clean water until the photo floats free. This gentle approach preserves the delicate surface of the image.
Categorizing the Damage and Safety Risks
The source of the water dictates your cleaning approach. Not all “water damage” is equal, and your safety should always come first. Floodwaters from storms or sewage backups carry bacteria, chemicals, and silt that pose significant health risks. If you are handling photos contaminated by “black water” (sewage) or “gray water” (chemicals/detergents), wear nitrile gloves and a face mask to protect yourself from pathogens.
In addition to water issues, older prints are prone to fading over time, but there are effective ways of saving yellowed and discolored photographs to restore their original look.
| Water Type | Contaminants | Primary Action |
|---|---|---|
| Clean Water (Pipe burst) | Minimal | Rinse briefly, then air dry or freeze. |
| Flood Water (Silt/Mud) | Abrasive particles, bacteria | Extensive rinsing in multiple clean water baths. |
| Salt Water (Ocean surge) | Corrosive salts | Immediate and thorough rinsing in fresh water. |
| Sewage (Backups) | Pathogens, biohazards | Safety gear required; consider professional decontamination. |
Salt water is particularly aggressive. It can cause the paper fibers to swell and the chemical layers to break down much faster than fresh water. If your photos were caught in a coastal storm surge, you must prioritize rinsing away the salt. Even a few hours of exposure to salt water can start to degrade the silver in older black-and-white prints, leading to “silver mirroring” or permanent staining.
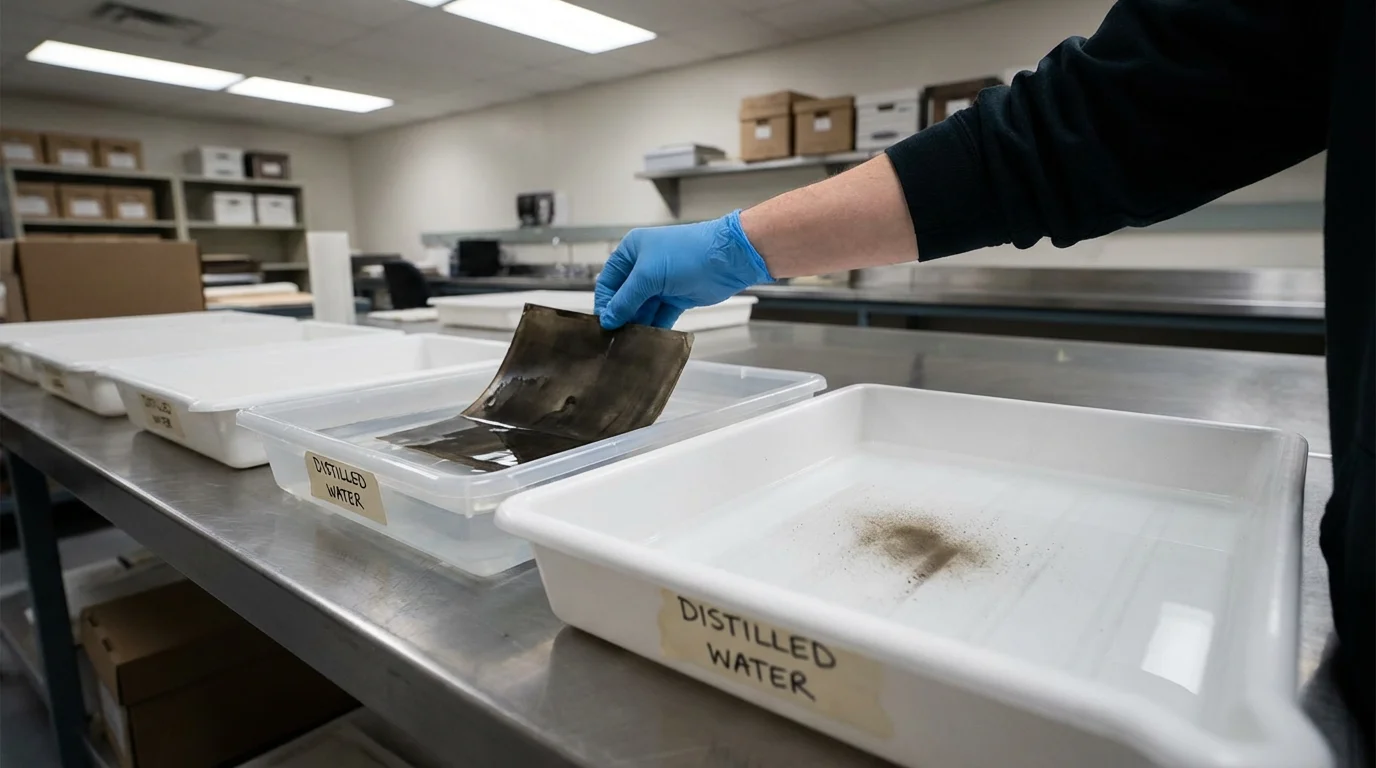
The Washing and Rinsing Protocol
Once you have stabilized the environment, you must remove any mud, silt, or debris clinging to the photo surfaces. Dirt acts as an abrasive that can scratch the softened emulsion if you try to wipe it away. Instead of wiping, use a “gentle bath” technique. Fill a clean plastic tub or a sink with cold, clear water. Distilled water is the gold standard because it lacks the minerals and chlorine found in tap water, but clean tap water works if that is all you have available.
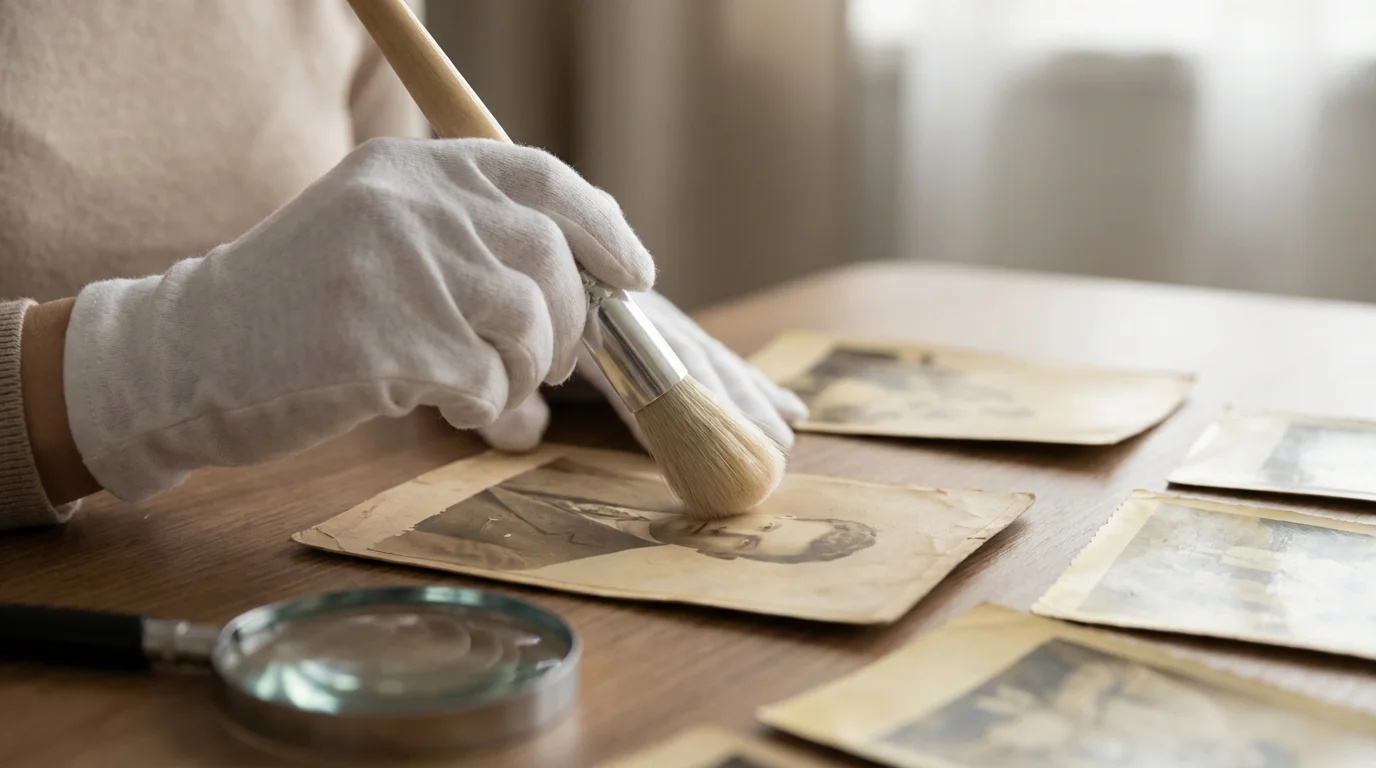
Hold the photo by the edges and gently agitate it in the water. For stubborn silt, you can use a soft-bristled artist’s brush to very lightly flick the dirt away while the photo is submerged. Never scrub the surface. The emulsion is extremely soft when wet—almost like gelatin—and even a thumbprint can leave a permanent indentation or wipe the image right off the paper. Change the water frequently as it becomes cloudy. You may need three or four consecutive baths to ensure the photo is truly clean.
“The most important rule in salvage is to avoid mechanical stress on the wet image layer; any friction or pressure can lead to the loss of the photographic information.”
After rinsing, you may notice the photos feel “slimy.” This is the natural state of wet emulsion. Do not try to wash this off. Once the debris is gone, move the photo immediately to the drying area. If you are dealing with a large volume of photos, you can stack them temporarily with sheets of wax paper between each image to prevent them from sticking, but this is only a stop-gap measure until you can dry them individually.
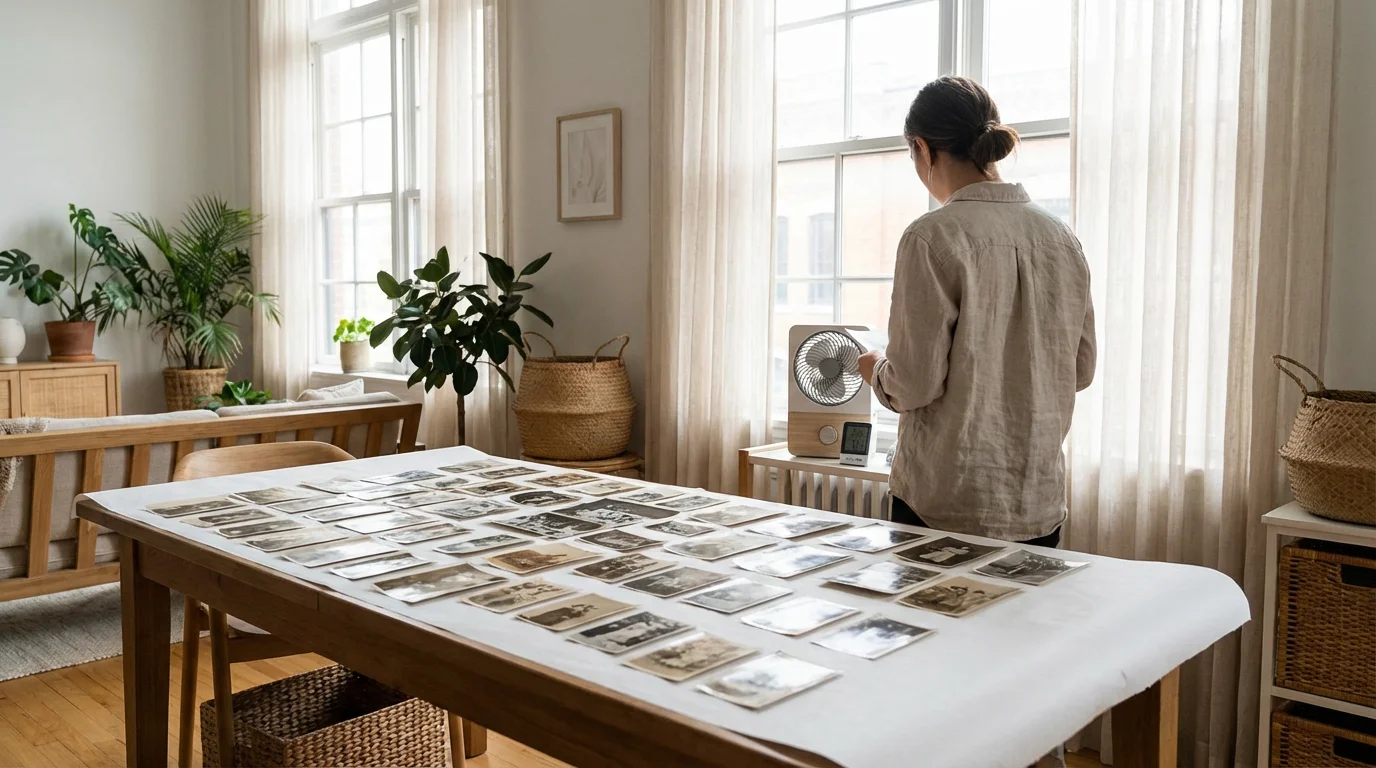
Air-Drying Techniques for Prints
Air drying is the preferred method for most photographic prints. To do this correctly, you need a clean, dust-free space with excellent air circulation. Avoid direct sunlight, as the UV rays and heat can cause the photos to curl excessively or fade the ink. Likewise, never use a hair dryer, oven, or radiator; rapid drying is the enemy of flat, stable photos.
Once your prints are completely dry, we highly recommend learning how to scan old photos at home to create digital backups of your precious memories.
Lay out several layers of unprinted paper towels or clean, lint-free white cloths. Avoid newspapers, as the ink can transfer onto your wet photos. Place the photos face-up on the drying surface. Placing them face-down will cause the emulsion to stick to the paper towels, ruining the image. If you have limited floor space, you can create a drying rack using a clean window screen or a laundry rack covered in cheesecloth. This allows air to reach both the front and back of the photo, which helps prevent the edges from curling upward.
To keep the air moving, set up an electric fan in the room. Do not point the fan directly at the photos; instead, aim it so it circulates air throughout the space. This prevents “pockets” of humid air from lingering over the photos, which speeds up the evaporation process and discourages mold. As the photos dry, they will likely curl. This is normal behavior for paper fibers. Resist the urge to flatten them while they are damp. Wait until they are completely bone-dry before attempting to flatten them under the weight of heavy, acid-free books.
The Freezing Method: Buying Time
If you are overwhelmed by the sheer volume of water-damaged photos and cannot possibly dry them all before mold sets in, freezing is your best friend. Freezing effectively “pauses” the damage, preventing mold growth and further chemical breakdown. This is a standard practice used by the National Archives when dealing with large-scale water disasters.
To protect your collection from moisture after they are salvaged, read our guide on how to store photos in high-humidity climates.
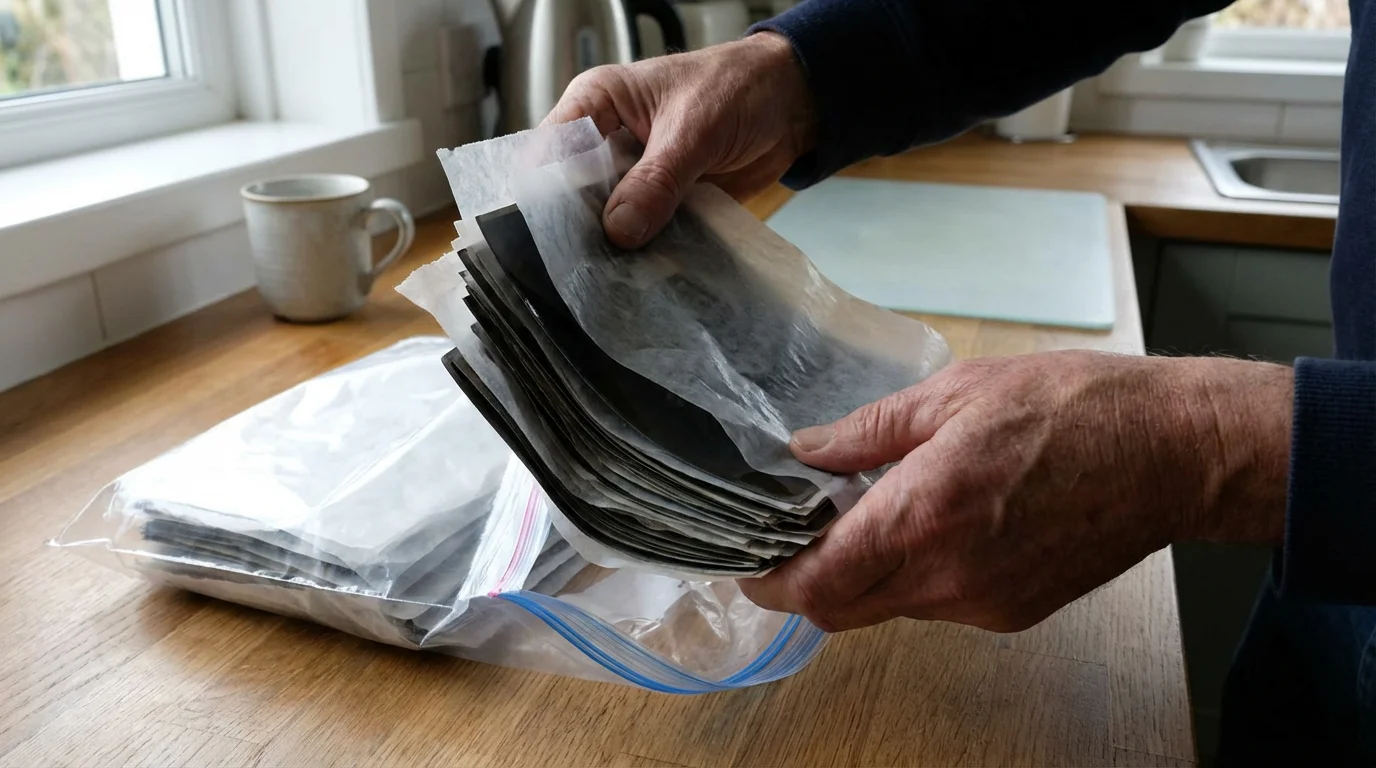
To freeze photos, first, give them a quick rinse if they are dirty. If the photos are in a stack, do not try to separate them. Wrap the stack (or individual photos) in wax paper or non-stick parchment paper. This layer is crucial; it ensures that the photos don’t freeze into a solid block of ice that is impossible to separate later. Place the wrapped photos into a plastic freezer bag, squeeze out as much air as possible, and place them in a standard chest or upright freezer.
Freezing buys you weeks, months, or even years. When you are ready to process them, you can remove one small batch at a time. To thaw them, place the frozen photos in a refrigerator for a day to allow a slow temperature transition, then proceed with the air-drying steps mentioned above. Note that freezing is suitable for most modern prints and negatives, but it can be catastrophic for certain historical formats like glass plates or Daguerreotypes, which may crack or delaminate due to the expansion of freezing water.
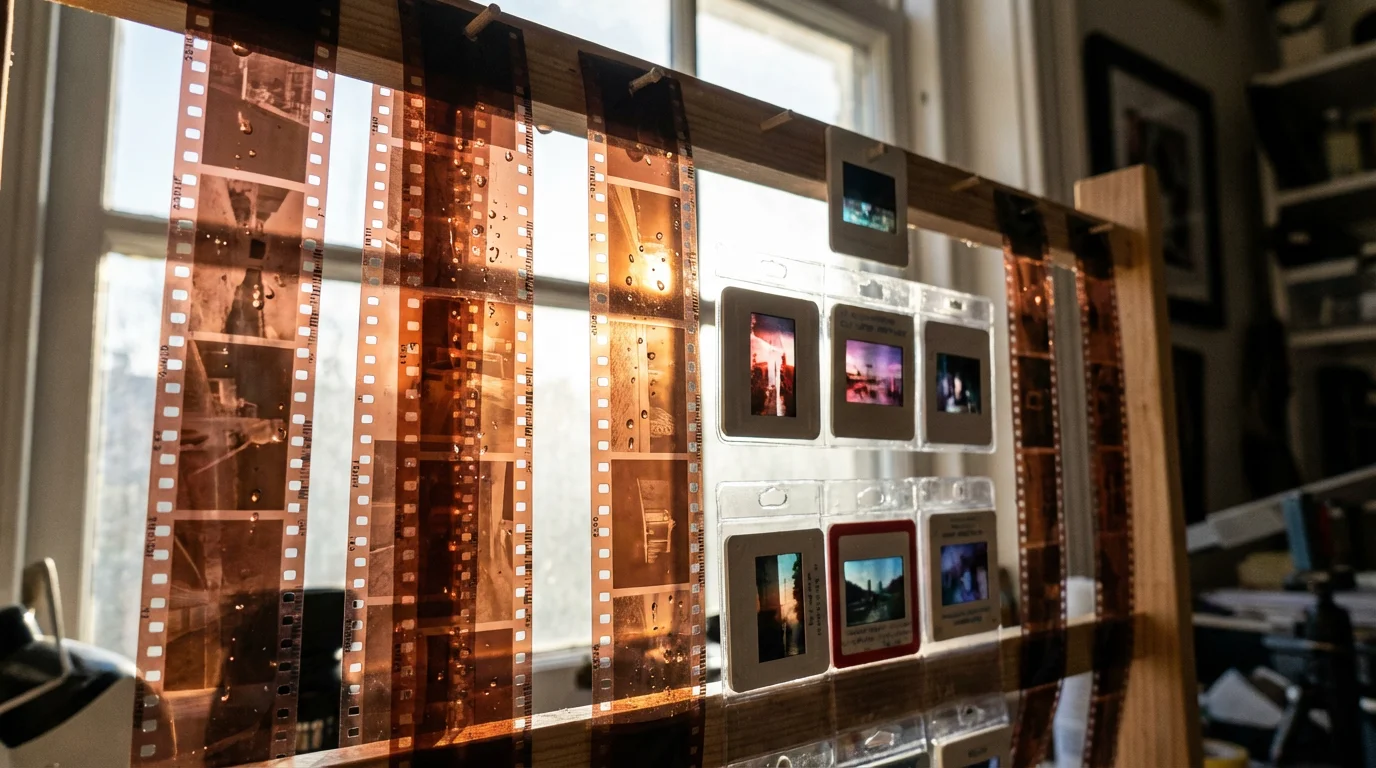
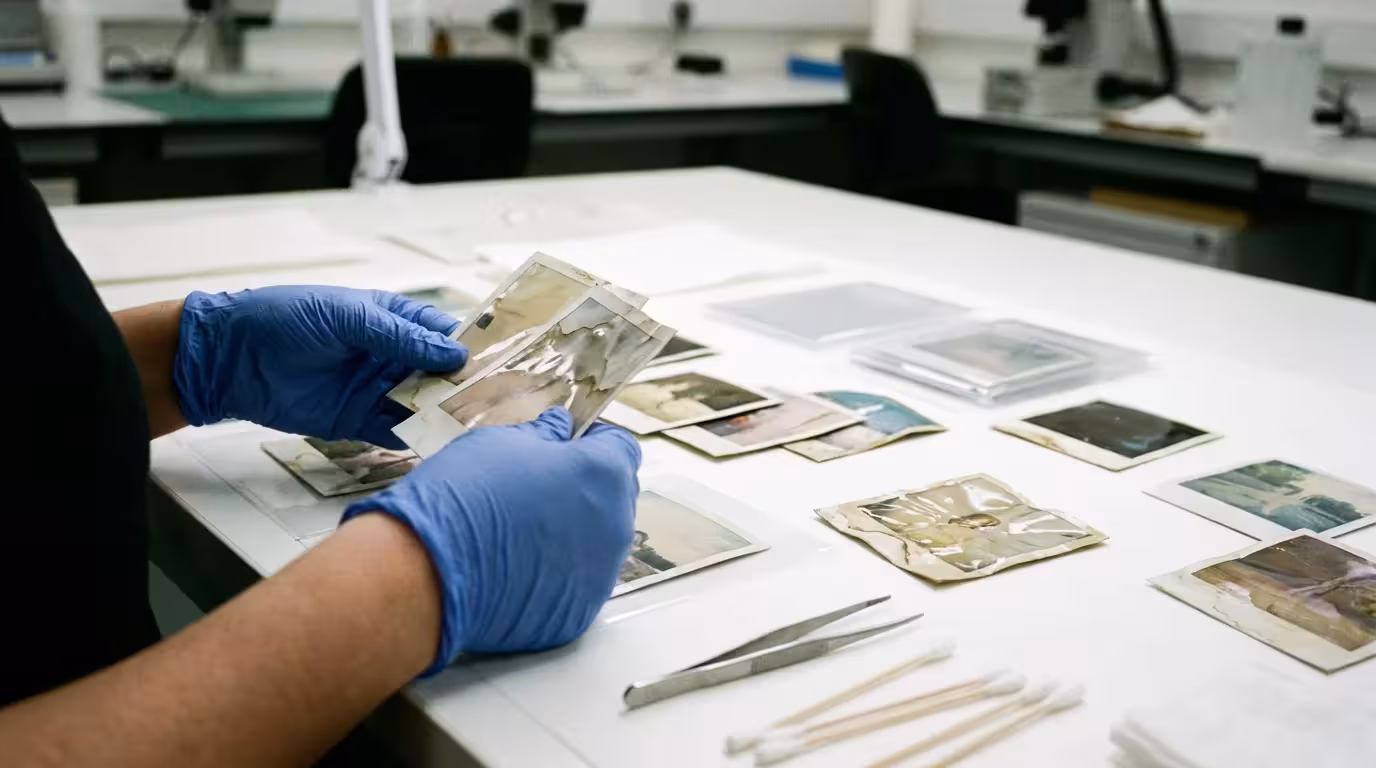
Handling Specialized Media: Negatives, Slides, and Tintypes
Not all “photos” are prints on paper. You may have inherited negatives, 35mm slides, or even 19th-century metal tintypes. These materials require specific care because their construction differs from modern paper prints. Negatives, for instance, are the “master copies” of your images; they often hold more detail than the prints themselves and should be prioritized in your salvage efforts.
When working with delicate legacy prints, understanding how to handle and display antique photographs safely is essential for preventing physical degradation.
Negatives and Slides: Remove negatives from their sleeves. If they are in a roll, gently unwind them while submerged in clean water. Hang negatives to dry using a clothespin on a line, or use a dedicated film drying rack. For slides, if the cardboard mounts are soaked, they will likely mold or warp. It is usually best to carefully remove the film from the cardboard mount, dry the film separately, and then remount it in a new plastic slide frame later.
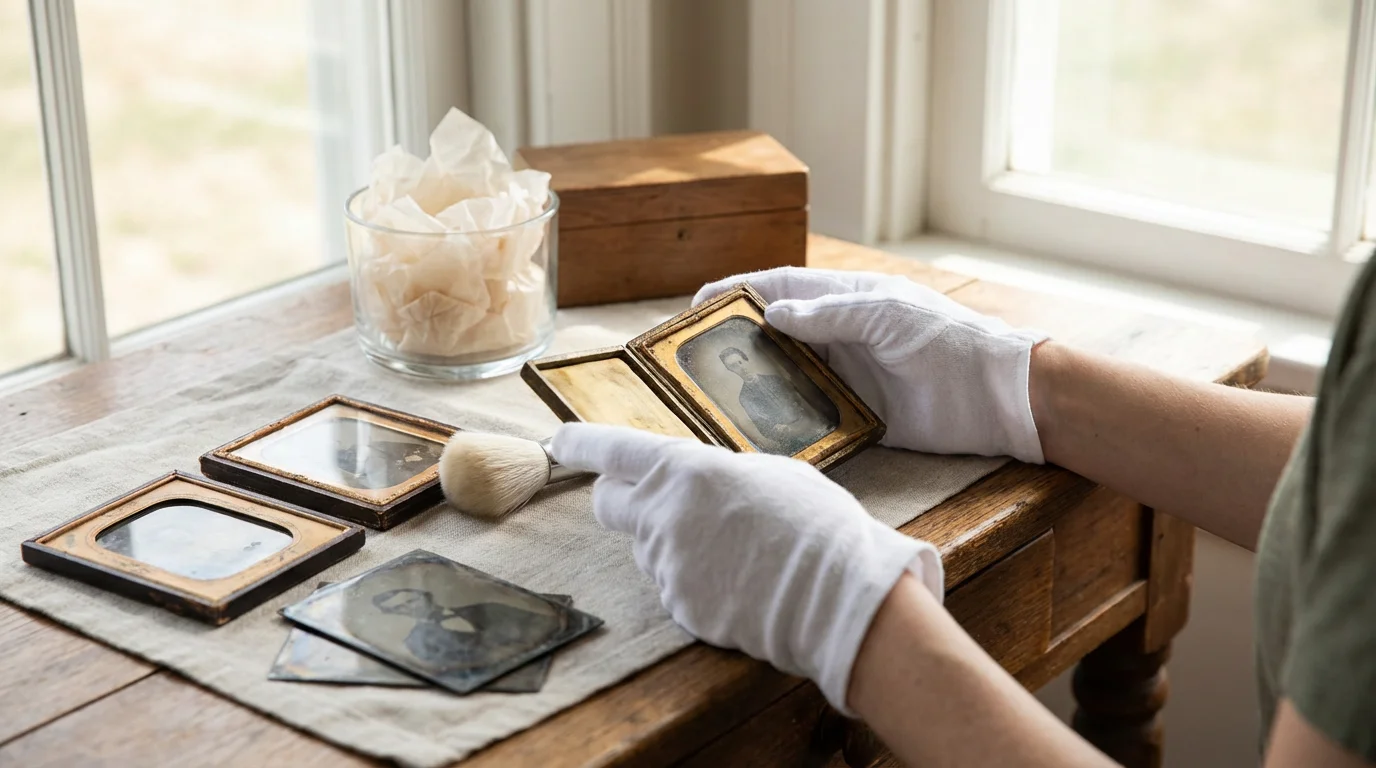
Historic Formats: If you have tintypes, ambrotypes, or daguerreotypes, avoid the DIY immersion methods used for modern prints. These items are complex “sandwiches” of metal, glass, and chemicals. Water can seep between the layers and cause irreversible corrosion or “weeping glass.” The American Institute for Conservation recommends that these items be handled by a professional. If they are wet, do not dry them rapidly; keep them in a humid environment (like a sealed container with a damp cloth—not touching the item) and get them to a conservator immediately.

Digital Restoration After Salvage
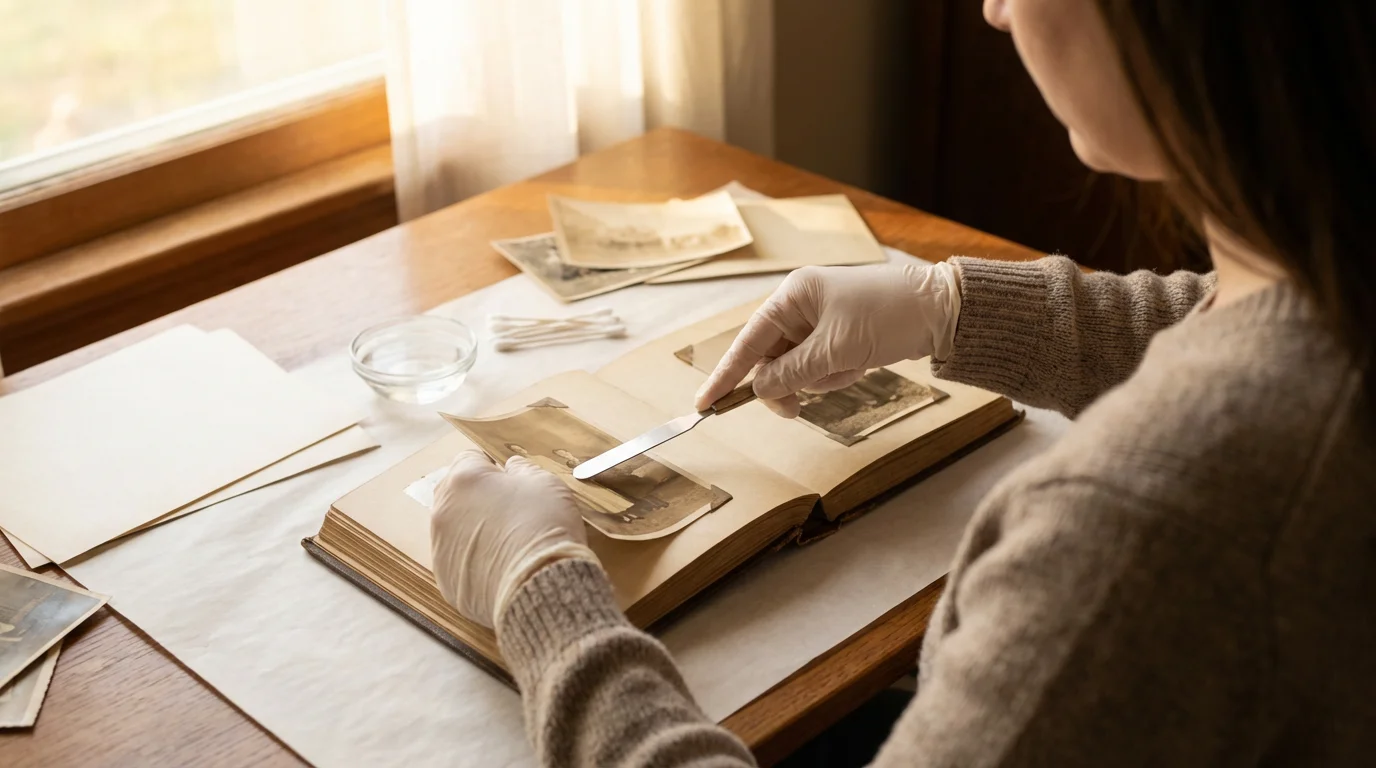
Even with the best physical salvage techniques, some photos will emerge with water spots, “tide lines” (yellowish stains where the water stopped), or minor emulsion loss. This is where digital technology becomes an essential part of the preservation toolkit. Once your physical prints are completely dry and stable, you should create high-resolution digital backups.
Once your salvaged prints are stabilized and dry, you should follow a guide to scanning old photos at home to create a permanent digital backup.
Use a flatbed scanner rather than a phone camera to get the best results. Scan the damaged photos at a minimum of 600 DPI (dots per inch) in a lossless format like TIFF. Once you have a high-quality digital file, you can use photo restoration software or AI-powered tools to fix the damage. Modern software can remarkably well “fill in” missing pieces of an image by analyzing the surrounding pixels. You can remove mold spots, correct color shifts caused by water chemicals, and sharpen blurry details.
Digital restoration is a non-destructive way to “fix” your memories. You preserve the original physical artifact—scars and all—while creating a pristine digital version that you can share with family or reprint. Many online services specialize in this, but even home users can achieve great results with tools like Adobe Photoshop or dedicated restoration apps. Remember: always keep your original, physical photo, even if the digital version looks “better.” The physical object is the direct link to the past.
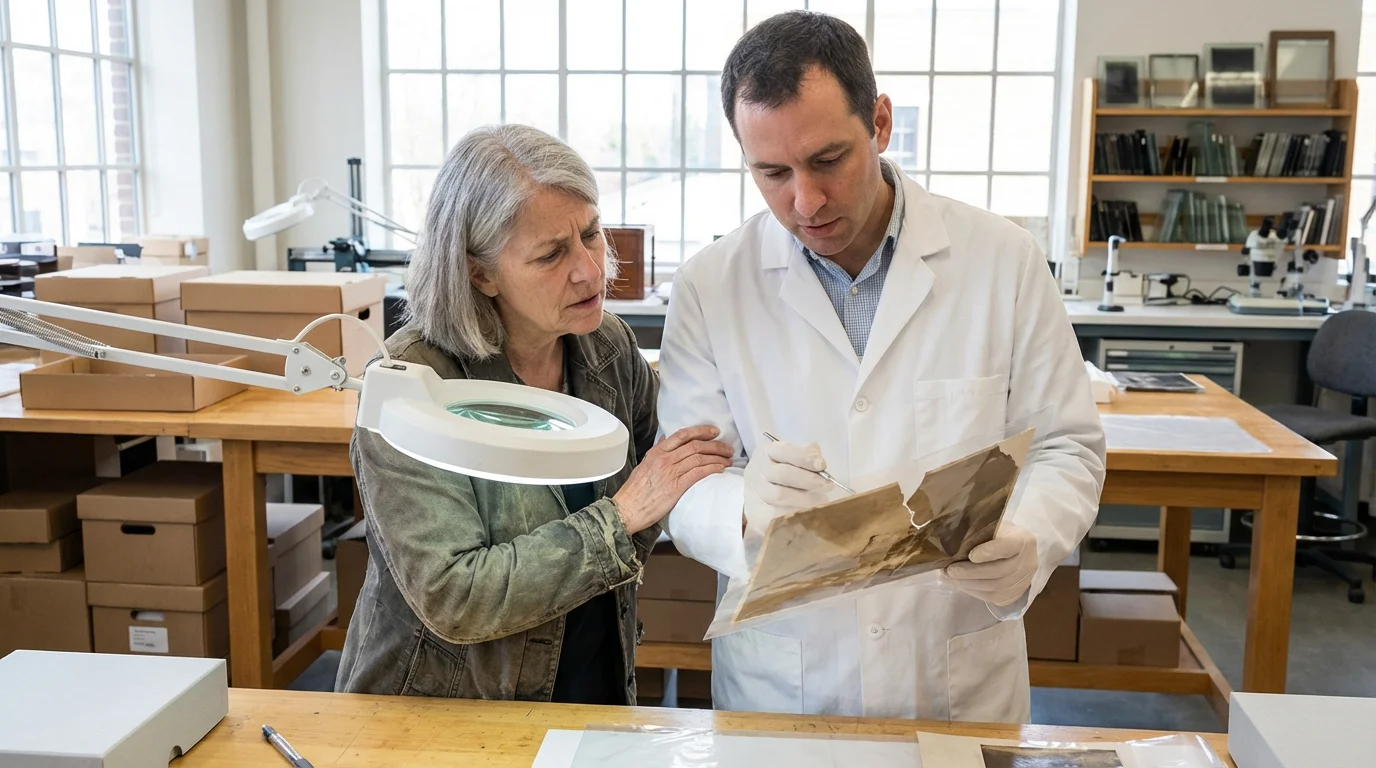
When to Consult a Professional
DIY salvage is effective for many situations, but there are times when the expertise of a professional conservator is necessary. If a photo is stuck to the glass of a frame and it is a one-of-a-kind family heirloom, do not risk breaking it yourself. Professionals have access to chemical solvents and controlled environments that can safely release the bond without destroying the emulsion.
You should also seek professional help if:
- The photo is from the 19th century (Daguerreotypes, salted paper prints, etc.).
- The photo is extremely large or fragile (like a panoramic “yard-long” photo).
- The damage was caused by sewage or toxic chemicals that you cannot safely handle.
- The emulsion is already flaking off in large pieces.
A conservator is different from a digital restoration artist. A conservator works on the physical object itself to stop decay and stabilize the material. To find a qualified professional, use the “Find a Conservator” tool provided by the American Institute for Conservation. They can provide an assessment and help you understand what is possible for your specific collection.
Preventing Future Water Damage
The best way to save water-damaged photos is to prevent the damage from happening in the first place. Most water damage occurs in basements and attics—the two worst places to store memories. Basements are prone to flooding and sewer backups, while attics experience extreme temperature fluctuations that make photo paper brittle and prone to cracking.
Reviewing standard best practices on how to store old photographs can help you choose the right archival boxes and storage locations to mitigate flood risks.
To prepare for future events, consider creating a photo emergency go-bag that keeps your most precious originals in a waterproof, portable container.
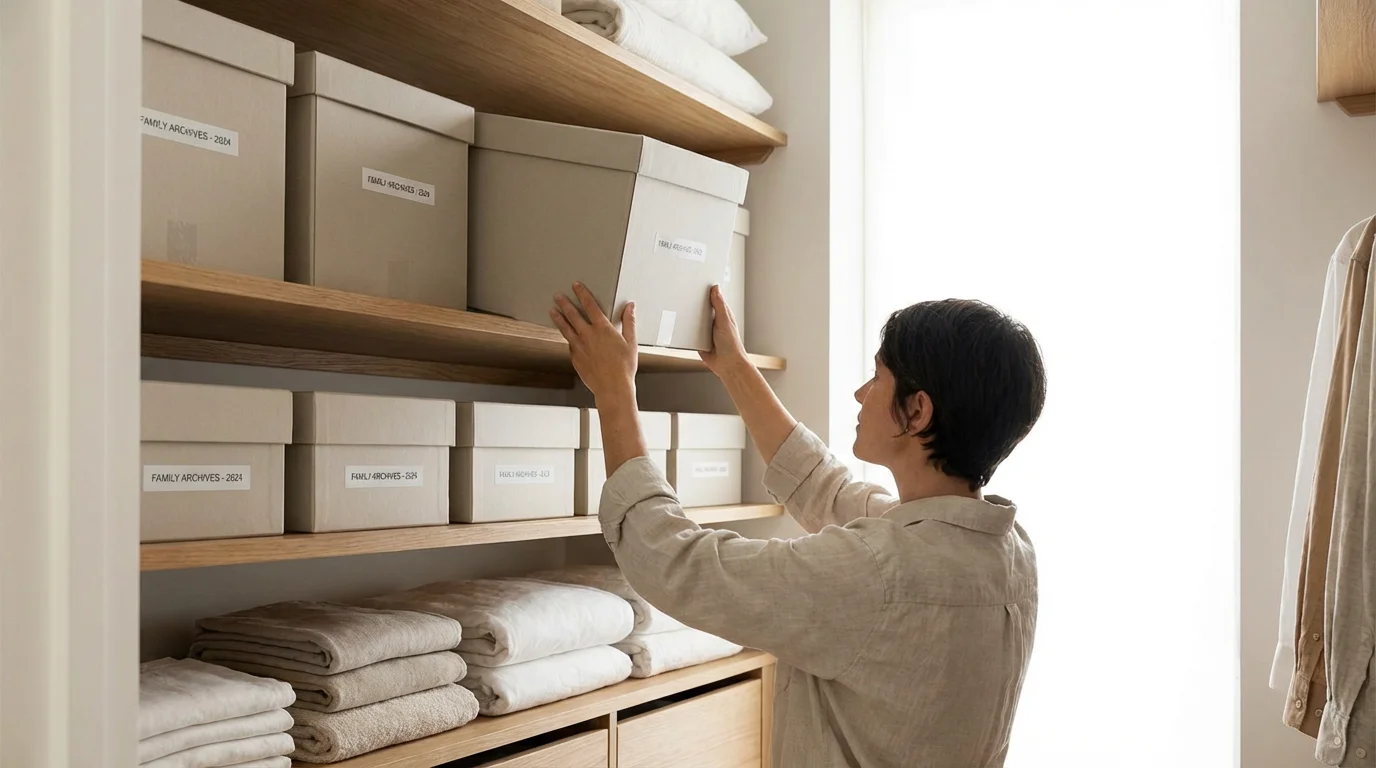
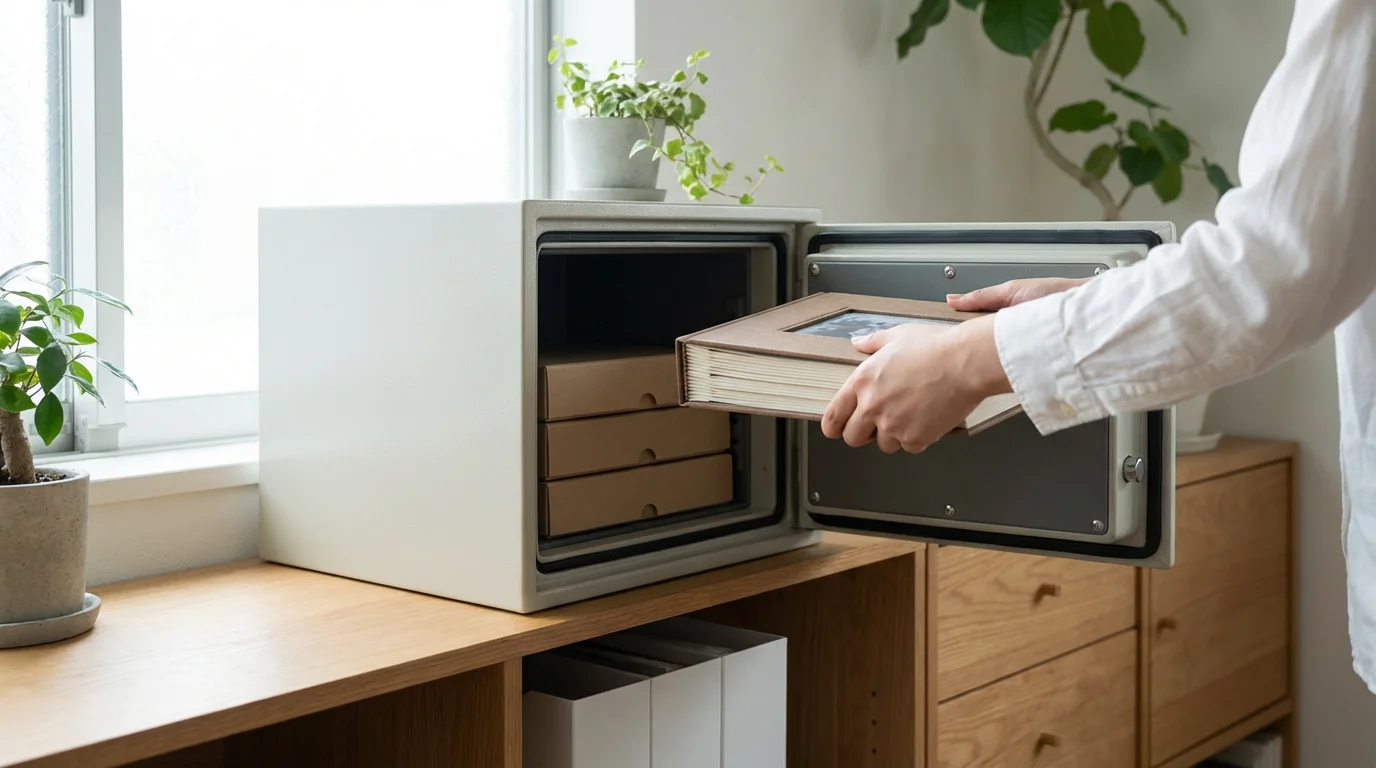
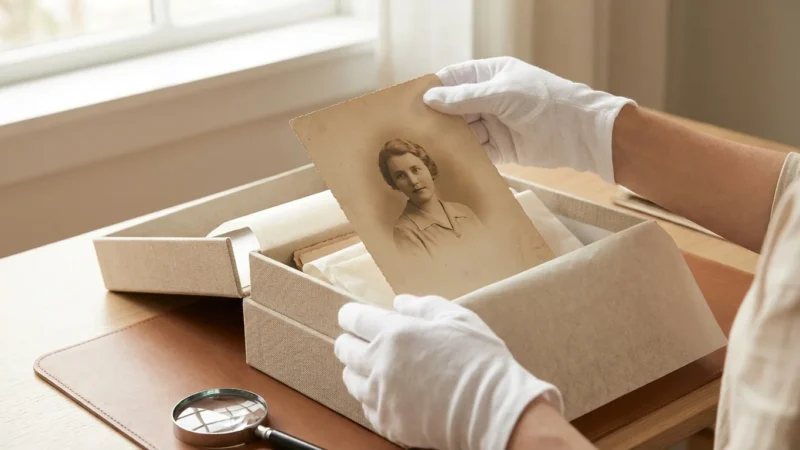
Move your photo collection to a “living space” in your home, such as a closet on the first or second floor. Store your prints in archival-quality, acid-free boxes. These boxes are designed to be somewhat water-resistant; while they won’t survive a full submersion, they will protect against a minor overhead leak or high humidity. Additionally, keep your boxes at least six inches off the floor on a sturdy shelf. This simple elevation can be the difference between a minor inconvenience and a total loss during a household pipe burst.
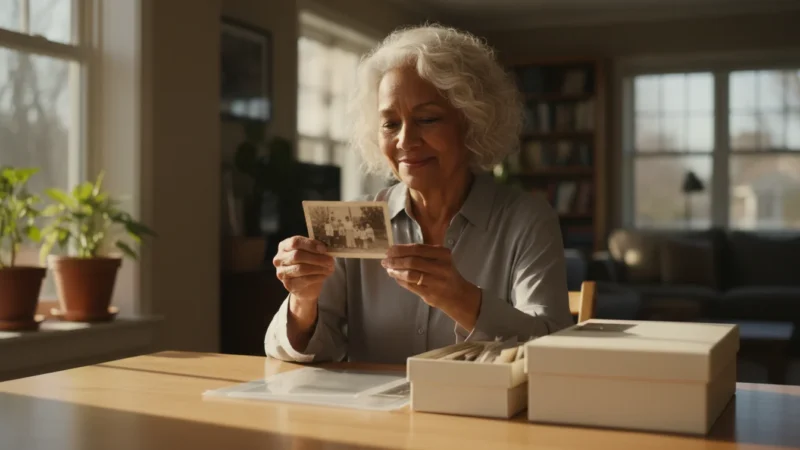
Finally, embrace the “LOCKSS” principle: Lots of Copies Keep Stuff Safe. Digitize your entire collection and store the files in at least two different locations—one on a local hard drive and one in a secure cloud-based service. If a disaster strikes your home, your physical prints might be lost, but your memories will survive in the digital realm. This multi-layered approach to preservation ensures that your photographic heritage remains intact for the next generation.
Frequently Asked Questions
Can you save photos that have been underwater for several days?
Yes, many photos can be saved even after several days of submersion, provided you act quickly once they are retrieved. The key is to keep them wet until you can properly rinse and dry them, or freeze them to prevent mold growth, which typically begins within 48 to 72 hours.
Should I use a hair dryer to speed up the drying process?
No, you should never use a hair dryer or any direct heat source on water-damaged photographs. Rapid heating can cause the photo emulsion to crack, curl, or melt, leading to permanent damage. Air drying in a room with good circulation is the safest method.
What should I do if my photos are stuck together?
If photos are stuck together, do not pull them apart while dry. Submerge the stack in a tray of clean, room-temperature water. Allow them to soak until they naturally begin to separate. This process requires patience and a gentle touch to avoid tearing the softened emulsion.
Is it safe to freeze old family negatives?
Freezing is generally safe for modern film negatives and prints as a stabilization method. However, you should avoid freezing historic glass plate negatives or daguerreotypes, as the extreme temperature changes can cause the delicate materials to shatter or delaminate.
Disclaimer: This article is for informational purposes only. When handling valuable or irreplaceable photographs, consider consulting a professional conservator. Always test preservation methods on non-valuable items first.


Leave a Reply