You can rescue seemingly lost fabric folds and structural edges from an overexposed Polaroid 600 snapshot where white shirts wash into a pale background. Most software tools fail because standard global sliders destroy midtone contrast while trying to drag down glare.
Vintage dye-diffusion instant prints rarely blow out to absolute zero dye density across all color layers simultaneously. Targeted luminosity masks isolate residual silver-halide dye remnants residing between 92% and 98% brightness, pulling micro-contrast back to life without muddying your midtones.

The Physical Chemistry of Overexposed Polaroid Highlights
Polaroid 600 film relies on chemical dye-diffusion transfer technology. The film sandwich contains three light-sensitive emulsion layers paired with developer dye molecules in cyan, magenta, and yellow.
When you expose an instant print, developer reagent spreads between the negative and positive sheets. Exposed silver halide grains develop, which traps the corresponding dye molecules in the negative layer.
Unexposed dyes remain mobile and migrate upward to the positive image-receiving layer. There, an acid polymer layer neutralizes the alkali reagent and immobilizes the dyes into your visible photograph.
When extreme light strikes the film, such as harsh direct sunlight or close-range electronic flash, silver halide crystals develop across all layers. This trapping process leaves very little dye available to migrate upward.
Your eye perceives the resulting positive image receiving layer as pure, empty white. However, complete exhaustion across all three chemical dye layers rarely happens in real-world snapshots.
Instant print highlights that look completely blank to the naked eye often retain microscopic density differences in the yellow and cyan receiver layers.
A global exposure slider cannot separate these microscopic differences. Lowering global exposure simply turns the white paper base into a lifeless, muddy gray without separating clothing from backdrops.
You must target only the narrow luminance bracket where these residual dyes survive. Targeted luminosity masking isolates these high-value zones while leaving your balanced midtones and shadows untouched.
According to print research from the Image Permanence Institute, chromogenic and diffusion-transfer dye layers degrade unevenly. This uneven chemical behavior means highlight detail frequently survives in single color channels.
Digitization Settings to Capture Faint Chemical Traces
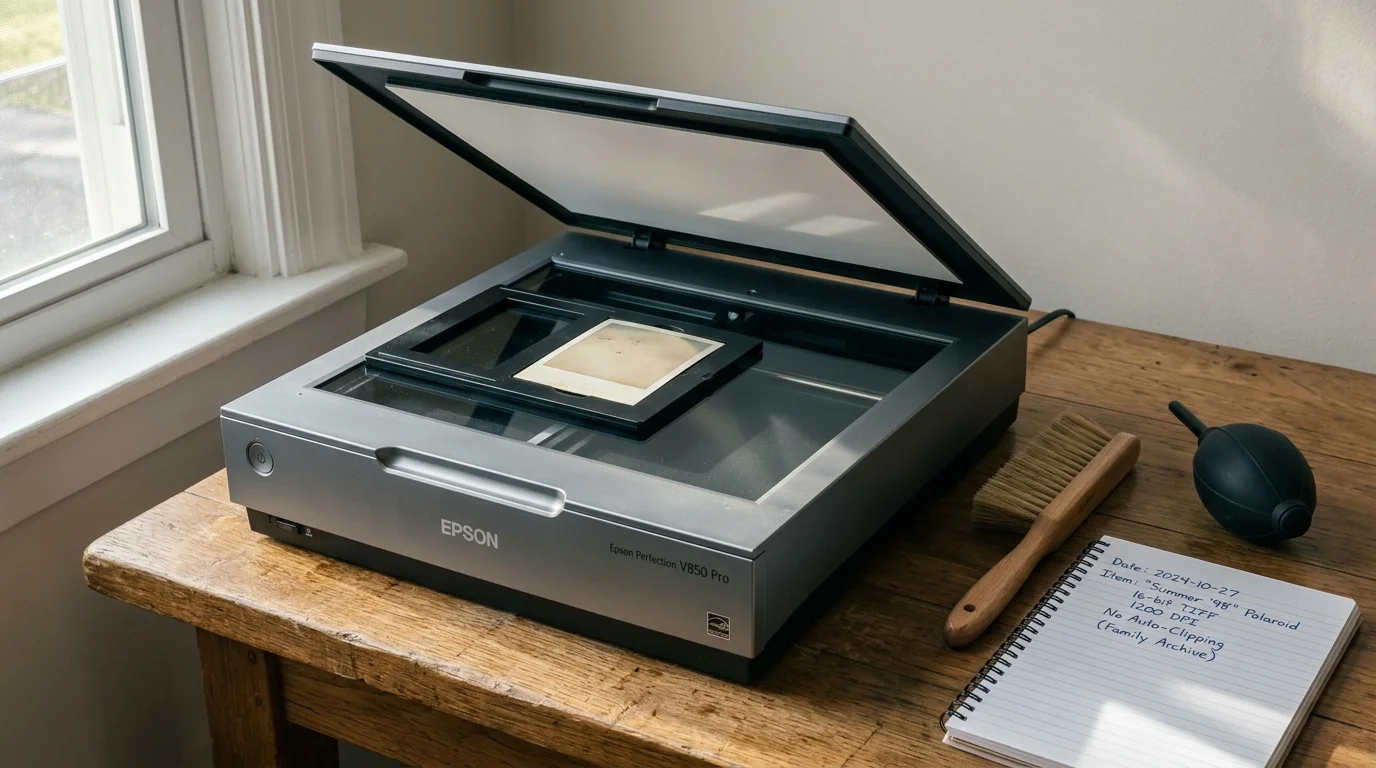
You cannot recover chemical detail that your digital scanner fails to record. Capturing subtle highlight densities requires strict hardware settings before you open your editing software.
Always digitize your prints in 16-bit per channel TIFF format. An 8-bit scan gives you only 256 tonal steps per channel, which quantizes subtle highlight tones into harsh banding.
A 16-bit scan provides 65,536 tonal steps per channel. This massive bit depth preserves microscopic tonal differences sitting between the 240 and 254 digital value range.
Set your scanner optical resolution between 600 DPI and 1200 DPI. Scanning above 1200 DPI offers no physical benefit because Polaroid integral prints resolve only around 5 to 10 line pairs per millimeter.
Disable every automated software enhancement in your scanner utility. Turn off auto-exposure, automated color balance, automated sharpening, and software contrast boosting.
Never activate infrared dust removal, commonly known as Digital ICE, on Polaroid prints. The reflective timing layer and internal chemical developer pod chemistry scatter infrared beams, generating destructive geometric artifacts.
Calibrate your scanner histogram manually to prevent clipping. Ensure the highlight slider sits well above the highest reflective peak of your image frame, preserving white border margins cleanly.

Mapping Zone VIII and Zone IX in Adobe Lightroom
Traditional darkroom workers use Ansel Adams’s Zone System to categorize tonal values. Zone X represents featureless pure white paper, while Zone IX represents slight tonal presence without distinct texture.
Zone VIII captures the lightest textured values, such as white fabric, snow crystals, or sunlit skin highlights. To restore washed out polaroid snapshots, you must bridge Zone IX back into Zone VIII.
Understanding these luminance divisions lets you target flat dyes accurately. The technical photography reference Cambridge in Colour outlines how digital tone curves map to these classical dynamic range zones.
Open your scanned 16-bit TIFF inside Adobe Lightroom Classic. Navigate to the Develop module and click the Masking icon located directly beneath the histogram panel.
Select the Luminance Range mask option from the pop-up menu. Your cursor transforms into an eyedropper tool designed for luminance sampling.
Click and drag your eyedropper across the blown-out white area, such as the overexposed shirt fabric. Lightroom automatically constructs a targeted range selection based on the sampled pixel values.
Check the box labeled Show Luminance Map to see your selection clearly. The preview displays selected pixels in red while darkening non-selected areas into grayscale.
Inspect the luminance slider bar at the bottom of the mask panel. You will see a selection box bounded by two outer adjustment brackets that define falloff.
Adjust the left boundary of the box to approximately 88. Set the right boundary to 99 to protect true specular highlights from shifting tone.
Adjust the outer falloff tabs to create a gradual feathering boundary. A steep falloff boundary creates harsh, glowing halos around your subjects’ clothing contours.
Step-by-Step Micro-Contrast Extraction Workflow
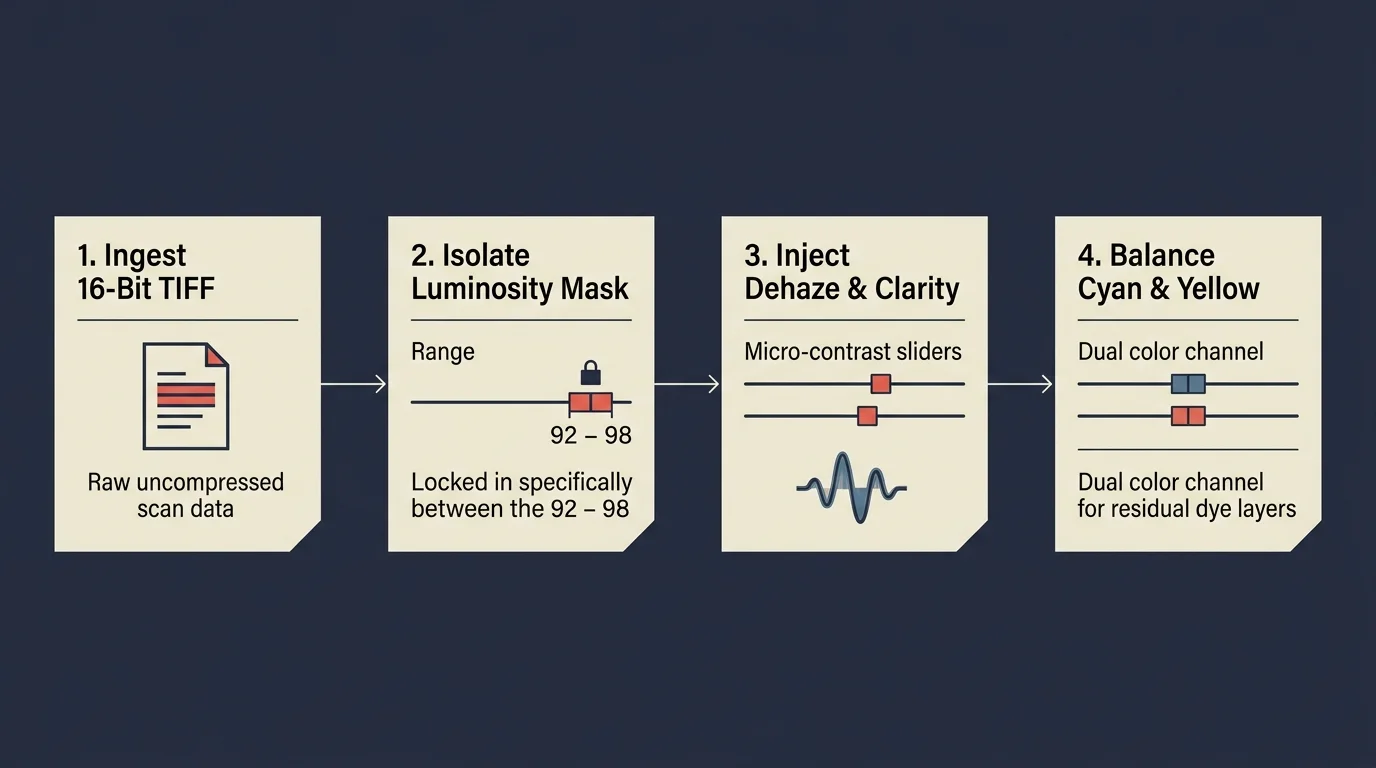
Once your luminosity mask isolates the highlights, you can fix overexposed instant film textures using deliberate, incremental micro-contrast adjustments. Follow these exact parametric stages.
First, reduce the Highlights slider within the mask panel to -35. Watch how the fabric begins to visually detach from the washed-out background wall or sky.
Next, pull the local Whites slider down to -15. This compression shifts Zone IX values closer to Zone VIII, making chemical dye boundaries detectable by image rendering engines.
Do not pull Whites or Highlights down to -100 inside the mask. Aggressive global clipping turns the highlights an unnatural, muddy chalk-gray and destroys natural print luminosity.
Now, introduce edge definition by increasing the local Clarity slider to +20. Clarity alters local midtone contrast along tonal edges, separating fabric seams from neighboring flat zones.
Add a subtle push with the Texture slider set between +10 and +15. Texture operates on high-frequency details, drawing out weave patterns without exaggerating broader scanning noise.
Open the local Tone Curve located inside your mask sub-panel. Place an anchor point at input value 215 to pin the lower boundary of your selection.
Place a second point at input value 242 and gently pull it downward to output value 234. This steepens the slope between high-tone intervals, dramatically expanding local micro-contrast.
Observe the color temperature inside the masked area. Blown Polaroid highlights frequently lean toward a cold cyan cast due to uneven dye deterioration over time.
Adjust the local Temp slider to +4 and the Tint slider to +2. This subtle warm shift neutralizes photochemical staining and restores a natural, organic cotton tone to clothing.
Worked Example: Rescuing a 1994 Sun-Bleached Beach Portrait
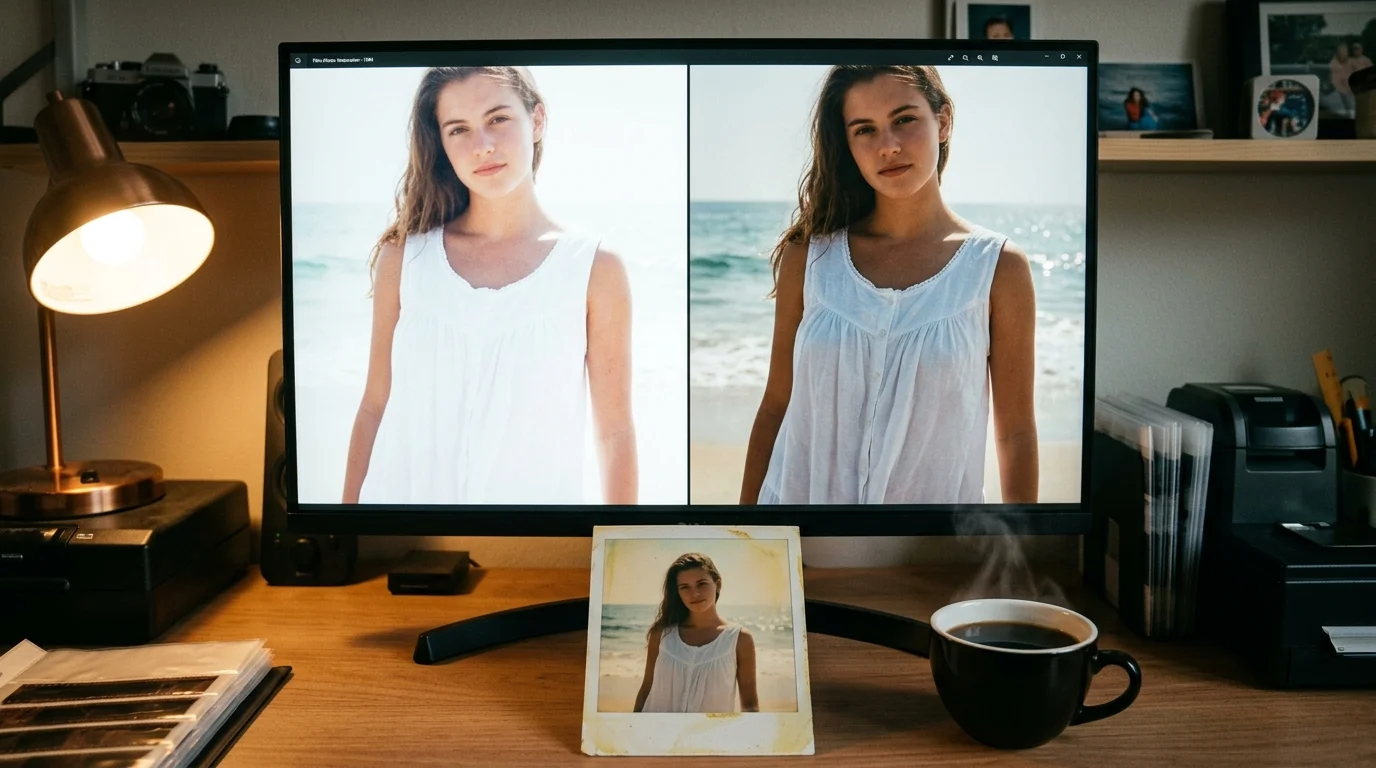
Consider a practical restoration scenario involving a Polaroid 600 snapshot captured at Cape May in July 1994. The image measures 3.1 by 3.1 inches across the image frame.
The composition features two children standing on sunlit white sand wearing plain white cotton t-shirts. The harsh summer midday sun caused massive overexposure across the upper frame.
The shirts and the sand bank behind them merged completely into an undifferentiated block of reflective white. The visual contours of the collars, sleeves, and side seams had disappeared entirely.
We digitized the physical print on an Epson Perfection V600 flatbed scanner at 1200 DPI in 48-bit RGB color. The scanning pass produced a 3720 by 3720 pixel file measuring 83.2 megabytes.
An initial point-sampling check in Lightroom revealed RGB values of 251, 249, 246 on the cotton shirts. The background sand bank read RGB values of 248, 246, 242.
A spread of only three to four tonal points separated the subjects from their environment. Standard exposure reductions lowered both surfaces simultaneously, maintaining the invisible boundary.
We applied a targeted Luminance Range mask with an input floor of 90 and an upper ceiling of 98. We dialed the Smoothness falloff setting to 22 to prevent haloing around the children’s arms.
Within the active mask, we set Highlights to -42, Whites to -18, Clarity to +26, and Texture to +12. We introduced a steep local curve adjustment between 225 and 248.
The adjustments stretched the initial four-point tonal difference into an 18-point tonal differential. Collar stitching, fold shadows across the chest, and the distinct outline of the shoulders reappeared cleanly.
The recovered clothing retained its natural white appearance while the background sand receded with distinct textural separation. The restoration process took seven minutes of targeted adjustment.

Digitization Hardware and Sensor Performance Comparison
Your ability to recover blown highlights old photo collections depends heavily on your capture hardware. Different sensor architectures record high-luminance reflective media with varying accuracy.
Contact Image Sensors (CIS) found in inexpensive, ultra-thin flatbed scanners struggle with highlight recovery. Their shallow depth of field and low optical dynamic range cause sensor blooming across shiny instant prints.
Charge-Coupled Device (CCD) flatbed scanners utilize cold cathode or specialized LED illumination paired with true optical lenses. This optical arrangement isolates faint dye reflections without optical bleed.
Digital camera scanning rigs equipped with high-resolution mirrorless sensors offer exceptional raw tonal latitude. However, they require careful cross-polarization lighting to eliminate surface glare from the glossy Polaroid timing layer.
Review the empirical performance metrics below to determine whether your scanning setup provides adequate raw headroom for highlight separation.
| Hardware / Capture System | Sensor Architecture | Native Bit Depth | Optical Dynamic Range (Dmax) | Highlight Separation Threshold |
|---|---|---|---|---|
| Canon CanoScan LiDE 400 | Contact Image Sensor (CIS) | 16-bit internal / 8-bit output | 2.5 Dmax | Fails below 6-point tonal delta |
| Epson Perfection V600 Photo | Color MatrixCCD | 16-bit internal / 16-bit output | 3.4 Dmax | Resolves 2-point tonal delta |
| Sony a7 IV with 90mm Macro | Full-Frame BSI-CMOS | 14-bit uncompressed RAW | 3.8 Dmax (equivalent) | Resolves 1-point tonal delta |
If you scan with a CIS device, upgrading to a CCD flatbed or a mirrorless capture rig unlocks significant missing chemical data. The added optical dynamic range prevents highlight clipping before processing starts.
Managing Chemical Reticulation and Paper Base Noise
Pushing micro-contrast in high-luminance zones carries distinct photographic risks. When you force contrast out of faint dye residues, you inevitably amplify chemical artifacts and scanner sensor noise.
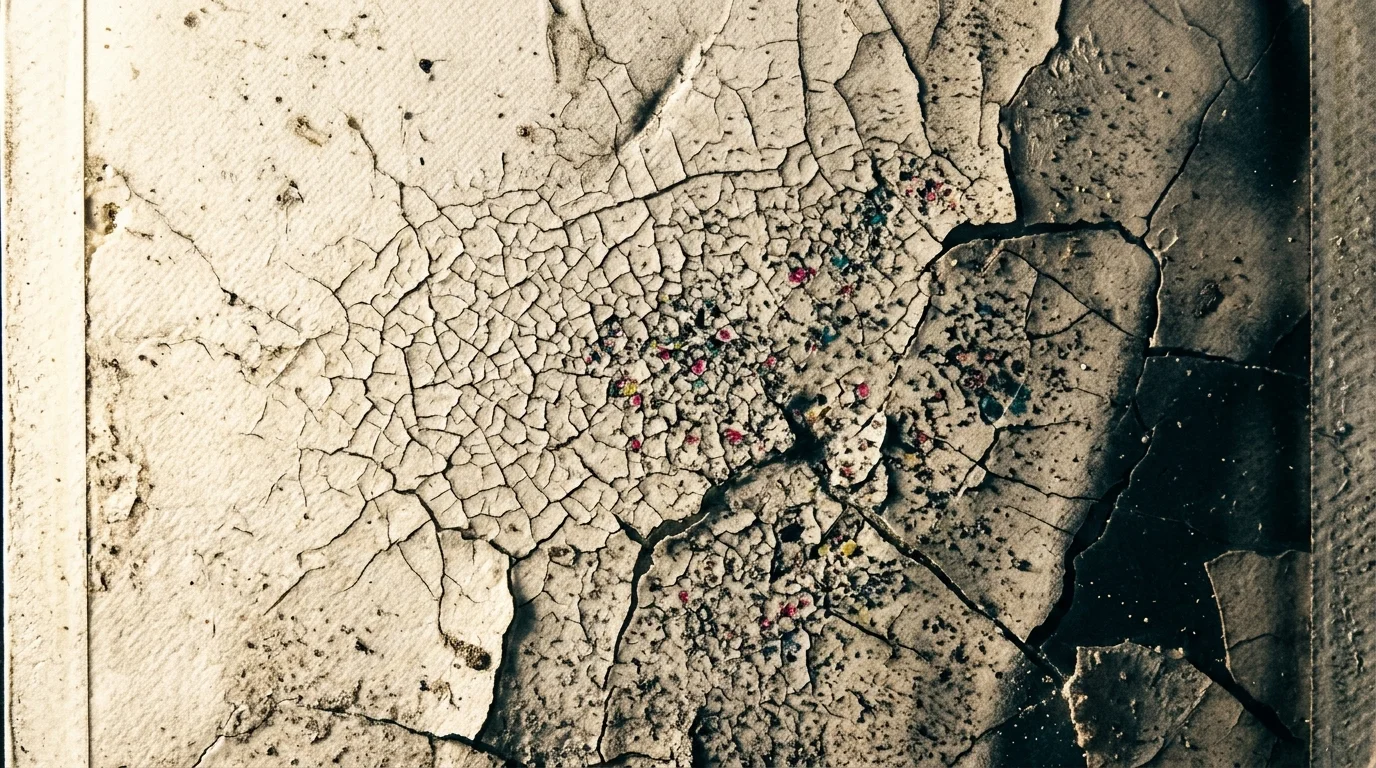
Polaroid prints often exhibit chemical mottle across highlight zones. This uneven texture occurs when developer reagent spreads at microscopic variations in thickness across the pod envelope.
High Clarity settings can turn this chemical mottle into harsh, blotchy dark spots. If you notice blotchiness appearing in the fabric, reduce your Clarity setting and rely more on the Tone Curve.
Address scanning noise within your mask sub-panel using the local Noise Reduction slider. Adding a value of +15 to +20 smooths out grain artifacts while preserving newly separated fabric borders.
Be careful when applying sharpening to recovered highlight areas. Restrict your sharpening radius to 0.8 pixels and set your Sharpening Masking slider above 60 to protect smooth highlight fields.
Inspect the restored print borders for chemical solarization or dye reversal lines. These thin, dark halos sometimes appear where intense overexposure triggered localized chemical exhaustion during initial development.
Physical preservation must accompany digital restoration efforts. Keep your original instant prints in temperature-controlled, dark storage environments inside acid-free polyester sleeves.
The conservation standards published by the American Institute for Conservation emphasize protecting instant prints from environmental light, elevated heat, and high relative humidity.
Never spray physical coatings or lacquers onto Polaroid prints to enhance surface contrast. Physical interventions are irreversible and accelerate chemical breakdown of the delicate image-receiving layer.
Frequently Asked Questions
Can I recover detail if the scanned pixel value reads 255-255-255?
If your scanned file reads true pure white at RGB 255 across all three channels, that specific digital file holds no data. However, rescanning the physical print at a lower scanner exposure often captures faint dye traces previously clipped by scanner software.
Why should I use luminosity masks instead of the global Highlights slider?
Global highlight sliders darken every bright pixel across your entire photograph simultaneously. Luminosity masks isolate only the narrow, overexposed tonal bracket, preserving midtone punch and skin tones without turning whites into dull gray.
Does this recovery technique work on modern Polaroid Originals film?
Yes, this method works effectively on modern Polaroid I-Type and 600 film formulations. Modern films use similar chemical diffusion mechanisms, though their dynamic range profiles differ slightly from vintage twentieth-century emulsions.
Can I apply this workflow inside Adobe Photoshop instead of Lightroom?
You can execute this exact workflow in Adobe Photoshop using Curves adjustment layers combined with layer Blend If sliders. Restrict the underlying layer sliders to 220 through 255 with an option-click split feather for smooth falloff.
Disclaimer: This article is for informational purposes only. When handling valuable or irreplaceable photographs, consider consulting a professional conservator. Always test preservation methods on non-valuable items first.