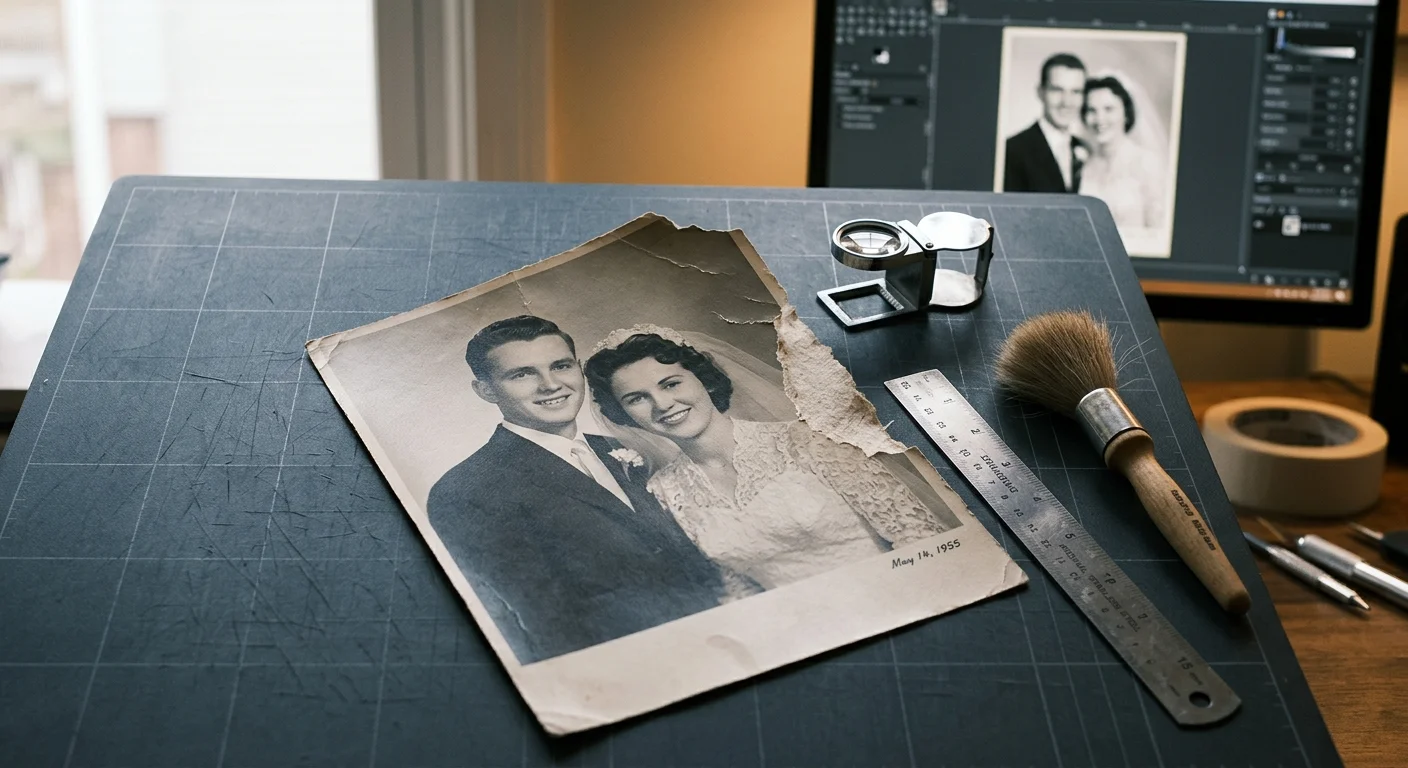
You can repair a missing photo corner with free software without paying for recurring subscription plans. With open-source tools, you will rebuild lost structural paper grain and surface texture in minutes.
Standard clone stamps produce flat, blurry smears across textured vintage silver gelatin prints. Instead, GIMP’s Resynthesizer plugin algorithmically reconstructs authentic barium sulfate fiber grain directly from surrounding margins to repair torn corners seamlessly.
This zero-cost method preserves historical authenticity on your digitized 1950s portraits while protecting your archive budget. Follow these exact selection parameters to bring your damaged family heirlooms back to life.
The Anatomy of Torn Baryta Paper and Silver Gelatin Scans
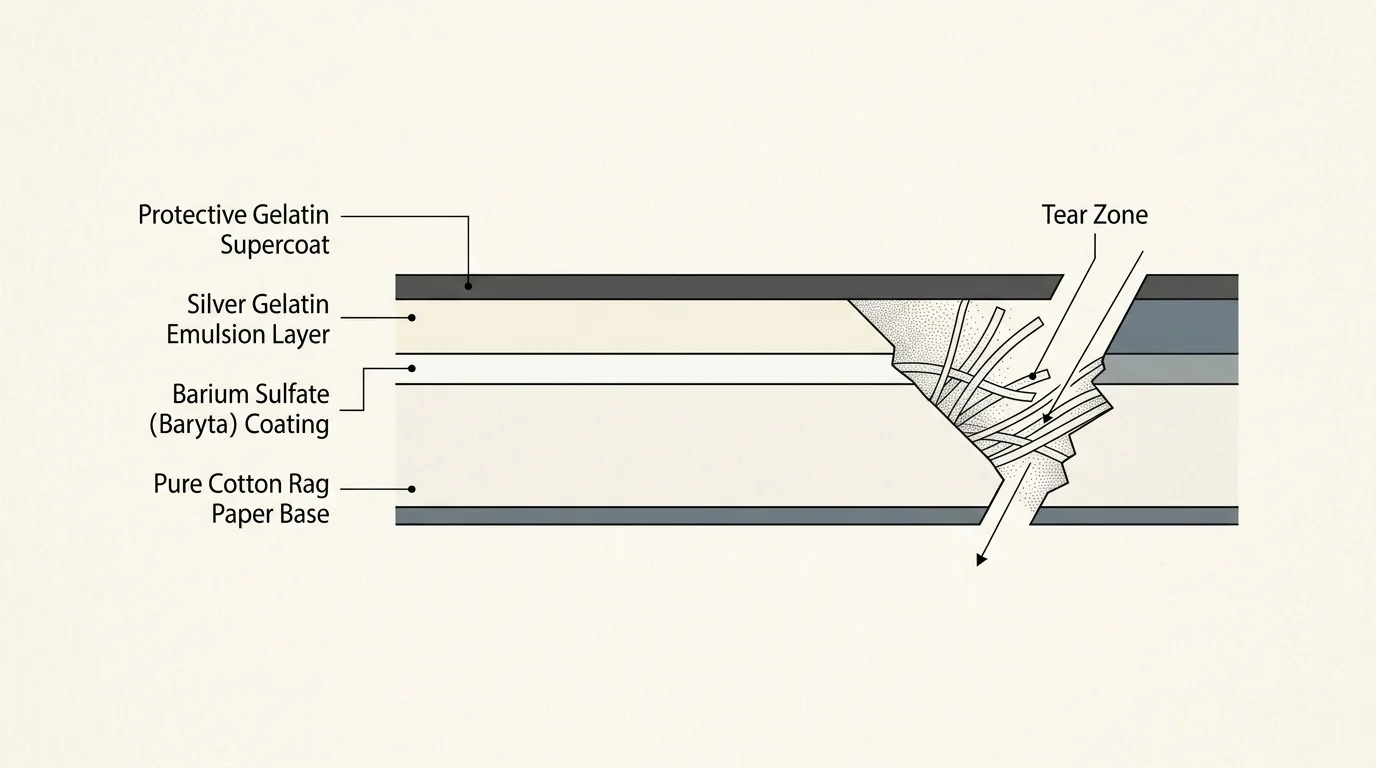
Vintage prints from the 1950s feature a heavy fiber paper base coated with barium sulfate beneath an emulsion layer. This reflective white mineral layer gives vintage prints their distinct sheen and depth.
When physical stress snaps a brittle paper corner, the tear exposes raw rag fibers. These exposed cellulose fibers create jagged borders and scatter scanner illumination unpredictably.
Manual brushes fail because smooth cloning flattens the natural three-dimensional tooth of the paper substrate. It leaves behind an obvious, blurry patch that clashes with the surrounding print texture.
Photographic paper grain possesses a non-directional, organic distribution across the print surface. Repeating identical clone patterns creates visual stamps that human eyes detect instantly.
Preserving the visual integrity of photographic paper requires respecting the original substrate texture rather than smoothing over physical damage.
Resynthesizer resolves this problem by analyzing the statistical frequency of neighboring pixels. It synthesizes a unique, non-repeating paper texture across the damaged corner void.
Digitization Standards Before Beginning Your GIMP Restoration
High-fidelity digital repair requires capturing maximum textural information from your damaged original print. Poor scans discard the subtle paper fibers that synthesis algorithms need to sample.
Clean the scanner glass thoroughly with a microfiber cloth before placing your vintage photograph down. Stray dust specks near torn edges confuse automated texture sampling routines.
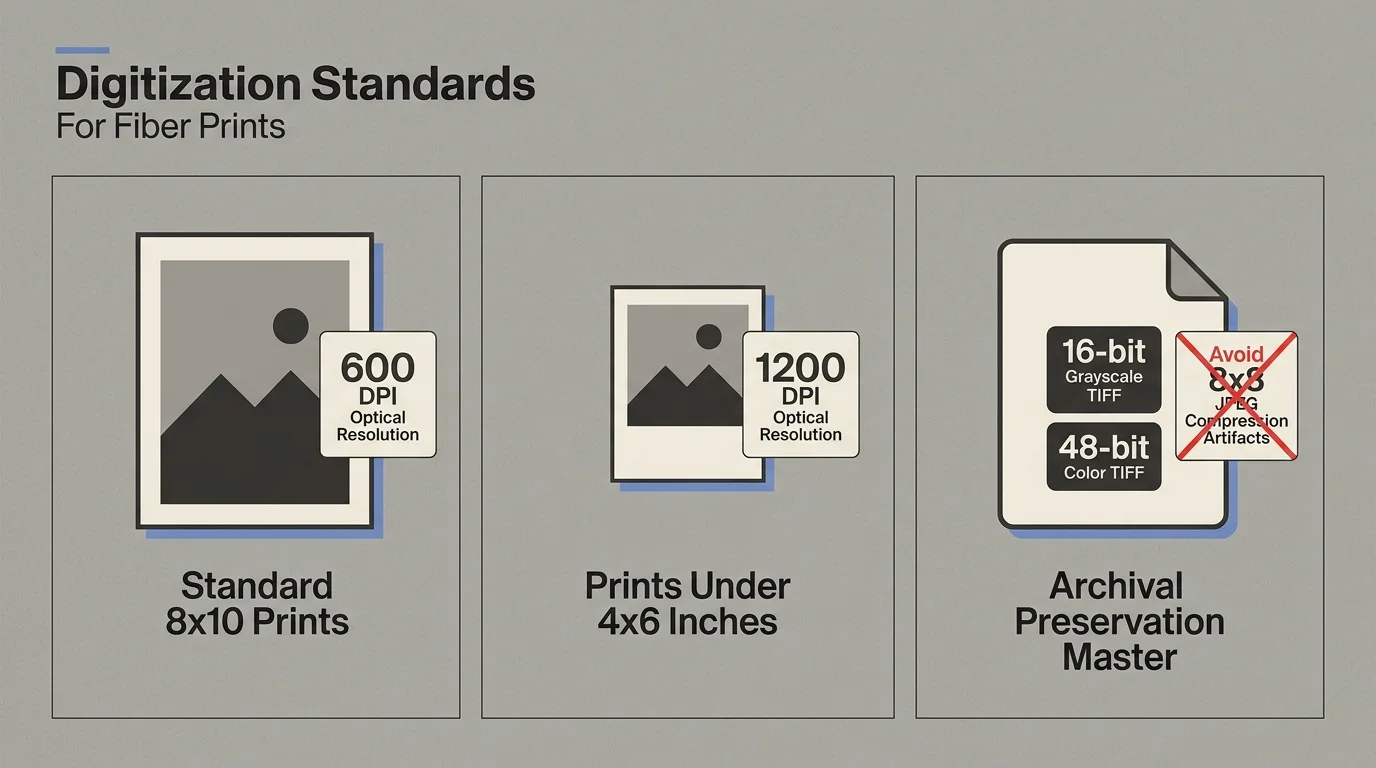
Set your flatbed scanner optical resolution to 600 DPI for standard 8×10 prints. If your photograph is smaller than 4×6 inches, increase optical scanning resolution to 1200 DPI.
Capture your image as an uncompressed 16-bit grayscale or 48-bit color TIFF file. Avoid JPEG compression because its 8×8 pixel block artifacts corrupt delicate paper grain textures.
According to technical specifications from the Image Permanence Institute, uncompressed preservation master files prevent tonal clipping during intensive restoration edits.
Place a sheet of matte black archival backing paper behind the torn corner on the scanner glass. This produces a crisp optical boundary against the pale, frayed paper edge.
This stark boundary contrast allows GIMP’s selection tools to distinguish between actual print emulsion and the missing void.
Installing and Configuring Resynthesizer and Heal Selection
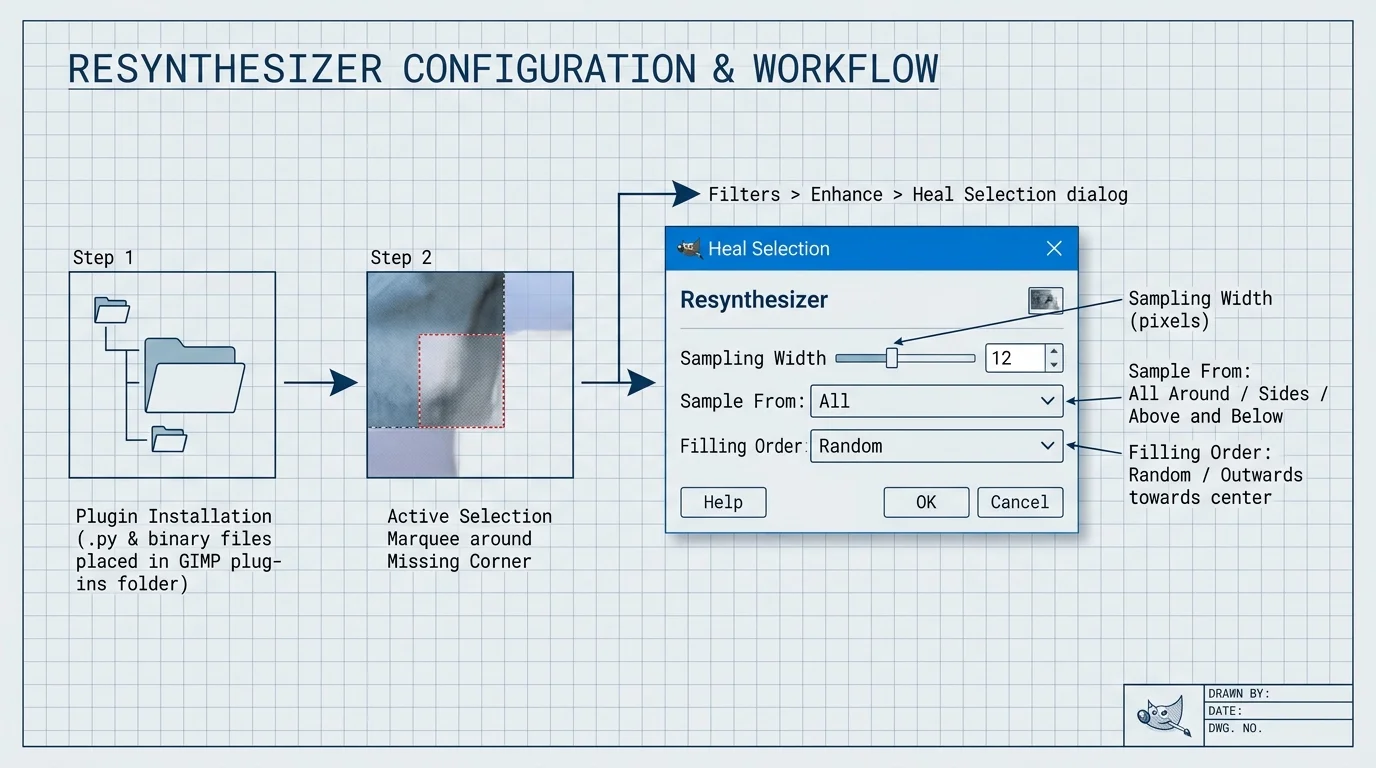
Resynthesizer is a third-party synthesis engine that operates within GIMP through external Python scripts. You need both the compiled engine and the Heal Selection script to proceed.
If you use Linux, install the plugin suite directly from your distribution package manager. Debian and Ubuntu users can install the package named gimp-plugin-registry through their terminal.
Windows users must download the compiled 64-bit Resynthesizer v2.0 archive from verified open-source repositories. The archive contains two executable files alongside several Python script files.
Copy resynthesizer.exe and resynthesizer-gui.exe directly into your local GIMP plug-ins folder. On Windows, locate this folder at AppData\Roaming\GIMP\2.10\plug-ins within your user directory.
Place the accompanying Python file named plugin-heal-selection.py inside that same plug-ins directory. Restart GIMP completely so the application registers the new binaries.
Test the installation by opening an image, making a temporary selection, and opening the Filters menu. Look under the Enhance submenu to verify that Heal Selection appears active.
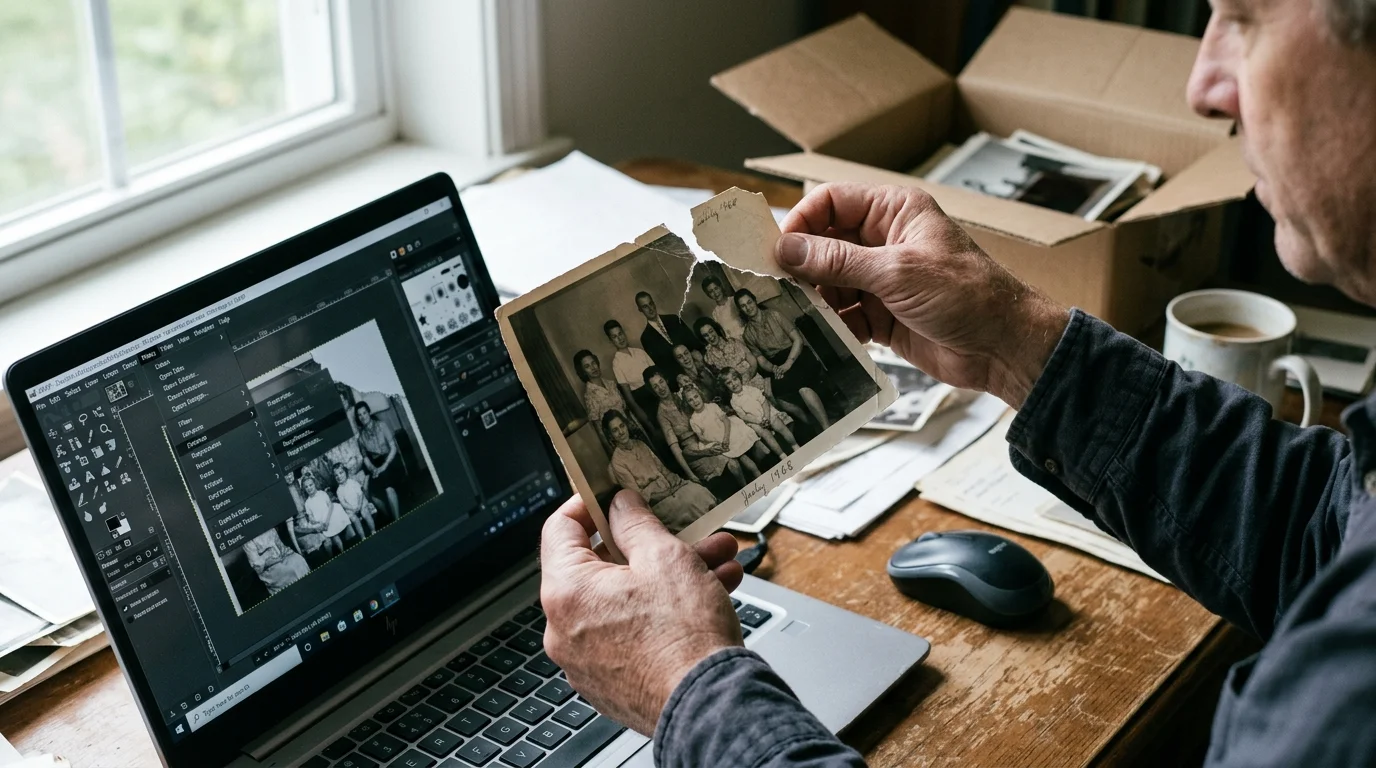
Comparing Digital Restoration Methods for Fiber-Based Prints
Evaluating repair techniques clarifies why automated synthesis delivers superior historical fidelity over manual cloning tools. Each method handles paper texture, edge boundaries, and software overhead differently.
This breakdown compares standard photo repair workflows for reconstructing missing structural paper margins.
| Restoration Method | Grain Structure Retention | Edge Smear Risk | Processing Time (750×450 Void) | Software Cost |
|---|---|---|---|---|
| Standard Clone Stamp | Low (produces noticeable pattern repeats) | High (soft brush edge leaves blur halos) | 12 to 18 minutes | Free (open-source) |
| Healing Brush Tool | Medium (averages luminance across fibers) | High (diffuses fine surface tooth) | 8 to 10 minutes | Free (open-source) |
| GIMP Resynthesizer (Heal Selection) | High (synthesizes non-directional grain) | Minimal (preserves sharp tonal boundaries) | 4 to 6 seconds | Free (open-source) |
| Commercial Generative AI Infill | High (generates plausible synthetic paper) | Moderate (risks hallucinating modern textures) | 15 to 30 seconds | $120 to $360 per year |
While commercial tools require expensive ongoing software plans, GIMP provides professional results at zero cost. Resynthesizer delivers authentic physical paper texture without monthly subscription fees.
This open-source workflow provides an accessible gimp photo restoration tutorial for anyone preserving vintage family memories on a budget.
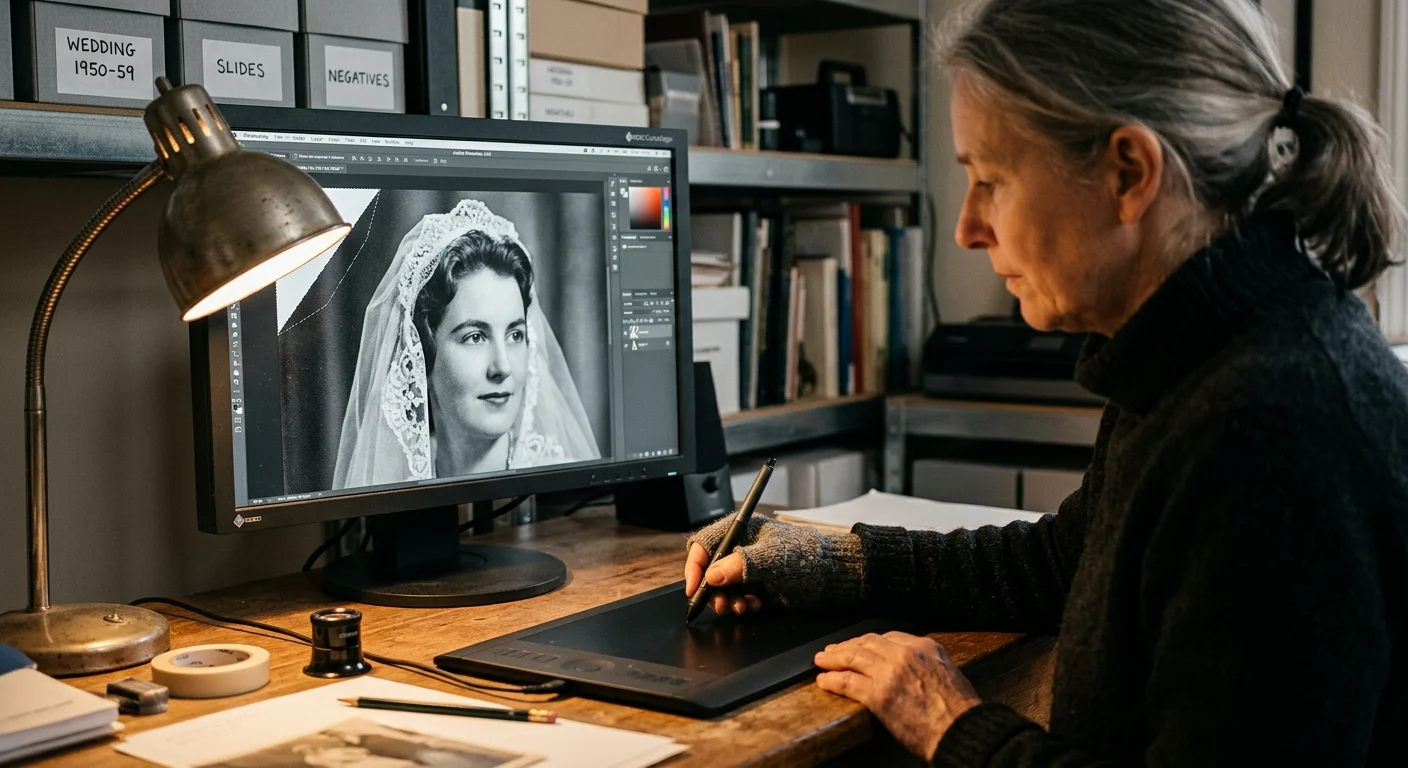
Step-by-Step Corner Reconstruction: Worked 1950s Wedding Portrait
This worked restoration example examines a damaged 8×10-inch silver gelatin wedding portrait from June 1954. The print was scanned at 600 DPI in 16-bit uncompressed TIFF format.
The top-right corner suffered a diagonal tear, leaving a triangular void measuring 1.25 inches wide by 0.75 inches tall. At 600 DPI, this missing area spans a digital canvas void of 750 by 450 pixels.
Open your scanned TIFF inside GIMP. Navigate to the Layers dock, right-click the image layer, and click Add Alpha Channel to support transparency.
Select the Fuzzy Select Tool (Magic Wand) with a threshold setting of 15. Click inside the black backing region to select the empty void.
Alternatively, use the Free Select Tool (Lasso) to draw your boundary manually around the damaged area. Trace precisely along the torn edge while encompassing the entire void.
Expand the active selection slightly into the good print area to sample intact paper fibers. Click Select in the top menu, choose Grow, and enter a value of 3 pixels.
Now soften the digital transition along the boundary. Click Select, choose Feather, and enter a radius of 1.5 pixels to prevent harsh composite seams.
Open the synthesis window by navigating to Filters, selecting Enhance, and clicking Heal Selection. A parameter configuration dialog will open on your screen.
Set the Context sampling width to 65 pixels. This parameter dictates how far outward GIMP reaches into your undamaged photograph to sample paper grain.
Under the Sample from setting, choose All Around if the corner borders an even studio background. Choose Above and Below if horizontal borders run adjacent to the missing corner.
Set the Filling order dropdown menu to Inwards towards center. This instructs the algorithm to reconstruct the void progressively from the outer edges inward.
Click OK to execute the script. The Resynthesizer engine takes roughly 5 seconds to reconstruct the 750 by 450 pixel void on modern hardware.
Press Ctrl+Shift+A to deselect your active marquee and inspect the reconstructed corner at 100% zoom. The synthesized baryta paper grain will align naturally with the original print.
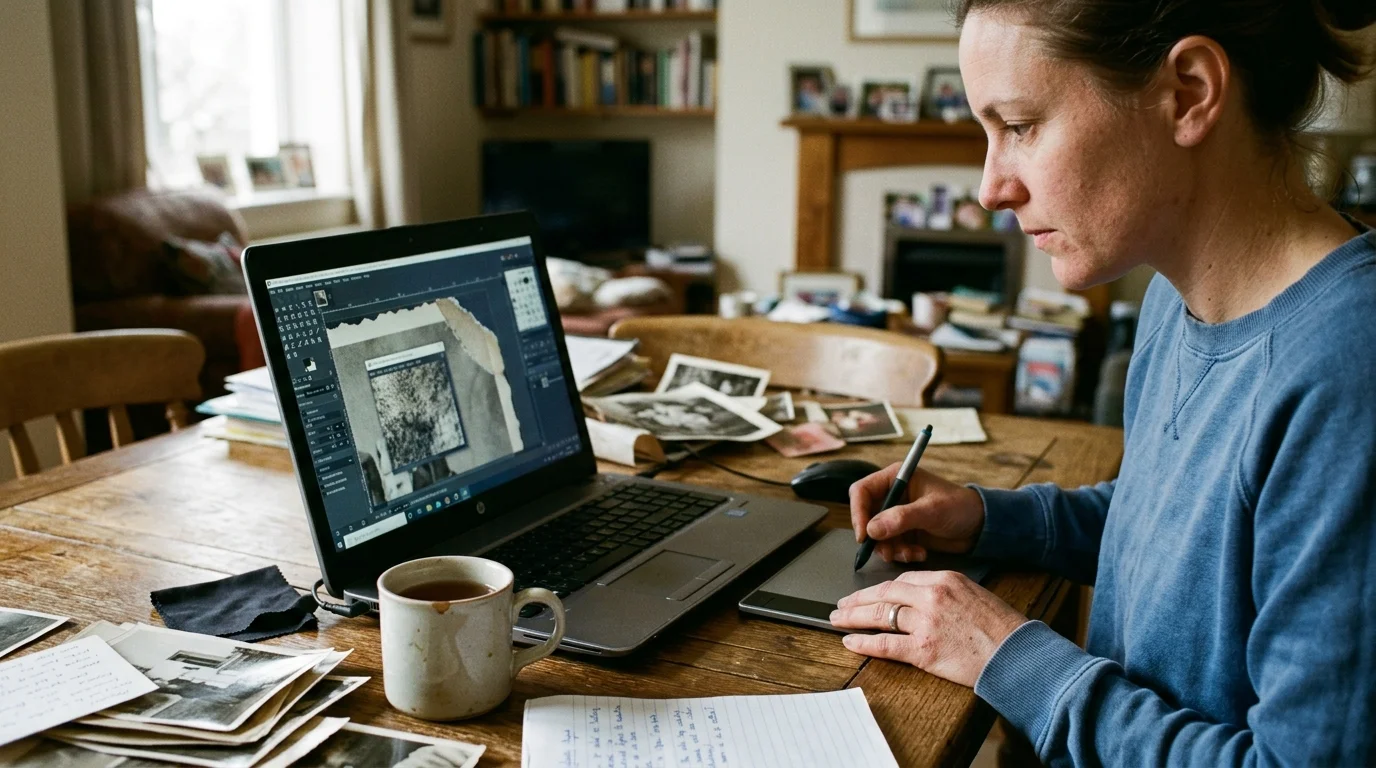
Post-Synthesis Micro-Texture and Density Blending
While Resynthesizer successfully rebuilds the paper matrix, aged photographs rarely exhibit perfectly uniform tones across edges. Ambient light and oxidation produce subtle corner darkening over decades of exposure.
Zoom to 200% magnification to inspect the tonal boundary between original and synthesized areas. Look for slight mismatches in silver density or paper sheen.
Select the Dodge/Burn Tool from your toolbox and set the mode to Burn in the tool options. Set the range to Midtones and reduce exposure opacity to 6%.
Use a soft, round brush sized to 80 pixels. Make gentle, brushing passes along the extreme outer edge of the corner to match natural edge aging.
If the synthesized paper grain looks slightly softer than the original print, create a sharpening layer. Duplicate your active layer by pressing Ctrl+Shift+D.
Apply Filters, Enhance, High Pass with a filter radius set to 1.2 pixels. Change this layer blend mode to Soft Light and drop opacity to 35%.
This focused micro-contrast boost sharpens the synthetic fiber paper tooth to match the authentic vintage emulsion.
Archival Best Practices for Preserving the Physical Original
Digital file repair restores your family portrait visually, but your physical heirloom still requires immediate protective stabilization. Never attempt amateur repairs on the physical paper using household supplies.
Avoid pressure-sensitive tape, office glue, or rubber cement on vintage photographs. Standard commercial adhesives release volatile acids that dissolve baryta layers and cause permanent yellow staining.
According to preservation guidelines from the Library of Congress Preservation directorate, improper physical adhesives cause catastrophic, irreversible chemical damage to fragile historical emulsions.
Physical photo conservation requires fully reversible procedures; never apply non-archival tapes or commercial glues to an original family print.
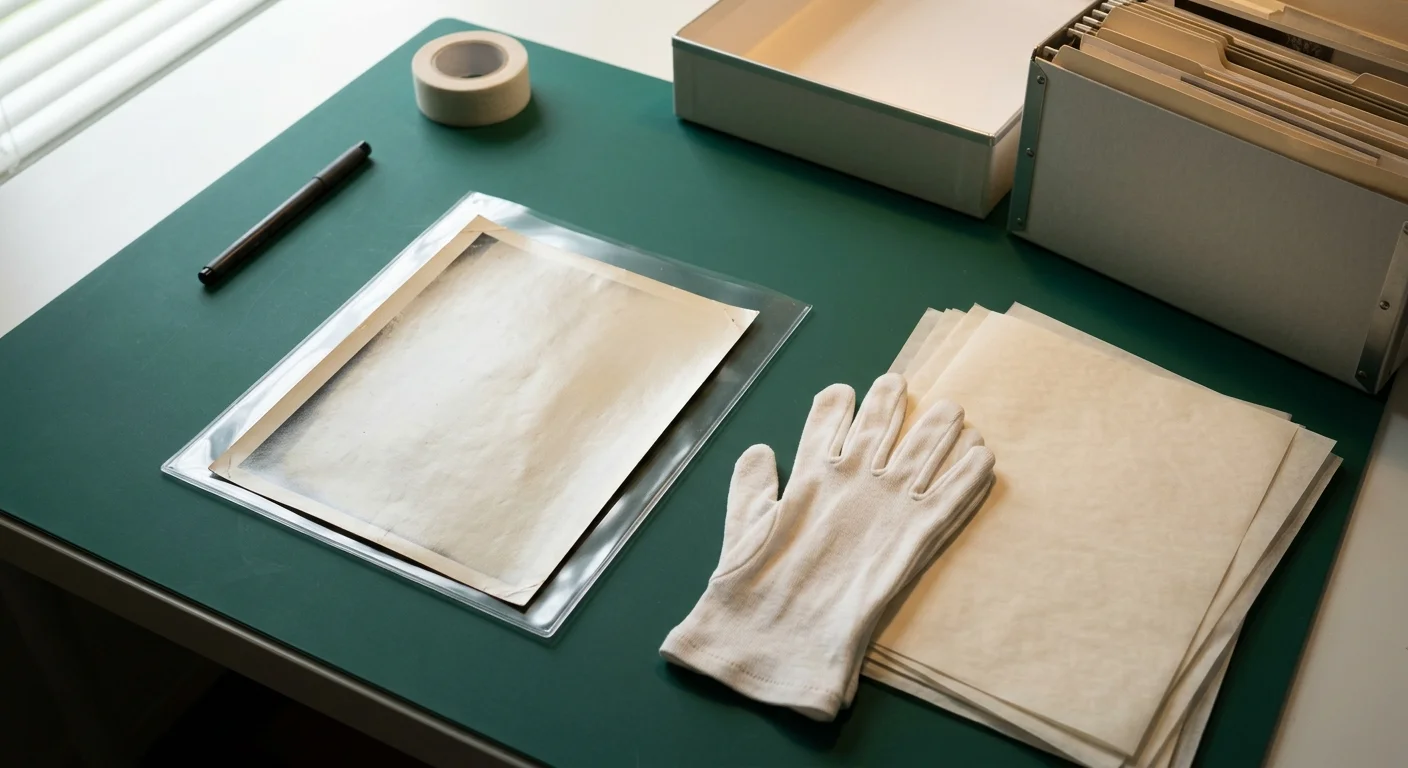
Place the original damaged print inside an inert, archival-grade polyester (Mylar) or polyethylene sleeve. Clear archival plastic holds torn paper fragments securely in place without chemical interaction.
Insert an acid-free, buffered 4-ply cotton rag backing board behind the photograph inside the sleeve. This rigid backing prevents the torn corner from catching or folding further during handling.
Store protected photographs flat inside an archival storage box in a climate-controlled room. Keep ambient humidity near 40% and temperatures below 68 degrees Fahrenheit to deter mold growth.
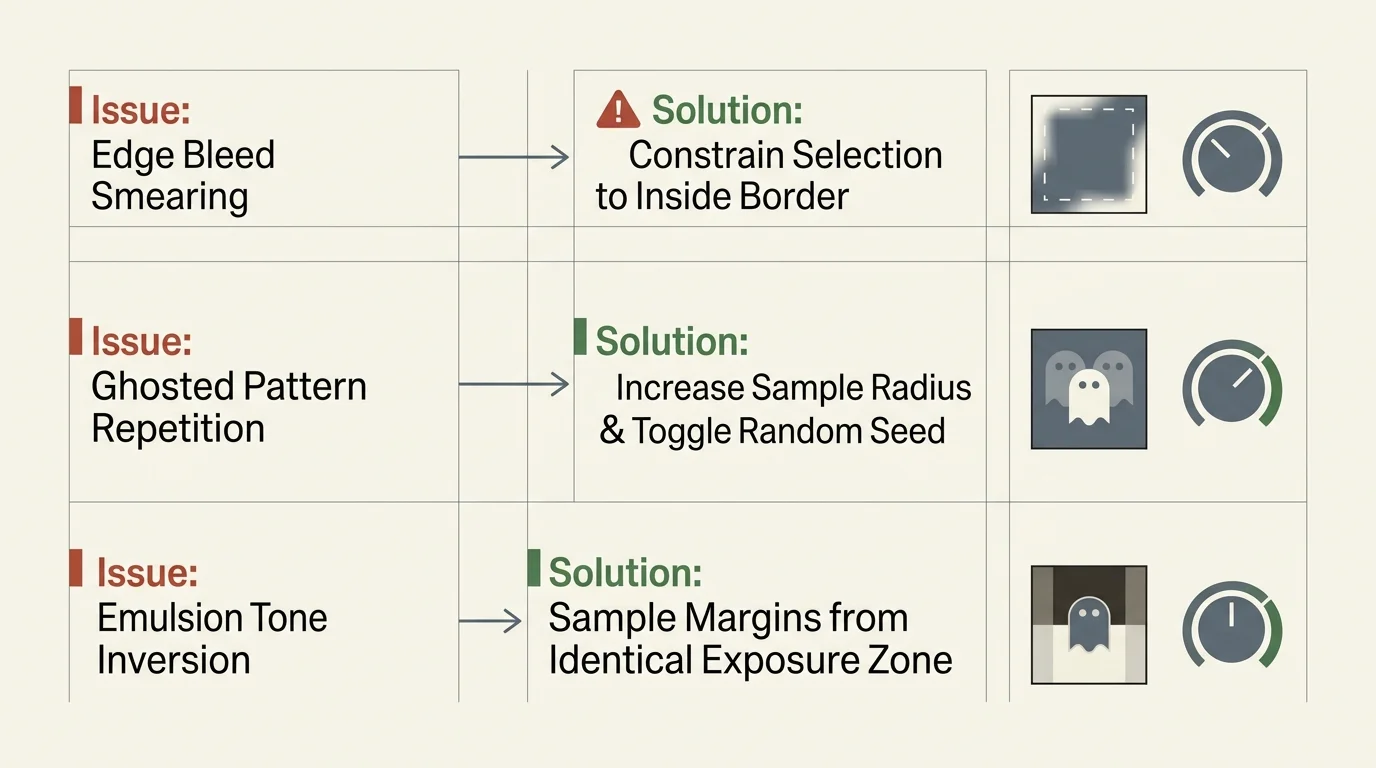
Troubleshooting Common Resynthesizer Repair Artifacts
Even advanced algorithms occasionally misinterpret complex image details when reconstructing missing photo areas. Understanding how to adjust input variables helps you fix torn photo gimp projects quickly.
If unwanted facial details or clothing elements bleed into your synthesized corner, press Ctrl+Z immediately. Your Context sampling width was set too high, drawing pixels from unrelated subjects.
Lower the sampling width parameter from 65 pixels down to 25 pixels. This restricts the algorithm to sampling exclusively from the surrounding paper margin.
Alternatively, make a rough lasso selection around the portrait subject before synthesis. Enter Quick Mask mode (Shift+Q), erase the subject area, and return to normal selection mode.
If your synthesized corner shows smudged or blurry edges, check your initial feather setting. A feather radius larger than 2.5 pixels softens fine paper grain excessively.
Re-run the synthesis with a crisp 1.0-pixel feather radius. This maintains microscopic tooth while ensuring smooth blending along the repair border.
Frequently Asked Questions
Can I fix a torn photo corner using only the standard GIMP clone tool?
While possible, manual clone stamping creates visible repeating patterns and soft smears on fibrous paper prints. Resynthesizer produces far superior photographic results because it generates randomized, natural paper grain algorithmically.
What should I do if the GIMP Heal Selection menu option is grayed out?
Heal Selection remains grayed out when no layer is selected or when your image lacks an active pixel selection. Verify that you have highlighted an active layer and drawn a selection boundary before opening the tool.
How do I handle a missing corner that cuts through a person’s clothing or face?
Synthesize the blank background margins first using Resynthesizer before attempting portrait reconstruction. For complex facial features or clothing details, combine manual path reconstruction with precise, low-opacity brush cloning.
Why is black backing paper recommended when scanning torn vintage photographs?
Black backing paper creates stark optical contrast against pale paper pulp fibers along the torn boundary. This crisp edge helps you trace precise digital selections without accidentally sampling the white scanner lid.
Disclaimer: This article is for informational purposes only. When handling valuable or irreplaceable photographs, consider consulting a professional conservator. Always test preservation methods on non-valuable items first.