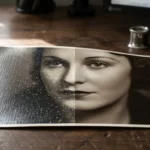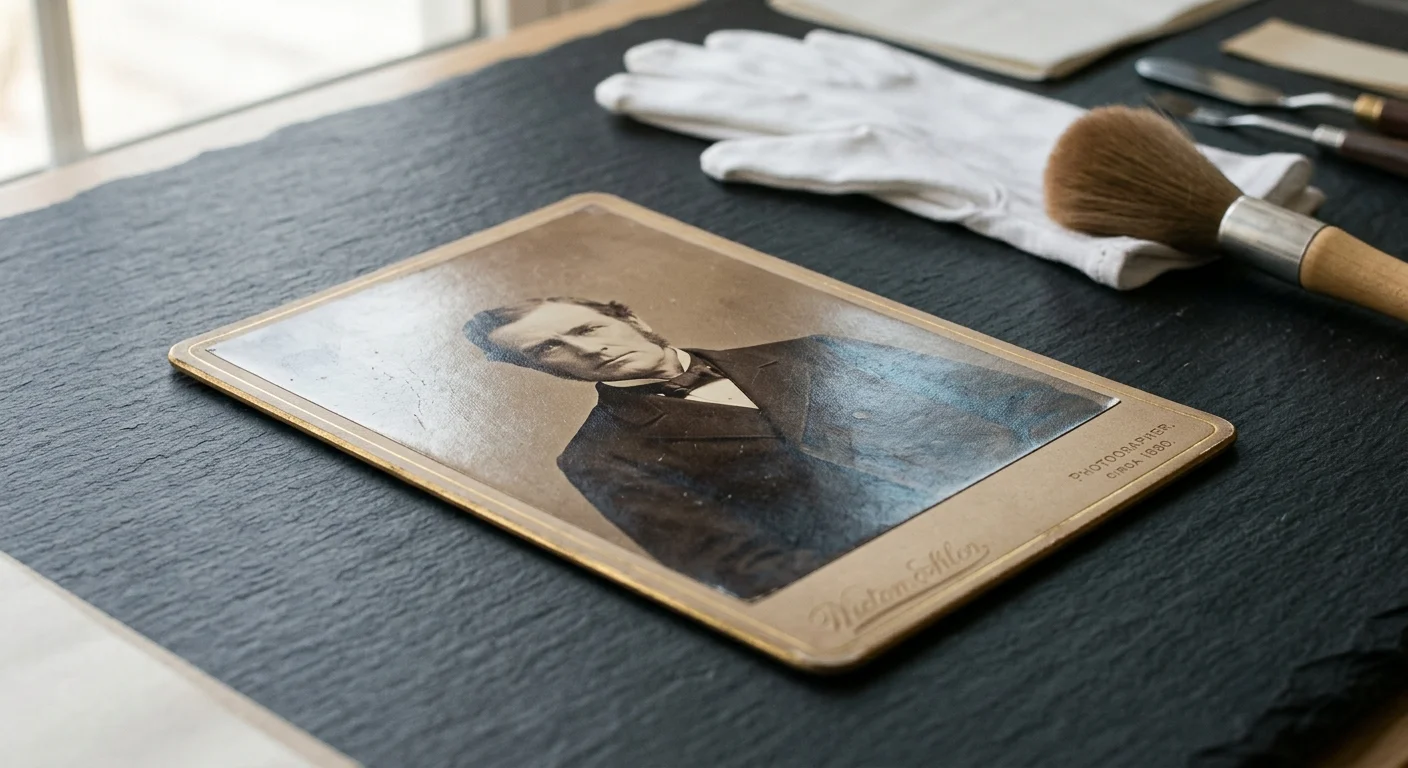
When an antique cabinet card develops a metallic sheen across dark borders, ordinary contrast adjustments worsen the glare. You can neutralize this reflective chrome haze without softening authentic paper grain or painting over delicate shadow details.
Silver mirroring scatters short-wavelength light, isolating the defect almost entirely inside your digital scan’s blue color channel. By isolating clean red and green channels in Adobe Photoshop, you cancel reflective silvering while preserving original optical resolution.
This non-destructive channel isolation workflow rescues obscure facial contours and dark drapery in minutes. You will salvage historical portraits without resorting to artificial cloning or lossy blur filters.
Understanding Silver Mirroring on 19th-Century Cabinet Cards
Cabinet cards represent one of the most prolific photographic formats of the nineteenth century. Photographer F.R. Window introduced the format in England in 1863, and studios across the United States adopted it by 1866.
These photographs reached their peak commercial popularity throughout the 1870s and 1880s before fading around 1900. The rise of snapshot photography and the 1900 Kodak Brownie camera quickly displaced mounted studio portraits.
A typical cabinet card features an albumen or gelatin silver photographic print adhered to cardstock measuring 4 1/4 by 6 1/2 inches. This standardized size allowed families to store portraits neatly in specialized Victorian display albums.
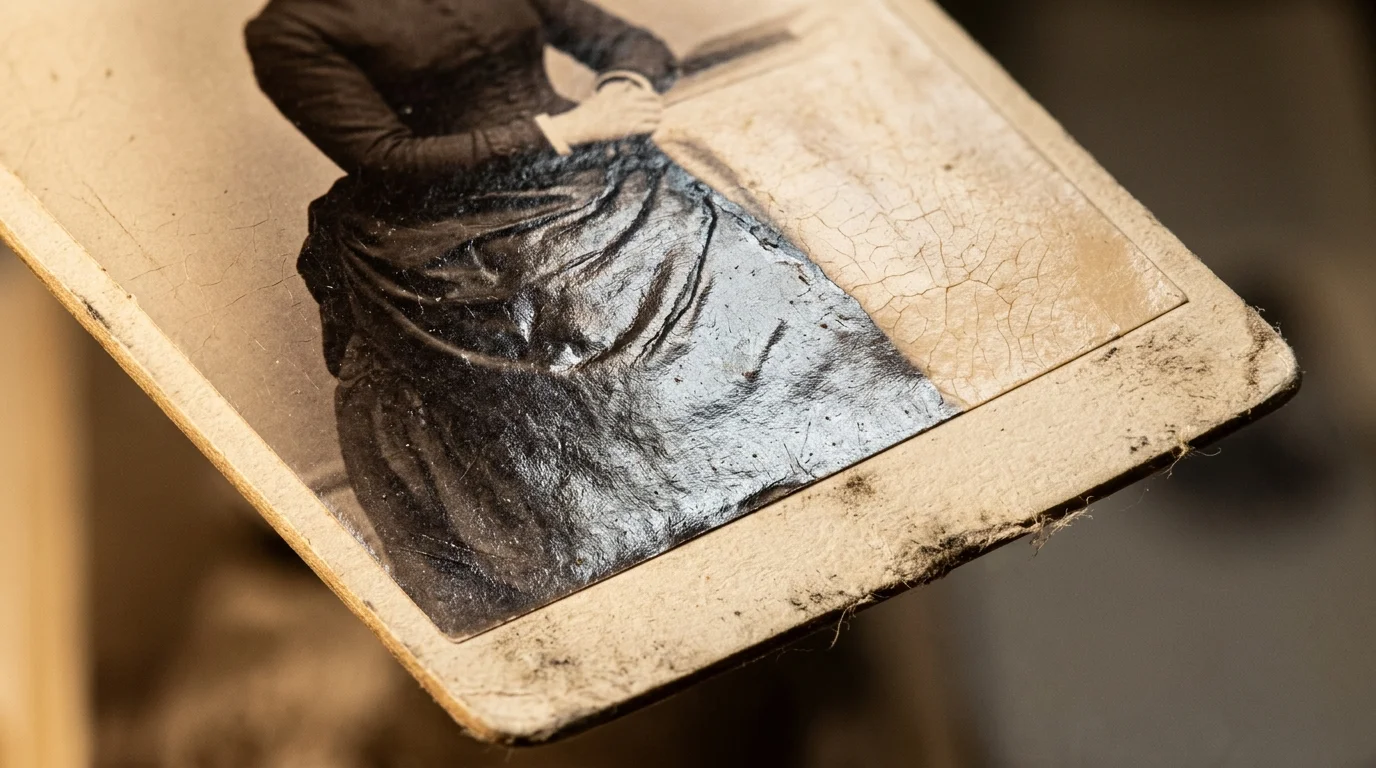
Over decades of storage in suboptimal environments, the silver image material deteriorates through oxidation-reduction cycles. Atmospheric pollutants and humidity oxidize elemental metallic silver particles into mobile silver ions.
These microscopic silver ions migrate upward toward the surface of the gelatin or albumen binder layer. Upon reaching the surface, exposure to ambient light and airborne industrial sulfides reduces them back into metallic silver.
This newly formed metallic layer forms dense, colloidal silver clusters concentrated predominantly in high-density areas. Because shadows and dark clothing contained the highest concentration of original silver salts, they suffer the most severe mirroring.
To the naked eye, these shadowed regions transform into a reflective, shiny chrome crust. The degradation obscures underlying facial shadows and fabric details behind an intractable metallic glare.
Archival guidance from the Library of Congress Preservation Directorate emphasizes that chemical removal of this mirroring irreparably damages the fragile albumen emulsion. Therefore, non-invasive digital correction remains the only ethical restoration path.
The Physics of Rayleigh Scattering in Degraded Silver Emulsions
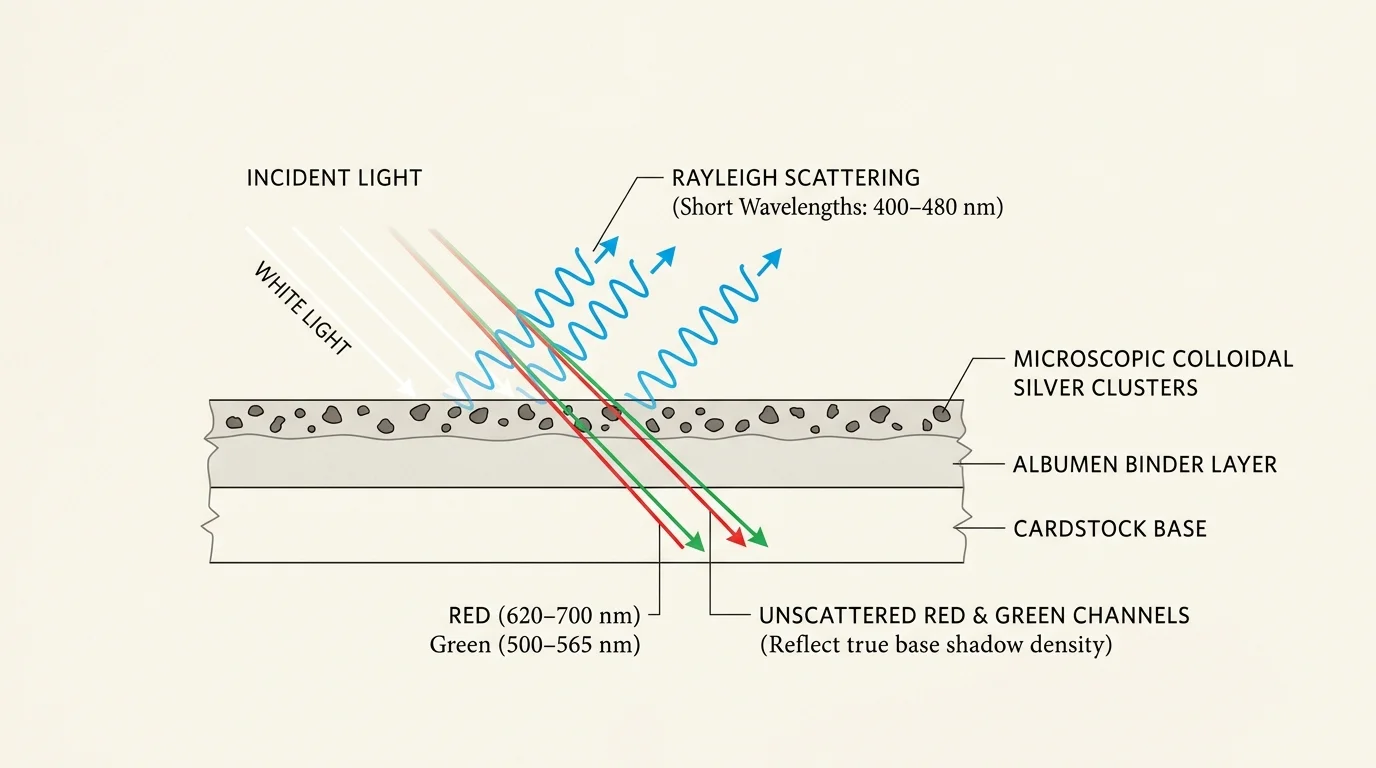
To remove silver mirroring photoshop techniques must address the physical optical characteristics of colloidal metallic particles. The reflective sheen appears silver-blue under direct viewing because of selective light scattering.
Colloidal silver nanoparticles sitting on the print emulsion surface typically measure between 10 and 50 nanometers in diameter. These dimensions are significantly smaller than the wavelengths of visible light, which span 400 to 700 nanometers.
When particles are much smaller than incident light wavelengths, Rayleigh scattering governs their optical behavior. Under Rayleigh scattering principles, shorter light wavelengths scatter at an inverse proportion to the fourth power of the wavelength.
Blue light measures approximately 400 to 480 nanometers, causing it to scatter far more aggressively than longer wavelengths. Red light at 650 nanometers passes directly past the microscopic silver clusters without experiencing substantial deflection.
Rayleigh scattering causes microscopic silver particles to disperse short blue wavelengths into a reflective haze, while longer red and green wavelengths pass through undisturbed to reveal the base image.
When an optical flatbed scanner illuminates the print, the mirrored surface disperses blue illumination directly into the sensor array. This scattering reads digitally as elevated pixel luminance across the blue color channel.
In contrast, green and red spectral bands penetrate the degraded surface and strike the surviving image emulsion below. Consequently, the red and green digital channels record pristine tonal gradations without the chrome haze.
Digitization Standards: Preparing Archival 24-Bit Raw Scans
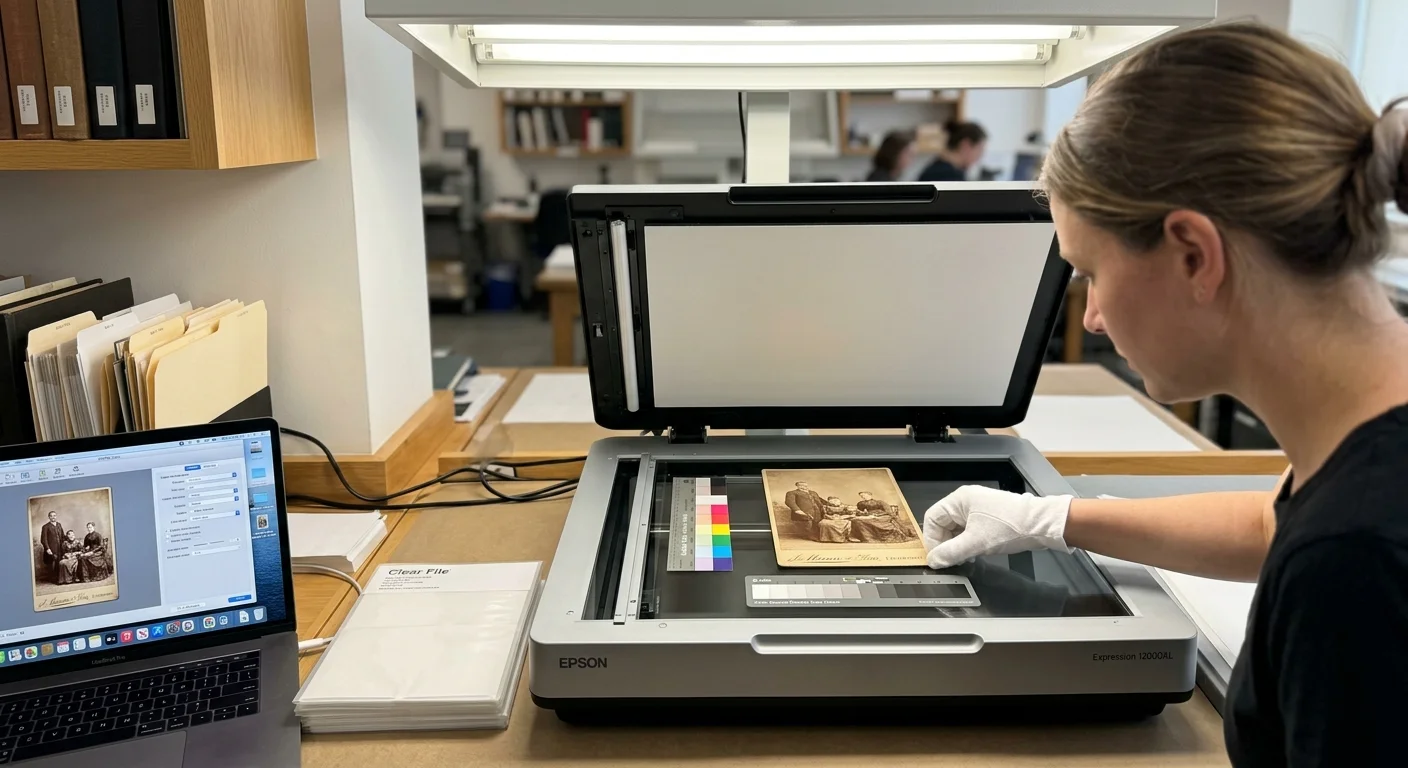
Successful channel isolation requires capturing the entire spectral range of your antique photograph during initial capture. You cannot restore shiny edges old photo prints if your scanner combines color data into a single grayscale stream.
Always digitize reflective prints in an uncompressed 24-bit or 48-bit RGB TIFF format. Grayscale capture discards discrete color channels during digitization, permanently baking the blue-channel mirroring glare into your image values.
Follow the Federal Agencies Digital Guidelines Initiative (FADGI) benchmarks for historical photographic prints. FADGI specifies a minimum spatial resolution of 300 to 400 ppi for 3-Star digitization and 600 ppi for 4-Star archival capture.
Scanning a standard 4 1/4 by 6 1/2 inch card at 600 ppi generates an image approximately 2,550 by 3,900 pixels. This file size provides roughly 9.9 megapixels of raw photographic data for precision editing.
Disable all automated sharpening, automated exposure balancing, and proprietary color enhancement tools in your scanner utility. Third-party software like VueScan or SilverFast should output raw, linear scans without clipping specular highlights.
To process the resulting high-resolution scans, you will need professional image editing software capable of advanced color matrix arithmetic. Adobe Photoshop is available through the Creative Cloud Photography Plan for $9.99 to $19.99 monthly.
Alternatively, Adobe offers the Photoshop Single App subscription for $22.99 monthly on an annual contract, or $34.49 billed month-to-month. Both subscription tiers include full access to the adjustment layers required for channel isolation.
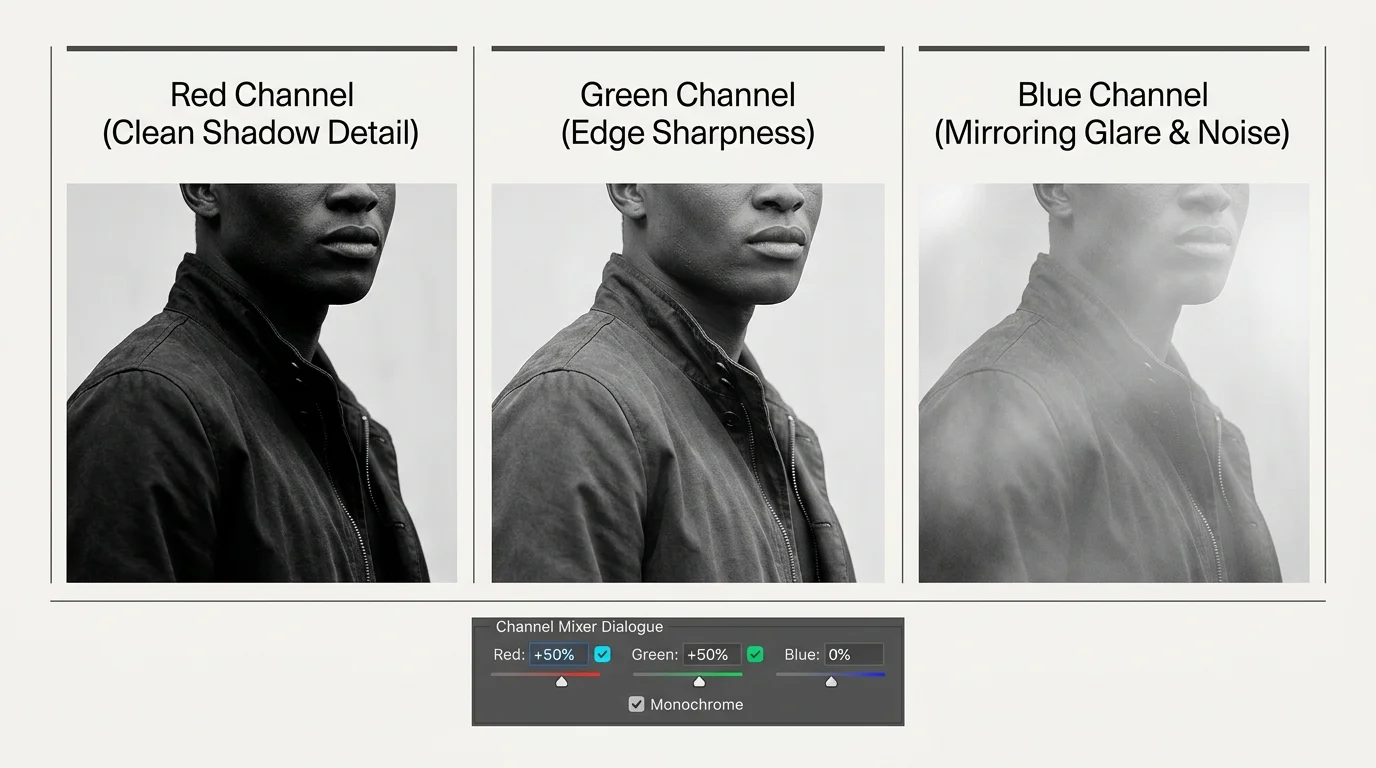
Step-by-Step RGB Channel Isolation via Channel Mixer
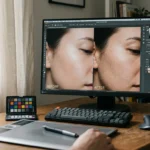
Begin by launching Photoshop and opening your uncompressed 24-bit RGB TIFF cabinet card scan. Navigate to the Layers panel and duplicate your background scan layer as an archival safety precaution.
Open the Channels panel by selecting Window and clicking Channels. Click through the Red, Green, and Blue channels individually to evaluate the structural integrity of each color band.
You will immediately notice that the Red channel provides high contrast and dark, punchy shadows. The Green channel maintains exceptional sharpness across fine facial details, hair follicles, and delicate fabric weave patterns.
Click the Blue channel to observe the source of the distortion. The mirrored shadow borders will appear milky, washed out, and flat, displaying a complete loss of local shadow separation.
Return to the Layers panel and select Layer, followed by New Adjustment Layer and Channel Mixer. In the Channel Mixer dialog box, immediately check the Monochrome checkbox located near the bottom of the interface.
Checking Monochrome converts your color composite into a calibrated grayscale image based on custom mathematical percentages of each channel. The default setting assigns +40% Red, +40% Green, and +20% Blue to the monochrome output.
Drag the Blue source channel slider completely down to 0% to eliminate the scattered blue-wavelength fog. Set your Green channel slider to +50% and your Red channel slider to +50%.
Ensure the sum of your active channel percentages equals exactly 100% to prevent artificial clipping or underexposure. If the values total more than 100%, highlights will blow out; under 100% darkens midtones unnaturally.
For portraits dominated by warm albumen tones, adjust the balance to 60% Green and 40% Red. The higher green proportion preserves delicate skin texture while maintaining rich, bronze-free dark tones.
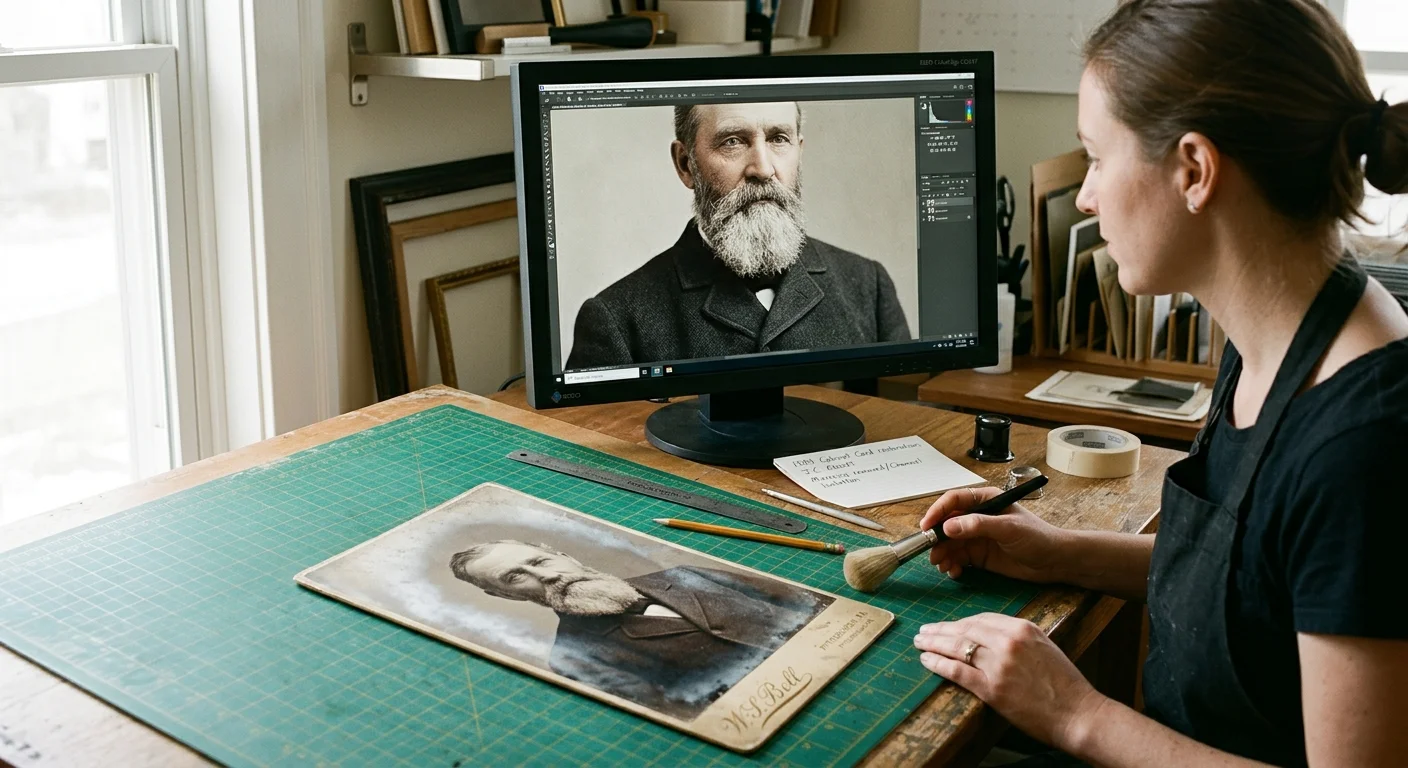
Worked Example: Restoring an 1884 Cabinet Card Portrait
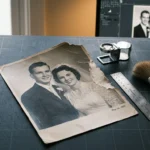
Consider a real-world antique photo silvering fix involving an 1884 albumen portrait of a gentleman in formal attire. The physical mount measures 4.25 by 6.50 inches, displaying severe edge silvering across the subject’s dark wool coat.
The original scan at 600 ppi produces a 2,550 by 3,900 pixel canvas. When sampling the mirrored shadow areas using Photoshop’s Eyedropper tool set to a 5×5 average, the 8-bit RGB readout shows R: 42, G: 58, and B: 118.
Under normal conditions, a deep photographic shadow on an albumen print reads below 40 across all three channels. The elevated blue value of 118 reveals the severe specular scatter caused by the surface colloidal silver.
In the Channel Mixer adjustment layer, you check Monochrome and calibrate the sliders. You set the Red channel slider to +45%, the Green slider to +55%, and reduce the Blue slider to 0%.
Photoshop computes the new pixel luminance value using the mathematical formula: Luminance = (R * 0.45) + (G * 0.55) + (B * 0.00). Substituting the raw scan values produces: (42 * 0.45) + (58 * 0.55) + (118 * 0).
Carrying out the multiplication yields 18.9 from the Red channel and 31.9 from the Green channel. Adding these values together produces a final reconstructed tonal value of 50.8, which rounds to an 8-bit value of 51.
In less than five minutes, the foggy shadow reading of 118 drops back down to a natural tone of 51. The coat displays visible seam threads and lapel contours without a single manual brushstroke.

Channel Blending vs. Destructive Restoration Techniques
Photographic restorers often debate between channel extraction, manual retouching, tonal curve adjustments, and chemical treatments. Each intervention carries distinct implications for archival fidelity, processing speed, and image sharpness.
The following table outlines the measurable attributes of each restoration approach when addressing severe colloidal silver degradation.
| Restoration Method | Grain Sharpness Retention | Average Processing Time | Physical Object Risk | Workflow Reversibility |
|---|---|---|---|---|
| RGB Channel Mixer Isolation | 100% (Native Sensor Resolution) | 3 to 5 minutes | Zero Risk (Digital Scan) | 100% Reversible Layer |
| Manual Clone & Burn Tools | Loss of genuine paper grain | 45 to 90 minutes | Zero Risk (Digital Scan) | Reversible via History/Layers |
| Global Curves & Levels | Crushed shadow detail | 5 to 10 minutes | Zero Risk (Digital Scan) | 100% Reversible Layer |
| Surface Chemical Solvent Cleaning | Unpredictable emulsion loss | 2 to 4 hours | High Risk (Irreversible Loss) | 0% (Permanently Altered) |
Manual retouching using clone stamps or burning tools destroys original grain structures and introduces unnatural digital smoothness. Hand-drawn shadow fills rarely match the chaotic micro-texture of 19th-century collodion or albumen emulsions.
Similarly, adjusting global Curves or Levels layers forces you to crush overall image shadows to hide the silvery haze. This approach obliterates midtone subtleties across unaffected areas of the portrait.
Professional conservation guidelines from the Getty Conservation Institute caution against applying liquid solvents or erasers directly to mirrored historical emulsions. Chemical swab treatments strip historical gelatin binders and permanently diminish monetary and historical value.
Digital channel isolation provides a completely non-destructive alternative that maintains the full dynamic range of the scan. You preserve every grain cluster captured by your scanner optics while eliminating optical surface artifacts.
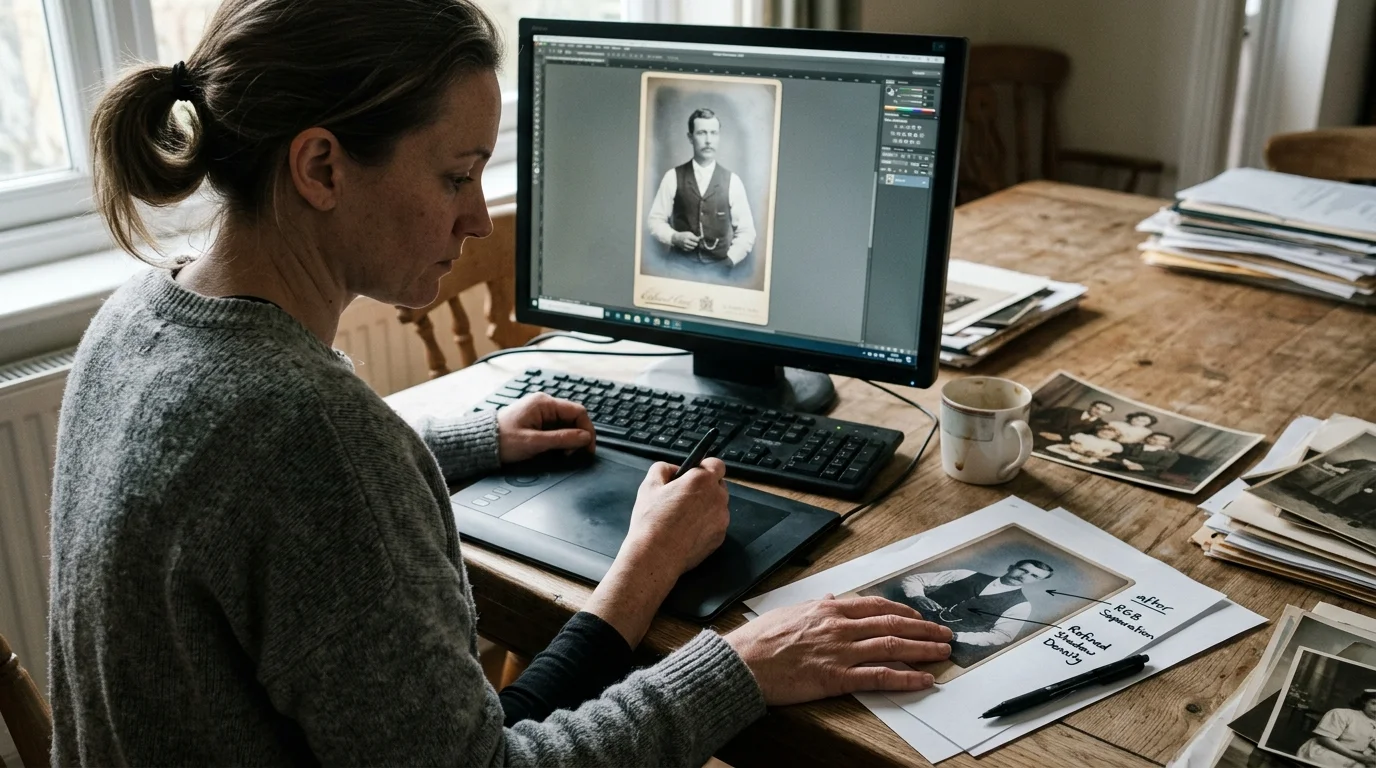
Refining Shadow Density and Restoring Edge Micro-Contrast
While isolating the red and green channels neutralizes the chrome sheen, edge areas occasionally require targeted contrast rebalancing. Nineteenth-century studio lenses often produced mild optical vignetting, compounding density shifts along card perimeters.
Add a Curves adjustment layer directly above your Channel Mixer layer in Photoshop. Clip the Curves layer to the Channel Mixer by pressing Ctrl+Alt+G on Windows or Command+Option+G on Mac.
Clipping restricts your contrast modifications exclusively to the monochrome composite without affecting lower base files. Inspect your histogram to ensure the shadow cutoff does not clip below an 8-bit value of 5.
Pull the lower third of the curve downward slightly to deepen residual milky areas in the darkest clothing folds. Anchor the midtone point at input 128 and output 128 to protect delicate skin highlights.
If the silver mirroring occurs only along extreme borders, you can limit the correction using a layer mask. Invert the Channel Mixer mask to black by selecting the mask thumbnail and pressing Ctrl+I or Command+I.
Select a soft round brush with 0% hardness, an opacity of 20%, and flow set to 100%. Paint with white over the mirrored borders to reveal the channel-isolated monochrome correction only where needed.
This selective blending preserves original, authentic albumen sepia warmth in undamaged central facial areas. The mirrored peripheral shadows transition seamlessly into clean, rich photographic blacks without abrupt tone lines.
Never apply surface blur, smart blur, or high-radius unsharp masking filters across restored shadow boundaries. These artificial smoothing algorithms eliminate authentic paper fibers and reduce the monetary and historical value of the digital archive.
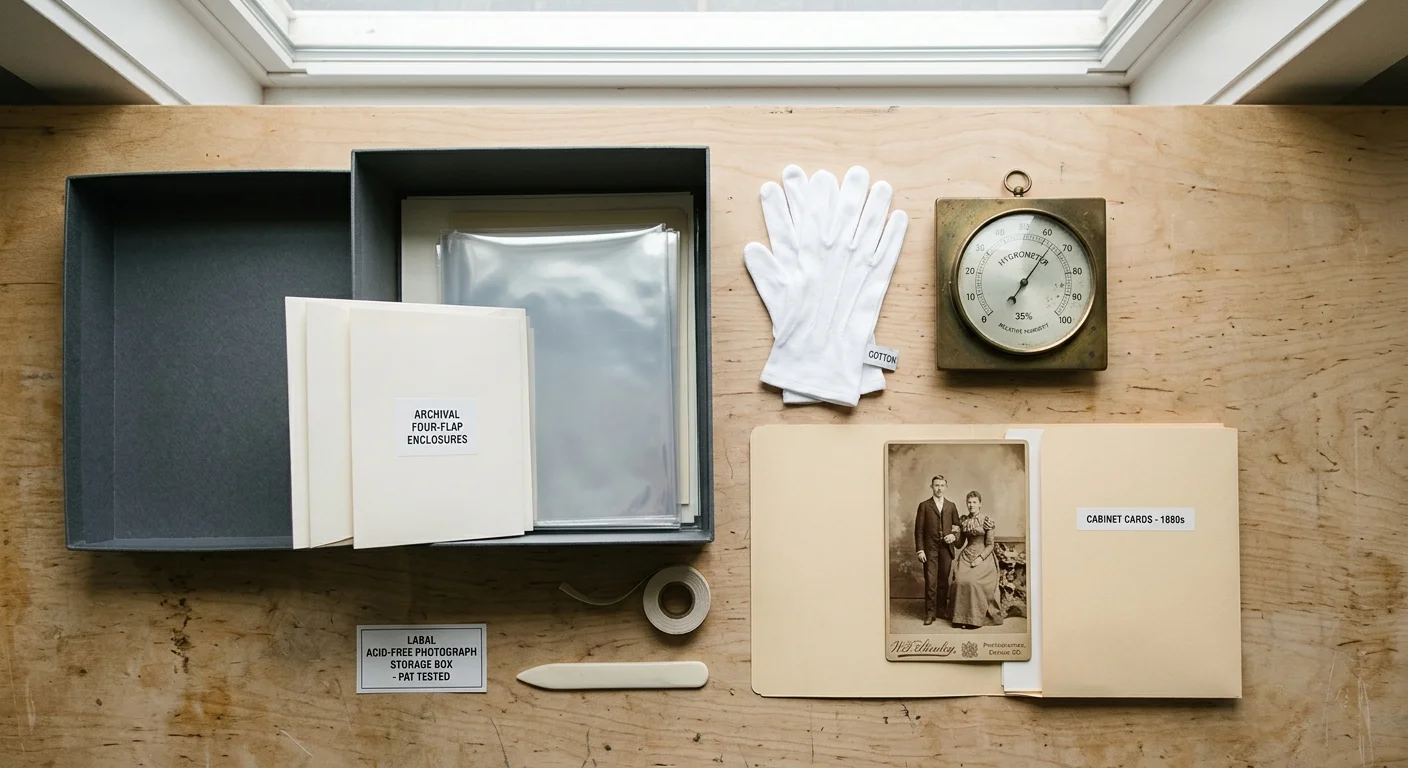
Physical Preservation Strategies for Mirror-Prone Prints
After stabilizing your cabinet card digitally, you must address the environmental triggers driving ongoing physical deterioration. Preventing further silver migration protects your original nineteenth-century artifact for future generations.
Oxidation-reduction cycles accelerate rapidly in warm, humid domestic storage spaces such as attics, garages, or damp basements. Ideal archival storage requires maintaining ambient temperatures below 68°F (20°C) and relative humidity between 30% and 40%.
Avoid storing cabinet cards in standard commercial photo albums containing polyvinyl chloride (PVC) plastic or acidic adhesive magnetic pages. PVC degrades over time, outgassing hydrochloric acid that rapidly attacks delicate silver image grains.
The National Archives Preservation guidelines mandate storing historical photographic prints inside acid-free, lignin-free enclosures. Utilize unbuffered 100% cotton rag paper envelopes or inert polyester sleeves made of Melinex 516.
Ensure all storage materials pass the rigorous ISO 18916 Photographic Activity Test (PAT). The PAT standard verifies that enclosures will not cause chemical staining or accelerate colloidal silver mirroring over extended storage lifespans.
Store sleeved cabinet cards vertically in rigid archival museum boxes rather than stacking them horizontally under heavy pressure. Vertical alignment minimizes mechanical friction against fragile albumen surfaces and prevents physical emulsion abrasion.
Proper archival storage in inert Melinex sleeves held below 68°F arrests chemical silver migration and ensures your physical photographs survive alongside their digital restorations.
Frequently Asked Questions
Can I physically wipe away silver mirroring using chemical cleaners?
Never apply chemical solvents, alcohol, or erasers to mirrored photographs. These abrasive treatments permanently dissolve the albumen or gelatin binder, stripping authentic image silver and permanently ruining your original print.
Why does the blue color channel record the most severe mirroring damage?
Colloidal silver nanoparticles measure 10 to 50 nanometers, triggering Rayleigh scattering against incoming light. Shorter blue wavelengths scatter aggressively into the digital scanner sensor, while longer red and green wavelengths penetrate cleanly through the haze.
Will channel isolation work on twentieth-century gelatin silver fiber prints?
Yes, channel isolation works on any developed photographic print exhibiting silver mirroring. Because colloidal silver physics remain constant across print emulsions, isolating red and green channels reliably neutralizes blue-wavelength specular haze regardless of print era.
Why should I avoid scanning antique photos in standard grayscale mode?
Grayscale mode permanently blends all three optical color channels into a single brightness value during initial capture. This merges the foggy blue channel with clean channels, preventing you from isolating individual spectral bands later.
Disclaimer: This article is for informational purposes only; when handling irreplaceable historical photographs, consult a professional conservator. Always test digital restoration workflows on duplicate image files before archiving your master scans.