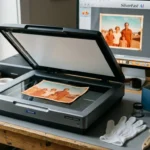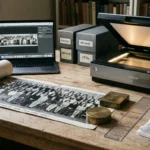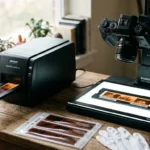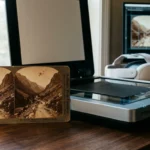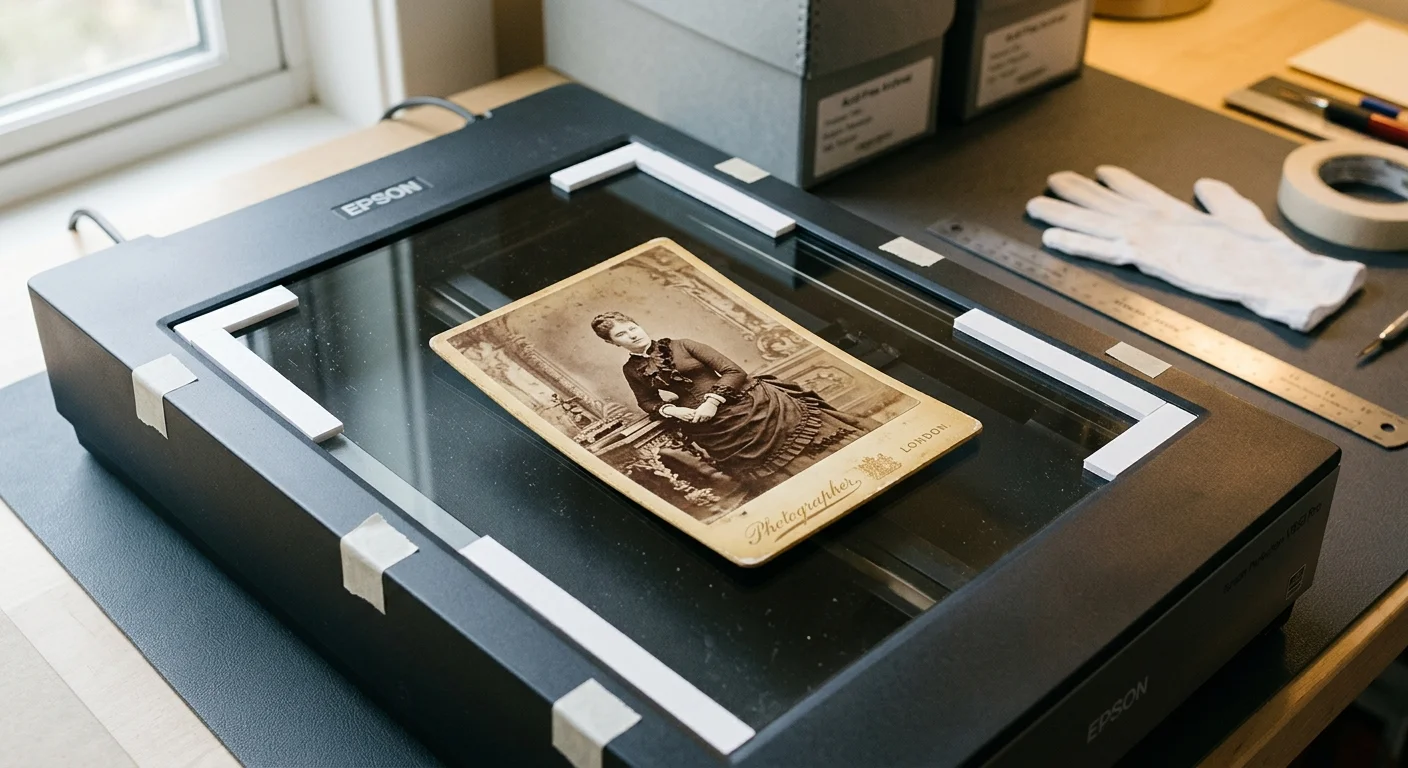
You can digitize curved 1880s cabinet cards without risking cardstock fractures from a heavy scanner lid. Custom perimeter shims elevate the lid precisely to maintain optical focus while eliminating edge shadow halos.
Forcing warped historical mounts flat against flatbed glass breaks desiccated albumen emulsions and snaps brittle backing boards. Standard advice tells you to weigh down the lid or fix uneven shadows digitally later.
Custom foam shims calibrate glass clearance to zero-load tolerances. This mechanical adjustment prevents physical destruction while neutralizing focal distortion across curved cardboard prints.
The Mechanics of Warped 19th-Century Mounts
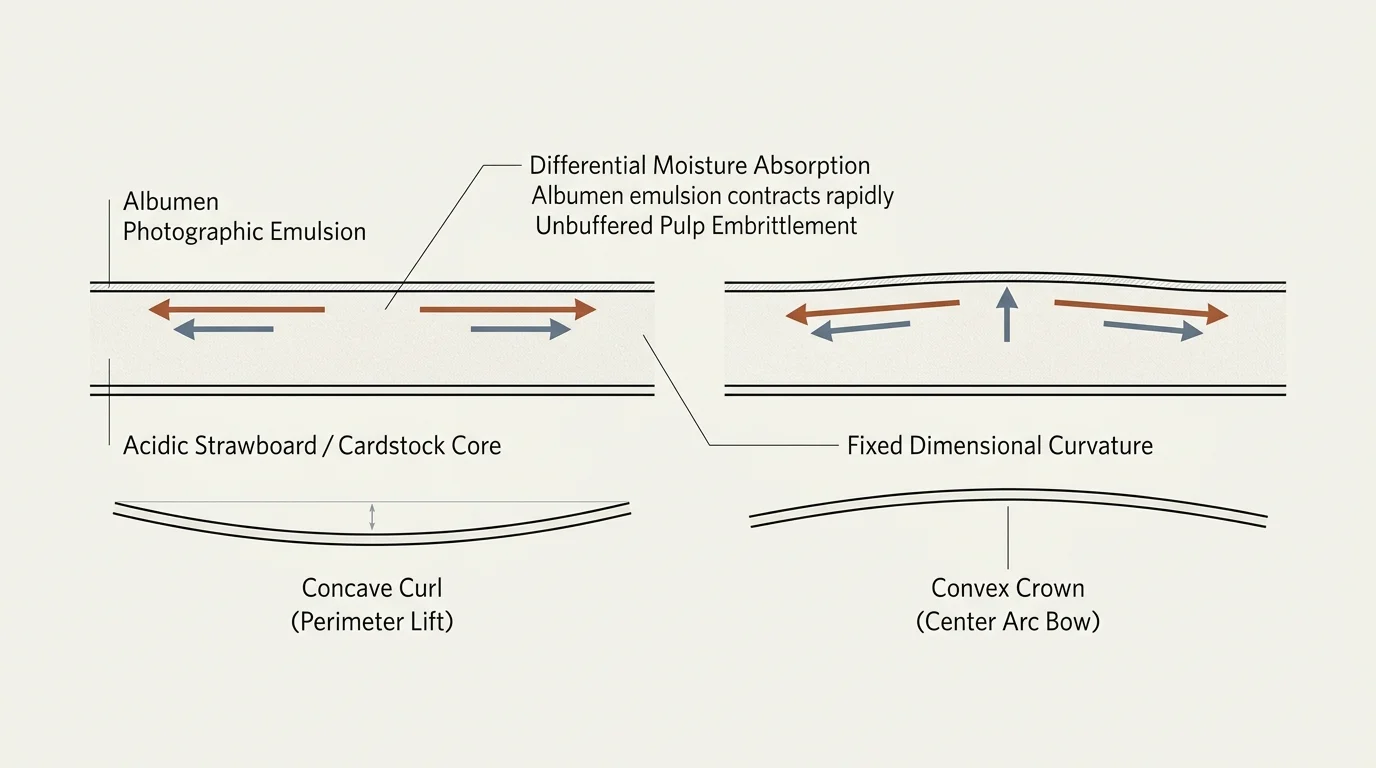
Cabinet cards produced between 1866 and 1900 feature a thin albumen photograph mounted onto layered, dense paperboard.
The print layer and the cardboard backing absorb and release atmospheric moisture at vastly different rates.
This uneven moisture response creates mechanical tension across the layers, forcing the mount to bow outward or curl inward.
Conservators classify these distortions as concave curlings, where edges lift, or convex crowns, where the center bows upward.
According to preservation research from the Image Permanence Institute, historical cardboard suffers rapid embrittlement from atmospheric acid decay.
The unbuffered core fibers dry out over decades, losing mechanical elasticity and becoming prone to sudden structural fracture.
When you scan warped cardboard photos, you must treat this curvature as a fixed physical dimension rather than an error.
Why Scanner Lid Pressure Destroys Brittle Cardstock
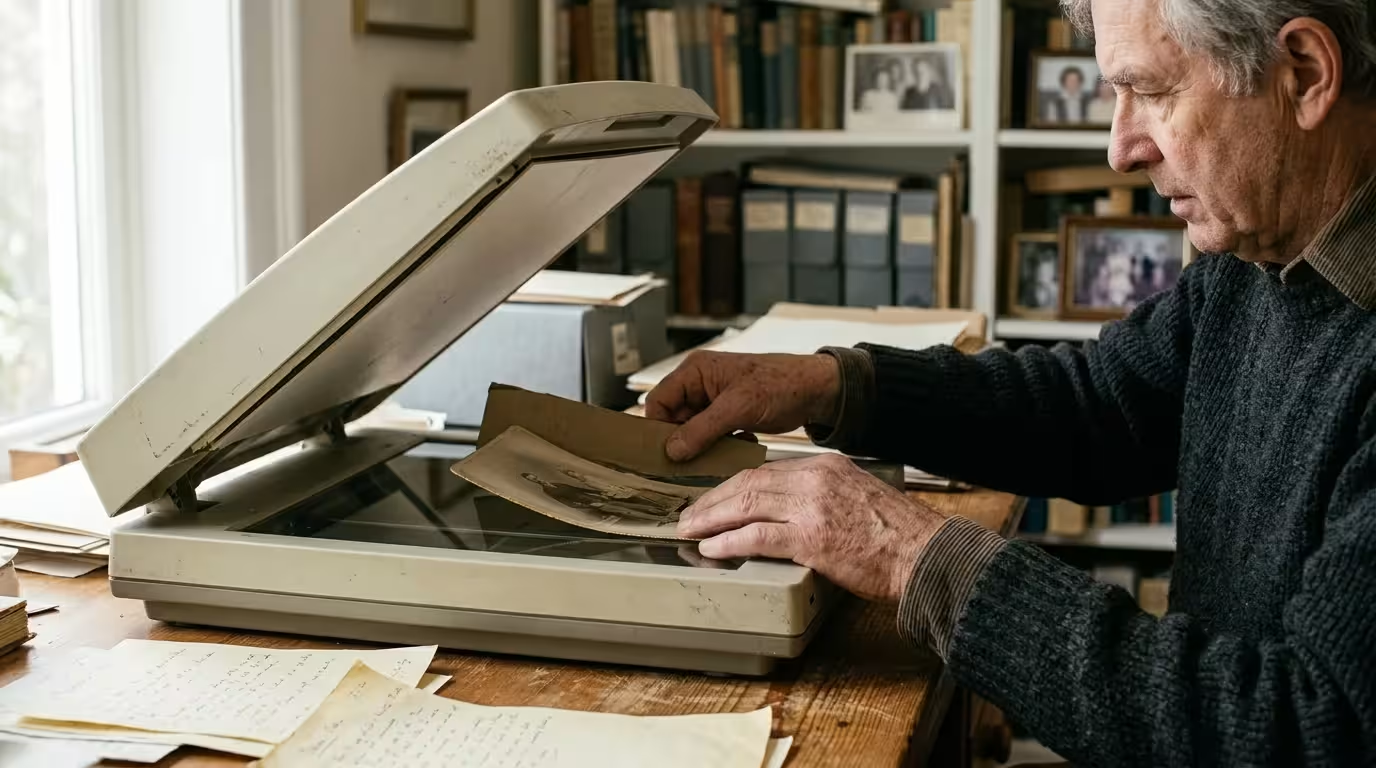
Standard flatbed scanners rely on spring-hinged lids fitted with heavy foam padding to compress office paper flat against the glass.
This downward clamping mechanism exerts excessive focal pressure when closed over rigid, non-planar historical card mounts.
Historical mounts must never be flattened mechanically against glass; brittle albumen emulsions crack under minuscule bending loads.
Compressing a convex card directs all scanner lid weight onto the delicate central crest of the albumen image.
That localized stress cracks the dried egg-white binder, causing irreversible flaking, fine crazing, and lost photographic emulsion.
Concave cards fare no better under scanner lid tension; the unsupported perimeter edges risk severe snapping and creasing.
Historic strawboard and wood-pulp card cores fail abruptly without warning under minimal bending deflection.
You must eliminate direct lid contact entirely to preserve the physical integrity of 19th-century mounts during digitization.
Optical Geometry: How Warping Creates Shadow Halos
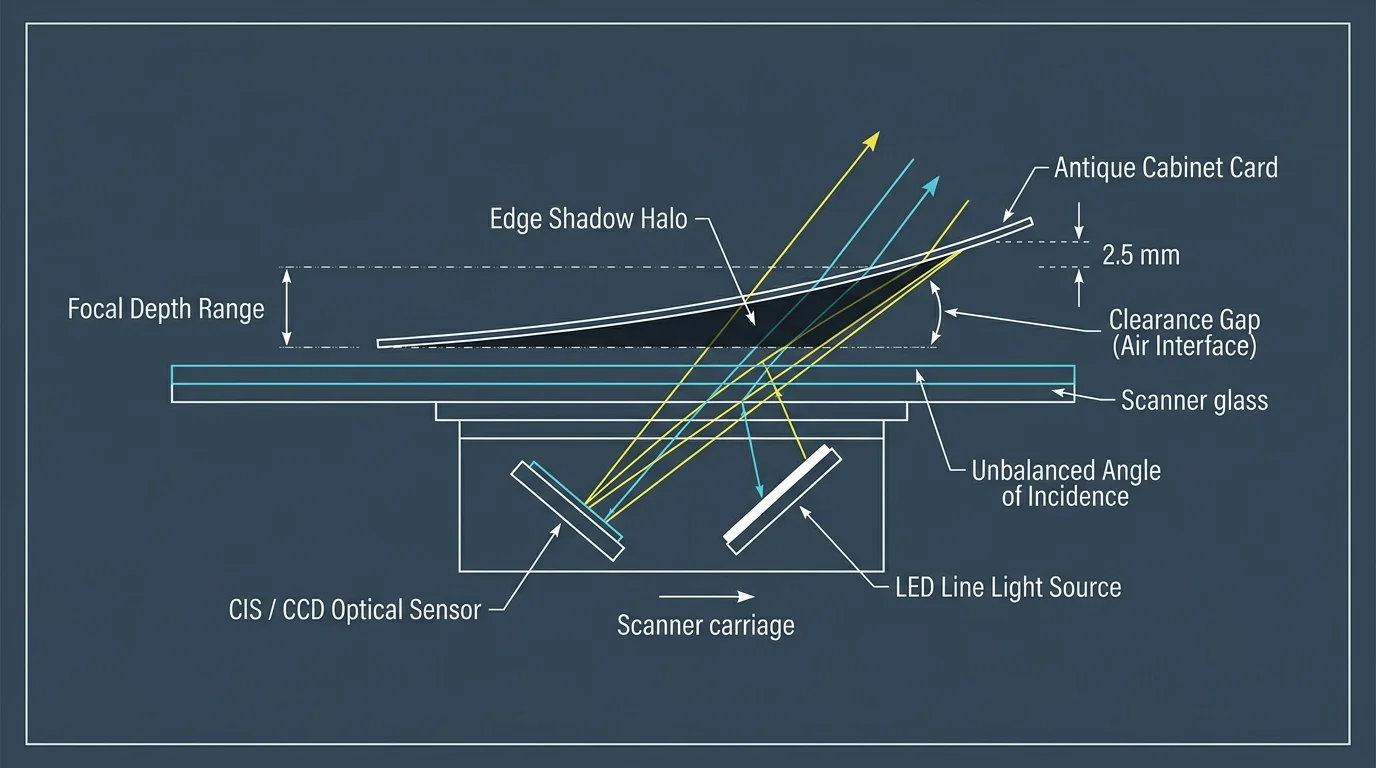
Flatbed scanners illuminate documents using a moving optical light bar that sweeps beneath the glass platen.
When a curved card lifts away from the glass, it creates an open space between the mount and the platen.
The scanner’s lateral light path strikes this raised boundary at a sharp angle, casting an intense, dark shadow beneath the card.
This shadow registers on digital files as an ugly black halo that obscures delicate borders and gilt-edge details.
Raised areas also drift away from the scanner lens’s optimum focal plane, producing soft focus and lost sharpness.
Contact Image Sensor (CIS) scanners blur any detail lifted more than 0.3 millimeters off the platen surface.
Charge-Coupled Device (CCD) scanners offer greater focal latitude, but they still produce distracting edge shadows without proper lid shimming.
To scan antique cabinet cards cleanly, you must prevent stray ambient light leaks while managing edge drop-off.
Materials and Tools for Custom Perimeter Shims
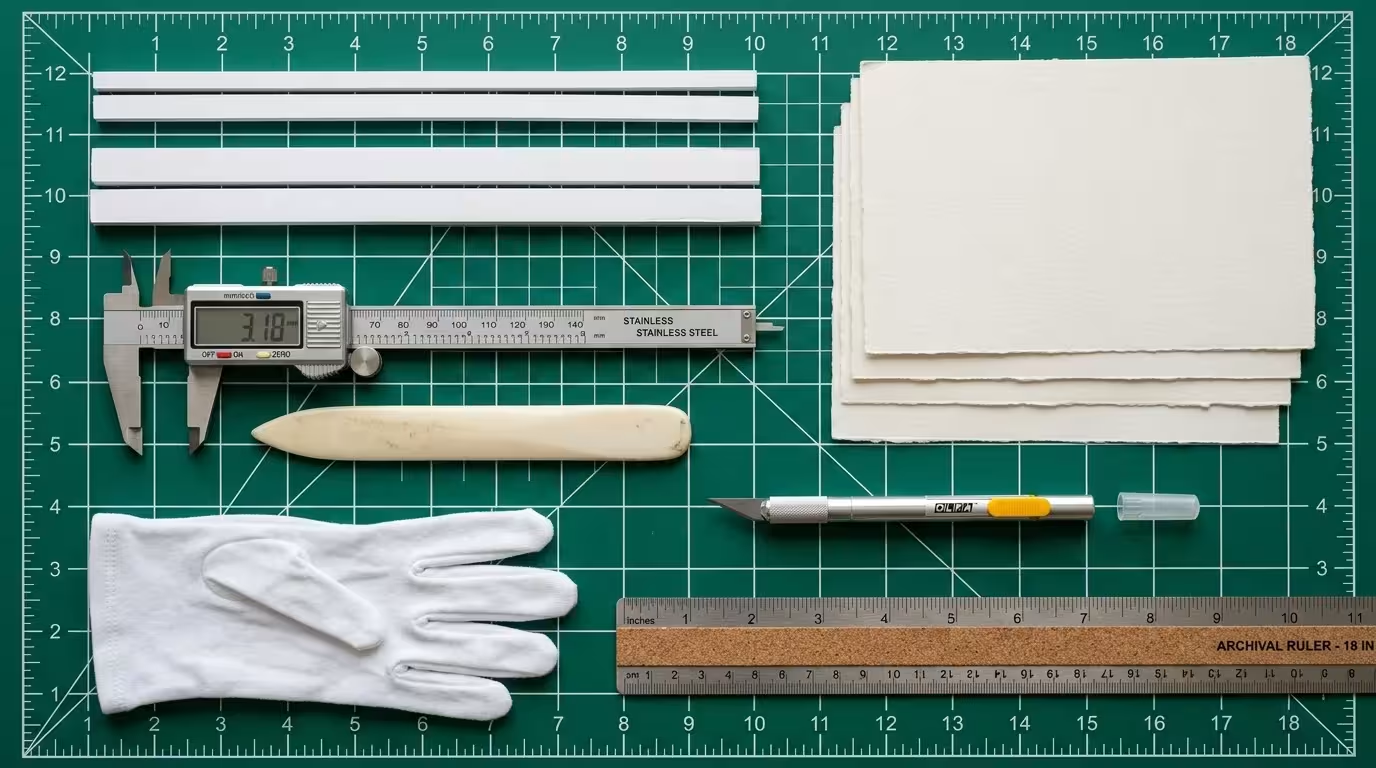
Fabricating functional shims requires chemically inert materials that will neither abrade fragile mounts nor scratch optical scanner glass.
Avoid standard craft foam boards, which contain acidic adhesives and abrasive outer paper plies that damage artifacts.
Use only acid-free conservation foam core or 100% cotton rag museum board passing the Photographic Activity Test (ISO 18916).
A digital caliper measuring down to 0.05 millimeters is essential for determining the precise elevation profile of the card.
You will also need a self-healing cutting mat and an Olfa utility knife fitted with fresh carbon-steel blades.
Stock various thicknesses of mat board, specifically 2-ply and 4-ply offcuts, to allow for micro-height tuning.
Always wear lint-free cotton or powder-free nitrile gloves to protect glass surfaces and emulsion layers from finger oils.
Step-by-Step: Building and Placing Foam-Core Shims
Start by determining the exact deflection height of your warped cabinet card or carte de visite.
Place the card face down on an archival mat board and measure the highest clearance point with your digital caliper.
Cut four matching rectangular blocks from 3/16-inch acid-free foam core, sizing each to 1.5 inches by 3.0 inches.
Layer strips of 2-ply or 4-ply rag board onto the blocks until the shim height equals card deflection plus 0.5 millimeters.
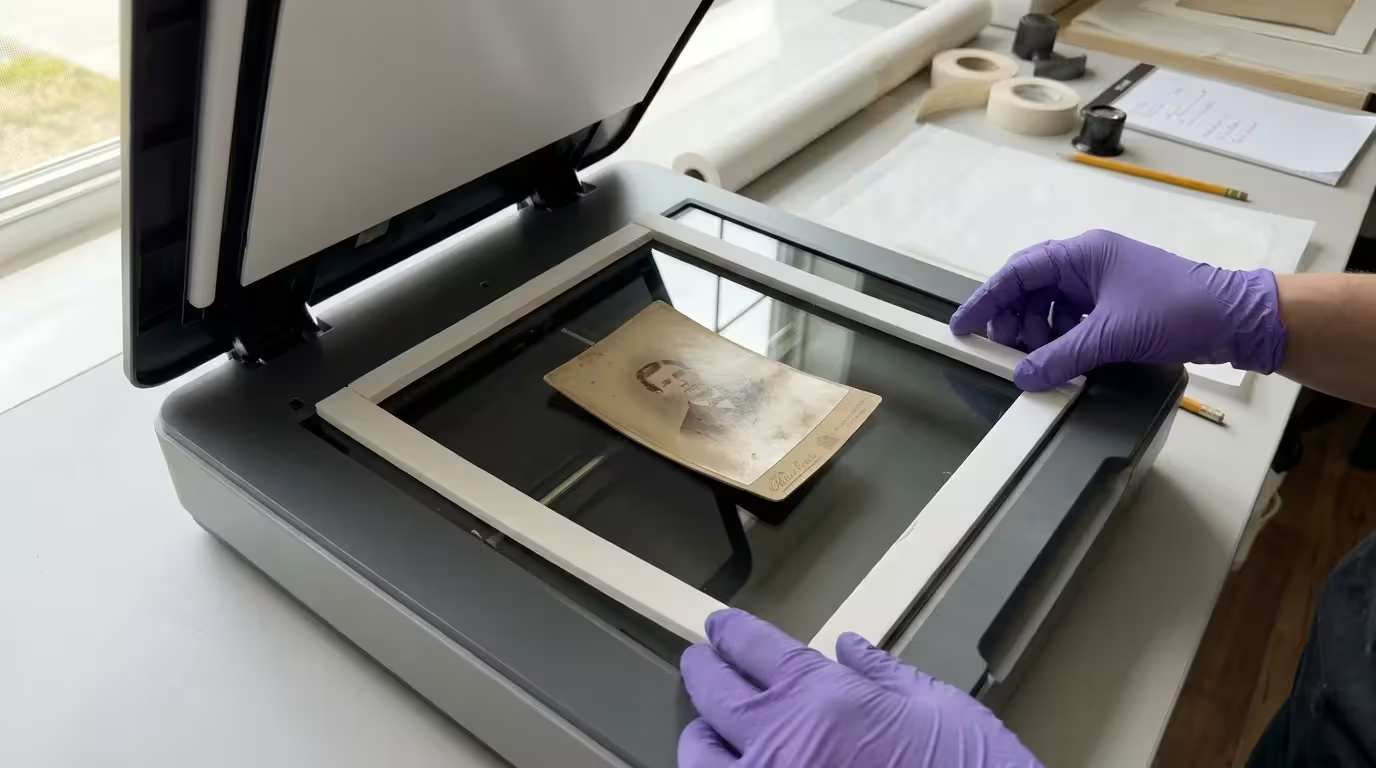
Position these four shim piers around the scanner glass perimeter, ensuring they sit outside the scanning carriage field.
Lay a sheet of heavyweight black archival cardstock across the shims to create an elevated bridge over the photograph.
Gently lower the scanner lid onto your shim assembly so its weight rests entirely on the elevated perimeter piers.
This bridge arrangement locks out exterior ambient light without exerting a single gram of pressure on the antique photograph.
Worked Example: Digitizing an 1885 Concave Cabinet Card
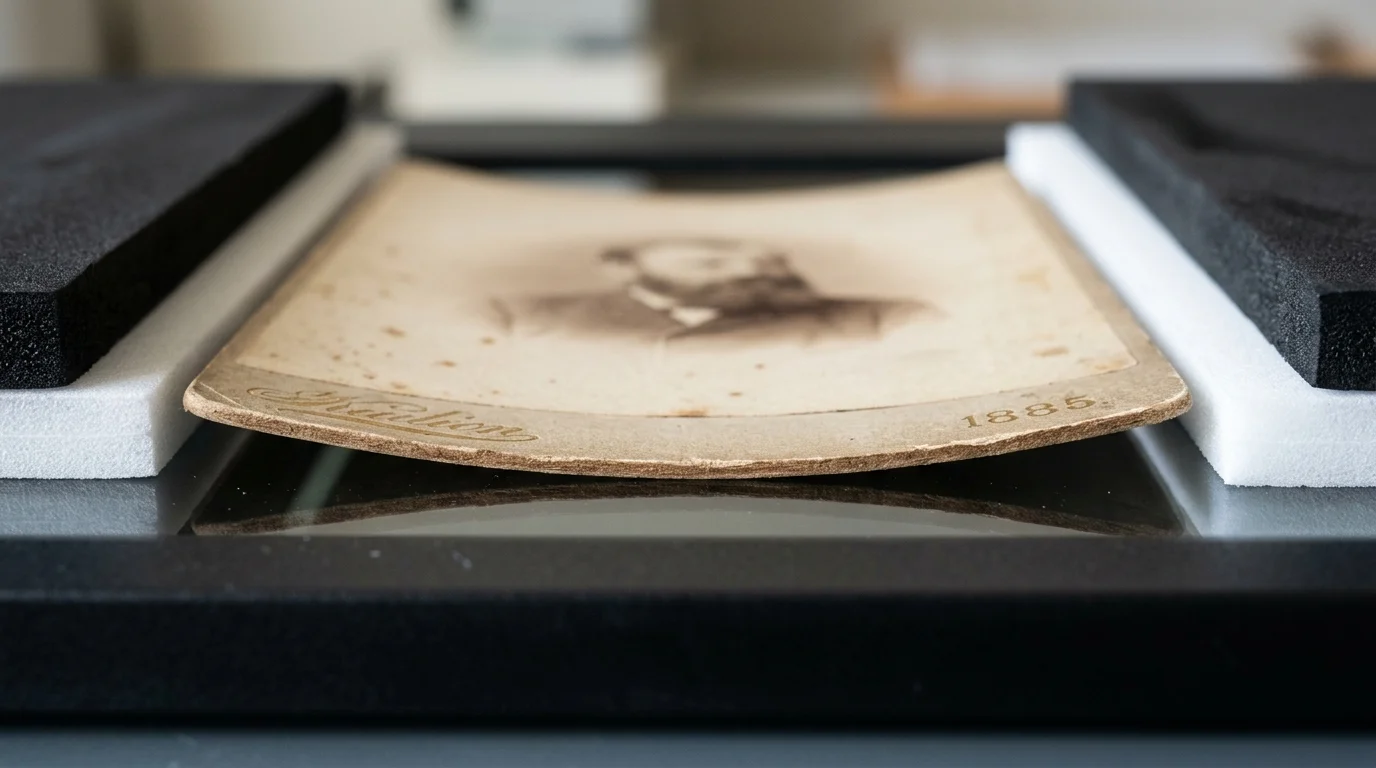
Let us examine a concrete scenario involving an authentic 1885 albumen cabinet portrait measuring 4.25 by 6.5 inches.
The mount features heavy inward warping, creating an elevated gap of 2.8 millimeters along the card’s outer margins.
Pressing this card flat would require 1.8 pounds of sustained force, posing an unacceptable risk of cardstock snapping.
We construct four corner shims using two layers of 4-ply rag board (1.4 millimeters each), totaling 2.8 millimeters.
We add a single 1-ply paper spacer (0.35 millimeters) to establish a safe operating clearance of 3.15 millimeters.
We position the shim blocks 0.5 inches away from the card margins, ensuring zero contact with the historic photograph.
A 5.0-by-7.0-inch piece of black mat board spans the gap, blocking external light scatter during the scan.
Scanning at 800 DPI on an Epson Perfection V850 Pro captures razor-sharp albumen highlights without edge shadows in 45 seconds.
Shim Material and Clearance Specifications
Select your shim materials based on the specific physical warp pattern and thickness profile of the photograph.
| Material Option | Nominal Thickness | Rigidity Rating | PAT Certification | Primary Application |
|---|---|---|---|---|
| 4-Ply Museum Rag Board | 1.40 mm | High (>50 PSI) | Passed (ISO 18916) | Cartes de visite scanning and minor warps |
| 3/16″ Archival Foam Board | 4.76 mm | Moderate (30 PSI) | Passed (ISO 18916) | Severe cabinet card concave profiles |
| 1/8″ Volara Closed-Cell Foam | 3.18 mm | Flexible (15 PSI) | Passed (Inert PE) | Irregular convex mounts needing gentle support |
| 2-Ply Preservation Mat Board | 0.70 mm | High (>60 PSI) | Passed (ISO 18916) | Precision micro-shimming and fine adjustments |
Dense rag board provides unyielding stability for minimal warps, while closed-cell Volara cushions irregular convex mounts.
Never use corrugated shipping cardboard or standard wood-pulp boards, as they release harmful volatile acids into your scanner.
Stacking flatbed scanner shims antique prints demands uniform height across all four load points to prevent lid tilting.
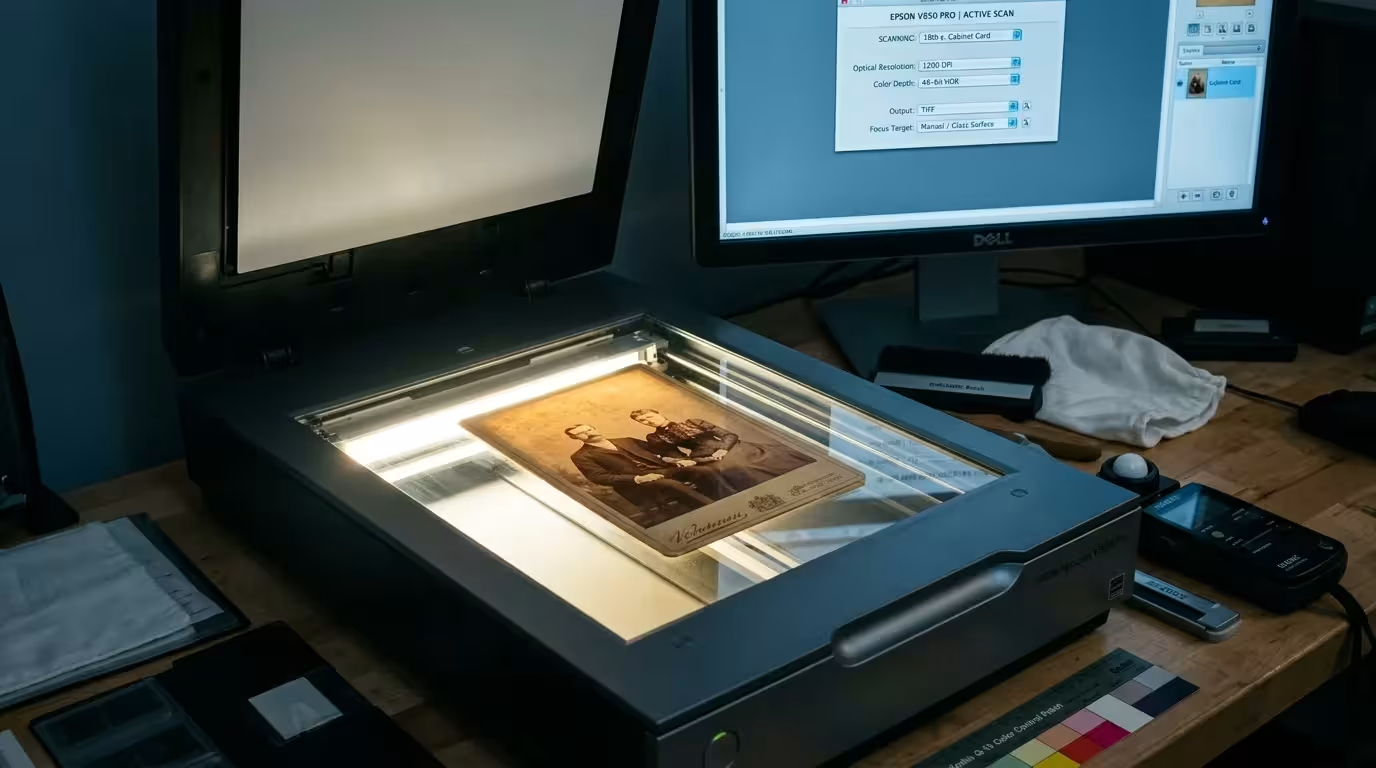
Scanner Hardware Settings for Maximum Depth of Field
Hardware optical configuration is just as important as physical spacing when digitizing warped cardstock prints.
Even with optimal depth of field, high-resolution scans of 19th-century albumen prints often reveal reflective surface sheen that requires fixing silvering on antique photos through digital channel isolation.
Use a flatbed scanner with a multi-element Charge-Coupled Device (CCD) sensor rather than an entry-level CIS scanner.
CCD sensors incorporate physical reduction lenses that deliver superior depth of field across uneven surfaces.
A scanner’s optical depth of field is your primary ally when digitizing warped media. Use CCD sensors to keep recessed image details sharp.
As explained in optical guides by Cambridge in Colour, physical aperture and focal depth dictate how much surface texture stays crisp.
Select 24-bit or 48-bit color modes and save your files as uncompressed TIFFs at 600 to 800 DPI.
Disable all automated sharpening, ICE dust removal, and auto-exposure features inside your scanner software driver.
Automated software tools confuse natural paper curl with image defects, creating severe fringe artifacts along cardboard edges.
For institutional preservation guidelines on digitizing historic prints, review standards compiled by the American Institute for Conservation.
Frequently Asked Questions
Why should I avoid pressing warped cabinet cards flat during scanning?
Historic albumen prints dry out and turn brittle over time. Clamping them flat cracks the delicate emulsion layer and snaps fragile, acid-degraded backing cards.
How do I choose between a CCD scanner and a CIS scanner for antique prints?
Always choose a CCD flatbed scanner for dimensional media. CIS scanners have virtually zero depth of field, causing instant blur on curved cardboard mounts.
What color should the backing board be when scanning warped mounts?
Use an archival, matte true-black backing board. Black cardstock absorbs stray scanner illumination, completely eliminating the bright halo reflections common to lifted edges.
Can I use humidity chambers to flatten warped cabinet cards before scanning?
Do not attempt humidity chamber flattening without formal paper conservation training. Excessive moisture reactivates water-soluble 19th-century adhesives, risking irreversible emulsion damage.
Disclaimer: This article is for informational purposes only. When handling valuable or irreplaceable photographs, consider consulting a professional conservator. Always test preservation methods on non-valuable items first.