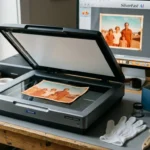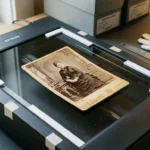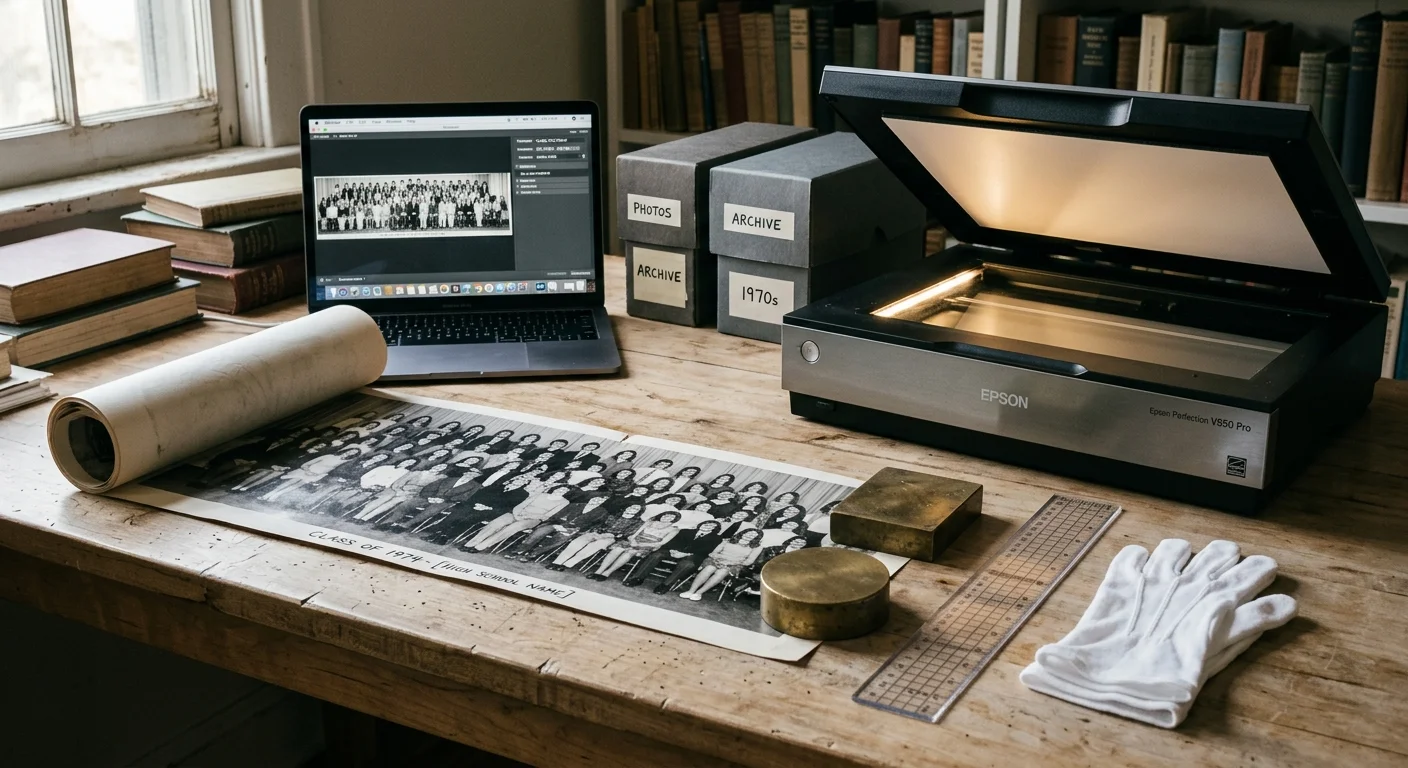
You can digitize an 8×30-inch rolled panoramic class photograph on an ordinary A4 flatbed scanner without paying expensive laboratory fees. This systematic method produces seamless, archive-ready preservation files directly on your desktop.
Standard stitching software warps long school portraits because it assumes photographs were captured from a rotating camera lens. Planar scans do not rotate; they move across a flat two-dimensional plane.
To scan oversized panoramic photo prints accurately, you must pair an external registration ruler with flat translation algorithms in Hugin. This workflow preserves facial proportions and eliminates visible seams across your entire graduating class.
Handling and Flattening Vintage Yardlong Panoramas
Yardlong photographs from high school graduations and military units present unique physical preservation hurdles. Their thick paper bases retain tight curls after spending decades coiled inside cardboard shipping tubes.
Never force a coiled photograph flat against scanning glass with your bare hands. Brittle silver gelatin emulsions crack under sudden tension, creating permanent white lines across facial features.
If your photograph is dry or stiff, refer to the uncurling guidance from the American Institute for Conservation before handling. Safe passive humidification relaxes paper fibers without liquid water contact.
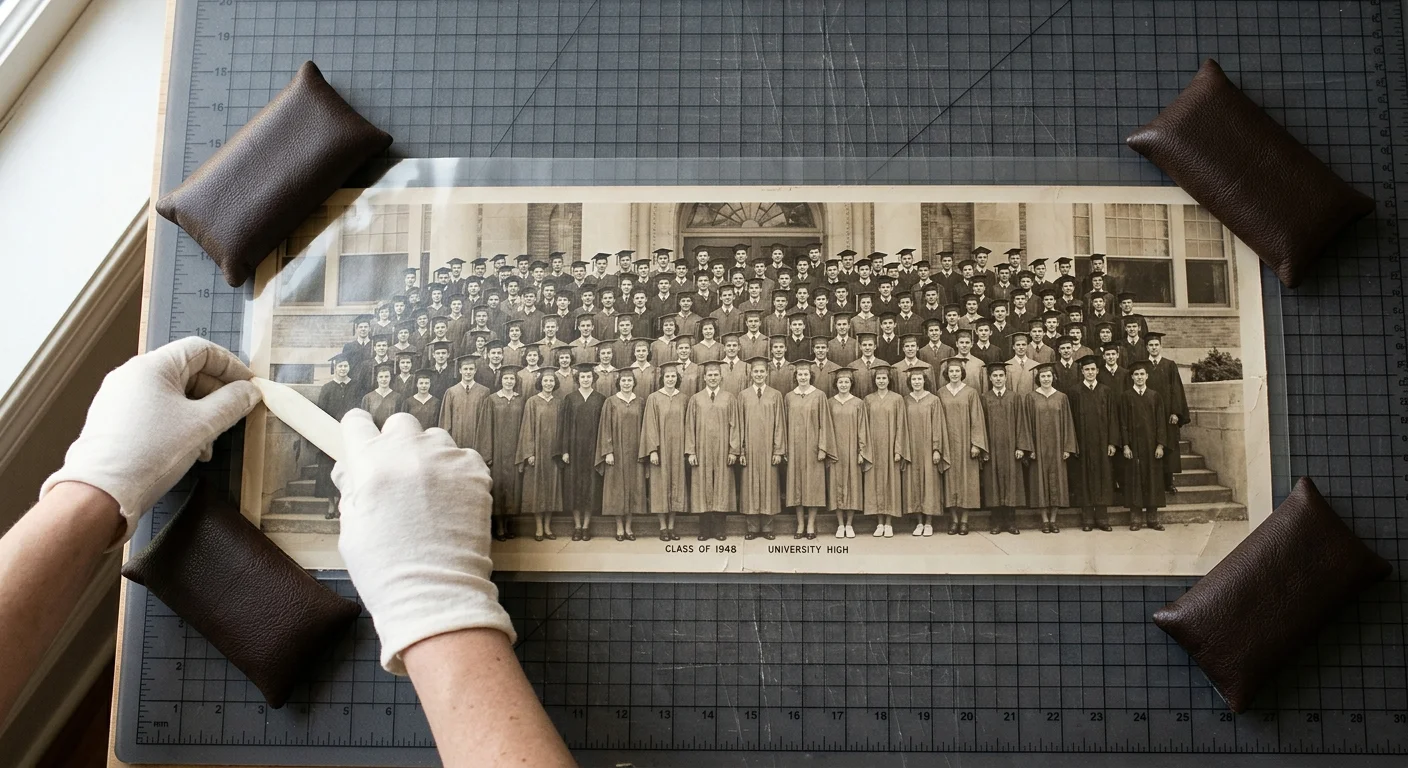
For flexible prints with only mild curl, place the photograph face up on a clean, dust-free table. Cover the entire length with archival polyester film, such as 3-mil Mylar D.
Rest leather-wrapped document weights along the outer edges of the polyester film. Leave the weighted assembly undisturbed for 48 hours to relax the paper curl gradually.
Wear clean lint-free cotton or nitrile gloves while handling the unrolled photograph. Skin oils transfer acid directly to silver emulsions, causing irreversible yellow stains over time.
Inspect the print surface under raking light to identify any flaking emulsion or tears. Securing small tears with archival Japanese tissue prevents tears from catching against scanner bezels.
Never attempt to iron a curled photograph or apply direct heat with a hair dryer. Extreme temperatures dehydrate gelatin binders, causing permanent emulsion brittleness and surface warping.

Scan Geometry: Calculating Overlaps for A4 Glass
An A4 scanning platen measures 8.27 by 11.69 inches, while a North American Letter platen measures 8.5 by 11.0 inches. Digitizing an 8×30-inch photograph requires dividing the print into a sequence of overlapping vertical panels.
Automated stitching software needs substantial shared visual reference points across adjacent image tiles. You must maintain an overlap of 30 to 35 percent between consecutive scanning passes.
Overlaps below 25 percent frequently fail because flatbed scans lack the wide angular variations found in camera panoramas. Without adequate landmarks, software engines cannot align identical features reliably.
Conversely, overlaps exceeding 45 percent waste time and force blending algorithms to evaluate unnecessary duplicate data. Excessive overlap also multiplies the risk of computational ghosting artifacts across fine details.
Stagger your scan boundaries so that seam cutlines fall on open clothing or background spaces. Slicing directly through a classmate’s eye or mouth increases the difficulty of seamless blending.
Mark your advancement increments lightly on your physical guide before beginning. A disciplined physical increment schedule prevents accidental gaps between image captures.
Plan for six distinct vertical captures when scanning a 30-inch print across an 8.5-inch platen width. This sequence provides generous safety margins across every single joint.
Building a Precision Physical Registration Jig
When flatbed scanning oversized documents, physical alignment errors accumulate with every single pass. Even half a degree of rotational skew creates severe perspective distortion across a 30-inch image.
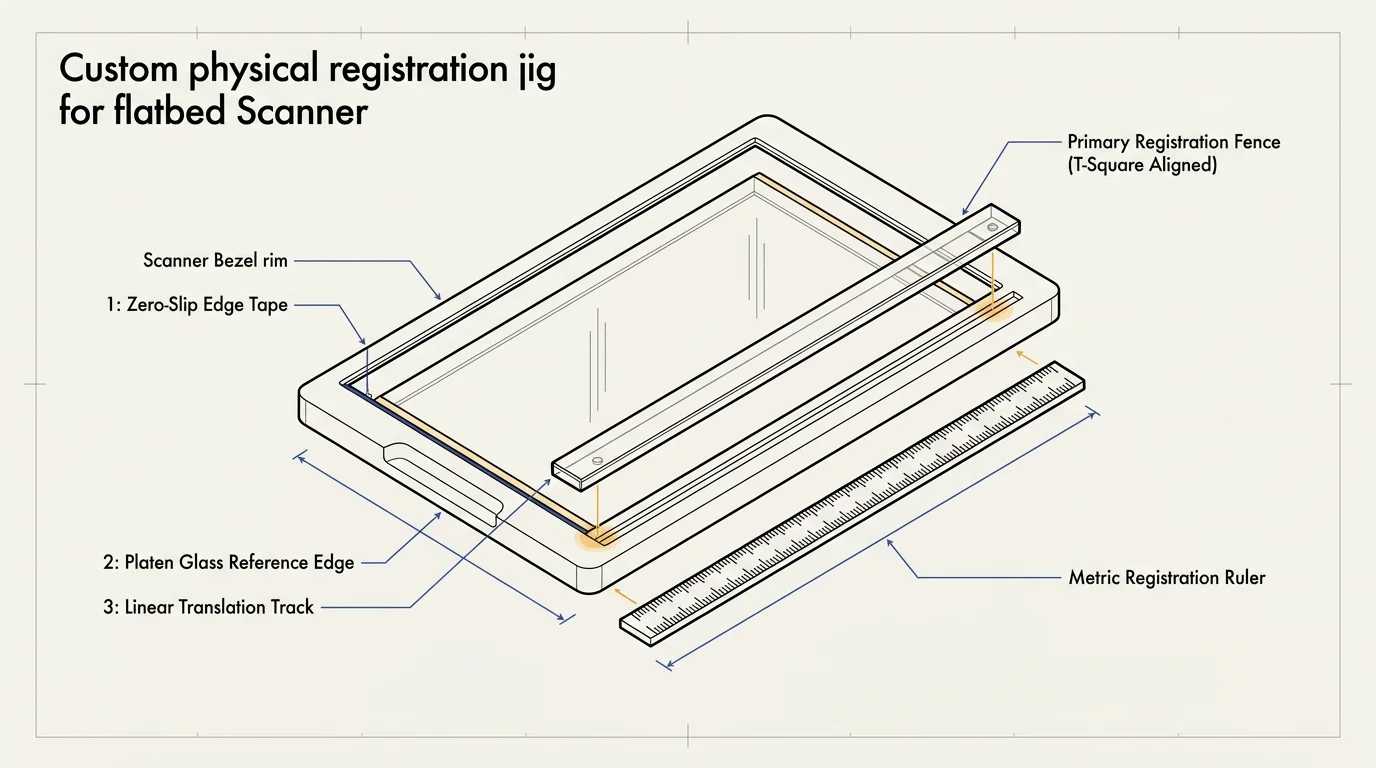
Software translation models assume all image tiles share identical horizontal axes. A physical alignment fence prevents manual feeding errors before you even press the scan button.
Secure an 18-inch clear acrylic grid ruler directly along the bottom outer bezel of your scanner. Fasten the ruler using low-tack blue painter tape, ensuring the adhesive touches only the plastic casing.
Allow the edge of the acrylic ruler to overhang the scanner glass by approximately one millimeter. This overhang forms a raised physical shelf that guides the bottom border of your photograph.
Unsupported ends of long photographs will droop off the scanner edge, lifting the center of the print off the glass. This paper sag creates optical distortion and blurred focal zones.
Construct support wings using two stacks of foam-core boards positioned flush with the scanner glass height. These flanking wings support the rolled tails of the photograph smoothly during every scan pass.
Secure the outer borders of the photograph with non-adhesive document weights. Never allow tape or sticky tabs to touch any portion of the original photograph.
Keep the scanner lid open during the scanning sequence. Rest a clean sheet of black acid-free mat board over the active scan area to block ambient room light.
Flatbed Scanner Calibration and Manual Controls
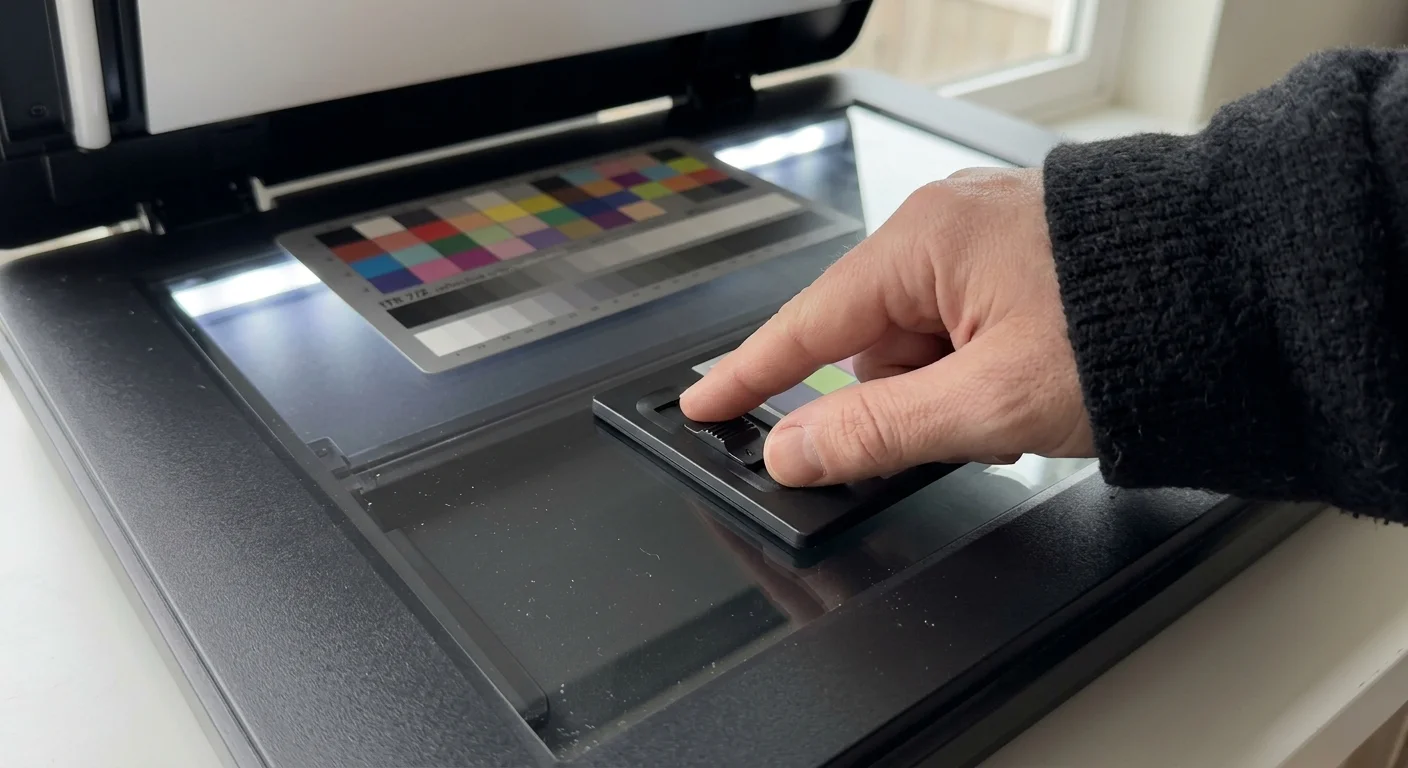
Clean the scanner platen glass meticulously before beginning your digitizing session. Trapped specks of dust produce recurring digital artifacts that corrupt automated feature matching in software.
Spray optical glass cleaner onto a lint-free microfiber cloth rather than directly onto the glass. Liquid seeping around platen seals will permanently damage internal optical mirrors.
Open your scanner driver interface and switch from basic mode to advanced professional mode. Turn off all automatic enhancements, including auto-exposure, color restoration, sharpening, and contrast adjustment.
Automatic scanner routines recalculate brightness independently for every single frame. These fluctuations create mismatched bands of tone that become glaringly visible across your final stitched portrait.
Lock your analog gain and exposure settings manually using the brightest segment of your photograph. This locked exposure ensures uniform illumination across all six digitized segments.
Select an optical resolution of 600 DPI and choose 16-bit uncompressed TIFF format. This setting captures approximately 4,800 pixels across the 8-inch photo height, preserving razor-sharp facial details.
Set your color working space to Adobe RGB (1998) or ProPhoto RGB to retain wide dynamic range. Avoid scanning in sRGB mode, which clips subtle tonal gradations in dark wool suits and hair.
Allow your flatbed scanner lamp to warm up for at least 15 minutes before scanning your first segment. Cold fluorescent or early LED light bars exhibit slight color temperature shifts during initial operation.

Hugin Workflow: Flat XY-Translation and Control Points
Standard panoramic applications assume photographs were shot from a central pivot point with a rotating lens. When applied to flatbed scans, these spherical algorithms warp straight rows into severe curves.
To stitch panoramic scans Hugin provides a dedicated planar translation mathematical engine. Set the project interface to “Expert” mode to reveal translation optimization parameters.
Import your scanned TIFF tiles into Hugin and navigate to the Camera and Lens tab. Set the lens type to “Rectilinear” and enter a focal length of 1000mm.
An extreme focal length mathematically simulates an infinite shooting distance. This configuration forces the software to treat image boundaries as flat orthogonal projections rather than perspective cones.
Set Image 0 as your positional anchor for position and exposure. Leave its horizontal translation (parameter d) and vertical translation (parameter e) set permanently to zero.
Navigate to the Photos tab and access the Optimize dropdown menu. Select “Custom parameters” to specify exactly which variables the software should calculate.
Uncheck yaw, pitch, and roll for every single image tile in your project. You must optimize solely for horizontal shift (d) and vertical shift (e).
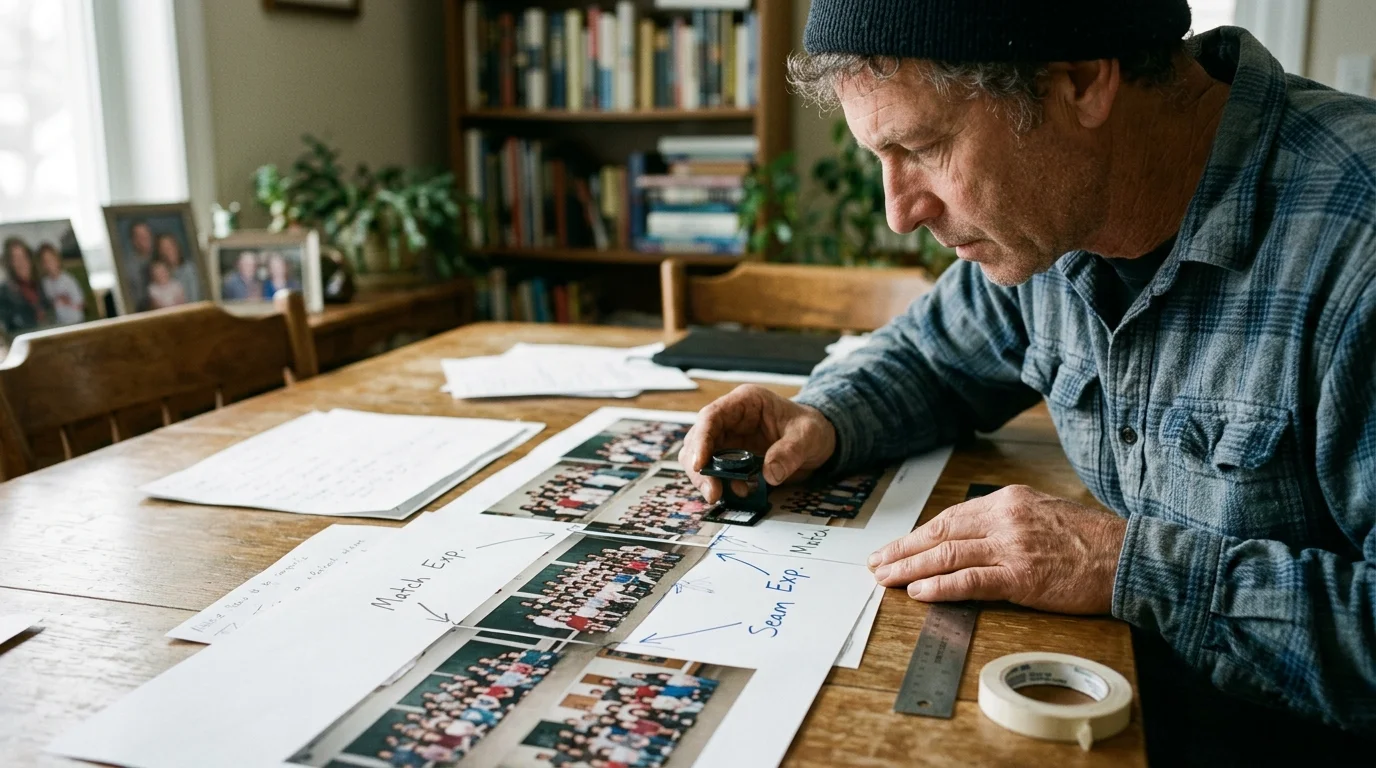
Run the automated CPFind feature detector to identify matching landmarks across overlapping borders. The algorithm matches identical belt buckles, neckties, collar points, and bleacher textures.
Open the Control Points table and sort all point pairs by distance error. Delete any control point showing an error distance greater than 1.5 pixels.
“Planar stitching succeeds only when you disable angular rotational math. By forcing zero yaw, pitch, and roll in your project optimizer, you guarantee that flat scanning beds render straight school rows without geometric distortion.”
Add manual horizontal line control points along the bottom bleacher board across adjacent tiles. These line constraints prevent vertical stair-stepping across the full length of the composite image.
Execute the optimizer and verify that your maximum control point distance error remains below 1.0 pixel. Low error numbers indicate perfect mathematical alignment between adjacent frames.
Photometric Exposure Matching and Seam Optimization
Flatbed scanner lamps exhibit subtle illumination falloff toward the extreme edges of their scan carriages. Even with locked exposure settings, adjacent image tiles will display tiny brightness differences along their overlapping borders.
Hugin includes an internal photometric optimizer that equalizes tonal transitions across adjacent frames. It calculates response curves for each image tile to eliminate brightness stepping.
Under the Photometric tab, select the option to optimize low dynamic range exposure and vignetting. This calculation smooths subtle light gradients without altering underlying midtone values.
Hugin sends the final image alignment data to the Enblend processing engine. Enblend utilizes a multi-resolution spline algorithm that separates pixel data into distinct spatial frequency bands.
Sharp details, such as eyes and hair strands, blend across narrow seam margins. Meanwhile, smooth background gradients blend across wide transitions to eliminate harsh visible edges.
You can pass advanced command-line arguments to Enblend inside Hugin’s Stitcher tab. Adding the parameter –fine-mask forces Enblend to route seam boundaries around intricate high-contrast edges.
Specify a blend levels parameter of -l 5 to accommodate wide tonal gradations across bleachers. Higher blend levels guarantee imperceptible transitions across smooth sky or gymnasium walls.
Enable the wrap-around seam optimization only if your source image forms a 360-degree circle. For linear flatbed class portraits, keep the wrap-around parameter disabled to prevent border distortion.
Worked Example: Digitizing a 1974 8×30-Inch Class Panorama
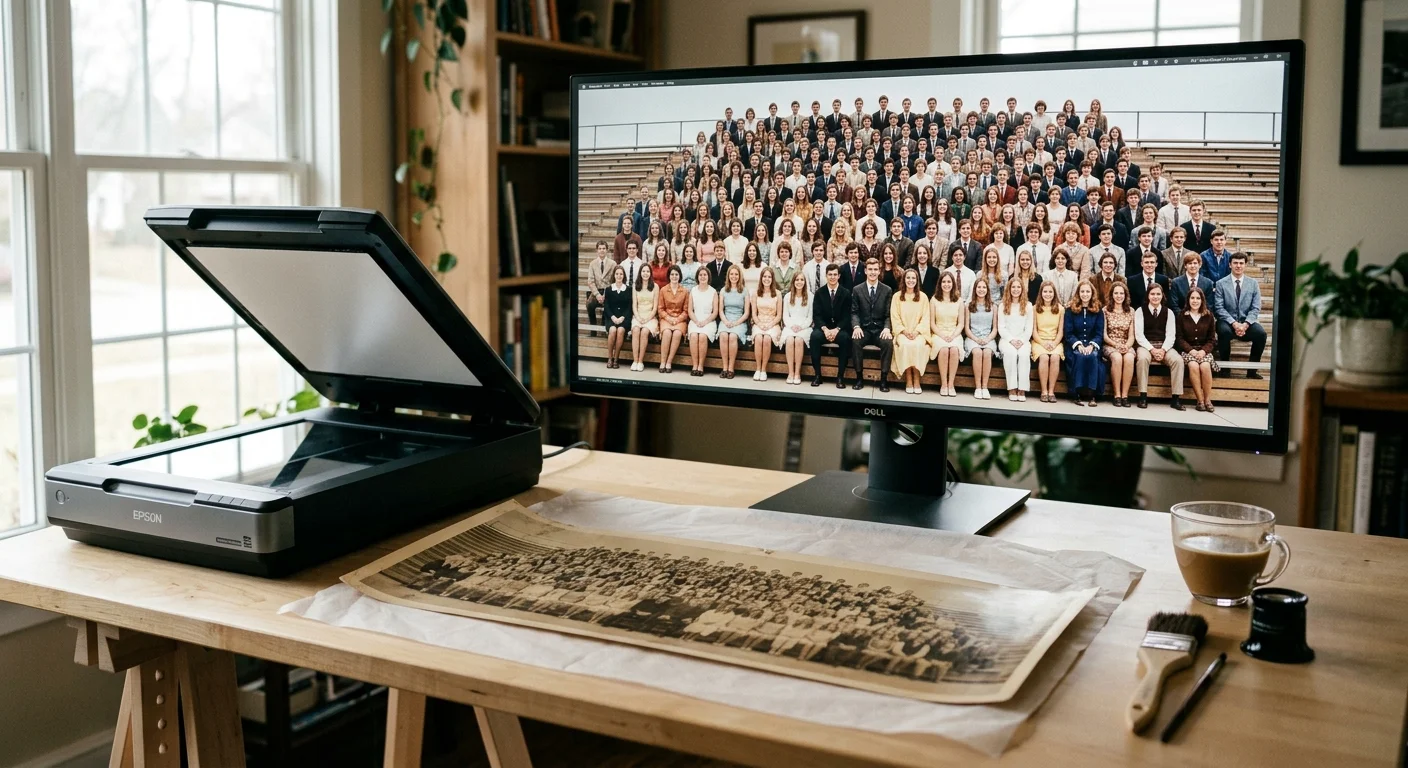
Let us examine a concrete scenario: preserving a 1974 high school class photograph measuring 8 by 30 inches. The image depicts 310 seniors arranged across four bleacher tiers outside the school gymnasium.
The hardware used for this project is an Epson Perfection V600 flatbed scanner with an 8.5 by 11.7-inch platen. To scan long yardlong photo prints of this size, divide the 30-inch span into six sequential passes.
With an 8.5-inch platen width, advance the photograph by exactly 5.2 inches between scans. This spacing leaves an overlap of 3.3 inches, or 38.8 percent, across each neighboring panel.
At 600 DPI, each scan produces an uncompressed 16-bit RGB TIFF tile measuring 5,100 by 5,160 pixels. Each individual file consumes 78.9 megabytes of disk space, totaling 473.4 megabytes for the set.
Loading the six files into Hugin, the CPFind tool generates an average of 54 control points per overlap. After pruning 12 outlier points with errors above 1.5 pixels, the mean distance error drops to 0.58 pixels.
The translation optimization calculates the horizontal shifts: Image 0 is at 0 pixels, Image 1 is at 3,120 pixels, Image 2 is at 6,245 pixels, Image 3 is at 9,362 pixels, Image 4 is at 12,480 pixels, and Image 5 is at 15,598 pixels.
Vertical drift across the entire 30-inch span measures just 14 pixels, demonstrating the effectiveness of the acrylic registration guide. Enblend composites the panels in 4 minutes and 12 seconds on a standard desktop computer.
The final rendered master image measures 18,720 by 4,800 pixels, producing an 89.8-megapixel archive file. Every individual student face remains perfectly sharp without a single visible seam line across the bleachers.
Save the final composite file as an uncompressed 16-bit TIFF with embedded color profiles. Export an 8-bit full-resolution JPEG copy for sharing with classmates and family members.
Panoramic Stitching Tools and Modes Compared
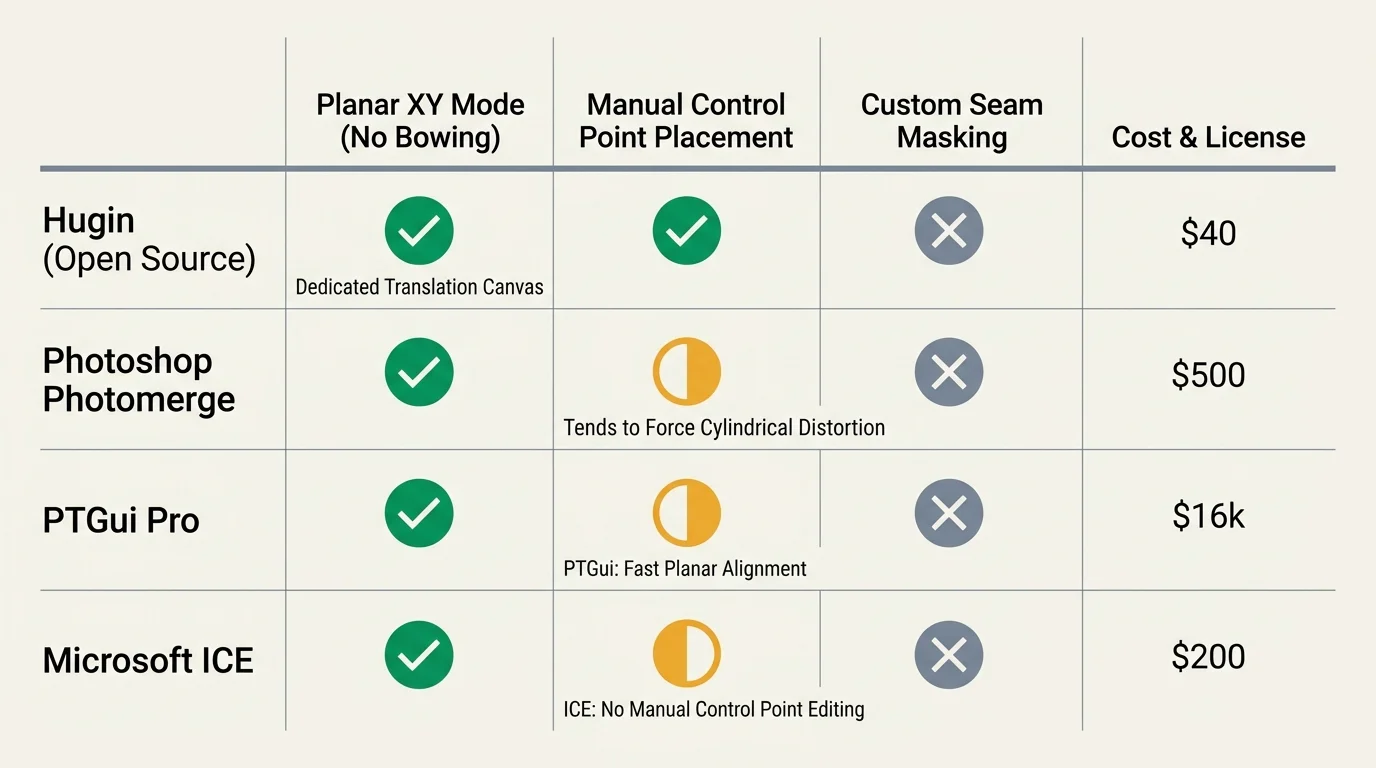
Dedicated panorama tools approach image alignment using vastly different internal projection engines. The table below compares how leading software tools handle oversized flatbed scans.
| Software and Mode | Projection Mathematical Model | Planar XY Shift Support | Seam Artifact Risk on Yardlongs | License and Cost |
|---|---|---|---|---|
| Hugin (Expert Planar) | Orthogonal Rectilinear Flat Field | Complete manual control (parameters d, e) | Near zero with multi-band Enblend | Open Source (Free) |
| PTGui Pro (Planar Projection) | Planar Shift and Translation | Automatic and manual XY translation | Low with internal multi-band blender | Commercial ($320 perpetual) |
| Adobe Photoshop (Photomerge Auto) | Spherical / Cylindrical Projection | None (forces angular lens rotation) | High (wavy rows and face doubling) | Subscription ($20.99/month) |
| Microsoft ICE (Planar Motion) | Planar Homography Translation | Automated XY shift calculation | Moderate (blending seam ghosting) | Discontinued Freeware |
Adobe Photoshop Photomerge routinely fails on yardlong photographs because its automated engine attempts to project images onto a virtual cylinder. This cylindrical projection creates a bowed effect where center rows sag downward relative to outer edges.
While PTGui Pro handles planar stitching effectively, it requires purchasing a paid license for commercial utility. Hugin provides the identical open-source mathematical engine free of charge with complete parameter control.
For long-term preservation formatting, adhere to the digital capture standards published by the Library of Congress Preservation Directorate. They recommend uncompressed TIFF master files alongside derivative JPEG copies for family sharing.
Archive your original raw scans alongside the stitched master TIFF on redundant storage drives. Retaining individual panels guarantees you can reprocess the project as software algorithms advance in the future.
Never discard original scans after producing your stitched file. Uncompressed primary captures serve as the definitive legal and historical records of your family heritage.
Frequently Asked Questions
Why does Adobe Photoshop warp my panoramic class scans when stitching?
Photoshop assumes source images were captured with a rotating camera and applies cylindrical or spherical lens distortions. Flatbed scans require a flat rectilinear projection with zero angular rotation.
How much overlap do I need between flatbed scan segments?
Maintain an overlap between 30 and 35 percent for each adjacent scan. This provides enough facial and textural landmarks for automated control point generators without creating excessive redundant data.
Can I scan an 8×30 photo in two horizontal strips instead of vertical panels?
Horizontal scanning requires splitting the entire group of students in half through their torsos or necks. Vertical passes keep full student bodies intact within single frames, minimizing facial alignment errors.
What scanner resolution should I choose for an old panoramic class photograph?
Scan at 600 DPI in 16-bit uncompressed TIFF format. This resolution captures subtle facial expressions and fine photographic grain while preventing scanning artifacts from corrupting your master archive.
Disclaimer: This article is for informational purposes only. When handling valuable or irreplaceable photographs, consider consulting a professional conservator; always test preservation methods on non-valuable items first.