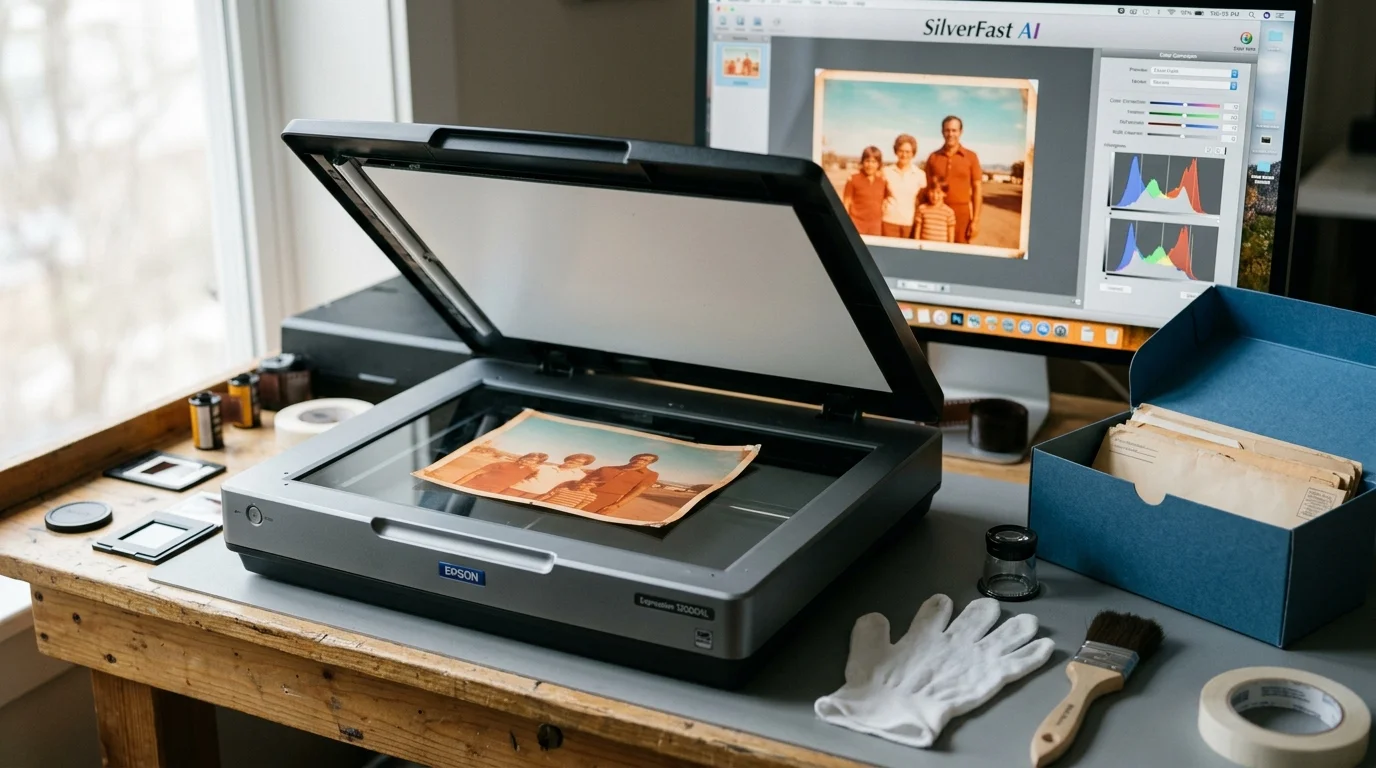
When you scan 1970s color prints, digital curve adjustments cannot recover cyan detail that your scanner clipped at the analog-to-digital converter. Adjusting CCD analog gain inside VueScan rebalances sensor integration times before digitization, capturing surviving cyan signals cleanly.
Most scanning tutorials instruct you to neutralize heavy orange shifts after scanning. That common workflow irreparably stretches damaged channels, inducing harsh posterization and quantization banding across your archival records.
By boosting hardware-level CCD channel exposure during pre-scan calibration, you preserve dynamic range and rescue heavily degraded chromogenic prints in a single archival master capture.
The Chemistry of 1970s Dye Degradation and the Orange Cast
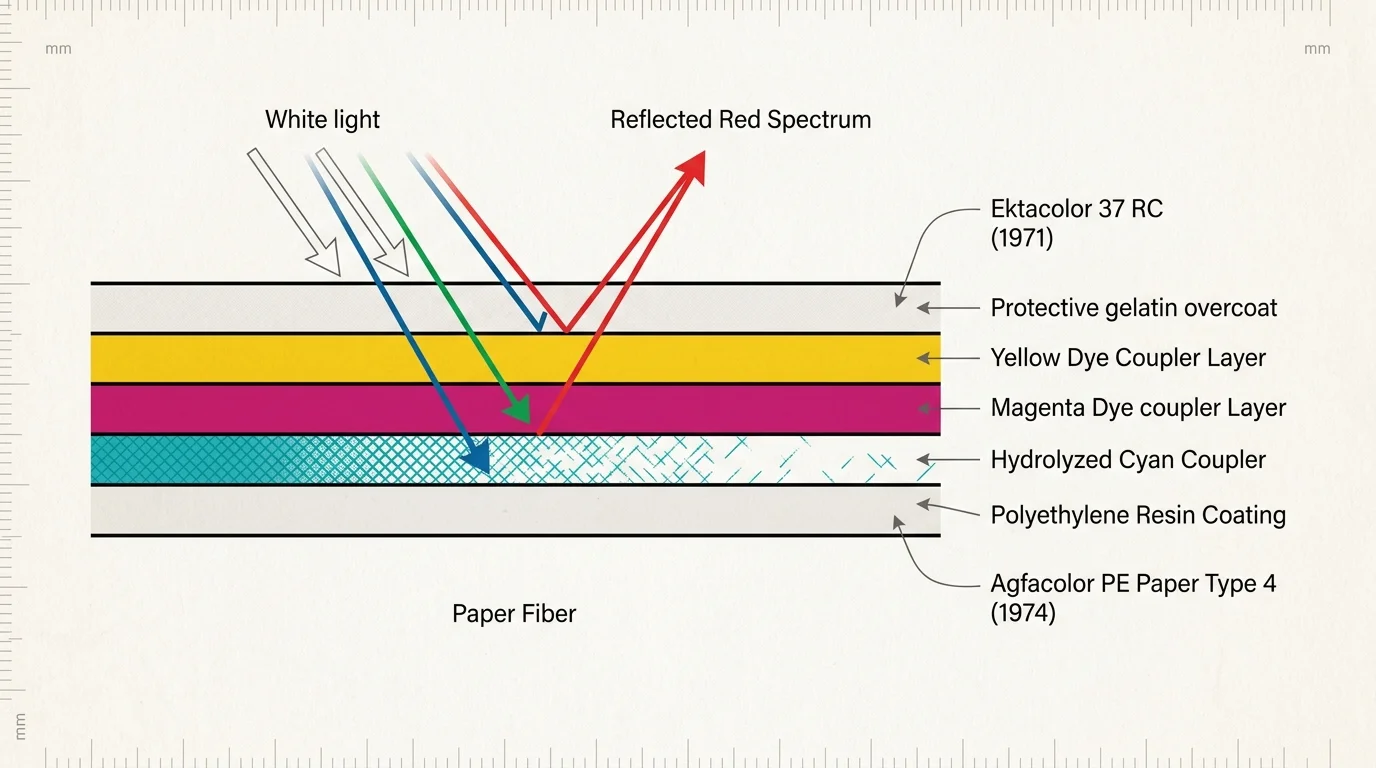
Chromogenic color prints manufactured throughout the 1970s rely on organic dye couplers distributed across three distinct emulsion layers: cyan, magenta, and yellow. These dye layers form full-color images by subtracting complementary wavelengths from reflected white viewing light.
The introduction of resin-coated (RC) papers accelerated dye instability. Kodak introduced Ektacolor 37 RC in 1971, while Agfa-Gevaert released Agfacolor PE Paper Type 4 in 1974 to streamline commercial darkroom processing.
Unlike earlier fiber-based prints, early RC prints suffered catastrophic dark-storage fading. Chemical interactions between residual processing chemistry, atmospheric moisture, and polyethylene coatings attacked the cyan dye coupler first.
According to research published by the Image Permanence Institute, cyan dye fading occurs rapidly even in complete darkness when prints reside in non-climate-controlled storage. Heat and humidity trigger spontaneous hydrolysis of the cyan coupler molecules.
Henry Wilhelm documented this vulnerability in his 1993 study, The Permanence and Care of Color Photographs. Wilhelm demonstrated that Agfacolor Type 4 papers lost nearly all cyan dye density in fewer than six years of typical room-temperature dark storage.
Because cyan dye absorbs red light, its degradation leaves the surviving magenta and yellow dye layers optically uncounterbalanced. Reflected scanner illumination passes through intact magenta and yellow layers while reflecting unimpeded across the red spectrum.
This optical imbalance floods the scanner sensor with red photons while green and blue wavelengths remain heavily absorbed. The resulting digital preview presents the notorious monochromatic orange cast that frustrates photo archivists.
CCD Analog Gain vs. Digital Post-Processing: Hardware Mechanics
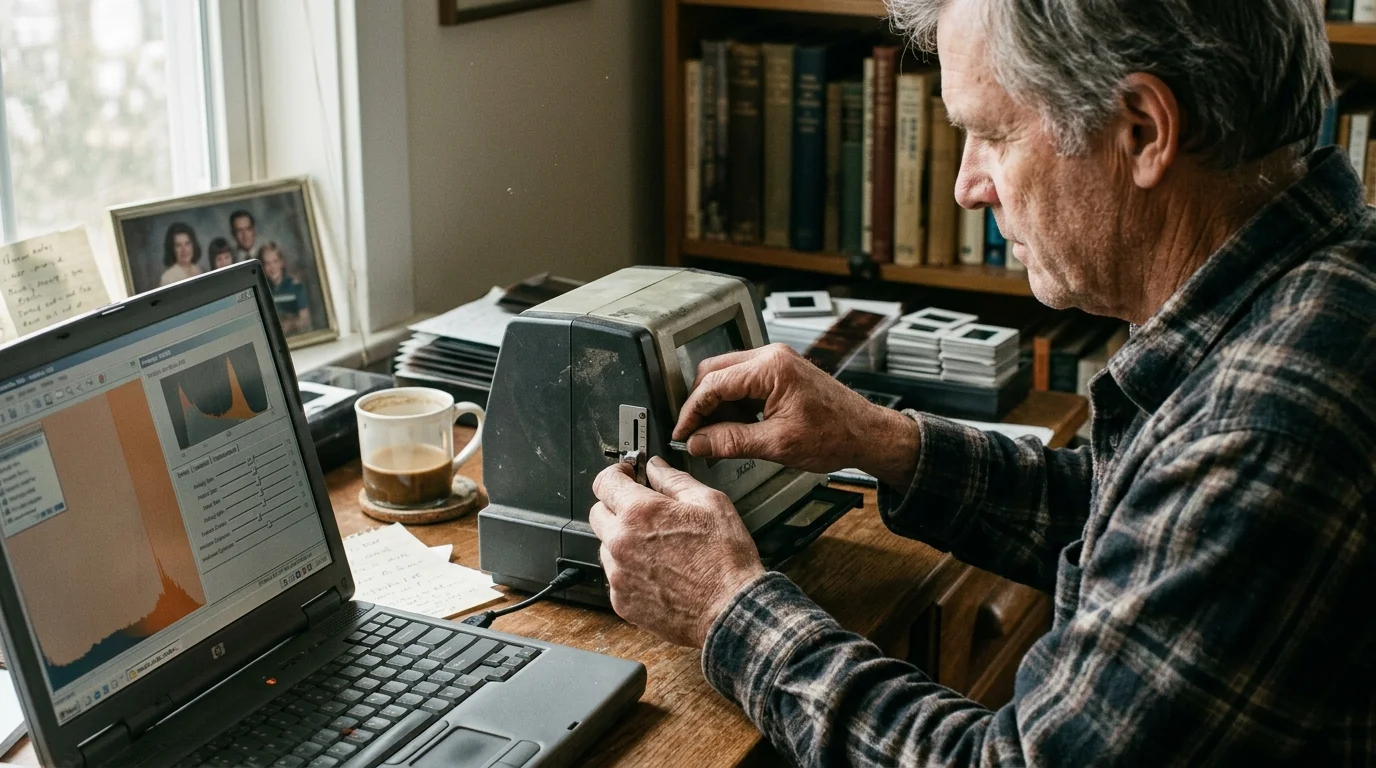
A Charge-Coupled Device (CCD) flatbed or film scanner operates via discrete linear sensor arrays. Photons striking individual photo-sites generate minute electrical charges proportional to light intensity.
The scanner transfers these accumulated analog charges to an Analog-to-Digital Converter (ADC). The ADC quantizes continuous electrical voltages into discrete digital integer values, typically allocating 16 bits per color channel.
When you digitize an uncalibrated 1970s print, the saturated red channel fills the CCD photo-sites almost to full well capacity. Simultaneously, severely attenuated blue and green channels generate minuscule charges near the sensor noise floor.
Attempting to fix this discrepancy in post-processing editing software produces severe digital artifacts. Digital curves simply multiply existing digital values; they cannot invent analog information that the ADC discarded during quantization.
The technical specialists at Cambridge in Colour emphasize that severe digital tonal expansion produces histogram combing, banding, and amplified shadow noise. Faded channels stretch across too few discrete tonal levels.
Boosting analog gain reallocates hardware sensor exposure prior to digital conversion. This process maps faint optical signals across the full dynamic range of the analog-to-digital converter.
VueScan Analog Gain operates at the physical hardware layer before digitization occurs. The software directly instructs the scanner firmware to alter its operational exposure parameters.
Depending on your scanner hardware, VueScan accomplishes this by lengthening sensor integration time per color channel or adjusting operational amplifier gain voltages. The CCD samples cyan-starved wavelengths longer, lifting faint optical signals far above the sensor noise floor.
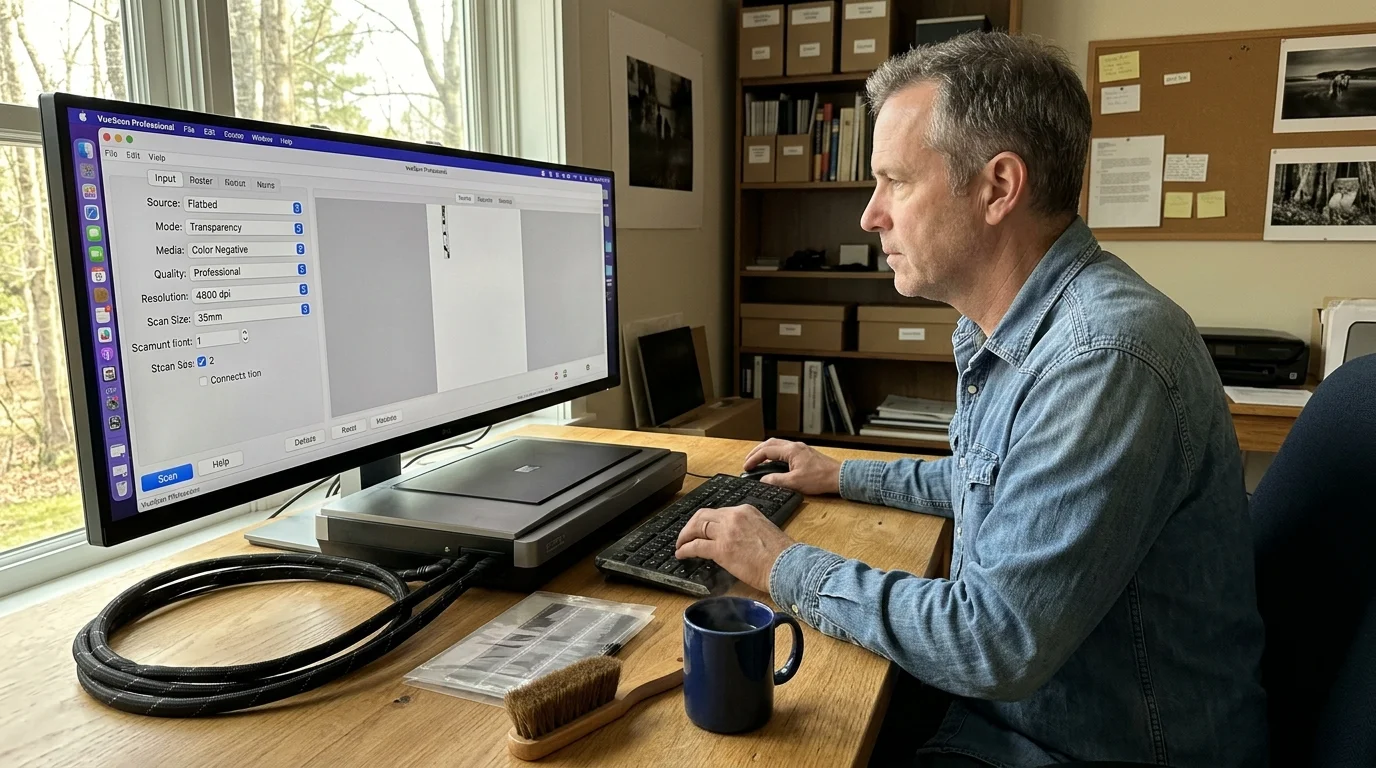
Hardware Prerequisites and VueScan Professional Configuration
Manipulating physical analog exposure requires specific software licensing tiers within VueScan. Hamrick Software restricts CCD Analog Gain and Lock Exposure controls exclusively to the VueScan Professional Edition.
The Basic Edition ($49.95) and Standard Edition ($99.95) lack raw analog access and channel calibration options. You must use the Professional Edition ($229.95 for a perpetual license or monthly subscriptions starting at $7.95) to access these low-level controls.
A single VueScan Professional license allows installation across up to four personal computers running Windows, macOS, or Linux. This cross-platform flexibility proves invaluable when managing dedicated archival workstations connected to legacy hardware.
Hardware compatibility dictates whether VueScan displays individual RGB analog gain sliders. Your physical scanner must incorporate firmware that supports independent channel illumination or adjustable CCD line-read integration periods.
Dedicated professional film scanners consistently support these commands. Prominent examples include the Nikon Coolscan series (LS-50, LS-5000, LS-8000, and LS-9000 ED) and the Minolta DiMAGE Scan Elite 5400.
For reflective print archives, select graphic-arts flatbeds provide robust channel exposure control. The Epson Perfection V700, V750, V800, and V850 Pro flatbeds support master exposure adjustments and individual channel balancing.
If your connected scanner does not expose individual RGB gains in VueScan, the hardware lacks channel-independent integration circuits. In that scenario, VueScan provides a unified master exposure slider to maximize pre-ADC dynamic range.
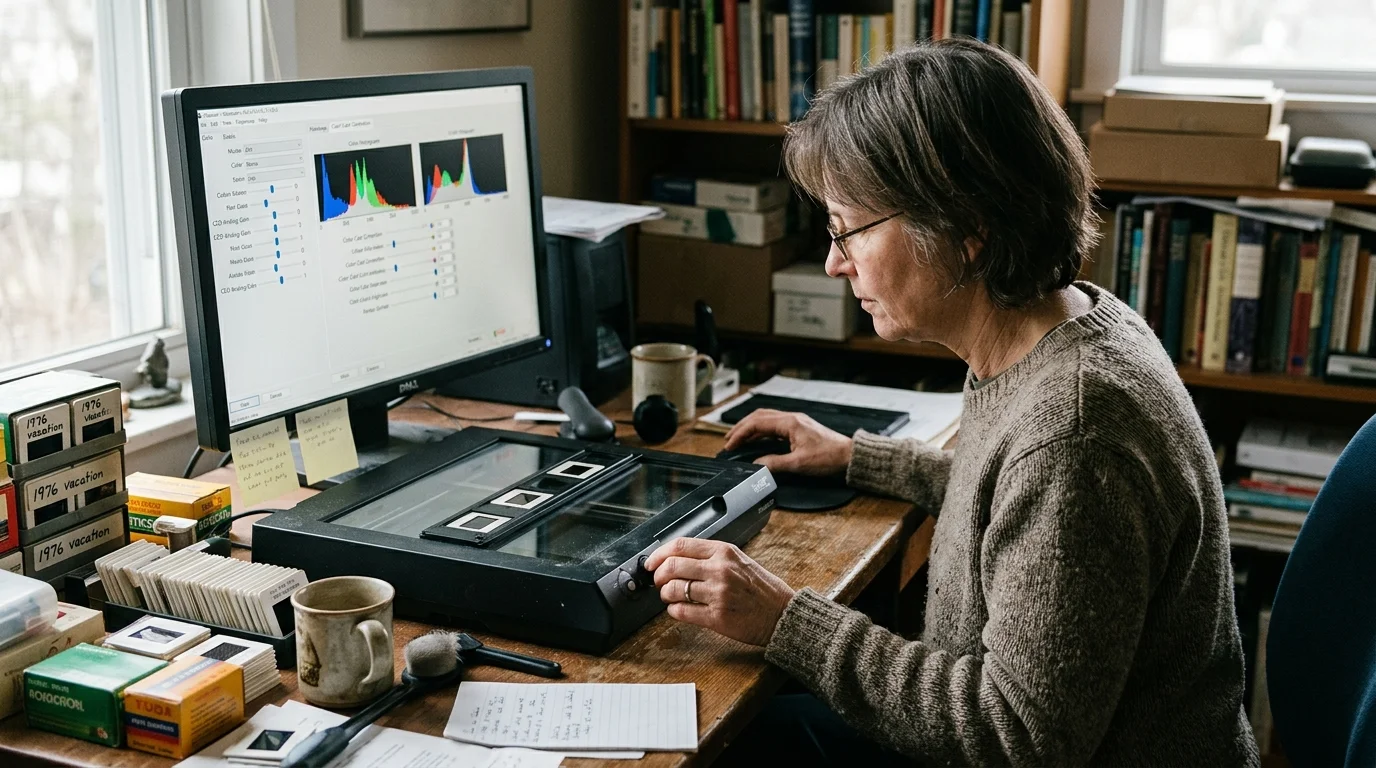
Step-by-Step Pre-Scan Calibration Workflow for Severe Color Casts
Achieving clean analog balance requires a systematic pre-scan calibration protocol. Follow these sequential steps inside VueScan Professional before initiating your final archival acquisition scan.
- Set Interface Mode: Launch VueScan and toggle the Options setting in the left panel to Professional. This reveals hidden hardware control parameters across all tabs.
- Configure Input Parameters: In the Input tab, set Media to Color print (or Color slide/negative for film stock) and select 48 bit RGB for archival bit depth.
- Run Initial Preview: Place your degraded 1970s print against the scanner glass and click Preview. Allow the scanner to complete its initial baseline low-resolution pass.
- Frame the Cropping Boundary: In the Crop tab, set Crop size to Manual. Drag the marquee tightly within the photograph borders, avoiding white photo borders or scanner platen glass that skew exposure metering.
- Analyze the Raw Histogram: Open the Graph panel and select Image. Observe the separation between red, green, and blue channel distributions; the red curve typically stacks against highlight boundaries while green and blue linger near black.
- Lock Scan Exposure: Return to the Input tab and check the Lock exposure checkbox. This fixes the base sensor integration clock and enables independent channel adjustments.
- Adjust Individual RGB Analog Gains: Locate the Red analog gain, Green analog gain, and Blue analog gain fields. Reduce Red analog gain below 1.0 (typically 0.60 to 0.75) and elevate Blue analog gain above 1.0 (typically 1.80 to 2.40).
- Fine-Tune Green Gain: Adjust Green analog gain moderately (typically 1.20 to 1.40) to counter surviving magenta couplers. Refresh the preview to evaluate histogram alignment.
- Verify Sensor Balance: Inspect the updated raw histogram. The peaks of all three color channels should align comfortably across midtone zones, with no channel clipping against shadow (0) or highlight (255) thresholds.
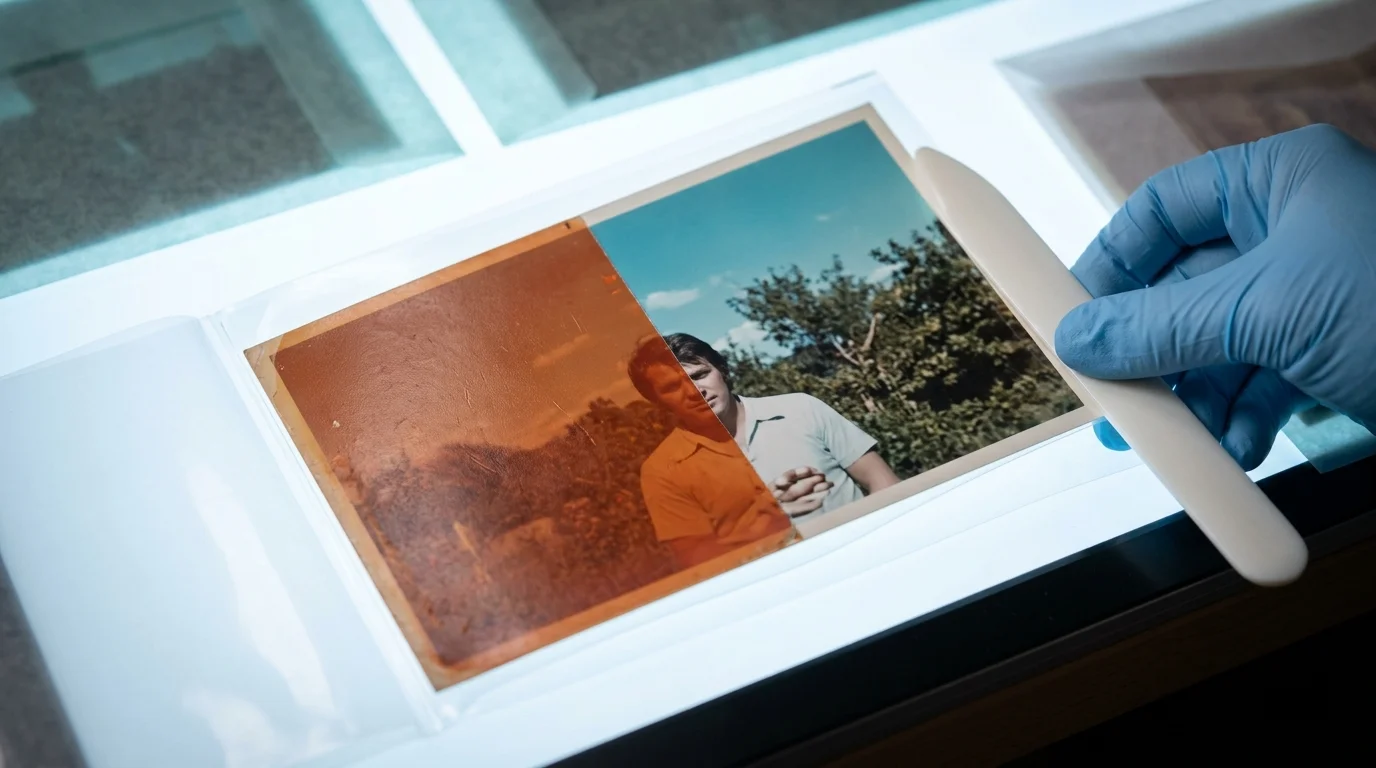
Worked Archival Scenario: Rescuing an Agfacolor Type 4 Print
To understand the quantitative value of this methodology, examine a real-world archival scenario. This scenario details digitizing a 1976 5×7-inch portrait printed on Agfacolor PE Paper Type 4, stored inside an unconditioned attic box for four decades.
The archivist utilized an Epson Perfection V850 Pro flatbed scanner driven by VueScan Professional 9.8. Ambient temperature remained stable at 68 degrees Fahrenheit with 40 percent relative humidity.
An initial baseline automated preview at default unity gain (Red: 1.0, Green: 1.0, Blue: 1.0) revealed extreme degradation. The software sampled raw 8-bit equivalent mean reflectance values: Red sat at 226, Green measured 104, and Blue registered a meager 58.
Digitizing at these baseline settings compressed the surviving cyan channel into the bottom 22 percent of available quantization values. Stretching that compressed data later in editing software caused dramatic histogram stepping and blue-channel posterization across facial shadows.
Instead of scanning, the archivist locked exposure and adjusted the hardware multipliers. The archivist entered a Red Analog Gain of 0.62, a Green Analog Gain of 1.38, and a Blue Analog Gain of 2.25.
VueScan altered the physical scan pass by slowing the carriage transit speed and extending sensor read cycles for shorter wavelengths. This hardware change boosted photon integration across the blue-filtered photo-sites prior to digitization.
The re-calibrated pre-scan returned balanced mean channel values: Red measured 136, Green measured 134, and Blue measured 131. All three color channels aligned smoothly within the center of the sensor dynamic range.
The calibration required four minutes of pre-scan preparation. It eliminated twenty-five minutes of destructive digital retouching while capturing clean image data without channel clipping.
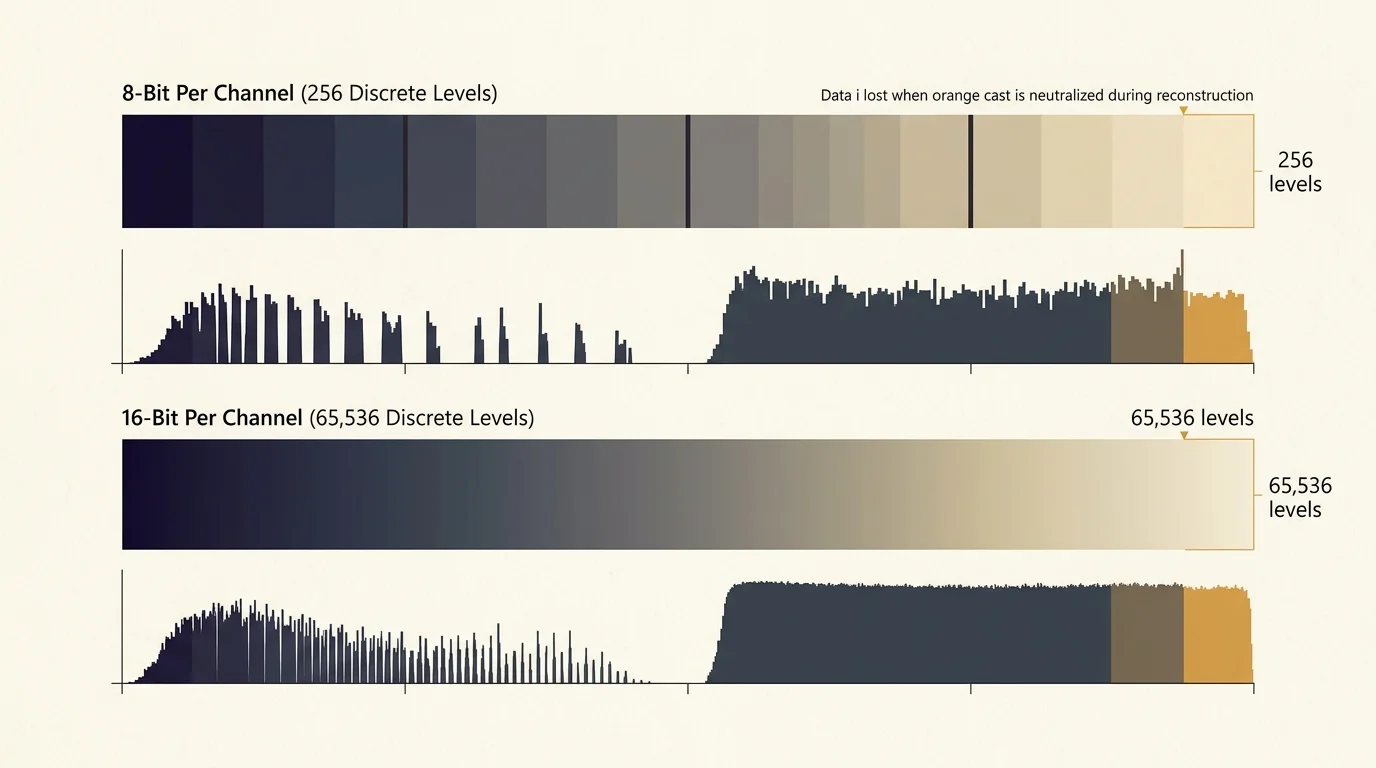
Archival Bit Depths and Raw File Storage Strategies
Capturing balanced analog signals requires selecting an uncompressed, high-headroom storage format. Never digitize degraded historical prints into 8-bit JPEG containers, which permanently discard critical tonal gradations.
Digitize strictly in 16-bit per channel (48-bit RGB) mode. 16-bit depth allocates 65,536 discrete tonal values per channel, compared to a meager 256 levels per channel in 8-bit captures.
Guidelines maintained by the Library of Congress Preservation Directorate specify capturing masters at 16-bit depth to maintain data integrity during preservation migrations. This headroom guarantees that subsequent color balancing does not induce banding.
VueScan provides a dedicated Raw file output option in the Output tab. When selected, VueScan writes uncorrected sensor data directly to a 48-bit TIFF or DNG container without applying tone curves.
If your scanner features an infrared dust and scratch sensor, digitize in 64-bit RGBI mode. The fourth 16-bit channel records physical surface defects, enabling non-destructive defect isolation during later conservation processing.
Save your primary calibrated master scan as an uncompressed 48-bit TIFF. Store raw uncorrected calibration files separately as unalterable digital preservation assets within your archival storage architecture.
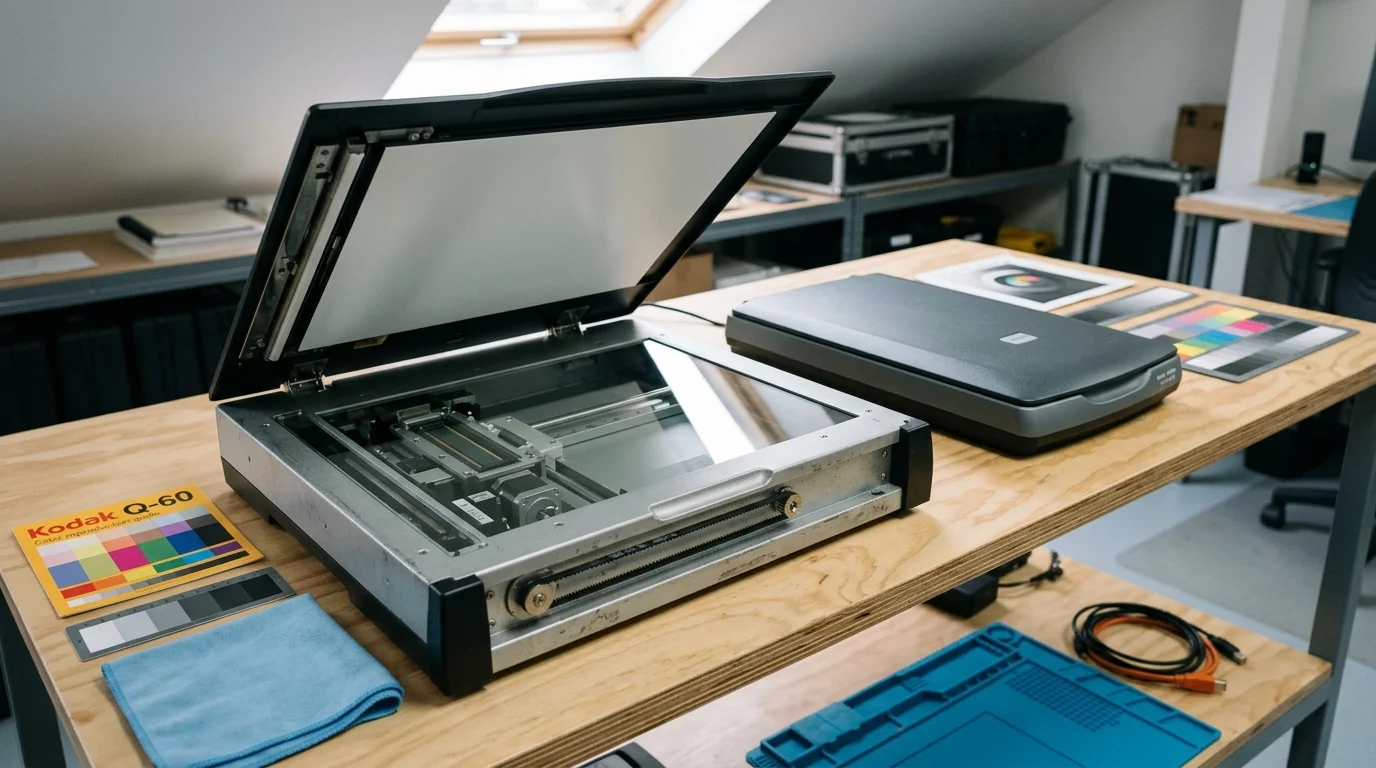
Comparison of Hardware Options for Analog Gain Control
Not all scanning hardware handles hardware-level exposure adjustments identically. The following matrix details how specific professional and prosumer scanner models process analog gain commands sent by VueScan Professional.
| Scanner Hardware Model | Optical Class | Analog Gain Implementation | Effective Dynamic Range (Dmax) | Optimal Archival Media |
|---|---|---|---|---|
| Nikon Coolscan 9000 ED | Dedicated Film Scanner | Independent RGB LED integration time adjustment | 4.2 Dmax | 35mm, 120/220 medium format transmissive film |
| Minolta DiMAGE Scan Elite 5400 | Dedicated Film Scanner | Physical analog amplifier voltage regulation | 4.0 Dmax | 35mm mounted slides and negative strips |
| Epson Perfection V850 Pro | Flatbed CCD Scanner | Motor carriage speed control and sensor clock modulation | 4.0 Dmax | Reflective color prints and medium/large sheet film |
| Plustek OpticFilm 8200i | Dedicated Film Scanner | Master exposure integration (Unified RGB) | 3.6 Dmax | 35mm film strips and slides |
| Canon CanoScan 9000F Mark II | Flatbed CCD Scanner | Master scan exposure modulation via firmware | 3.4 Dmax | Reflective family prints and secondary documents |
Scanners utilizing independent RGB LED arrays provide superior analog gain precision. By powering individual color LEDs for varying microsecond bursts, they balance color capture without generating amplifier heat noise.
Flatbed models like the Epson Perfection V850 modulate exposure through carriage speed adjustments. Slowing the physical optical assembly over faded prints grants CCD line sensors extended exposure time, collecting faint wavelengths effectively.
Frequently Asked Questions
Will adjusting analog gain wear out my scanner motor or lamp faster?
Adjusting analog gain does not accelerate mechanical wear. The software merely adjusts sensor integration clocks or stepper carriage speeds, operating well within standard hardware design limits.
Can I perform analog gain adjustments using the Basic or Standard editions of VueScan?
No. Hamrick Software restricts Analog Gain, Lock Exposure, and Raw DNG output strictly to the Professional Edition of VueScan.
Why does VueScan show only one Master Exposure slider instead of separate RGB gains?
If VueScan omits separate RGB sliders, your scanner firmware does not support independent channel exposure. You must adjust master exposure to protect highlights, then balance color channels post-digitization in 16-bit mode.
Should I use scanner-based color balancing if my original print is completely faded to orange?
Yes. Hardware-level rebalancing maximizes signal-to-noise ratio in surviving cyan dye layers, giving you far cleaner dynamic range before digital editing begins.
Disclaimer: This article is for informational purposes only. When handling valuable or irreplaceable photographs, consider consulting a professional conservator. Always test preservation methods on non-valuable items first.