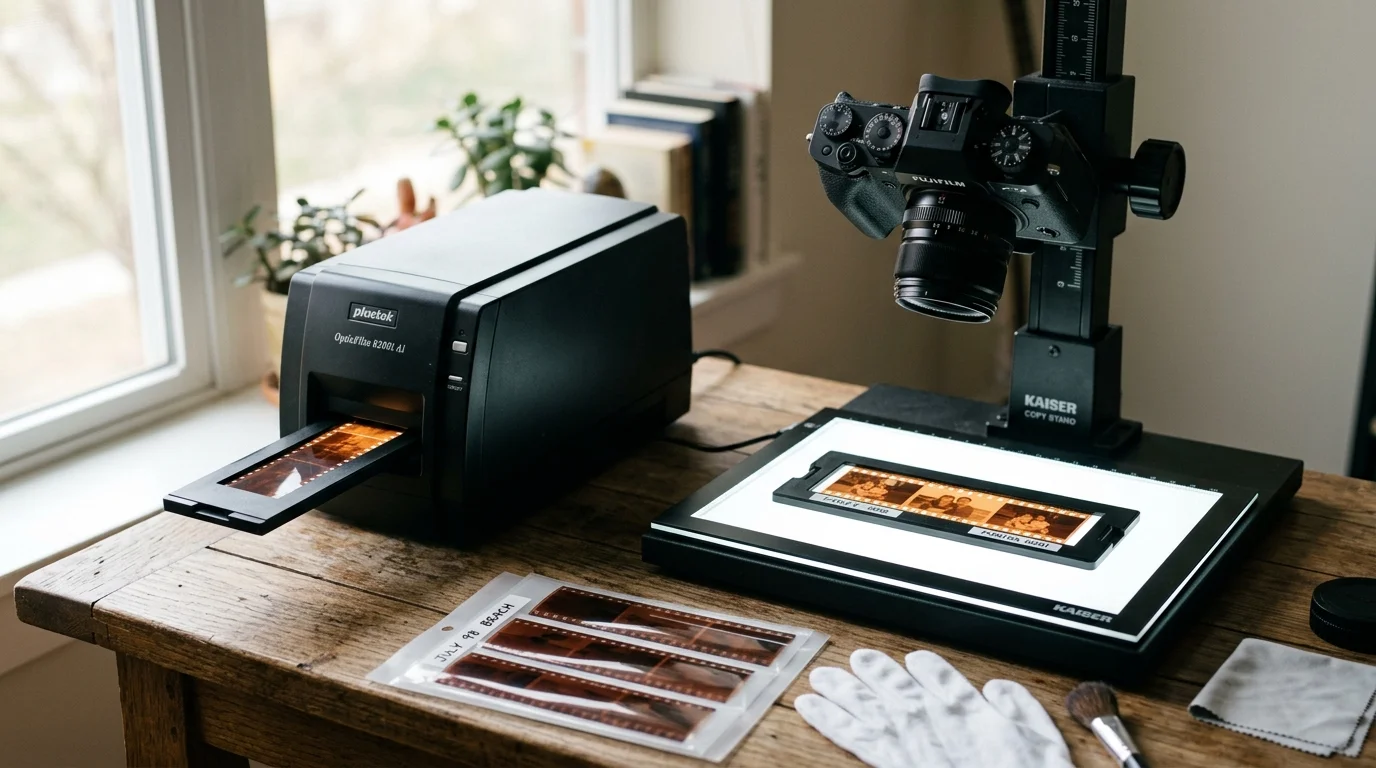
Digitizing 1,200 family negatives forces a difficult choice between a dedicated Plustek 8200i scanner and a mirrorless camera rig. Your decision hinges on a hard trade-off between hardware simplicity and scanning throughput.
While Plustek advertises 7,200 dpi, optical physics restricts the scanner to roughly 3,250 true optical dpi—yielding roughly 14 megapixels. A 24-megapixel mirrorless camera resolves superior optical detail while completing your entire 1,200-negative archive in under five hours instead of sixty-five.
This guide breaks down the optical resolving math, real-world stopwatch tests, and equipment costs so you can preserve your family heritage efficiently.
The 1,200-Negative Dilemma: Two Digitization Paths
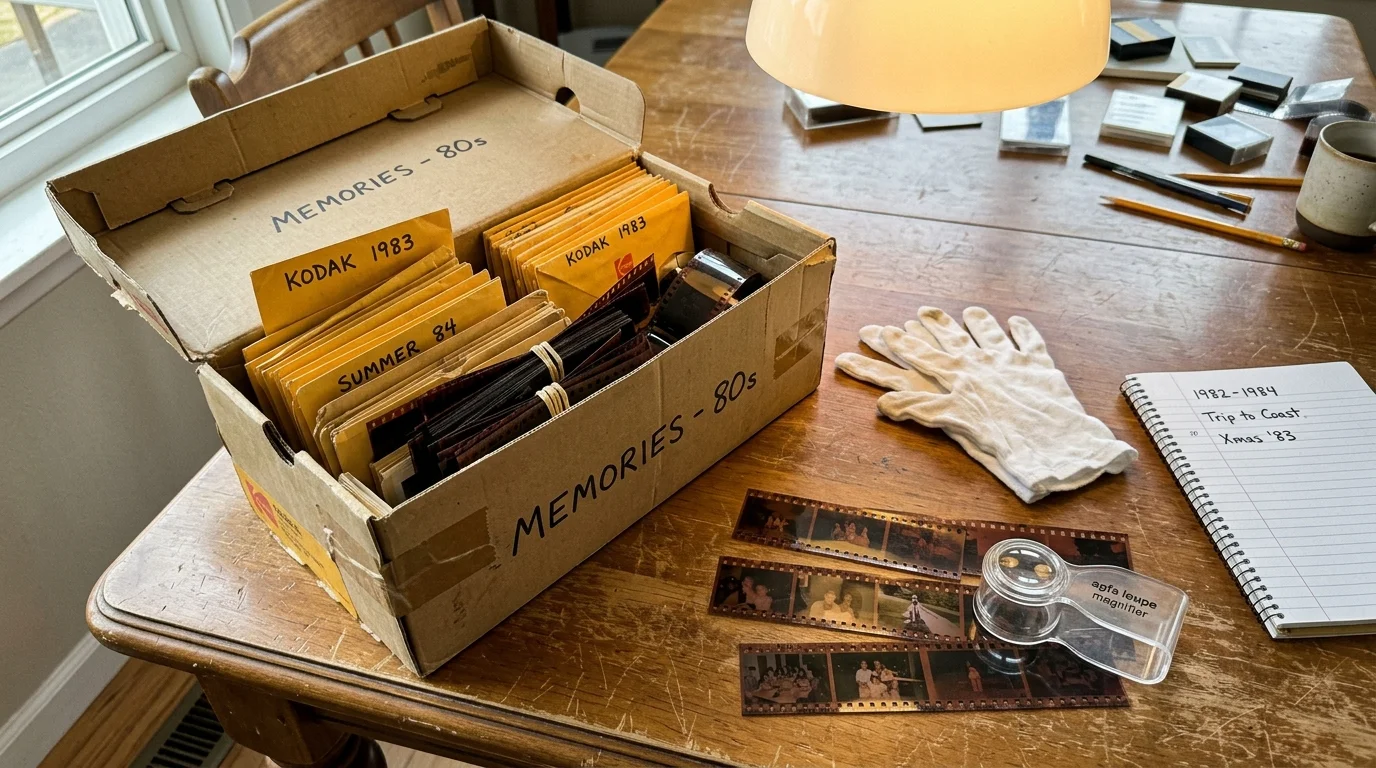
Inheriting a shoebox packed with 1,200 family negatives feels exciting until you calculate the scanning hours. Most family collections consist of 35mm color negatives from the 1970s through the early 2000s, preserved in sleeves or cut into six-frame strips.
You face two distinct paths to preserve these memories before film dyes fade. You can buy a turnkey desktop film scanner, or you can build a camera scanning station.
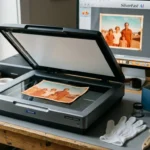
The dedicated route relies on the Plustek OpticFilm 8200i SE or 8200i Ai. These units provide a self-contained box with a motorized film carriage and dedicated scanning software.
The alternative route uses an interchangeable-lens mirrorless camera, a true 1:1 macro lens, a high-CRI backlight, and a precision film holder. Comparing camera scanning vs plustek 8200i workflows reveals massive differences in daily productivity.
When you evaluate dslr film digitizing vs dedicated scanner hardware, marketing brochures often cloud the reality. You need cold, objective film scanning gear math to make the right investment for your archive.
Resolution Mythbusting: Effective Optical DPI vs. Marketing Claims
Plustek prominently prints “7200 DPI” on the OpticFilm 8200i chassis and retail packaging. Marketing teams calculate this figure from the mechanical stepping motor and linear sensor pitch.
Optical reality tells a completely different story. Standardized bench tests using USAF 1951 optical test targets prove the Plustek 8200i resolves approximately 3,250 true optical dpi.
Scanning at the advertised 7,200 dpi generates massive 210-megabyte TIFF files filled with empty interpolation. You gain bloated digital storage without recording any additional photographic grain.
A standard 35mm film frame measures 36 by 24 millimeters, or roughly 1.417 by 0.945 inches. At 3,250 true optical dpi, the scanner extracts an image measuring 4,606 by 3,071 pixels.
That optical limit equates to roughly 14.1 megapixels of actual picture data. For most consumer films, 14 megapixels captures the fundamental image, but it leaves finer dye clouds unresolved.
Now consider a common 24-megapixel full-frame mirrorless camera capturing a 35mm negative at 1:1 reproduction ratio. The camera sensor records 6,000 by 4,000 discrete optical pixels directly across the negative area.
Dividing 6,000 pixels by 1.417 inches yields 4,234 true optical dpi. A standard 24-megapixel sensor delivers 30 percent higher real-world resolution than the Plustek scanner operates at natively.
If you mount a 45-megapixel sensor, you capture 8,256 by 5,504 pixels across that same frame. That setup yields 5,826 true optical dpi, resolving individual silver halide grains on archival black-and-white stocks.
Lens MTF, Diffraction, and Sensor Resolving Limits
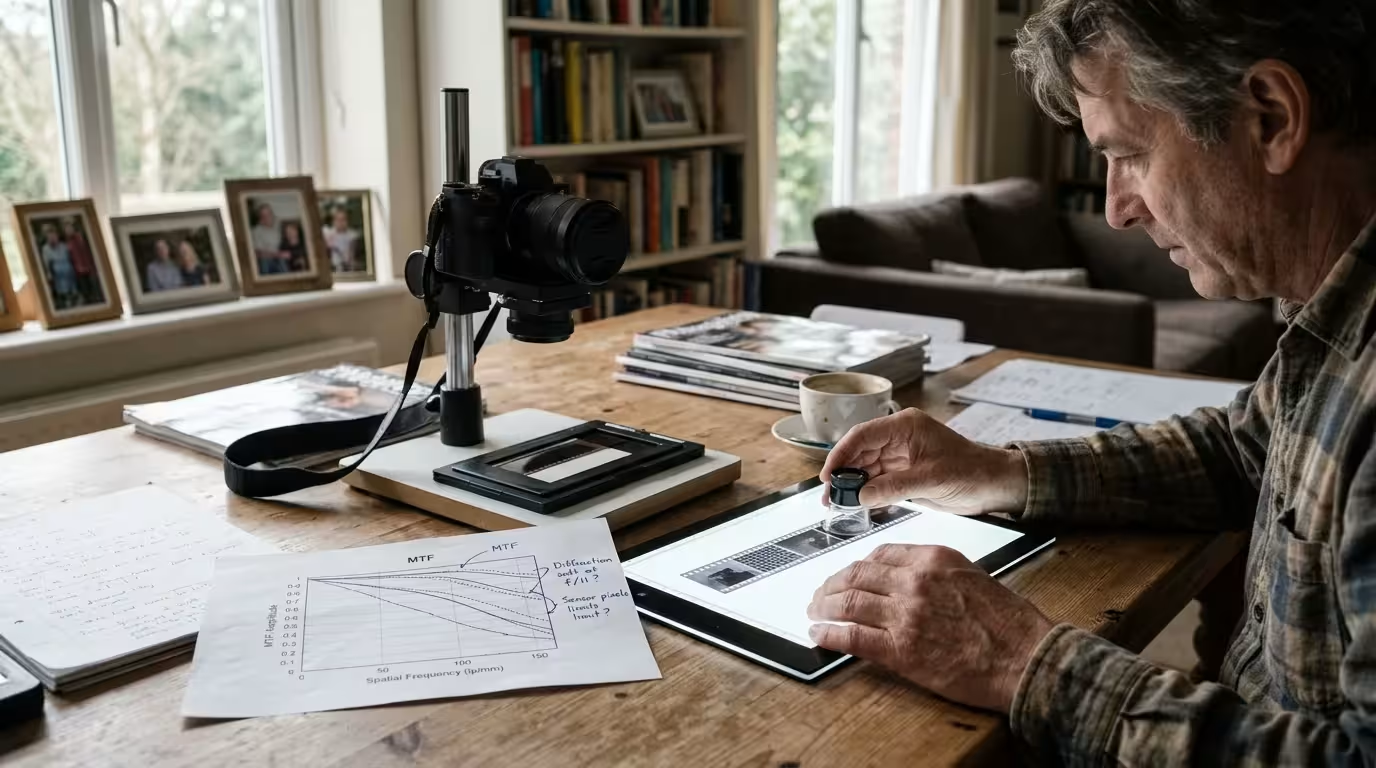
Sensors tell only half the optical story; resolving power depends heavily on your lens. Dedicated flat-field macro lenses utilize specialized optical formulas designed to maintain razor-sharp focus across a completely flat plane.
Photographers studying lens performance rely on Cambridge in Colour lens diffraction and MTF concepts to determine where optical sharpness peaks. Camera scanning yields the best results when you set your macro lens between f/5.6 and f/8.
At apertures smaller than f/11, optical diffraction begins softening fine details on high-density digital sensors. At f/5.6 or f/8, high-quality macro lenses easily out-resolve the optical assembly found inside consumer film scanners.
The Plustek 8200i uses a fixed, multi-element glass lens assembly. While competent, this small internal lens produces visible chromatic aberration along high-contrast boundaries and softness toward extreme frame corners.
Modern flat-field macro lenses preserve edge contrast across the entire negative frame, outperforming consumer scanner optics that soften around film rebate borders.
Consumer color negative films like Kodak Gold 200 or Fujifilm Superia 400 resolve between 40 and 50 line pairs per millimeter. That optical density matches roughly 2,000 to 2,500 true dpi.
However, resolving film grain sharply prevents unsightly digital aliasing and moiré artifacts during software sharpening. A mirrorless sensor records the authentic grain structure cleanly, whereas scanner interpolation often turns fine grain into muddy noise.
The Workflow Stopwatch: Real Seconds per Frame Measured
Resolution means nothing if your digitization workflow collapses under hundreds of unorganized negatives. Calculating the actual time required to scan 35mm film exposes the massive operational gap between these two systems.
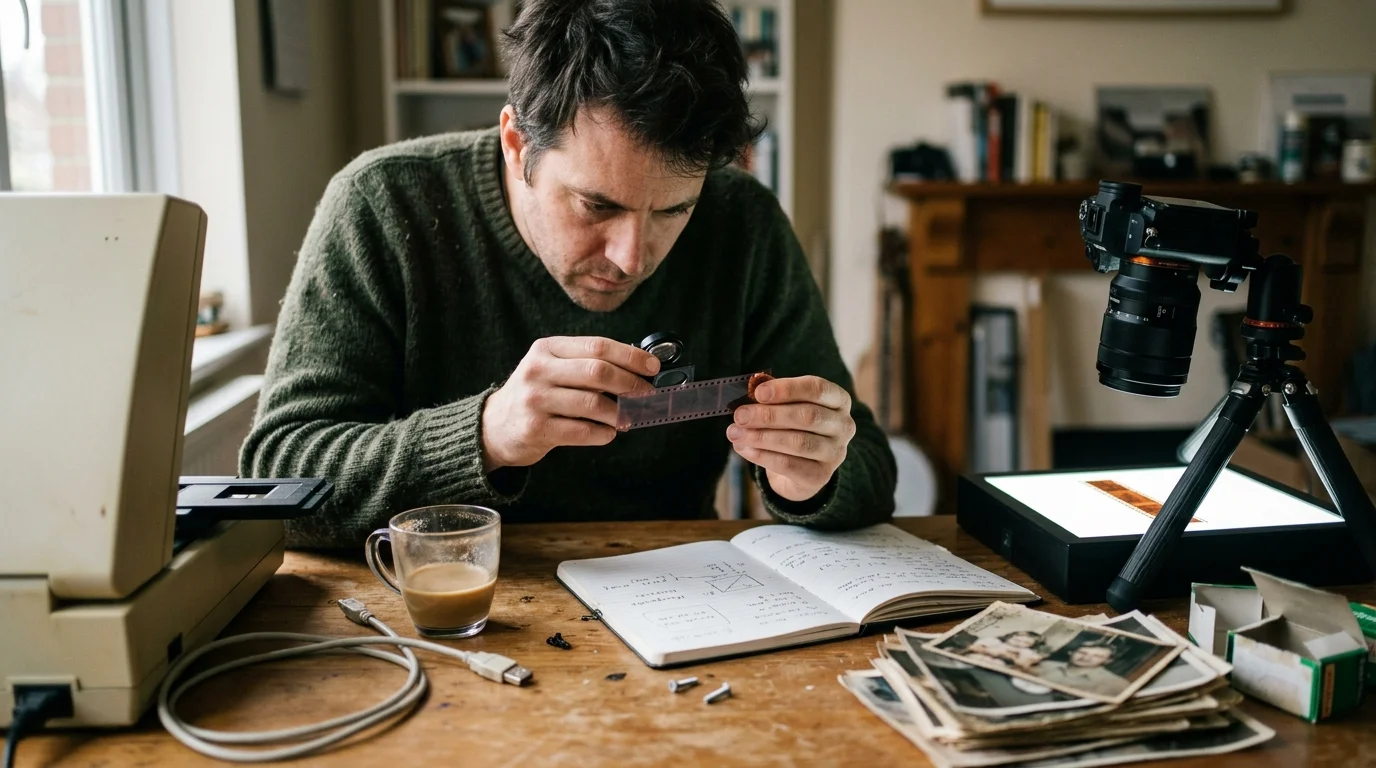
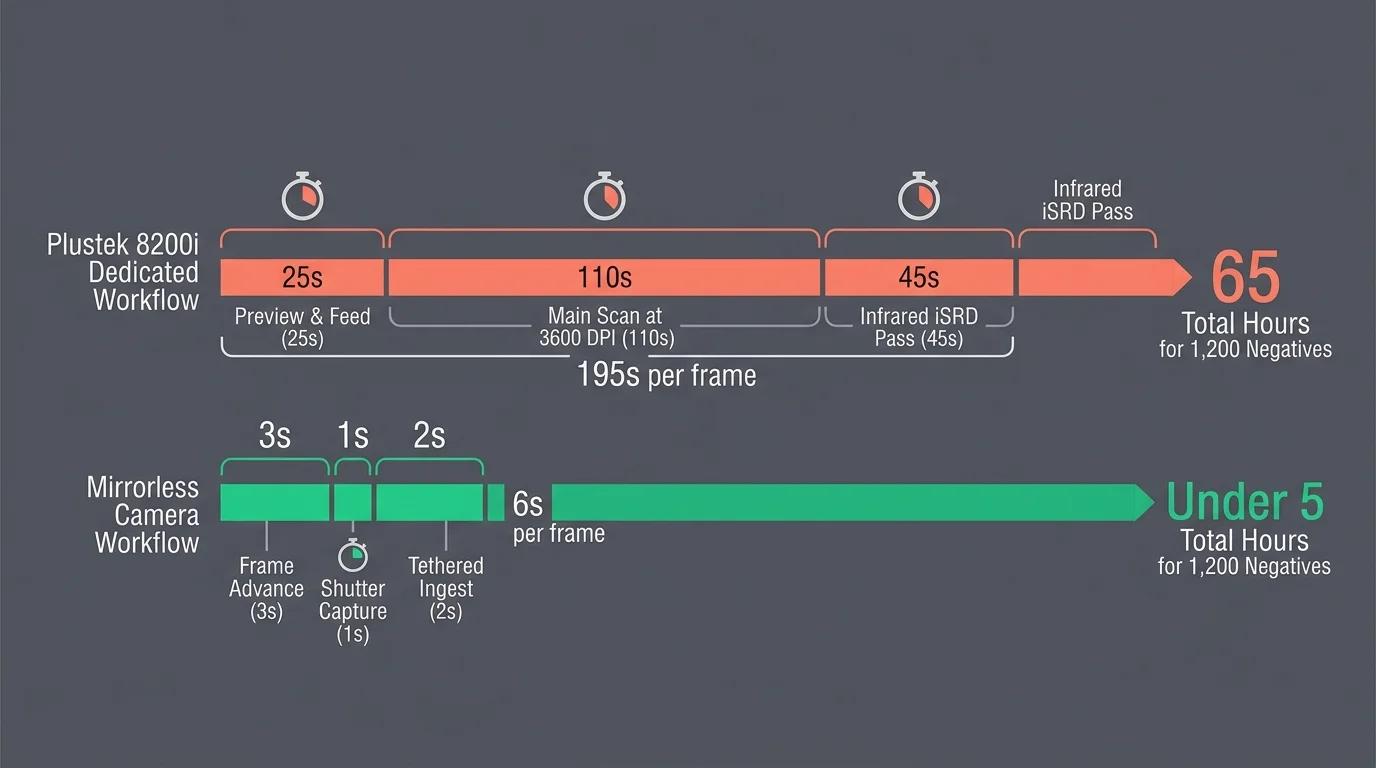
Consider the stopwatch math for a single negative inside the Plustek 8200i. You seat your negative strip into the plastic holder, insert it into the scanner, and generate a prescan preview in SilverFast SE.
Adjusting the frame crop and exposure takes roughly 15 seconds. Scanning a single frame at 3,600 dpi without defect removal requires approximately 45 seconds of continuous sensor travel.
Enabling infrared dust removal (iSRD) requires a second optical pass with an infrared light channel. That defect-scanning pass and subsequent digital processing stretch your scan time to 160 seconds per frame.
Adding strip adjustment and file saving brings the total Plustek workflow to roughly 195 seconds per frame. Digitizing an entire 36-exposure roll demands nearly two continuous hours of manual interaction.
Now examine the stopwatch breakdown for mirrorless camera scanning. Once you align your copy stand and lock your manual focus, your exposure settings remain completely static.
You slide the negative strip through a specialized guide like the Essential Film Holder or Valoi 360. Advancing the frame takes two seconds; releasing the electronic shutter takes a fraction of a second.
Capturing an entire 36-exposure roll takes less than three minutes of hands-on physical effort. You spend less time capturing a whole roll with a camera than the Plustek takes to process a single frame.
Software conversion happens in batch mode rather than frame by frame. Importing 36 RAW files into Adobe Lightroom Classic and running Negative Lab Pro takes roughly 90 seconds of automated processing.
For your 1,200-negative family archive, the difference is staggering. The Plustek demands 65 hours of manual scanning labor, whereas mirrorless camera scanning finishes the entire capture run in under five hours.
Dust Removal Math: Infrared iSRD vs. Manual Software Spotting
Advocates for dedicated film scanners point to one undeniable mechanical advantage: hardware infrared dust detection. The Plustek 8200i features an infrared emitter that maps surface dust particles and physical scratches.
Because color dyes are transparent to infrared light, SilverFast identifies opaque dust flakes precisely. The software automatically fills in defect areas using adjacent image pixel data without softening fine image details.
This automated cleaning saves massive amounts of editing time on damaged negatives. However, infrared dust removal fails completely on traditional black-and-white negatives because metallic silver grains block infrared light entirely.
Mirrorless camera sensors lack an infrared scanning channel. Every speck of dust resting on the film surface appears directly in your high-resolution RAW file capture.
You can prevent dust accumulation by following established physical handling guidelines. Adhering to the Library of Congress photographic preservation guidance protects your delicate negatives from abrasion and static contamination during digitization.
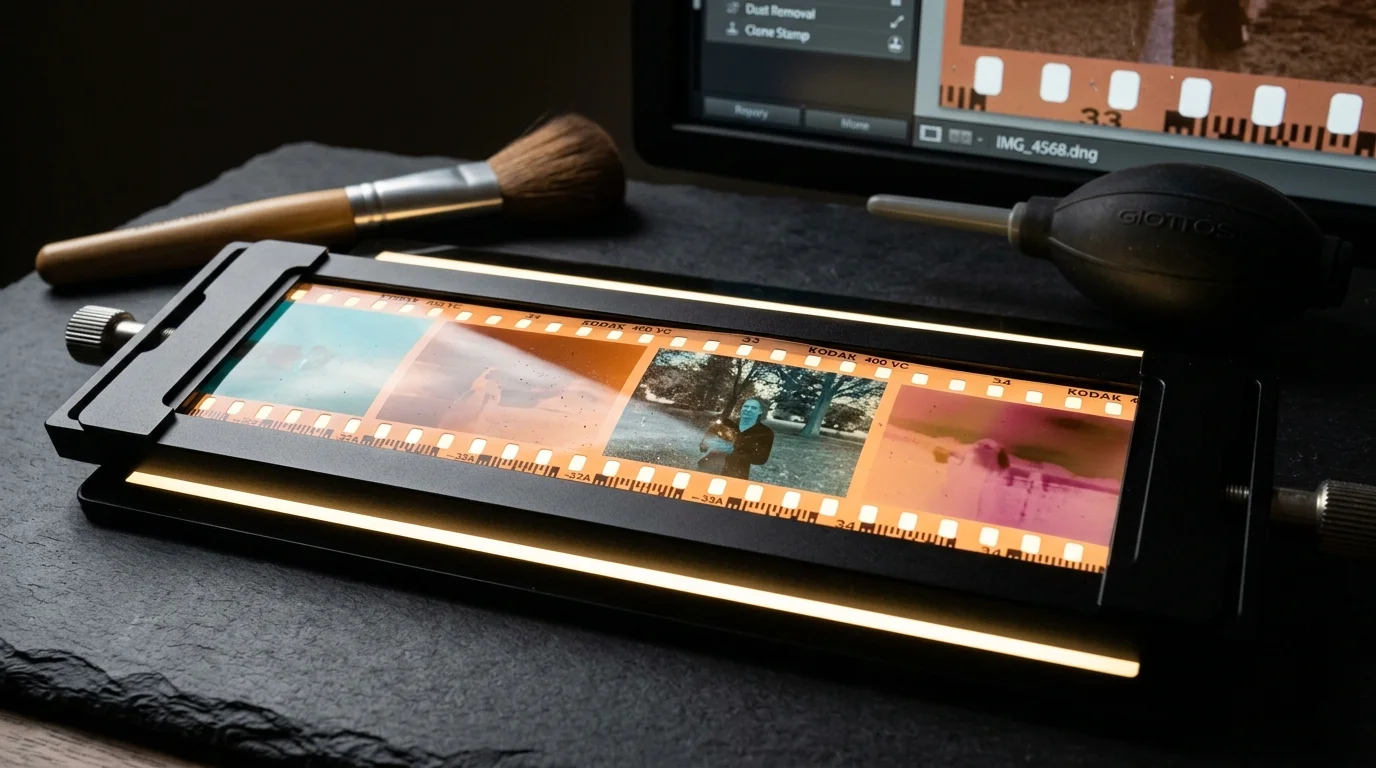
Use a professional bulb blower and an anti-static brush before sliding each strip into your carrier. Clean preparation eliminates 90 percent of surface dust before the shutter ever clicks.
Do you need to spot-heal every single frame in a 1,200-negative family collection? Most family historians print or share only 50 to 100 standout images from an entire archive.
Removing spots on 100 select frames in Lightroom takes roughly 15 seconds per image, or 25 total minutes. Spending 25 minutes spotting select images beats spending 60 extra hours running infrared scanner passes on non-essential frames.
Clean handling practices and high-volume bulb blowing eliminate the vast majority of surface dust before digital capture, keeping post-processing retouching minimal.

Gear Math: Total Cost of Ownership Breakdown
Selecting your scanning equipment requires evaluating total hardware costs against the size of your archive. Both approaches offer clear pricing tiers based on gear you may already own.
The Plustek OpticFilm 8200i SE retails for $399.00 USD, including LaserSoft SilverFast SE Plus 9. The 8200i Ai variant costs $499.00 USD, adding IT8 color calibration targets and advanced software tools.
For camera scanning, your equipment budget depends on your current photographic kit. If you already own a mirrorless or DSLR camera body, your peripheral investments remain modest.
A precision 1:1 macro lens costs between $150 and $300 USD on the secondary market. Vintage manual-focus macro lenses, such as the 55mm f/2.8 Micro-Nikkor, deliver outstanding optical sharpness for digitizing film.
A high-CRI light source like the CineStill CS-Lite costs approximately $35 USD. Precision film carriers like the Essential Film Holder or Valoi 360 run between $95 and $230 USD.
A lifetime license for Negative Lab Pro costs $99.00 USD for negative color conversions inside Lightroom. A sturdy copy stand or desktop tripod clamp adds another $50 to $100 USD.
| Hardware Solution | Estimated Equipment Cost | Effective Optical Resolution | Capture Time (36 Exposures) | Total Project Time (1,200 Frames) |
|---|---|---|---|---|
| Plustek OpticFilm 8200i SE | $399.00 | ~3,250 dpi (14.1 MP) | 115 minutes (with iSRD) | 65.0 hours |
| Plustek OpticFilm 8200i Ai | $499.00 | ~3,250 dpi (14.1 MP) | 115 minutes (with iSRD) | 65.0 hours |
| Mirrorless Rig (Existing Camera) | $380.00 – $480.00 | 4,234+ dpi (24.0+ MP) | 3 minutes (+ 2 min batch inversion) | 4.5 hours |
| Mirrorless Rig (Purchasing Used Body) | $750.00 – $900.00 | 4,234+ dpi (24.0+ MP) | 3 minutes (+ 2 min batch inversion) | 4.5 hours |
If you already own an interchangeable-lens camera, building a macro scanning setup costs roughly the same as a Plustek 8200i SE. Your reward is a 14-fold increase in daily project throughput.
The Verdict for Preserving 1,200 Family Negatives
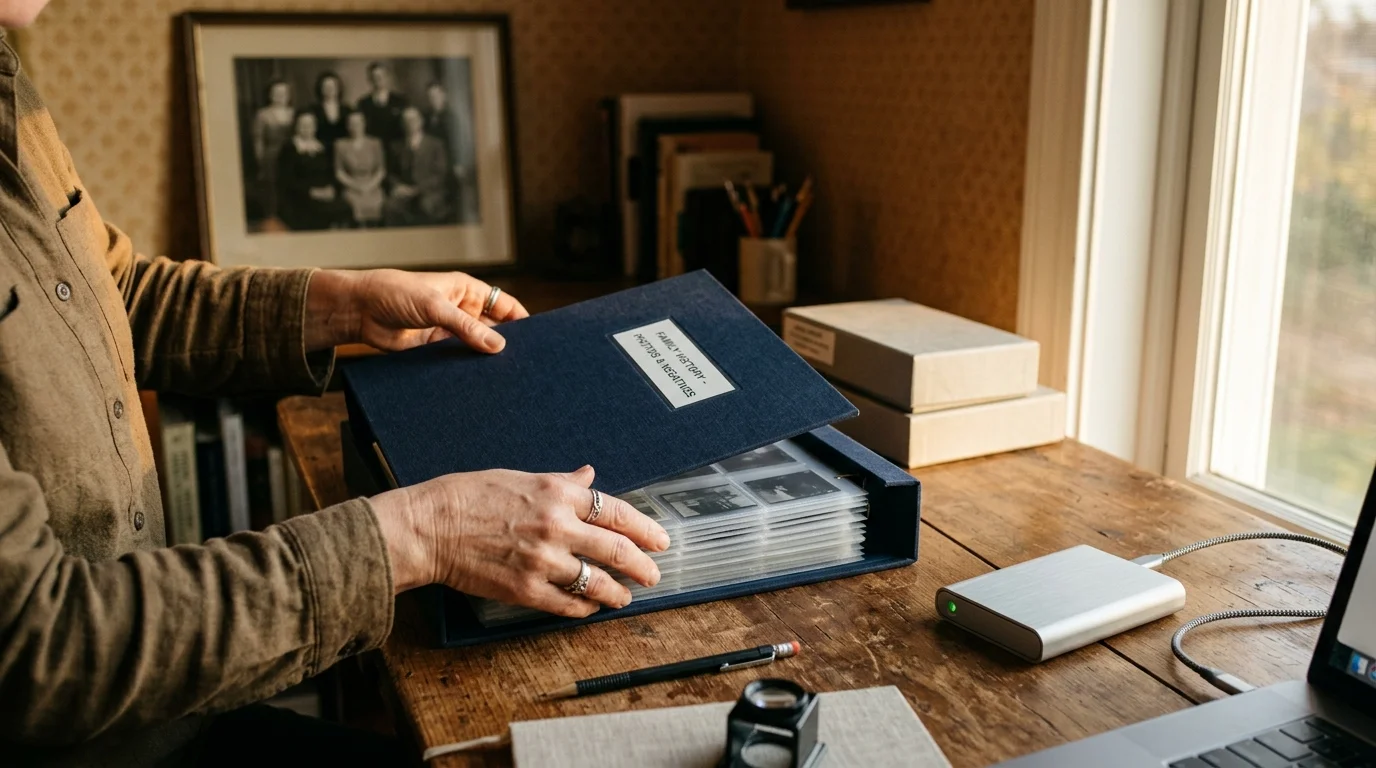
If you own an interchangeable-lens digital camera, mirrorless scanning is the indisputable winner for an archive of 1,200 negatives. The massive speed advantage preserves your valuable personal time while delivering measurably sharper optical files.
Spending 65 hours chained to a manual desktop scanner leads to digitizing fatigue and abandoned family projects. Camera scanning turns a multi-month ordeal into a satisfying weekend endeavor.
The Plustek 8200i remains a practical choice only for photographers who do not own a digital camera and refuse to learn copy stand setup geometry. The dedicated scanner also benefits users digitizing heavily scratched color strips where hardware iSRD cleans ruined emulsions automatically.
For everyone else, the resolution and workflow math favors camera digitizing. Invest in a solid film carrier, light the emulsion with high-CRI illumination, and digitize your family heritage with modern camera technology.
Frequently Asked Questions
Can I scan medium format 120 film on a Plustek OpticFilm 8200i?
No, the Plustek OpticFilm 8200i features a physical carriage designed strictly for 35mm film strips and mounted slides. Camera scanning rigs easily adapt to 120 medium format film by swapping out your film mask.
Do I need a full-frame camera for negative digitizing, or does APS-C work?
An APS-C sensor works exceptionally well for digitizing 35mm film. A 24-megapixel APS-C camera matched with an appropriate macro lens yields the same 6,000 by 4,000 pixel file as a 24-megapixel full-frame body.
Why does SilverFast crash or scan slowly when selecting 7,200 dpi?
Scanning at 7,200 dpi forces the software to generate massive raw data files exceeding several hundred megabytes per exposure. Because the scanner optics cannot resolve past 3,250 dpi, scanning above 3,600 dpi wastes computing power on interpolated pixels.
How do I convert color negatives photographed with my mirrorless camera?
Most photographers process their camera-scanned RAW files using the Negative Lab Pro plugin inside Adobe Lightroom Classic. The software reads your camera RAW profiles, removes the orange film mask, and balances tones automatically with professional color grading curves.
Disclaimer: This article is for informational purposes only. When handling valuable or irreplaceable photographs, consider consulting a professional conservator. Always test preservation methods on non-valuable items first.