You can eliminate destructive rainbow interference patterns from your 35mm slide digitizing setup by fixing spacing geometry rather than buying expensive glass. Controlling physical clearance preserves your emulsion while delivering archival raw captures.
Most scanning guides insist that anti-Newton ring glass is mandatory for flat slide camera-scanning. However, decoupling film contact through an exact 1.0mm elevation air gap coupled with a high Color Rendering Index light source solves the issue completely.
This engineering approach eliminates interference fringe artifacts without etching glass textures onto your film grain or degrading optical sharpness.
The Optical Physics of Thin-Film Interference in Slide Digitization
Newton’s rings occur when two smooth transparent surfaces touch with a microscopic wedge of air trapped between them. Light waves reflect off both surfaces and recombine out of phase.
When the gap matches odd multiples of a quarter-wavelength of visible light, destructive and constructive interference creates concentric rainbow bands. These bands ruin fine photographic detail.
In slide scanning, this boundary layer forms when film base or gelatin emulsion touches flat carrier glass or acrylic light guides. The smooth plastic film base acts as an ideal optical flat.
Camera scanning exacerbates this problem compared to legacy flatbed scanners. Modern high-resolution camera sensors resolve individual interference fringe widths down to microscopic pixel clusters.
Understanding these wave mechanics explains why mechanical pressure alone cannot cure the problem. Pressing the slide flatter simply spreads the ring outward across your image area.
For an in-depth optical analysis of wave interference patterns and lens diffraction limits, explore the optical tutorials at Cambridge in Colour.
True optical interference requires micro-scale contact boundaries. Removing physical contact entirely breaks the conditions required for wave interference to manifest.
Because interference patterns depend directly on wavelength coherence, broad-spectrum light sources generate multi-colored chromatic fringes. Monochromatic light creates high-contrast dark bands, while polychromatic daylight creates vibrant rainbow halos.
These optical rings degrade both color negative film and positive reversal transparencies. Eliminating them at the source avoids destructive digital retouching that damages original film grain.

Evaluating Light Sources: Why 98+ CRI Panels Outperform Tracing Pads
Many home archivists purchase inexpensive LED tracing pads for slide digitization. These budget light pads produce severe color calibration failures and exaggerate interference bands.
Tracing panels rely on inexpensive phosphor LEDs engineered strictly for line visibility. They produce an intense spectral peak at 450 nanometers and a catastrophic cyan trough near 480 nanometers.
Their Color Rendering Index (CRI) rarely exceeds 80 Ra, with special color rendering values like R9 dipping below zero. Deep reds in Kodachrome dyes render dull, muddy, or shifted toward brown.
In contrast, a high CRI light pad slide digitizing workflow requires continuous spectral output above 95 Ra, ideally reaching 98 or 99 Ra. Balanced emission ensures accurate RGB emulsion channel separation.
Spectral smoothness also stabilizes optical transmission through transparency film bases. Discontinuous narrow spectral spikes amplify the contrast of edge interference rings across steep color boundaries.
Panels with 98+ CRI provide broad-spectrum radiant energy across the entire visible spectrum from 400 to 700 nanometers. This illumination matches the original color balance intended by film chemists.
Choosing a high-CRI light pad also allows lower sensor gain. You can shoot at baseline ISO 100 without suffering long shutter times that introduce micro-vibrations.
High-CRI emitters also generate far less thermal energy per lumen than halogen bulbs. Excess heat from low-grade equipment causes slide film to pop and warp during scanning passes.
Spacing Geometry: Calculating the Optimal Air Gap Tolerance
The most reliable method to eliminate newtons rings slide scanning artifacts is spacing geometry. You must physically decouple the slide from any solid surface beneath it.
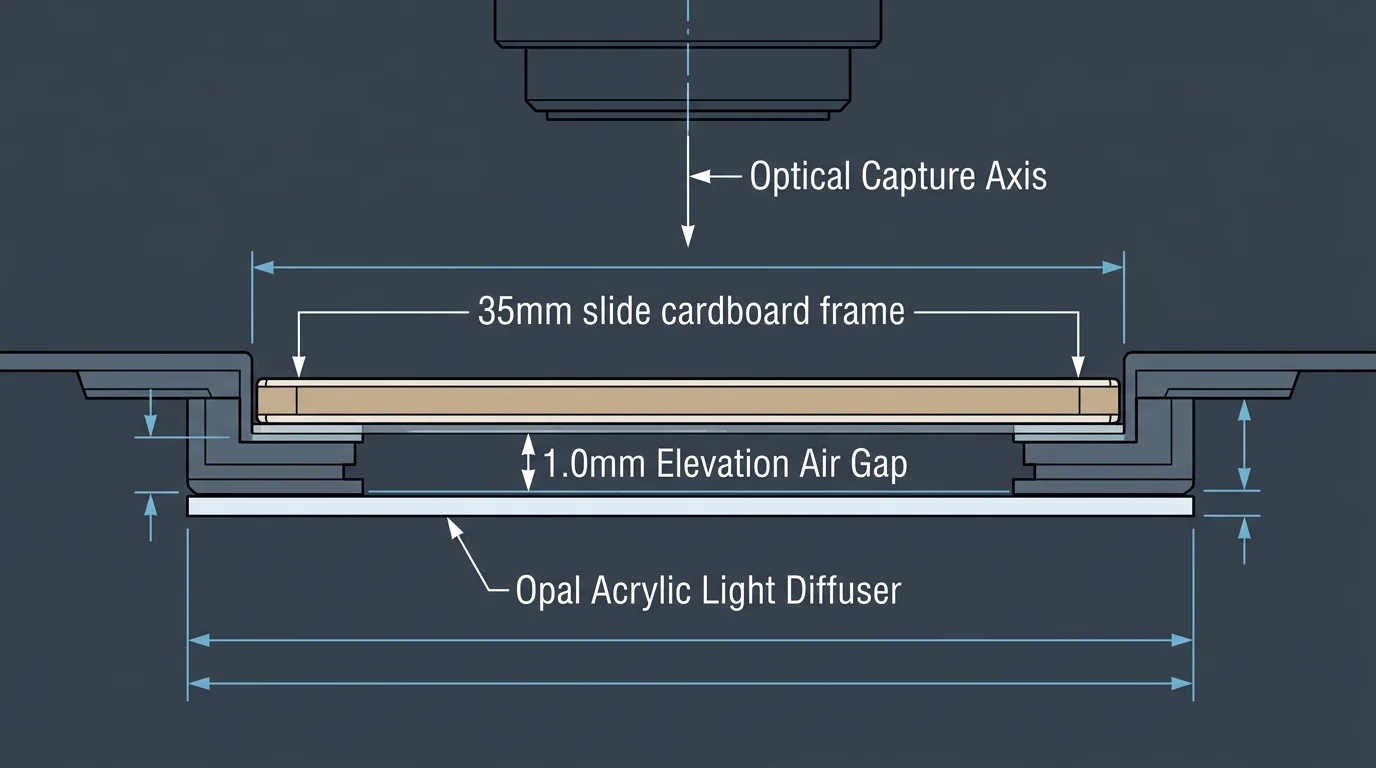
If the air gap between your transparency and the underlying diffusion plate exceeds 0.5 millimeters, thin-film interference cannot form. Light waves can no longer produce optical phase cancellation.
However, you cannot increase this gap arbitrarily. Elevating the slide carrier too far above the light panel introduces severe edge falloff and invites stray ambient light reflections.
An air gap between 1.0 millimeter and 1.5 millimeters provides the ideal mechanical tolerance. This clearance accommodates natural film curvature while keeping the slide well inside even diffusion illumination.
Vintage cardboard and plastic 35mm slide mounts often warp over decades of storage. A 1.0 millimeter clearance ensures that the central sag of the film never contacts the lower diffusion plate.
Maintaining this precise gap also isolates your camera’s focal plane from surface imperfections. Scratches or dust on the diffusion panel remain completely thrown out of focus at macro apertures.
Review the Image Permanence Institute film preservation resources to learn how environmental humidity shifts film curvature and affects mounting stability.
Fluctuating relative humidity can expand gelatin emulsion faster than cellulose triacetate base layers. A calibrated clearance envelope prevents seasonal film curling from bridging the air barrier.
Anti-Newton Ring Glass Versus Border-Suspension Carriers
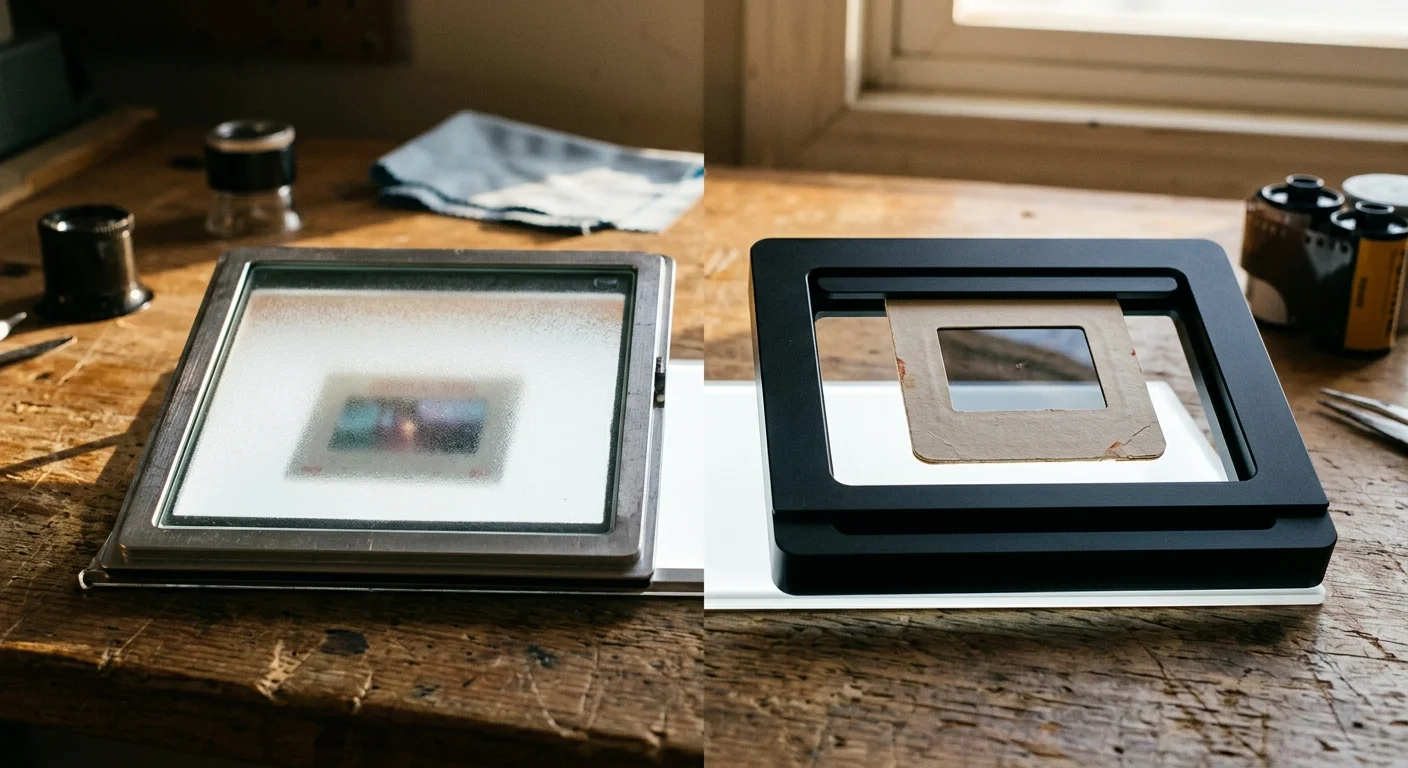
Archivists frequently debate whether to install anti newton ring glass camera scan systems or use border-suspension carriers. Both solutions prevent interference, but they utilize opposing optical strategies.
Anti-Newton ring (ANR) glass features a microscopically etched, acid-treated surface. The irregular texture breaks up optical contact points, scattering light to prevent cohesive thin-film interference.
ANR glass flattens severely bowed film successfully across the entire focal plane. However, the glass introduces two new air-glass boundaries that reduce micro-contrast and collect dust.
When stopping down past f/8 on high-resolution sensors, macro lenses can resolve the etched texture of the ANR glass. This texture introduces artificial noise resembling digital clumping over natural film grain.
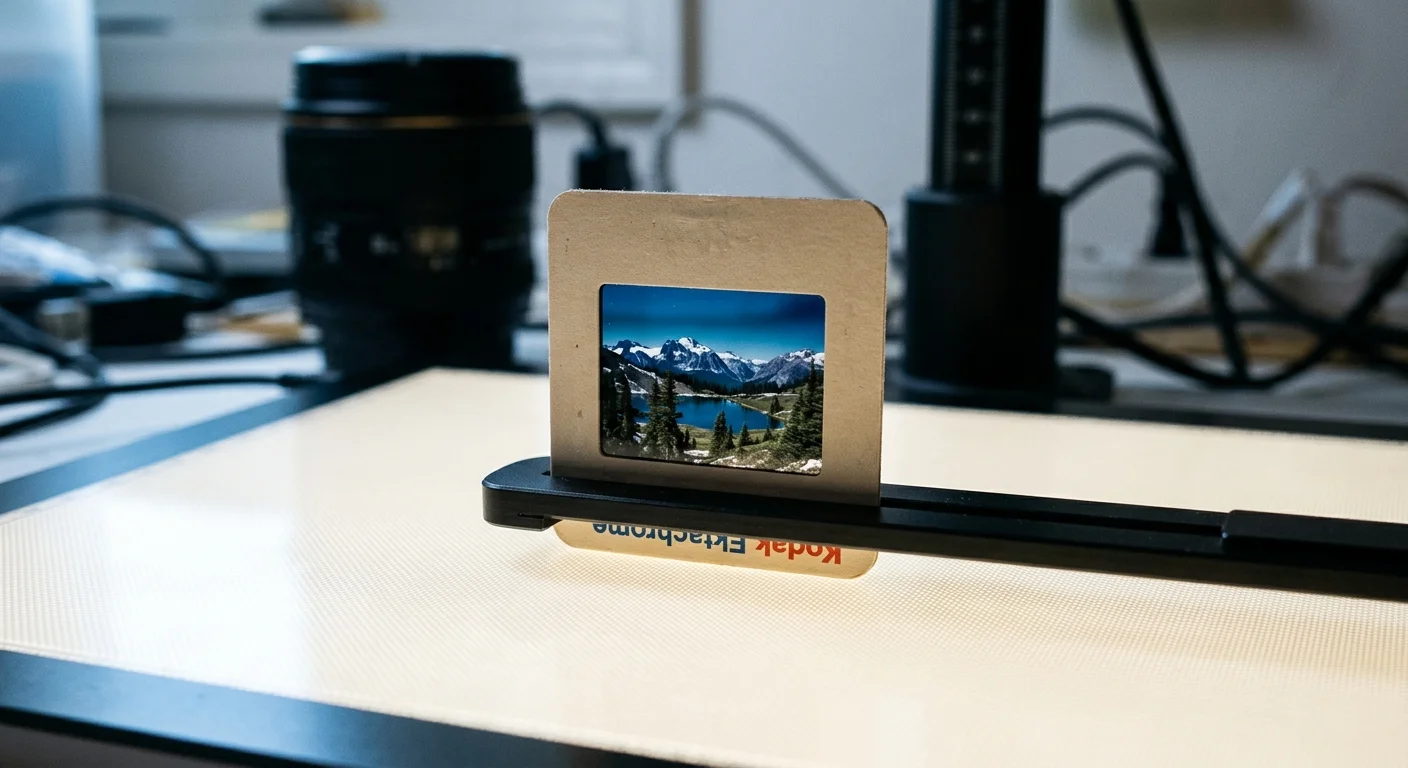
Border-suspension carriers grip the slide mount strictly by its outer cardboard or plastic rim. The transparency floats freely in air without touching any glass elements.
Floating carriers eliminate all transmission loss, internal flare, and surface etching artifacts. As long as your lens provides adequate depth of field, suspension carriers deliver cleaner archival captures.
Suspending slides by their mount borders preserves authentic optical resolution. Every added pane of glass degrades image contrast and introduces dust management liabilities.
Using border-suspension also saves hours of pre-scan maintenance. You avoid cleaning four separate optical glass surfaces for every single slide in your archive.
Reserve ANR glass strictly for unmounted film strips that suffer from severe cupping. Mounted 35mm family slides benefit far more from open-air suspension.
Step-by-Step Worked Example: Calibrating a 35mm Slide Digitization Rig
Consider this real-world digitization scenario for a collection of 1978 Kodachrome slides in 1.35mm cardboard mounts. We will eliminate Newton’s rings while maximizing color fidelity and sharpness.
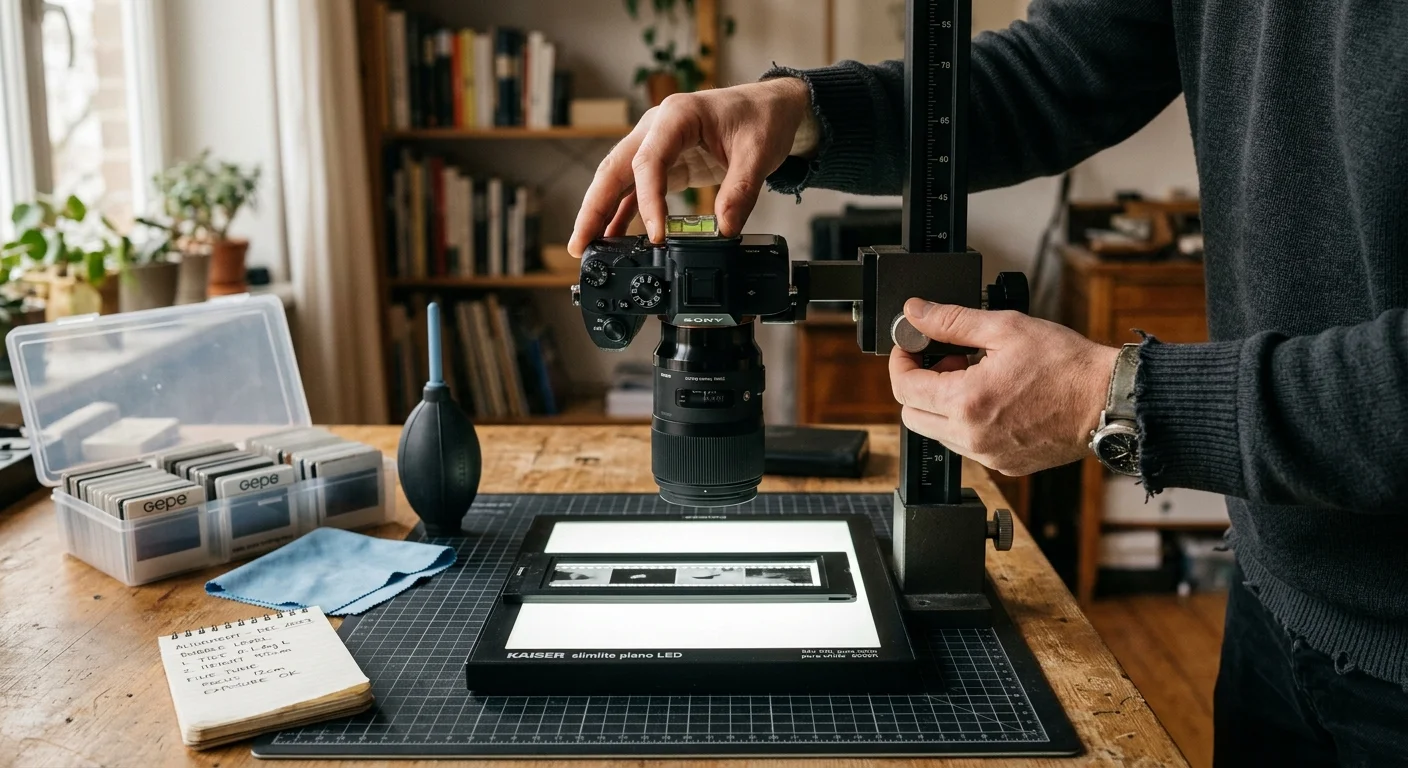
Mount your mirrorless camera on a rigid vertical copy stand, aligning the sensor plane perfectly parallel to the baseboard with a bubble level. Attach a 90mm f/2.8 macro lens.
Position a CineStill CS-Lite 95+ CRI light panel ($65) on the baseboard. Set its integrated control switch to Daylight Mode (5500K) to match Kodachrome’s native color balance.
Place four 15mm clear acrylic spacer blocks on the light panel perimeter. Rest an Essential Film Holder or custom slide carrier on top of these blocks.
The carrier raises the slide mount 15mm above the panel diffuser while its internal recess suspends the slide film 1.0mm above the carrier base.
Insert the Kodachrome slide with its emulsion side facing downward toward the light source. The emulsion side possesses a matte surface that further resists optical bonding.
Set your camera to ISO 100, manual exposure, and f/8. At f/8, the depth of field spans 1.8mm, easily covering mount curvature without introducing lens diffraction.
Shutter speed meters at 1/15 second. The resulting raw file shows zero rainbow interference rings, crisp grain across all corners, and less than 0.1 EV edge illumination variance.
Total setup investment remains modest: $65 for the calibrated light panel and $12 for precision acrylic riser blocks. This hardware configuration yields repeatable, museum-grade capture files.
Hardware Comparison Matrix: Light Sources and Carrier Types
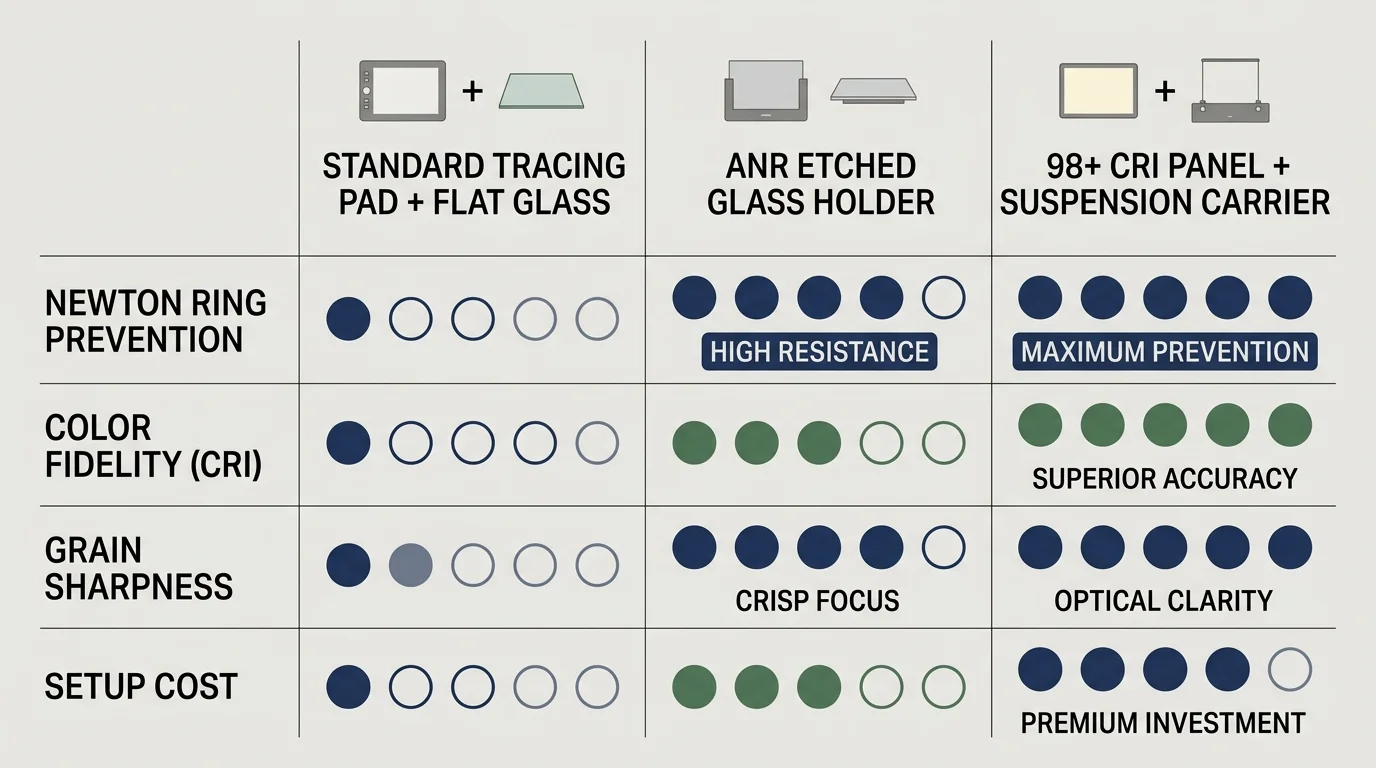
Selecting the right hardware requires balancing spectral accuracy, luminance, and physical spacing geometry. The following matrix details verified equipment specifications used in professional archival slide scanning workflows.
| Hardware Model | Spectral Quality (CRI / R9) | Output Luminance | Carrier Separation Gap | Interference Risk | Price (USD) |
|---|---|---|---|---|---|
| LitEnergy A4 LED Tracing Pad | CRI 72 / R9 -14 | 1,500 Lux | 0.0 mm (Direct Contact) | Extremely High | $18 |
| CineStill CS-Lite LED Panel | CRI 95+ / R9 92 | 2,200 Lux | 15.0 mm Riser Standoff | Zero (Air Decoupled) | $65 |
| Kaiser Slimlite Plano 2453 | CRI 95 / R9 90 | 3,000 Lux | 1.2 mm Carrier Gap | Zero (Suspension Mount) | $145 |
| Negative Supply Light Source Pro | CRI 99 / R9 97 | 4,500 Lux | Modular Riser (20 mm) | Zero (Open Carrier) | $299 |
| Skier Sunray Copy Box 3 | CRI 96 / R9 93 | 3,800 Lux | Integrated 25 mm Baffle | Zero (Rim Suspension) | $185 |
Low-cost tracing pads fail primarily due to poor spectral continuity and direct surface contact. Without elevation, interference rings appear on over 70 percent of standard slide mounts.
Dedicated high-CRI panels provide the necessary luminance to keep camera shutter times short. Higher brightness minimizes camera shake without requiring sensor amplification that adds noise.
Pairing a 98+ CRI panel with an elevated border-grip carrier completely removes the need for expensive anti-Newton ring glass. This configuration reduces overall scanning cost and post-capture cleanup.
High-end units like the Negative Supply Light Source Pro provide elite 99 CRI output for critical archiving. However, mid-tier 95+ CRI panels deliver exceptional color separation for family archives at a fraction of the cost.
Mitigating Edge Falloff and Surface Dust in High-Resolution Captures
Spacing your slide carrier above the light source requires careful management of illumination falloff. Light spreads outward radially, causing subtle vignetting along transparency borders if your diffuser is too small.
Ensure your light panel surface area measures at least three times the dimensions of your film carrier opening. An oversized source guarantees uniform Lambertian illumination across the slide.
Mask the illuminated area around the slide mount using matte black archival paper or laser-cut acrylic masks. Stray light entering your lens barrel degrades macro contrast and creates chromatic flare.
Suspending slides away from the diffusion plate also prevents dust on the acrylic from appearing in your scans. The camera lens focuses exclusively on the film grain plane.
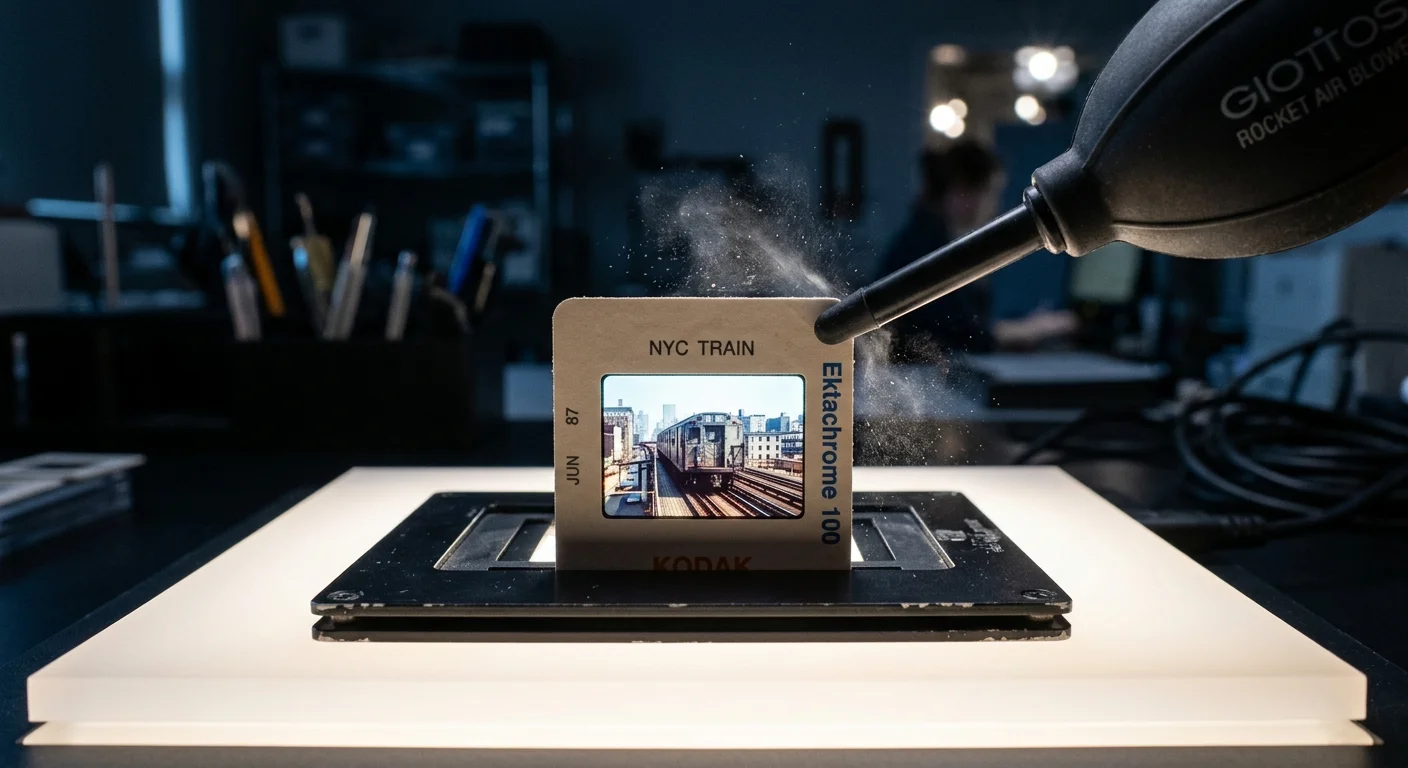
Clean each slide gently before capture using an anti-static bulb blower. Never wipe mounted film with standard microfiber cloths, which can grind embedded silica dust across delicate emulsion layers.
For stubborn organic residue or fungal spores, use specialized photographic emulsion cleaner and antistatic optical wipes. Test your cleaning solvents on non-critical frames prior to processing family heirlooms.
By controlling illumination spectrum, elevation geometry, and ambient reflections, you achieve museum-grade digital preservation files from your home slide collection.
Frequently Asked Questions
Why do Newton’s rings appear on some slides but not others?
Newton’s rings appear only when smooth film base physically contacts another polished surface with microscopic air gaps. Slides with slight base curvature or matte emulsion sides resting on mounts do not establish the necessary optical contact.
Cardboard slide mounts that hold film slightly recessed keep the film suspended. Thin plastic mounts often allow film to press flat against underlying glass or diffuser panels.
Can software post-processing remove Newton’s rings completely?
Software cannot cleanly remove Newton’s rings without damaging underlying image textures. Because interference patterns vary in color, intensity, and phase across film grain, automated digital clone and heal tools leave visible smearing.
Frequency separation can suppress broad color bands but fails to restore lost high-frequency image detail. Preventing optical interference during initial physical capture remains the only lossless preservation approach.
Does anti-Newton ring glass degrade image sharpness during camera scanning?
Anti-Newton ring glass can slightly degrade micro-contrast on high-resolution camera sensors. When stopped down past f/8, macro lenses resolve the microscopic acid-etched glass texture, superimposing a subtle noise pattern over photographic grain.
In addition, introducing two glass surfaces increases lens flare and internal reflections. Border-suspension open-air carriers maintain pure optical sharpness without glass artifacts.
Which side of the 35mm slide should face the camera sensor?
Orient the slide with the glossy base side facing the camera sensor and the matte emulsion side facing the light source. This orientation produces an optically correct, unreversed image while reducing reflective interference risks.
The structured, matte surface of the gelatin emulsion scatters transmitted light slightly. This scattering discourages the optical bonding that generates thin-film interference rings.
Disclaimer: This article is for informational purposes only. When handling valuable or irreplaceable photographs, consider consulting a professional conservator. Always test preservation methods on non-valuable items first.