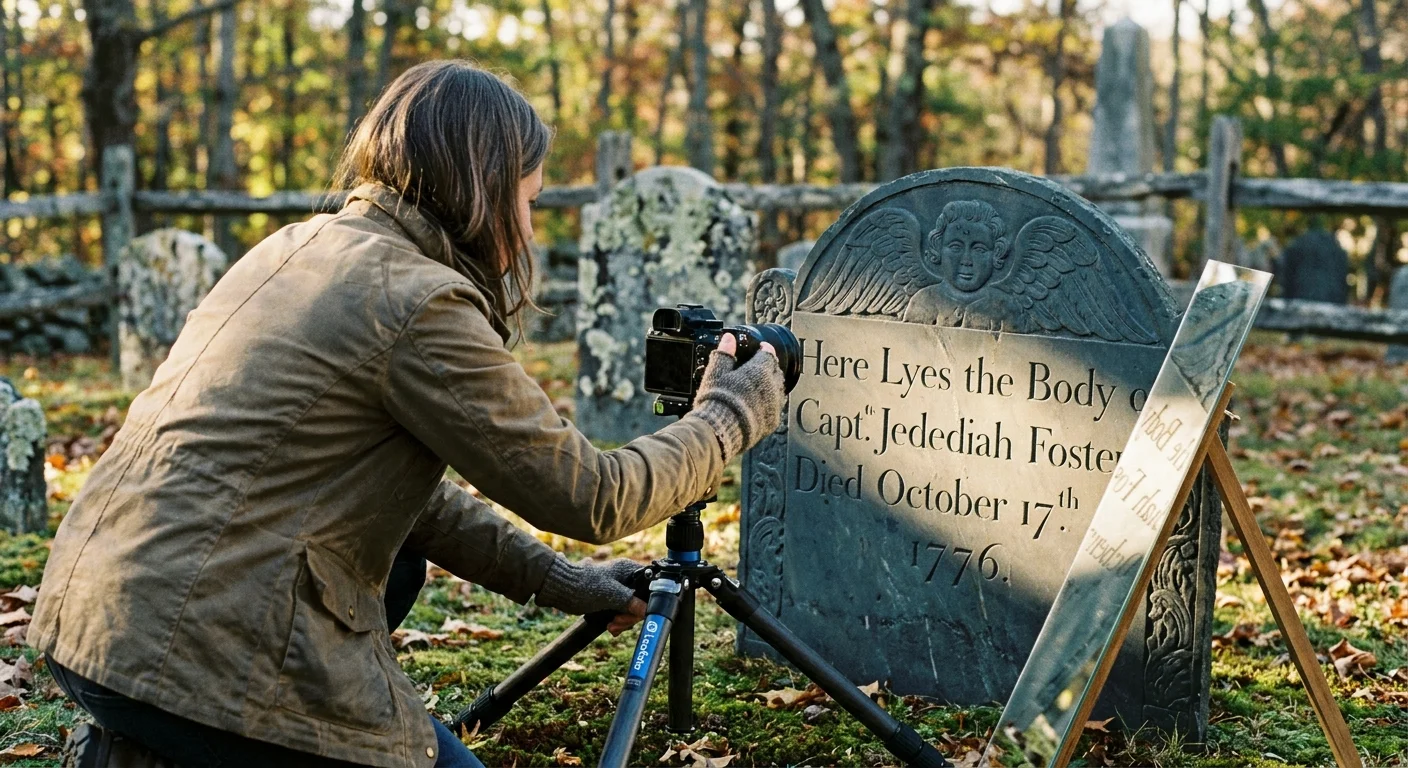
You can recover illegible names and dates from weathered 18th-century slate headstones without touching fragile, historic surfaces. Optical field techniques reveal worn carvings cleanly even when flat ambient daylight washes them out completely.
While common amateur advice recommends physical rubbings or moisture sprays, combining an off-axis mirror bounce with a circular polarizer isolates shallow stone incisions from blinding surface glare.
This guide delivers the exact filter rotation angles, mirror positioning steps, and camera settings you need to photograph worn headstones accurately in deep cemetery shade.
Optical Dynamics of Weathered Slate and Surface Glare
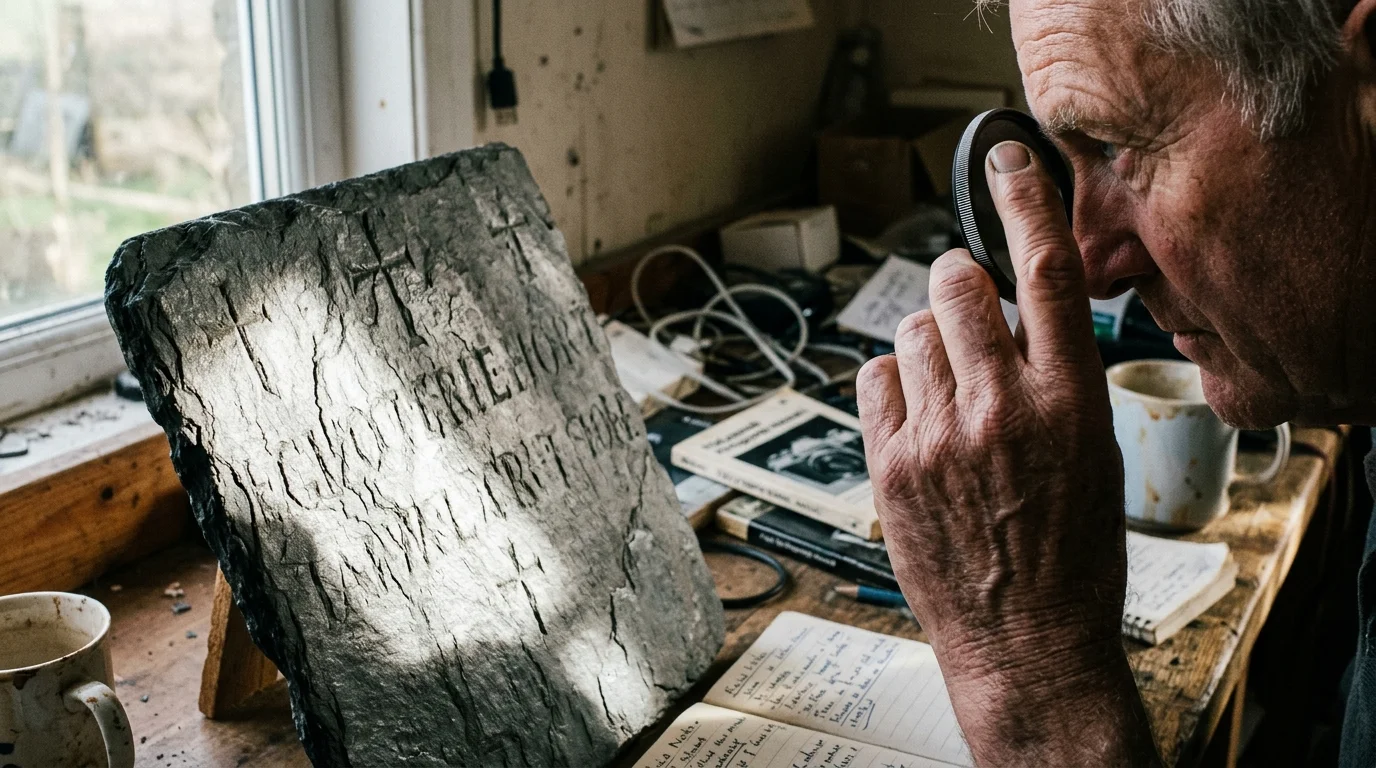
When direct sunlight strikes weathered 18th-century slate, microscopic mineral layers scatter the incoming rays. This diffuse reflection washes out faint hand-chiseled incisions.
Weathered slate consists of layered silicate sheets that peel and craze over centuries of outdoor exposure. Specular highlights bounce off these microscopic planes directly into your camera lens.
As a result, the lettering loses critical edge contrast. An inscription that remains physically intact becomes optically invisible against the reflective stone face.
You cannot solve this problem by simply increasing exposure or boosting contrast in post-processing software. Raising exposure only amplifies glare across the raised surface planes.
Colonial slate also contains embedded flecks of mica and quartz crystals. These reflective minerals generate harsh pinprick hotspots that ruin digital sensor readouts.
Overhead cemetery canopy creates another optical obstacle: mottled, blotchy daylight. Patches of intense sun next to deep tree shadows overwhelm your camera’s dynamic range.
To reveal worn incisions, you must control the light angle before it reaches your camera. Manipulating directional shadows and eliminating polarized glare provides the only reliable solution.
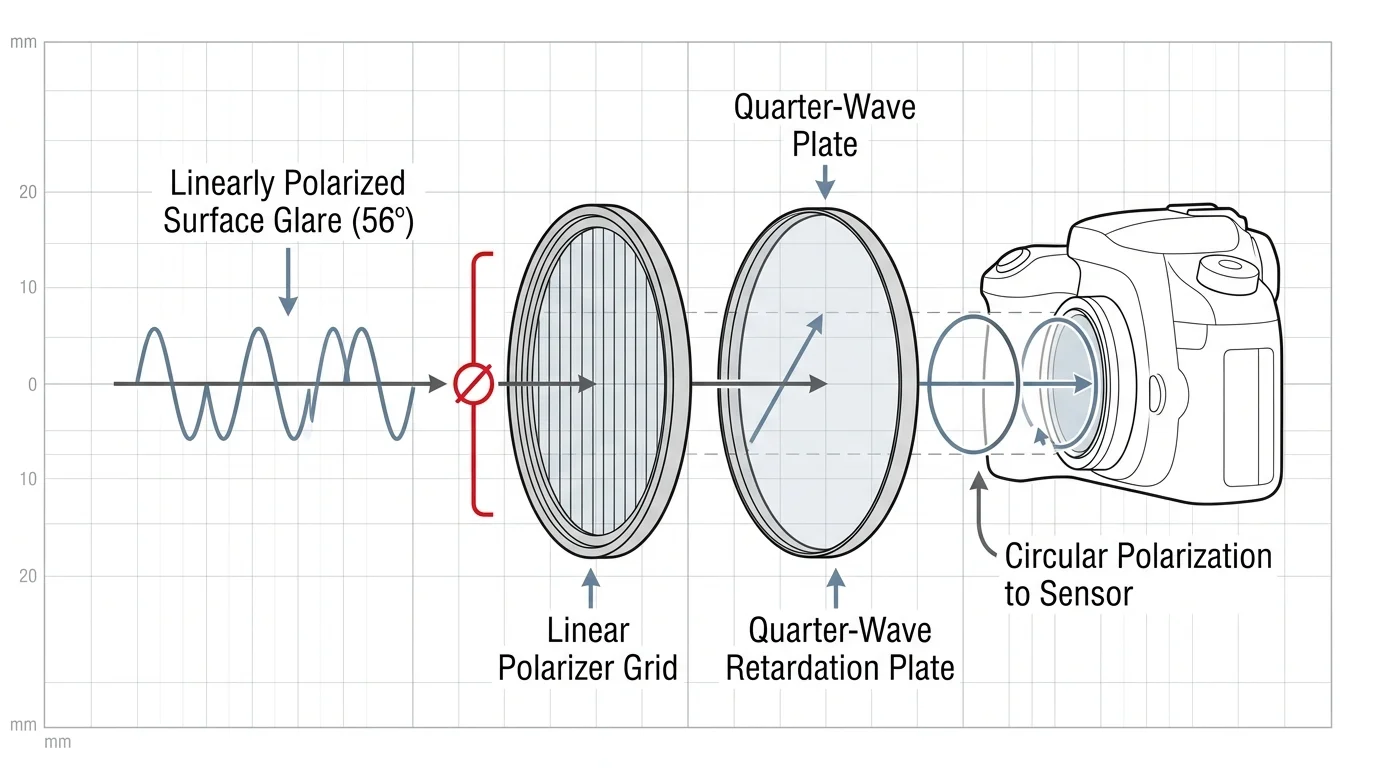
Eliminating Stone Glare with Circular Polarizers
A circular polarizing filter functions as an essential headstone glare camera filter for historical fieldwork. It cuts polarized light waves bouncing off reflective mineral faces.
Unpolarized sunlight vibrates in multiple planes as it travels through the atmosphere. When this light bounces off flat slate at roughly 56 degrees, it becomes linearly polarized.
Mineralogists recognize this reflection angle as Brewster’s angle. At this specific angle, reflected light consists almost entirely of waves vibrating parallel to the stone surface.
A circular polarizer combines a linear polarizing layer with a quarter-wave retardation plate. Rotating the front ring aligns the internal grid to block polarized surface glare.
You can review optical filtration theory in depth through Cambridge in Colour tutorials. Understanding these polarization principles helps you position your camera accurately.
Rotate the filter ring slowly while inspecting your camera’s live view screen. The blinding sheen on the stone will fade, revealing deep, saturated tones across the slate.
Standard polarizers work best when shooting at an oblique angle to the target surface. However, gravestone transcription demands square, flat framing to prevent severe perspective distortion.
By angling your illumination source rather than your camera, you satisfy Brewster’s angle optically. This geometry allows the filter to cancel glare while your sensor remains parallel to the marker.
Linear polarizers also cut glare, but they disrupt the phase-detection autofocus arrays in modern cameras. Always choose a circular polarizer to ensure accurate metering and autofocus performance.
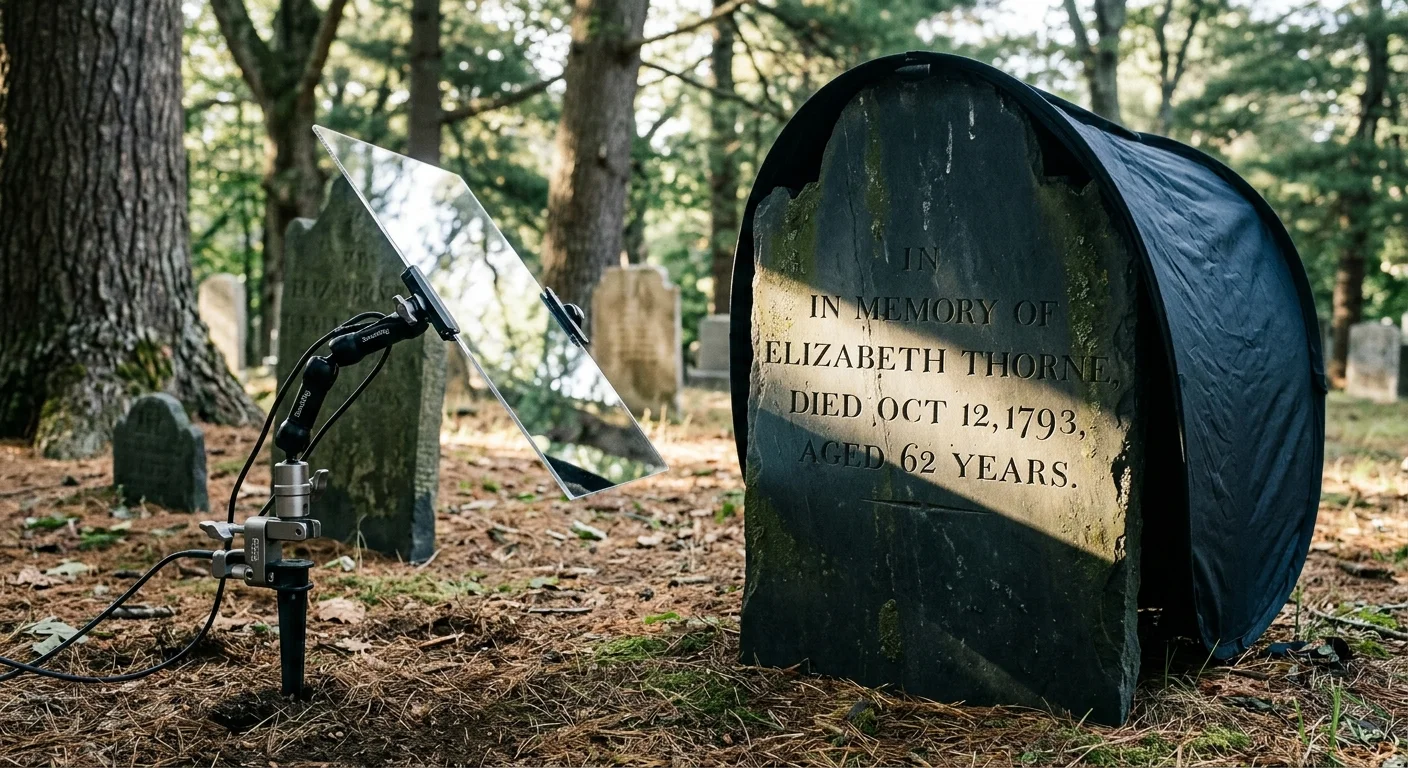
Designing Portable Cross-Lighting and Mirror Bounce Rigs
Using cross lighting cemetery inscriptions produces bold cast shadows inside shallow carved lettering. Raking light travels across the marker surface at an acute angle of 5 to 15 degrees.
High overhead daylight fills carved letter troughs with bright light, destroying edge definition. Low raking light skims the face, illuminating raised areas while leaving carvings in deep shadow.
Natural raking light rarely aligns with tree-covered gravestones at the exact moment of your visit. You must redirect ambient sunlight using a dependable portable lighting rig.
Glass and acrylic mirrors deliver the highest directional intensity of any passive reflector. A standard 24-by-36-inch mirror redirects up to 90 percent of ambient sunlight onto shadowed markers.
Mount your mirror onto a heavy-duty light stand equipped with an adjustable grip head. Position the stand three to six feet to the side of the stone.
Aim the reflected light beam from the upper left side of the gravestone face. Western reading conventions train human eyes to expect illumination from above and to the left.
Lighting from the lower right creates an optical illusion called relief inversion. Under inverted lighting, carved inscriptions appear as raised bumps rather than recessed channels.
“Raking illumination converts micro-topographical depth into visual contrast, transforming nearly invisible stone incisions into crisp typographic data without surface contact.”
When deep cemetery tree cover blocks the sun entirely, swap your mirror for an off-camera flash. A 200-watt-second strobe fitted with a directional snoot simulates sunlight cleanly at any hour.
You can also use battery-powered continuous LED light wands for close-range relief work. Handheld LED wands allow quick angle adjustments while you monitor shadow depth in real time.
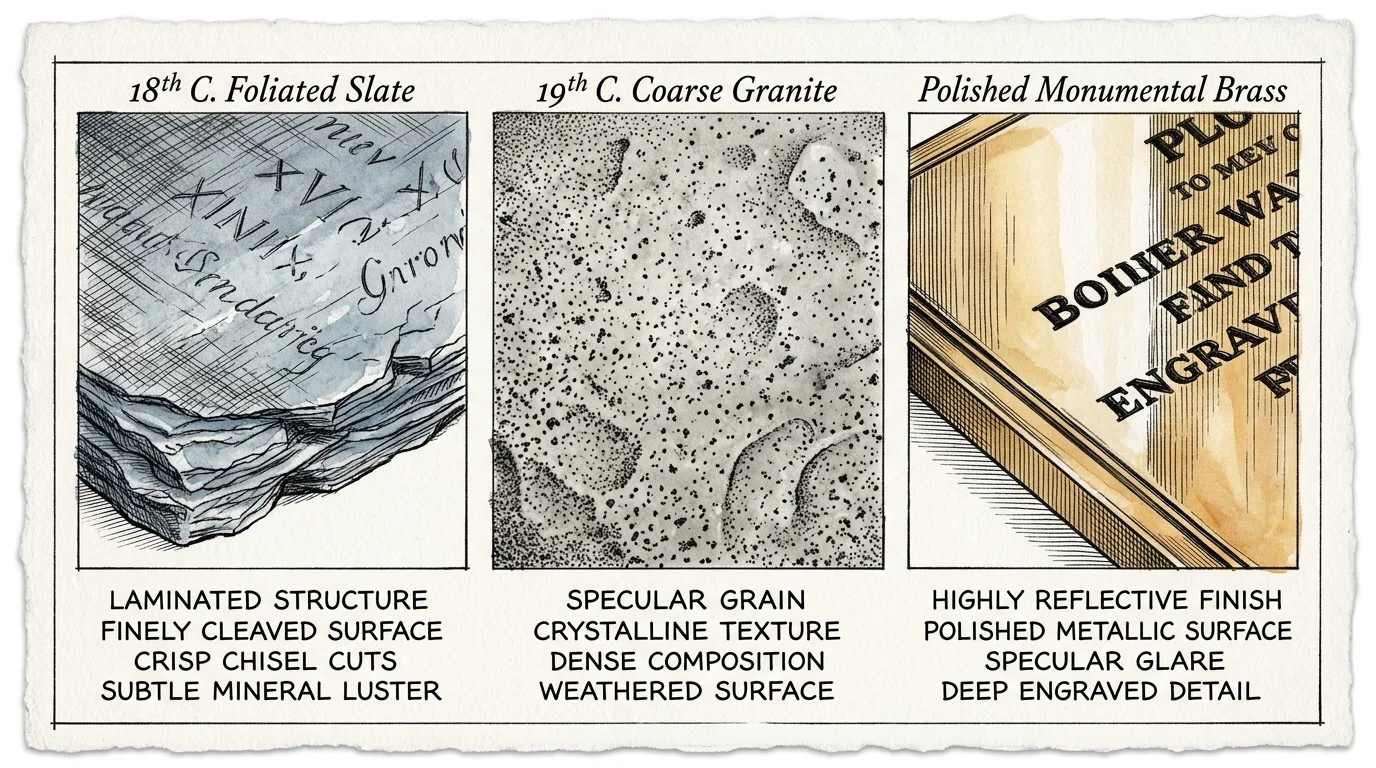
Material Specifics: Slate, Granite, and Polished Brass
Different cemetery materials interact with polarized raking light in distinct optical ways. Colonial slate features fine grain structure but develops delaminating cleavage lines along natural bedding planes.
Slate requires a tight 5-degree raking angle to highlight faint shallow incisions. Higher angles wash over the worn carving without producing sufficient contrast in the shallow troughs.
Nineteenth-century Victorian granite poses a contrasting photographic problem. Granite contains irregular crystalline matrices of quartz and feldspar that create severe point-source reflections under direct light.
When photographing granite, dial your circular polarizer until the quartz sparkle diminishes. Then soften your raking light using a 40-inch collapsible translucent diffusion scrim.
The diffuser softens specular highlights on the polished granite surface while preserving directional shadows inside cut letters. This balance makes both light-gray granite and dark polished varieties legible.
Commemorative bronze and brass plaques introduce another challenge: metallic reflection. Unlike non-metallic slate, conductive metals reflect light without linear polarization.
Standard circular polarizers cannot eliminate metallic glare on their own. You must deploy cross-polarization by placing linear polarizing gel film over your light source.
Rotate your lens polarizer perpendicular to the light source gel. This configuration cuts 98 percent of metallic glare, leaving dark patinated lettering clearly readable.
White marble presents unique challenges due to subsurface light scattering. Raking light must be positioned slightly wider, around 15 degrees, to prevent light bleeding through eroded calcite grains.
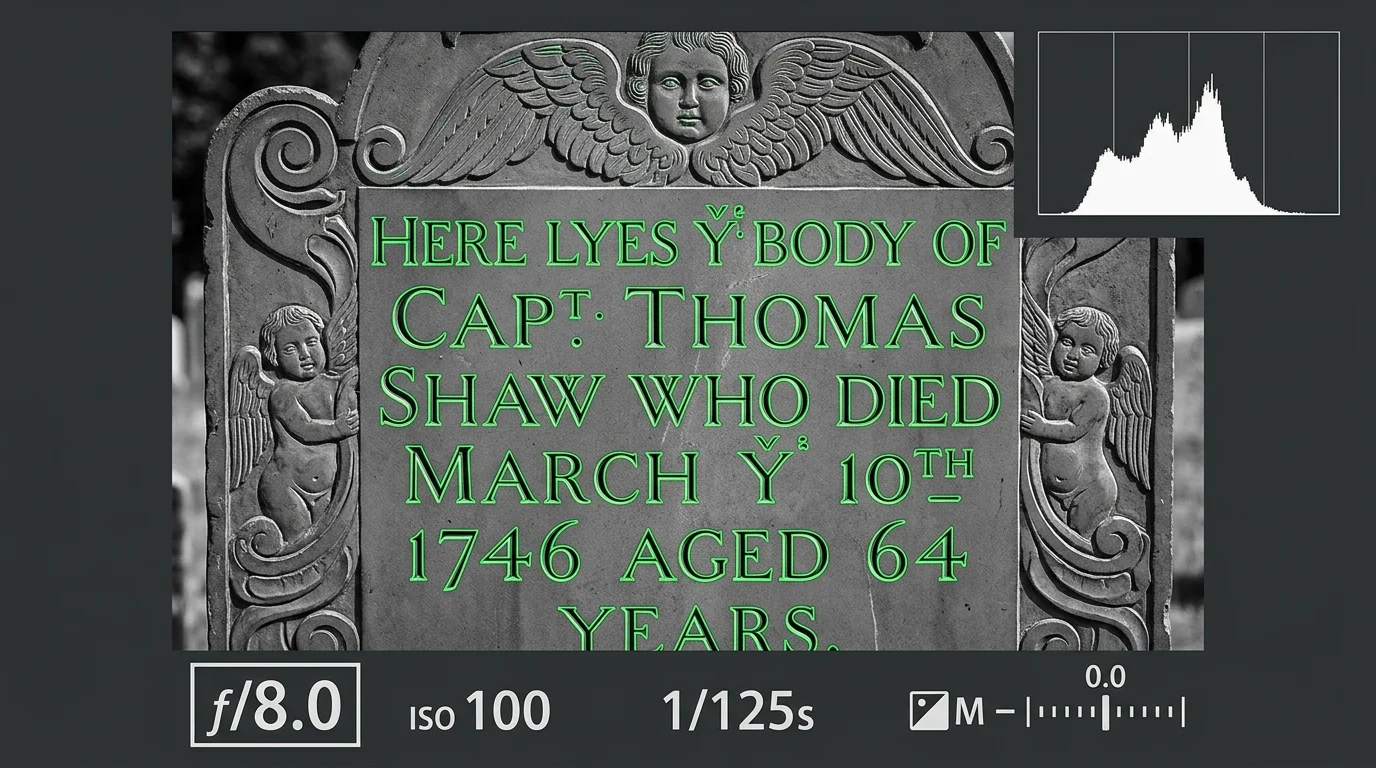
Precision Field Settings: Aperture, ISO, and Focus Peaking
Successful execution when photographing worn headstones requires disciplined manual camera operation. Automatic exposure modes evaluate the entire scene and overexpose dark carved grooves.
Always mount your camera on a stable tripod placed dead center to the gravestone. Align your lens axis perpendicular to the stone face using a two-way bubble level.
Select an aperture between f/8 and f/11. This range produces edge-to-edge optical sharpness across the entire carved face without suffering diffraction softening.
Set your camera to its base sensitivity, usually ISO 100 or ISO 64. Base ISO maintains maximum dynamic range to record delicate shadow transitions inside shallow cuts.
Circular polarizing filters reduce the light reaching your sensor by 1.5 to 2 stops. Compensate with longer exposures between 1/8 and 1/30 second on your steady tripod.
Switch your lens to manual focus mode. Magnify your live view display to 10x magnification and position the focus box over the center of the inscription.
Enable focus peaking with a red or yellow highlight color. Slowly rotate your focus ring until the peaking color illuminates the crisp chisel edges of the lettering.
Follow these standardized field steps for consistent captures:
- Level your tripod legs and square the lens face directly to the headstone center.
- Attach your circular polarizer and rotate the outer ring to eliminate stone sheen.
- Position your raking light source at an 8-degree angle from the top left corner.
- Lock your camera settings to manual mode at ISO 100, f/8, and evaluate your histogram.
- Fire the shutter using a two-second self-timer or remote cable release to avoid camera shake.
Always save your files in uncompressed RAW format. RAW captures contain full tonal bit depth, giving you latitude to adjust shadows during archive processing.
Step-by-Step Field Scenario: The 1784 Slate Marker
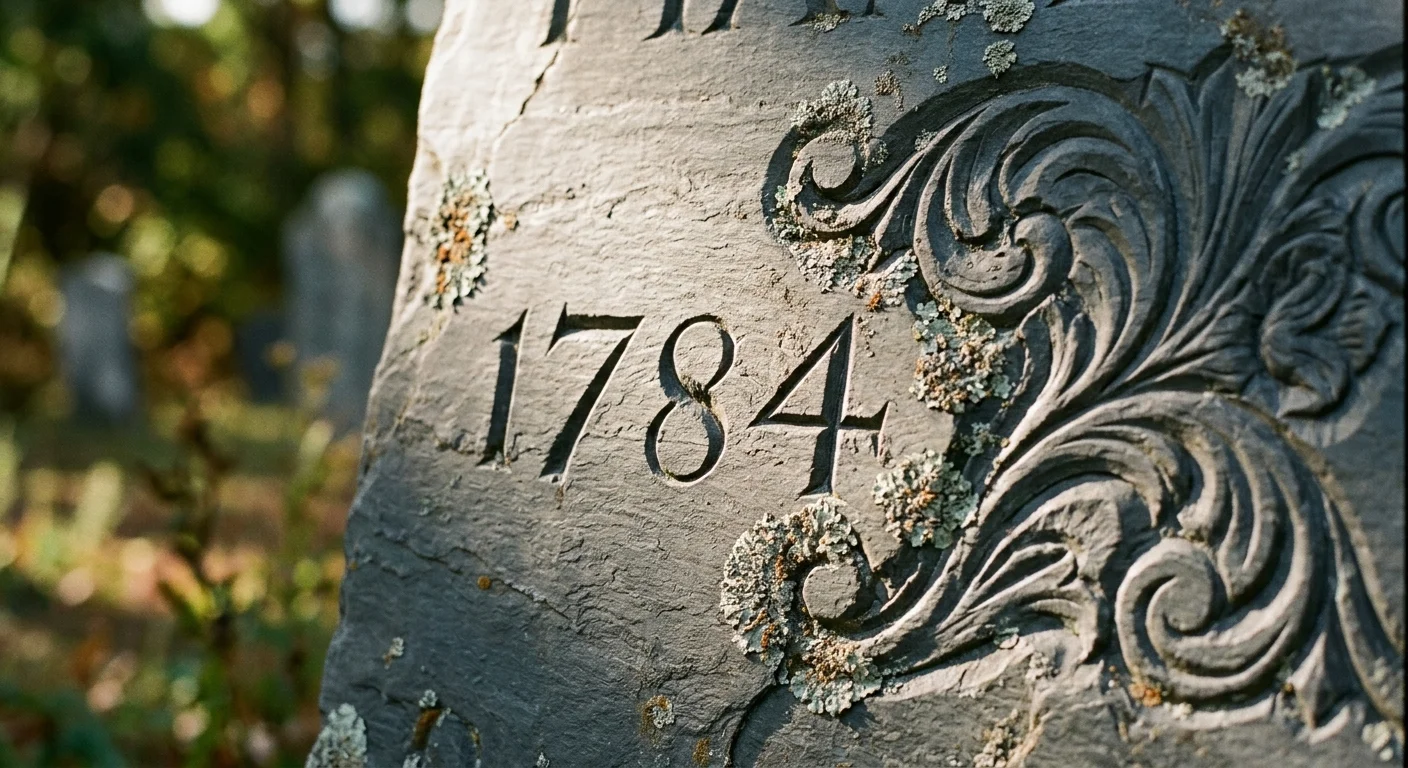
Consider a concrete fieldwork scenario in an overgrown Massachusetts burial ground. You need to record the weathered slate headstone of Sarah Alden, carved in 1784.
The marker measures 22 inches wide, 34 inches high, and 2.5 inches thick. Severe acid rain exposure and surface spalling have made the vital dates completely illegible.
The stone stands beneath an oak canopy measuring EV 8. Dappled sunlight nearby measures EV 14, creating a massive six-stop dynamic range discrepancy.
At 1:30 PM, you deploy a 24-by-36-inch glass mirror on a 7-foot light stand 10 feet southwest of the headstone. The complete hardware setup costs $95.
You angle the mirror to project an EV 13 light beam across the stone at an 8-degree incident angle from the upper left.
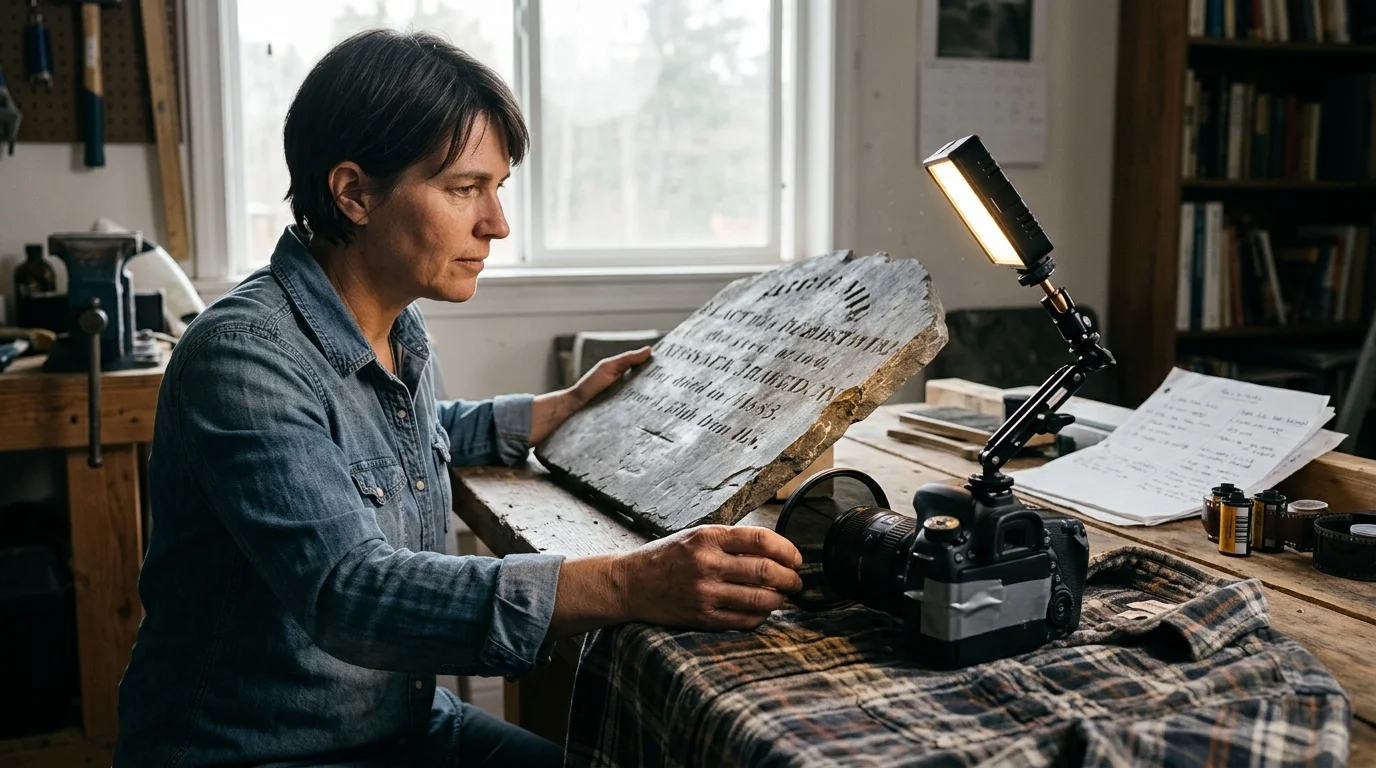
You position a full-frame camera with a 50mm f/1.8 lens on a carbon tripod 42 inches from the stone. You thread a 67mm circular polarizer onto the lens.
Looking at your live view display, you rotate the polarizing filter ring 55 degrees. The distracting mica sheen vanishes, boosting inscription edge contrast from 1.4:1 to 5.6:1.
You set your exposure to f/8, 1/40 second, and ISO 100. You engage the 2-second shutter delay to eliminate vibration.
After 15 minutes of precise field adjustments, the captured RAW image reveals the hidden inscription: “Died October 14th, 1784, in the 47th year of her age.”
Optical Equipment Comparison for Inscription Capture
Selecting appropriate field lighting depends on cemetery tree canopy, headstone material, and portability requirements. Different tools offer specific advantages for raking light generation.
The comparison table below highlights measurable specifications for common lighting options used in inscription photography.
| Rig Setup | Light Output (Lux at 6 ft) | Incident Angle Range | Setup Time (Minutes) | Total Pack Weight | Best Field Application |
|---|---|---|---|---|---|
| 24″ x 36″ Glass Mirror on Stand | 45,000 Lux (Direct Sun) | 5° to 45° adjustable | 4 to 6 minutes | 9.5 lbs | Weathered colonial slate under partial canopy |
| 32″ Collapsible 5-in-1 Silver Disc | 18,000 Lux (Direct Sun) | 15° to 60° flexible bounce | 1 to 2 minutes | 1.8 lbs | Open cemetery fields with low wind |
| Godox AD200Pro Strobe + Grid | 32,000 Lux equivalent | 10° focused beam | 3 to 5 minutes | 4.6 lbs | Overgrown cemeteries in dense shade |
| Yongnuo YN360 III LED Wand | 2,800 Lux continuous | 10° to 30° close raking | 1 to 2 minutes | 2.1 lbs | Delicate limestone and deeply recessed crypts |
Glass mirrors yield unparalleled illumination intensity when direct sunlight reaches nearby cemetery clearings. However, their physical weight and wind vulnerability require heavy sandbagging on field stands.
Strobe lighting rigs deliver consistent color balance and intensity regardless of changing cloud cover. Battery-powered strobes free your photography workflow from shifting natural sunlight patterns entirely.
Collapsible fabric reflectors provide outstanding portability for solo genealogists hiking through remote burial grounds. However, fabric discs produce softer light edges that reduce cast shadow sharpness on shallow engravings.
Non-Invasive Documentation and Preservation Ethics
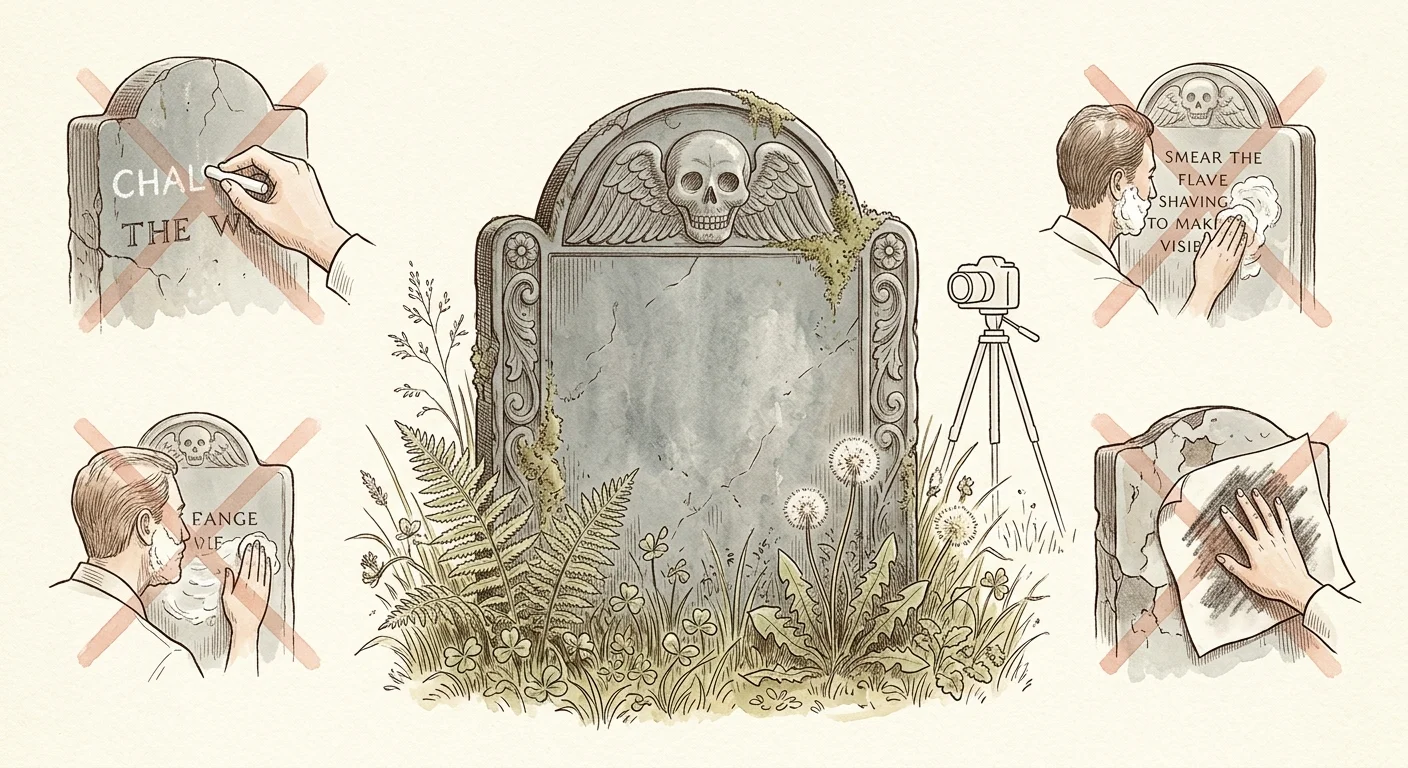
Amateur researchers often damage historic markers by applying chalk, flour, shaving cream, or household cleaners. These invasive techniques introduce destructive chemical salts and moisture into fragile substrates.
Shaving cream contains stearic acids and synthetic oils that sink into porous slate and limestone. As these chemical residues dry, they crystallize and split delicate stone layers apart.
Traditional paper rubbings cause severe mechanical friction against historical markers. Rubbing pressure pulls loosened slate flakes away from the face, destroying irreplaceable historical carvings.
Wire brushes and abrasive pads scratch stone surfaces permanently. Abrasives strip away the protective mineral patina that shields historical slate from rain erosion.
The American Institute for Conservation sets professional guidelines prohibiting chemical coatings or physical friction on historic headstones. Non-destructive optical documentation preserves stone integrity.
The Library of Congress Preservation Directorate advocates contact-free imaging for endangered historical inscriptions. Optical methods protect fragile heritage while providing higher transcription precision.
“No genealogical record justifies degrading the physical monument you seek to preserve; optical cross-lighting provides superior contrast without a single touch.”
Optical cross-lighting and polarizing filters leave zero residue or mechanical damage on historic markers. You preserve irreplaceable genealogical information while leaving the stone unharmed for future generations.
Frequently Asked Questions
Why should I choose a circular polarizer instead of a linear polarizer?
Modern digital cameras use semi-reflective metering prisms that require circularly polarized light. A linear polarizer confuses internal autofocus and phase-detection sensors, causing incorrect exposure and focus errors.
What is the ideal time of day for raking light photography?
Mid-morning and mid-afternoon provide lower natural sun angles, making mirror bounce setups easier to align. However, using an off-camera strobe lets you photograph headstones successfully at any hour.
Can I use a smartphone instead of a DSLR or mirrorless camera?
Modern smartphones capture acceptable records if you mount an external 37mm clip-on circular polarizer. You must also lock your phone focus and manually lower exposure to avoid blowing out highlights.
How do I handle headstones covered in heavy lichen or moss?
Never scrape or brush lichen off historical slate. Instead, use a narrow-beam raking strobe light to illuminate the carved grooves beneath the biological growth optically.
Disclaimer: This article is for informational purposes only. When handling valuable or irreplaceable photographs, consider consulting a professional conservator. Always test preservation methods on non-valuable items first.