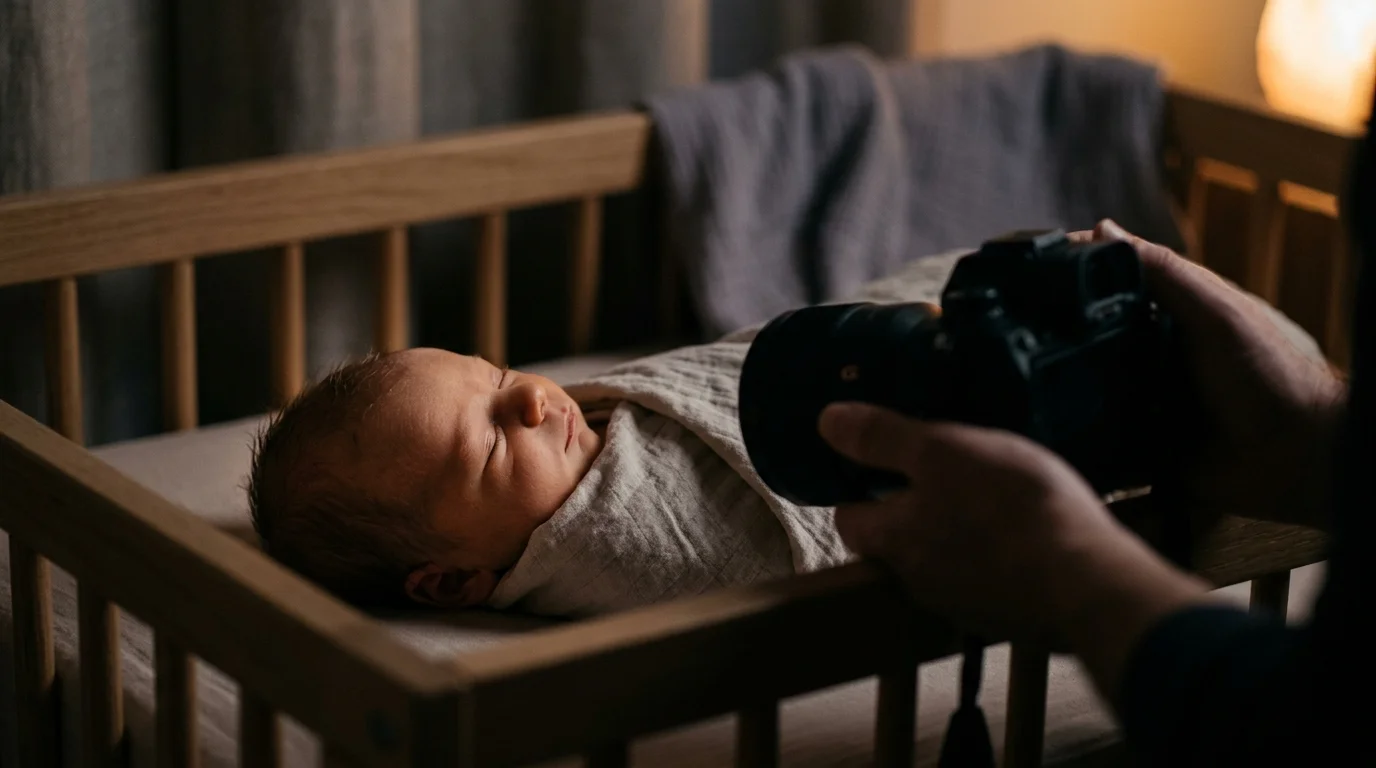
You can capture gallery-grade portraits of your sleeping newborn inside a dark nursery without firing an intrusive flash or making a sound. Modern mirrorless camera sensors handle low-light demands with remarkable clarity.
Adopting proven strategies for low light photography without a flash ensures your images remain natural and clear even in near-dark settings.
Most commercial photography guides insist on daylight or studio strobes. However, you can achieve tack-sharp results using silent electronic shutters, manual focus peaking through crib slats, and redirected 5-watt ambient nightlights.
This guide shows you how to eliminate camera noise, shoot cleanly past wooden railings, and preserve these nocturnal milestones forever. You will master complete stealth without sacrificing image quality.
Eliminating Acoustic and Optical Distractions in the Nursery
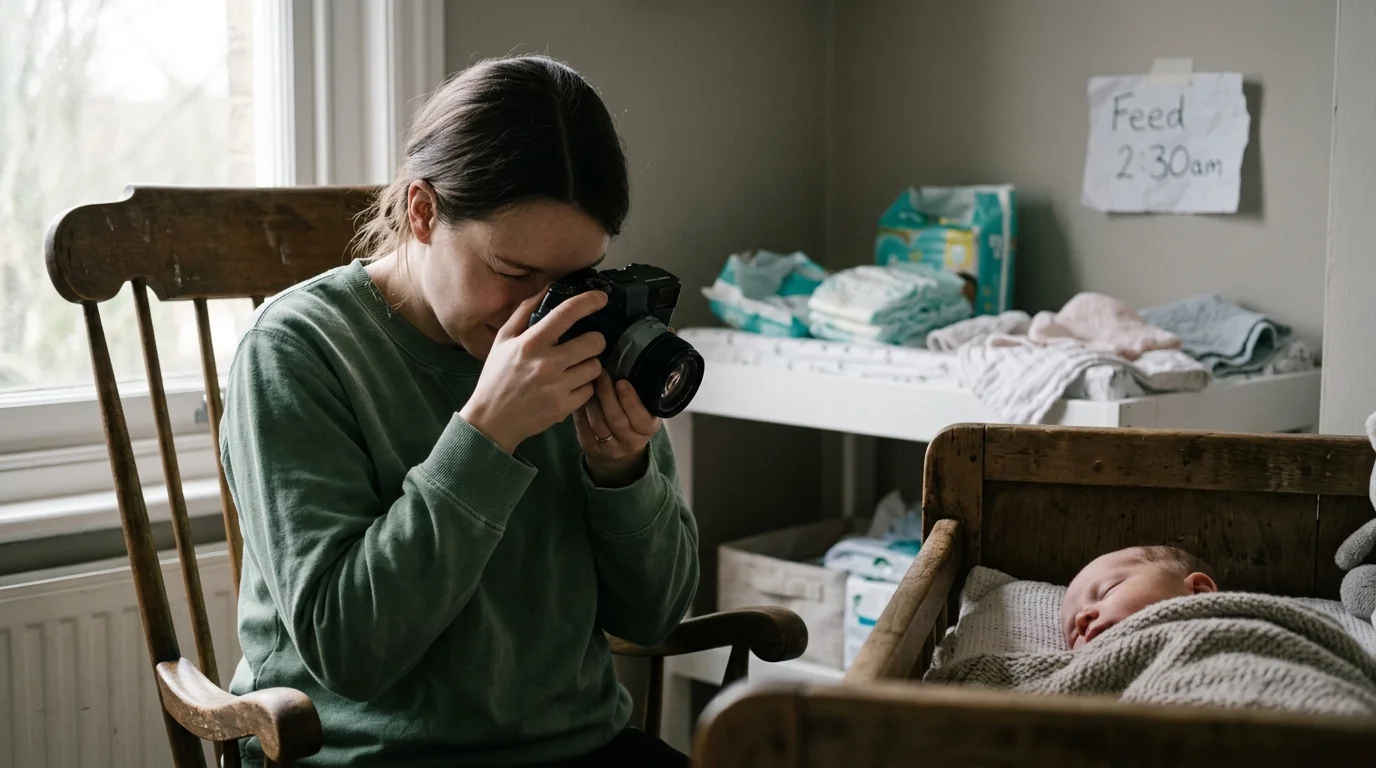
A peaceful nursery demands absolute silence from your camera gear. Even a soft confirmation beep can startle an infant in light rapid eye movement sleep.
Mastering silent camera operation is also a key foundation when learning how to photograph children and pets successfully without creating sudden distractions.
Enter your camera setup menu and locate the audio signals sub-menu. Switch all operational beeps, focus confirmation chirps, and self-timer alerts to completely disabled.
Next, deactivate your autofocus assist illuminator immediately. This bright orange, red, or green lamp projects an abrupt beam designed to help sensors lock focus in pitch-black rooms.
While useful for daytime social events, this beam shines directly into your infant’s sensitive eyes. The harsh glare triggers the infant blink reflex and disrupts your baby’s sleep cycle.
You must also switch your camera drive mode from mechanical shutter to electronic shutter. Traditional mechanical shutters rely on physical curtains sliding across the image sensor, producing a sharp metallic click.
Pure electronic shutters silently read pixel data directly from the image sensor without physical movement. This lets you capture sharp frames inches away from your sleeping child in total silence.
Check your camera menu to confirm that artificial shutter sound effects remain disabled. Some mirrorless camera bodies play a simulated shutter click through a small speaker to mimic mechanical feedback.
Exposure Triangle Calibration for Low Light Baby Camera Settings
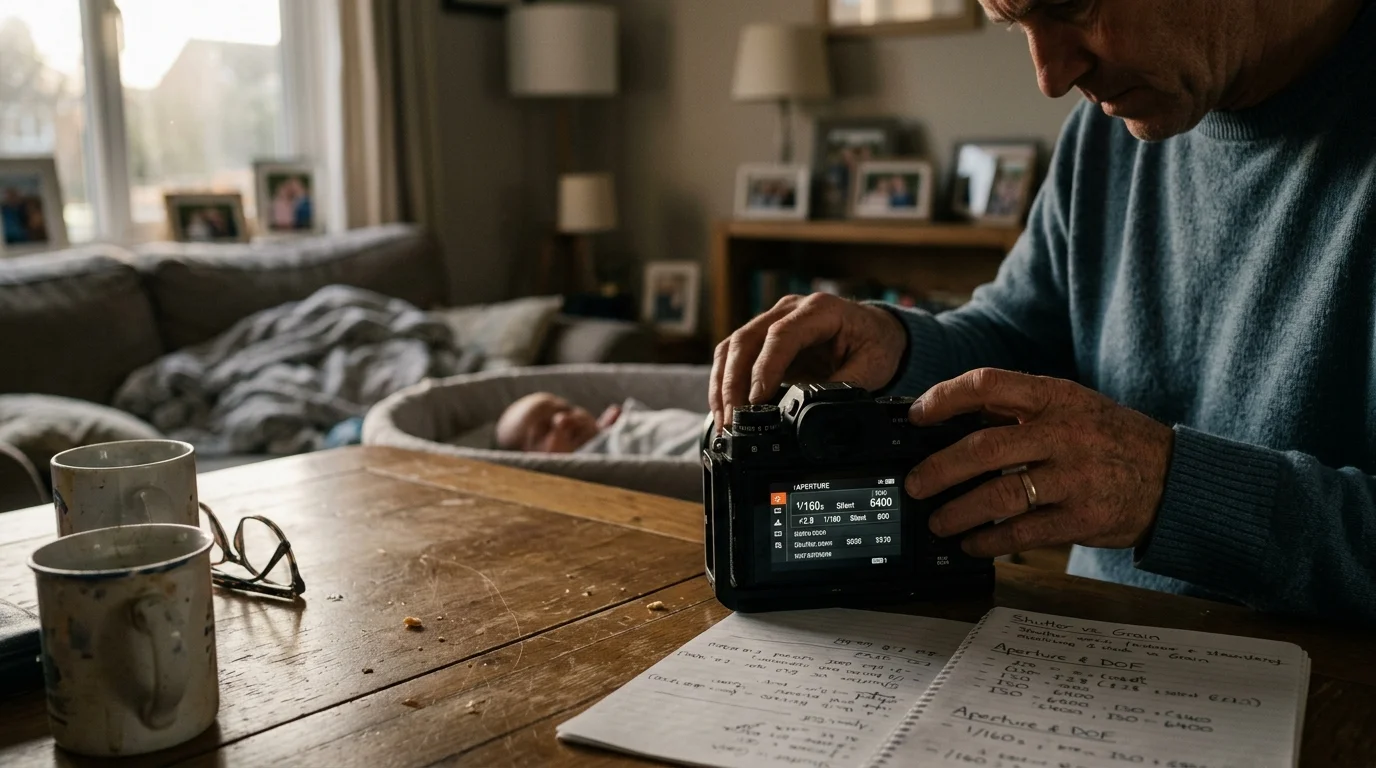
Configuring low light baby camera settings requires balancing motion freeze against image noise. You are balancing delicate infant twitching against the physical limitations of available night illumination.
Mount a fast prime lens featuring a maximum aperture of f/1.4 or f/1.8. Wide-aperture prime lenses admit substantially more ambient photons than variable-aperture kit zooms, yielding significantly cleaner exposures.
Set your aperture wide open at f/1.8 or stop down slightly to f/2.0. This aperture provides a shallow depth of field that softens distracting crib bedding while preserving facial clarity.
Opening your aperture to f/1.8 allows the camera to collect ample light from modest nursery lamps without forcing sensor sensitivity into destructive noise thresholds.
Set your shutter speed manually to 1/80 second for a calm, deeply resting newborn. Infants breathe rapidly, and their diaphragms move continuously even during deep sleep cycles.
If your baby stirs or displays involuntary startle twitches, bump your shutter speed to 1/160 second. Slower shutters like 1/30 second introduce catastrophic subject blur across the baby’s lips and hands.
Push your camera ISO between 1600 and 6400 to compensate for the fast shutter speed. Modern full-frame and APS-C camera sensors retain remarkable dynamic range across these elevated sensitivities.
Understand how digital sensors handle amplification in dim environments. You can study technical exposure principles at Cambridge in Colour to master sensor sensitivity without degrading image tones.
Do not rely on Auto White Balance under dim amber lamps. Lock your camera white balance manually between 2800K and 3200K to preserve the authentic warmth of your nursery environment.
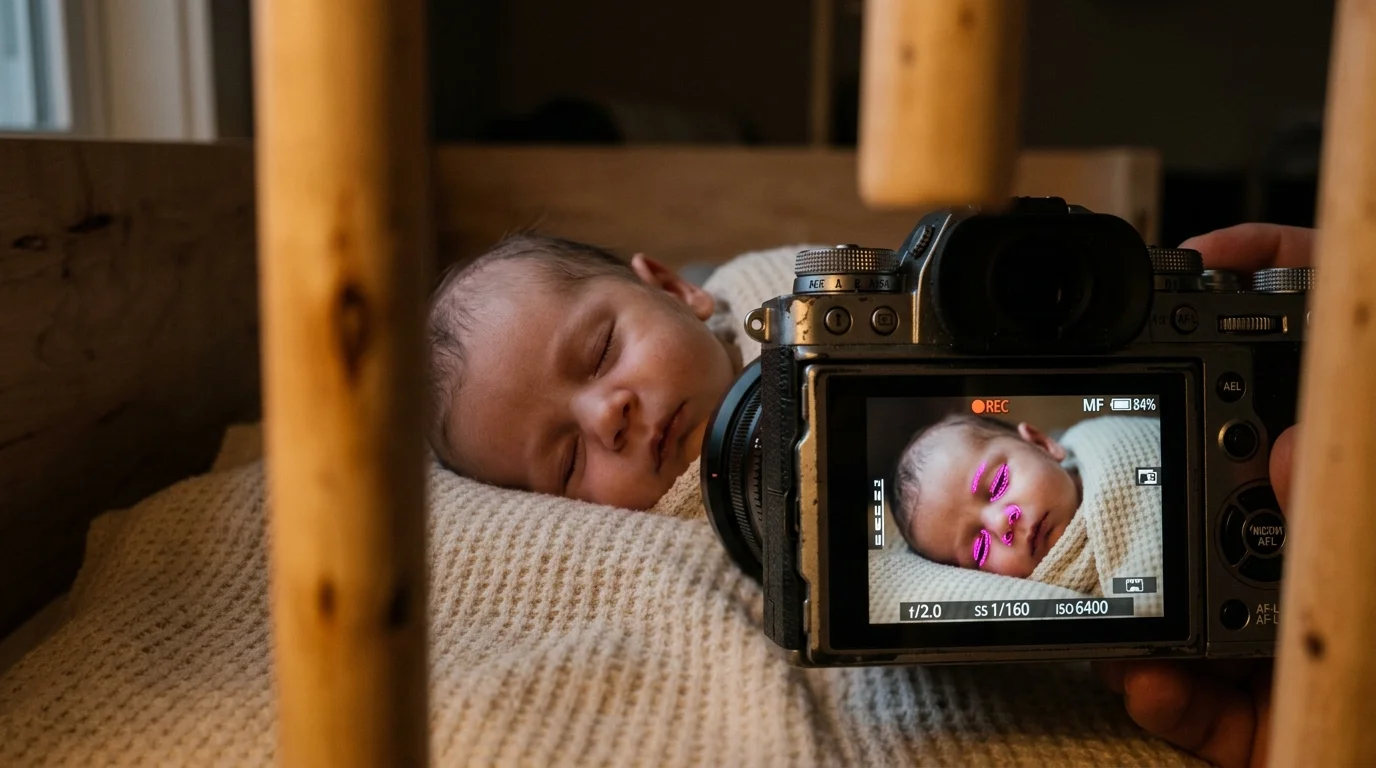
Navigating Crib Slat Portrait Photography with Manual Focus Peaking
Photographing an infant through wooden railings challenges modern autofocus algorithms. Crib slat portrait photography frequently causes autofocus sensors to grab the foreground wooden rails instead of infant facial features.
Similar low-light manual techniques are essential when photographing babies in incubator environments where equipment must remain unobtrusive.
Most standard manufactured cribs feature vertical slats spaced between 2.0 and 2.375 inches apart. This narrow spacing physically obstructs wide lenses and confuses multi-point eye-detection autofocus routines.
Turn off automatic subject tracking and switch your lens to full manual focus. Manual focus hands you total physical authority over the precise focal plane between the wooden slats.
Enable your camera focus peaking feature within the shooting assist menu. Focus peaking highlights high-contrast focal edges on your electronic viewfinder with an illuminated, colored overlay.
Choose red or high-visibility yellow for your peaking color. Set the detection level to medium or high so the edge highlight appears crisply against delicate skin tones.
Assign your camera focus magnifier tool to a dedicated custom button, such as the AF-ON or C1 button. One press instantly zooms the viewfinder display to a 5x or 10x magnification crop.
Peer through the viewfinder, frame between two vertical slats, and magnify your baby’s near eye. Turn the manual focus ring smoothly until a vibrant colored border outlines the eyelashes.
Once the eyelashes glow with peaking color, tap your magnified view back to normal framing. Press your silent electronic shutter smoothly to lock in pin-sharp focus without lens hunting.
Bouncing Ambient 5-Watt Nightlights for Natural Catchlights
Direct camera flash has no place in infant photography. It jars resting babies and produces harsh, clinical shadows that ruin the gentle ambiance of a dim nursery.
These quiet nighttime portraits will make heartfelt additions when you create a baby’s first year photo album to commemorate early life stages.
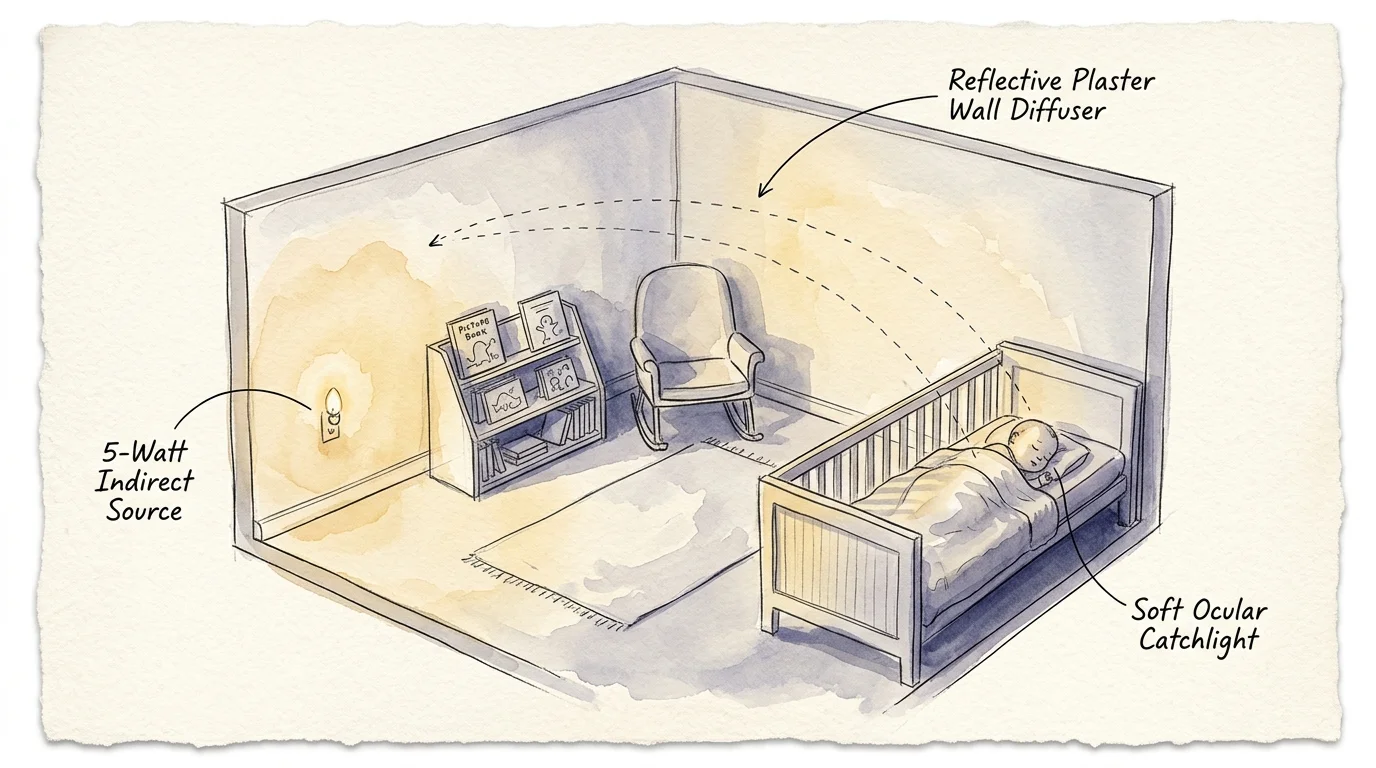
You can create beautiful, soft dimensional illumination using a basic 5-watt warm nightlight. The secret lies in indirect bounce geometry rather than aiming the bare bulb at your child.
Position a 5-watt warm incandescent or LED nightlight approximately 4 to 6 feet away from the crib. Angle the bare bulb toward a flat white nursery wall or ceiling.
The broad wall converts the tiny bulb into a large, diffused light bank. This broad light source wraps softly around the baby’s cheeks and creates delicate facial modeling.
Indirect surface bounce turns a pinpoint light source into an expansive, soft reflector that produces gorgeous specular eye highlights without disturbing infant sleep.
This indirect bounce also creates natural catchlights in the infant’s eyes if their eyelids flutter open. A soft white reflection brings portraiture to life by adding depth and expressive sparkle.
You can also use a white muslin swaddle blanket draped over a nearby chair as a passive reflector. This fabric catches stray lumens and subtly fills deep shadows under the baby’s chin.
Keep the lighting subtle to maintain the calm mood of the nursery. When you photograph newborn dim nursery scenes, preserving authentic nocturnal mood creates emotional resonance in your family archive.
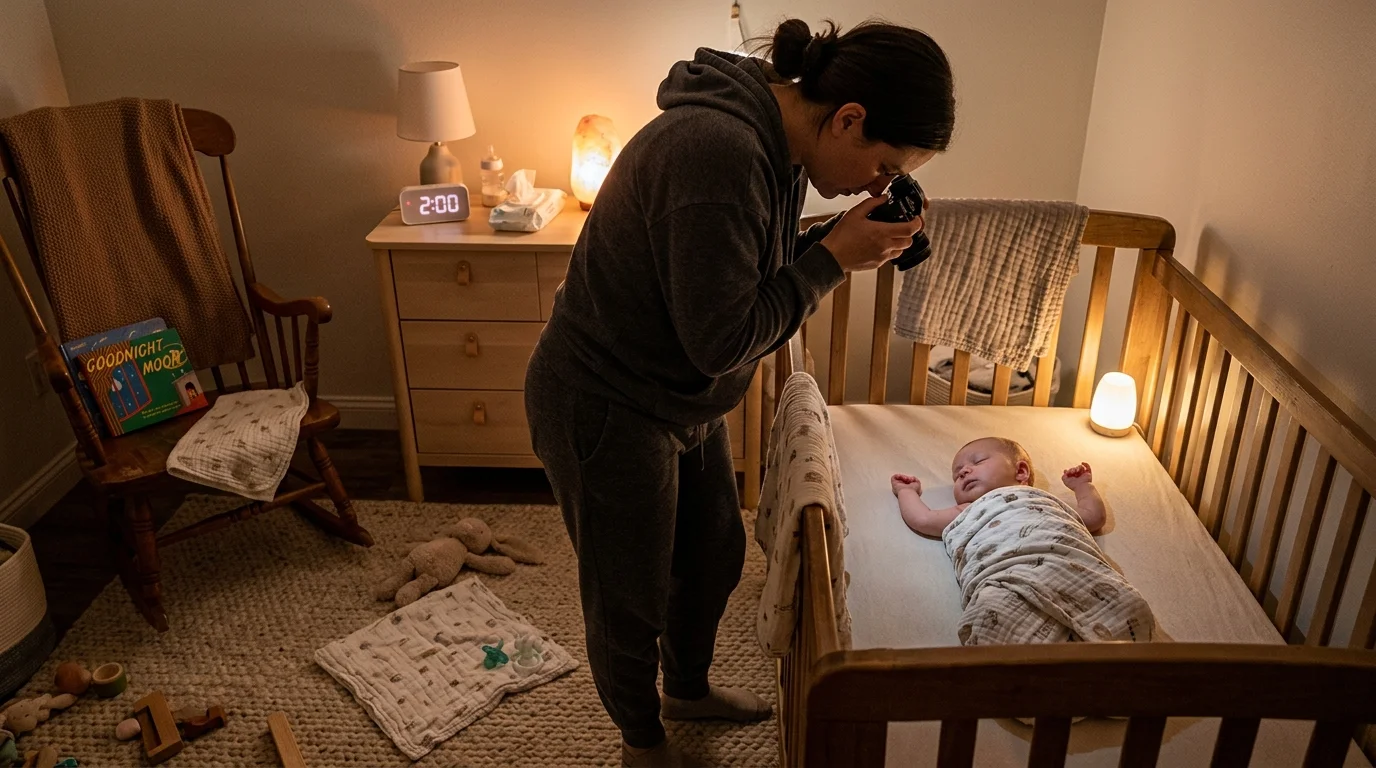
Worked Example: Capturing a Sleeping Infant at 2:00 AM
Consider this real-world technical scenario inside a 10-by-12-foot nursery during an early morning sleep session. The only illumination is a single 5-watt plug-in warm nightlight emitting roughly 45 lumens.
The nightlight sits in a baseboard socket 5 feet away from the crib. The light bounces off an eggshell-white plaster wall positioned 3 feet to the right of the wooden crib railing.
You are using a Sony A7 IV mirrorless camera paired with a Sony FE 50mm f/1.8 prime lens. The crib slats have a 2.25-inch gap between solid oak rails.
You stand 32 inches away from the sleeping baby, pressing the front lens bezel within half an inch of the wooden slats. This physical positioning prevents the slats from casting shadows into the lens barrel.
You dial your exposure settings to Manual mode: shutter speed 1/100 second, lens aperture f/2.0, and ISO sensitivity 3200. You engage the camera silent electronic shutter drive mode.
The exposure meter displays an exposure value of -0.7 EV. This deliberate slight underexposure preserves the intimate night mood without pushing noise into extreme deep shadow ranges.
You activate focus peaking set to High intensity with a Red outline. You tap the custom C1 button to initiate 5.5x digital magnification on the newborn’s left eyelid.
You rotate the manual focus ring gently across an 8-degree arc until the red peaking sparkles over the baby’s eyelashes. You press the shutter button smoothly to take 3 silent frames.
Inspection of the resulting RAW file reveals zero subject motion blur across the breathing chest. The newborn’s eyelashes show crisp edge definition, while the ambient room noise reads at zero decibels.
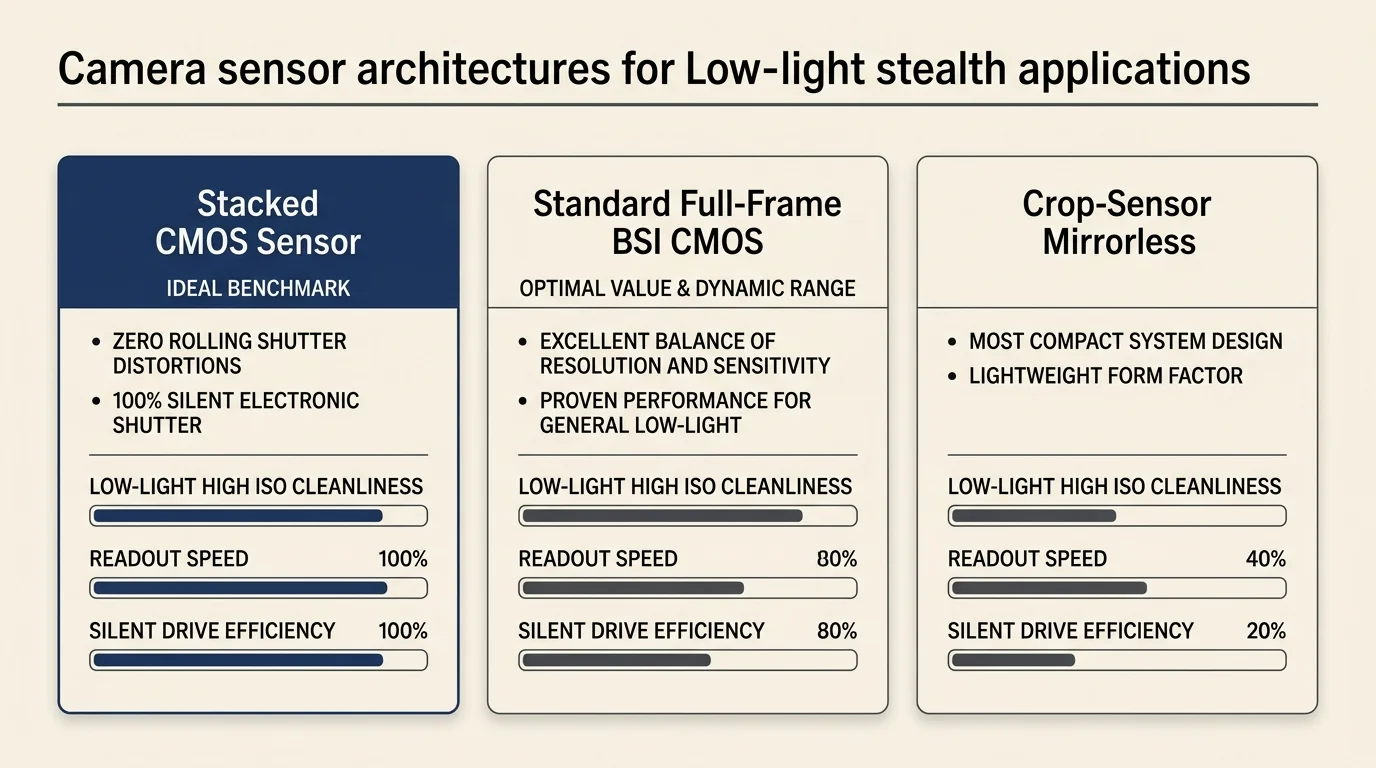
Equipment Comparison: Silent Shutter Cameras for Nursery Photography
Choosing the right camera body determines your success when creating silent shutter baby photos in dim light. Different sensor architectures read electronic data at varying speeds.
Slow sensor readouts can produce horizontal light banding under artificial LED nightlights that pulse using pulse-width modulation. Camera review analyses at Digital Photography Review detail how sensor scan speeds impact artificial lighting performance.
Examine the measurable specifications below to compare four popular full-frame and APS-C mirrorless cameras suitable for nursery environments.
| Camera Model | Sensor Format & Readout Speed | Silent Shutter Implementation | Usable Low-Light ISO Ceiling | Manual Focus Peaking Modes |
|---|---|---|---|---|
| Sony A7 IV | Full-Frame BSI (approx. 1/15s) | Electronic Silent Mode | ISO 6400 (Clean shadow retention) | Red, Yellow, White, Blue (Low/Mid/High) |
| Canon EOS R6 Mark II | Full-Frame Dual Pixel (approx. 1/70s) | Electronic Shutter Drive | ISO 12,800 (Low luminance grain) | Red, Yellow, Blue (Low/High) |
| Nikon Z6 II | Full-Frame BSI (approx. 1/20s) | Silent Photography Option | ISO 6400 (Smooth tonality) | Red, Yellow, Blue, White (1, 2, 3 Levels) |
| Fujifilm X-T5 | APS-C X-Trans V (approx. 1/25s) | Electronic Shutter (ES) | ISO 3200 (Manageable grain) | White, Red, Yellow, Blue (Low/High) |
Stacked CMOS sensors offer the fastest readouts, but standard back-illuminated sensors perform brilliantly when paired with constant incandescent light sources.
If you encounter horizontal banding lines on your camera LCD screen, adjust your shutter speed incrementally. Shifting from 1/100 to 1/80 second often synchronizes the electronic scan with electrical frequency cycles.
Archival Preservation of Low-Light Digital Baby Files
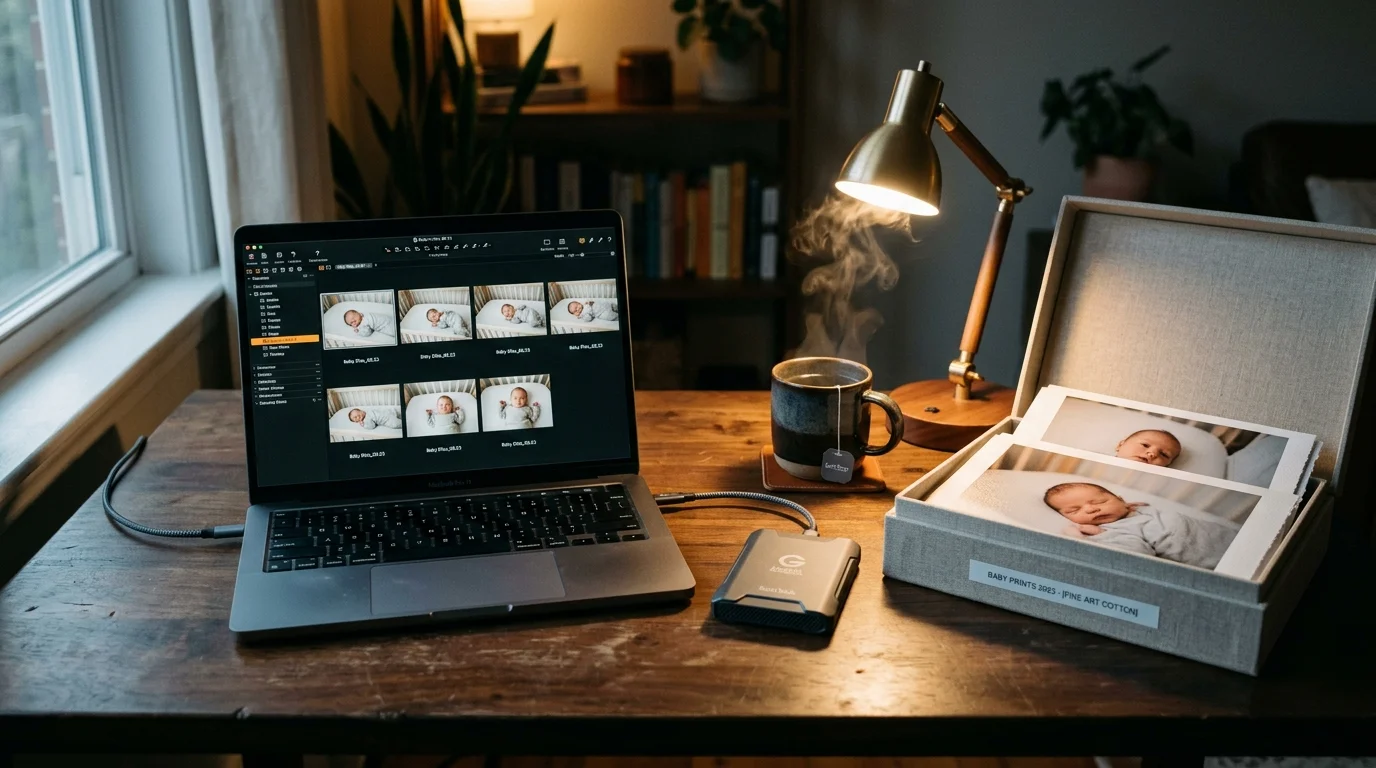
Capturing newborn portraits in low-light environments generates high-ISO digital RAW files requiring careful long-term preservation. Digital noise reduction and compression can permanently discard subtle shadow tones if not handled properly.
Always archive your original camera RAW files alongside any processed JPEG outputs. RAW files contain uncompressed sensor readings that future software can denoise with greater fidelity.
Convert your proprietary camera RAW images to the open-standard Adobe DNG format for long-term accessibility. Standardized image formats protect your family photographs against proprietary software obsolescence decades down the road.
Follow established digital heritage standards outlined by the Library of Congress Preservation program to safeguard your files. Maintaining multiple synchronized copies ensures your infant memories survive hardware failures intact.
Implement the trusted 3-2-1 backup strategy for every nursery photography session. Store three separate copies of your images on two different physical media types, with one copy off-site.
Keep your primary working library on a solid-state external drive. Mirror this archive weekly to a high-capacity mechanical hard drive stored in a fireproof enclosure.
Upload your full-resolution collection to an encrypted cloud repository simultaneously. Cloud storage protects your irreplaceable newborn memories against physical theft, localized fire damage, or accidental household flooding.
Frequently Asked Questions
Why does my camera show horizontal stripes when using silent shutter in the nursery?
Horizontal banding occurs when your electronic shutter’s line-by-line sensor readout clashes with the pulsing flicker of artificial LED nightlights. Switch to an incandescent bulb or adjust your shutter speed to match the electrical frequency, typically 1/60 or 1/100 second.
Can I photograph through crib slats with a smartphone camera?
Smartphones can capture infant moments, but their wide lenses and computational algorithms frequently blur baby eyelashes while trying to separate foreground slats. A dedicated mirrorless camera with manual focus peaking ensures sharp, selective focus directly onto facial features.
What focal length is ideal for shooting through wooden crib railings?
A 50mm or 85mm prime lens works best for crib slat photography. These focal lengths feature compact front elements that slip easily between standard 2-inch slat gaps without optical vignetting.
Will shooting at ISO 3200 or ISO 6400 ruin the photograph with grain?
Modern mirrorless sensors produce clean, fine-grained luminance noise at ISO 3200 and 6400 that resembles classic photographic film. Archiving the RAW file allows modern non-destructive software to clean shadow noise while preserving infant skin textures.
Disclaimer: This article is for informational purposes only. When handling valuable or irreplaceable photographs, consider consulting a professional conservator. Always test preservation methods on non-valuable items first.