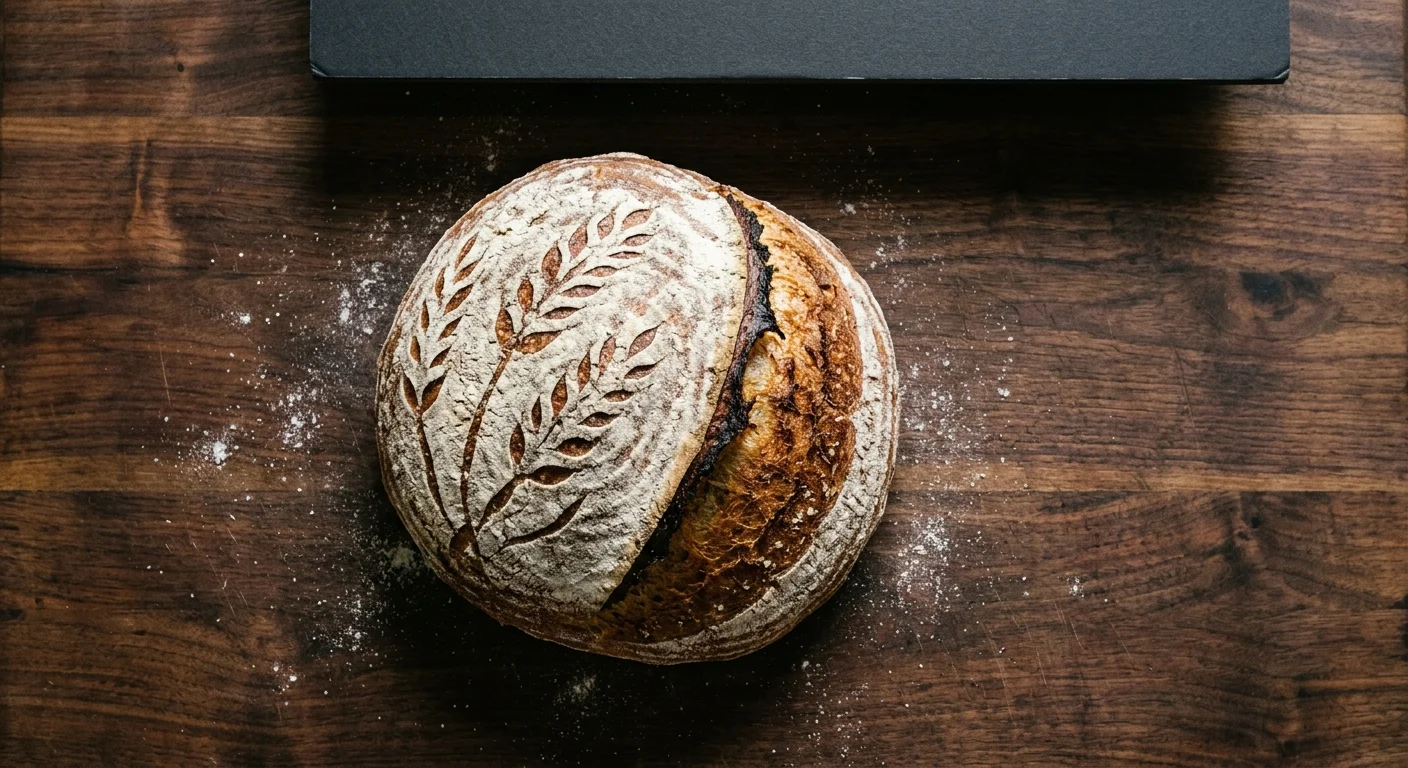
Photographing flour-dusted sourdough boules on dark walnut butcher block creates harsh contrast challenges for artisan bakers. Smartphone sensors routinely blow out white rice flour scoring patterns while crushing the deep crumb tones beneath your crust.
Conventional guides tell you to bounce light into the shadows, but top-down sourdough flat lays actually require black negative fill to preserve razor-sharp ear definition.
By pairing dual-axis smartphone leveling crosshairs with an overhead boom clamp, you eliminate perspective keystoning and document your artisanal heritage with true dimensional accuracy.
The Physics of Flour Blowout on Dark Counters
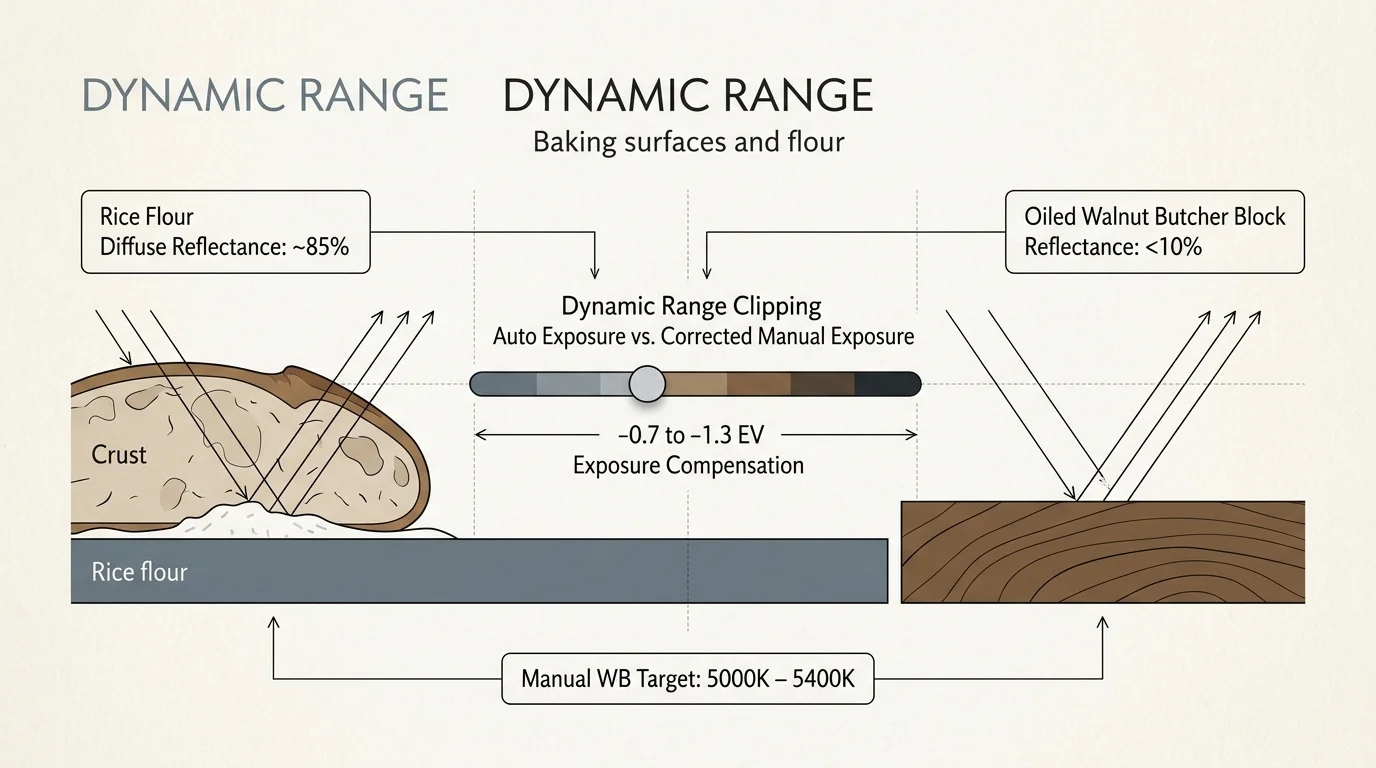
White rice flour scattered across an artisan crust acts as a high-diffuse reflector, bouncing back nearly 85 percent of incoming light. Conversely, dark oiled walnut butcher block absorbs incident illumination, reflecting less than 10 percent.
This extreme contrast spread overwhelms tiny mobile sensors. When an automated camera evaluates the frame, it prioritizes the broad expanse of dark counter wood.
In attempting to brighten those dark timber grains, the exposure algorithm pushes highlights past digital saturation. Your delicate flour stencils and blistered cuts clip into featureless chalky white voids.
Understanding dynamic range constraints prevents this highlight destruction. You can explore how digital sensors map high-contrast extremes through Cambridge in Colour tutorials covering tonal histograms and exposure latitude.
To salvage intricate scoring, you must dial exposure compensation downward by 0.7 to 1.3 stops. Intentional underexposure preserves the microscopic flour granules while retaining rich, moody wood tones.
Capturing your images in uncompressed 12-bit or 14-bit RAW format preserves vital sensor luminance data. RAW files give you the tonal headroom necessary to lift crust shadows without introducing severe chromatic noise.
Select a manual white balance between 5000K and 5400K to preserve accurate wood and crust warmth. Auto white balance modes often overcompensate for dark timber by adding unnatural blue or magenta casts to your flour.
Eliminating Keystoning with Smartphone Gyroscope Sensors
Keystoning occurs whenever your smartphone sensor plane tilts away from true parallel alignment with your countertop. Even a three-degree tilt produces trapezoidal distortion across your baking canvas.
Under keystone distortion, round sourdough boules warp into egg-shaped ovals. Your scoring expansion appears asymmetrical, obscuring the authentic profile of your bake.
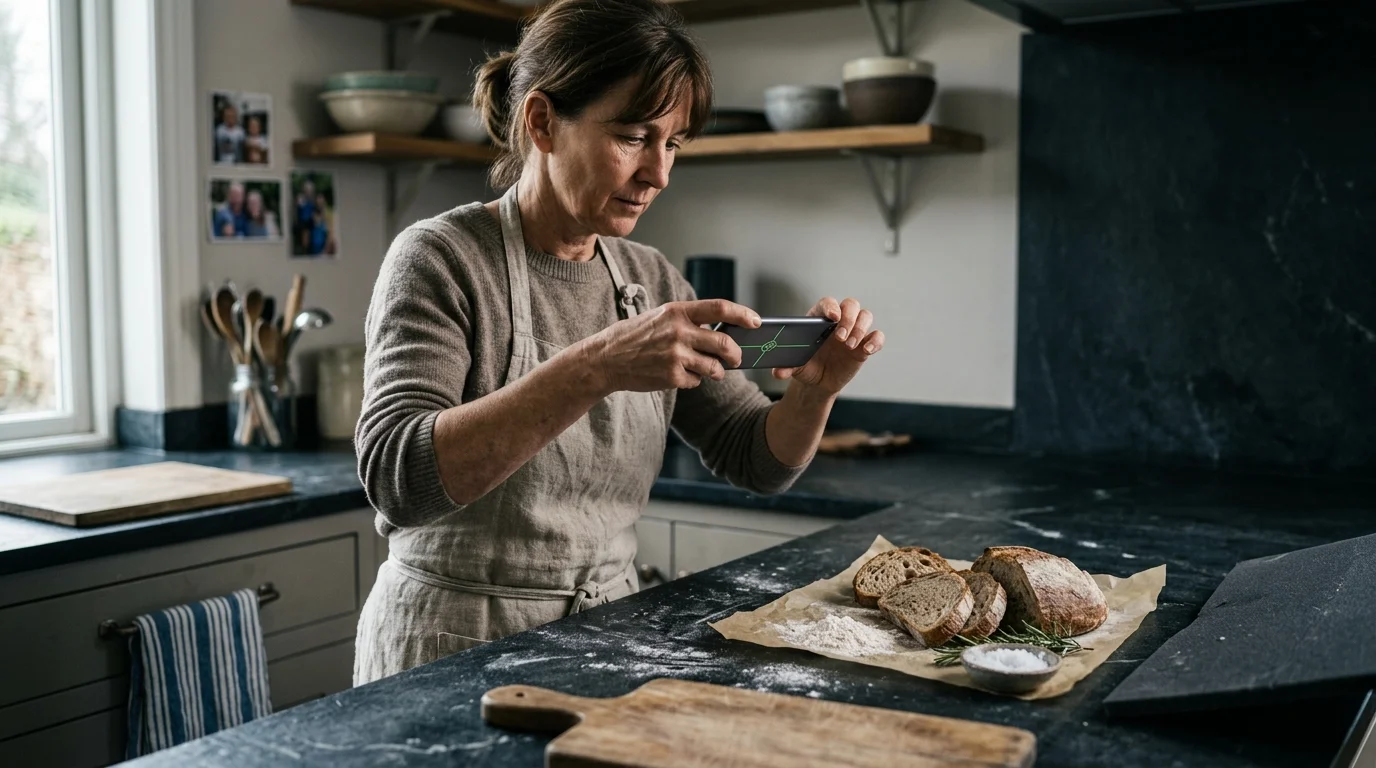
Modern mobile operating systems feature built-in dual-axis gyroscopic sensors tailored for overhead alignment. In iOS, toggling the Grid toggle in Camera settings activates two leveling crosshairs in the center of the frame.
When your phone hovers overhead, a white crosshair and a yellow crosshair appear on screen. Adjust your mounting head until both markers merge into a single solid gold cross.
Android devices offer a similar horizontal leveling indicator within camera settings. Leveling sensor planes to absolute parallel geometry eliminates optical distortion, a principle validated in camera testing by Digital Photography Review.
You can verify parallel alignment using a small handheld mirror placed directly on your cutting board. When your phone lens reflects dead-center in the mirror reflection, your setup achieves flawless 90-degree geometry.
Never rely on software perspective sliders in post-processing. Digital keystone correction stretches pixels diagonally, interpolating fine crust fissures and degrading blister sharpness.
Rigging the Overhead Setup: Clamps and Extension Arms
Handholding a smartphone for sourdough bread photography produces subtle camera shake and focal drift. Overhead food flat lay setup demands rigid mechanical stabilization anchored to your workstation.
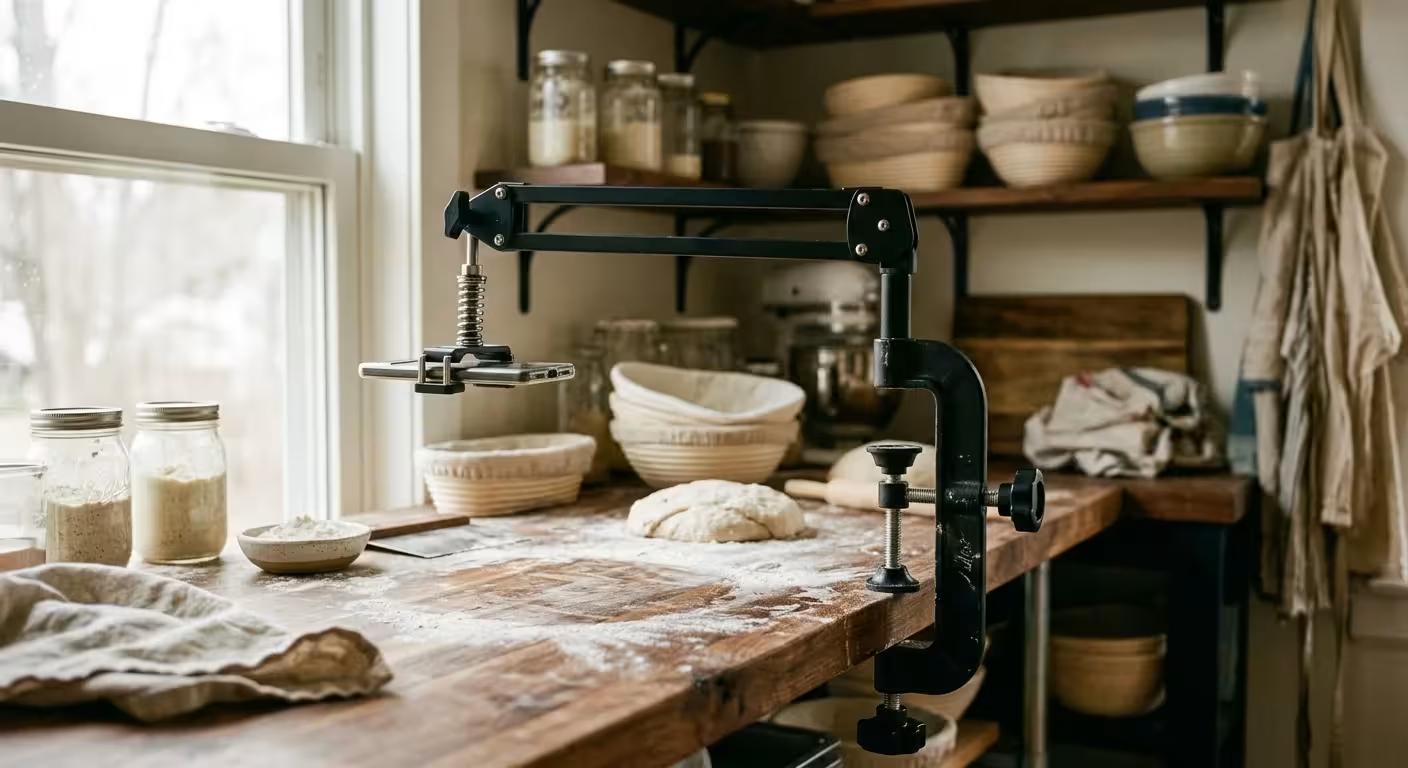
Cantilevered extension arms allow your camera to reach out over the counter without tripod legs invading the composition. This clearance keeps your wooden surface completely free of clutter and unwanted leg shadows.
Select an extension arm equipped with dual locking collars rather than friction thumb-screws. Heavy-duty aluminum clamps resist rotational torque, keeping your phone rock-steady during extended shooting sessions.
Secure your mount to a heavy butcher block island or independent lighting stand. Clamping directly to vibrating appliances like running proofing cabinets or ovens introduces high-frequency blur into your captures.
Pair your horizontal boom with an all-metal smartphone clamp featuring Arca-Swiss dovetail compatibility. Rubber-padded spring jaws prevent accidental phone slippage onto your cooling loaves.
Position your boom arm high enough to accommodate a 24mm or 28mm equivalent focal length without cropping the edges of your board. A vertical clearance of 26 to 32 inches provides ideal coverage for full-sized artisan loaves.
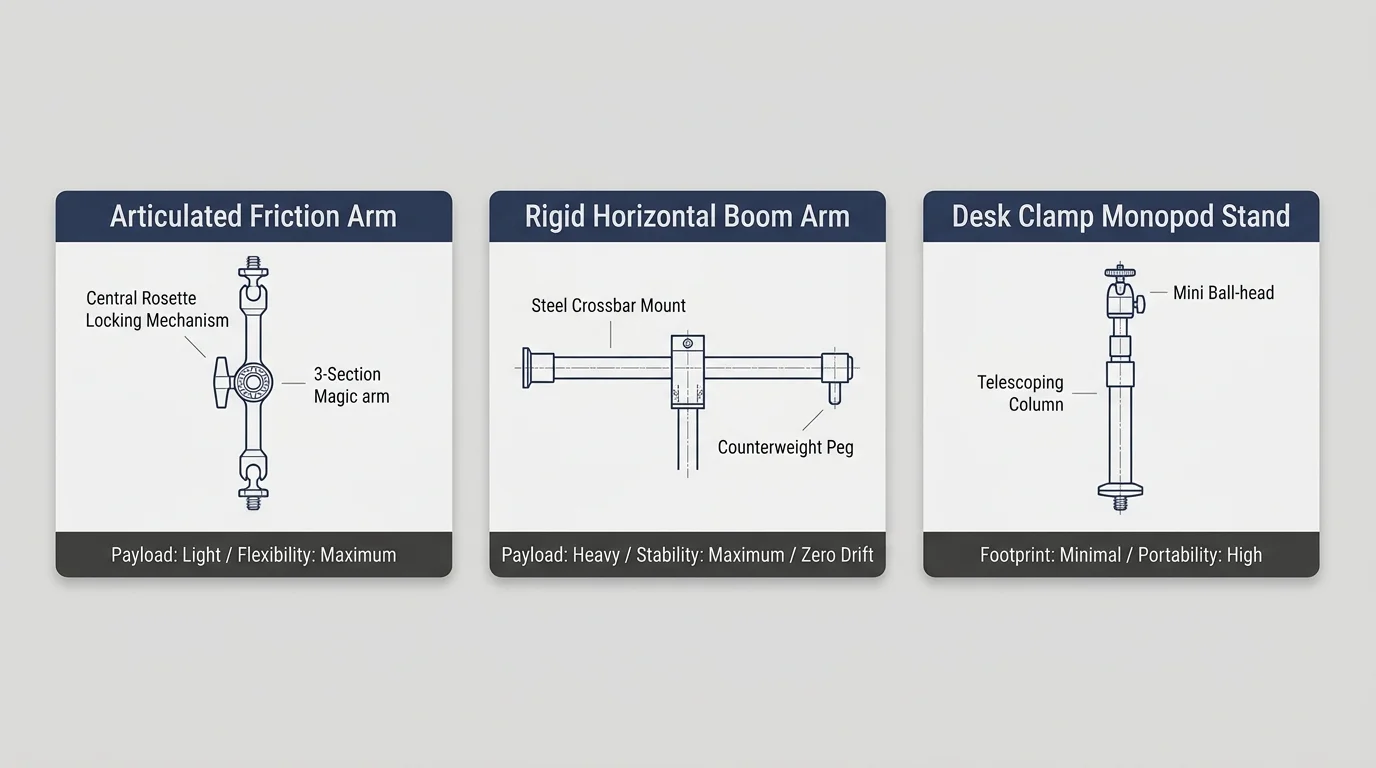
Hardware Comparison: Overhead Extension Arms
Selecting the right overhead arm depends on your counter width, rig weight, and storage space. Evaluate equipment based on measurable load ratings and extension limits.
| Mount Model | Maximum Payload | Horizontal Reach | Mounting Connection | Street Price |
|---|---|---|---|---|
| Manfrotto 131DDB Side Arm | 11.0 lbs (5.0 kg) | 23.6 in (60 cm) | 3/8-inch Tripod Thread | $85 |
| Neewer 25-inch Boom Arm | 6.6 lbs (3.0 kg) | 25.0 in (63.5 cm) | Tabletop C-Clamp | $42 |
| Glide Gear OH 100 System | 10.0 lbs (4.5 kg) | 30.0 in (76.2 cm) | Dual C-Clamp Steel Frame | $149 |
| Kupo 20-inch Master Extension | 15.0 lbs (6.8 kg) | 20.0 in (50.8 cm) | Baby 5/8-inch Pin Receiver | $58 |
The Neewer boom clamp offers the best utility for kitchen islands with protruding overhangs. If you mount onto a dedicated tripod system, the Manfrotto horizontal arm delivers superior torsional stability.
Ensure your mounting clamp jaw opens at least 2.5 inches. End-grain butcher blocks often exceed two inches in thickness, which overwhelms cheap desktop clamps.
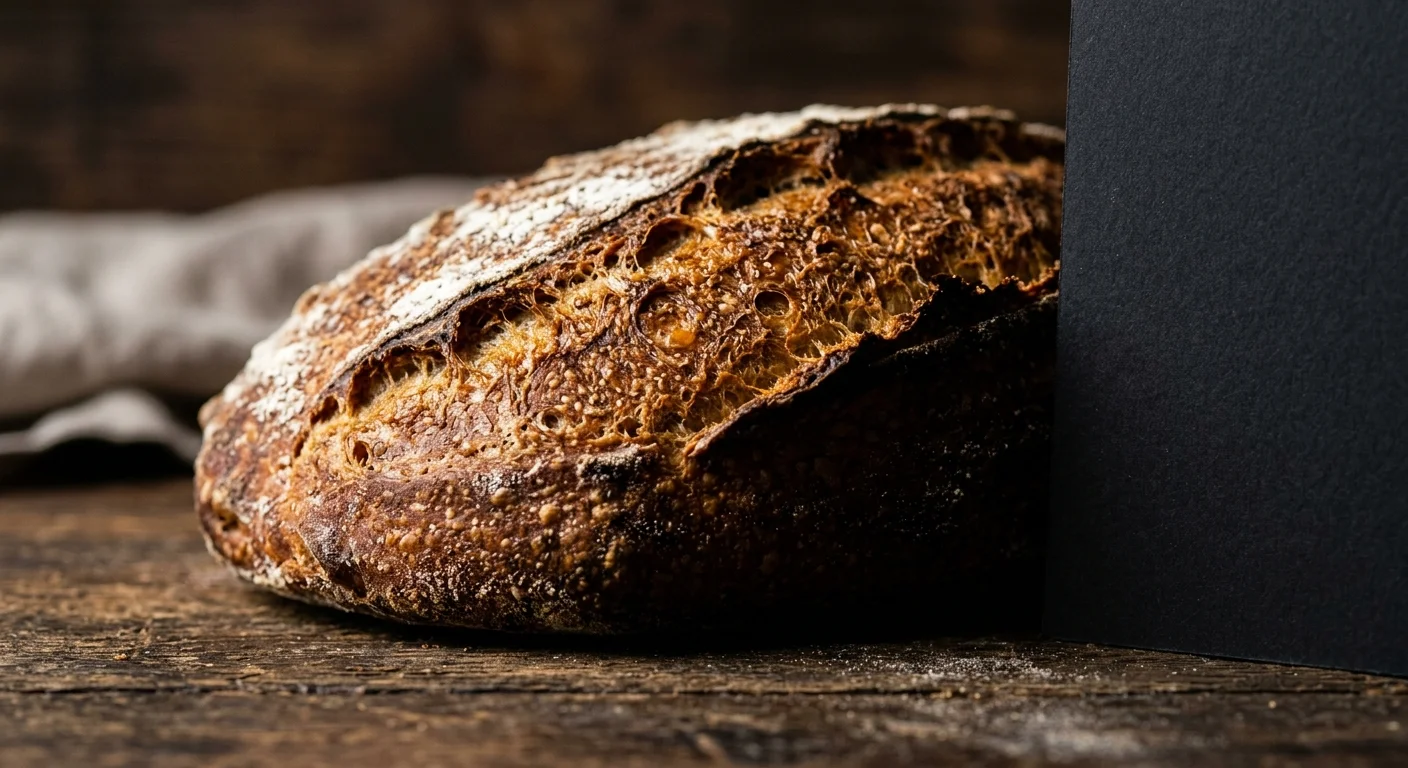
Negative Fill Mechanics: Carving Depth Along the Sourdough Ear
Standard food styling tutorials instruct creators to surround food with white bounce boards to eliminate shadows. On dark countertops, this technique washes out textural contrast and ruins sourdough definition.
White reflectors throw bounce light directly into the underside of your baked ear. This scattered illumination erases depth, making a towering jagged crust look flat and unimpressive.
Negative fill utilizes light-absorbing black panels to intentionally subtract bounced light from shadow zones. This technique sharpens the contrast between crisp blistered peaks and deep crust hollows.
Negative fill does not create darkness; it subtracts unwanted bounce light so your main illumination can sculpt razor-sharp structural depth.
Acquire two sheets of 5mm matte black foam core cut to 20 by 30 inches. Position one card standing vertically along the shadow side of your bread.
Adjust the distance of the black card between four and ten inches from the crust. Moving the card closer deepens the shadow under the ear, dramatizing oven spring.
Place a second black card along the rear counter edge to flag stray room light. This flags unwanted ceiling illumination and prevents milkiness across dark counter grains.
Experiment with angled placement by tipping the card slightly inward over the loaf. A fifteen-degree inward tilt blocks overhead ceiling reflections from diluting the shadowy recesses of your scoring cuts.
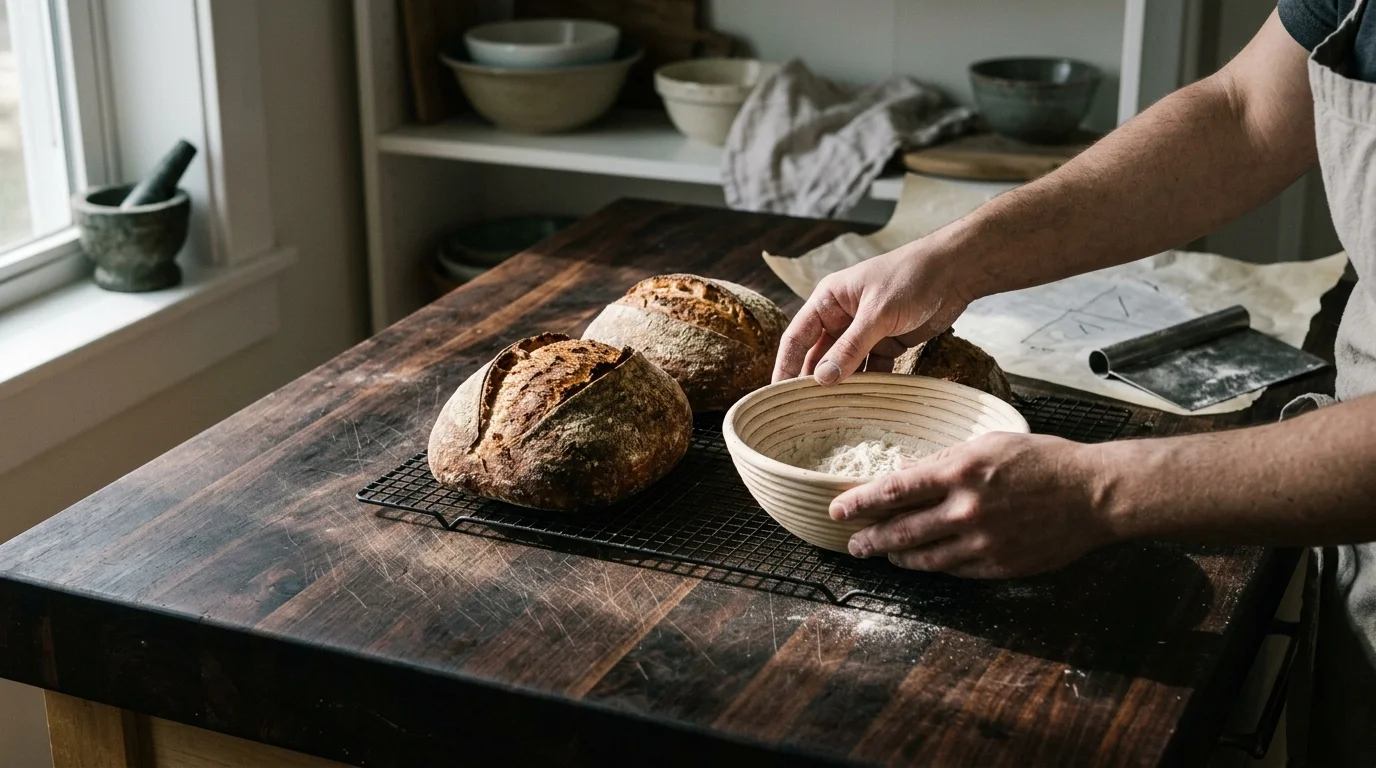
Directional Rake Lighting on Dark Butcher Blocks
Dark counter food photo lighting requires glancing, directional illumination rather than overhead flood lighting. High-angle overhead lights strike flat, reflecting harsh glare off oiled wood pores.
Position your primary light source at a low 30 to 40 degree rake angle relative to the counter surface. This low beam skims across the boule, illuminating raised flour patterns while casting elongated shadows.
Diffuse your light through a 36-inch translucent scrim placed 18 inches away from the loaf. Diffusion softens the edges of flour highlights while preserving micro-texture across bubbly blistered crusts.
Choose a continuous LED fixture with a Color Rendering Index (CRI) rating above 95. High CRI illumination faithfully reproduces warm mahogany tones without creating artificial green casts on dark timber.
Turn off all overhead kitchen ceiling lights during your shoot. Mixing warm 2700K domestic bulbs with daylight fixtures produces muddy color pollution across your dark walnut counter.
Maintain consistent light distance across multiple bake shoots to ensure your portfolio has visual uniformity. Placing your light fixture exactly 36 inches away establishes an identical contrast ratio every time you bake.
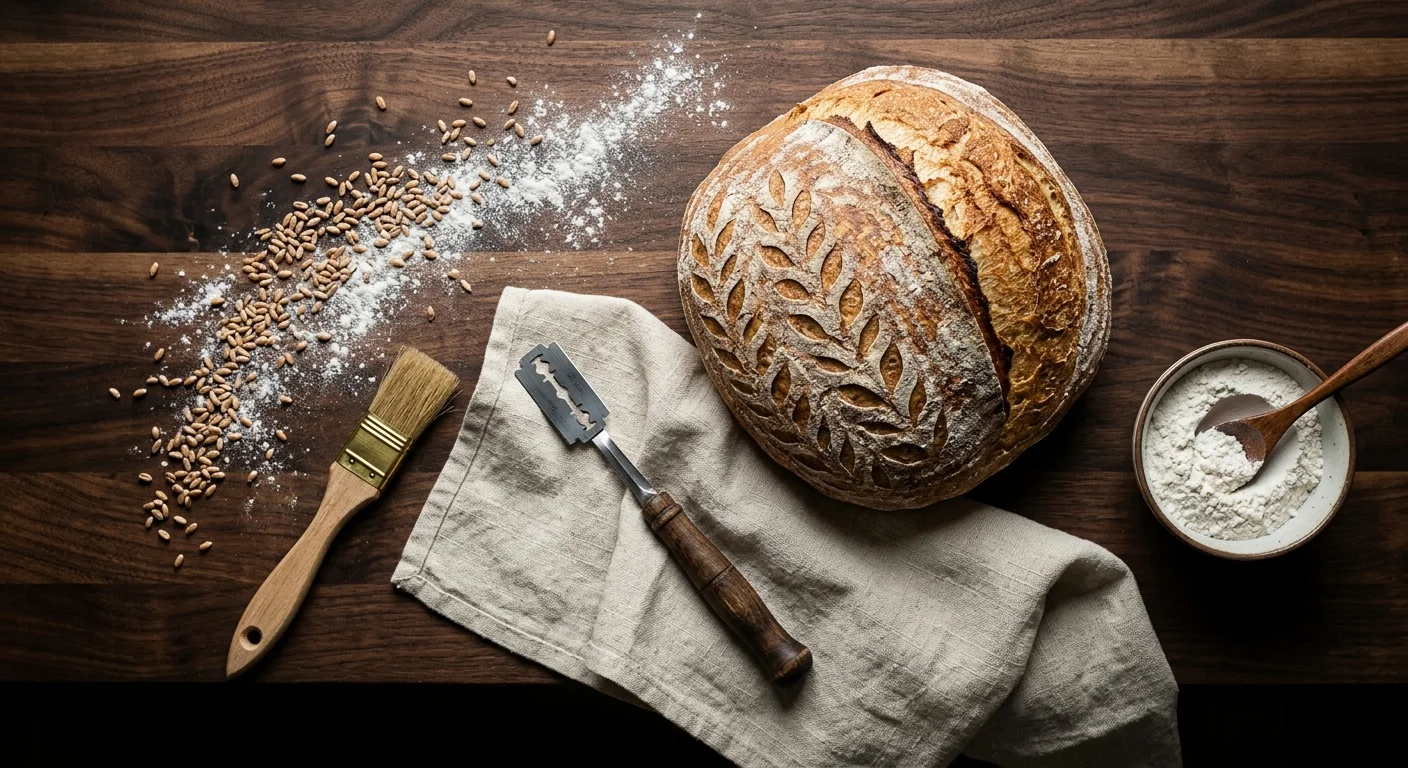
Styling and Composition for Artisan Flat Lays
Compose your overhead flat-lay setup around an intentional visual hierarchy. Let your flour-dusted sourdough loaf command attention as the undisputed hero element of the composition.
Position the boule slightly off-center using the rule of thirds grid on your smartphone screen. Offset placement invites reader eyes to travel naturally across the dark wood grain toward your scoring.
Integrate authentic baking tools that tell your preparation story. A wooden-handled lame, a small dusting sieve, or raw wheat stalks provide contextual narrative without distracting from the bread.
Use restraint when scattering loose flour across the dark counter. Clumpy or chaotic flour piles look messy, whereas a fine, targeted misting suggests disciplined artisan craftsmanship.
When photographing sliced loaves, angle the cut face toward your light source while keeping your negative fill board tight against the back. This highlights interior alveoli aeration and reveals crumb gloss.
Dust your dark counter with a dry pastry brush to direct visual lines toward the bread. Subtle lines swept in the direction of the wood grain create an elegant path for the viewer’s eye.
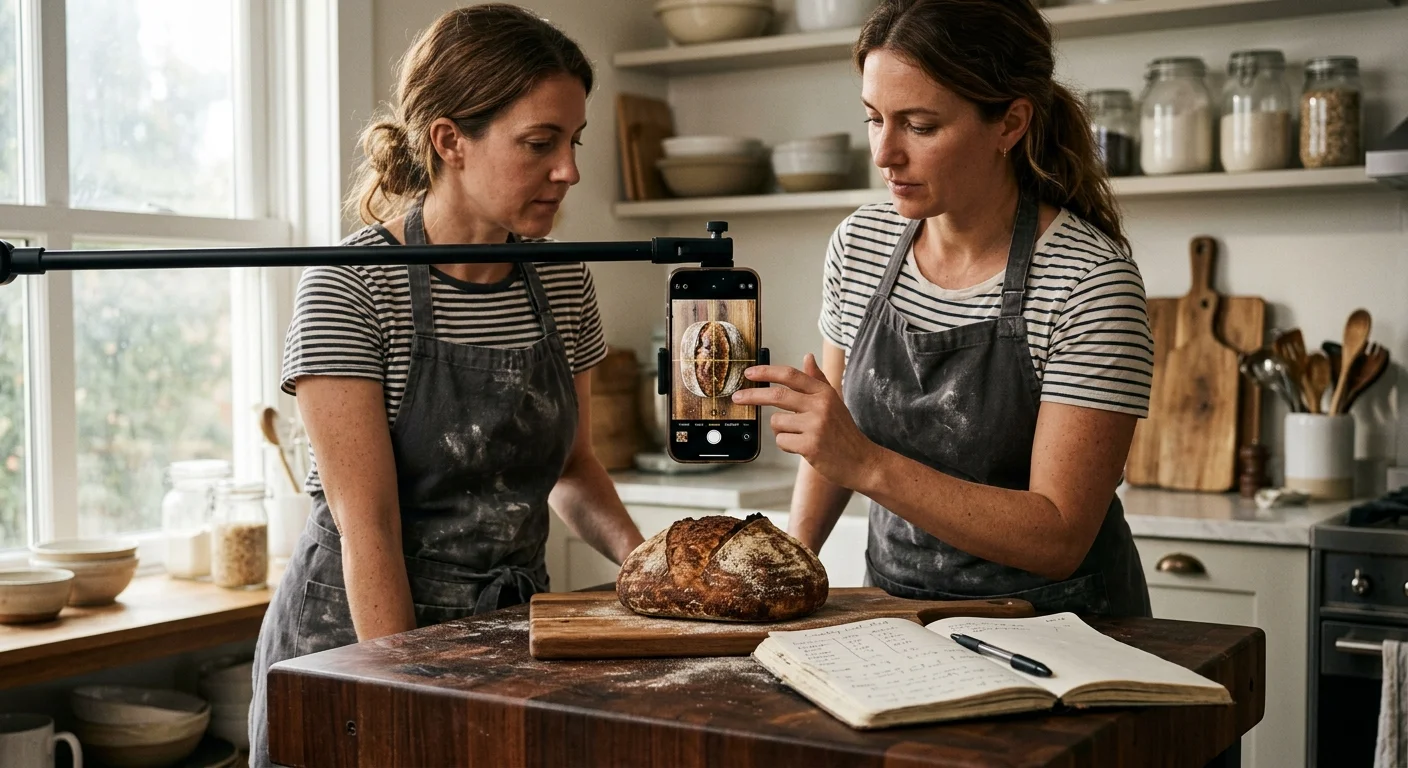
Worked Example: Documenting a Country Boule Step-by-Step
Let us review a complete, real-world scenario photographing an 850-gram country sourdough boule. The baker uses a 24 by 36 inch oiled walnut butcher block resting on a kitchen island.
First, clamp a Neewer 25-inch boom arm to the countertop edge and attach your phone mount. Adjust the overhead arm height to exactly 28 inches above the board.
Open the camera application and align the yellow and white leveling crosshairs until they merge. Tighten the arm collar with an Allen key to secure parallel alignment.
Place a 60W continuous LED fixture 36 inches to the left, elevated 20 inches above the counter. Aim the light downward at a 35-degree rake through a nylon diffuser.
Position a 20 by 30 inch matte black foam-core card vertically on the right side, six inches from the boule. This negative fill absorbs bounce and deepens ear contrast.
Center the cooled sourdough boule on the butcher block, aligning the expansion ear perpendicular to the incoming light. This angle maximizes shadow projection across the crumb fissure.
Switch your top down food photography phone camera to Manual RAW capture mode. Set the sensor sensitivity to ISO 50, shutter speed to 1/120 second, and dial exposure compensation to -0.7 EV.
Tap the phone screen on the transition zone between dark crust and white flour to lock focus. Trigger the shutter using a three-second timer to avoid touch-induced camera shake.
The resulting image retains delicate rice flour filigree, deep golden-brown crust graduation, and perfectly crisp wood grains without perspective distortion.
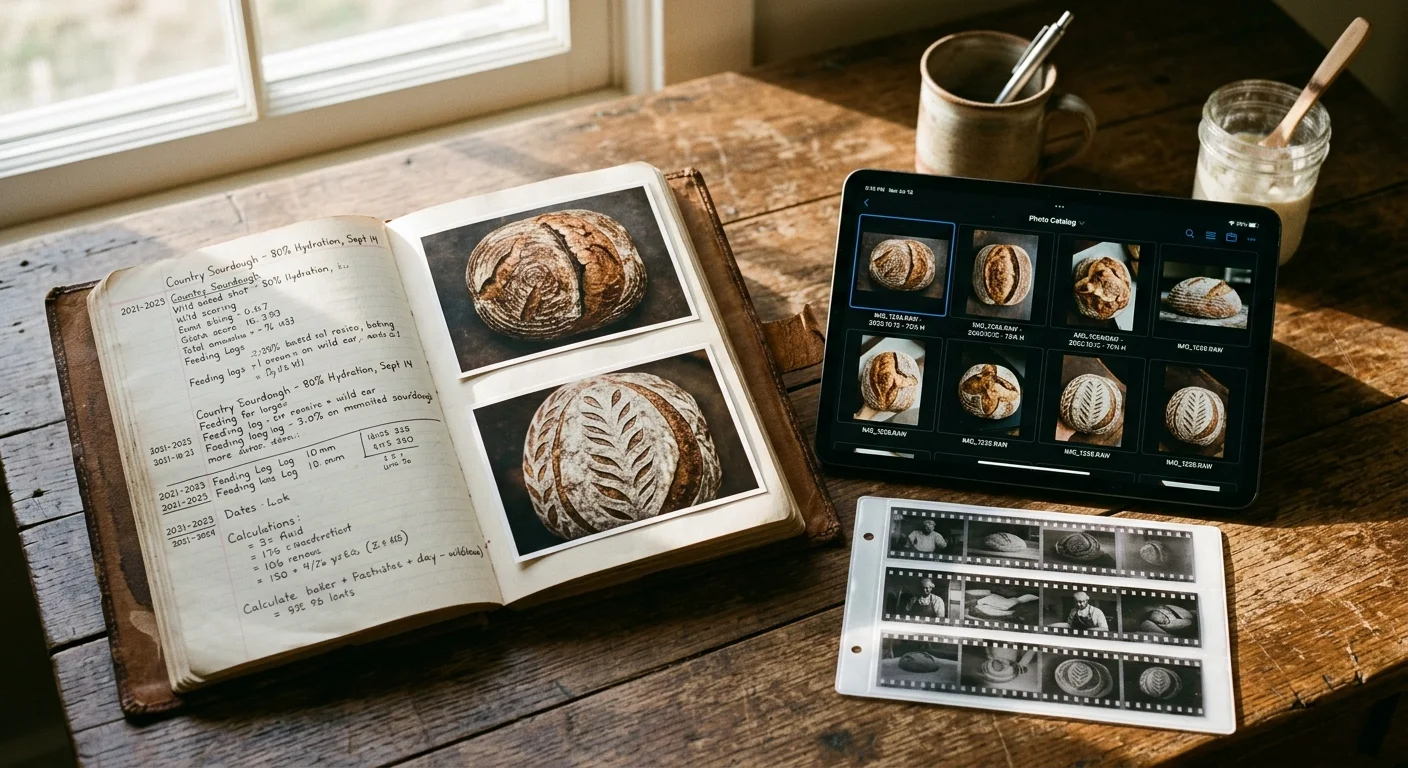
Archiving Heritage Baking Records and Digital Negatives
Photographing sourdough flat lays creates valuable records of your baking formulas and fermentation progress. Documenting loaf expansion over seasons helps you refine hydration rates and preserve family culinary traditions.
Adopt a structured digital naming convention to catalog your bread captures. Labeling files with bake dates, flour ratios, and ambient room temperatures turns food images into an authentic baking journal.
Export your final images as uncompressed DNG or TIFF master files for long-term preservation. Lossless formats safeguard fine scoring textures against compression artifacts across future digital platform updates.
When preserving physical heirloom recipe cards alongside bread photos, follow archival standards established by the Library of Congress Preservation team. Store cards in acid-free polyester sleeves away from heat and moisture.
Back up your digital recipe photo archive following the 3-2-1 rule. Maintain three copies across two distinct storage media, with one copy preserved off-site in secure cloud storage.
Print your best quarterly bakes in archival photo books using pigment inks and cotton rag paper. Physical albums preserve your culinary craft for future generations far better than transient social media feeds.
Frequently Asked Questions
How do I stop white rice flour from blowing out in top down food photography phone shots?
Lock focus on the crust and drag exposure down by 0.7 to 1.0 EV. Shooting in RAW mode provides extra dynamic range to recover bright highlight details.
Why is negative fill better than white bounce cards on dark counters?
White bounce cards flood shadows, eroding the textured height of your loaf ear. Black foam core absorbs stray light, carving out deep micro-shadows that dramatize crust expansion.
How do I know my phone is completely level over the countertop?
Enable your smartphone camera grid to reveal the built-in gyroscopic leveling crosshairs. Adjust your mounting arm until the floating reticles merge and lock into a solid gold cross.
Can I use an ultra-wide phone camera lens for overhead bread flat lays?
Avoid ultra-wide 0.5x lenses because their optical distortion bends straight counter edges. Use your primary 1x wide lens or 2x telephoto crop to ensure true orthogonal perspective.
How do I clean and prep my dark butcher block before photographing sourdough?
Wipe the butcher block with a damp microfiber cloth to remove stray crumbs, then let it dry completely. Avoid fresh heavy oiling right before shooting, which creates distracting glossy hot spots.
Disclaimer: This article is for informational purposes only. When handling valuable or irreplaceable photographs, consider consulting a professional conservator. Always test preservation methods on non-valuable items first.