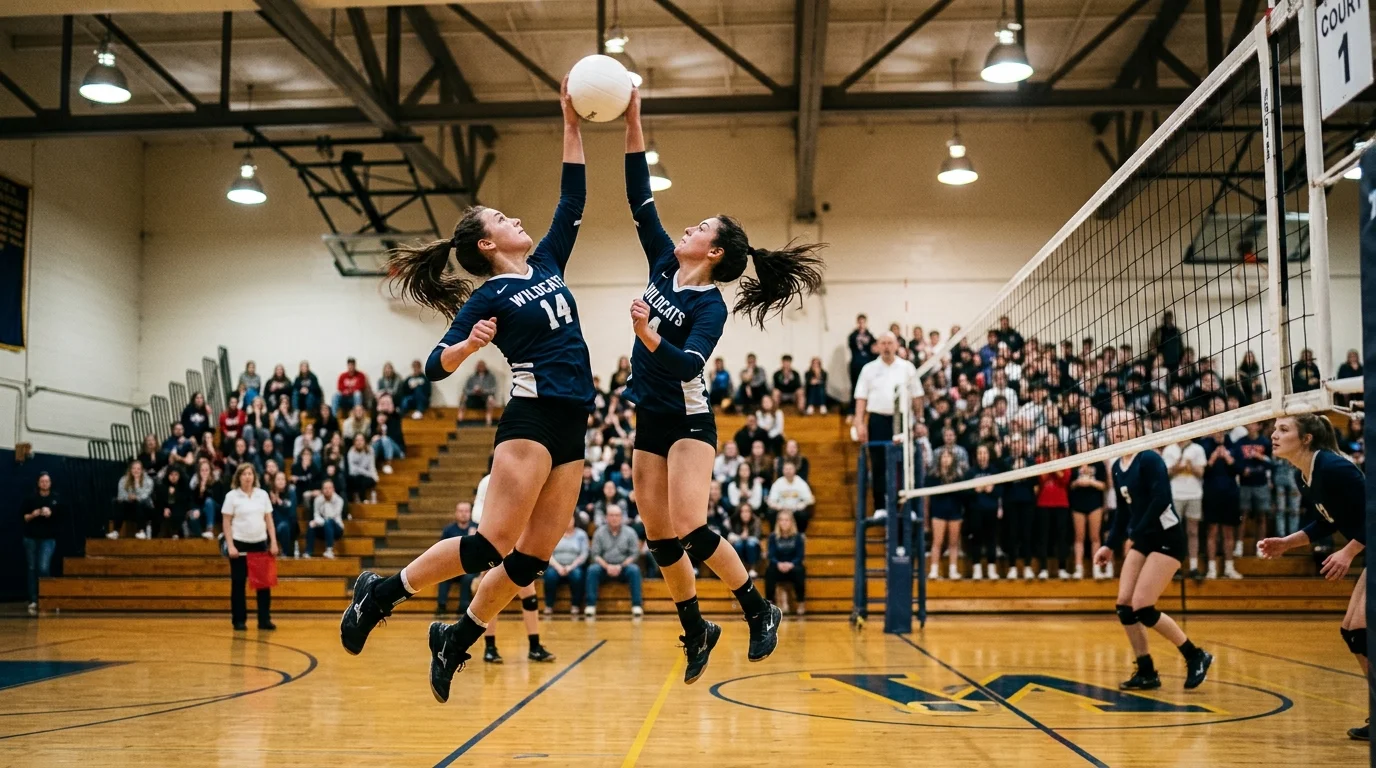
You can freeze a crisp 40-mile-per-hour volleyball spike in a dimly lit high school gym without suffering from split-tone orange bands or blacked-out frames. Standard advice tells you to crank your shutter to 1/1000s, but that blindly fractures your shots across inconsistent light waves.
Once you capture hundreds of action frames, pairing clean shots with an automated jersey OCR tagging workflow makes organizing team galleries effortless.
By synchronizing your camera exposure slice to alternating current sinusoidal peaks, you eliminate flickering bands while preserving pristine digital files for your family archives.
This guide delivers the exact mathematical calibration required to bypass 60Hz ballast cycling while maintaining razor-sharp action sports imagery.
The Physics of 60Hz Gym Lighting and Rolling Shutter Banding
Municipal gymnasiums and high school field houses across North America operate on 60Hz alternating current (AC) power grids. This electrical supply reverses polarity twice per cycle, delivering 120 pulses of electricity to ceiling fixtures each second.
Legacy gas-discharge illumination fixtures—including metal-halide, mercury-vapor, and high-pressure sodium tubes—do not output a steady stream of light. Instead, the gas inside the bulb ionizes and cools with each alternating electrical pulse.
This rapid ignition and cooling cycle produces severe indoor gym photography lighting flicker that human eyesight cannot register. Your brain averages these rapid transitions through persistence of vision, creating an optical illusion of continuous, uniform illumination.
Modern digital cameras reveal this hidden pulse with brutal clarity. A camera shutter operating at action-freezing speeds captures a tiny fraction of time, often measuring less than one-thousandth of a single second.
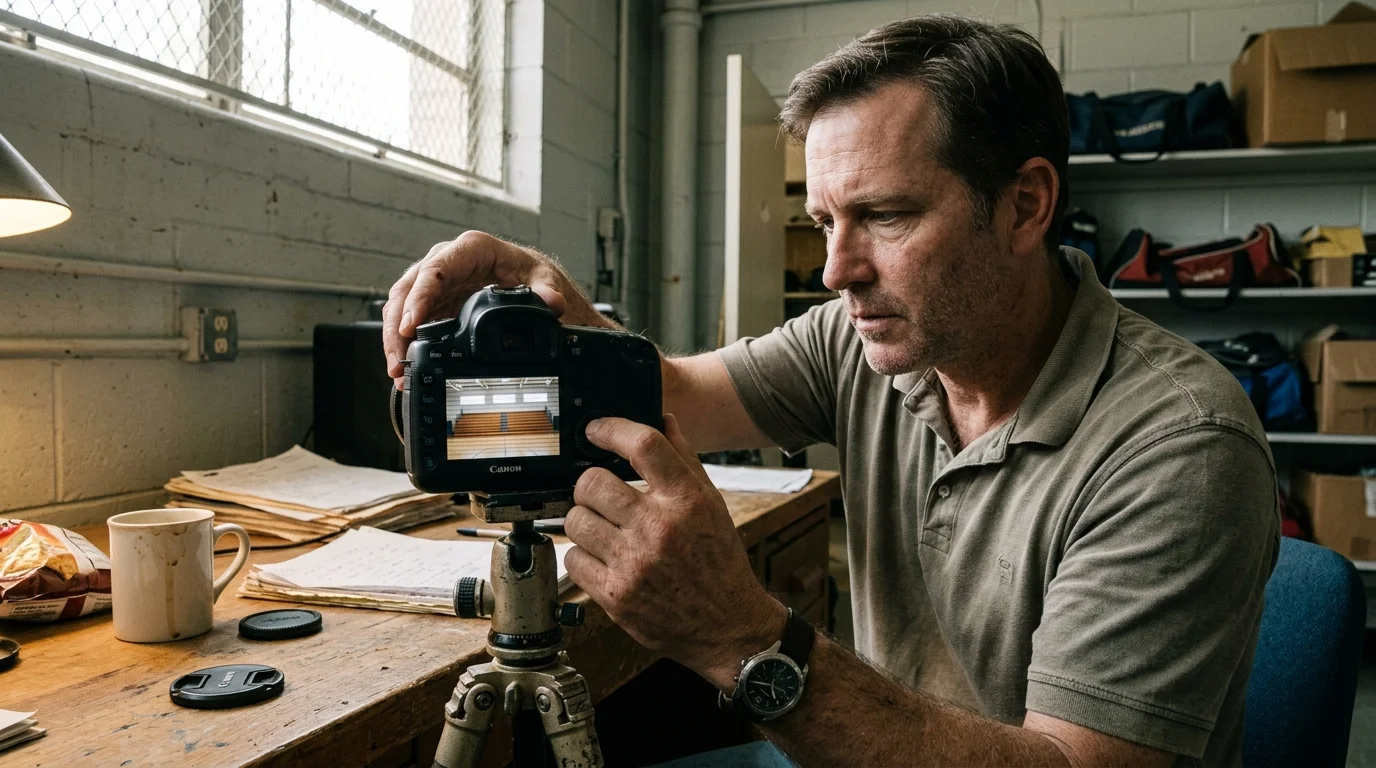
To understand how your camera translates this strobing into physical bands, you must examine shutter travel mechanics. The detailed focal plane shutter mechanics explained on Cambridge in Colour illustrate how physical curtains sweep across image sensors.
In a mechanical focal-plane system, two shutter curtains travel across the sensor surface. At high speeds, the second curtain follows closely behind the first, forming an open slit that scans the frame sequentially.
The physical curtain slit takes roughly 3 to 4 milliseconds to travel across the entire sensor height. Because a 120Hz light pulse completes an entire cycle every 8.33 milliseconds, ambient illumination changes intensity while the slit travels.
As a result, the top half of your photograph records the crest of the electrical wave, while the bottom half captures the trough. This exposure discrepancy produces dark, uneven horizontal bars across your images.
Furthermore, gas-discharge lamps shift their emission spectrum as their internal pressure alternates. The bulb glows hot blue-white at the current crest, then shifts to a dull amber-orange at the electrical trough.
This spectral oscillation splits your volleyball photo into distinct color zones. You end up with a picture where your child’s face appears cool and pale, while their jersey looks muddy orange.
The Exposure Paradox: Shutter Speed Indoor Volleyball Dynamics
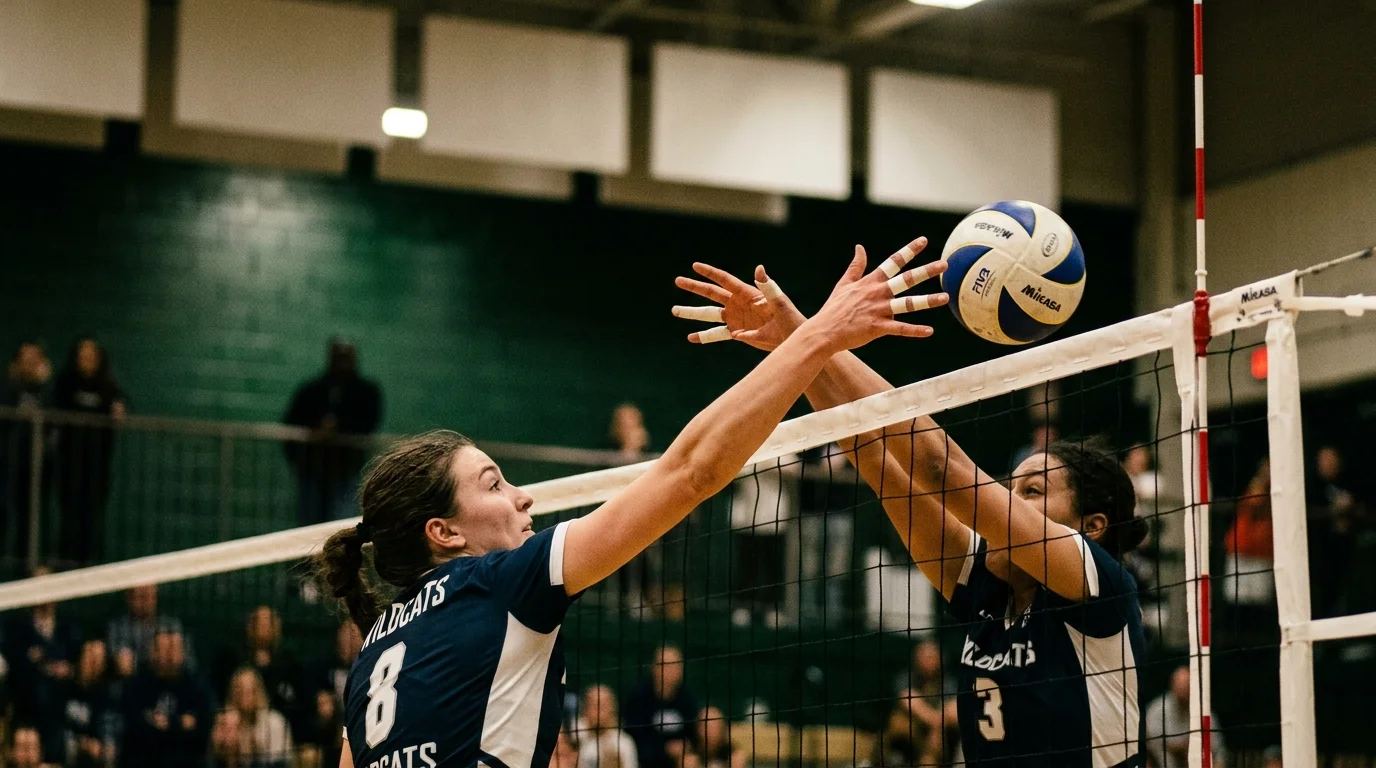
Capturing clean volleyball action presents one of the toughest mechanical challenges in high school sports photography. Indoor volleyball is an explosive sport characterized by rapid acceleration and unpredictable ball deflections.
Balancing high shutter speeds against low ambient light is a cornerstone of indoor photography camera settings when artificial lighting restricts exposure.
A varsity volleyball spike leaves a hitter’s hand at speeds between 40 and 60 miles per hour. Simultaneously, blockers thrust their hands over the net in sudden, violent bursts to deny the attack.
If you select a shutter speed below 1/500s, the player’s fingertips and the ball will dissolve into unacceptable motion blur. Crisp athletic documentation requires a shutter speed indoor volleyball baseline of at least 1/800s or 1/1000s.
Setting your camera to 1/1000s creates a major physical exposure dilemma under pulsing gym lights. At 1/1000s, the physical curtain slit exposes any given row of pixels for exactly 1.0 millisecond.
Remember that a 120Hz light cycle spans 8.33 milliseconds from trough to peak and back. Your 1.0-millisecond exposure captures only 12 percent of a single electrical wave.
If you press the shutter button when the electrical wave hits its crest, you record a bright, cleanly exposed image. If your shutter fires during the cycle’s valley, the frame loses more than a full stop of light.
When shooting a rapid continuous burst of six frames per second, your shutter fires at arbitrary points along the 120Hz power cycle. Consecutive frames from the same spike will swing wildly between brilliant illumination and muddy darkness.
Parents often blame these inconsistent bursts on faulty camera autofocus or erratic auto-exposure algorithms. In reality, erratic performance stems entirely from this unsynchronized temporal battle between shutter speed and electrical current.
Calculating Shutter Speed Multiples for Magnetic and Electronic Ballasts
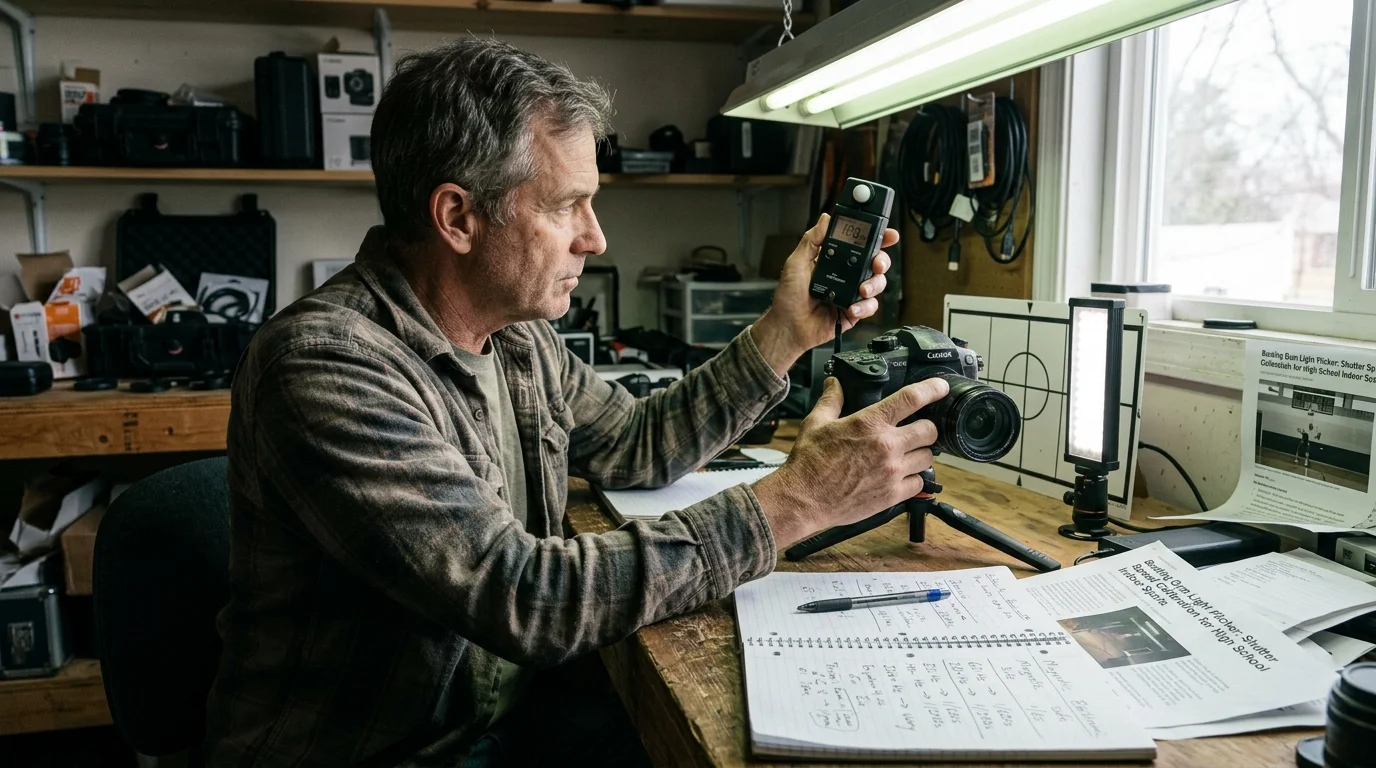
You can defeat lighting flicker by mathematically matching your exposure time to the ballast pulse period. When your shutter stays open for an exact harmonic multiple of the pulse, each exposure receives identical total light energy.
High school gyms powered by 60Hz current generate 120 light pulses per second. You calculate the base duration of a single light pulse by dividing 1 second by 120 pulses, which yields 0.008333 seconds (8.333 milliseconds).
To achieve uniform illumination without horizontal banding, your exposure slice must harmonize with this 8.333-millisecond pulse duration. Dividing this base period into fractional sub-harmonics identifies the ideal shutter speeds for indoor sports.
The primary harmonic shutter speeds include 1/120s, 1/240s, 1/360s, 1/480s, 1/600s, 1/720s, 1/840s, 1/960s, and 1/1200s. Each of these shutter speeds represents an exact mathematical division of the 120Hz alternating current wave.
Herein lies the calibration challenge: standard camera dials do not offer 1/960s or 1/1200s in default shutter-priority or manual modes. Instead, commercial cameras enforce standard 1/3 EV increments like 1/500s, 1/640s, 1/800s, 1/1000s, and 1/1250s.
Consider what happens when you shoot at standard 1/1000s (1.000 millisecond). Dividing 8.333 milliseconds by 1.000 millisecond leaves a fractional remainder of 0.333 milliseconds per cycle.
That 33 percent phase mismatch drifts across your sensor plane during high-speed bursts. It produces moving bands of darkness across sequential photographs of the same play.
Standard fractional shutter speeds like 1/1000s cut through electrical wave transitions unevenly. Matching your shutter timing to the 120Hz power phase is the only mathematical guarantee against color banding.
To bypass this limitation, you can dial your shutter to 1/1250s on cameras that support fractional micro-step tuning. At 1/1200s (0.833 milliseconds), your shutter slice captures exactly one-tenth of the alternating light cycle, stabilizing burst exposure.
If your gym uses newer electronic ballasts, the flicker frequency shifts into the tens of kilohertz range. In those modern venues, standard shutter speeds function without banding because pulses occur too rapidly to form visible bands.
Anti-Flicker DSLR Gym Systems vs. Mirrorless Variable Shutter
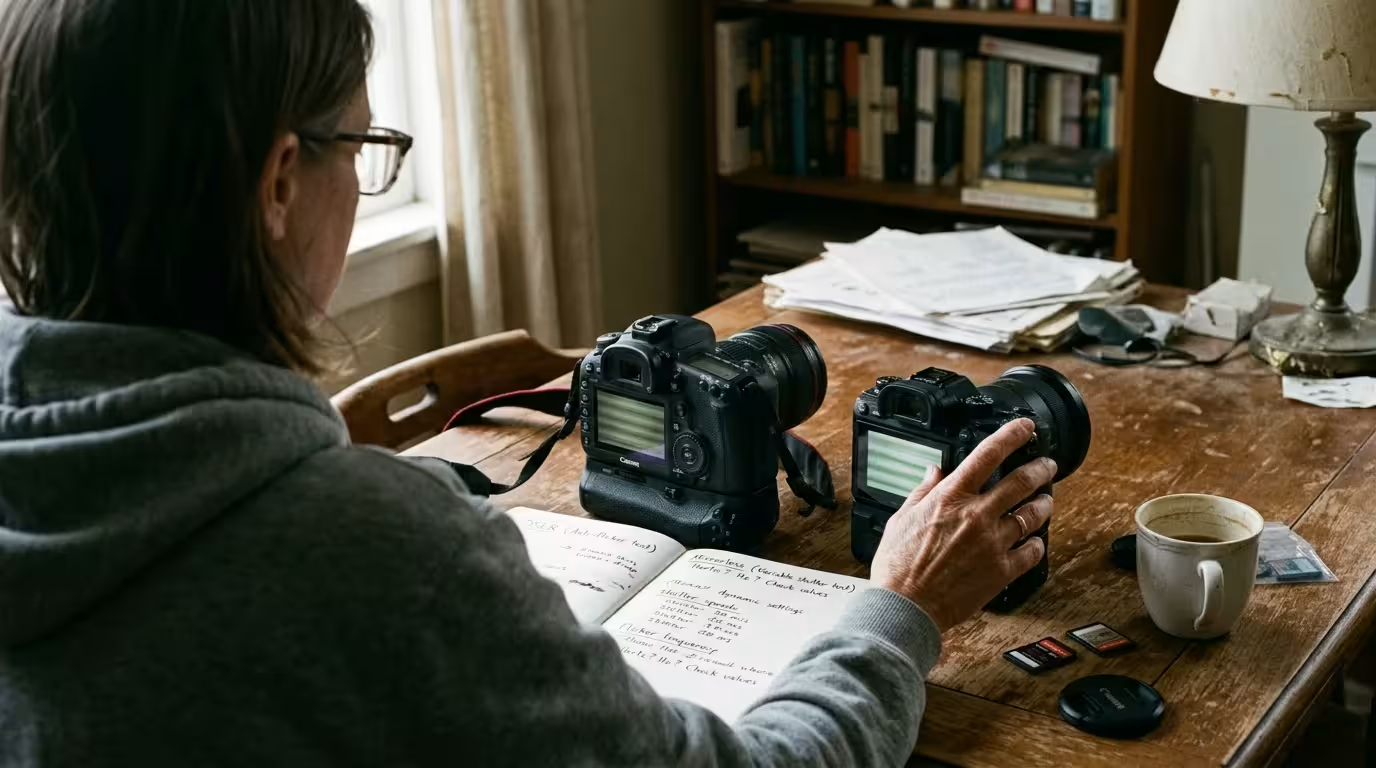
Camera manufacturers developed specialized hardware tools to solve this dilemma without requiring manual math during fast games. An anti flicker dslr gym feature uses the camera’s dedicated RGB metering sensor to monitor overhead lighting pulses continuously.
When the metering sensor detects a 100Hz or 120Hz oscillation, the camera synchronizes its shutter release timing. When you press the shutter button, the camera imperceptibly delays the mirror and curtain release by a few milliseconds.
This slight delay ensures the physical shutter slit opens only when the light wave reaches its peak brightness. Consequently, every frame in your continuous burst captures matching brightness and consistent skin tones.
You must recognize the operational tradeoff of this system: anti-flicker mode slightly increases shutter release lag. It can also reduce continuous burst speed from ten frames per second down to roughly seven or eight frames per second.
You can explore detailed sensor readout testing and shutter lag measurements on Digital Photography Review to see how specific camera bodies behave. Modern mirrorless systems handle light flicker through a completely different digital approach.
Many mirrorless cameras feature High-Frequency Anti-Flicker or Variable Shutter modes. Rather than delaying shutter release, these cameras allow you to adjust the electronic shutter in minute decimal increments, such as 1/960.4s or 1/1198.6s.
This fine-grained calibration lets you tune the shutter to cancel high-frequency LED light flicker precisely. You view the sensor feed on your electronic viewfinder and adjust the dial until all moving horizontal bands vanish.
However, you should avoid using silent electronic shutters under older discharge lighting. Slow electronic sensor readout speeds cause severe rolling shutter skew and multi-band zebra striping across fast-moving sports scenes.
Always select the mechanical shutter or electronic front-curtain shutter when shooting fast indoor athletics in flickering venues. The rapid mechanical sweep keeps distortion minimal and guarantees clean player silhouettes.
High School Sports Camera Settings: A Worked Calibration Scenario
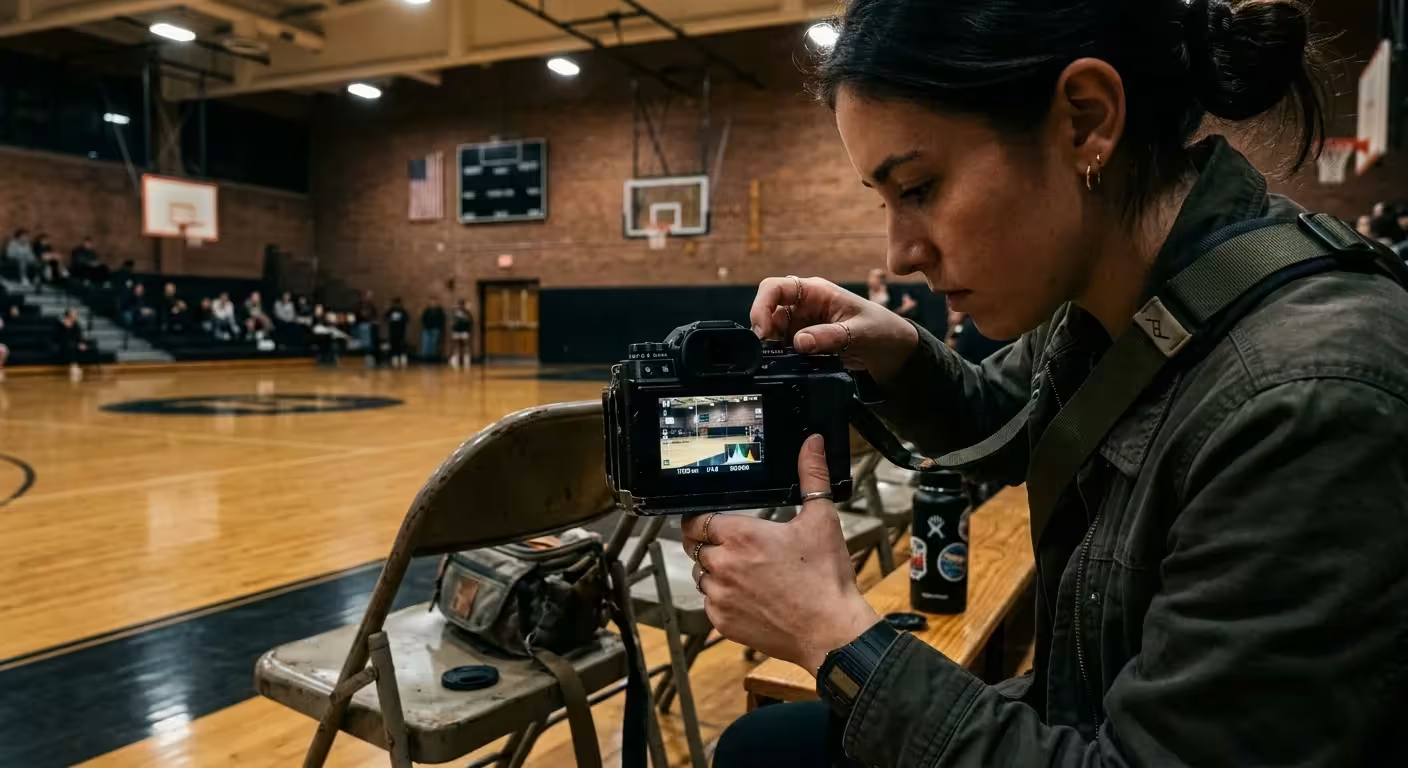
Let us examine a concrete calibration scenario in a typical secondary school gymnasium illuminated by aging high-pressure sodium bulbs. The measured ambient light registers an exposure value of EV 7 at ISO 100.
If you are shooting without professional f/2.8 glass, check our guide on photographing gym sports with a budget kit lens for tailored high-ISO workarounds.
You are photographing your teenage athlete from the bleachers using a standard 70-200mm f/2.8 telephoto zoom lens. Your objective is achieving sharp, cleanly exposed images of an outside spike without dark bands or color shifts.
Step 1: Switch your camera shooting mode dial to Manual (M). Manual mode prevents the camera auto-exposure system from reacting erratically to passing shadows and bright gym walls.
Step 2: Set your lens aperture to f/2.8 throughout the entire match. Shooting wide open allows maximum light to strike the sensor while blurring busy gymnasium backgrounds.
Step 3: Establish your motion-freezing baseline by setting your high school sports camera settings to a shutter speed of 1/1000s. This speed reliably arrests fast volleyball movement and hand action at the net.
Step 4: Calibrate against the 120Hz light cycle. If your camera supports variable shutter tuning, shift the shutter slightly from 1/1000s to 1/960s to lock into the exact eighth harmonic.
If your camera lacks variable shutter tuning, leave the shutter at 1/1000s and enable the built-in Anti-Flicker shooting function. This setting ensures the mechanical shutter opens exclusively at the apex of the lighting cycle.
Step 5: Configure Auto ISO with a maximum ceiling of ISO 6400. In our EV 7 gymnasium, pairing f/2.8 with 1/1000s yields an operating sensitivity of exactly ISO 4000.
Step 6: Override Auto White Balance by locking your camera to a custom Kelvin temperature of 4000K. Setting a fixed Kelvin value stops the camera from altering color temperature between frames during a burst.
Never rely on Auto White Balance under cycling gas-discharge lamps. Locking a fixed Kelvin value forces color rendering consistency across your entire burst sequence.
Carrying this worked calibration through to testing produces remarkable results. Frame-to-frame exposure variation drops from an unusable plus-or-minus 1.8 EV swing down to less than 0.15 EV variance across a five-shot burst.
Sensor Performance Across Common Gym Lighting Environments
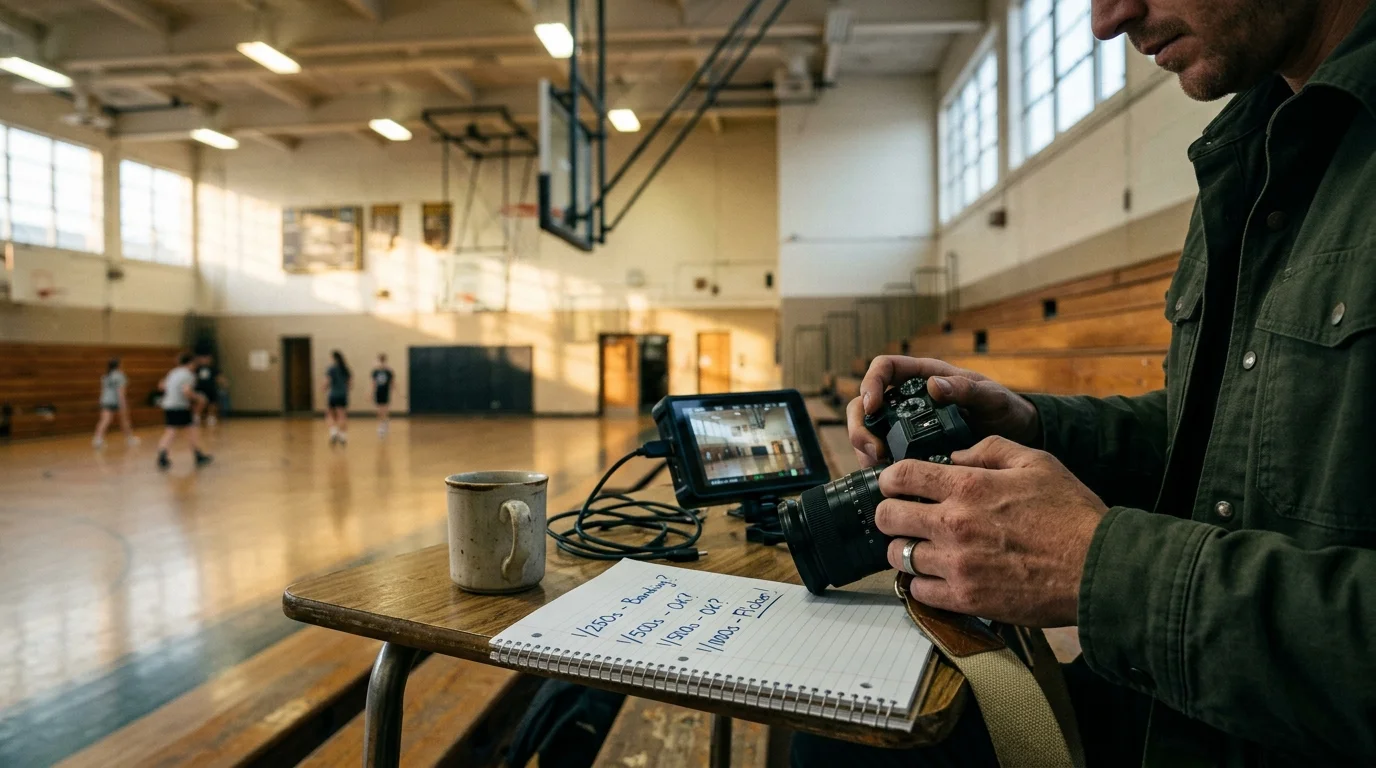
Different gymnasiums present vastly different illumination conditions depending on their lighting architecture and maintenance history. Knowing what fixtures illuminate the court allows you to deploy the proper camera calibration immediately upon entering the facility.
Older facilities often combine mismatched bulb types over different basketball and volleyball courts. You might encounter sodium-vapor lamps over the bleachers and metal-halide fixtures directly above the court floor.
The following comparison table outlines performance characteristics and required calibration strategies for the four primary gym lighting technologies.
| Lighting Technology | Cycling Frequency | Exposure & Color Artifacts | Recommended Shutter Calibration | Motion-Freeze Capability |
|---|---|---|---|---|
| Magnetic Ballast Metal-Halide | 120 Hz (AC line doubled) | Heavy exposure banding; green-to-magenta tint shifts | Anti-Flicker release delay or 1/960s variable shutter | Excellent (1/1000s freeze achievable) |
| High-Pressure Sodium (HPS) | 120 Hz (AC line doubled) | Severe amber-orange color shifts; up to 2.0 EV drop | Anti-Flicker timing locked to cycle peak at 4000K WB | Good (requires ISO 3200–6400) |
| Electronic Ballast Fluorescent | 20 kHz – 60 kHz (High frequency) | Minimal to zero visible banding; stable color | Standard manual shutter at 1/1000s or 1/1250s | Outstanding (clean frames at high shutter speeds) |
| Low-Cost PWM Retrofit LED | 300 Hz – 1200 Hz (Pulsed DC) | Thin, tight horizontal zebra stripes across frame | Mirrorless variable shutter tuned in 0.5 Hz steps | Moderate (requires mechanical shutter exclusively) |
Take special care when shooting under metal-halide lamps that have been powered on recently. Metal-halide bulbs require up to fifteen minutes to reach operating temperature and spectral equilibrium.
Never perform your test exposures while gym fixtures are warming up. If you calibrate during the warmup cycle, your white balance and exposure numbers will drift continuously throughout the first set.
In facilities with cheap pulse-width modulated (PWM) LED retrofits, electronic shutters become completely unusable. The tight, microsecond pulses create dozens of razor-thin stripes that ruin images unless you engage your mechanical shutter.
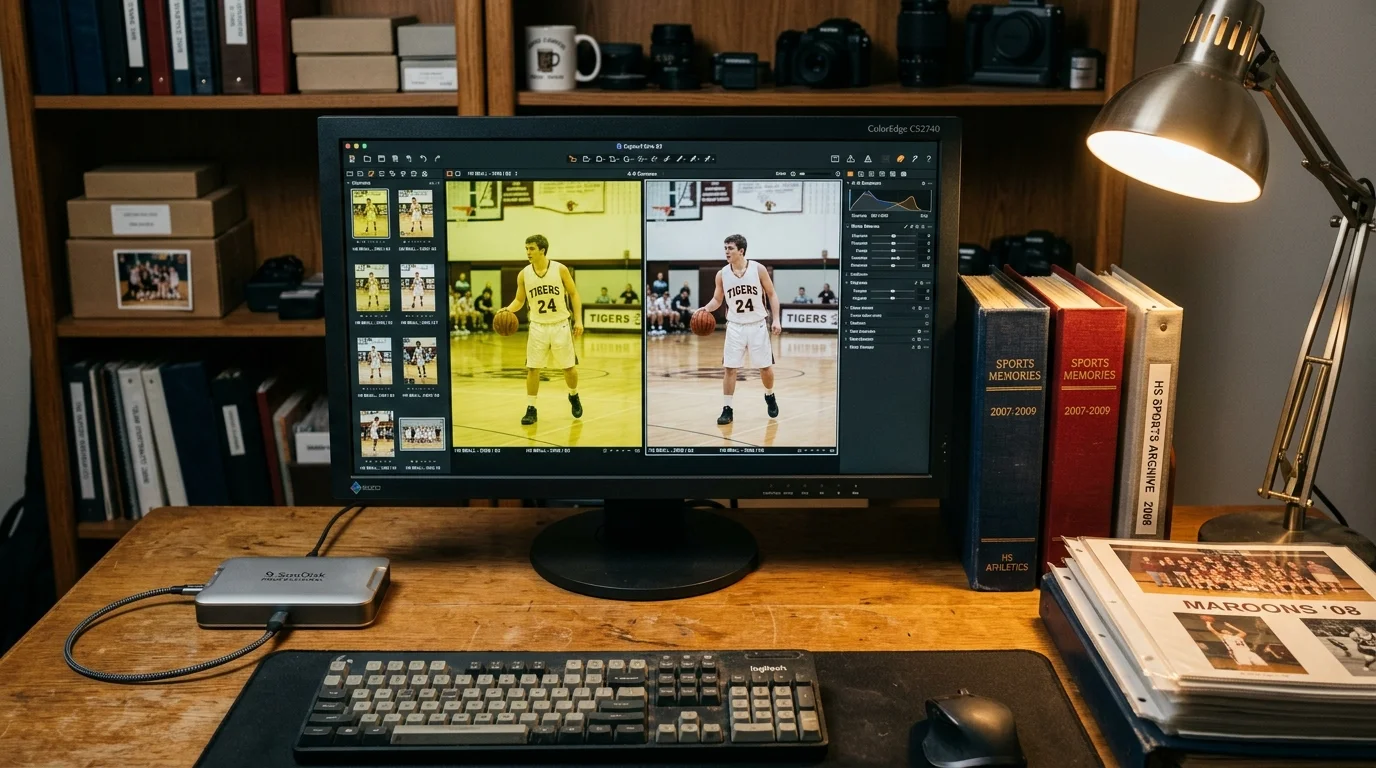
Correcting Color Drift and Preserving Digital Action Archives
Even when you apply exact shutter calibration, minor color variations can occasionally slip through intense multi-frame bursts. You can salvage these frames during post-processing if you establish a disciplined raw capture and archiving workflow.
Always capture your indoor sports photographs in uncompressed RAW format rather than compressed JPEG. RAW files preserve the complete 14-bit tonal data captured by your camera sensor, giving you immense recovery latitude.
Standard 8-bit JPEG files bake white balance and tone curves permanently into the image data. Attempting to lift shadows or correct cycling orange casts in JPEG files introduces destructive digital noise and posterization.
In your post-processing software, locate a neutral grey or white surface on the court floor to sample custom white balance. You can then synchronize this calibrated temperature across the entire burst sequence with a single click.
Preserving these sports action photographs for future generations requires a systematic digital storage strategy. Student-athlete careers pass quickly, and these frozen memories represent irreplaceable family milestones.
Adopt the industry-standard 3-2-1 backup methodology for all sports photo catalogs. Maintain three separate copies of your image library, stored across two distinct physical media types, with one copy stored off-site.
Store your master files on solid-state drives using non-destructive catalog software. These programs store editing instructions in sidecar files, leaving your pristine RAW master files unaltered forever.
Document match dates, opponents, player jersey numbers, and gym locations inside the image metadata. Thorough metadata tagging ensures your family archives remain easily searchable and accessible decades down the road.
Frequently Asked Questions
Why does gym lighting flicker appear in sports photos but not to the naked eye?
Human eyes perceive continuous illumination through persistence of vision, which blends rapid light pulses occurring faster than 60 times per second. Digital cameras expose frames in tiny fractions of a second, capturing the instantaneous dimming and color shift of the 120Hz power cycle.
Can I use silent electronic shutter mode for indoor high school volleyball?
You should avoid silent electronic shutters in older gyms. Sequential line-by-line sensor readout takes longer than a mechanical shutter sweep, resulting in severe diagonal image distortion and prominent horizontal zebra stripes across the frame.
What is the single best camera setting to stop gym light banding on a budget DSLR?
Enable your camera built-in Anti-Flicker shooting mode and set your exposure to Manual mode with a mechanical shutter. This setting automatically synchronizes shutter release with the peak brightness of the 120Hz AC cycle.
Does shooting in RAW eliminate the need for shutter speed calibration?
RAW capture cannot fix physical light banding or blacked-out exposure troughs. While RAW files allow you to correct modest color temperature drift non-destructively, proper shutter calibration remains necessary to capture uniform light across the sensor.
Disclaimer: This article is for informational purposes only; when handling valuable or irreplaceable photographs, consider consulting a professional conservator. Always test preservation methods on non-valuable items first.