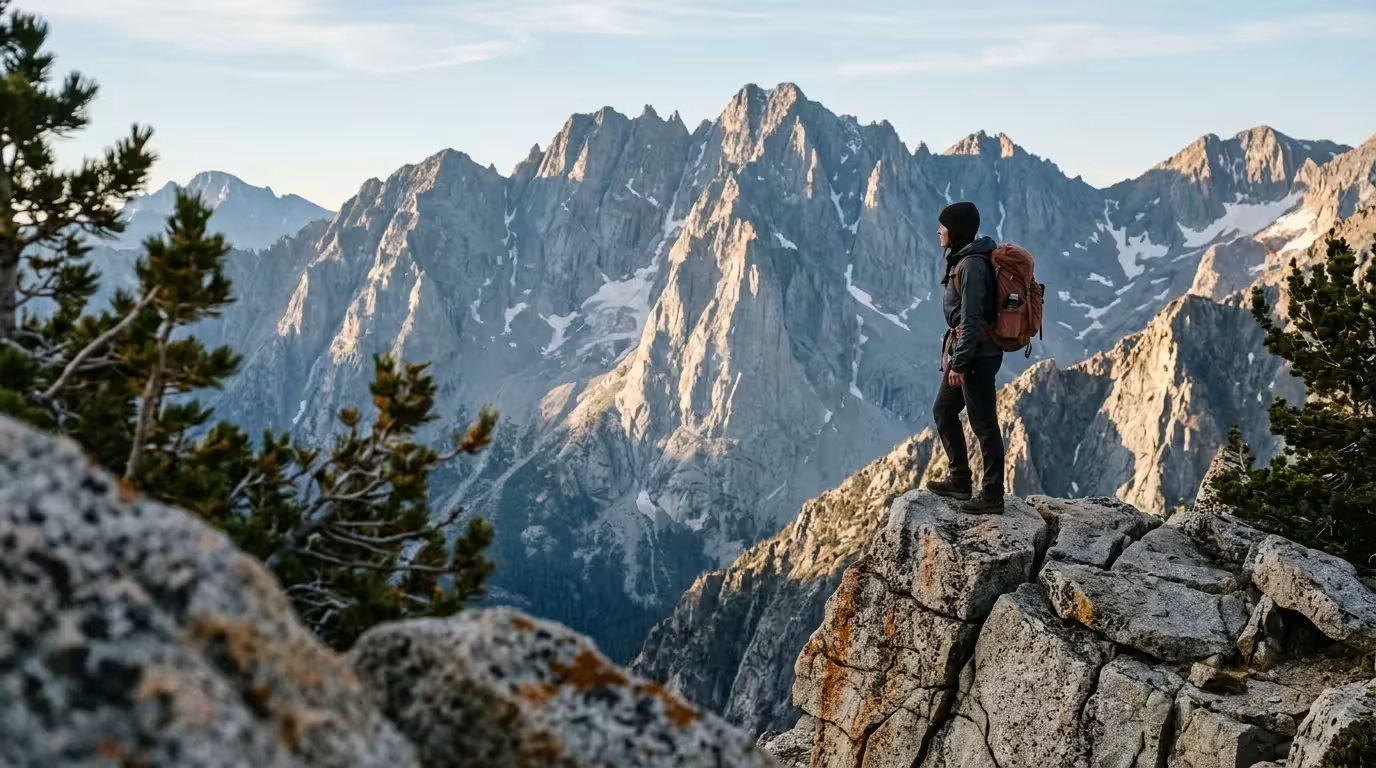
You can capture monumental mountain ridges without relying on distorted wide-angle arm reaches or blurry selfie cams. Placing your tripod far back and engaging optical telephoto lenses pulls distant peaks directly behind you with realistic scale.
Most hiking photography composition guides tell you to shoot at 24mm, but this shrinks towering 14,000-foot summits into tiny background ripples. Real telephoto phone portrait workflows leverage optical compression to balance your figure against immense granite drop-offs.
Mastering this technique requires precise transit calculations, shutter-lag adjustments, and strict Leave No Trace tripod placement. Here is how to execute clean solo hiking self portraits that preserve your wilderness milestones for future generations.
The Optical Physics of Backcountry Background Compression
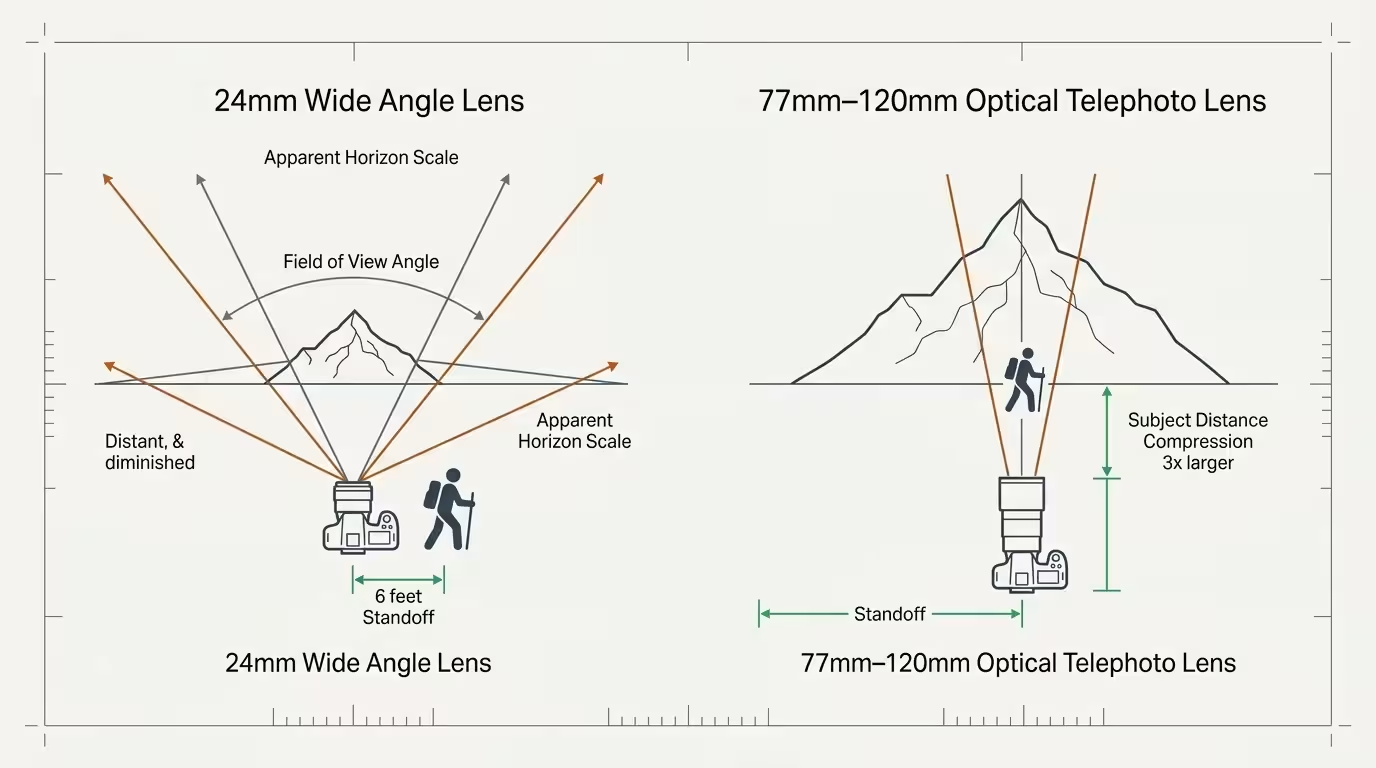
Standard smartphone primary cameras utilize wide focal lengths between 23mm and 26mm in full-frame 35mm equivalence. These wide lenses exaggerate nearby objects while rendering distant background ranges flat and deceptively small.
When you stand six feet from a wide lens, perspective distortion inflates your limbs and pushes the mountain horizon miles away. Your alpine memory loses the physical grandeur you felt standing on that exposed knife-edge ridge.
Optical telephoto modules, such as native 3× (77mm) or 5× (120mm) lenses, reverse this unflattering perspective distortion completely. According to optical tutorials published by Cambridge in Colour, increasing the subject-to-camera distance diminishes the apparent size difference between near and distant objects.
Perspective is determined solely by subject distance, not focal length. Moving back and zooming in compresses the apparent gap between hiker and mountain.
This optical compression makes jagged summits behind you appear towering, immediate, and intimate. Your final image conveys the true vertical scale of your backcountry route rather than an exaggerated wide-angle foreground.
Optical glass delivers this dramatic rendering without the muddy pixel smearing produced by digital zoom algorithms. Telephoto modules isolate your silhouette against distant geological relief, generating genuine photographic separation that digital portrait modes fail to emulate cleanly.
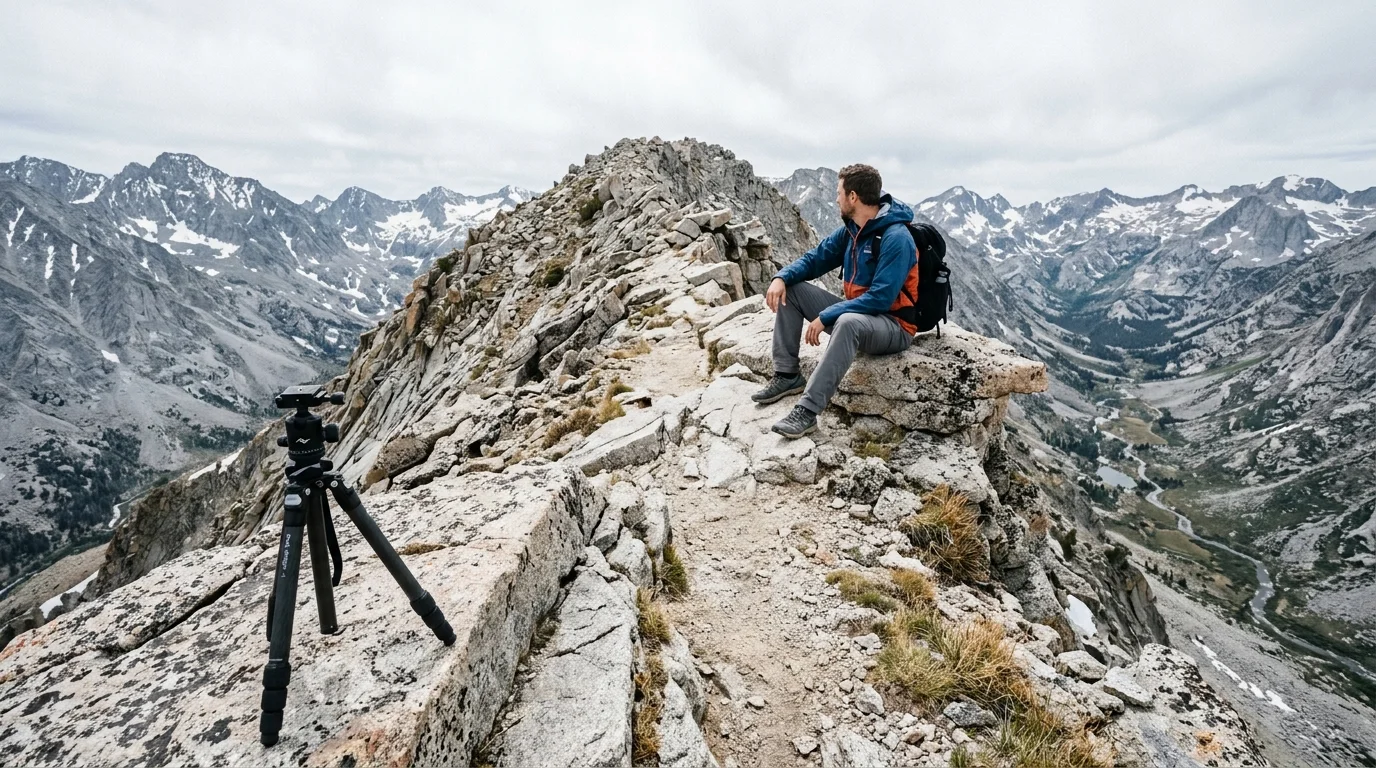
Telephoto Distance Math: Calculating Tripod Standoff on Exposed Ridges
Achieving proper framing with a telephoto phone portrait requires significant physical distance between your tripod and your posing location. You cannot simply set the tripod an arm length away and step back two paces.
For a vertical, three-quarter environmental portrait using a standard 77mm (3×) lens, you must position the tripod 25 to 35 feet away. If your phone features a periscope 120mm (5×) optical lens, that standoff distance expands to 50 to 70 feet.
Backcountry topography does not always provide 60 feet of continuous, level granite ledge. You must assess the terrain ahead to verify you have a safe line of sight before committing your setup.
| Optical Zoom Level | 35mm Focal Equivalent | Full-Body Standoff Distance | Class 2 Bluetooth Reliability | Recommended Trigger Mechanism |
|---|---|---|---|---|
| 1× Optical Wide | 24mm | 8 to 10 feet | 100% Reliable (Nominal latency) | Native 3-Second Timer / Remote |
| 3× Optical Telephoto | 77mm | 28 to 36 feet | 85% Reliable (Intermittent drops) | Native 10-Second Delay + Burst |
| 5× Periscope Telephoto | 120mm | 50 to 72 feet | 15% Reliable (Severe signal drop) | Hardware Intervalometer / 20s Delay |
| 10× Hybrid Zoom | 240mm | 105 to 140 feet | 0% Reliable (Out of radio range) | Programmable App Interval Timer |
When selecting your shooting angle, scan for natural granite benches or elevated outcrops behind you. Aligning your body along a ridgeline shelf creates depth without placing your feet precariously near an unstable precipice.
Keep your horizon line below your chest level to emphasize mountain heights looming overhead. Elevating your smartphone tripod landscape portraits against open sky ensures your silhouette cuts cleanly through the alpine haze.
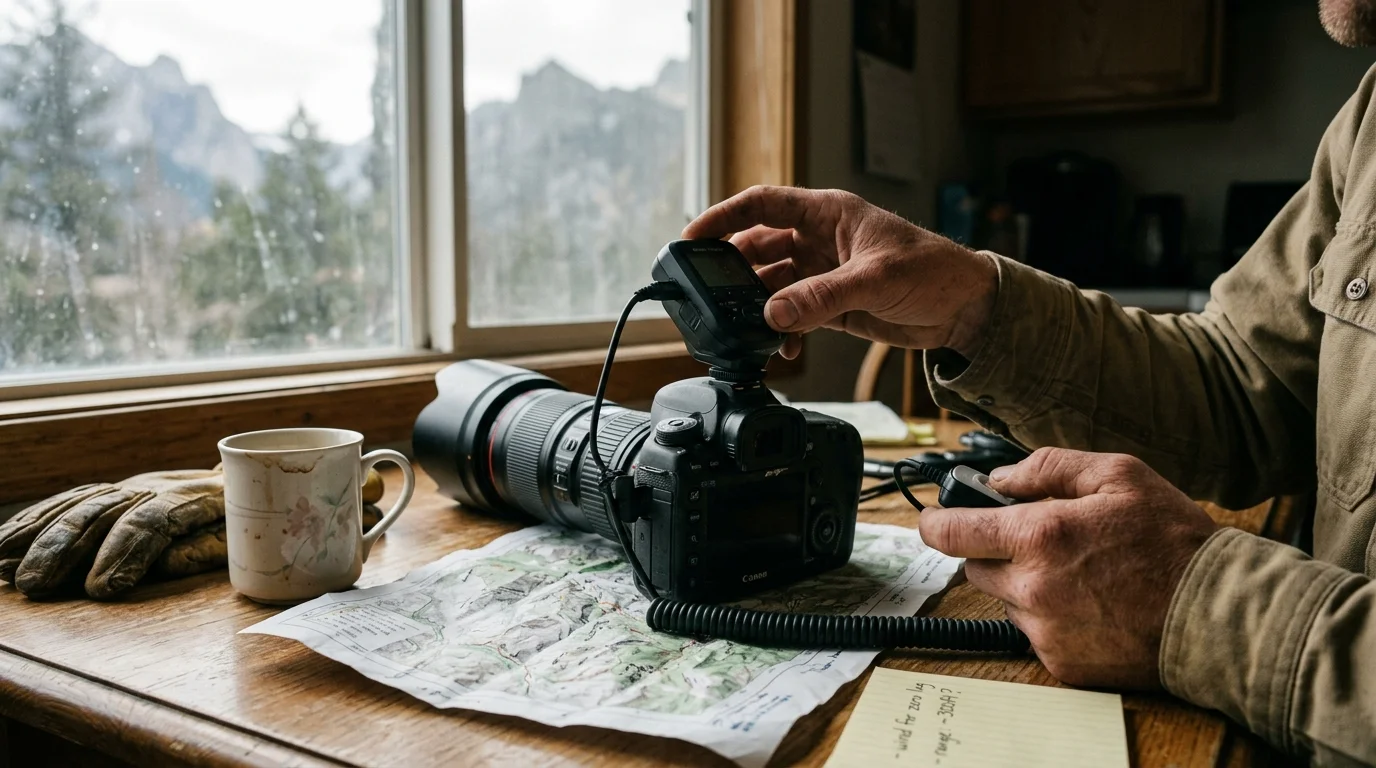
Overcoming Bluetooth Range Limits and Trigger Latency
Most commercial wireless shutter buttons and companion smartwatch apps rely on Class 2 Bluetooth transmitters. Manufacturers rate these transceivers for a maximum theoretical operating distance of 33 feet in open space.
In high alpine environments, direct sunlight, radio frequency interference, and rock mass absorption degrade standard Bluetooth signals significantly. At 40 feet or more, signal attenuation causes dropped commands or frustrating two-second transmission lags.
Tapping a pocket remote repeatedly at extended distances often leads to missed moments or frozen camera applications. Worse, walking backward while staring down at a connected smartwatch creates severe tripping hazards near sharp alpine drop-offs.
To eliminate wireless failures, bypass Bluetooth accessories entirely once your standoff distance exceeds 30 feet. Relying on integrated camera timers or software-driven intervalometers guarantees reliable shutter actuation every single time.
Native iOS camera timers provide fixed intervals of 3 and 10 seconds, paired with automatic 10-frame bursts when Live Photos is disabled. Android camera interfaces on Samsung and Google Pixel devices offer customizable 2, 5, or 10-second countdown options.
For distances exceeding 40 feet, download professional camera applications that offer programmable self-timers. Apps such as ProCamera or Camera+ allow up to 30 seconds of initial delay followed by multi-frame interval captures.
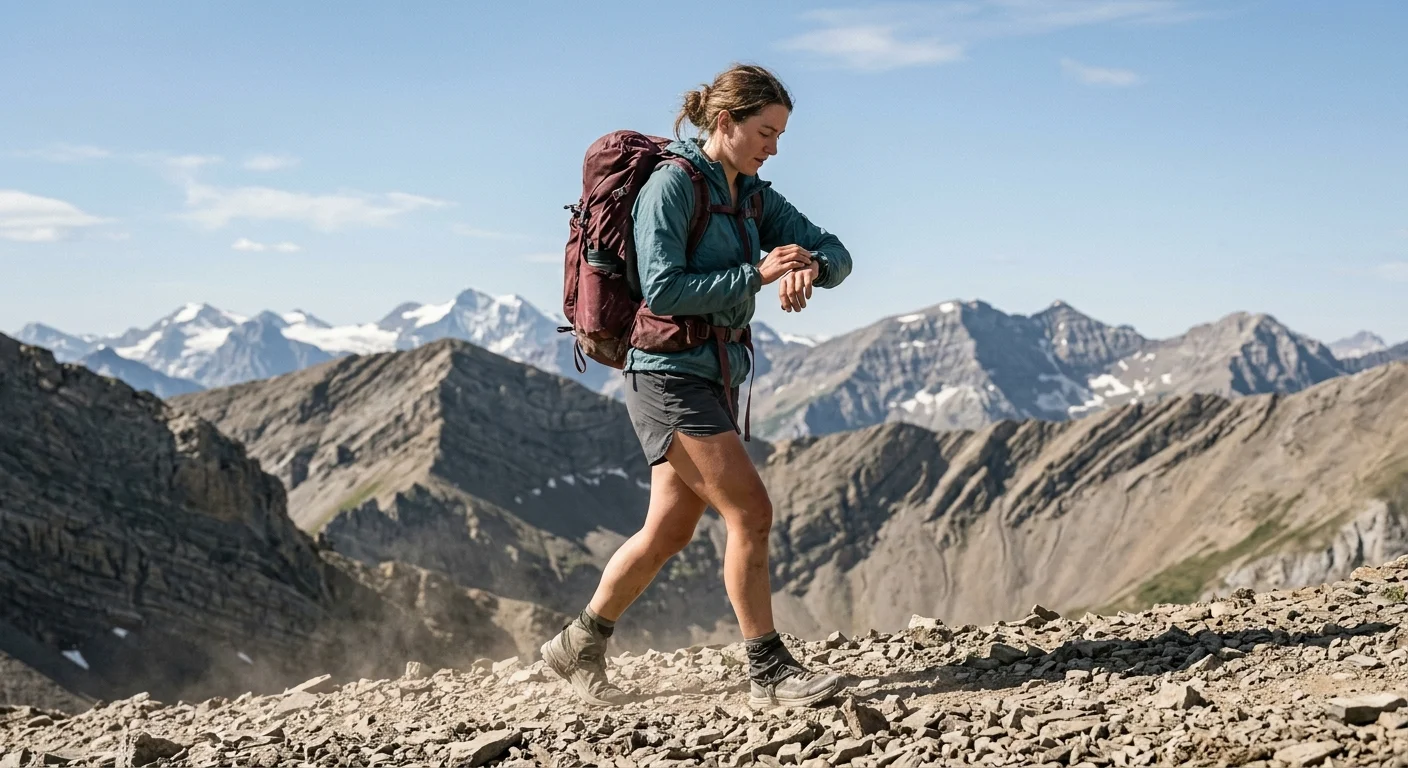
Pacing and Shutter Delays: A Worked Ridgeway Transit Scenario
Executing solo hiking self portraits at extreme focal lengths requires deliberate pacing math. Moving quickly across uneven granite scree at high elevation easily results in slips, sprains, or dangerous falls.
Consider this concrete scenario on the Sierra High Route at an elevation of 11,400 feet. You are framing an environmental portrait against an opposing granite wall using an iPhone 16 Pro set to its 5× optical lens (120mm equivalent).
To capture your full figure alongside the crest, you establish a physical standoff distance of exactly 52 feet. At this altitude, safe travel across fractured granite slabs averages a measured pace of 2.8 feet per second.
Dividing your 52-foot transit distance by your 2.8 feet-per-second pace yields a transit duration of 18.6 seconds. A standard native 10-second timer will fire 8.6 seconds before you reach your composition mark.
Attempting to sprint across mountain terrain in under 10 seconds creates severe physical danger and leaves you gasping in the frame. Instead, configure a specialized workflow to ensure calm, safe movement.
- Set your exposure compensation to -0.7 EV to protect high-altitude cloud highlights from clipping.
- Lock manual focus on an intermediate rock landmark positioned exactly 52 feet along your route.
- Open a third-party camera app and configure a 25-second initial delay countdown.
- Program a secondary interval capture of 5 frames spaced 2 seconds apart.
- Depress the shutter release, stow the device securely on its clamp, and walk steadily toward your mark.
Reaching your mark with six seconds to spare allows your breathing to stabilize and your posture to relax. The resulting five-shot bracket guarantees sharp, unhurried portraits free of heavy respiratory motion blur.
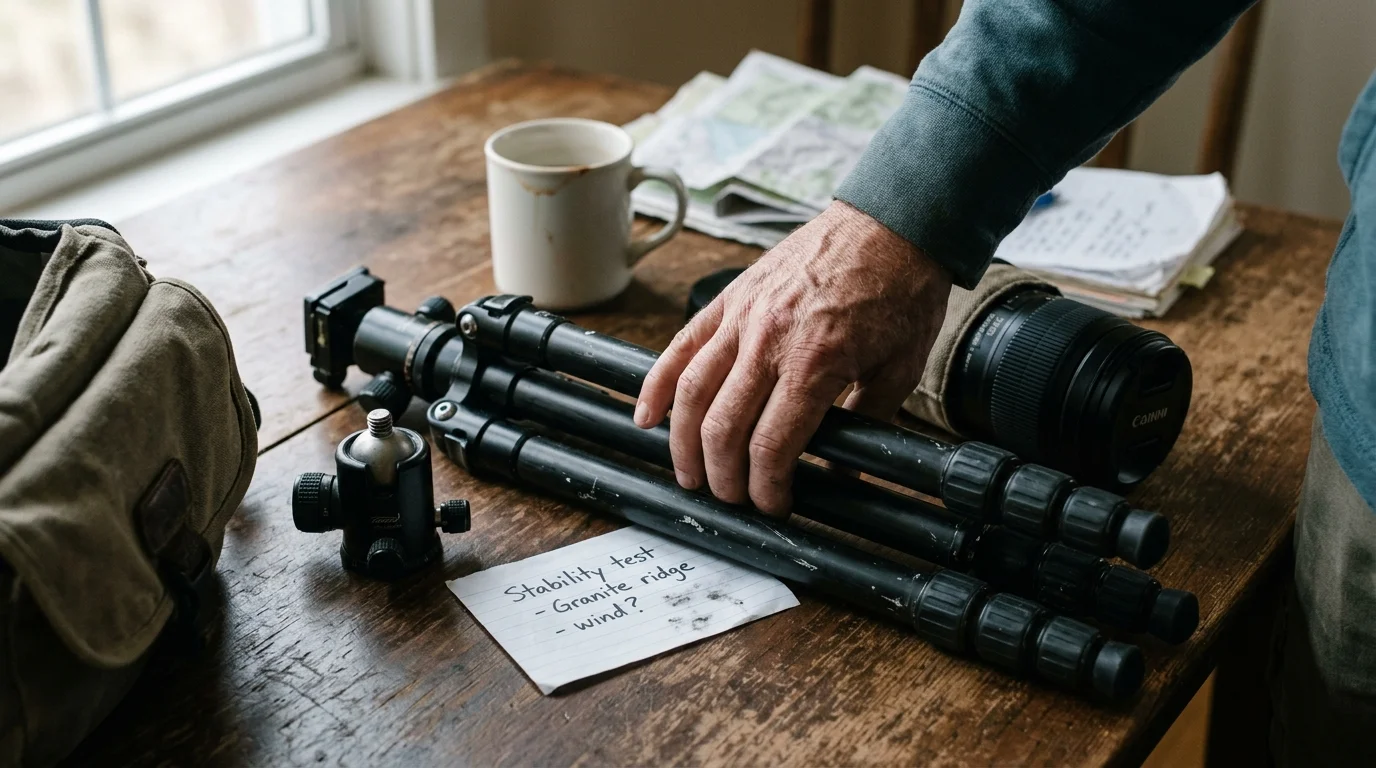
Gear Selection: Stable Compact Tripods for Wind-Exposed Granite
Narrow telephoto fields of view magnify tiny camera vibrations exponentially compared to wide lenses. A wind gust that barely registers on a 24mm capture can render a 120mm telephoto image unusable.
If your ridgeline mission stretches past twilight into dusk, you will also want to manage trail power carefully, similar to running Android astrophotography workflows in remote camps.
Flimsy plastic tripods with flexible legs twist and oscillate under sustained alpine ridge gusts. You need rigid carbon fiber or CNC-machined aluminum support that packs down cleanly into your ultralight kit.
The AOKA CMP163CL ultra-compact carbon tripod weighs just 1.1 pounds and supports three pounds of payload easily. When combined with a solid ball head, it provides exceptional torsional rigidity against mountain wind shears.
Avoid spring-loaded plastic phone clamps that can crack or slip when exposed to sub-freezing summit temperatures. Instead, invest in an all-metal, Arca-Swiss compatible clamp like the Sunwayfoto CPC-02 or Joby GripTight Pro 2.
Screw-clamping metal jaws secure your smartphone tightly and prevent catastrophic drops onto granite bedrock. Always ensure the phone clamp balances evenly over the center column of your tripod legs to resist toppling.
When wind speeds exceed 15 knots, hang your loaded multi-liter water bladder or daypack from your tripod ballast hook. This lowering of the system center of gravity anchors your hardware firmly onto bare stone slabs.
Leave No Trace and Federal Land Regulations for Backcountry Photography
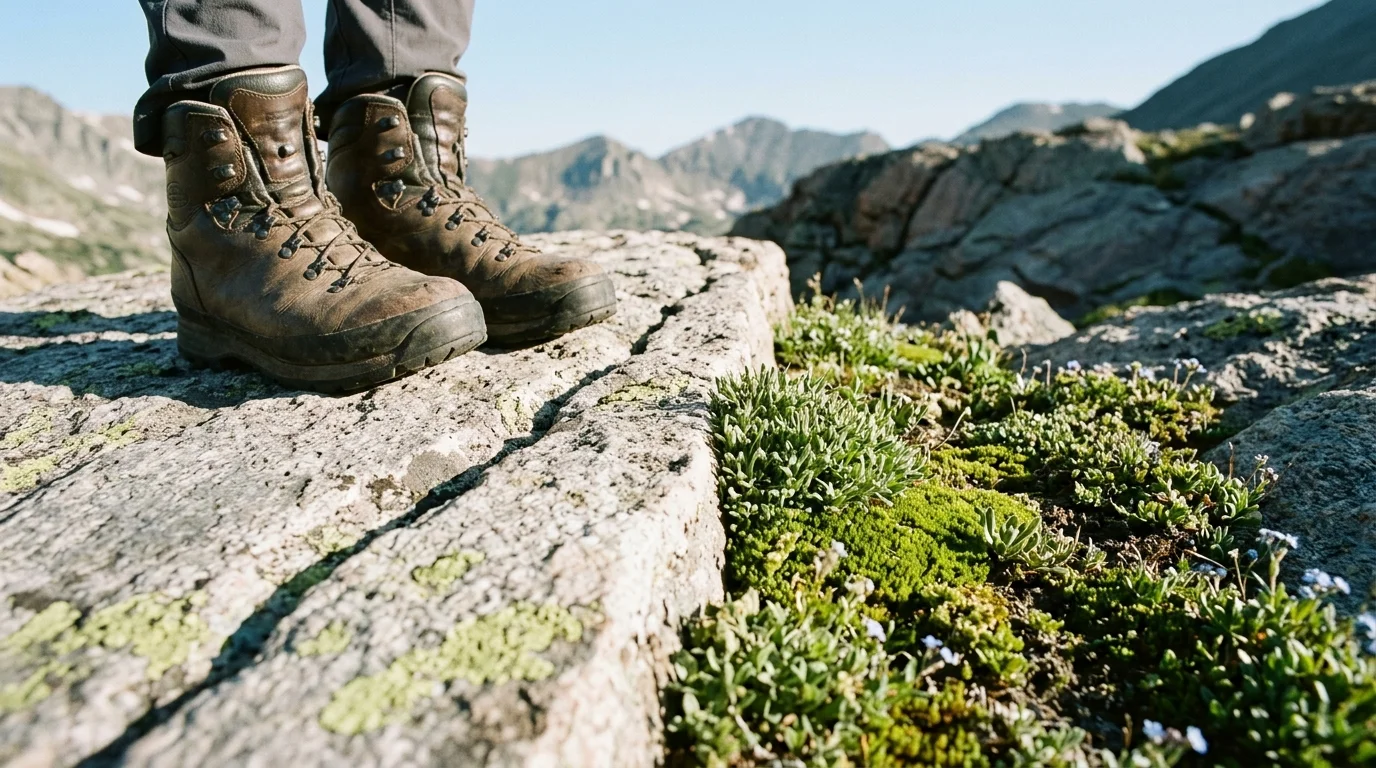
Creating compelling mountain imagery should never come at the expense of fragile high-altitude ecosystems. Photographers moving back and forth to frame distant shots risk degrading delicate wilderness terrain through repeated foot travel.
The Leave No Trace Center for Outdoor Ethics emphasizes traveling and camping strictly on durable surfaces under Principle 2. Alpine tundra, fellfield meadows, and biological soil crusts take between 20 and 250 years to recover from human foot trampling.
Restrict your tripod legs and travel corridor exclusively to solid granite bedrock, clean mineral gravel, or late-season snowpack. Never leave marked trails or establish 60-foot running paths across fragile heather, moss campion, or wet subalpine bogs.
Federal land management rules also govern photographic activities across national parks and wilderness reserves. On January 4, 2025, the Expanding Public Lands Outdoor Recreation Experiences (EXPLORE) Act became Public Law 118-234, codified at 54 U.S.C. § 100905.
Under these modern regulations, still photography and casual content creation on National Park Service, BLM, and USFS lands require no permits or fees. This exemption applies provided you use hand-carried equipment, avoid sensitive natural resources, and keep groups under eight participants.
Always respect other hikers enjoying remote ridgelines by keeping your hardware footprint minimal and unobtrusive. Complete your photo setup efficiently, pack your equipment, and yield narrow ridge passes to through-hikers without delay.
Archival Workflows: Preserving High-Dynamic-Range Digital Mountain Files
Solo wilderness expeditions produce priceless photographic memories that document personal milestones and transformative journeys. Protecting these captures requires rigorous digital preservation practices long after you hike out of the trailhead.
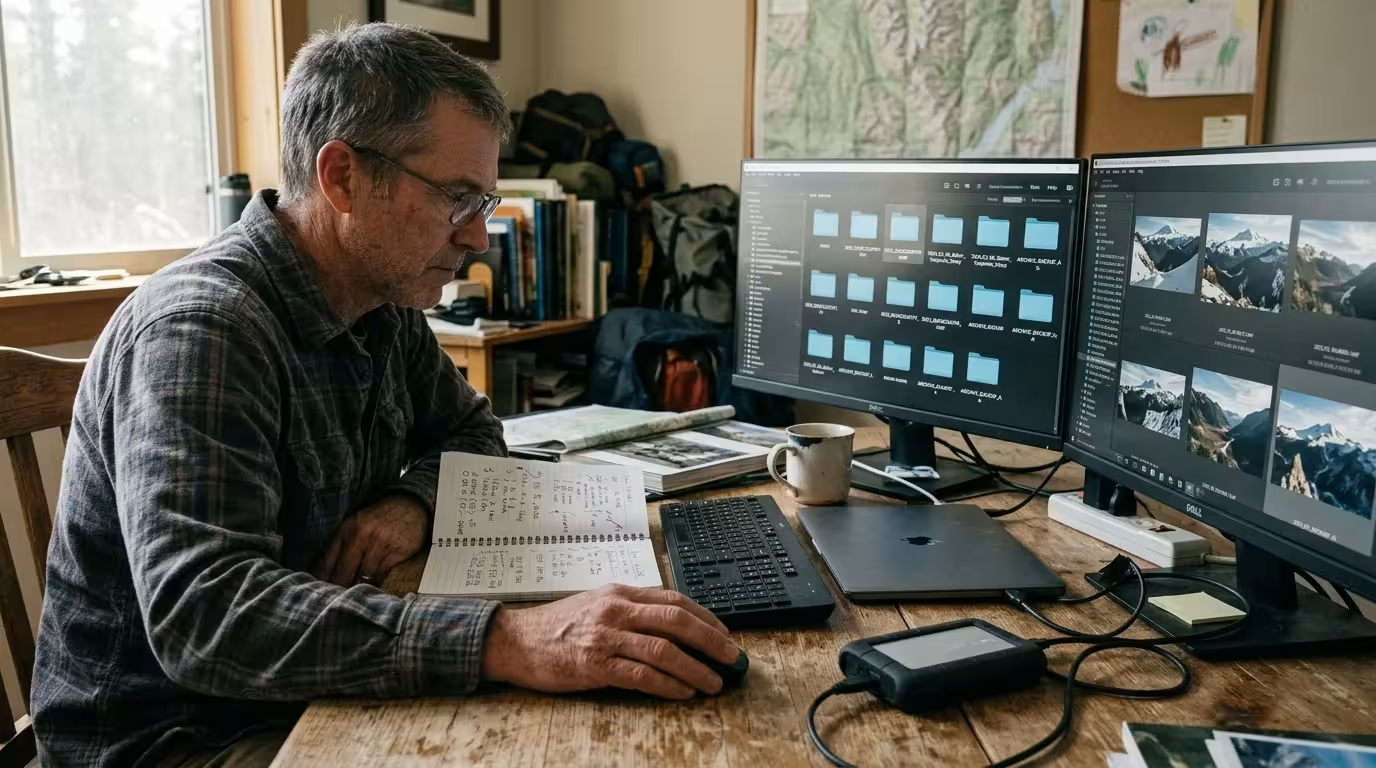
Always capture your backcountry compositions in uncompressed 48MP or 50MP RAW formats, such as Apple ProRAW or Android Expert RAW. RAW files retain extensive highlight and shadow details that high-altitude granite scenes demand for successful preservation.
According to the preservation guidelines maintained by the Image Permanence Institute, digital image stability relies on redundant storage architectures and active media migration. Relying exclusively on mobile internal storage or consumer cloud synchronization exposes your irreplaceable files to corruption or accidental deletion.
Implement the proven 3-2-1 backup strategy immediately upon returning from the wilderness. Maintain three copies of your raw captures on two distinct physical media types, keeping one copy safely offsite.
Export your finalized, fully processed mountain portraits as uncompressed 16-bit TIFF files for long-term storage. Unlike proprietary mobile formats, standardized TIFF and open DNG architectures remain universally readable across future operating systems and editing software.
Consider transforming your finest backcountry portraits into physical heirloom prints using archival pigment inks on 100% cotton rag paper. Physical photographs stored in acid-free envelopes bridge generations, ensuring your solo mountain heritage survives long after digital devices become obsolete.
Frequently Asked Questions
Why does a 5× telephoto lens look better than a 1× lens for mountain portraits?
Telephoto lenses compress perspective by narrowing the field of view and requiring greater camera-to-subject distance. This optical geometry pulls distant peaks closer to your figure, making mountains appear massive rather than tiny and distant.
How do I keep my phone steady on a windy mountain ridge?
Use a rigid carbon fiber tripod paired with a CNC-machined metal clamp rather than flexible plastic mounts. Hang your water bladder or backpack from the center column hook to anchor the tripod feet directly against granite.
Can I use an Apple Watch to trigger my camera from 60 feet away?
No, standard smartwatches utilize Class 2 Bluetooth connections that reliably reach only 30 to 33 feet. At 60 feet, the signal drops out, making timed shutter delays or app intervalometers far more dependable.
Do I need a commercial filming permit to shoot solo portraits in national parks?
Under the EXPLORE Act passed in January 2025, still photography using hand-carried equipment and compact tripods requires no permit or fee on federal lands. The shoot must simply avoid resource damage and involve eight or fewer individuals.
Disclaimer: This article is for informational purposes only. When handling valuable or irreplaceable photographs, consider consulting a professional conservator. Always test preservation methods on non-valuable items first.