
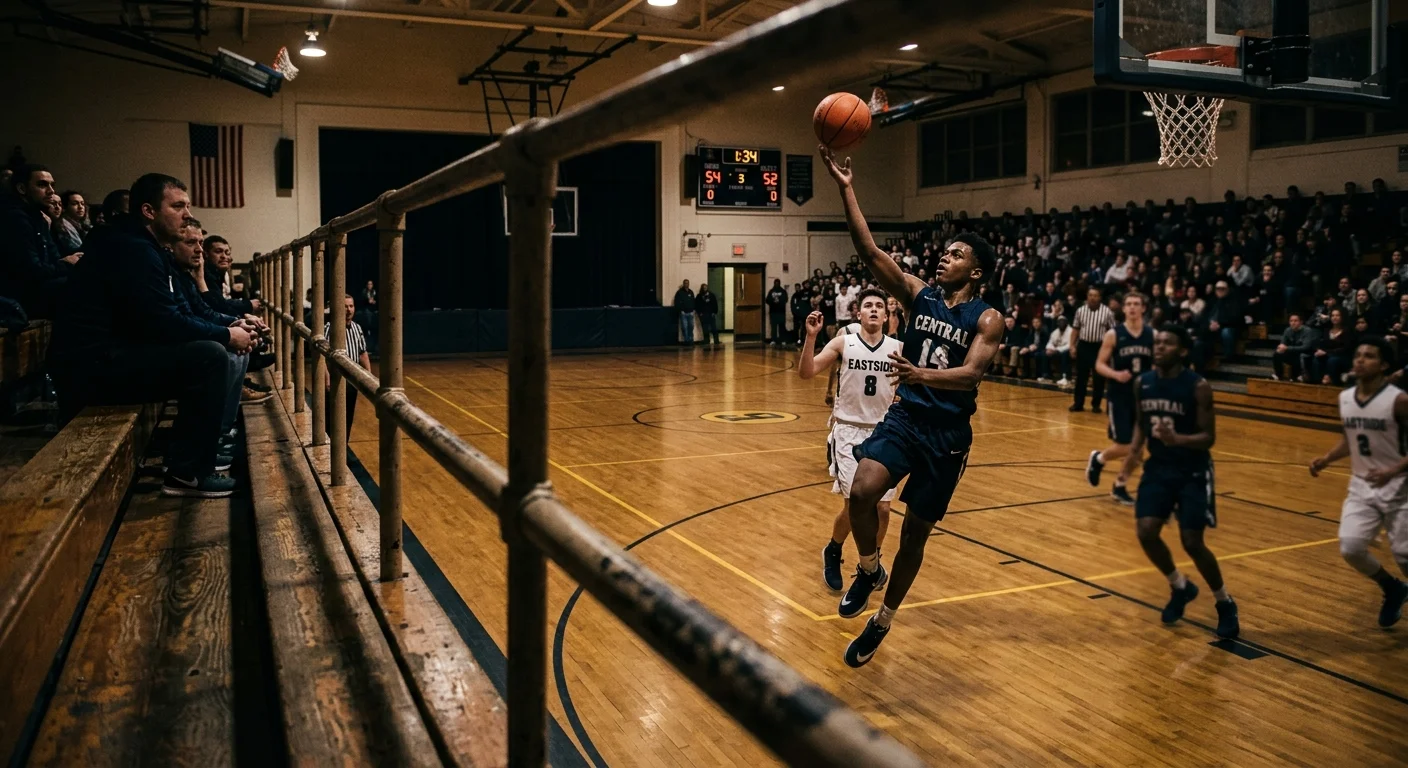
You can freeze crisp basketball action from dark high school bleachers without buying an expensive f/2.8 professional telephoto lens. Dialing a strict 1/800-second shutter speed on your variable-aperture kit lens eliminates motion blur immediately.
Most photography guides wrongly advise lowering your shutter speed to keep ISO low and avoid grainy images. This guide shows why embracing ISO 6400 to 12800 and exposing strictly for skin luminance defeats muddy gym blur.
By synchronizing your camera settings with cycling 3200K sodium-vapor discharge lamps, you will preserve sharp, archival-quality court memories on an entry-level camera body.
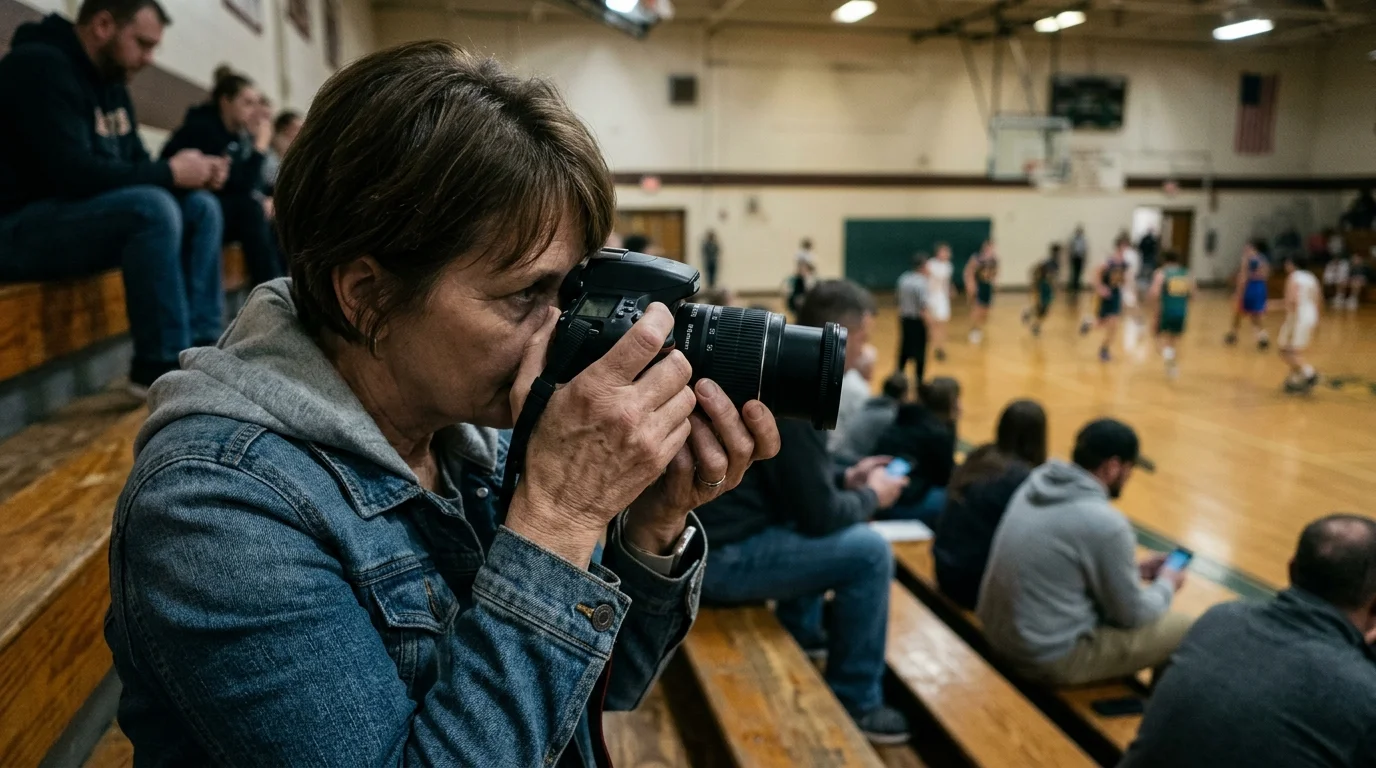
The Bleacher Dilemma: Why Kit Lenses Struggle in High School Gyms
High school gymnasiums present one of the most punishing lighting environments in sports photography. Standard municipal and school gym fixtures rarely deliver more than 150 to 300 lux of illumination across the hardwood court.
If you are evaluating equipment upgrades, check our guide to the best beginner cameras to see which bodies offer stronger low-light autofocus tracking.
Mastering the fundamentals of low-light photography without flash is essential when regulations prevent speedlights during fast-paced competition.
This dim environment registers at an exposure value of roughly EV 6 or EV 7. In photographic terms, this provides roughly one-thousandth of the illumination available under bright midday sunlight.
Entry-level mirrorless kits typically include an 18-55mm f/3.5-5.6 or 16-50mm f/3.5-5.6 zoom lens. These lenses keep camera bundles affordable and compact, but they incorporate variable physical apertures.
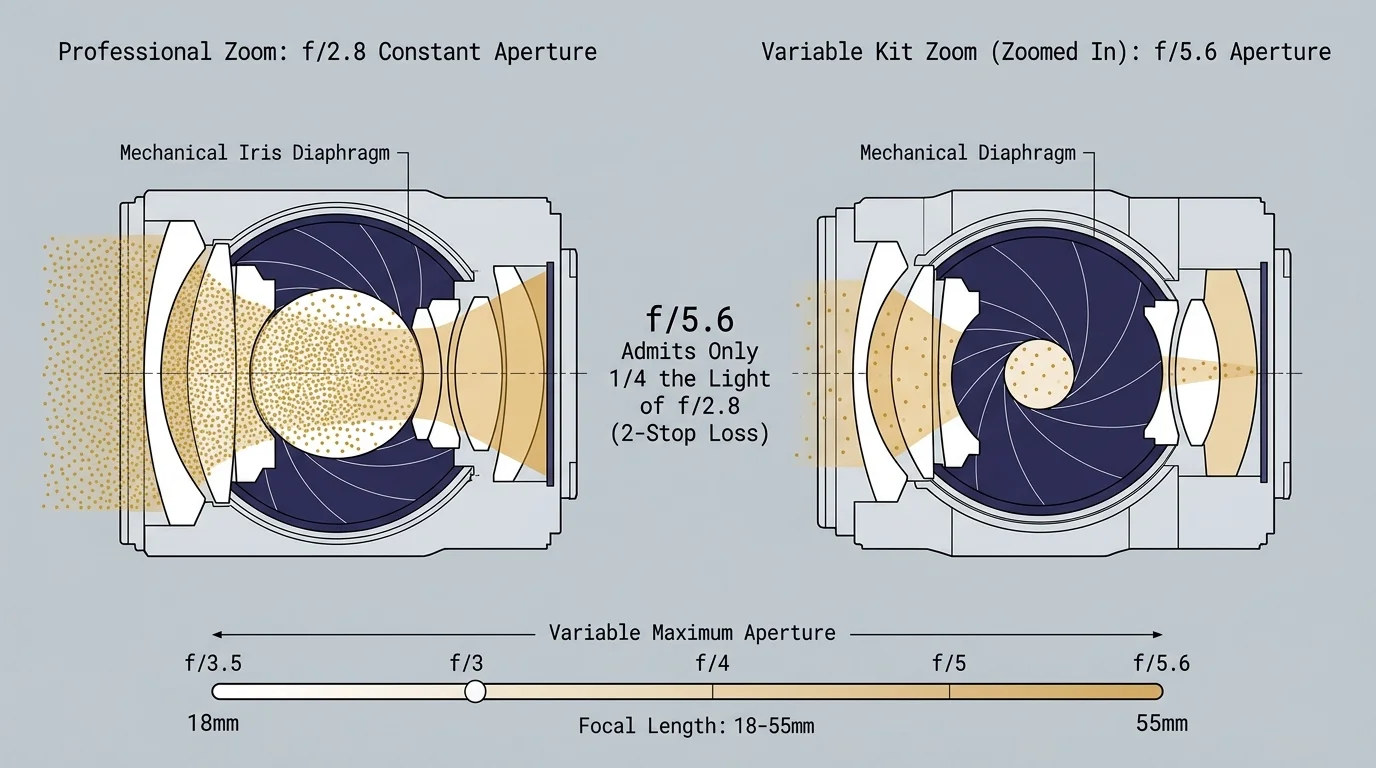
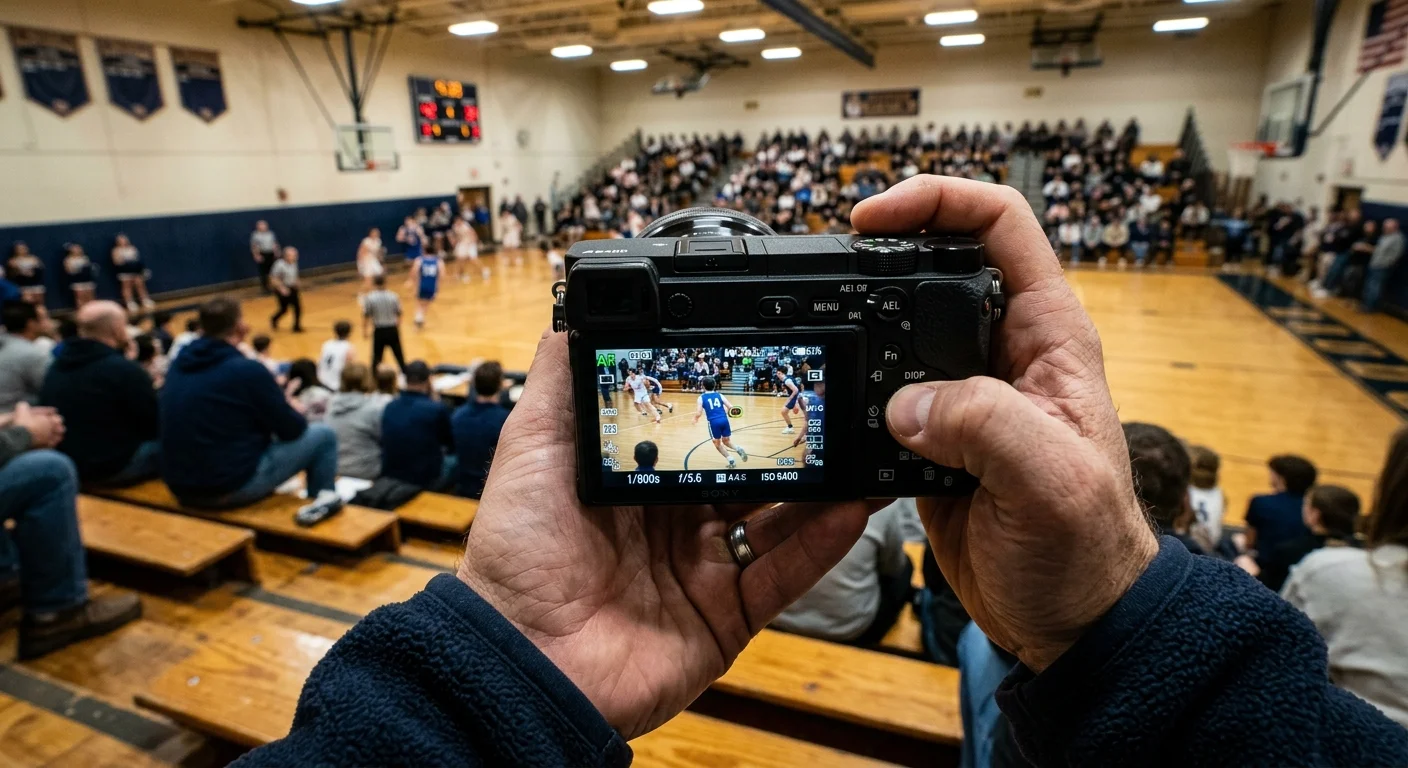
When you sit in elevated bleachers, you naturally zoom your lens to maximum focal length to isolate your child. This mechanical zooming forces the internal diaphragm to narrow down to f/5.6.
An aperture of f/5.6 admits only one-fourth as much light as an f/2.8 professional zoom. Consequently, your camera sensor receives drastically fewer photons during every exposure.
Overcoming this physical shortfall requires reallocating your exposure resources. To capture successful indoor gym photography kit lens images, you must prioritize shutter speed over low noise.
The 1/800s Shutter Speed Rule: Banishing Motion Blur for Good
Indoor athletic action creates two distinct forms of image softening: camera shake and subject motion blur. Optical image stabilization inside your lens barrel neutralizes camera shake, but it has zero effect on fast-moving athletes.
While minor softness can occasionally be salvaged with specialized software to sharpen blurry photos, significant movement streaks cannot be undone.
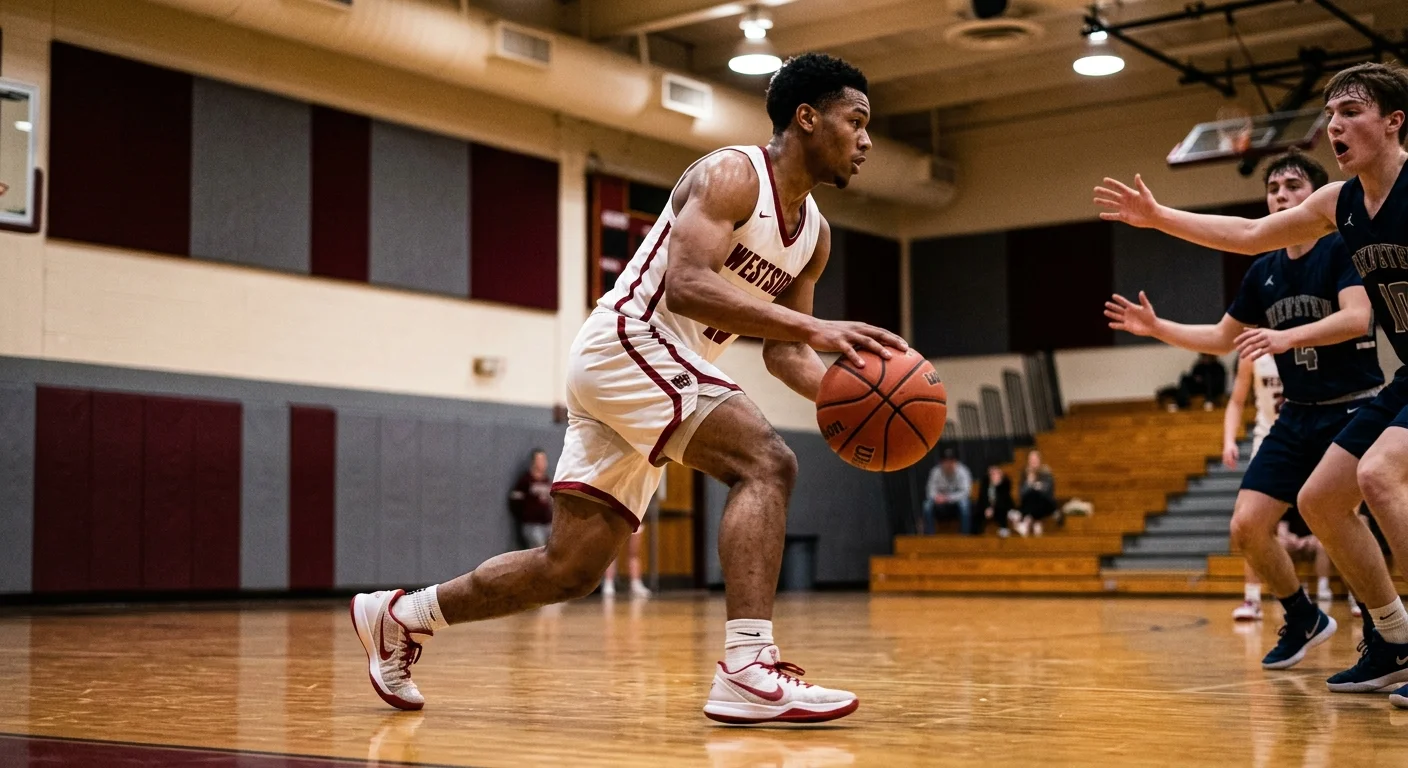
High school basketball players sprint across the court at speeds exceeding fifteen miles per hour. Their hands, feet, and the basketball move even faster during rapid passing and crossover dribbles.
Shooting at 1/250 or 1/400 second will inevitably turn sneakers, limbs, and facial expressions into smeared streaks. To stop motion blur dark gym action demands a non-negotiable shutter speed cutoff of 1/800 second.
At 1/800 second, rapid arm swings and mid-air collisions freeze crisply on the sensor. For varsity competition featuring explosive drives to the rim, you should push your shutter speed to 1/1000 second.
Grain is an aesthetic flaw that modern post-processing software can clean up, but motion blur permanently destroys subject detail. Always sacrifice noise to guarantee sharpness.
An image containing noticeable digital noise remains salvageable and emotionally compelling. Conversely, a blurry image with zero noise belongs in the recycle bin.
Lock your camera shutter speed manually to 1/800 second before the opening whistle blows. Never permit your camera’s auto-exposure algorithm to lower this threshold during game play.
Conquering the Aperture Penalty on Variable Kit Zoom Lenses
Variable-aperture kit lenses create significant exposure shifts whenever you adjust your focal length. At 18mm, your lens opens to f/3.5, but zooming past 40mm constricts the opening to f/5.6.
If you shoot in Shutter Priority mode, your camera will continuously adjust the aperture while you frame moving plays. When the lens reaches f/5.6, your camera runs out of physical aperture adjustments entirely.
To eliminate erratic exposure jumps, set your exposure mode to full Manual (M). Manually fix your aperture setting to f/5.6 across the entire zoom range.
Selecting f/5.6 standardizes your optical throughput whether you shoot a wide fast break or a zoomed-in foul shot. This consistency prevents accidental underexposure when following unpredictable ball movement.
Accept that your kit lens will not deliver shallow depth of field or heavily blurred gymnasium backgrounds. Instead, focus entirely on capturing sharp facial expressions and peak emotional moments.
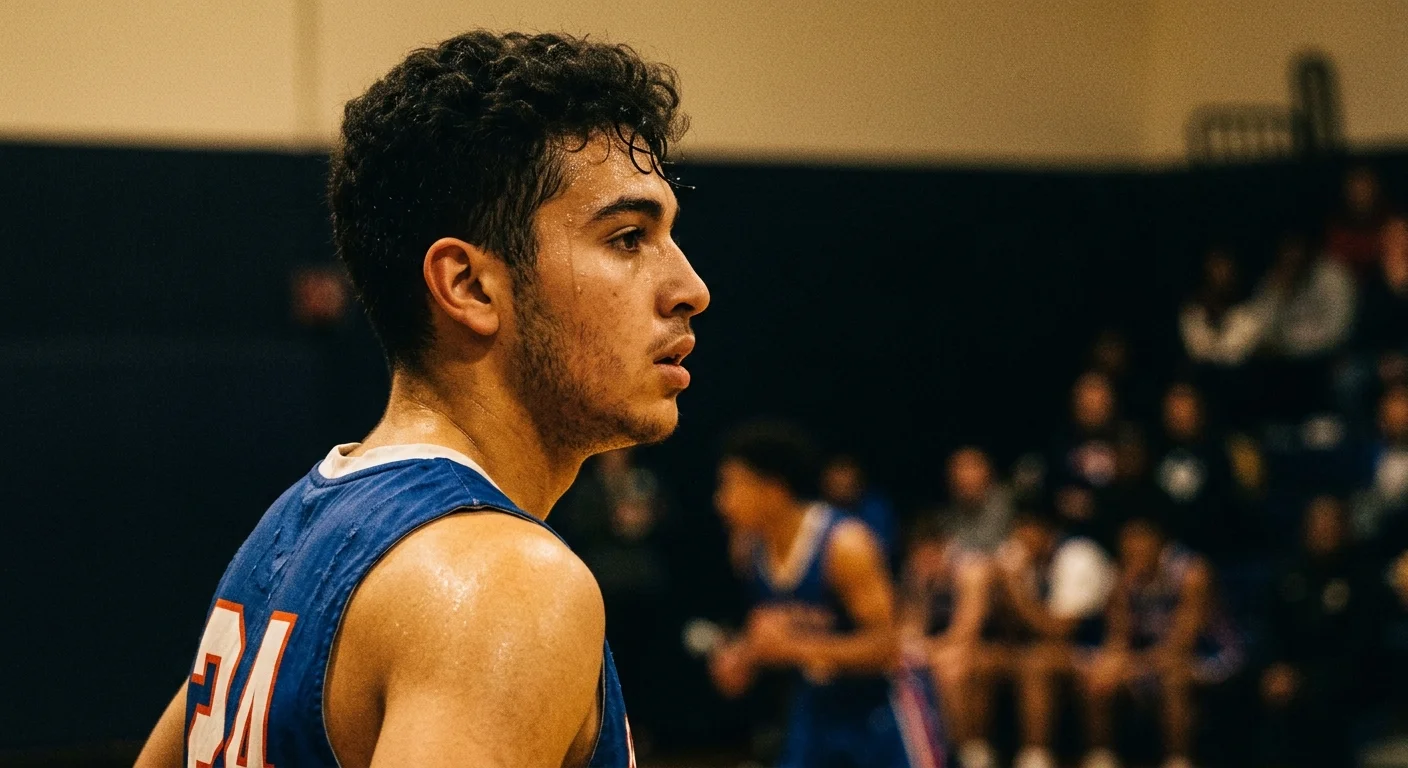
Embracing High ISO: Exposing for Skin Luminance Over Noise Fear
Parents frequently ruin gym sports photographs by artificially capping their camera ISO at 1600 or 3200. This artificial constraint forces the camera to starve the sensor of light, producing severely dark exposures.
Balancing shutter, aperture, and sensor gain follows principles detailed in our guide to indoor photography camera settings.
Digital sensor noise does not originate from high ISO settings themselves. As documented by Cambridge in Colour, visible noise stems from a low signal-to-noise ratio when sensor pixels collect insufficient light.
Dialing ISO up to 6400, 8000, or 12800 amplifies the available electrical signal before reading data off the sensor. Modern APS-C and Micro Four Thirds sensors handle ISO 6400 remarkably well when exposed accurately.
Set your camera metering mode to Center-Weighted or Spot metering. Direct your active metering point directly onto the athlete’s face or exposed skin tones rather than dark gym bleachers.
Target your exposure compensation to +0.3 EV or +0.7 EV above baseline neutral gray. Pushing skin luminance slightly higher keeps facial contours out of the dark shadow regions where color noise accumulates.
When selecting high school basketball camera settings, remember that bright player skin tones hide grain effectively. Underexposing to preserve background detail only guarantees noisy, muddy faces that ruin your memories.

Taming Mixed Sodium Vapor: Defeating 120Hz Cycling and Color Casts
Older high school gyms often rely on high-pressure sodium vapor lamps or industrial metal halide bulbs. These discharge lamps do not emit continuous spectrum light like the sun or tungsten filament fixtures.
Sodium vapor fixtures produce a narrow, discontinuous spectrum dominated by intense yellow-orange emissions near 589 nanometers. Consequently, court surfaces and player jerseys suffer from poor Color Rendering Index (CRI) ratings.
Furthermore, these fixtures cycle continuously on 60Hz alternating electrical current, pulsing twice per electrical cycle at 120Hz. The human eye cannot detect this cycling, but your 1/800-second shutter slices right through it.
During a rapid burst of continuous frames, one photograph will capture peak brightness with warm amber tones. The very next frame will capture the trough of the AC cycle, showing dark green or magenta casts.
Switch off Auto White Balance (AWB) immediately upon entering the gymnasium. AWB constantly changes color calculations between burst frames, creating an editing nightmare during post-processing.
Set a custom manual Kelvin white balance between 3200K and 3600K before warm-ups begin. If your camera includes an anti-flicker shoot mode, enable it to synchronize shutter release with peak light output.
Always shoot in raw image format under discharge lighting. Raw files preserve all unrendered color channel data, giving you the latitude to correct cyclic tint variations later.
Autofocus and Continuous Drive Configuration on Budget Cameras
Dim gym lighting reduces phase-detection autofocus contrast, which makes budget kit lenses hunt for focus. Configuring your camera’s autofocus engine properly prevents missed shots when action accelerates.
After capturing large bursts across a tournament, you can speed up team sorting using a jersey OCR tagging workflow.
Switch your autofocus mode from Single (AF-S) to Continuous (AF-C or AI Servo). Continuous autofocus actively adjusts lens focus elements as players sprint toward or away from your bleacher position.
Avoid using wide auto-area autofocus patterns that let the camera choose its target. In a gym setting, wide patterns almost always lock onto high-contrast bleachers or cheerleaders instead of the ball handler.
Select a flexible single-point or a small dynamic zone autofocus area. Keep this focus reticle positioned firmly over the player’s chest or torso to ensure accurate distance tracking.
Set your drive mode to Continuous Mid or Continuous Low rather than maximum burst speed. Budget cameras feature small memory buffers that fill completely within two seconds of high-speed continuous shooting.
Firing in controlled two-frame or three-frame bursts conserves buffer capacity while keeping the camera ready for rebound action. This disciplined technique prevents your shutter from locking up during critical fast breaks.
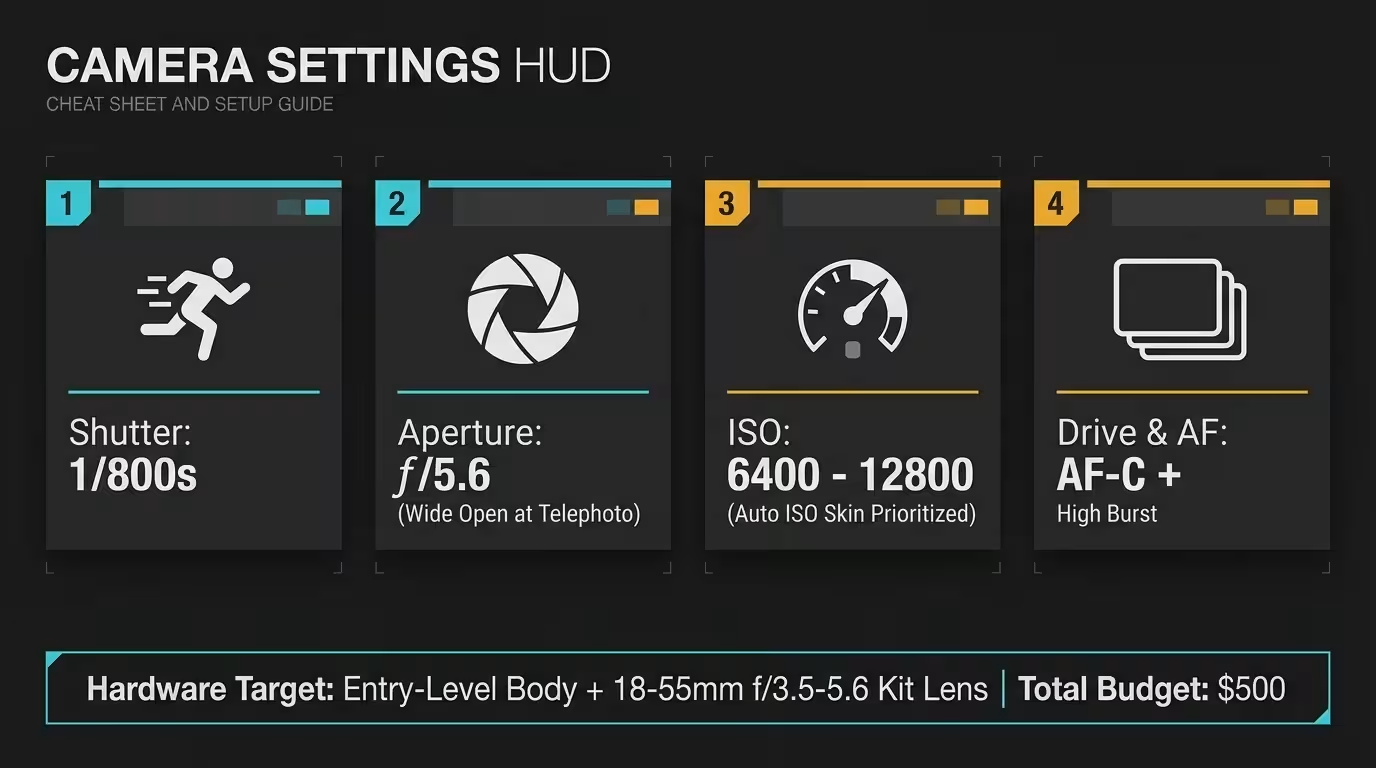
Worked Example: Real-World Camera Setup on a $500 Budget
Let us examine a concrete tournament scenario to calculate exact camera performance. You arrive at an away game equipped with a refurbished Sony a6100 body ($450) and a bundled 16-50mm f/3.5-5.6 OSS kit lens ($75).
You climb to Row G of the bleachers, roughly thirty feet from the home team bench. Overhead high-pressure sodium vapor lamps illuminate the hardwood with dim light measuring exactly EV 6 (100 lux).
To isolate offensive plays, you extend your kit lens to 50mm, which limits your maximum physical aperture to f/5.6. To eliminate motion blur, you lock your shutter speed to 1/800 second.
Using standard photographic exposure formulas, an ambient illumination level of EV 6 paired with f/5.6 and 1/800 second demands an ISO setting of 10,240. You set your manual ISO dial to 12,800.
This ISO 12,800 setting provides a +0.3 EV luminance boost on skin tones. Player faces register bright, crisp expressions, while gym walls fall into clean, unaccented shadows.
You switch off AWB and dial a manual Kelvin value of 3400K. You also select continuous mechanical shutter to eliminate electronic rolling shutter distortions.
During forty minutes of basketball, you capture 240 RAW frames. Modern AI denoise desktop software cleans all luminance grain across your favorite thirty export selections in fifteen minutes.
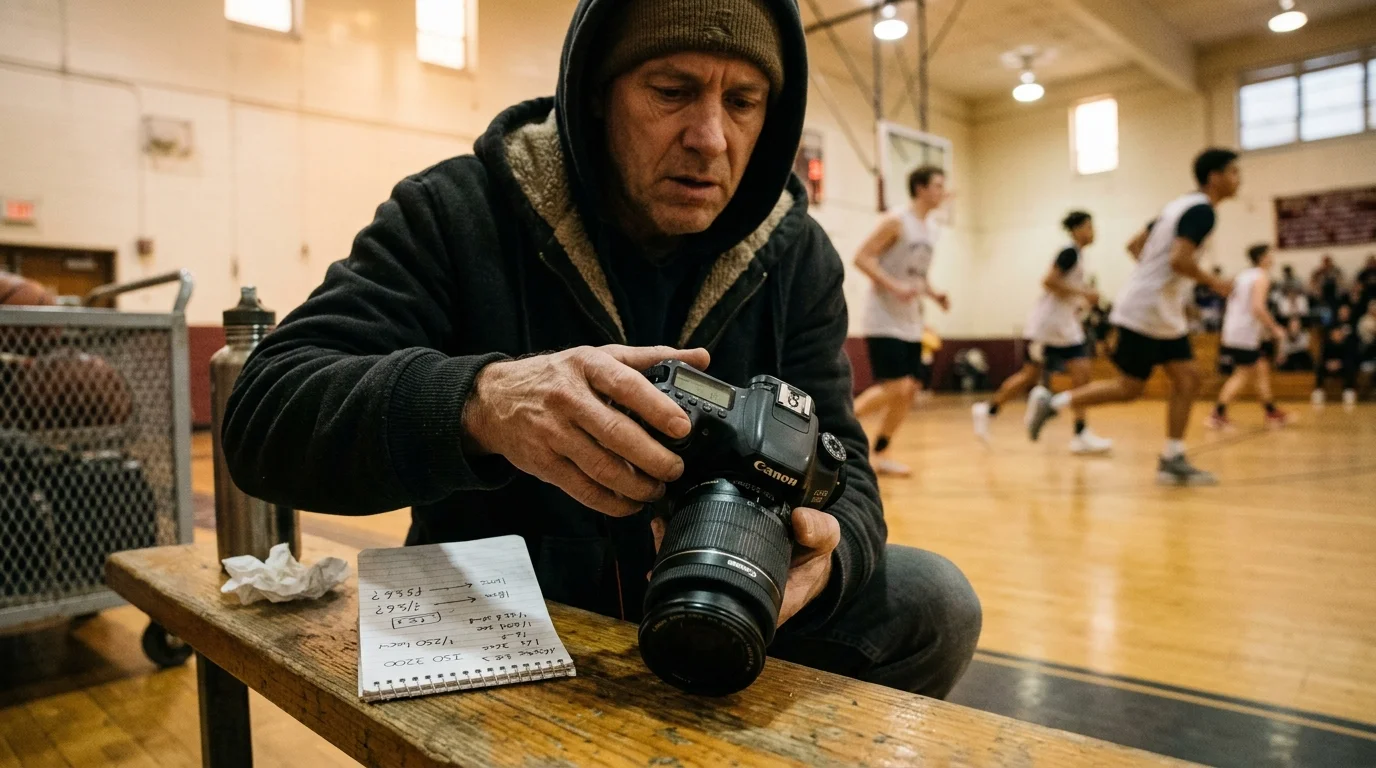
Kit Lens vs. Pro Zoom Settings Under Gym Lights
Parents often believe high school gym photography requires spending several thousand dollars on professional glass. Comparing technical performance clarifies what kit lenses can achieve when properly calibrated.
The following comparison table details exposure configurations across four lens classes under dim EV 6 gymnasium sodium-vapor illumination.
| Lens Configuration | Aperture at 50mm+ | Shutter Speed | Target Gym ISO (EV 6) | Hardware Cost |
|---|---|---|---|---|
| Budget Kit Zoom (16-50mm f/3.5-5.6) | f/5.6 | 1/800s | ISO 10,240–12,800 | $75–$150 (bundled) |
| Budget Fast Prime (50mm f/1.8) | f/1.8 | 1/1000s | ISO 1,250–1,600 | $150–$250 |
| Enthusiast Zoom (17-70mm f/2.8) | f/2.8 | 1/1000s | ISO 3,200–4,000 | $650–$800 |
| Professional Telephoto (70-200mm f/2.8) | f/2.8 | 1/1000s | ISO 3,200–4,000 | $1,500–$2,800 |
While professional f/2.8 lenses lower the required ISO by two full stops, the budget kit lens remains remarkably viable. Setting your kit lens to 1/800 second ensures high school athletic moments freeze cleanly.
Modern RAW noise reduction technology bridges the optical gap between entry-level kit lenses and multi-thousand-dollar telephoto gear. You do not need professional credentials or luxury gear to build meaningful sports memories.
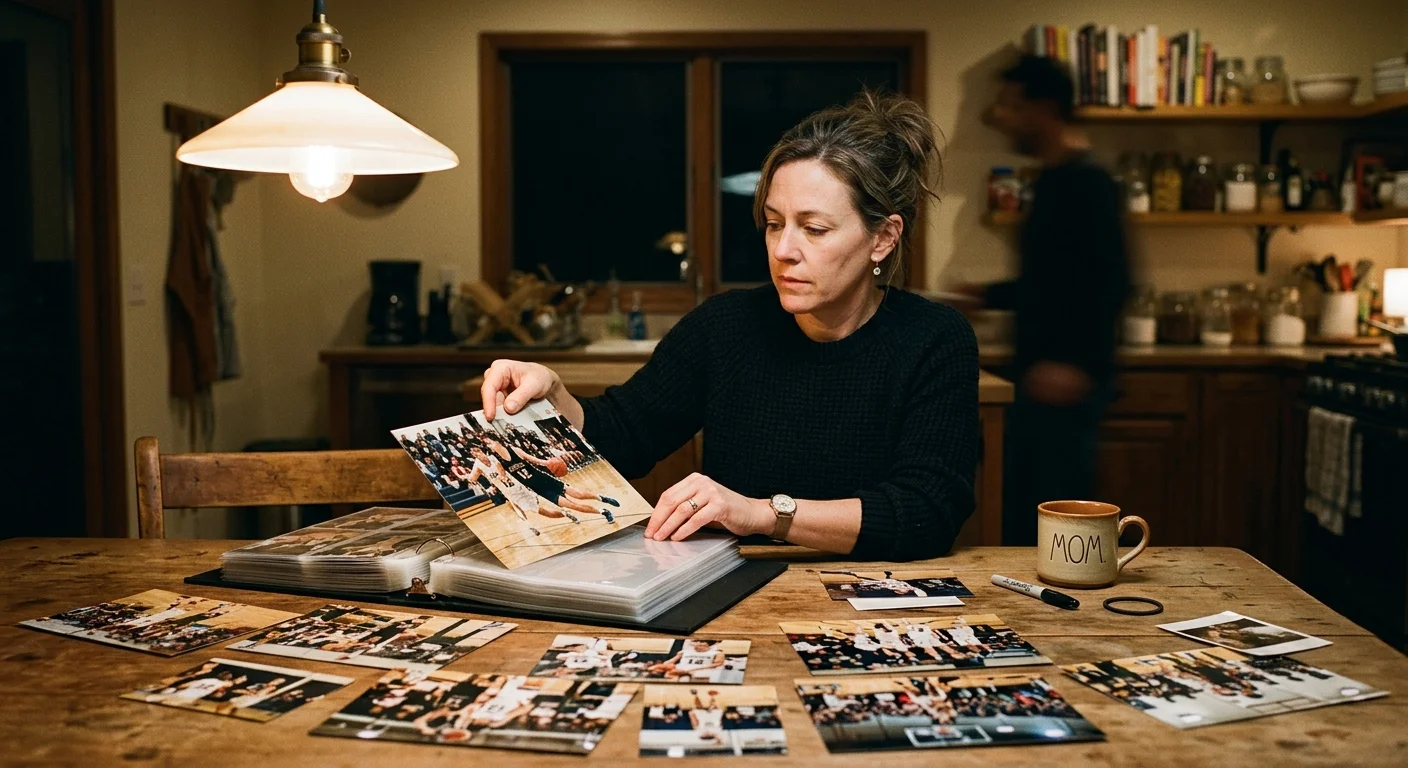
Preserving High-Noise Sports Memories for Future Family Archives
High school sports seasons pass quickly, leaving behind hundreds of digital photo files that document formative memories. Protecting these high-ISO files requires intentional archival practices from the day of capture.
Never discard original RAW files after generating small JPEG exports for family messaging apps. Digital sensor files contain uncompressed raw sensor measurements that retain maximum historical detail.
Establish an archival workflow following the digital preservation guidelines published by the Library of Congress. Store your original image assets across three distinct storage locations.
Maintain two local copies on separate physical solid-state drives, alongside one encrypted offsite cloud backup. This 3-2-1 strategy guarantees protection against hardware failure, file corruption, or accidental deletion.
Digital files require ongoing custodial care just like physical photographic prints. Archiving uncompressed camera files protects historical detail for your family’s future generations.
Organize your game folders systematically by school year, sport, opponent, and date. Embedding IPTC metadata tags with player names and jersey numbers ensures future generations can identify teammates effortlessly.
Image restoration tools and machine learning noise-reduction models advance continuously each year. Preserving unedited camera raw master files allows you to reprocess your high-ISO images with superior clarity decades later.
Frequently Asked Questions
Can I use autofocus tracking with a slow kit lens in dark gym lighting?
Yes, switch your camera to continuous autofocus (AF-C) with a flexible single-point or zone reticle centered on the player’s chest. Avoid wide multi-point auto selection, which frequently grabs high-contrast background bleachers.
Why do my gym basketball photos have strange alternating dark and light horizontal bands?
Electronic silent shutters interact poorly with pulsing 120Hz sodium vapor lights, producing visible rolling banding artifacts across the image. Always switch to your camera’s physical mechanical shutter to eliminate horizontal sensor scan bands.
Is it better to underexpose in-camera at ISO 3200 and brighten the photo later in editing software?
No, underexposing at lower ISO settings dramatically increases destructive shadow noise and strips away color tonal depth. Exposing properly at ISO 8000 or 12800 produces cleaner files than lifting dark underexposed frames in post-production.
Which metering mode should I use from the bleachers during an indoor basketball game?
Use center-weighted metering or spot metering locked onto player jerseys and skin tones. Matrix or evaluative metering gets easily fooled by dark gymnasium walls, which causes overexposed court surfaces and blown player faces.
Disclaimer: This article is for informational purposes only; consult a professional conservator when handling irreplaceable historical photographs. Always test preservation methods on non-valuable items first.





2 Comments