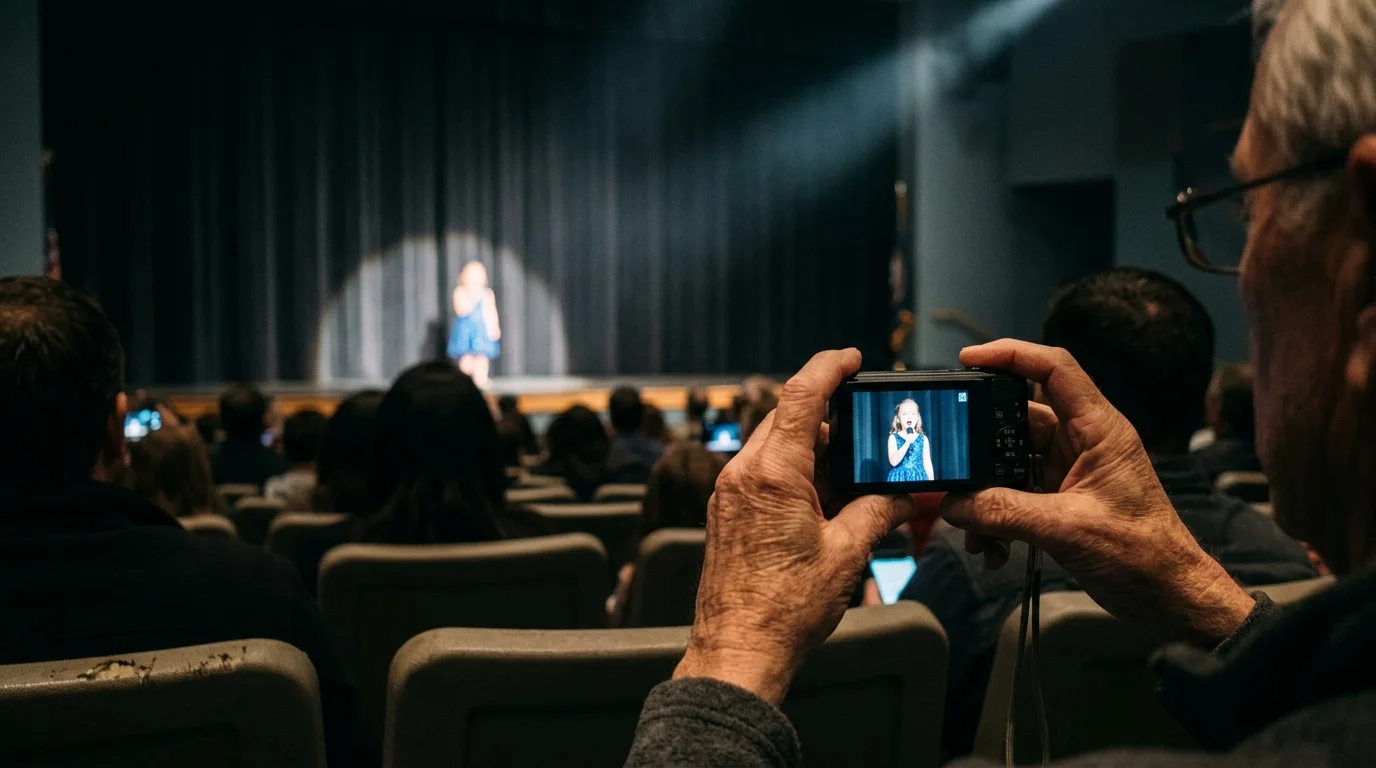
Sitting in row 18 of a dim school auditorium, you watch your grandchild step into a brilliant theatrical spotlight. Pressing your compact point-and-shoot camera shutter often produces a ghostly, featureless white blob where their face should be.
This ruinous overexposure occurs because your camera averages the vast black stage curtains, artificially brightening the scene until facial highlights vanish completely.
Switching your metering mode from multi-pattern to spot metering forces the camera sensor to calculate exposure exclusively from the illuminated skin tones, preserving precious expressions for your family archives.

The Physics of Auditorium Recital Lighting
School auditoriums generate one of the most punishing contrast environments in consumer photography. Theatrical follow-spots beam intense, focused light onto small performance zones while the surrounding auditorium remains pitch black.
This lighting scheme creates a scene contrast ratio that frequently exceeds ten exposure stops between the subject and the stage wings. Standard human vision adjusts naturally to this severe dynamic range, letting you see facial nuances effortlessly.
Your compact point-and-shoot camera cannot match human vision. Its smaller image sensor typically records a restricted dynamic range before bright highlights turn chalky or dark shadows clip to absolute black.
When high-intensity spotlighting falls onto pale or lightly pigmented skin, that surface reflects intense illumination back toward row 18. Surrounding black velvet curtains absorb nearly all ambient light, reflecting virtually nothing back to your camera lens.
Because the illuminated child occupies a tiny fraction of the dark stage, exposure balance becomes an immediate technical dilemma. You must force your camera to prioritize skin highlights over background visibility.
If you fail to instruct your camera to ignore the black backdrop, automated exposure logic will ruin your family keepsake. Capturing clear recital photography stage lighting requires working with these optical extremes deliberately.
Why Matrix Metering Blanches Stage Faces
By default, point-and-shoot cameras ship with matrix metering enabled. Manufacturers label this mode as evaluative, multi-zone, or multi-pattern metering depending on your camera brand.
Matrix metering evaluates the entire field of view by dividing the frame into dozens of individual light-measuring segments. It tallies the light values across all zones and calculates an average exposure value for the total composition.
When you sit roughly sixty feet away in row 18, your zoomed frame contains a massive proportion of darkness. The unlit stage wings, dark floorboards, and black rear curtains consume up to ninety percent of your image frame.
Your grandchild occupies only the remaining ten percent of the composition. The camera’s internal computer examines this predominantly dark frame and assumes the entire scene suffers from severe underexposure.
To counteract this perceived darkness, the automated system boosts exposure by dropping shutter speeds and raising sensor amplification. In doing so, it attempts to brighten the dark velvet curtains into neutral gray.
This automated brightening floods the already bright spotlight zone with far too much exposure. The delicate highlights across your grandchild’s cheeks, forehead, and nose clip completely to pure white.
As documented in exposure tutorials by Cambridge in Colour, once image highlights clip past the sensor’s saturation threshold, that data disappears permanently. No photo restoration software can recover clipped facial expressions.
The resulting picture presents a muddy gray curtain behind an unidentifiable white silhouette. Matrix metering simply cannot discern that the background darkness is intentional theatrical ambiance rather than an underexposure error.
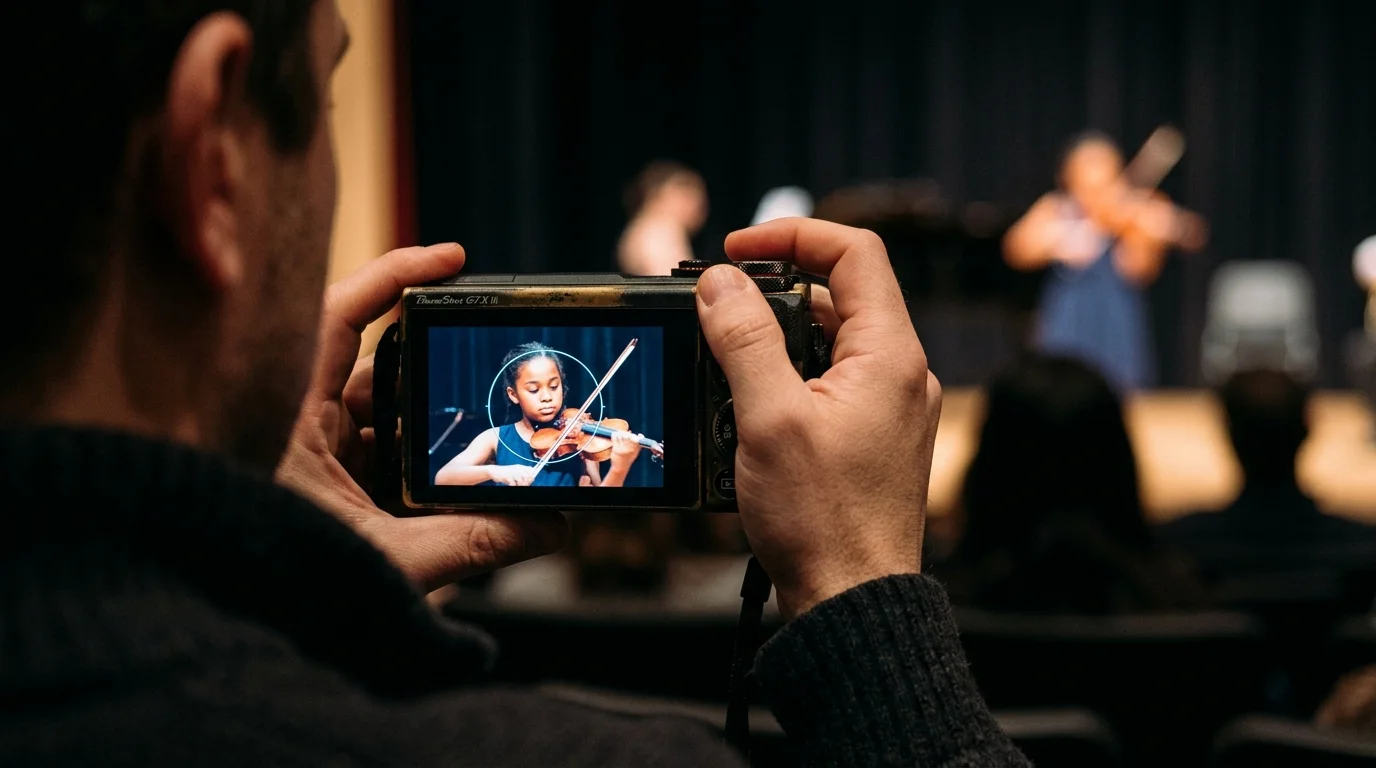
How Spot Metering Solves Recital Exposure
Spot metering resolves theatrical contrast problems by disabling full-frame scene averaging entirely. This setting instructs your camera to read light from a tiny, specific target within your view.
Instead of sampling dozens of grid sectors across the frame, spot metering evaluates only one to three percent of the total image area. This evaluation zone sits directly beneath the small reticle mark in the center of your viewfinder.
When you practice spot metering stage play performances, you place that central mark squarely on your grandchild’s illuminated face or torso. The camera ignores the massive field of black curtains completely.
Because the meter measures only the intensely lit skin, it registers high scene luminance. The automated system responds by quickening shutter speeds and keeping camera sensitivity at cleaner, lower values.
Spot metering turns theatrical contrast into an asset by commanding the camera to ignore stage shadows and calculate exposure exclusively for the illuminated performer.
This precise calculation renders the unlit curtains in natural, rich black tones. More importantly, it preserves every contour of your grandchild’s smile, eyes, and stage makeup.
Compact cameras do not require manual exposure math to achieve this improvement. By isolating the measurement area, you allow your camera’s automated brain to make the correct calculation for the only subject that matters.
Auditorium Recital Metering Modes Compared
Selecting the proper camera metering mode determines whether your grandchild’s recital solo becomes a treasured family portrait or an overexposed blur. Different modes interpret harsh theatrical contrast in vastly different ways.
Understanding these behavioral differences helps you choose the right tool before the auditorium house lights drop. The following comparison illustrates how standard compact camera metering systems handle a spotlighted performer against a dark school stage.
| Metering Mode | Evaluated Frame Area | Auditorium Stage Response | Highlight Blowout Risk | Row 18 Recommendation |
|---|---|---|---|---|
| Matrix / Evaluative | 100% of frame across 20 to 500+ sectors | Averages extensive black backdrop; aggressively overexposes performer to brighten shadows | Extreme; facial details clip to solid white | Unusable for single performers in follow-spots |
| Center-Weighted Average | 60% to 80% concentrated in central circle | Moderately affected by dark stage areas surrounding performer; overexposes bright faces | High; causes loss of subtle skin texture and expression | Acceptable only for full-cast choir ensembles |
| Spot Metering | 1.5% to 3.5% centered on crosshairs | Measures spotlight directly; renders dark curtains black and preserves highlight skin tones | Very low; protects facial tones when aimed correctly | Optimal setting for soloists, dancers, and actors |
| Highlight-Weighted | 100% of frame prioritizing brightest pixel clusters | Identifies hot spotlight areas instantly; reduces global exposure to prevent highlight clipping | Minimal; actively shields highlights from burning out | Excellent modern alternative if supported by camera |
For parents and grandparents seated past row 15, spot metering remains the most reliable option on classic point-and-shoot cameras. It prevents stage shadows from corrupting your exposure calculations.
Highlight-weighted metering serves as an exceptional secondary option on newer compact enthusiast models. However, spot metering provides universal compatibility across nearly every point-and-shoot camera produced over the last two decades.
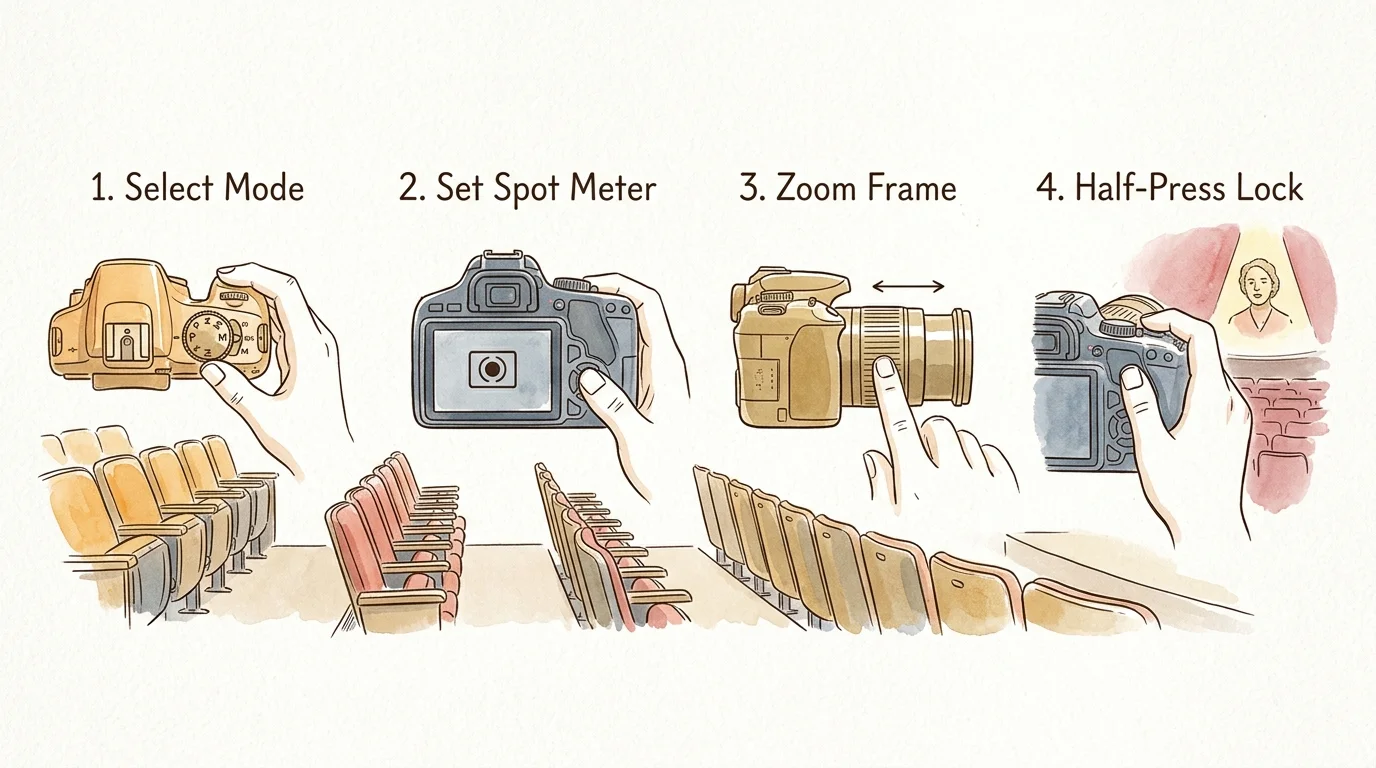
Step-by-Step Point-and-Shoot Setup for Row 18
Configuring school auditorium camera settings takes only two minutes when you follow a structured routine before the opening curtain. Complete these steps while sitting in your seat before the performance begins.
- Switch Away From Full Auto: Turn your camera’s top mode dial from the green Auto icon to Program (P) or Shutter Priority (S or Tv). Full Auto locks your camera into evaluative metering and prevents spot selection.
- Access the Metering Menu: Press your camera’s Menu or Function (Fn) button. Locate the Metering Mode option, represented visually by an icon showing a central dot flanked by square brackets.
- Engage Spot Metering: Scroll past Multi and Center-Weighted icons to select the Spot option. Confirm the selection so your central reticle becomes your exposure target.
- Disable the Built-In Flash: Locate the lightning bolt flash button and set it to Forced Off. Point-and-shoot flashes cannot illuminate a stage from row 18 and will only wash out the hair of audience members seated in row 17.
- Set Sensitivity Boundaries: Access your ISO menu and choose Auto ISO with an upper limit of ISO 1600 or ISO 3200. This boundary balances clean image capture against excessive digital grain.
- Select Burst Shooting: Change your drive mode from Single Shot to Continuous or Burst mode. Capturing three to five frames in rapid succession increases your odds of catching an open-eyed, sharp expression.
Sensor benchmark analyses on Digital Photography Review demonstrate that compact cameras with 1/2.3-inch and 1-inch sensors experience rapid dynamic range degradation at higher sensitivities. Setting these boundaries prevents severe digital noise.
Once you dial in these values, practice locking your exposure. Aim your camera’s central target at an illuminated object on stage, press the shutter button halfway down, and observe how the preview balances skin tones.
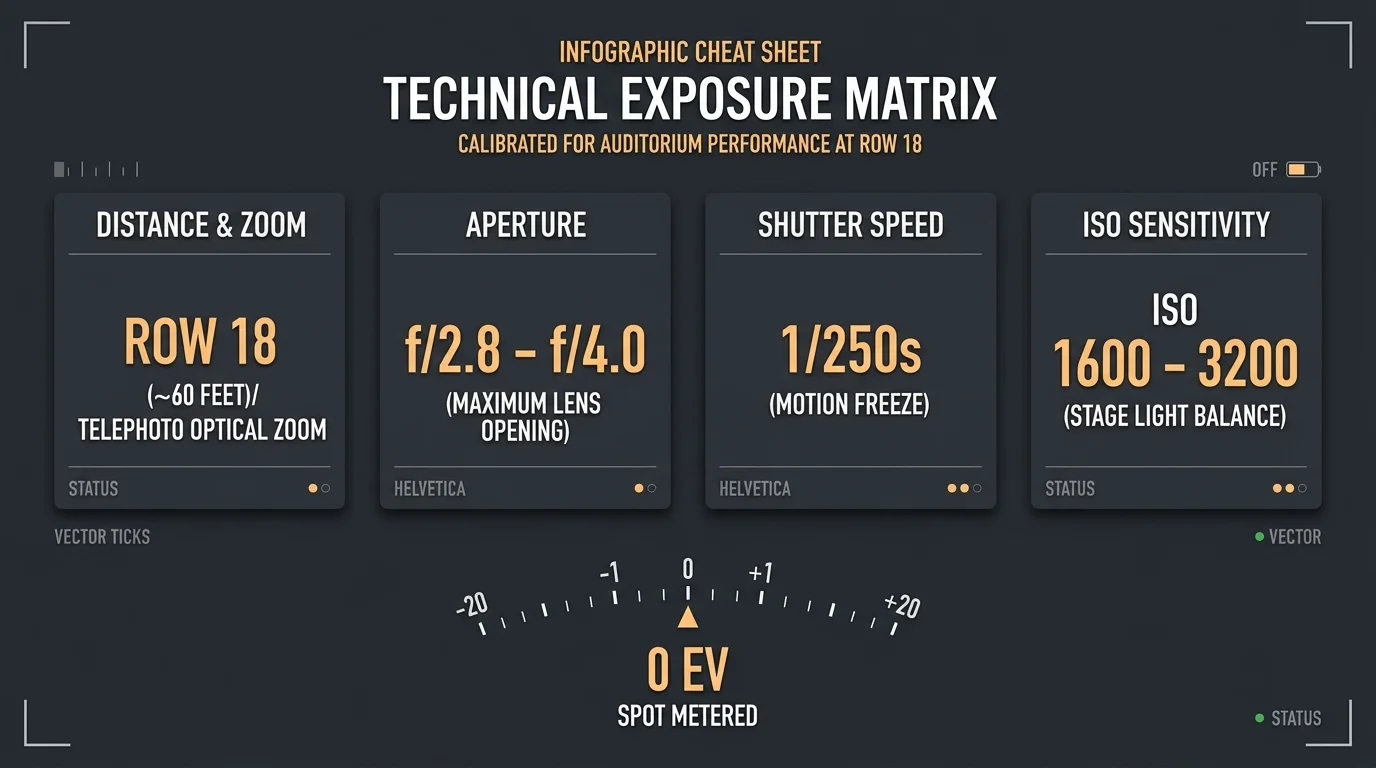
A Worked Exposure Scenario: Calculating Row 18 Settings
Consider a practical recital scenario to understand the exact mathematical relationship between stage distance, spotlight intensity, and sensor exposure. Real-world numbers demonstrate why automated settings collapse under auditorium conditions.
You sit in Row 18, Seat 12 at the Thomas Jefferson Middle School auditorium on May 14. Your laser measure or auditorium floor plan establishes your shooting distance at exactly 62 feet from center stage.
On stage, your ten-year-old granddaughter performs a two-minute vocal solo in the annual spring musical. An overhead incandescent follow-spot illuminates her with roughly 2,500 lux of warm white light across a six-foot pool.
You use a compact travel-zoom camera equipped with a 24-720mm equivalent zoom lens and a 1/2.3-inch sensor. To isolate her from the stage wings from 62 feet away, you zoom your lens to a 150mm equivalent focal length.
At this focal length, your compact lens reaches its widest available aperture of f/5.6. To freeze hand gestures, mouth movement, and vocal mannerisms without motion blur, you require a shutter speed of at least 1/250 second.
Under default Matrix Metering, your camera scans the frame and detects 88 percent unlit stage curtains registering EV 2, alongside 12 percent spotlighted performer registering EV 9. The camera averages this scene to EV 3.5.
To satisfy EV 3.5 at f/5.6, the camera selects a sluggish shutter speed of 1/30 second and elevates sensitivity to ISO 3200. The result is catastrophic: your granddaughter’s face overexposes by three full stops into white featureless chalk, while motion blur ruins the shot.
Now consider the outcome when you engage Spot Metering. You align the center reticle over her forehead and cheek, measuring the 2,500-lux spotlight directly at its true EV 9 intensity.
The camera calculates exposure strictly for EV 9. Maintaining your f/5.6 aperture and desired 1/250-second shutter speed, the camera automatically sets sensitivity to ISO 1600.
At ISO 1600, your granddaughter’s face renders with warm, accurate skin tones and visible facial definition. The surrounding curtains fall into velvet black, and your 1/250-second shutter speed freezes her performance crisply.
Handling Sudden Movement and Changing Color Washes
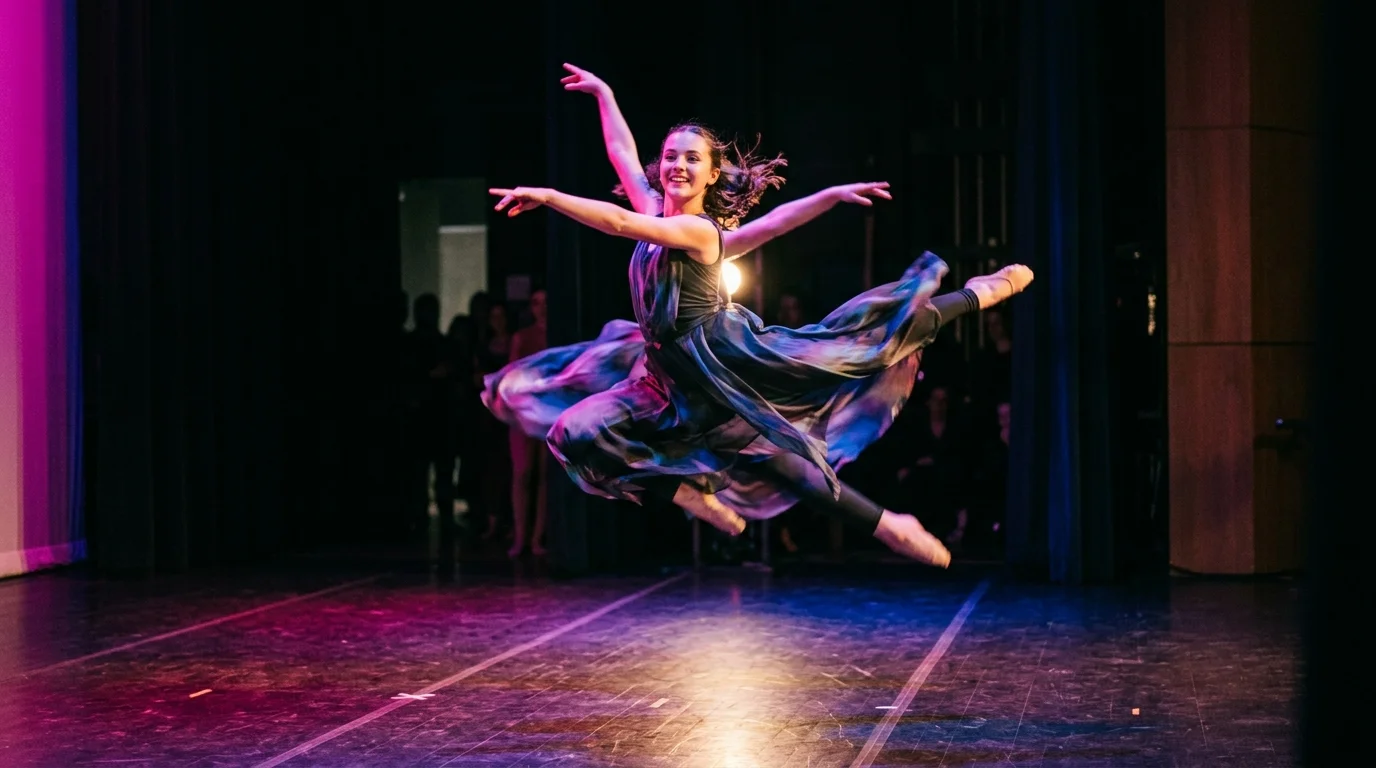
Auditorium recitals rarely feature static lighting or stationary performers. Modern school productions frequently incorporate moving follow-spots and dynamic LED lighting washes that alter stage conditions rapidly.
Vocalists and dancers constantly move across lighting boundaries. If your grandchild dances out of the central beam, a spot meter centered on their body will suddenly read unlit stage floor.
When this happens, the spot meter detects darkness and instantly tries to overcompensate. To prevent sudden exposure shifts, wait until the performer pauses within a lit lighting pool before capturing your burst.
You must also maintain steady hand positioning from row 18. When zoomed to 150mm or longer, tiny hand tremors can cause your spot target to slip off the child’s face and onto the dark backdrop.
Tuck your elbows firmly against your ribs to stabilize your body while seated in auditorium chairs. Rest your forearms against the chair armrests to create a stable, human tripod platform.
Colored stage washes introduce another common digital artifact. Saturated red, amber, and purple LED stage washes can clip individual camera color channels before overall brightness values register as excessive.
When stage technicians flood the stage with intense warm gels, apply exposure compensation immediately. Press your camera’s plus-minus exposure compensation button and dial the value down to negative 0.7 or negative 1.0 EV.
This slight intentional underexposure preserves rich color saturation in stage costumes. It prevents intense red theatrical lighting from turning your grandchild’s skin into a smear of blotchy, neon tones.
Preserving and Archiving Your Recital Photographs
Capturing clean, properly metered stage photographs is only the first phase of photographic stewardship. Preserving those family recital milestones for future generations requires thoughtful archival practices.
Digital files captured on compact cameras remain vulnerable to accidental deletion, storage card corruption, and hard drive failures. Transfer your recital images from your camera’s SD card to a computer within twenty-four hours of the event.
Implement the proven 3-2-1 backup strategy to protect your original recital files. Maintain three separate copies of your image library across two different physical storage formats, keeping at least one copy in an offsite or cloud repository.
Documenting family milestones is only the first step; proper digital file organization and archival storage ensure your grandchildren can share these recital memories with their own children decades later.
Establish clear, chronological file structures so family members can locate specific recitals decades from now. Rename incoming raw files with consistent metadata, including the date, venue name, and child’s name.
Avoid repeated editing and resaving of standard JPEG files. Each time you re-export a compressed JPEG file, compression algorithms discard subtle image data and introduce progressive digital degradation.
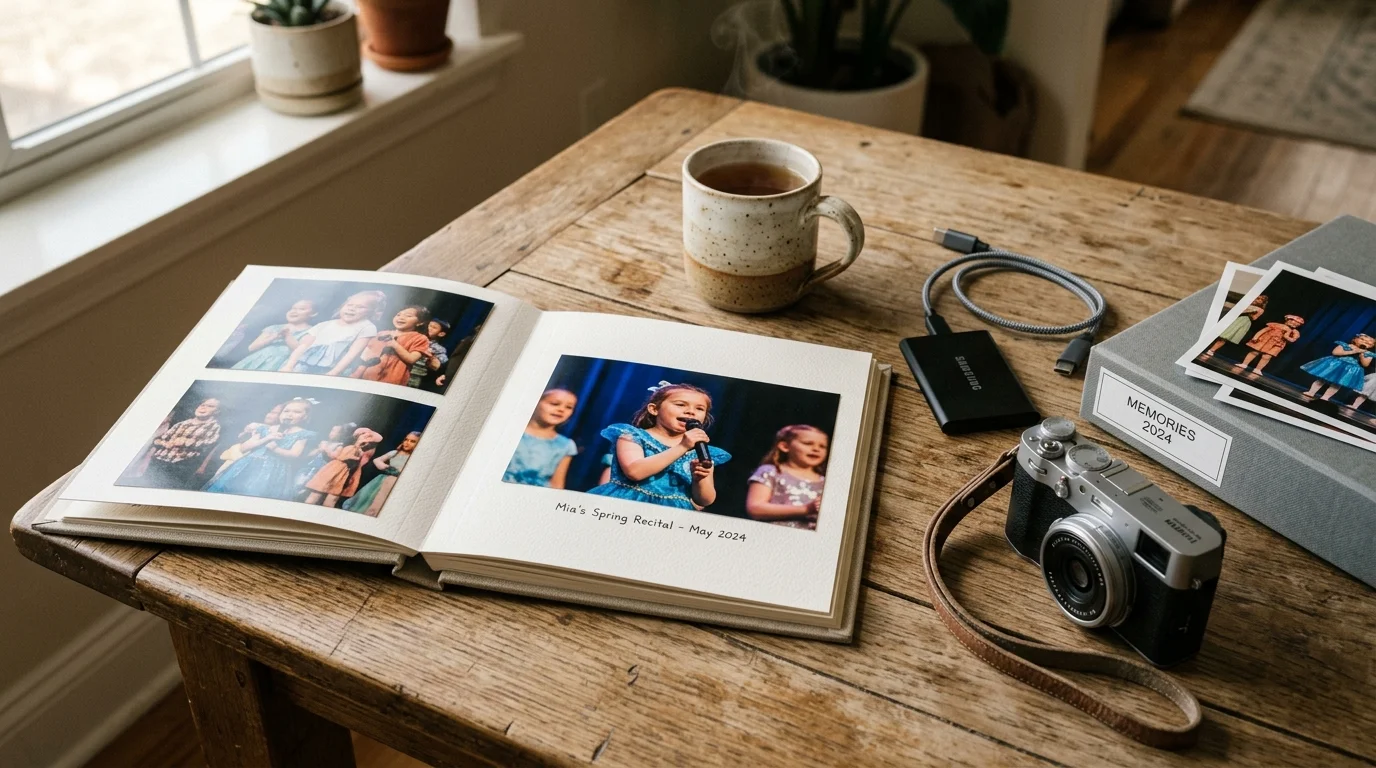
When printing favorite recital captures for family memory albums, invest in conservation-grade materials. Choose heavyweight, acid-free rag paper coated for pigment inks rather than standard dye-based drugstore prints.
Mount printed recital photographs into memory scrapbooks using archival photo corners made of inert polyester or polypropylene. Avoid rubber cement, aerosol adhesives, and conventional pressure-sensitive tapes that degrade image emulsions over time.
Store your finished family photo albums in interior closets rather than humid basements or unconditioned attics. Maintaining stable temperatures between 65 and 70 degrees Fahrenheit protects physical prints from premature fading and binder deterioration.
Frequently Asked Questions
Why does my compact camera make recital backgrounds completely pitch black in spot metering mode?
Theatrical spotlights produce light levels hundreds of times brighter than unlit stage wings. Spot metering balances your exposure strictly for the bright spotlight, naturally letting deep background shadows fall into pure black.
Can I fix blown-out recital faces later using photo editing software?
No. When digital camera sensors record completely white pixels, highlight data clips beyond recovery. Editing software can only darken those blown patches into dull gray; it cannot recreate the missing facial features.
What should I do if my compact camera does not have a spot metering option?
If your camera lacks spot metering, retain multi-pattern metering and adjust exposure compensation downward. Dialing exposure compensation down to negative 1.3 or negative 2.0 EV artificially darkens the scene and protects skin highlights.
How does stage distance affect spot metering accuracy from row 18?
Greater distance makes your target smaller relative to your metering reticle. From row 18, you must zoom in sufficiently so your grandchild’s head and shoulders fill the central spot metering circle completely.
Disclaimer: This article is for informational purposes only. When handling valuable or irreplaceable photographs, consider consulting a professional conservator. Always test preservation methods on non-valuable items first.