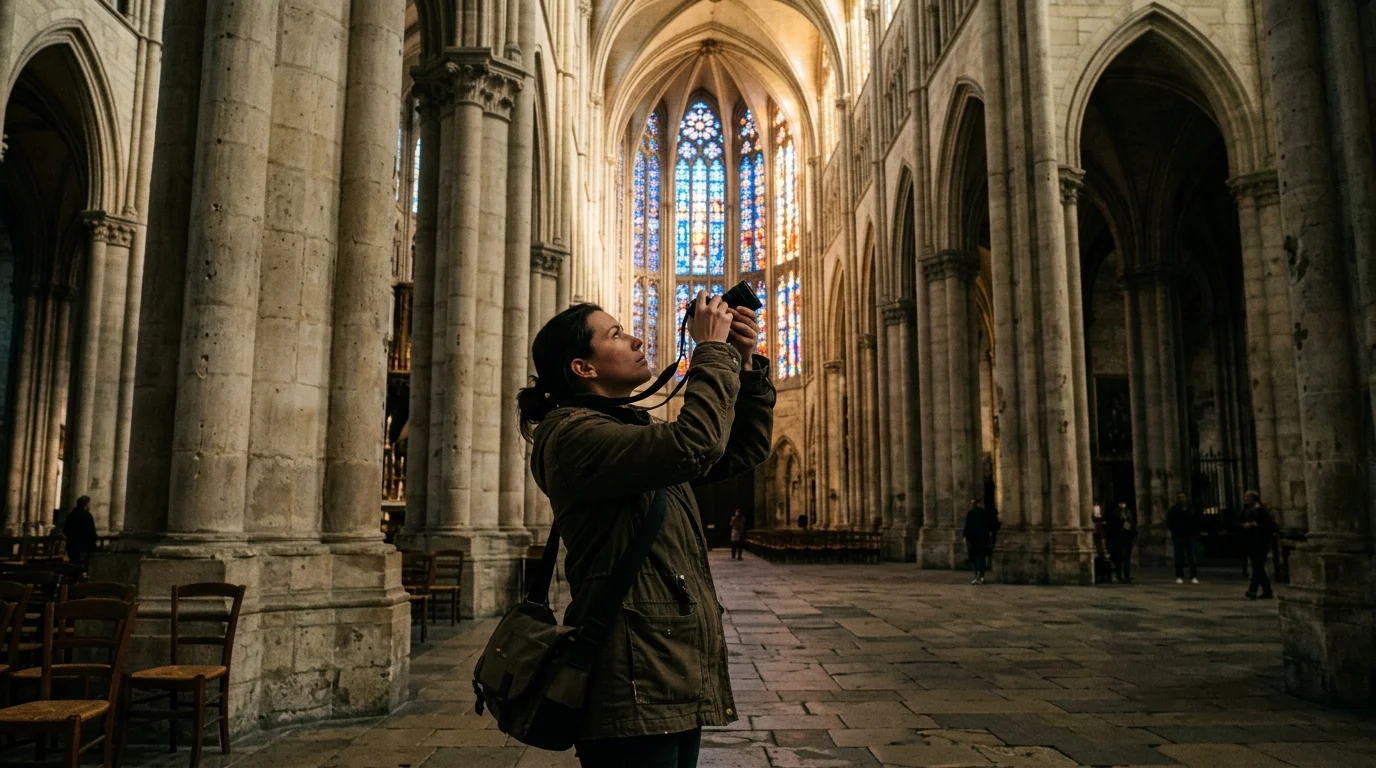
You can capture both radiant stained glass and cavernous stone vaulting inside European cathedrals without carrying a tripod. Setting an intentional three-shot exposure bracket preserves brilliant window colors while gathering clean, noise-free masonry details.
Most cathedral photography guides assume you carry professional tripods or expensive medium-format gear. However, a disciplined -2, 0, +2 EV handheld sequence anchored to your camera’s stabilization threshold captures the full 14-stop dynamic range on a modest traveler budget.
Mastering this handheld technique keeps cathedral guards satisfied while preventing blurry stone vaults and blown-out cobalt blues from ruining your travel photo collection.
The Dynamic Range Crisis of Gothic Interiors
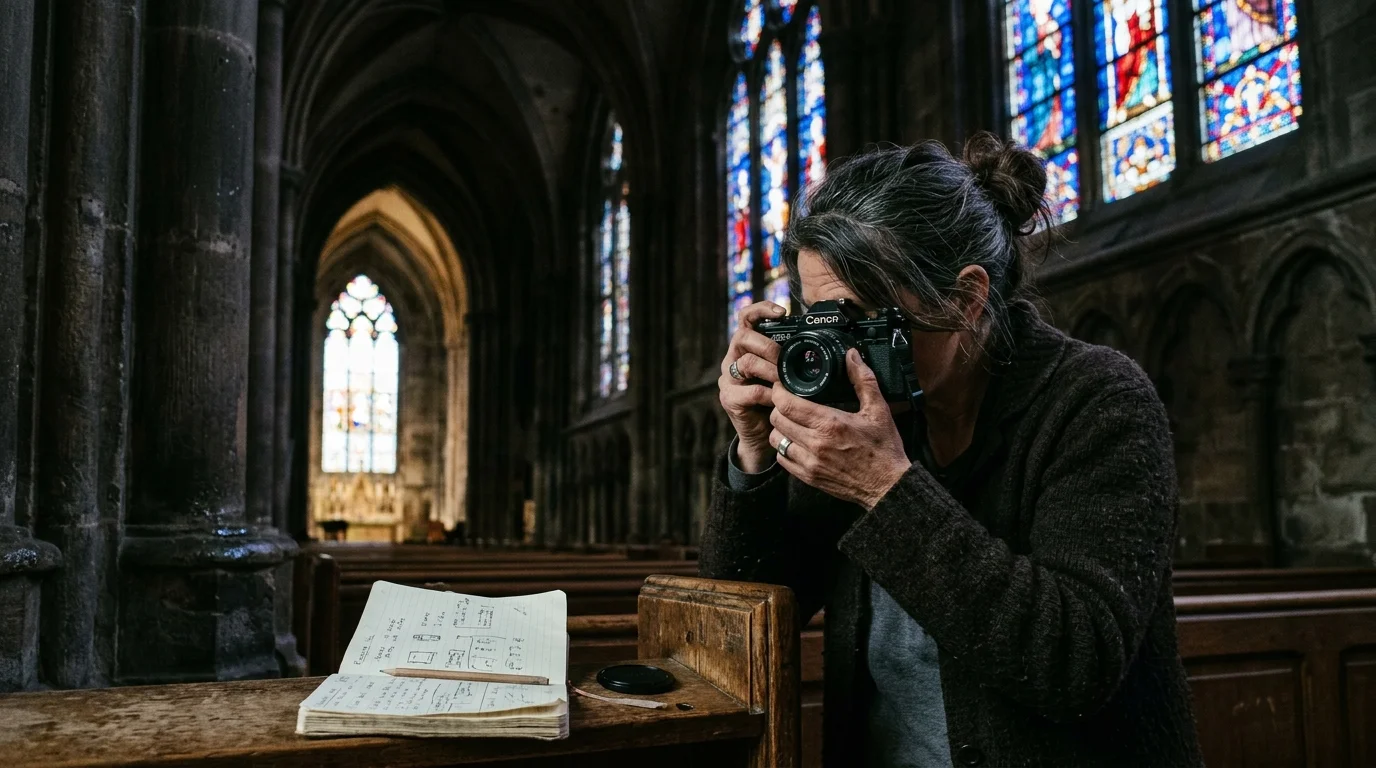
Gothic architecture directs exterior sunlight through massive lancet windows while heavy stone masonry absorbs ambient illumination. The resulting contrast between bright glass and shadowed ceilings regularly exceeds sixteen exposure values.
Direct sunlight through medieval stained glass can peak above EV 13. Meanwhile, soaring ribbed vaults seventy feet overhead often register below EV 1.
Modern camera sensors typically resolve between eleven and fourteen stops of dynamic range in a single raw frame. This physical limit leaves single exposures with either blown highlights or noisy, muddy shadows.
If you rely on multi-zone or evaluative metering, your camera averages the entire scene. The sensor tries to balance the darkness, blowing out delicate stained glass into featureless white glare.
If you spot-meter directly on a rose window, the glass colors appear rich and saturated. However, the surrounding stone piers and historic nave vanish into solid black voids.
As explained on Cambridge in Colour, high dynamic range environments require multiple discrete exposures to capture both highlight luminance and shadow textures accurately.
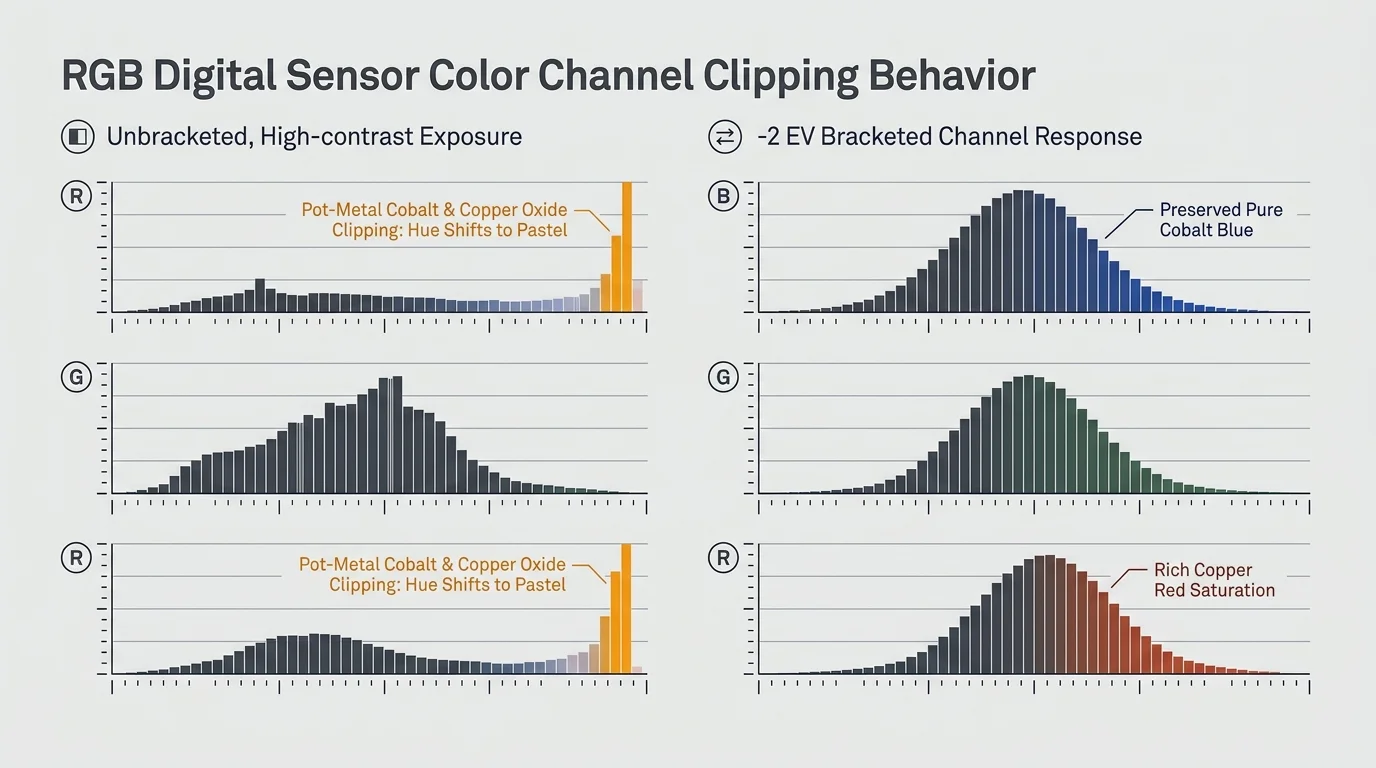
Medieval artisans produced pot-metal glass by adding metallic oxides to molten silica, creating intense cobalt blues and copper reds. These pure pigments transmit narrow wavelengths that easily clip individual digital sensor channels.
When the blue or red channel clips, the glass loses its distinctive hue and shifts toward an unnatural pastel shade. Preserving those historic colors requires keeping highlight exposures strictly within sensor limits.
Calculating Handheld Shutter Thresholds for Deep Vaults
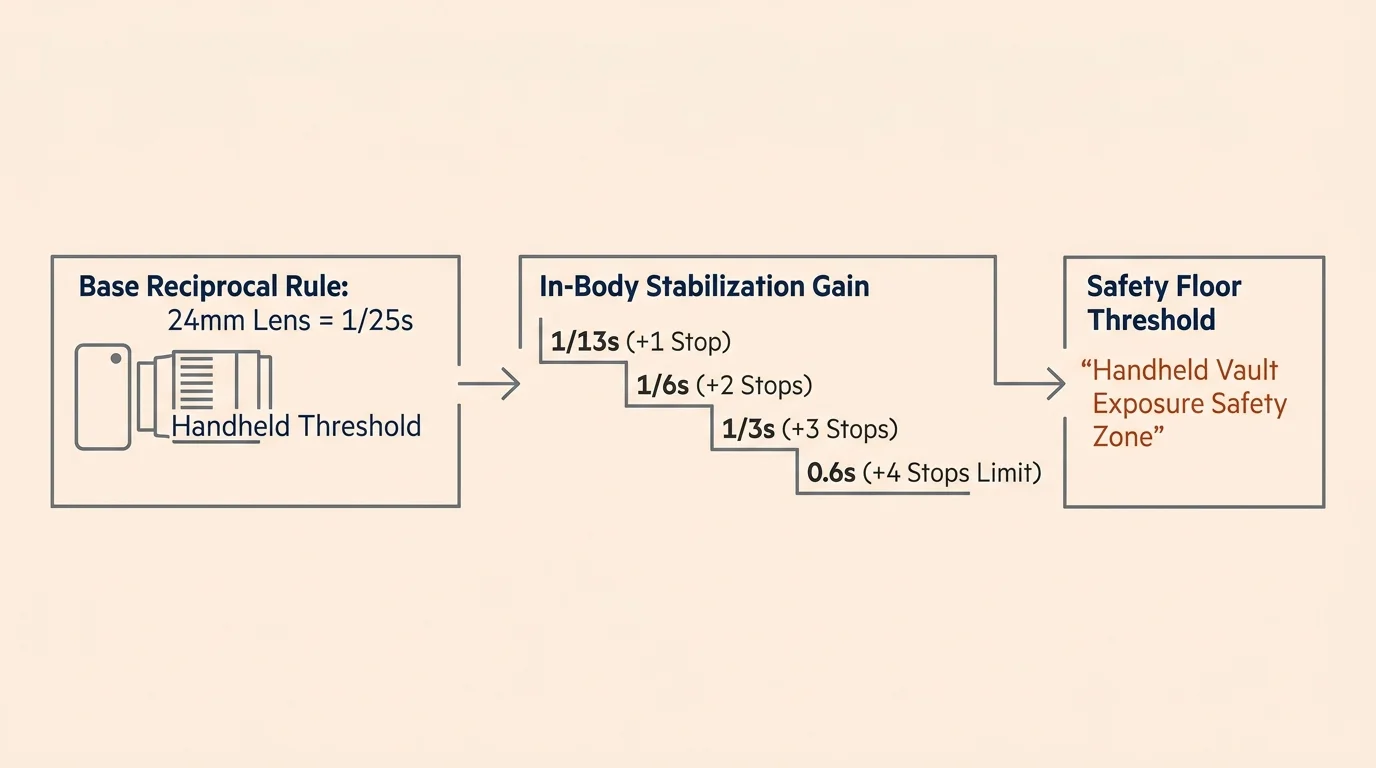
Traditional photographic theory suggests setting your shutter speed to the reciprocal of your lens focal length. For a 24mm wide-angle lens, you would theoretically shoot at 1/25 of a second.
That conventional rule fails inside dim cathedral interiors. At base ISO, resolving clean stone texture in cavernous vaults frequently demands exposure times of one-quarter second or longer.
Camera manufacturers claim modern In-Body Image Stabilization systems provide five to eight stops of shake compensation. In real-world cathedral shooting, physical fatigue and upward shooting angles degrade those theoretical benchmarks.
Looking up toward towering triforiums forces you to tilt your neck and extend your arms awkwardly. This unstable posture amplifies body tremor and reduces effective stabilization by two full stops.
To ensure needle-sharp results across your bracketed sequence, your longest exposure cannot drop below your practical stabilization threshold. Setting an optimal base ISO protects your slowest frame from handshake blur.
If your slowest handheld limit is 1/15 of a second, your base exposure must sit at 1/60s. That calculation allows your +2 EV shadow frame to land exactly at 1/15s without inducing motion blur.
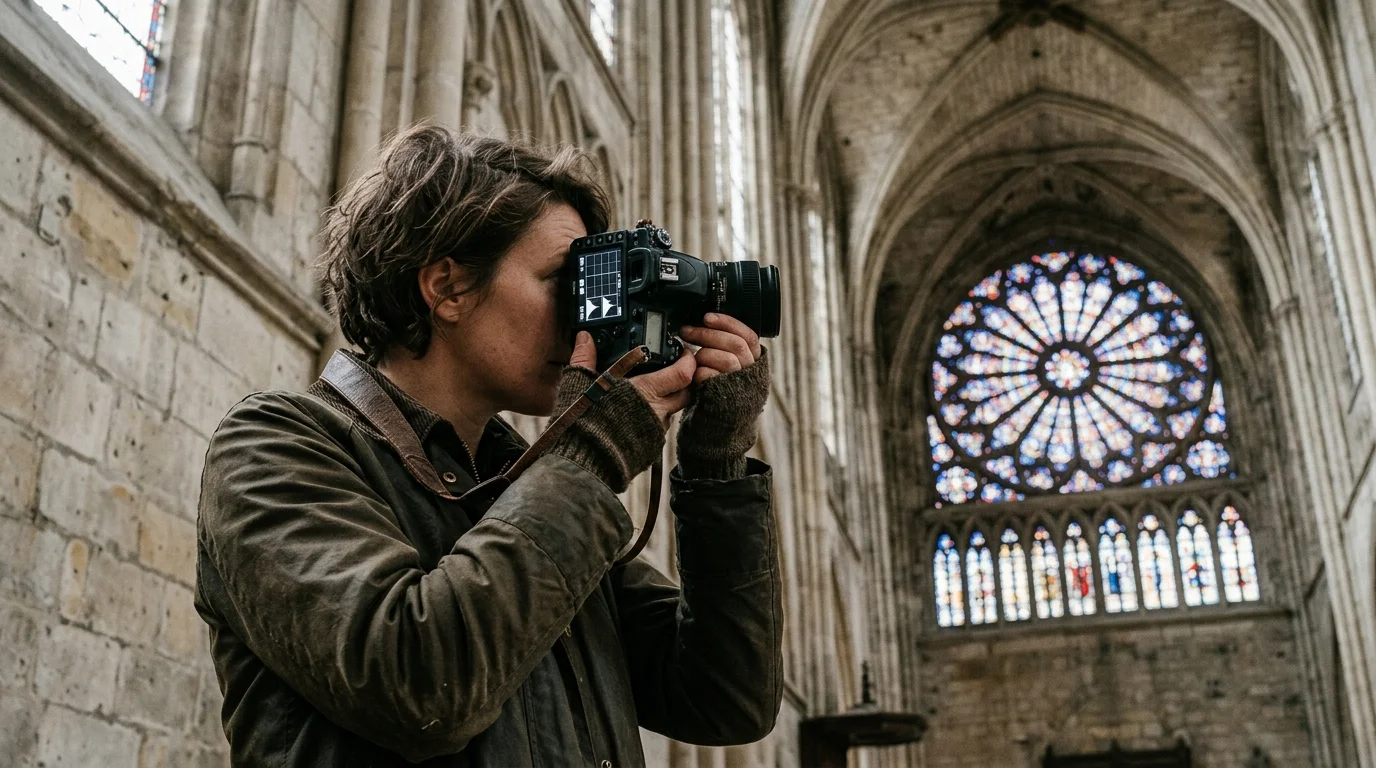
The 3-Shot Handheld EV Bracketing Formula (-2, 0, +2)
Many landscape photographers prefer five-frame or seven-frame brackets when working on sturdy tripods. Inside European cathedrals, guards strictly forbid tripods, making extensive sequences impractical.
Firing five or seven frames handheld creates noticeable camera drift between the first and last exposures. That physical displacement introduces rotational misalignment and severe parallax errors that ruin raw merging.
A three-shot sequence spaced at two-stop intervals (-2, 0, +2 EV) provides the ideal handheld bracketing dynamic range balance. This setup spans four full stops of correction while completing in under half a second.
The -2 EV underexposure protects delicate stained glass artwork. It records saturated cobalt blues, intricate lead came lines, and flashed ruby details without clipping digital sensor highlights.
The 0 EV base exposure acts as your structural reference. It captures the natural mid-tone ambiance across the nave arcade, clerestory walls, and carved limestone capitals.
The +2 EV overexposure penetrates deep architectural shadows. It reveals carved stone bosses, vaulted ceiling ribs, and dark wooden choir stalls without introducing excessive digital noise.
Bracketing in single-stop increments (-1, 0, +1 EV) fails to cover the extreme dynamic range of Gothic sanctuaries. A two-stop step size provides maximum tonal coverage with minimal shutter actuations.
“Limiting handheld interior brackets to three frames reduces operator sway and eliminates registration blur when blending intricate stone tracery.”
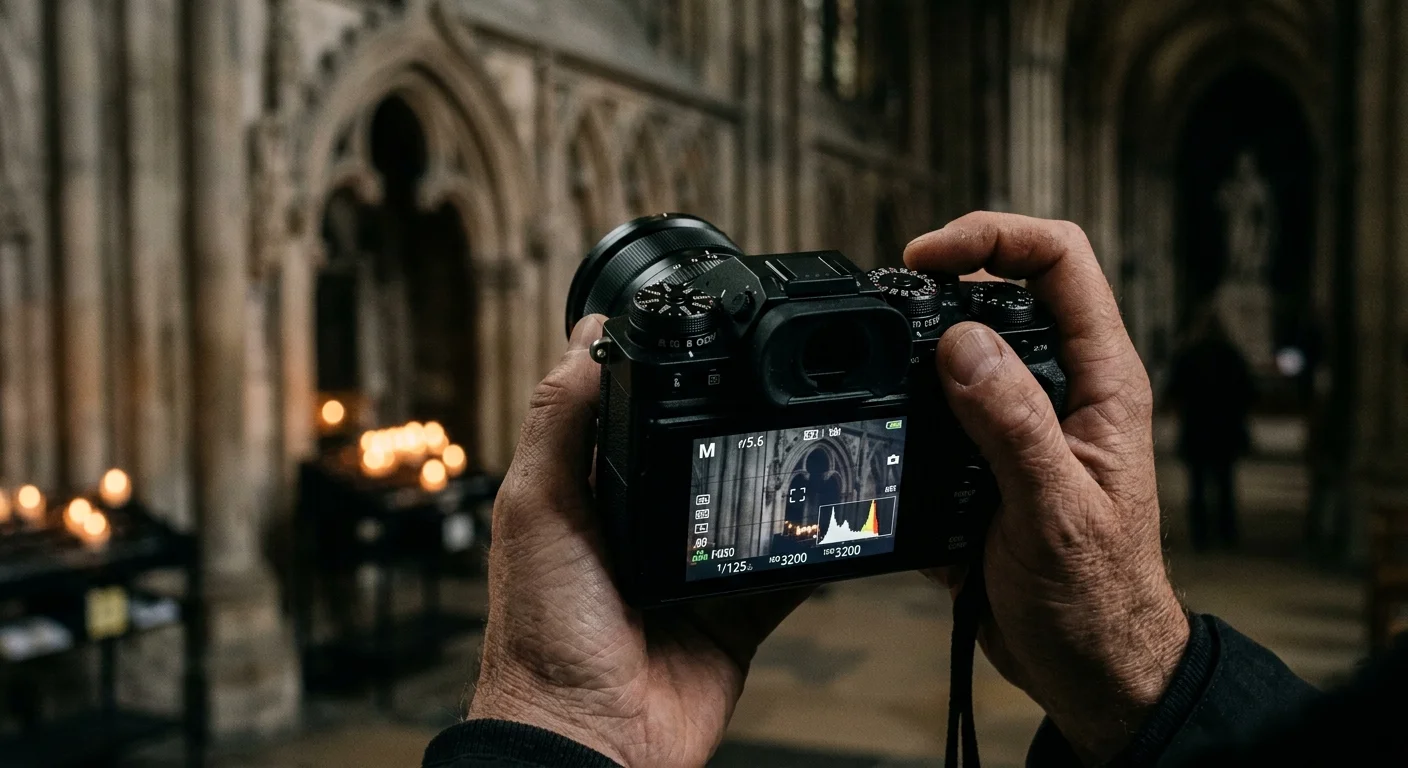
Church Interior Camera Settings and Metering Modes
Configure your camera to Manual (M) exposure mode before entering the sanctuary. Manual mode prevents the camera from altering your aperture or baseline exposure between bracketed frames.
Set your lens aperture between f/4 and f/5.6. This aperture range delivers generous depth of field on wide-angle lenses while avoiding resolution loss caused by optical diffraction.
Select a fixed sensitivity between ISO 400 and ISO 800. These values keep shutter speeds within safe handheld thresholds while maintaining an exceptionally low noise floor.
Pair Continuous High burst drive with Auto Exposure Bracketing (AEB). Depressing the shutter button once prompts the camera to capture all three exposures in rapid succession.
Set the bracketing order to underexposed, nominal, and overexposed (-2, 0, +2). The fastest shutter fires first, stabilizing your position before the slowest frame records.
Use Highlight-Weighted metering if your camera offers it, or set center-weighted metering on the masonry surrounding the window. Never meter directly off radiant stained glass.
Acquire focus on a textured stone pillar located one-third into the scene using Single AF (AF-S). Once locked, switch the lens to manual focus to prevent hunting during the burst.
Activate your camera’s Electronic Front-Curtain Shutter (EFCS) or full silent electronic shutter. Eliminating physical shutter shock protects your slowest exposure from internal camera vibrations.
Handling Mixed Lighting and Stained Glass Color Channels
European cathedrals present complex lighting environments containing multiple competing color temperatures. Daylight streaming through stained glass clashes directly with warm 2700K tungsten fixtures and flickering votive candles.
Avoid Auto White Balance (AWB) inside historic sanctuaries. Auto algorithms shift color temperatures between bracketed frames, creating severe color casts that complicate raw blending.
Set a manual white balance of approximately 5200K to 5600K (Daylight). This setting preserves the authentic warmth of candlelit stone while rendering stained glass blues accurately.
Dense cobalt blue glass transmits high-energy light that can easily oversaturate your sensor’s blue color channel. When monitoring your exposures, inspect your camera’s RGB histogram rather than the unified luminance graph.
If the blue channel clips against the right wall of the RGB histogram, reduce your base exposure. Saturated blues lose structural definition and turn cyan when digital channels clip.
High-contrast window edges frequently generate lateral chromatic aberration. Modern raw converters correct these color fringes automatically when you enable built-in lens profile corrections.
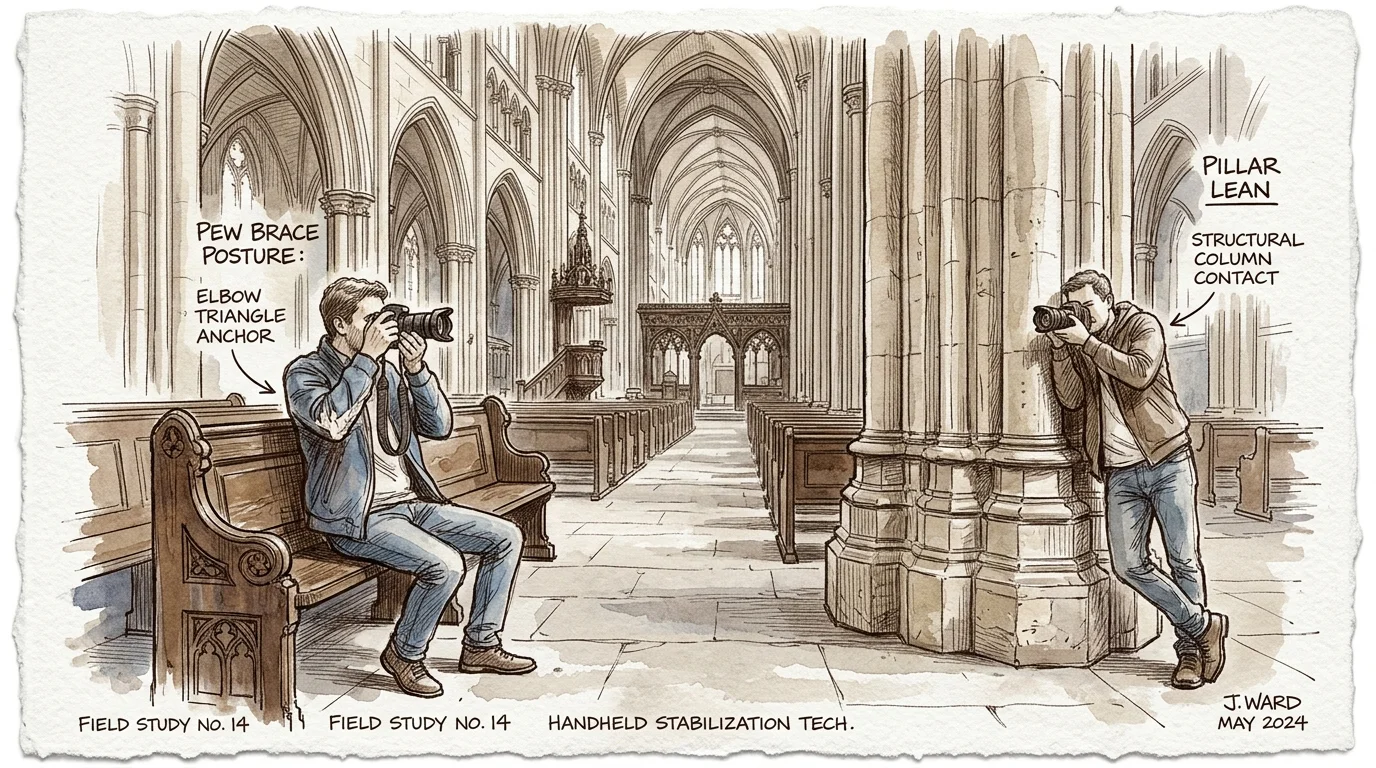
Handheld Body Mechanics and Architectural Field Craft
Because major European cathedrals ban tripods to protect tourist flow and ancient flagstones, your posture serves as your primary stabilizer. Disciplined physical mechanics dramatically increase frame sharpness.
Adopt the human tripod stance. Spread your feet shoulder-width apart, angle your body forty-five degrees to the nave, and tuck both elbows firmly against your chest.
Press the camera eyecup firmly against your facial brow. This technique establishes three solid physical contact points between your skull, hands, and camera body.
Exploit cathedral architecture for physical support. Lean your shoulder or back against heavy limestone pillars, wooden choir stalls, or sturdy nave railings before firing.
Synchronize your exposure burst with your respiratory rhythm. Inhale deeply, release half your breath, pause naturally, and squeeze the shutter smoothly without jerking your index finger.
Rest your camera body directly on flat architectural surfaces when composition allows. A flat pew top or stone balustrade creates a rock-solid temporary platform for slow bracketed frames.
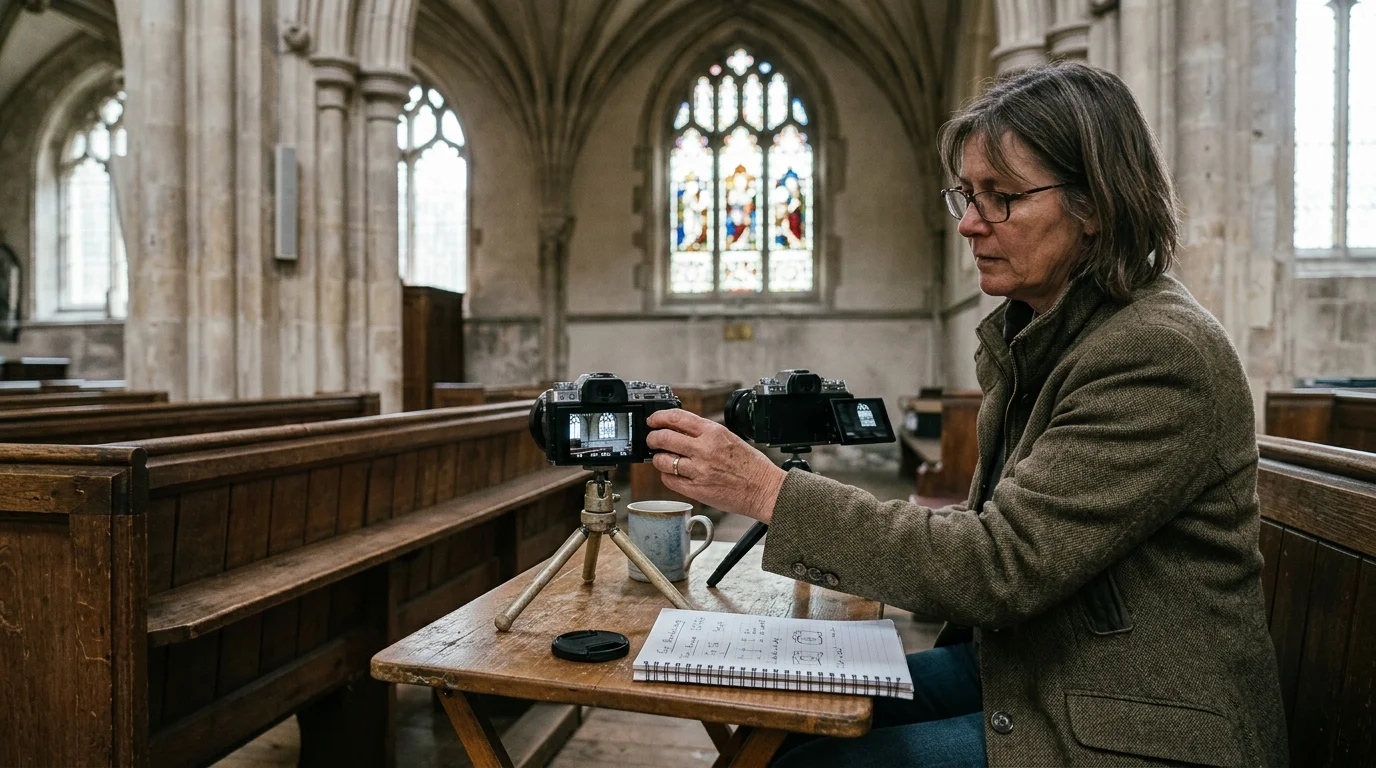
Hardware Stabilization Performance Comparison
Sensor dimensions, optical stabilization algorithms, and lens focal lengths determine your practical handheld exposure envelope. Handheld capabilities vary considerably across popular travel photography platforms.
The following comparison details empirical handheld performance for interior architectural shooting based on technical reviews and dynamic range measurements published by Digital Photography Review.
| Camera System & Lens | Sensor Format | Rated IBIS / OIS | Real-World Minimum Shutter (+2 EV Frame) | Safe ISO Envelope |
|---|---|---|---|---|
| Sony Alpha 7 IV + FE 24mm f/2.8 G | Full-Frame (35mm) | 5.5 Stops IBIS | 1/10s handheld | ISO 400 – 1600 |
| Fujifilm X-T5 + XF 16mm f/2.8 R WR | APS-C (1.5x crop) | 7.0 Stops IBIS | 1/8s handheld | ISO 400 – 800 |
| OM System OM-1 + 12mm f/2.0 ED | Micro Four Thirds (2.0x crop) | 8.0 Stops Sync IS | 1/4s handheld | ISO 200 – 800 |
| Canon EOS Rebel T8i + EF-S 18-55mm IS | APS-C (1.6x crop) | 4.0 Stops Lens OIS | 1/20s handheld | ISO 800 – 1600 |
Full-frame systems offer superior raw dynamic range and minimal shadow noise at high ISO settings. However, their larger glass elements demand greater wrist stability during long shoots.
Micro Four Thirds and APS-C systems provide exceptional sensor-shift stabilization and deeper depth of field at wide apertures. You can shoot wide open at f/2.8 while maintaining sharp focus throughout the nave.
Traditional budget DSLRs lacking in-body stabilization depend entirely on optical lens elements. When using these systems, always brace against cathedral pillars to keep shadow frames sharp.
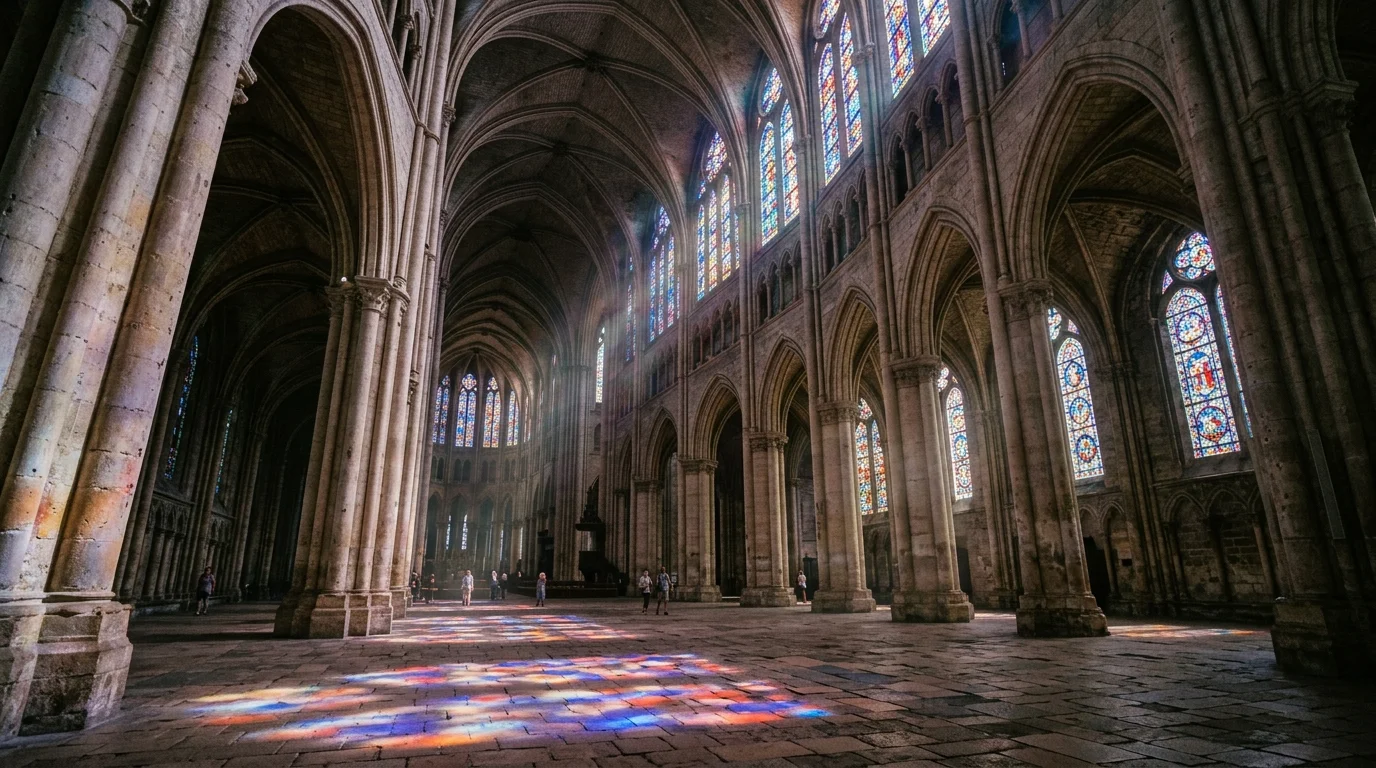
Step-by-Step Worked Example: The Chartres Nave Scenario
Consider a budget traveler standing in the central nave of Chartres Cathedral, composing toward the western rose window on an overcast morning.
Ambient illumination across the dark limestone vaulting measures EV 3 (approximately 2.5 lux). Simultaneously, light transmitted through the medieval cobalt stained glass measures EV 11.
This scene presents an eight-stop dynamic range spread. A single raw frame cannot resolve both the glowing medallion figures and the intricate stonework overhead.
You mount a 20mm f/1.8 prime lens on an APS-C mirrorless camera. You stop down to f/4 for corner sharpness and set sensitivity to ISO 800.
Frame 1 captures the -2 EV highlight exposure at 1/200s. This rapid shutter speed prevents motion blur and preserves rich cobalt blues and ruby reds without clipping.
Frame 2 captures the 0 EV baseline exposure at 1/50s. This frame accurately records the mid-tone triforium stonework and ambient aisle illumination.
Frame 3 exposes the +2 EV shadow frame at 1/12s. Thanks to a stable three-point stance, the 1/12s exposure remains perfectly crisp.
The camera fires all three frames in approximately 0.35 seconds. Registration drift between the frames measures under four pixels, ensuring seamless raw alignment in post-processing.
Reviewing the unified RGB histogram confirms that Frame 1 contains zero clipped highlights and Frame 3 holds no crushed blacks. You have successfully captured the cathedral’s complete dynamic range.
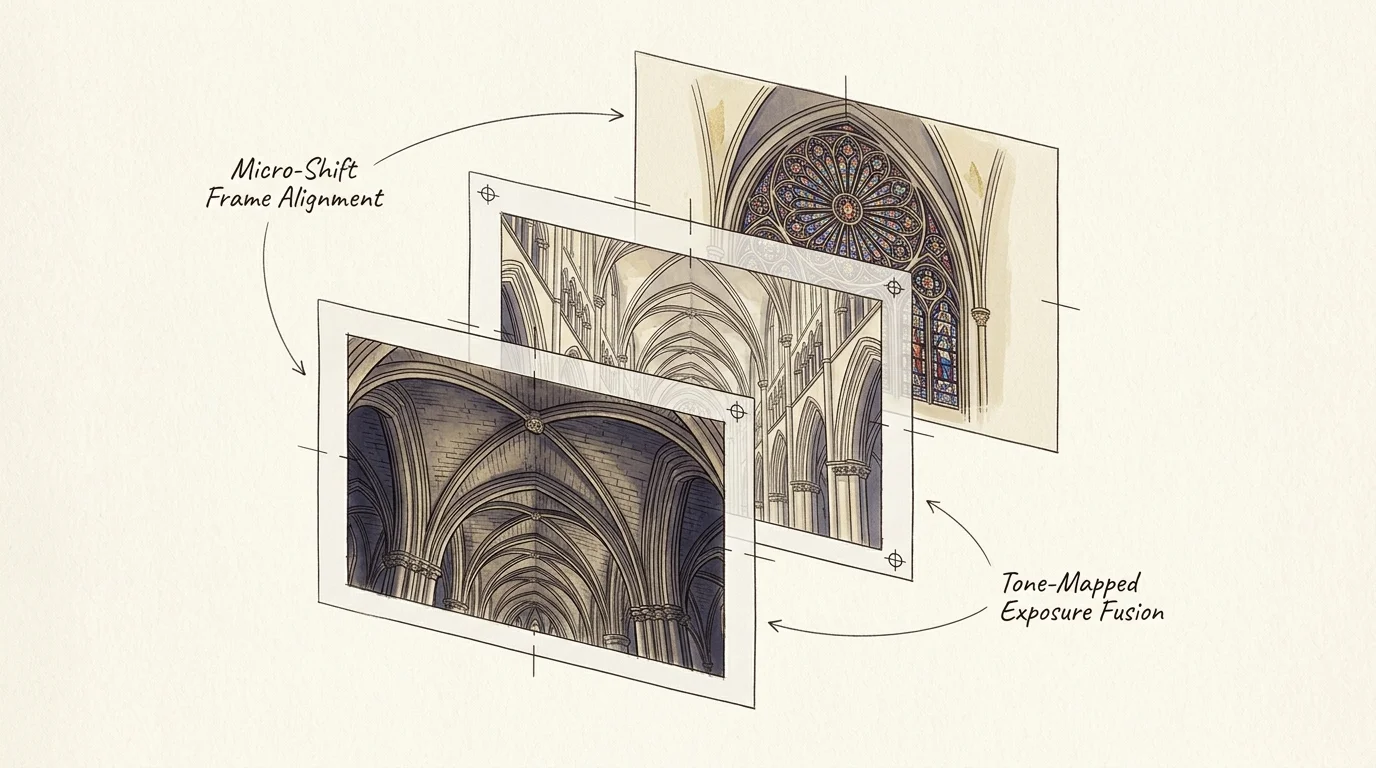
Archival Alignment and Exposure Fusion Workflow
Merging handheld bracketed images requires software that compensates for rotational camera movement. Standard exposure blending tools can blur fine window tracery if perspective alignment is ignored.
Import your three raw files into your processing software. Group the sequence and enable automated perspective correction before blending the exposures into a composite file.
Select exposure fusion rather than aggressive tone-mapping HDR tools. Exposure fusion blends the sharpest, properly exposed pixels from each frame without generating unnatural halos around stone lancets.
Keep de-ghosting algorithms set to low or disabled unless visitors walked across your composition. Because your burst completed in 0.35 seconds, architectural elements remain perfectly stationary.
Export your finished composite as an uncompressed 16-bit TIFF using Adobe RGB or ProPhoto RGB. This preserves subtle color gradations across complex stained glass medallions.
Digital preservation guidelines from the American Institute for Conservation emphasize preserving original camera raws alongside your master composite. Never discard original raw brackets after creating an exposure blend.
Follow the 3-2-1 backup strategy for your digital travel archive. Maintain three independent copies of your files across two storage media types, storing one copy offsite.
Embed descriptive IPTC metadata into each master file. Record the cathedral name, specific architectural element, date, and exposure sequence to safeguard your photo heritage for future generations.
Frequently Asked Questions
Can I use in-camera HDR mode instead of raw exposure bracketing?
In-camera HDR modes generate processed JPEG files that discard substantial raw color information. Capturing raw brackets preserves full tonal depth and allows precise noise reduction during software blending.
Why not raise my camera to ISO 6400 to eliminate camera shake?
Increasing sensitivity to ISO 6400 severely reduces sensor dynamic range and introduces disruptive chroma noise into dark stone vaults. Handheld bracketing at ISO 800 yields vastly cleaner architectural detail.
Will cathedral security guards permit tabletop tripods or monopods?
Most European cathedrals enforce strict bans covering all stabilization hardware, including monopods and tabletop tripods. Security staff will require you to stow them in your bag immediately.
How do I prevent stained glass colors from looking washed out?
Ensure your -2 EV underexposure does not clip the blue or red color channels. Stained glass beauty comes from optical color saturation rather than high digital brightness.
Disclaimer: This article is for informational purposes only. When handling valuable or irreplaceable photographs, consider consulting a professional conservator. Always test preservation methods on non-valuable items first.