
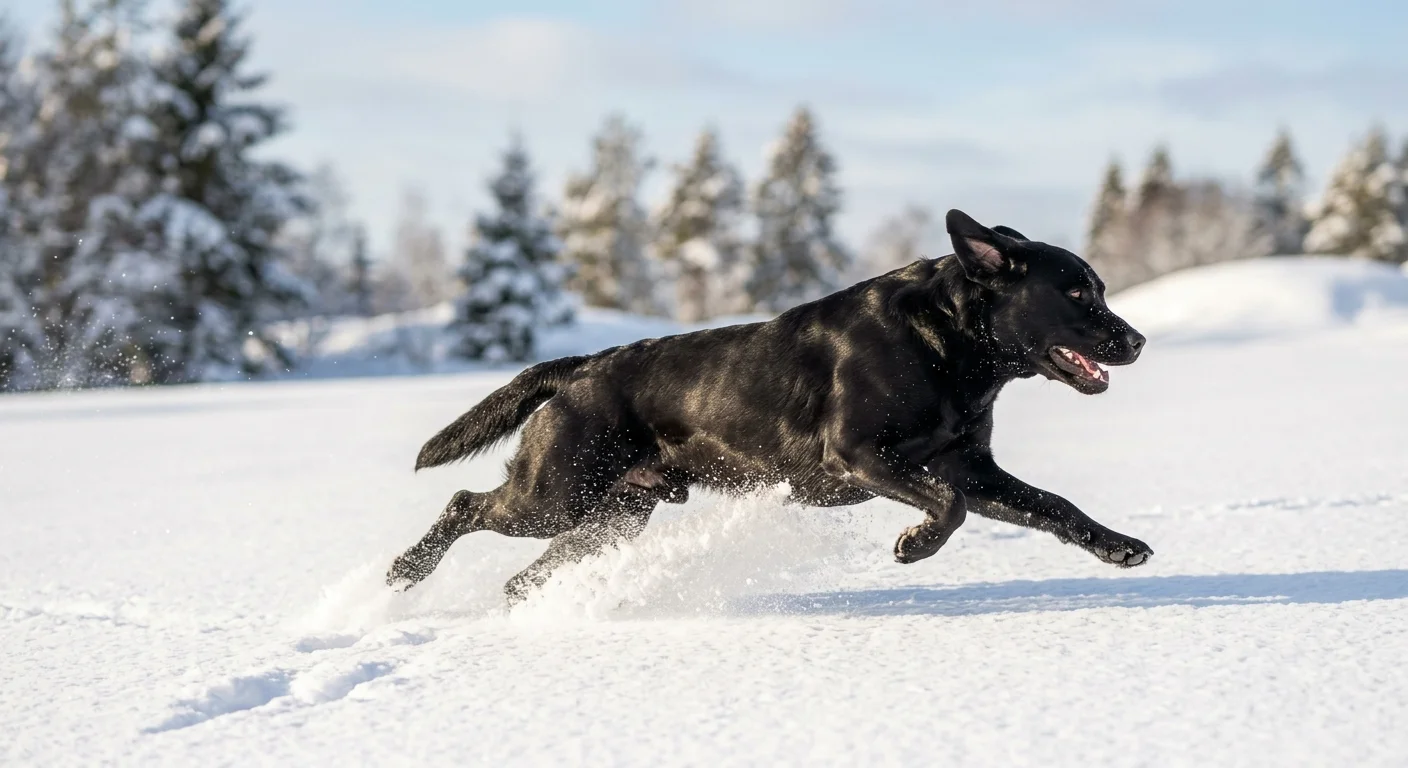
Capturing a jet-black rescue labrador sprinting across sunlit midday snow often produces a featureless silhouette against muddy, gray slush. You can eliminate this dynamic range disaster by mastering manual exposure calibration before your dog takes a single stride.
If you are new to action sessions with pets, reviewing a beginner’s guide to shooting family photos will help you anticipate motion and frame candid moments more reliably.
Standard matrix metering fails because reflective snow tricks camera sensors into severe underexposure. Spot metering directly off the sunlit snow with a +1.7 EV manual override preserves rich fur textures while keeping snow highlights cleanly below digital clipping.
Pair this exposure baseline with continuous zone autofocus tracking to capture tack-sharp winter action worthy of your family archive.
The Midday Snow Trap: Why Reflective Metering Silhouettes Black Fur
Camera light meters measure reflected luminance rather than ambient illumination. They assume every photographic scene averages out to 18 percent neutral gray.
Much like handling harsh overhead shadows in midday sun, shooting pets on open snow forces you to confront extreme contrast ratios that mislead camera meters.
Working with such severe outdoor contrast requires adapting standard natural light photography tips to handle the blinding snowpack.
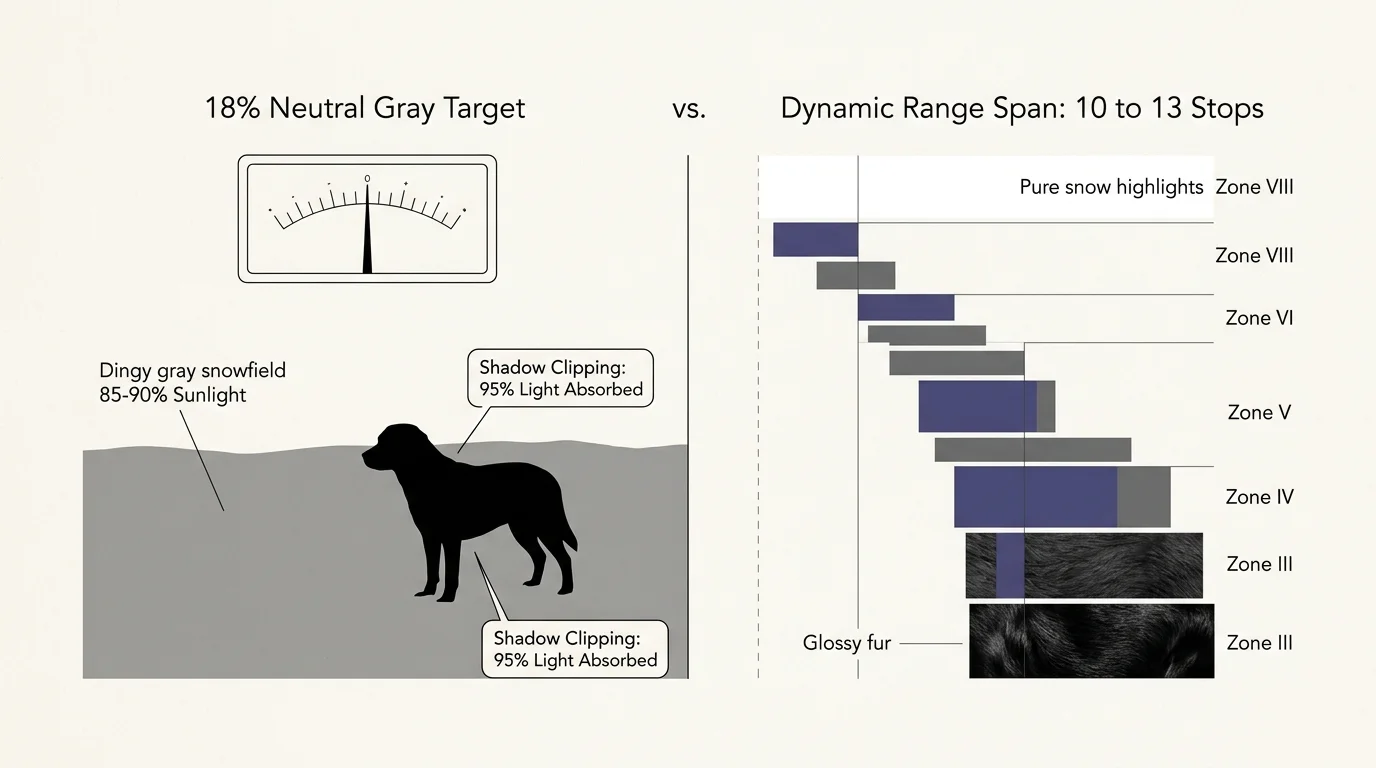
Fresh, undisturbed winter snow reflects approximately 85 to 90 percent of direct sunlight. Your camera sees this massive luminance spike and forces the entire exposure down to match neutral gray.
This automated cut underexposes the scene by nearly two full stops. As a result, pristine white snow banks appear dingy and dull.
The problem doubles when a black dog enters the frame. Black fur absorbs up to 95 percent of visible light, reflecting almost nothing back to the sensor.
When the camera underexposes for bright snow, it pushes your dog’s dark coat straight into total shadow clipping. Every glossy highlight and muscle contour vanishes into solid black ink.
According to dynamic range analyses by Cambridge in Colour, modern camera sensors struggle when scene contrast exceeds twelve stops. Midday snow combined with deep black fur routinely stretches across ten to thirteen stops of light.
If you let multi-pattern or matrix metering balance the scene, the camera makes an erratic compromise. It tries to save the highlights, destroying shadow detail in the process.
Attempting to fix this by spot metering on the dog creates the opposite catastrophe. The camera interprets the black coat as neutral gray and drastically overexposes.
Overexposing for the dog blows the surrounding snow field to pure, unrecoverable white. The snow loses all crystalline texture, casting the animal against a blinding void.
The Plus 1.7 EV Snow Spot Calibration Method
You can bypass erratic in-camera calculations by establishing a fixed exposure baseline. The most dependable calibration technique utilizes the brightest stable element in your scene: the sunlit snow.
This technique functions similarly to calibrating stage light exposure, where isolating critical highlights prevents surrounding dark zones from throwing off your settings.
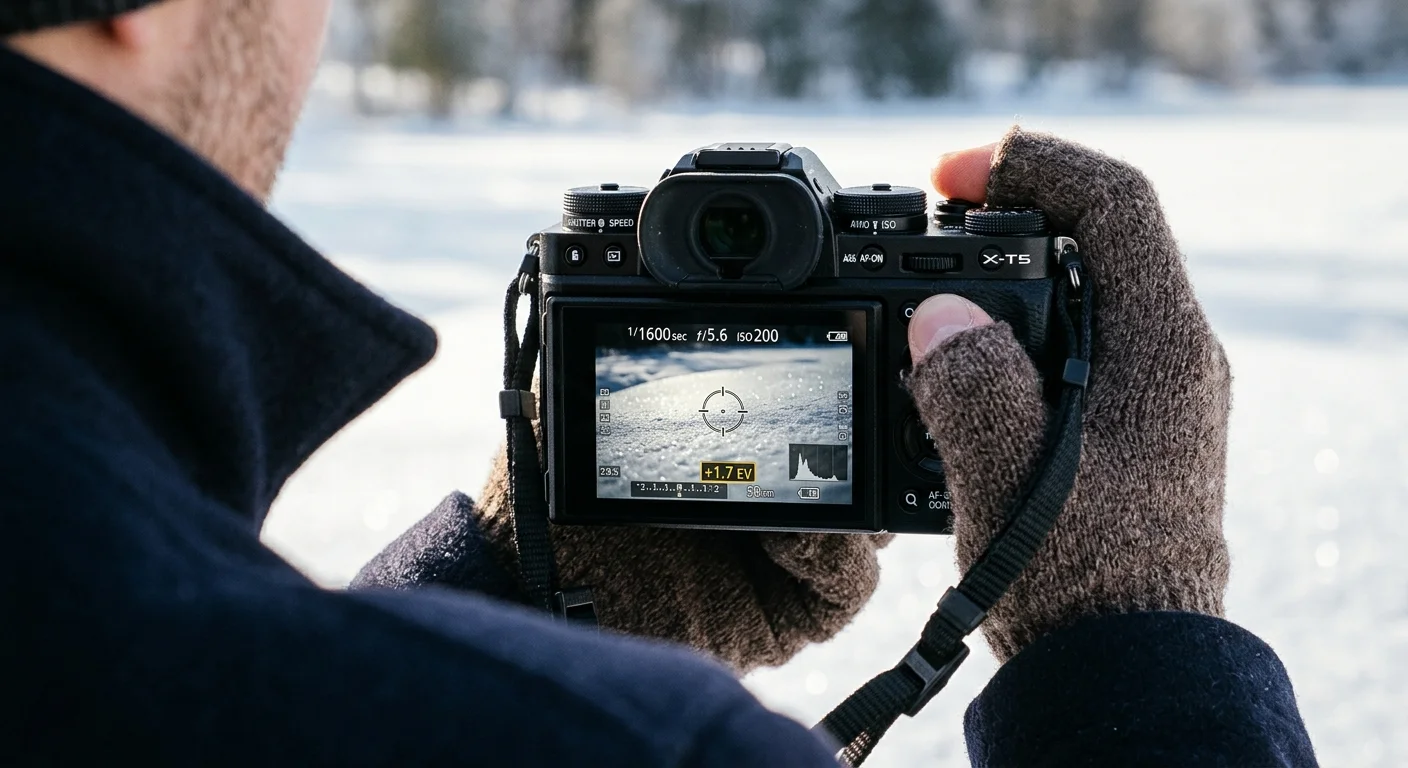
First, switch your camera metering mode from matrix or evaluative to spot metering. Spot metering measures light from a tiny target area, usually covering just two to three percent of the central viewfinder.
Next, switch your camera to full Manual mode. Manual mode locks down your settings so the camera will not change exposure when your dog darts between light and shadow.
Aim your central spot meter directly at a patch of sunlit, clean snow where your dog will be running. Do not meter blue-tinted shadows or areas contaminated by grass or footprints.
Observe the exposure indicator in your viewfinder. Adjust your shutter speed, aperture, or ISO until the indicator lines up exactly at +1.7 EV above the center mark.
Setting exposure +1.7 stops above neutral gray pushes pure white snow right to the edge of the sensor’s linear highlight ceiling without blowing the red, green, or blue channels.
This +1.7 EV calibration places the white snow into Zone VIII of the traditional Zone System. Snow in Zone VIII retains authentic brightness while preserving delicate drift ridges and icy surface patterns.
More importantly, this highlight placement pulls your dog’s black coat out of the shadow clipping threshold. The dog’s dark fur settles naturally into Zone II and Zone III.
Zone III holds rich, discernible texture. In this zone, your sensor captures subtle tonal shifts between coarse guard hairs, soft undercoat fur, and specular snow reflections.
Once you dial in this manual setting, leave your exposure untouched. As long as direct winter sunlight remains constant, your labrador will remain perfectly exposed across every corner of the field.
Worked Exposure Calculation for Full-Sprint Action
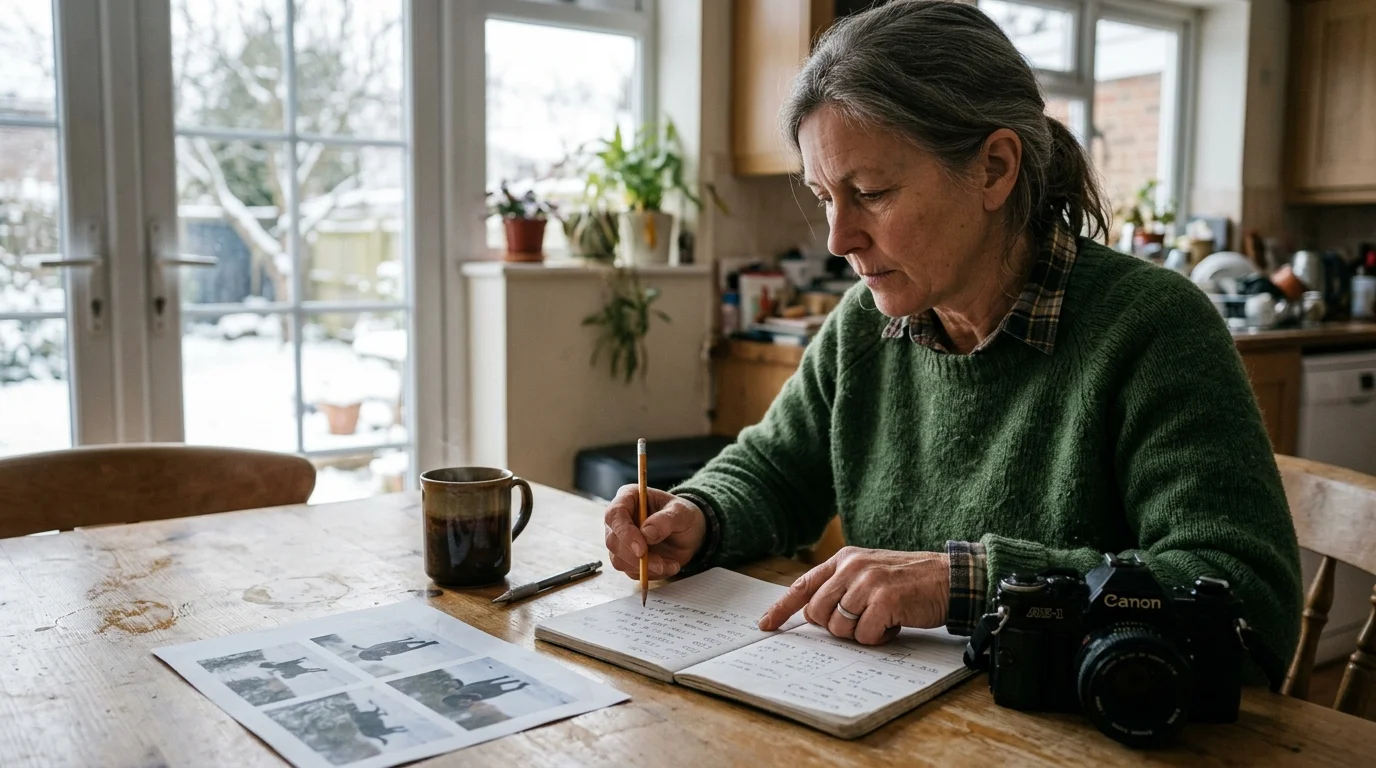
Consider a practical field scenario with real optical values. You are photographing a 70-pound black labrador charging directly toward your lens at 28 miles per hour across an open snowfield at noon.
Locking in values for full-sprint action shares principles with indoor sports shutter speed calibration, where freezing fast limbs requires deliberate speed choices over automatic exposure modes.
Direct winter sunlight on open snow yields an exposure value of roughly EV 15 at ISO 100. Fast canine motion requires uncompromising shutter speeds to prevent motion blur across the paws and muzzle.
A running dog’s legs move twice as fast as its torso. Freezing paw spray and sharp facial expressions demands a minimum shutter speed of 1/1600 of a second, with 1/2000 of a second preferred.
To isolate your dog from distracting background elements, choose a moderate telephoto aperture. Shooting a 135mm lens at f/4 provides enough depth of field to keep both the nose and eyes in focus.
If you set your camera to f/4 and 1/2000 second at ISO 100, the meter reads the snow at 0 EV. That baseline turns the snow into muddy 18 percent gray.
To apply the required +1.7 EV manual override, you must increase light intake by one and two-thirds stops. Because shutter speed and aperture must remain locked for motion and sharpness, adjust your ISO upward.
Increasing sensitivity from ISO 100 by one stop brings you to ISO 200 (+1.0 EV). Adding the remaining two-thirds of a stop lands your calibration precisely at ISO 320 (+1.7 EV).
Your calibrated manual exposure values are now 1/2000 of a second, f/4, and ISO 320. At these settings, the sensor captures blinding snow at an RGB value around 240, well below pure clipping at 255.
Simultaneously, the dog’s black coat registers around RGB 28 to 35. This range gives you workable shadow detail without introducing ugly digital noise.
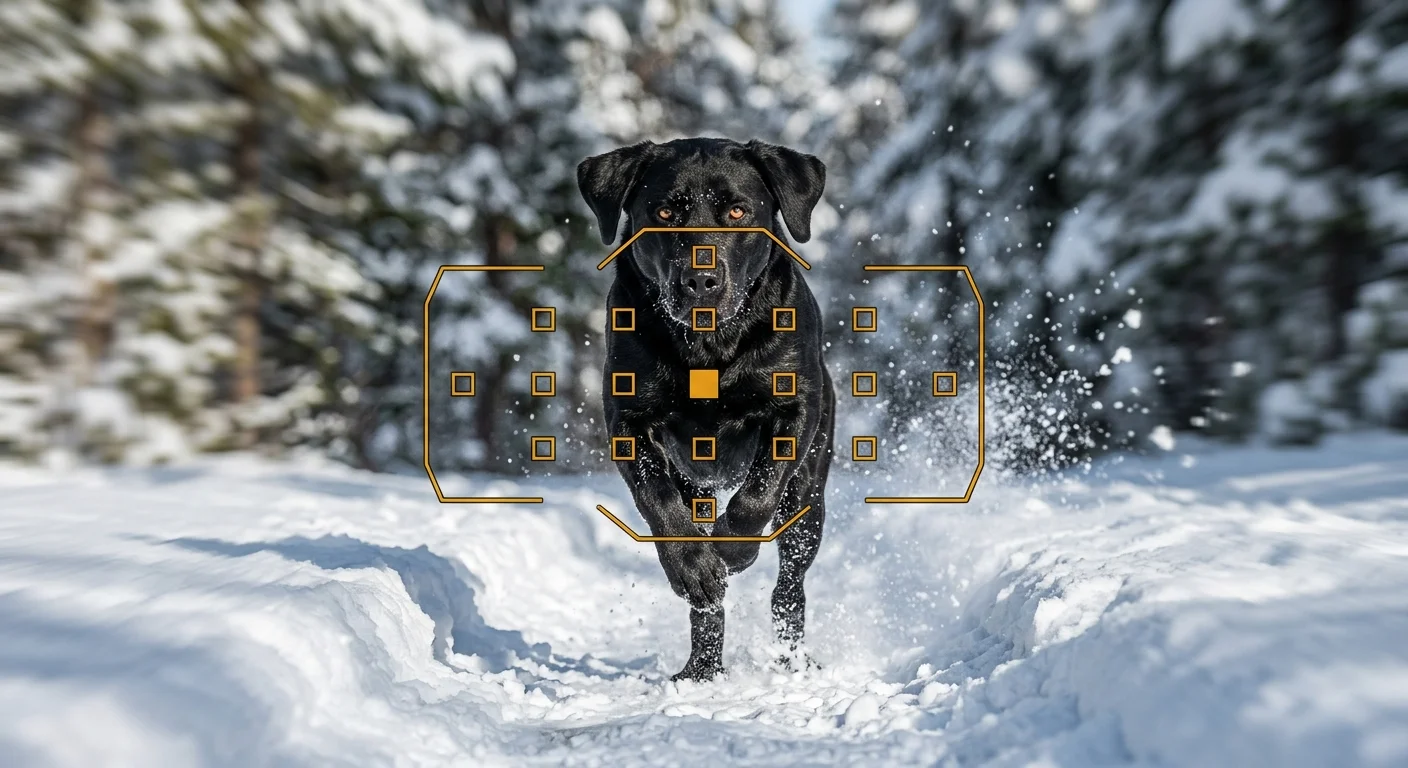
Continuous Zone Tracking: Locking Autofocus on Dark Moving Subjects
Securing the right exposure solves only half the winter action challenge. Modern autofocus systems rely heavily on contrast detection and phase variance to lock onto subjects.
These tracking challenges are comparable to shooting fast-moving gym sports on a kit lens, where unpredictable directional shifts constantly challenge autofocus algorithms.
After capturing hundreds of fast-paced burst sequences, using local machine learning face tagging for pets simplifies sorting identical black dogs across your archive.
A jet-black dog running on white snow presents an extreme contrast boundary along its outer edges. However, the dog’s body interior offers very little internal phase contrast for focus points to grab.
Single-point autofocus frequently slips off the dog during frantic motion. The focus point drops onto the featureless snow, driving the lens into endless focus hunting.
Full-area tracking modes also struggle in bright snow. The autofocus system can mistake airborne snow crystals or kicked-up powder for the primary subject.
The optimal solution is Continuous Autofocus (AF-C or AI Servo) configured to a Zone or Dynamic Group AF pattern. A nine-point or small zone cluster limits the active focusing area to a tight, controllable box.
Keep the zone cluster centered over the dog’s chest and head. The autofocus computer cross-references contrast data within that restricted zone without drifting onto the distant snowbanks.
If your mirrorless body features animal-detection autofocus, configure tracking sensitivity to its most responsive setting. Comprehensive autofocus tests documented by Digital Photography Review demonstrate that responsive tracking prevents focus points from lagging behind accelerating subjects.
Set your drive mode to high-speed continuous burst. Fire short bursts of three to five frames as the dog moves through the composition to maximize keeper rates.
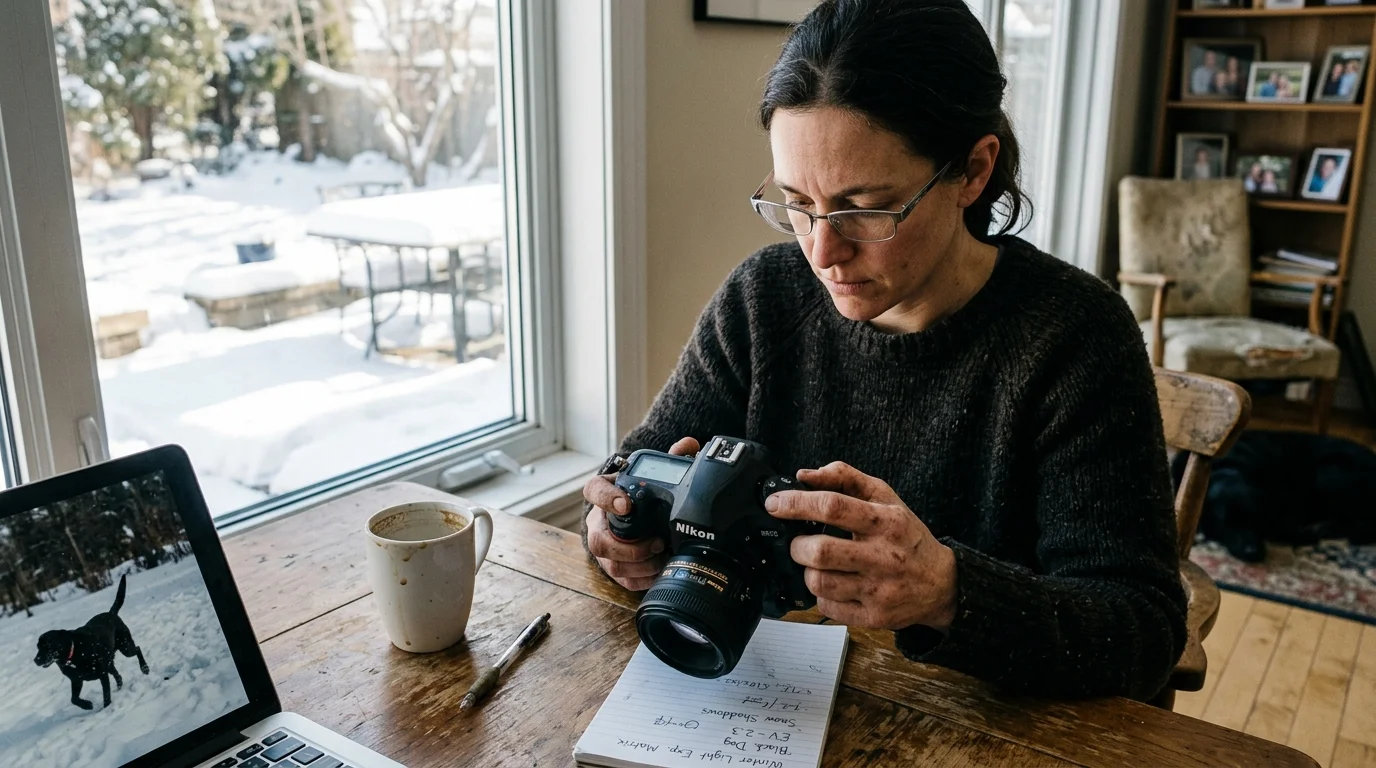
Winter Lighting Exposure and Autofocus Matrix
Winter lighting changes quickly as clouds roll across the sky. The table below outlines calibrated starting points for varying winter conditions when photographing high-speed dark pets.
While this matrix covers bright outdoor snowfields, understanding essential camera settings for indoor photos ensures you are equally prepared when your dog rests inside by the fire.
| Lighting Condition | Target Shutter Speed | Working Aperture | Base ISO Range | Exposure Calibration | AF Area Mode |
|---|---|---|---|---|---|
| Midday Direct Winter Sun | 1/2000 sec | f/4.0 | ISO 250 – 320 | +1.7 EV on clean snow | Continuous Small Zone |
| High Thin Overcast | 1/1600 sec | f/2.8 – f/3.5 | ISO 400 – 640 | +1.3 EV on bright snow | Continuous Dynamic 9-Point |
| Heavy Snowstorm / Falling Flakes | 1/1250 sec | f/2.8 | ISO 800 – 1250 | +1.0 EV on snow ground | Continuous Single Point (Expanded) |
| Low Golden Hour Sun | 1/1600 sec | f/2.8 – f/4.0 | ISO 400 – 800 | +1.3 EV on warm snow | Continuous Animal Eye-AF |
Notice how exposure calibration decreases as cloud cover increases. Overcast skies diminish specular snow highlights, compressing the scene’s dynamic range.
In heavy overcast light, dialing in a full +1.7 EV can blow out subtle drift textures. Reducing compensation to +1.0 or +1.3 EV preserves delicate gray gradations in the snowpack.
During active snowstorms, falling snowflakes create chaotic contrast targets directly in front of the lens. Switching to an expanded single point prevents autofocus sensors from latching onto tumbling flakes instead of your dog’s eyes.
Keep your aperture wide enough to maintain fast shutter speeds without forcing ISO values into noisy territory. An aperture between f/2.8 and f/4 hits the sweet spot for modern telephoto zooms.
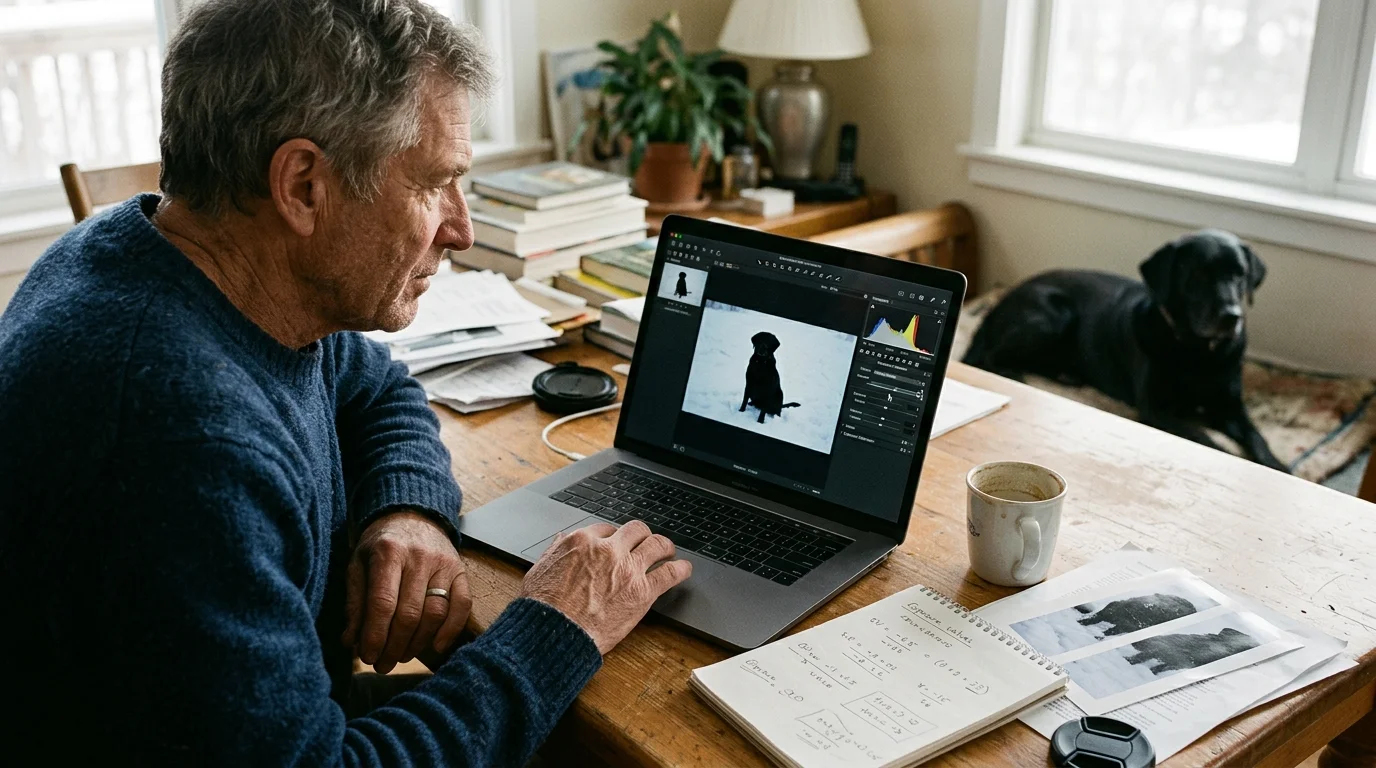
RAW Sensor Optimization and Highlight Protection
Shooting in 14-bit uncompressed RAW is non-negotiable for high-contrast winter photography. Eight-bit JPEG files discard critical shadow data beneath dark fur through destructive compression.
A RAW file captures linear sensor data, giving you up to three stops of recoverable highlight headroom and clean shadow lifting capacity. That latitude makes the difference between an unprintable silhouette and an expressive portrait.
When reviewing action shots on your camera’s LCD screen, never trust the preview image. The LCD displays an embedded, contrast-enhanced JPEG that exaggerates clipped shadows.
Activate your camera’s RGB histogram display instead. A standard luminance histogram averages all color channels together, hiding individual channel clipping.
Snow scenes frequently blow out the blue channel while the luminance histogram still appears safe. The blue sky reflecting off winter snow packs heavy energy into the sensor’s blue receptors.
An RGB histogram reveals true highlight clipping. Keep the rightmost edge of the blue and green curves tucked two millimeters inside the display boundary.
Enable highlight alert warnings, commonly known as zebras or blinkies. Set the zebra threshold between 100 and 105 percent to identify blown snow patches that have crossed into pure 255 white.
If small specular reflections on individual ice crystals trigger blinkies, ignore them. You only need to lower your exposure if broad, textured patches of snow begin blinking.
During post-processing, gently lower global highlights by 10 to 15 percent to reveal surface texture in the snow. Then, use a targeted adjustment brush or subject mask to lift shadow values on the dog’s coat by 20 to 30 percent.
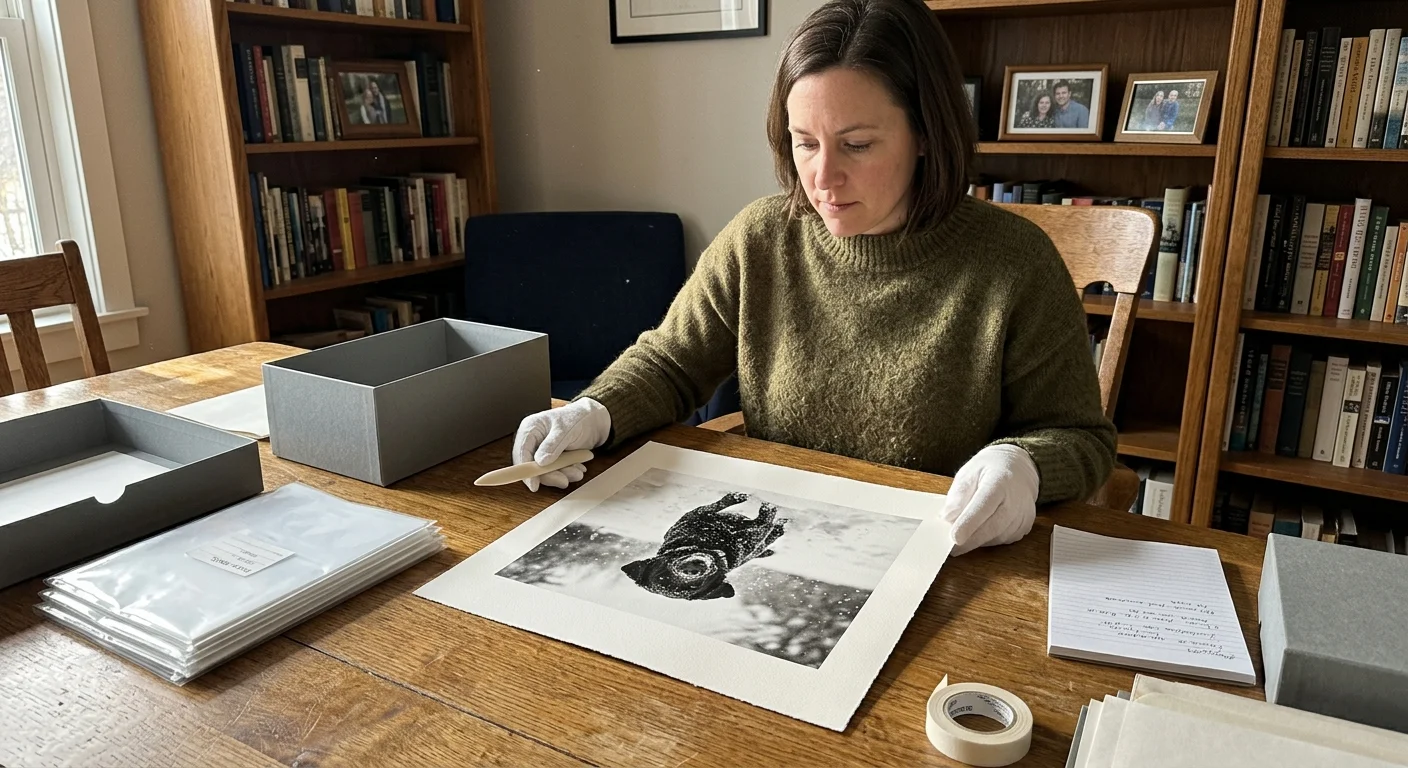
Archiving High-Contrast Winter Prints for Future Generations
Action photographs of beloved family pets represent irreplaceable personal heritage. Preserving these high-contrast winter memories requires careful print production and archival storage.
High-contrast images featuring deep blacks and brilliant whites challenge standard photo papers. Cheap resin-coated papers often show bronzing in dense shadows and lose delicate highlight gradients.
Select a 100 percent cotton rag fine art paper with zero optical brightening agents (OBAs). Optical brightening agents break down over time, causing bright white paper bases to turn sickly yellow.
Pair cotton rag paper with pigment-based inks rather than dye-based alternatives. Pigment inks offer exceptional lightfastness ratings, resisting fading for over a century under proper display conditions.
Allow fresh prints to outgas for at least 24 hours before mounting or storing them. Solvents in inkjet inks must evaporate completely to prevent haze from depositing inside framing glass.
When matting your prints, use only acid-free, lignin-free rag matboards. Fasten prints to the back mat using archival paper corners or reversible Japanese paper hinges with wheat starch paste.
Research published by the Image Permanence Institute confirms that temperature and humidity fluctuations accelerate chemical decay in photographic materials. Store unmounted prints inside stable climate conditions between 65 and 70 degrees Fahrenheit with relative humidity held between 30 and 50 percent.
Slip individual archival prints into inert polyester (Mylar) or archival polyethylene sleeves. Keep these sleeves inside acid-free metal-edge folio boxes to shield precious memories from atmospheric pollutants.
For your master digital RAW files, maintain a strict 3-2-1 backup workflow. Store three copies across two distinct storage media, keeping one copy safely offsite in secure cloud storage.
Frequently Asked Questions
Why does bright snow look dull and gray in my camera pictures?
Camera light meters calibrate all incoming illumination to 18 percent neutral gray. Because snow reflects extreme light, the meter lowers exposure automatically, turning crisp white drifts into muddy gray.
Can I use matrix metering and exposure compensation instead of spot metering?
Matrix metering combined with +1.7 EV compensation can work, but it remains unpredictable. As a black dog moves across the frame, the camera constantly recalculates exposure, resulting in inconsistent burst sequences.
What shutter speed do I need to freeze a running dog in the snow?
Use a minimum shutter speed of 1/1600 second for trotting or bounding dogs. Increase your shutter to 1/2000 second or faster to freeze rapid leg swings and airborne snow spray cleanly.
How do I recover shadow detail in black fur without introducing ugly grain?
Capture the original image in 14-bit RAW at the lowest practical ISO setting. In your editing software, apply localized shadow lifting directly to the dog’s coat rather than boosting global exposure.
Disclaimer: This article is for informational purposes only. When handling valuable or irreplaceable photographs, consider consulting a professional conservator. Always test preservation methods on non-valuable items first.
1 Comment