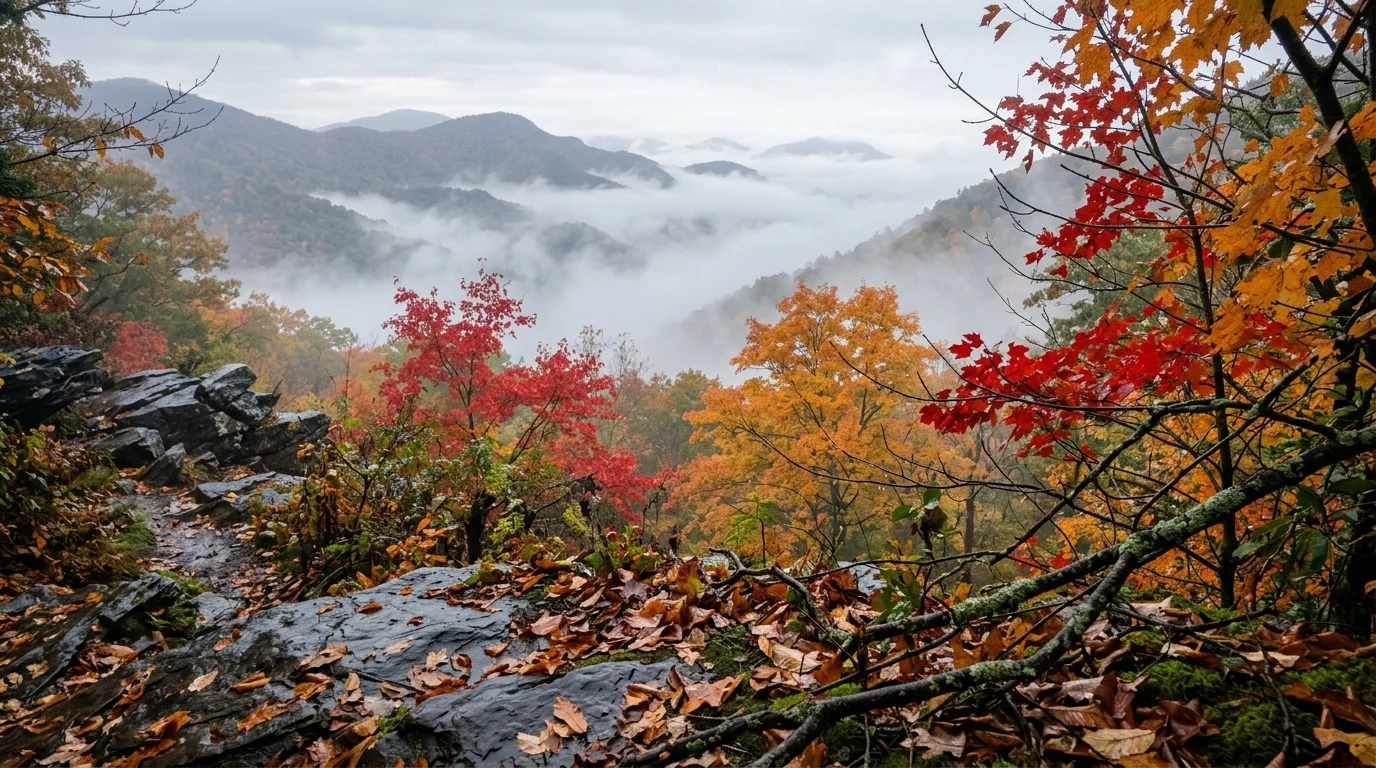
Capturing misty Appalachian autumn gaps on an iPhone 15 Pro often produces garish, neon foliage surrounded by harsh halos. You can restore natural color gradation and mist depth by overriding Apple’s computational pipeline before the shutter releases.
Native Apple ProRAW is not a true uncompressed sensor readout. Instead, its multi-frame semantic rendering clips wet yellow and red channels while forcing unsharp mask routines across every single leaf edge.
Dialing down your manual exposure value by -1.0 to -1.3 EV and bypassing Apple’s local tone mapping table preserves authentic forest saturation. This manual workflow ensures your Appalachian mountain memories retain archival tonal subtleties.

The Computational Science Behind Foliage Edge Haloes and Channel Blowout
Apple ProRAW combines traditional RAW sensor output with computational multi-frame imaging. The phone’s Photonic Engine aligns bracketed exposures to reduce temporal noise and extend shadow fidelity.
During this synthetic fusion, machine learning algorithms scan the composition for recognizable natural textures. The software detects deciduous canopies and classifies individual leaves as high-frequency edge zones.
Once classified, the ISP applies aggressive micro-contrast enhancement across these boundaries. Wet autumn foliage reflects ambient mist, creating tiny specular highlights along serrated leaf margins.
The processing pipeline misinterprets these microscopic light reflections as optical softness. It compensates by running an unsharp mask filter across the entire canopy, generating severe white edge haloes.
According to sensor imaging analyses on Digital Photography Review, small quad-bayer sensors encounter steep demosaicing challenges when resolving delicate, organic detail. Complex foliage stresses these algorithms beyond their design limits.
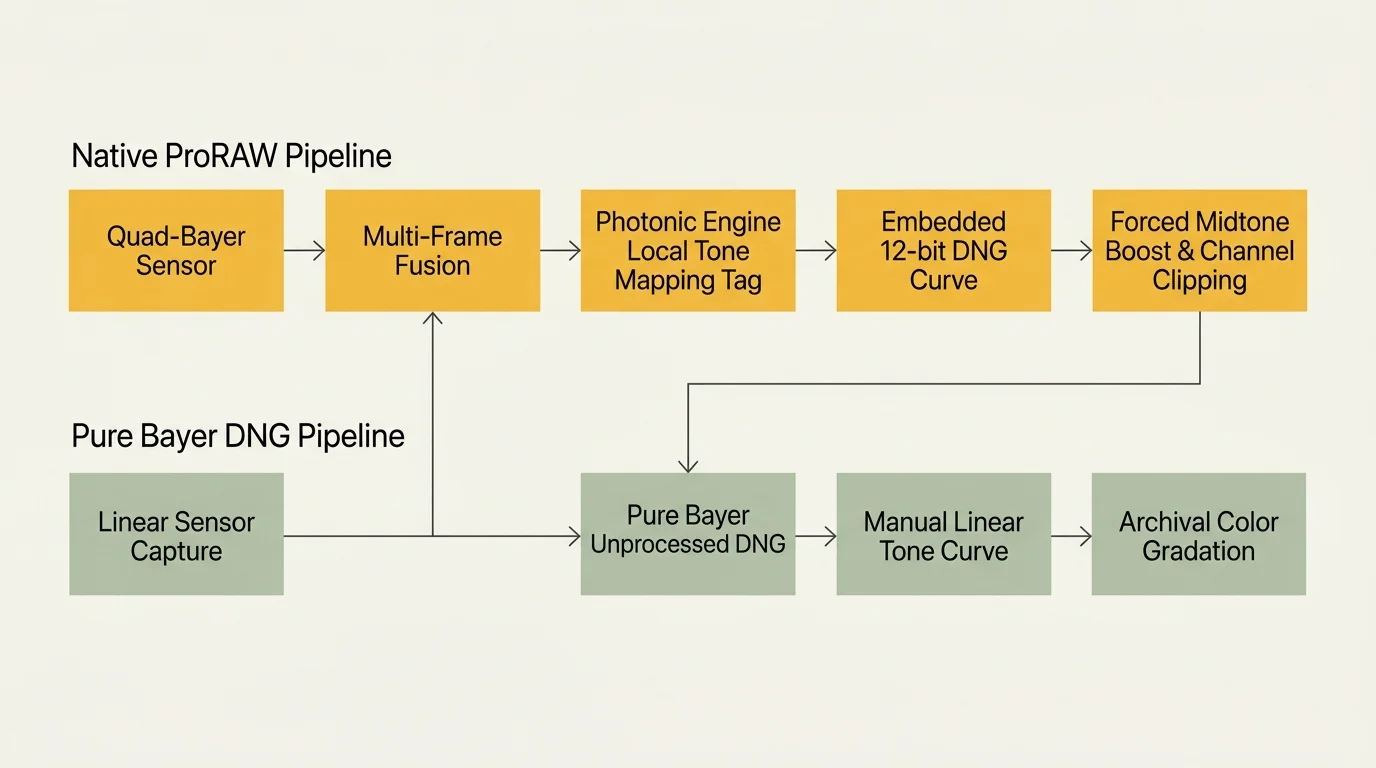
Furthermore, native ProRAW embeds a custom tone mapping tag directly into the 12-bit DNG container. When your raw converter opens the file, it automatically executes this harsh curve.
This automated curve elevates midtone luminance while forcing highlight roll-off down into narrow display limits. The transformation causes severe iphone proraw foliage clipping in saturated red, gold, and amber spectrums.
Appalachian Gap Dynamics: Dynamic Range Challenges in Misty Forests
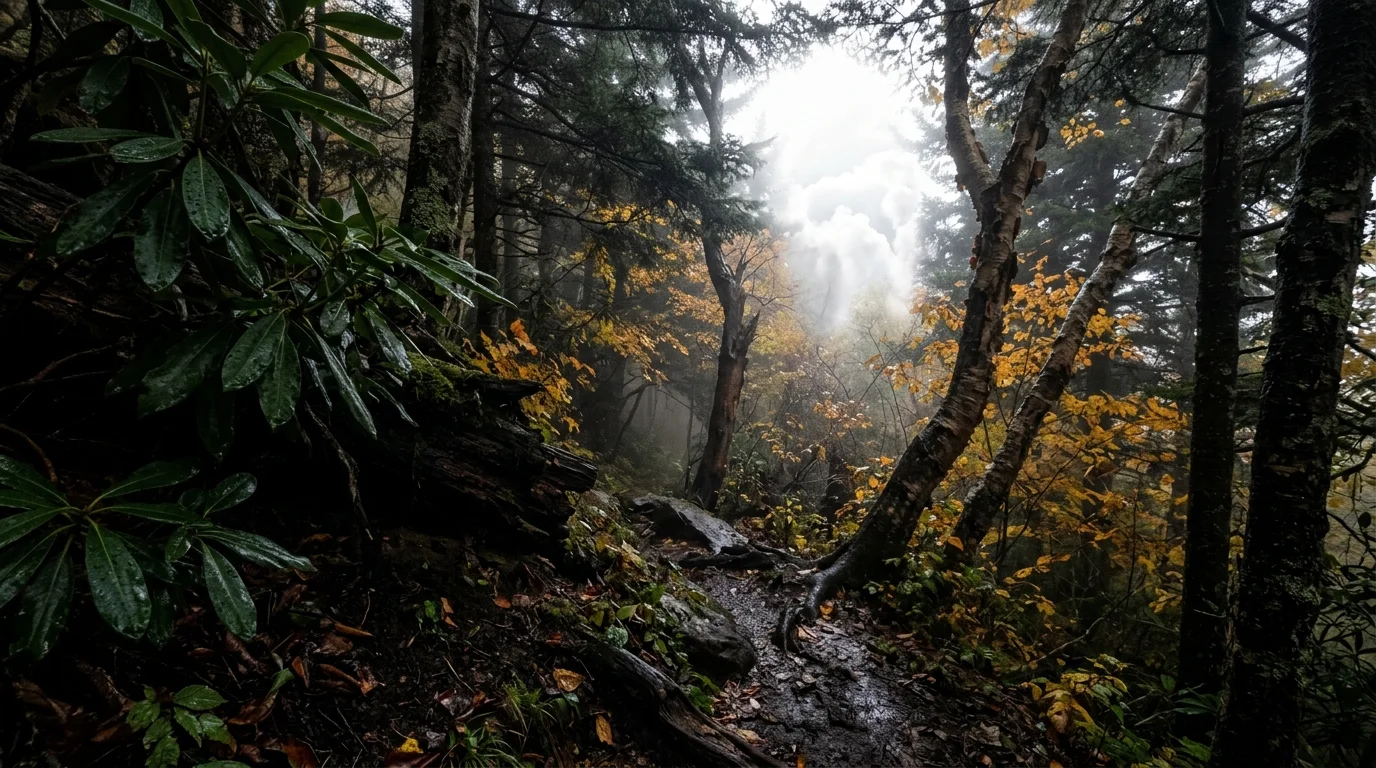
Hiking alone through Appalachian mountain gaps presents unique meteorological and photographic obstacles. Mountain gaps act as natural funnels that condense low-altitude clouds into dense, drifting fog banks.
Moisture coats every oak, birch, and sugar maple leaf with a thin film of water. This wet surface acts as an unpredictable optical diffuser, scattering diffused canopy skylight in all directions.
When you point your iPhone down a misty hollow, the dynamic range spreads drastically. The heavy white fog above registers near 95 percent luminance on the IRE scale.
Meanwhile, the saturated forest floor, shaded rhododendron thickets, and damp bark register between 5 and 12 percent luminance. This creates a severe 14-stop dynamic spread across your framing.
Standard computational algorithms cannot interpret this atmospheric depth correctly. The automated metering system assumes the fog is an overexposed white error and attempts to darken the frame globally.
Simultaneously, the smart HDR system boosts shadow luminance across the dark timber. This computational push flattens natural atmospheric perspective and ruins delicate fog layers.
Capturing compelling autumn landscape iphone photography in high-humidity gaps requires you to wrest control away from automated exposure meters. You must balance the physical atmosphere against digital sensor limitations.
In-Field Hardware and Capture Setup for the iPhone 15 Pro
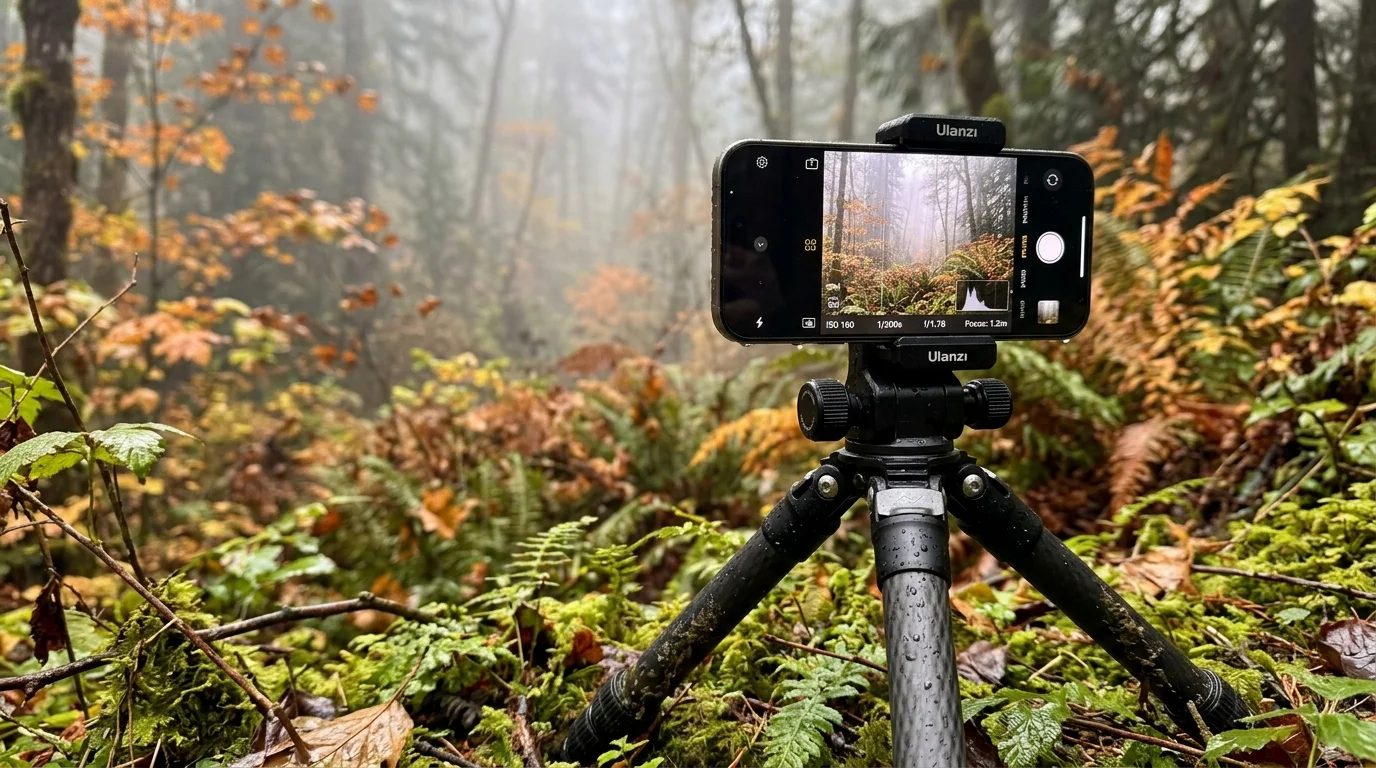
Solo hiking demands an ultralight kit that guarantees physical stability in windy, damp gaps. Handholding an iPhone in wet mountain fog guarantees motion blur during extended manual exposures.
Mount your iPhone 15 Pro to a lightweight carbon-fiber trekking pole tripod with a mechanical clamp. Avoid magnetic MagSafe mounts on steep mountain ridges, as physical impacts can dislodge the device.
Always photograph fall landscapes using the iPhone 15 Pro’s primary 24mm equivalent lens. This main camera utilizes the full 1/1.28-inch sensor with 1.22-micrometer individual photosites.
The 24mm f/1.78 lens provides superior native light transmission compared to the 3x or 5x telephoto modules. Its physically larger sensor retains critical shadow color information in low-contrast fog.
Moisture condensation on outer lens glass destroys micro-contrast and produces massive chromatic flare. Keep three lint-free microfiber lens cloths sealed inside an airtight silicone pouch in your jacket pocket.
Wipe the sapphire crystal lens covers thoroughly before composing your frame. Even an invisible film of mountain mist creates foggy bloom that computational software will attempt to sharpen aggressively.
Lock your physical focus point manually on a prominent mid-ground tree trunk. Never rely on tap-to-focus in shifting mist, which causes erratic focus hunting between drifting fog particles.

Manual Exposure Calibration: Dialing Down EV to Rescue Highlights
The native Apple camera app consistently overexposes misty forest gaps by at least 1.3 stops. The matrix meter misreads white water droplets suspended in air as flat scene reflectance.
When the camera increases exposure duration, red and green sub-pixels saturate completely. Once individual color channels clip, the computational pipeline replaces rich leaf veins with chalky, desaturated patches.
You can verify dynamic range limitations through technical guides on Cambridge in Colour, which explain how channel clipping permanently eliminates tonal gradations. Highlight recovery tools cannot reconstruct clipped chromatic data.
Open your manual camera control panel and set your base exposure compensation between -1.0 EV and -1.33 EV. This intentional underexposure protects the red and green color channels from digital clipping.
Dialing down exposure drops ambient fog luminance down to approximately 75 percent IRE. This value matches how human vision perceives translucent mist rolling through dark mountain canopies.
Set your ISO value manually to 64, which represents the native baseline sensitivity of the primary sensor. Locking ISO at 64 prevents the camera from introducing digital gain that destroys subtle fog gradients.
Let your shutter speed adjust automatically to balance the negative exposure value. On a secure mountain mount, exposures between 1/30s and 1/60s capture sharp branch detail without pushing sensor gain.
Bypassing Apple Tone Mapping: Native ProRAW vs. Pure Bayer DNG Workflows
Understanding tone mapping forest photography requires recognizing the difference between native Apple ProRAW and true linear Bayer RAW files. ProRAW applies multi-frame computational demosaicing inside iOS hardware.
Pure Bayer DNG files capture single-frame data directly off the quad-bayer sensor array. Third-party applications like Halide (using Process Zero) or Adobe Lightroom Mobile bypass Apple’s local tone mapping algorithms entirely.
Bypassing computational tone mapping restores the subtle luminance roll-off that modern smartphones deliberately strip away. Pure sensor captures allow authentic forest fog to drape naturally over saturated autumn canopies.
The table below outlines the distinct technical attributes between standard computational capture modes and manual linear raw workflows on the iPhone 15 Pro.
| Capture Mode | Processing Pipeline | Edge Halo Tendency | Foliage Color Integrity | Dynamic Range Strategy |
|---|---|---|---|---|
| Default Apple ProRAW | Multi-frame Photonic Engine with semantic tone map | Severe (unsharp mask applied to wet leaf margins) | High clipping risk in yellow and orange spectrums | Autonomous local tone compression across frame |
| ProRAW with -1.3 EV | Computational fusion with manual highlight priority | Moderate (sharpening active, reduced halo clipping) | Preserved highlights, compressed shadow colors | Preserves upper highlights; retains computational base |
| Pure Bayer DNG (Halide Process Zero) | Single-frame direct sensor readout with linear demosaic | None (zero software unsharp masking applied) | Complete analog color graduation without clipping | Natural optical falloff; manual shadow recovery required |
| Lightroom Mobile DNG Flat | Single-frame capture with neutral Adobe baseline | Very Low (minimal sharpening metadata embedded) | Natural saturation curves; accurate spectral balance | Linear sensor latitude; requires custom curve grading |
Capturing pure DNG frames eliminates the artificial, crunchy texture common to modern computational photography. Your images display organic film-like grain instead of digital edge artifacts.
While pure raw files reveal higher baseline noise in deep forest shadows, this noise is uniform and monochromatic. You can easily resolve it in post-processing without damaging delicate leaf structures.
A Worked Field Example: Capturing Wet Red Maples at Roan Mountain Gap
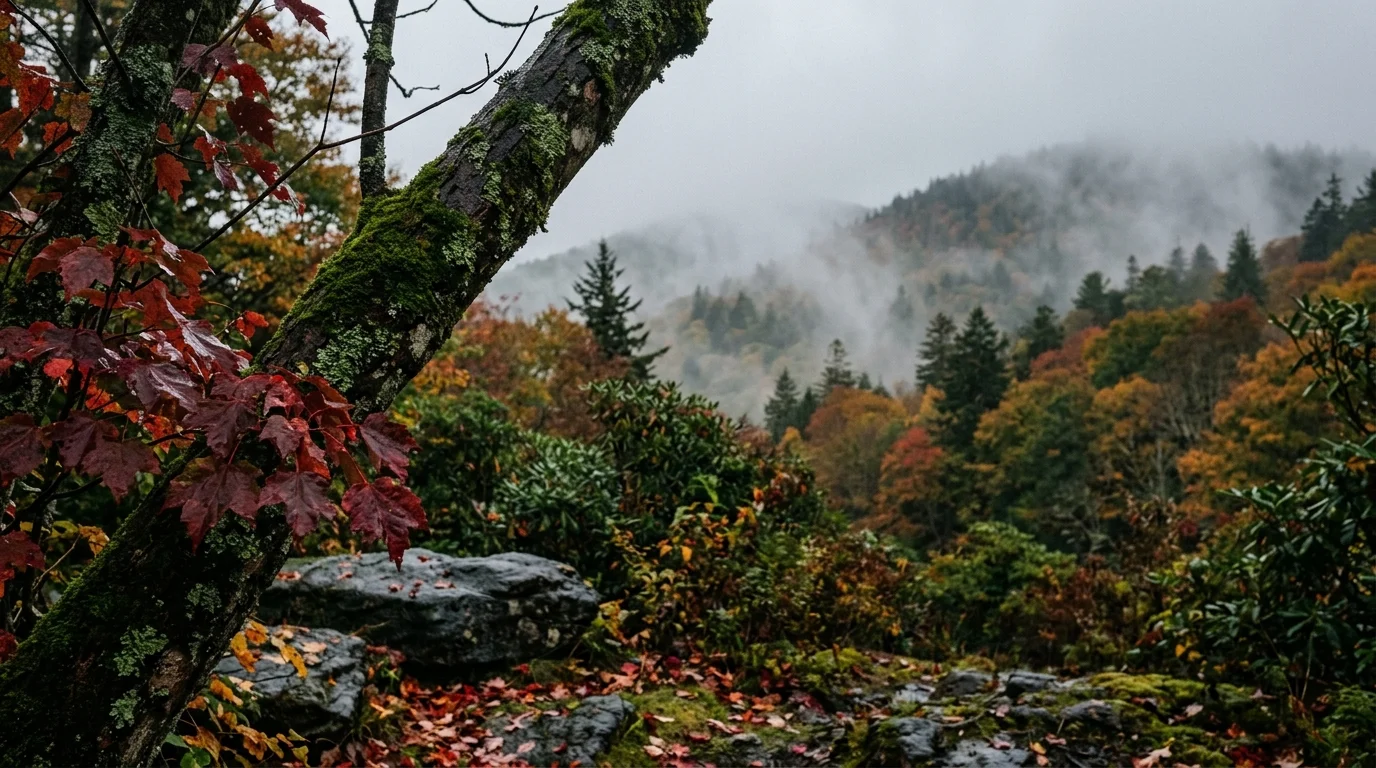
To understand the real-world impact of this workflow, consider this field scenario at Carver’s Gap on Roan Mountain. The location sits at 5,512 feet elevation along the Appalachian Trail during mid-October peak foliage.
Dense mountain mist enveloped the ridge at 8:15 AM, creating 94 percent relative humidity at 41 degrees Fahrenheit. Damp red spruce needles framed vibrant wet sugar maples in full autumn turn.
A standard ProRAW capture using the default iOS Camera app yielded garish, unusable results. The automatic tone mapper overexposed the fog, blowing out the green channel across the wet canopy.
The native file registered red channel values at a clipped 255, while forced edge sharpening produced bright white halos around every individual maple leaf. The scene looked synthetic and hyper-processed.
Switching to a third-party manual capture tool transformed the frame completely. The camera was set to the 24mm primary lens, locked on a rigid carbon clamp.
The exposure parameters were set manually to: ISO 64, shutter speed 1/45 second, aperture f/1.78, and exposure compensation locked at -1.33 EV. Focus was locked manually at 3.2 meters.
The resulting 48-megapixel linear DNG preserved complete highlight integrity. The red channel peaked at an unclipped value of 216 out of 255, while the green channel measured 138.
The dense mountain fog settled smoothly around 78 percent luminance, completely free of edge halos. Every delicate leaf vein retained its natural transition from orange to crimson.

Digital Darkroom Curve Adjustments for Autumn Landscape iPhone Photography
Import your linear DNG file into your desktop editing suite. When opening the file, ensure your raw processor does not apply a default manufacturer profile.
In Adobe Lightroom or Camera Raw, change the default camera profile from “Apple Embedded Color” to “Adobe Neutral” or “Camera Flat.” This action removes hidden baseline contrast curves.
Next, build a custom parametric tone curve to sculpt the forest mist. Place four control points along the linear diagonal curve to control tonal distribution precisely.
Set your Shadows point to input 64 / output 68 to gently lift dark forest soil. Set the Midtones point to input 128 / output 122 to retain atmospheric density in the fog.
Set the Highlights point to input 192 / output 184 to prevent the mist from blooming. Finally, leave the maximum White point pinned at input 255 / output 250 to ensure gentle highlight roll-off.
Navigate to the HSL / Color panel to manage wet foliage saturation without blowing channels. Increase Red Hue by +4 toward orange, and shift Yellow Hue by -3 toward amber.
Lower the global Saturation slider for Yellow by -8 and Orange by -5. Damp autumn foliage carries high natural surface reflectance that requires slight digital restraint.
Finally, inspect your detail panel. Reduce the sharpening amount to 20, increase the radius to 0.8, and hold the Option/Alt key while dragging Masking to 70.
High masking values ensure sharpening applies strictly to bold trunk outlines and rock edges. This protects smooth mist gradients and delicate leaves from developing digital artifacts.
Preserving High-Resolution Autumn Raw Files for Archival Print and Heritage Albums
Preserving your Appalachian trail memories requires converting temporary digital phone captures into stable physical records. Digital files stored exclusively on mobile devices remain vulnerable to accidental deletion and format obsolescence.
Once you finish grading your manual raw capture, export your master file as a 16-bit uncompressed TIFF. Select the ProPhoto RGB or Adobe RGB (1998) color space to maintain broad spectral values.
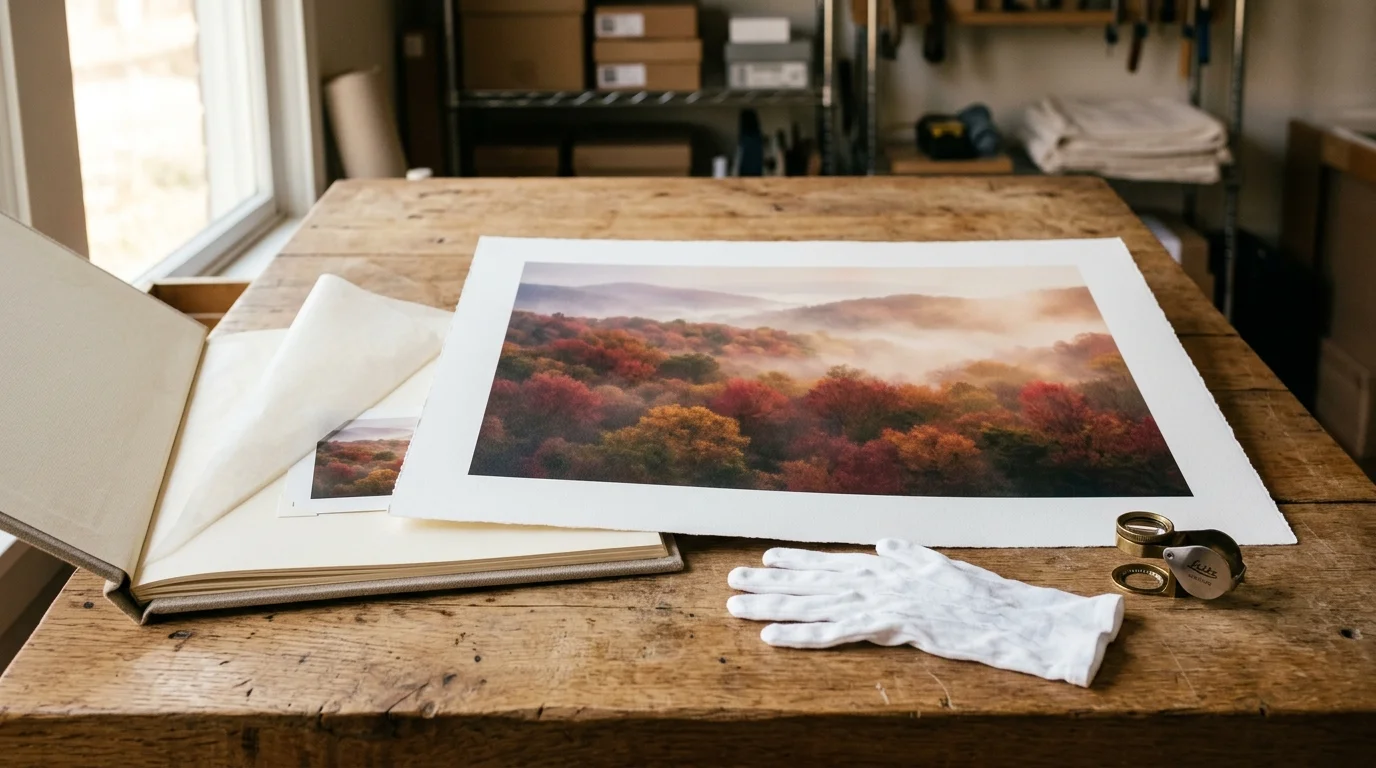
For long-term physical storage, print your images using pigment-based archival inkjet inks. Pigment inks offer exceptional lightfastness and resist ozone degradation far better than standard dye-based alternatives.
Choose 100 percent cotton rag fine art paper with an acid-free, calcium carbonate buffer. Fine art papers with slight texture complement misty landscape scenes and eliminate glare under glass.
Store your loose prints inside archival polyester (Melinex or Mylar) sleeves or acid-free storage boxes. Ensure your storage products comply with the physical and chemical safety specifications defined by the American Institute for Conservation.
Transforming raw sensor data into pigment-printed physical heritage ensures that transient mountain moments remain vivid for generations. Proper archival containment shields delicate photo surfaces from light, moisture, and chemical decay.
Store your physical memory boxes in an interior room where temperature and relative humidity remain stable year-round. Avoid storing heritage prints in damp basements, uninsulated attics, or sunlit corridors.
Frequently Asked Questions
Why does Apple ProRAW make autumn foliage look crunchy and unnatural?
Apple ProRAW embeds computational tone mapping and multi-frame unsharp masking directly into the file metadata. This automatic processing amplifies high-frequency foliage edges and exaggerates color contrast across damp leaves.
Can I remove over-sharpening from an existing ProRAW photo taken in the default camera?
You cannot completely strip baked-in edge enhancements from native ProRAW files. However, switching to a linear color profile and setting sharpening radius to minimum in post-processing helps reduce the harsh digital appearance.
How does lowering exposure compensation prevent foliage color clipping?
Dialing down exposure lowers incoming luminance, keeping bright red and yellow spectral values within the sensor’s linear boundaries. This prevents the computational engine from desaturating and clipping highlight channels into flat neon patches.
Which camera applications bypass Apple’s computational tone mapping entirely?
Third-party applications like Halide using Process Zero or Lightroom Mobile capturing pure DNG bypass Apple’s local tone map. They deliver uncompressed Bayer data directly from the sensor without computational sharpening.
Disclaimer: This article is for informational purposes only. When handling valuable or irreplaceable photographs, consider consulting a professional conservator. Always test preservation methods on non-valuable items first.