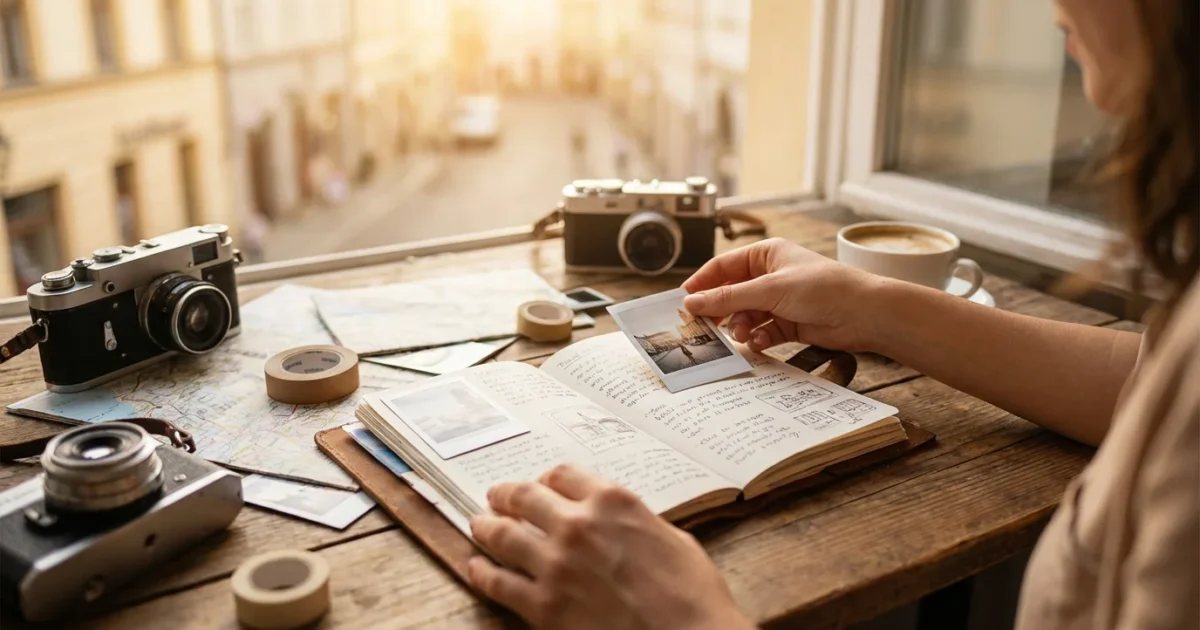
Travel offers invaluable experiences, capturing moments that shape our perspectives and create lasting memories. However, these vivid recollections can fade over time, and thousands of digital photos often remain hidden on devices. A travel photo journal transforms these scattered images and fleeting moments into a cohesive, enduring narrative. You create a tangible record, a personal museum of your adventures, allowing you to relive your journeys and share them with loved ones. This guide walks you through the practical steps of transforming your vacation memories into a beautifully preserved travel photo journal.
This process of documenting specific adventures is very similar to creating a year-in-review photo album, which provides a broader look at your life’s milestones.
These projects also make wonderful DIY photo gifts for family and friends who shared the journey with you.
Why Create a Travel Photo Journal?
A travel photo journal offers a powerful way to consolidate your experiences, making your `vacation memories` accessible and enjoyable for years to come. Consider the last trip you took. Did you capture hundreds of photos on your phone, only for them to get lost in your camera roll? Did you collect ticket stubs and maps, only to tuck them away in a drawer? A journal solves these common challenges, moving your trip documentation from scattered digital files and physical scraps into a unified, meaningful collection.
Studies indicate that actively engaging with memories, such as through journaling, enhances recall and strengthens personal narratives. When you compile a travel photo journal, you actively process your experiences. You select key images, recall specific events, and articulate the feelings associated with your journey. This process does not simply record history, it reinforces your personal connection to it. Instead of merely looking at photos, you reconstruct the journey, giving context to each image and turning a simple snapshot into a piece of a larger story. You transform passive viewing into active remembrance, ensuring your adventures continue to enrich your life and the lives of those you share them with.
Gathering Your Vacation Memories: Digital and Physical Mementos
The first step in creating your `travel photo journal` involves collecting all the raw materials. This requires a thorough sweep of your digital devices and physical keepsakes. Many travelers amass hundreds, even thousands, of photos per trip, alongside various tangible items. Systematically gathering these ensures you have all potential components for your journal.
If you are struggling with a backlog of pictures from past adventures, it may be helpful to learn how to organize 20 years of digital photos before starting your journal.
To enjoy your digital collection daily, you can also learn about creating a digital photo frame slideshow for your home.
Digital Photo Collection
Start by consolidating all digital images from your trip. This typically includes photos from:
- Your smartphone: Download all photos and videos to a central folder on your computer.
- Digital camera or DSLR: Transfer all images from memory cards.
- Cloud storage services: Check platforms like Google Photos, iCloud, or Dropbox for backed-up images.
- Social media: If you shared photos on platforms like Instagram or Facebook, download high-resolution versions if available.
- Travel companions: Ask friends or family you traveled with to share their photos. Consolidating different perspectives enriches your story.
Once you gather all digital images, organize them into a dedicated folder for that specific trip. Implement a consistent naming convention, such as “YYYYMMDD_Location_Description.jpg,” which aids in chronological arrangement and easy searching later.
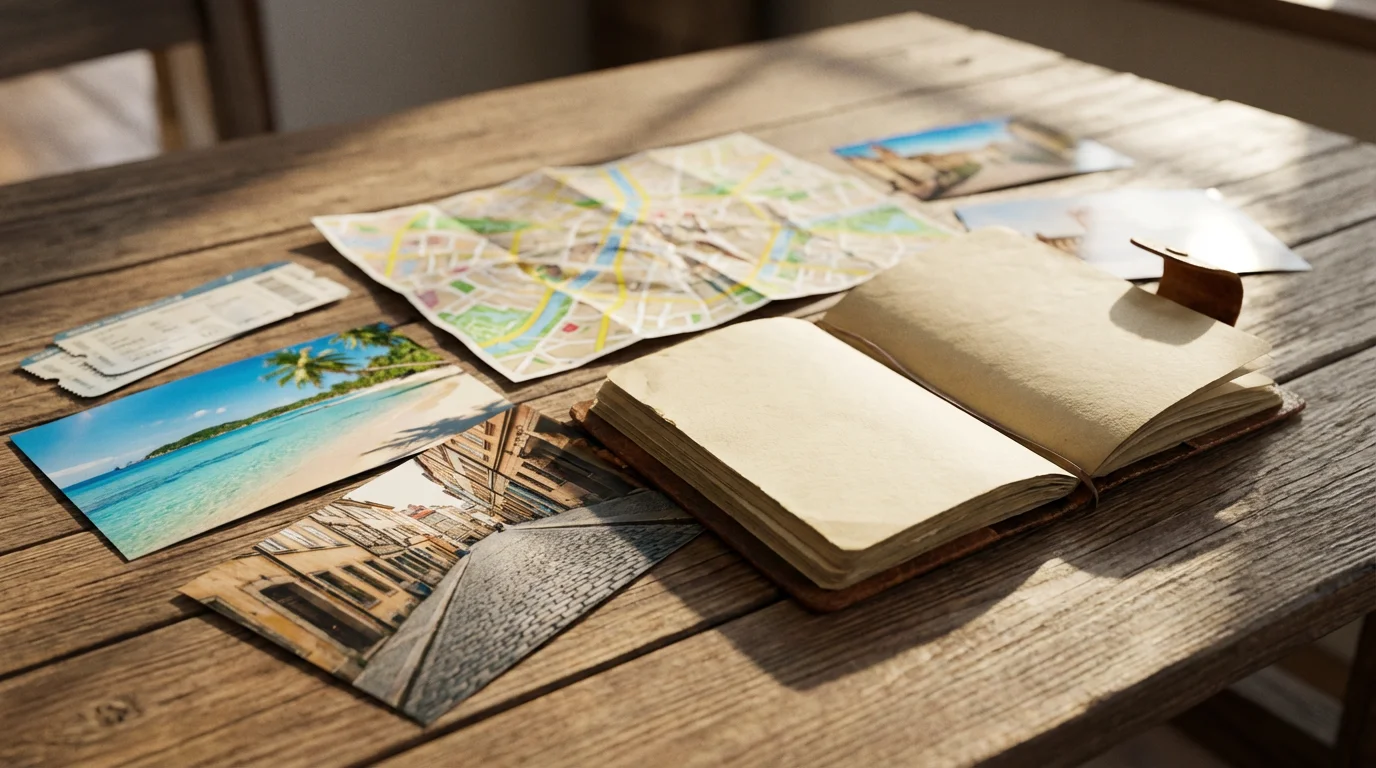
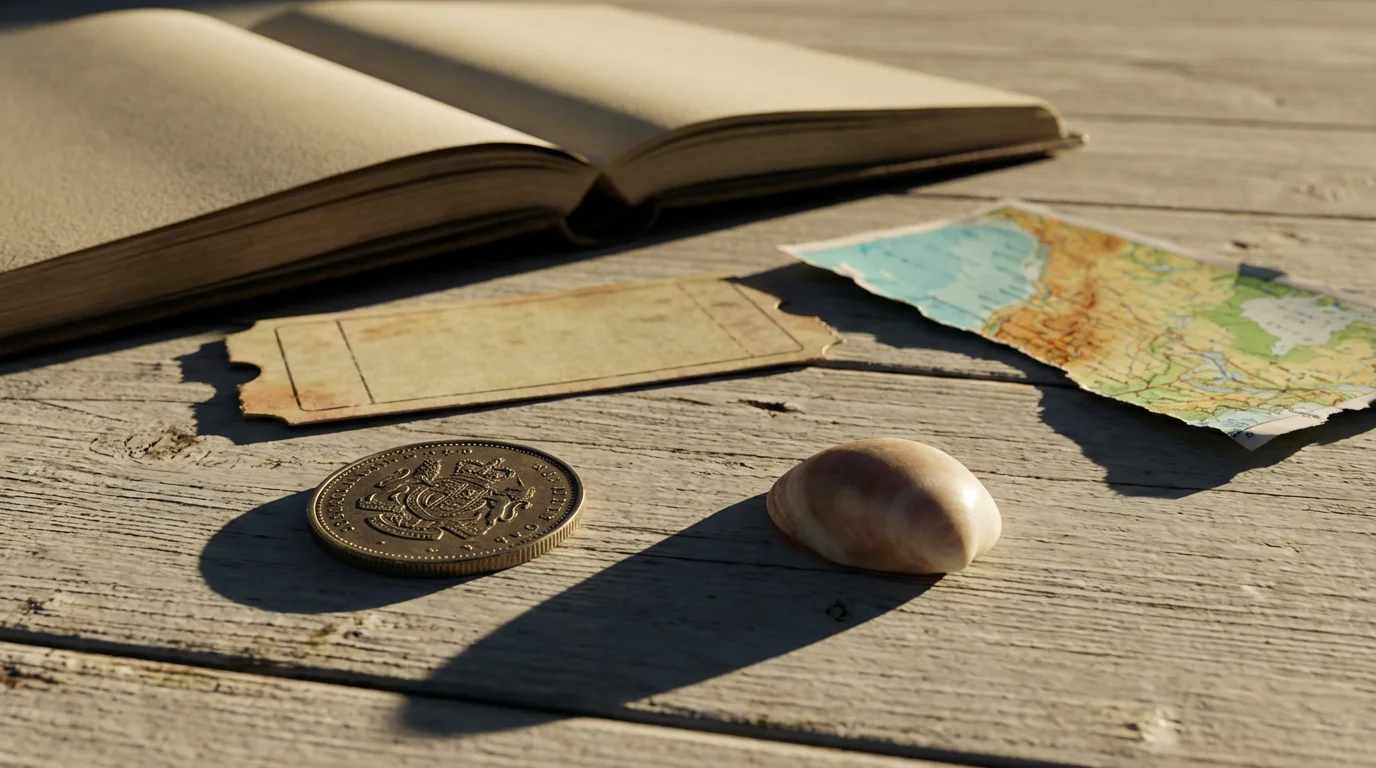
Physical Mementos
Do not underestimate the power of physical items to evoke strong `vacation memories`. These tactile pieces add authenticity and texture to your `trip documentation`. Look for:
- Airline or train tickets: Boarding passes, train tickets.
- Maps: Tourist maps, annotated route maps.
- Brochures: Attraction pamphlets, museum guides.
- Postcards: Unsent postcards, local artwork.
- Receipts: Unique restaurant bills, souvenir purchases.
- Stamps or currency: Foreign currency, commemorative stamps.
- Small souvenirs: Pressed flowers, sand samples (for digital scanning).
Carefully collect these items. For physical journals, you will incorporate them directly. For digital journals, you can scan them at a high resolution (at least 300 DPI) to include them as digital assets. High-quality scans preserve intricate details and textures, maintaining their visual impact within your digital journal.
Curating Your Collection for Storytelling
After gathering all your potential content, the next critical step involves careful curation. This moves beyond merely collecting images; you now sculpt them into a compelling narrative. Think of yourself as a storyteller, and your photos as the visual language. An average person takes hundreds, even thousands, of photos on a single trip. Including every single one dilutes the impact. Effective curation focuses on quality over quantity, ensuring each image contributes meaningfully to your `travel photo journal`.
If you want a more artistic and compact way to showcase your adventure, you can make a modern photo zine dedicated to a specific road trip.
To ensure only the best moments make the cut, spend some time decluttering your photo collection to remove repetitive or blurry shots.
Curation is key for any project, especially when creating a wedding photo album where every image must represent a major milestone.
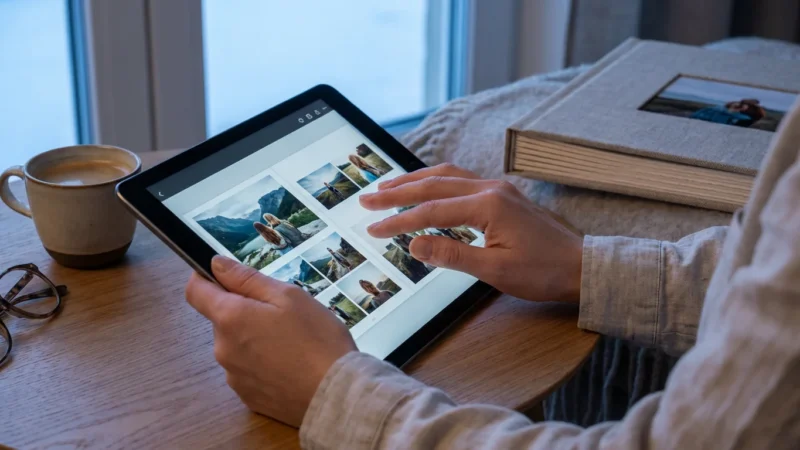
Selecting Your Best Images
Begin by reviewing all your collected photos. Create a “favorites” folder or use flagging tools in photo management software. Look for images that:
- **Tell a story:** Does the photo capture a significant event, emotion, or interaction?
- **Are technically strong:** Focus on sharp, well-exposed, and properly composed images.
- **Evoke emotion:** Does the photo make you feel something or bring back a specific memory?
- **Show diversity:** Include a mix of landscapes, portraits, details, food, and candid moments to provide a comprehensive view of your trip.
You might find you have five similar photos of the same landmark. Choose the single strongest one. This disciplined approach ensures your journal remains engaging and focused. Aim for a manageable number of images, perhaps 50 to 200 depending on the trip length and depth of detail you desire. This prevents your `how to create a travel photo journal book` from becoming overwhelmingly long or repetitive.
Sequencing for Narrative Flow
Once you select your images, arrange them in a logical sequence. Most `trip documentation` benefits from a chronological order, reflecting the natural progression of your journey. This allows you and others to follow your adventure from start to finish. However, you can also consider thematic arrangements for specific sections. For example, a “Food Adventures” section or a “Local Faces” collection might break up the chronology for added interest.
As you sequence, think about transitions. How do photos flow from one to the next? Use a strong establishing shot for each new location and a closing image that summarizes the feeling of that segment. Consider pairing photos that complement each other visually or narratively. This thoughtful arrangement elevates your collection from a simple album to a true story.
“Every photograph holds a fragment of time, a unique echo of experience. Your role in creating a travel photo journal is to weave these echoes into a symphony, giving voice to your journey and ensuring its resonance for years to come.”
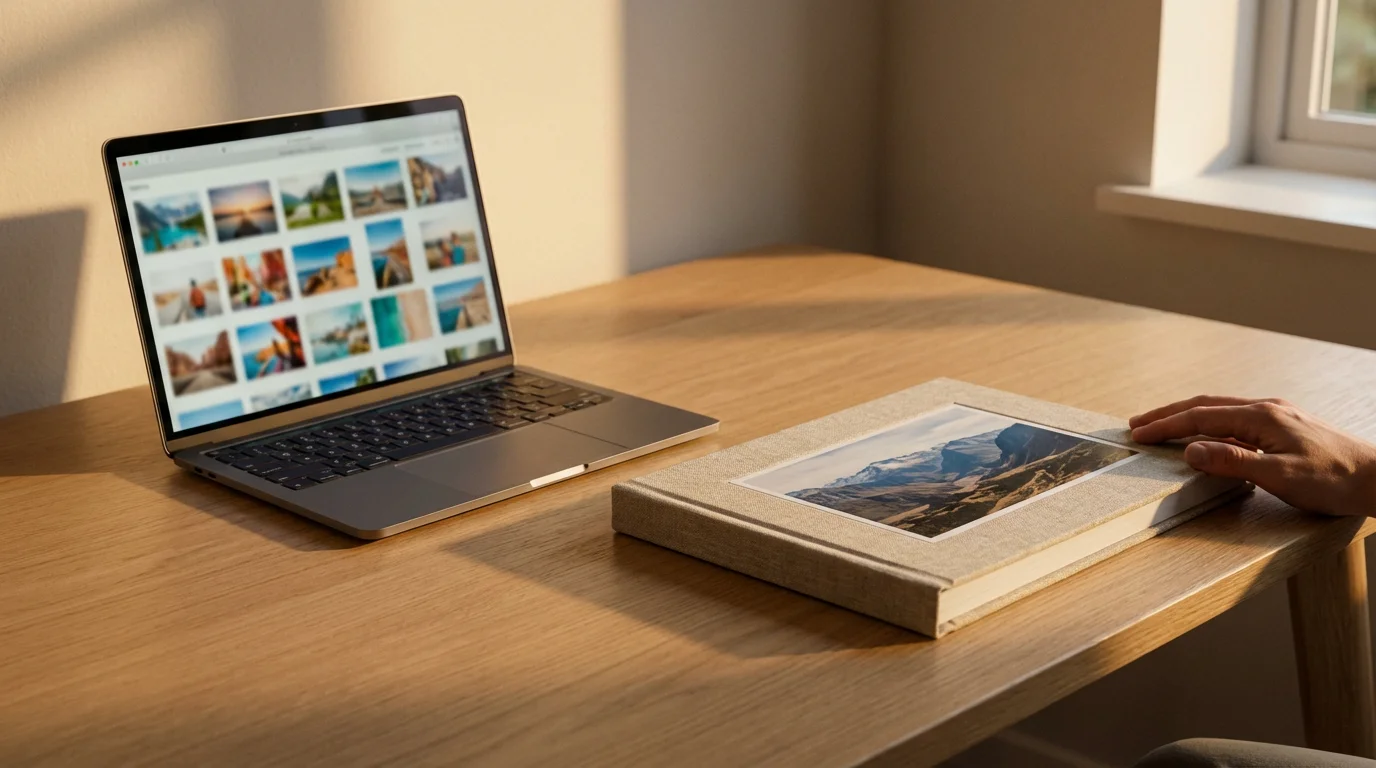
Choosing Your Journal Format: Digital vs. Physical
After curating your memories, decide on the medium for your `travel photo journal`. Both digital and physical formats offer distinct advantages, and your choice depends on your preferences, technical comfort, and desired level of interactivity and permanence. Understanding these differences helps you select the `best travel photo album ideas` for your specific needs.
While a journal is a private way to relive travels, you can also use creative photo wall ideas to share your favorite vacation highlights with everyone who enters your home.
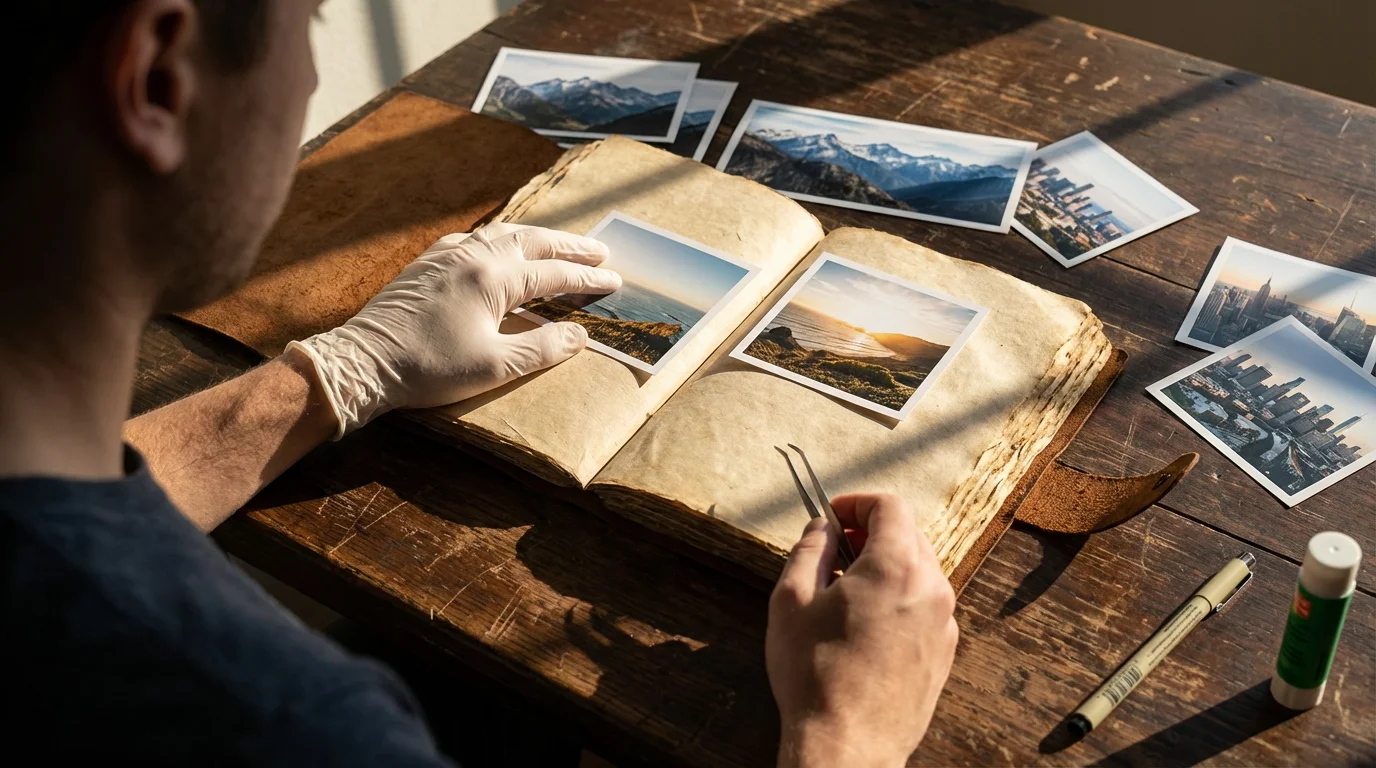
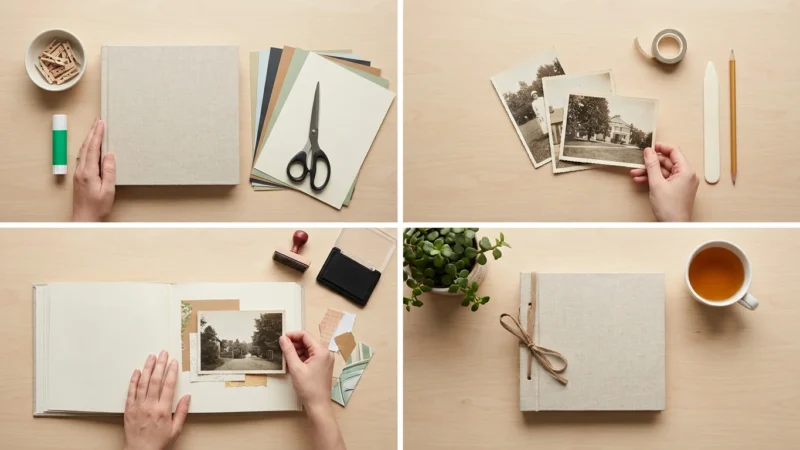
Physical Travel Photo Journals
A tangible journal provides a unique, sensory experience. You can touch the pages, feel the textures of ephemera, and physically write notes. Many options exist for creating a physical journal:
- **Scrapbooks:** These offer maximum creative freedom. You purchase blank albums and affix photos, tickets, and notes using archival-safe adhesives. Look for acid-free and lignin-free paper and glues to prevent yellowing or deterioration of your photos over time. The Image Permanence Institute provides valuable guidance on selecting safe materials for long-term preservation. You manually arrange each page, creating a truly unique piece of `trip documentation`.
- **Photo Albums (Bound):** Services like Mixbook or Shutterfly allow you to design a custom photo book online and have it professionally printed and bound. You upload your chosen photos, arrange them into templates, add text, and select cover materials. These typically result in a sleek, durable book that looks professional and preserves your `vacation memories` in a robust format.
- **Ring Binders/Binders:** These offer flexibility to add or rearrange pages over time. Use archival page protectors to safeguard your photos and mementos. This format is ideal if you anticipate adding more details or images later or prefer to group themes that might evolve.
When creating a physical journal, prioritize archival quality materials. Using non-archival glues, papers, or pens can cause photos to fade, stick together, or develop stains within a few years. Opt for materials labeled “acid-free,” “lignin-free,” and “photo-safe” to ensure the longevity of your precious `how to create a travel photo journal book`.
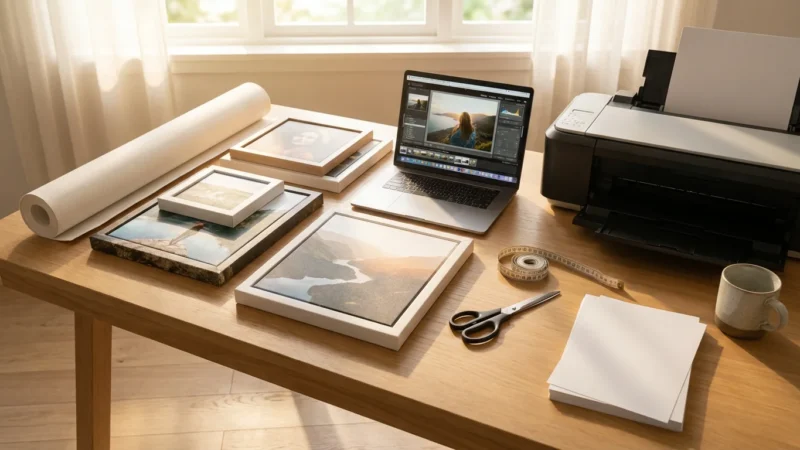
Digital Travel Photo Journals
Digital journals offer portability, shareability, and often cost-effectiveness. They eliminate the need for physical storage space and provide easy backup options:
- **Online Photo Book Services:** Similar to physical bound albums, these platforms (e.g., Blurb, Snapfish) let you design a book that you can order as a print product or download as an e-book (PDF). This combines the design elements of a physical book with digital flexibility.
- **Blog or Website:** Create a dedicated blog post or a series of pages on a personal website. This offers the broadest reach for sharing your adventures and includes rich media like videos or audio clips alongside your photos and text. It functions as an ongoing, interactive `travel photo journal`.
- **Digital Scrapbooks/PDF Journals:** Use software like Adobe InDesign, Photoshop, or even simpler tools like Canva to design pages digitally. You can then export these as a PDF document, which you can view on any device, share via email, or even print yourself.
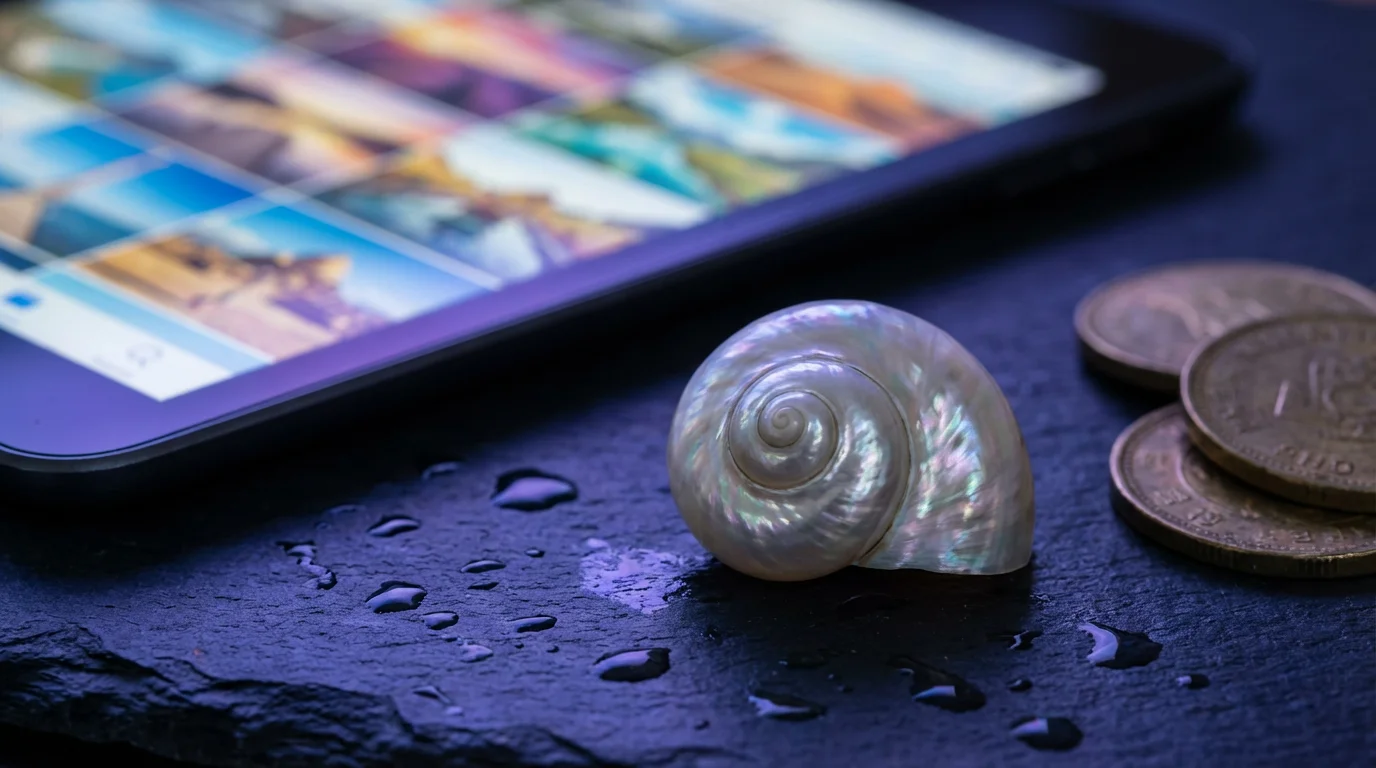
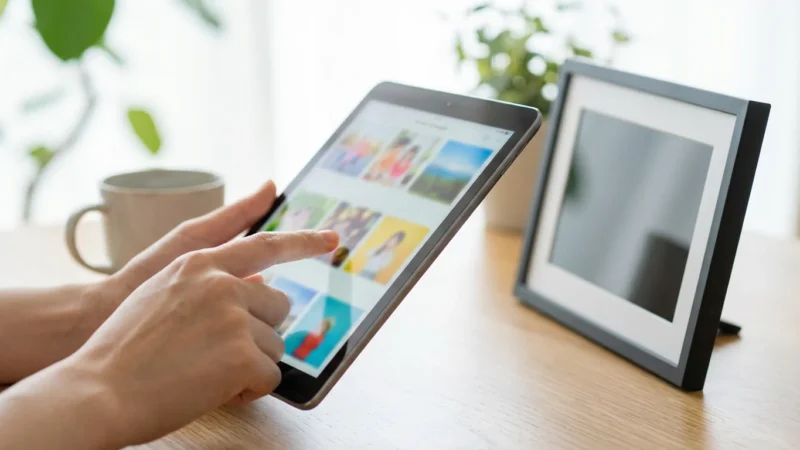
- **Cloud-Based Albums:** Platforms like Google Photos, Flickr, or SmugMug allow you to organize photos into albums with captions. While less structured than a true journal, they offer excellent accessibility and sharing features.
Digital journals excel in shareability. You can instantly share your entire `trip documentation` with friends and family worldwide. They also offer robust backup options, protecting your work against physical damage or loss.
Crafting Your Narrative: Layout and Design Principles
A `travel photo journal` is more than a collection of pictures; it tells your unique story. Thoughtful layout and design transform a simple album into an immersive experience. You want to guide the reader’s eye, create visual interest, and deepen the emotional connection to your `vacation memories`.
Visual Storytelling Through Layout
Consider the visual flow of each page or spread. Avoid overcrowding pages with too many photos. White space is your friend; it allows individual images to breathe and makes the page less overwhelming. Here are some principles:
- **Focal Points:** Design each page with a clear focal point, often a single dominant image that captures attention. Surround it with smaller supporting photos or text.
- **Variety in Sizing:** Do not make all photos the same size. Varying the dimensions adds dynamism and hierarchy to your layout. A large scenic shot might dominate one page, while smaller detail shots populate another.
- **Balance and Symmetry:** Aim for a visually balanced page. This does not necessarily mean perfect symmetry, but rather an even distribution of visual weight.
- **Chronological Flow:** As established in curation, maintain a logical sequence. Use headers or small design elements to signify new locations or days.
Many photo book services offer templates that simplify the design process, ensuring professional-looking results. If designing manually, experiment with different arrangements until you achieve a visually pleasing and coherent narrative for your `how to create a travel photo journal book`.
Writing Captions and Journal Entries
Text provides the voice to your visual story. Captions and journal entries add essential context, emotion, and detail that photos alone cannot convey. They are integral to rich `trip documentation`.
- **Captions:** Keep photo captions concise but informative. Include key details such as the date, location, and a brief description of what makes the moment significant. For example, “Sunrise over Santorini, July 2023. We woke early to witness this breathtaking view, sipping coffee on our balcony.”
- **Journal Entries:** Dedicate space for longer reflections. These might describe your feelings, interesting anecdotes, challenges you faced, or people you met. Write in your authentic voice. Use bullet points for quick facts or lists of recommendations (e.g., “Best street food in Kyoto”).
- **Integrate Ephemera Descriptions:** If you include scanned tickets or brochures, a short note explaining their significance enhances the memory. “This ticket stub from the Eiffel Tower reminds me of the dizzying heights and stunning Paris skyline.”
The combination of powerful imagery and personal narrative creates a truly immersive `travel photo journal`. It transforms a collection of images into a personal memoir, preserving your unique voice and perspective.
Enhancing Your Journal with Ephemera and Mementos
Ephemera, the transient bits of paper and small objects collected during your travels, add a unique layer of authenticity and detail to your `travel photo journal`. These items are not merely decorative; they serve as tangible anchors for your `vacation memories`, adding texture and depth to your `trip documentation`.
If you have specific standout images that deserve more visibility, consider exploring creative photo wall ideas to showcase your travels.
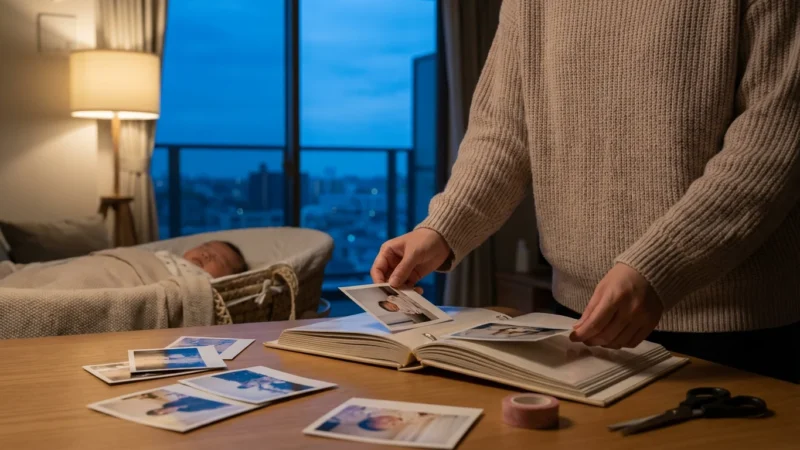
Integrating Physical Mementos
For a physical journal, you have the exciting opportunity to directly incorporate these items. This creates a tactile, multi-dimensional experience:
- **Tickets and Stubs:** Affix airline tickets, concert stubs, museum entry passes, or train tickets directly onto pages. Use archival-safe adhesive dots or photo corners to secure them without causing damage.
- **Maps:** Fold small maps creatively or use sections of larger maps as background elements. You can highlight your route or mark significant locations.
- **Postcards and Brochures:** These often feature beautiful local imagery or provide historical context. Mount them alongside relevant photos.
- **Pressed Flowers or Small Fabric Swatches:** If you collect small, flat, organic items, ensure they are thoroughly dried and pressed before including them. Use archival clear pockets or sleeves to protect them and prevent potential damage to surrounding materials.
- **Handwritten Notes:** Jot down quick observations, funny quotes, or restaurant recommendations on small slips of paper and incorporate them.
Always use reversible and archival methods when attaching physical items. Avoid glues that yellow or become brittle. Photo corners or easily removable adhesive dots are preferable to permanent glues, allowing for future adjustments without damaging your precious items.
Incorporating Scanned Ephemera into Digital Journals
If you create a digital `travel photo journal`, you can still integrate your physical mementos effectively:
- **High-Resolution Scanning:** Scan all your collected ephemera at a minimum of 300 DPI (dots per inch), preferably 600 DPI for very detailed items. This captures the intricate details, textures, and even the wear and tear that give these items character.
- **Digital Placement:** Place the scanned images of tickets, maps, or brochures within your digital layout. You can size them, rotate them, or use them as background elements, just as you would with physical items.
- **Annotations:** Add digital text boxes next to scanned items to explain their significance, similar to how you would write captions for photos.
Integrating these unique elements, whether physical or scanned, enriches your `how to create a travel photo journal book` significantly. They provide tangible proof of your journey and stimulate a deeper connection to your past experiences.

Preserving Your Travel Photo Journal for Future Generations
Creating a `travel photo journal` represents a significant investment of time and emotion. Protecting this valuable collection of `vacation memories` ensures its longevity, allowing future generations to appreciate your `trip documentation`. Preservation involves proactive measures for both physical and digital formats.
Preserving Physical Journals
The primary threats to physical journals are environmental factors, improper handling, and material degradation. Implement these strategies to safeguard your work:
- **Environmental Control:** Store your journal in a cool, dry, and stable environment. Avoid attics, basements, or garages where temperature and humidity fluctuate widely. Optimal conditions generally involve temperatures between 65-70°F (18-21°C) and relative humidity between 30-50%. High humidity can lead to mold growth and pest infestations, while extreme dryness causes materials to become brittle.
- **Archival Storage Materials:** Use acid-free and lignin-free boxes or clamshell cases for storage. These materials protect against dust, light, and harmful acids that can migrate from non-archival containers. Avoid plastic bags that might trap moisture.
- **Light Protection:** Store journals away from direct sunlight or fluorescent light. UV rays cause photos to fade and paper to yellow rapidly. If you display your journal, consider a display case with UV-filtering glass, but prolonged display should be avoided.
- **Proper Handling:** Always handle your journal with clean hands. Avoid eating or drinking near it. Turn pages gently.
- **Pest Control:** Ensure your storage area is free from pests like silverfish, which feed on paper and adhesives.
The Library of Congress Preservation Directorate offers comprehensive resources on proper handling and storage of paper-based collections, providing excellent guidance for your `how to create a travel photo journal book`.
Preserving Digital Journals
Digital permanence requires a multi-faceted approach to combat data loss, format obsolescence, and hardware failure:
- **Multiple Backups:** Follow the “3-2-1 backup rule.” This means having at least three copies of your data, stored on two different types of media, with one copy offsite. For example, your original journal on your computer, a copy on an external hard drive, and another copy in a cloud storage service (e.g., Google Drive, Dropbox, Backblaze).
- **Redundant Storage:** Use reputable cloud services that offer high levels of data security and redundancy. Ensure your external hard drives are reliable and regularly checked for integrity.
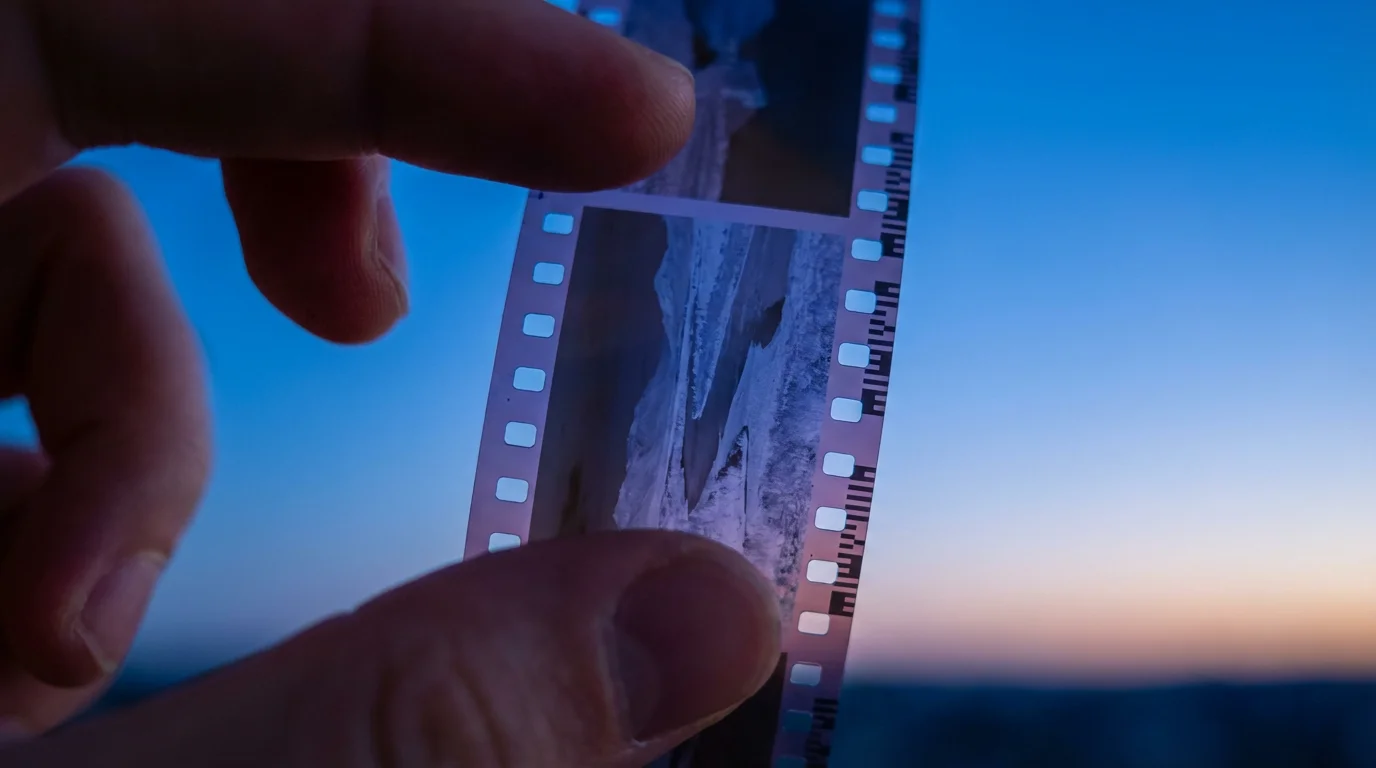
- **File Formats:** Save your digital journal and individual assets (photos, scanned ephemera) in open, non-proprietary file formats. JPEG or TIFF for images, and PDF/A (a long-term archival version of PDF) for the complete journal, are excellent choices for long-term accessibility. Avoid highly specialized or proprietary software formats that might become unreadable in the future.
- **Regular Data Migration:** Technology evolves rapidly. Periodically review your storage solutions and file formats. Migrate your data to newer, more stable media or updated file formats as technology progresses. For example, if you stored files on CDs in the past, migrate them to external hard drives or cloud storage.
By implementing these preservation strategies, you ensure your `travel photo journal` remains a cherished artifact, a living testament to your adventures, accessible to you and your family for generations to come. It secures your `best travel photo album ideas` for the long haul.
Frequently Asked Questions
What materials do I need for a basic physical travel photo journal?
For a basic physical journal, you need an acid-free scrapbook or album, archival photo corners or adhesive dots, acid-free pens (pigment-based ink is best), and your printed photos. You can add elements like decorative paper, stickers, and ephemera as you become more comfortable.
How many photos should I include in my travel photo journal?
The ideal number varies, but aim for quality over quantity. For a week-long trip, 50-100 carefully selected photos might be sufficient to tell a compelling story. For longer trips, you might include 150-250 images. Focus on images that best represent the experience and advance the narrative.
Is it better to create a digital or physical travel photo journal?
The “better” format depends on your personal preferences. A physical journal offers a tactile, hands-on experience and a unique keepsake. A digital journal provides easy shareability, portability, and robust backup options. Many people create both: a digital version for sharing and an ordered printed book as a physical artifact.
How do I write engaging captions for my photos?
Engaging captions add context and emotion. Include the “who, what, when, where, and why” of the moment. Share a brief anecdote, a feeling, or an interesting fact related to the photo. For example, instead of “Eiffel Tower,” write “The iconic Eiffel Tower, seen from the Seine River in August 2023. We shared a picnic nearby and watched the lights sparkle.”
Can I combine photos from multiple trips into one journal?
While you can, it generally works best to dedicate one journal per significant trip to maintain a clear narrative and theme. If you have several short trips to a similar region or with a common theme, you could potentially group them. However, for distinct `trip documentation`, individual journals allow for greater depth and focus.
Disclaimer: This article is for informational purposes only. When handling valuable or irreplaceable photographs, consider consulting a professional conservator. Always test preservation methods on non-valuable items first.


Leave a Reply