Your wedding day marks a pivotal moment in your life, a beautiful tapestry woven with love, joy, and commitment. Photographs capture these fleeting moments, transforming them into cherished memories. A well-crafted wedding photo album transcends a mere collection of pictures. It becomes your unique love story, told page by page, a tangible legacy you can revisit and share for generations. This guide provides a step-by-step roadmap for creating a beautiful wedding photo album, ensuring it reflects your personal journey and stands the test of time.
Before you begin, establishing a logical folder structure for your photo library ensures all your high-resolution images remain organized and easy to find.
A wedding album is a cornerstone of creating a home photo archive that documents your family’s history for years to come.

Embrace the Narrative: Why Your Wedding Album Matters
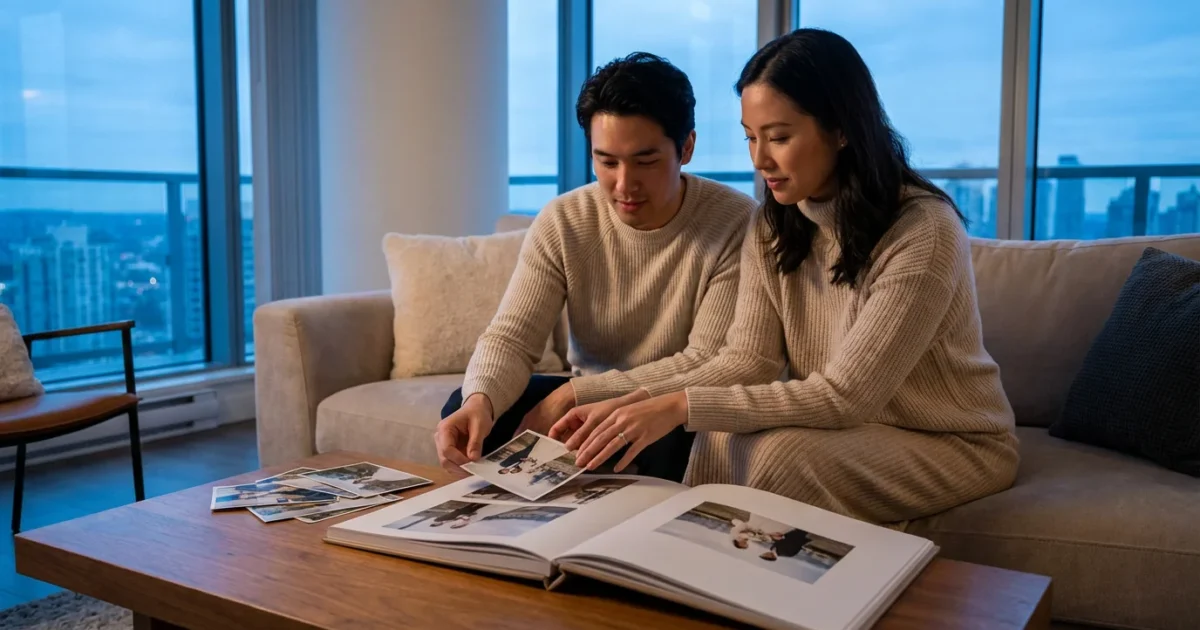
Think of your wedding photo album as more than a book; envision it as a carefully constructed storybook of your most important day. This wedding memory book tells a narrative, guiding viewers through the emotions, details, and pivotal moments that defined your celebration. It establishes a legacy, a physical artifact that preserves memories often lost in the vastness of digital files.
In a world saturated with digital images, a physical album offers a unique, immersive experience. It encourages pausing, reflecting, and sharing in a way screen viewing rarely achieves. It brings the warmth of your bridal photos into your hands, creating a tactile connection to your past. A professionally or thoughtfully designed album showcases your photos in their best light, enhancing their visual impact and emotional resonance. It stands as a testament to your commitment, an heirloom to pass down through your family, enriching your shared history.
Phase 1: Curating Your Visual Love Story
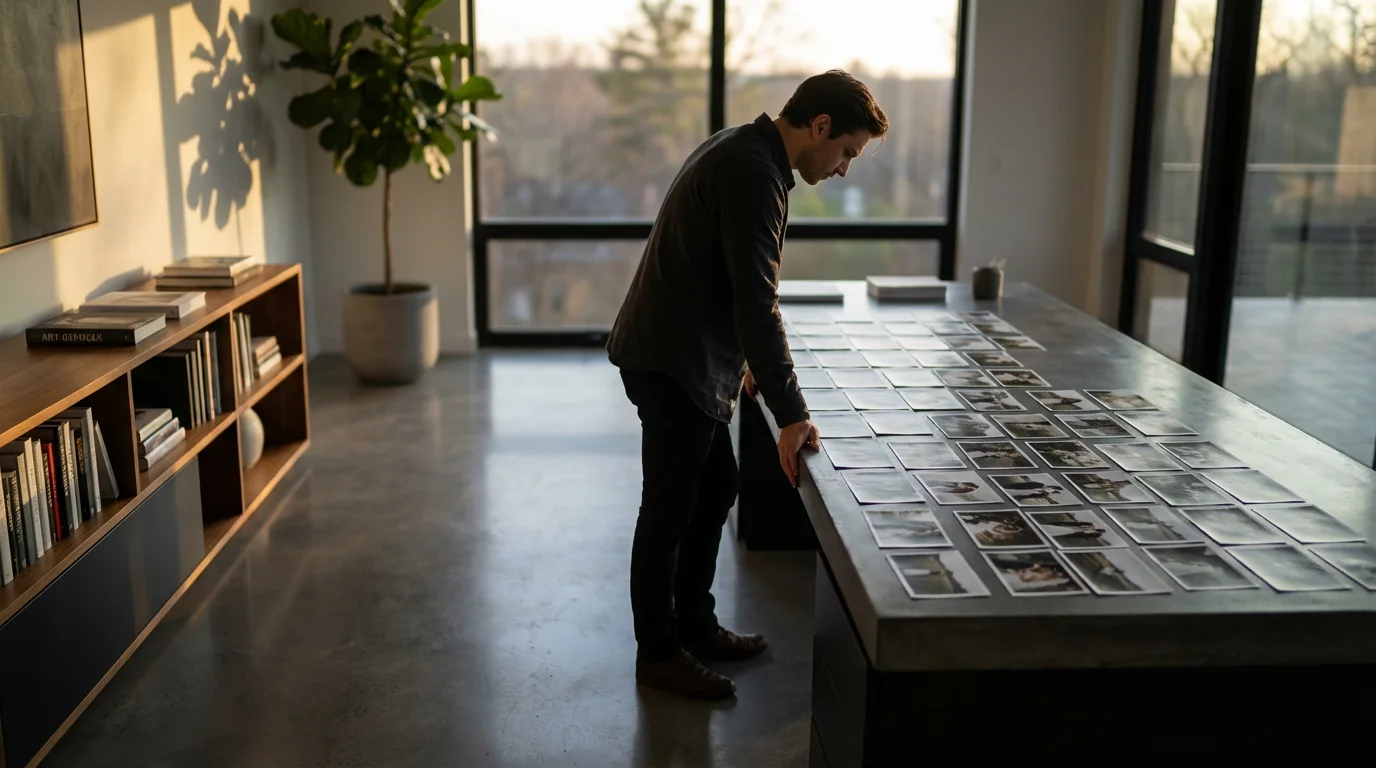
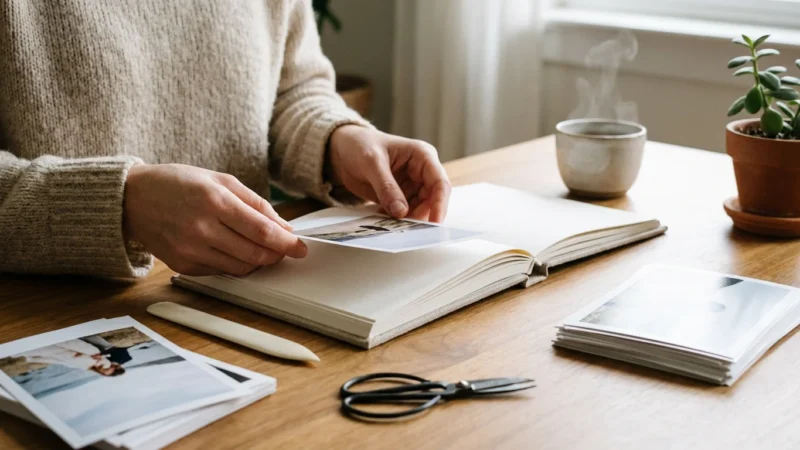
The foundation of a beautiful wedding photo album lies in the careful selection of images. This process can feel daunting, especially when you have hundreds or thousands of pictures. Approach it methodically, aiming to tell a complete story with meaningful moments.
To make the selection process smoother, decluttering your photo collection to remove blurry or redundant shots is a vital first step.
Initial Image Selection: The First Pass
This careful curation is a skill you can also use for other milestones, such as when learning how to create a baby’s first year photo album.
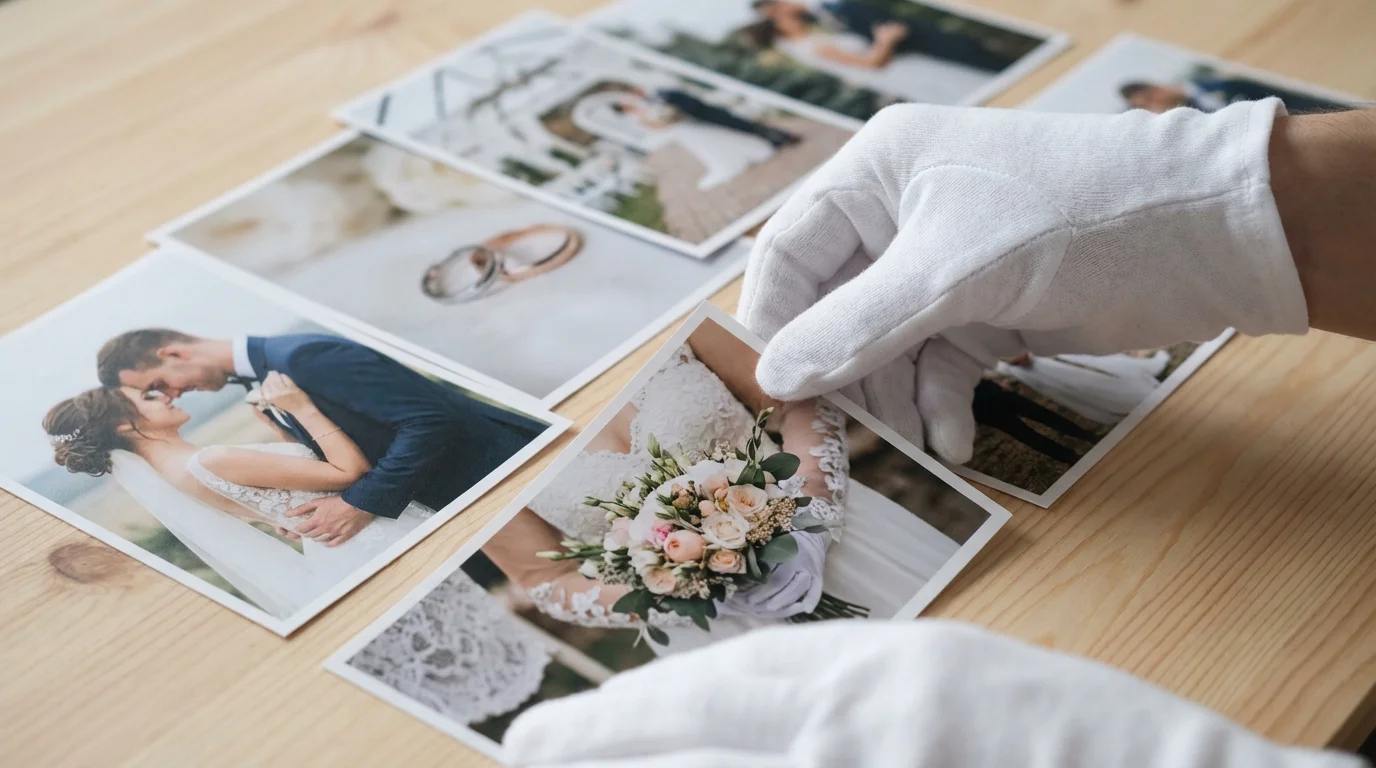
Begin by reviewing all your wedding photos, making an initial selection based purely on emotional impact. Pull out every image that evokes a strong feeling, a smile, or a cherished memory. Do not worry about technical perfection at this stage. You are identifying the heart of your story.
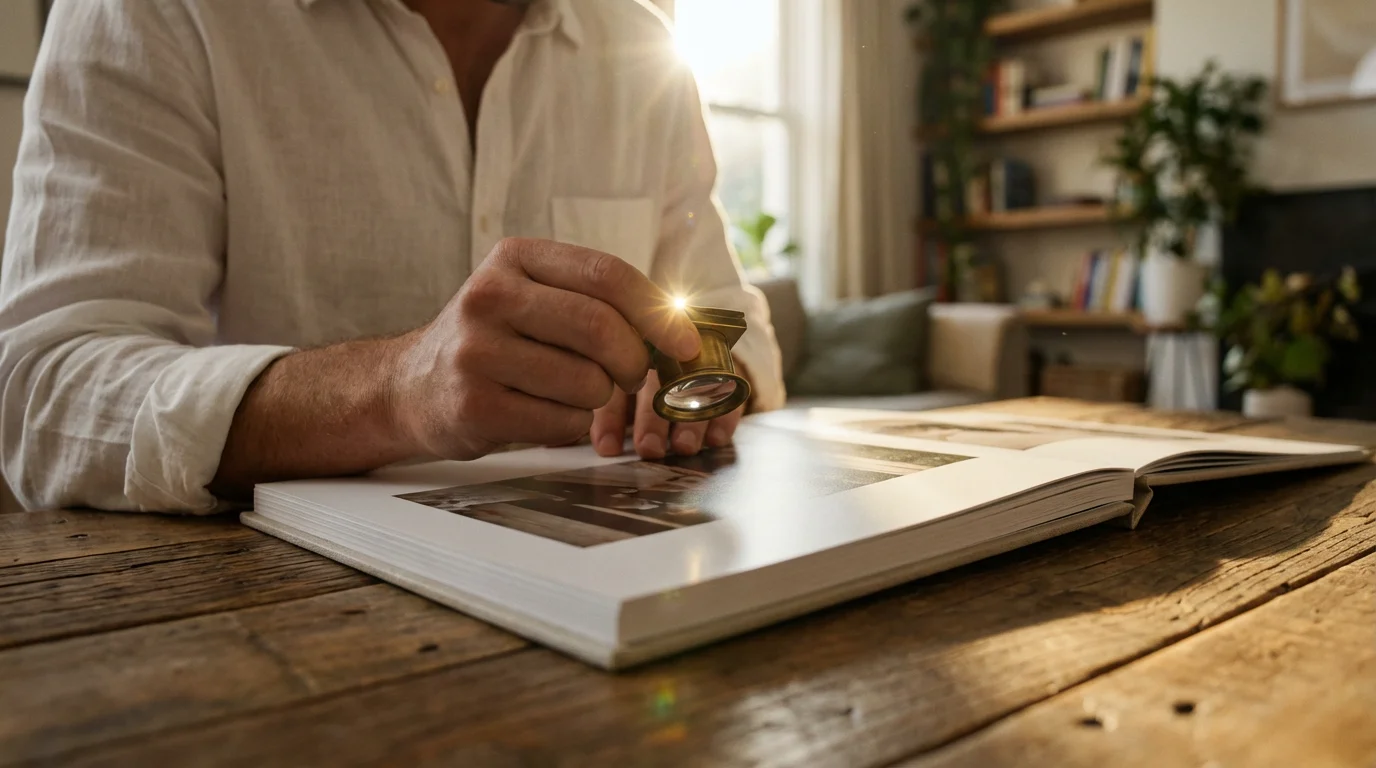
Refining Your Selection: A Second Look
After your initial pass, you will have a smaller, more manageable collection. Now, review these images with a critical eye, focusing on variety, composition, and technical quality.
- Embrace Diversity: Include a mix of posed portraits, candid interactions, wide shots of the venue, and close-ups of significant details. Your album benefits from capturing the full spectrum of your day.
- Prioritize Key Moments: Ensure you have coverage of all significant events: the preparations, the first look, the ceremony, family portraits, the reception, and farewells.
- Assess Technical Quality: Choose images that are sharp, well-exposed, and properly color-balanced. High-quality prints begin with high-quality digital files. Avoid blurry or poorly lit photos unless they possess overwhelming sentimental value.
- Consider Duplicates: If you have multiple similar shots, select the strongest one. Avoid repetition; every image should contribute uniquely to the narrative.
Collaborate with Your Partner
Creating your wedding photo album is a shared experience. Sit down with your partner and review the selections together. Discuss which moments resonate most strongly with each of you. This collaborative process ensures the album reflects both your perspectives and strengthens its personal significance. You might discover certain “must-have” bridal photos one of you deeply cherishes that the other overlooked.
“Your wedding album is a conversation between past and present. Each chosen photograph speaks volumes, not just about what happened, but how it felt. Selecting images is less about picking ‘good’ photos and more about identifying the moments that truly define your joy and connection.”
Practical Steps for Photo Curation:
- Organize Digitally First: Create folders on your computer for “Must Include,” “Strong Contenders,” and “Details/Scenery.”
- Start Big, Go Small: Begin with 150-250 potential images for a larger album, then narrow it down. A typical album might contain 60-100 images for a comprehensive story.
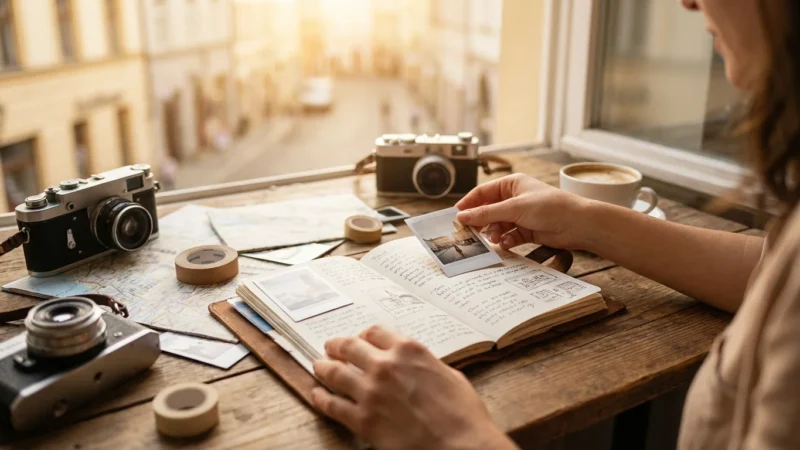
- Print Small Proofs (Optional): For critical selections, printing small 4×6 proofs allows you to arrange them physically, giving you a better sense of flow.
Phase 2: Designing Your Wedding Album’s Flow
Once you finalize your image selection, the next step involves arranging these images into a cohesive and visually compelling story. This is where you create a beautiful wedding photo album, ensuring a smooth and emotionally resonant progression from cover to cover.
This chronological narrative style is also the perfect approach for creating a year-in-review photo album to capture your first year of milestones as a couple.
Beyond the pages of an album, you might also consider displaying your favorite wedding photos on a gallery wall to enjoy them every day.
Establishing a Narrative Arc
Most wedding albums follow a chronological flow, mirroring the progression of your day. This familiar structure provides a clear, easy-to-follow narrative.
- Beginning: The Anticipation. Start with preparations, pre-ceremony excitement, and the individual journeys leading to the main event.
- Middle: The Ceremony and Celebration. Feature the “I do’s,” the first kiss, vows, and then transition into the joyous reception, dances, and toasts.
- End: The Farewell. Conclude with departing shots, reflections, and images that convey the lasting love and happiness.
Consider breaking the chronology slightly for a thematic spread, such as a dedicated section for decor details or guest reactions, but ensure you return to the overall timeline.
Mastering Album Layouts and Spreads
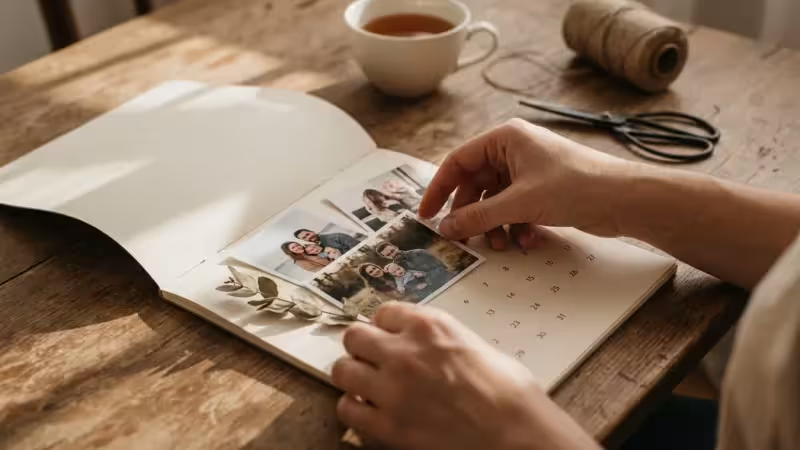
Each pair of facing pages, or “spread,” functions as a single canvas. Design your spreads to create visual interest and tell mini-stories within the larger narrative.
- The Hero Shot: Dedicate a full page or an entire spread to a single, impactful image. This creates a powerful visual statement, drawing the viewer’s eye to a key moment.
- Collage Spreads: Combine multiple smaller images on a spread to highlight details, capture a sequence of events, or showcase many guests. Ensure these collages do not feel cluttered. Maintain visual balance and enough white space.
- Pacing and Rhythm: Vary your layouts. Follow a busy spread with a more minimalist one. This creates visual breaks and allows important images to breathe.
- Consistency: Maintain a consistent design style throughout the album. Use similar font choices for captions and adhere to a general color palette or photographic processing style.
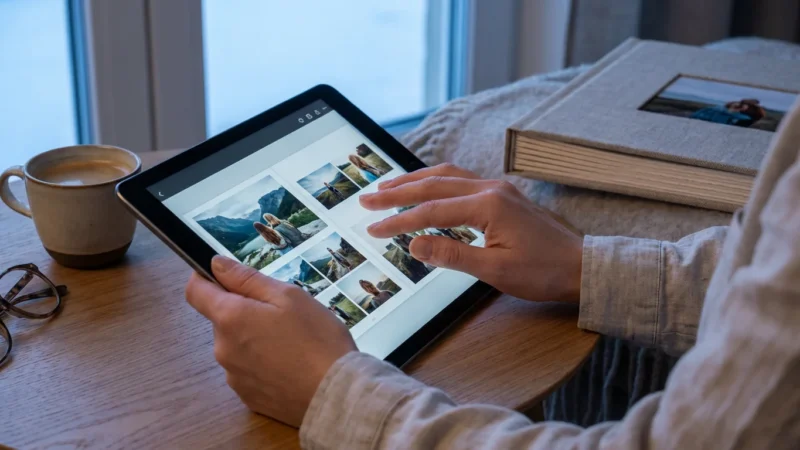
Tools for Design
Many online photo album services provide intuitive drag-and-drop interfaces for design. You upload your selected images and arrange them on digital spreads.
* **Online Album Builders:** These platforms offer templates and customization options, simplifying the design process for your wedding memory book.
* **Professional Design Services:** Many photographers offer album design as part of their package, or you can hire a dedicated album designer. Their expertise ensures optimal layout and print quality.
* **Software (for advanced users):** Programs like Adobe InDesign or specialized album design software give you complete creative control, though they require a steeper learning curve.
Choosing the Right Album: Material, Style, and Archival Quality
The physical album itself plays a crucial role in how you perceive and preserve your wedding memories. Choosing the right materials ensures durability, beauty, and archival longevity.
For added security, consider storing your completed heirloom in one of the best archival boxes to protect it from dust and environmental wear.
Types of Wedding Photo Albums
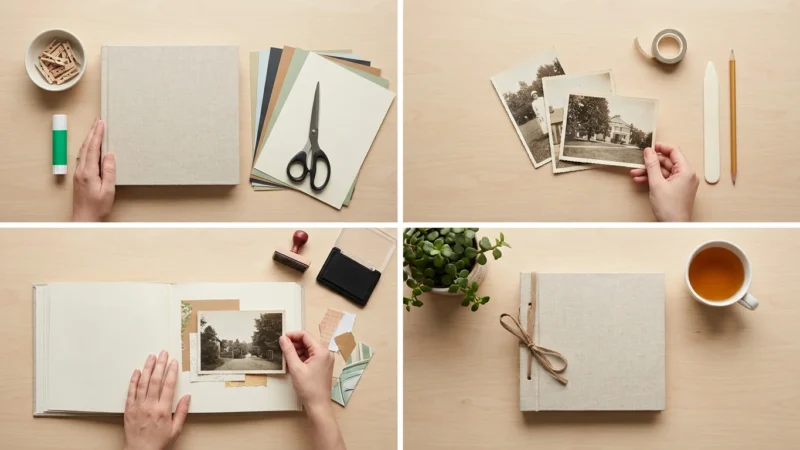
If you prefer a more tactile, handmade approach rather than a professional print, you might consider how to make a photo scrapbook from scratch.
The market offers various album styles, each with distinct characteristics:
- Flush Mount Albums: These feature thick, rigid pages with photographic prints mounted directly onto them, often extending edge-to-edge. They offer a luxurious, high-end feel and lay flat when open.
- Matted Albums: Traditional in style, matted albums involve prints placed behind beveled mats, providing a classic, framed look.
- Layflat Albums: Similar to flush mount, layflat albums ensure that images spanning two pages are not lost in the gutter, making them ideal for panoramic shots.
- Coffee Table Books: Often digitally printed on thinner paper, these are generally less expensive and offer a magazine-like feel. While beautiful, they may not offer the same archival longevity as flush mount or matted albums.
Cover Materials and Personalization
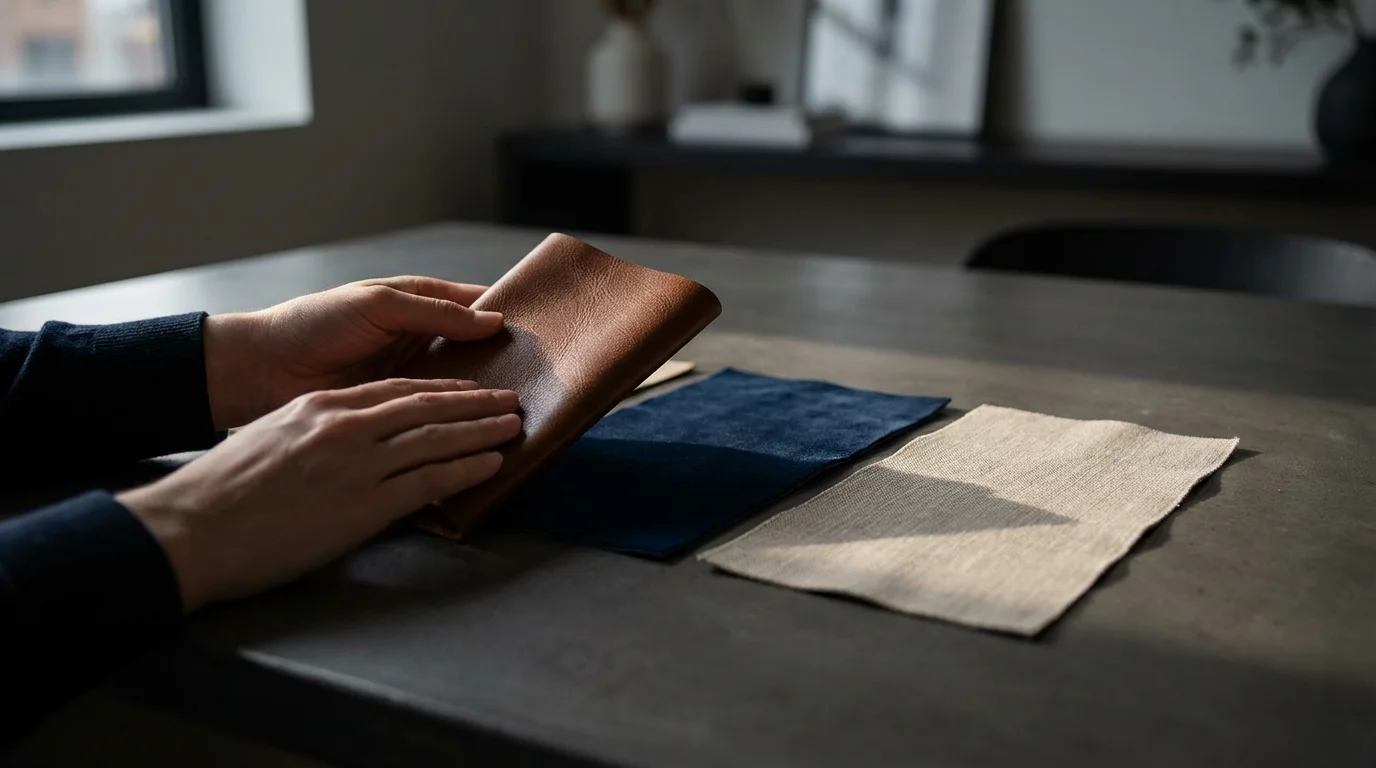
The album cover sets the tone for your wedding photo album.
- Leather: A timeless, durable, and elegant choice. Full-grain leather offers the best quality and develops a beautiful patina over time.
- Linen or Fabric: Provides a soft, natural, and often rustic aesthetic. Available in a wide range of colors.
- Acrylic or Metal: Modern and sleek, these materials allow for a cover photo to be printed directly onto a clear or metallic surface.
Personalize your cover with embossed text, a debossed design, or a small cutout window featuring a key image. This makes your wedding memory book uniquely yours.
Understanding Archival Quality
For long-term preservation, prioritize archival quality materials. These materials resist degradation over time, protecting your precious bridal photos from fading, yellowing, and brittleness.
- Acid-Free and Lignin-Free Paper: Acid and lignin cause paper to yellow and become brittle. Ensure your album paper and mounting materials are certified acid-free and lignin-free.
- Archival Inks: Pigment-based inks offer superior fade resistance compared to dye-based inks. Inquire about the printing process and ink types used by your album provider.
- Robust Binding: Look for Smyth-sewn binding or other durable binding methods that allow pages to lie flat and prevent them from detaching over time.
Consider products that adhere to strict preservation standards. The Image Permanence Institute offers valuable resources on identifying archival materials and practices, ensuring your photographs endure. When choosing a professional album company, ask about their materials and processes to verify their archival standards.
Crafting Captions and Storytelling Elements
While images form the core of your wedding photo album, carefully crafted captions and text elements elevate it from a simple collection of pictures to a rich, immersive story. They provide context, add emotional depth, and personalize your wedding memory book further.
Enhancing the Narrative with Text
Sharing these memories through DIY photo gifts is another wonderful way to use your favorite wedding images for family and friends.
Captions serve several critical functions:
- Identify People: For group shots or less recognizable guests, a short caption identifying individuals helps future generations understand who is in the photograph.
- Recall Moments: A brief sentence can instantly transport you back to the feeling of a particular moment. For example, “The moment we saw each other at the altar,” or “Our first dance, filled with laughter.”
- Add Anecdotes: Share a small, personal story connected to an image. This could be an inside joke, a forgotten detail, or a meaningful thought.
- Include Significant Quotes: Incorporate snippets from your vows, readings, or toasts. These words reinforce the emotional weight of your ceremony.
Writing Engaging Captions
Strive for concise, evocative language. You want to enhance the image, not distract from it.
* **Keep it Short:** Most captions should be one to two sentences.
* Be Specific: Instead of “Us dancing,” try “Dancing our hearts out to ‘Our Song,’ surrounded by friends.”
* Inject Emotion: Use words that convey the feeling of the moment, such as “joyful,” “tearful,” “hilarious,” or “tender.”
* Consider Your Audience: Write captions that will make sense to you and your partner in the future, as well as to family members who might not have been present.
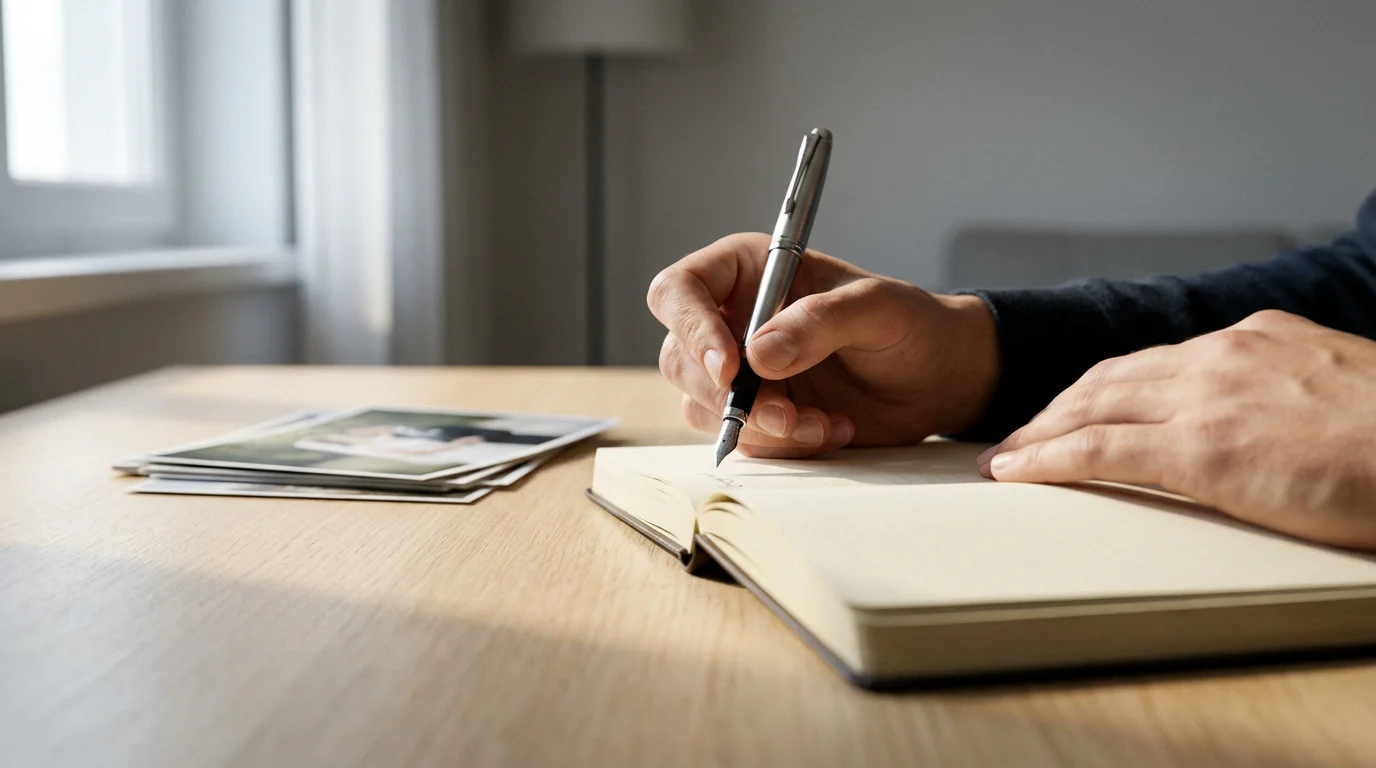
Integrating Handwritten Elements (Optional)
For an extra layer of personalization, consider leaving space for handwritten notes or a personal letter to your partner, added after the album is printed. Use archival-quality pens that will not bleed or fade. Some couples opt to write a small dedication on the inside cover. This creates a deeply personal touch, turning your album into an even more intimate family heirloom. This approach truly makes your wedding memory book a unique treasure.
Review and Refine: Ensuring Perfection
Before sending your wedding photo album to print, a thorough review process is essential. This critical step catches errors, confirms the flow, and ensures your album meets your expectations for a beautiful wedding photo album.
The Multi-Stage Review Process
Do not rush this stage. Allow yourself time to step away from the design and return with fresh eyes.
- Content Review:
- Are all key moments included?
- Are there any redundant images?
- Does the overall story flow logically and emotionally?
- Does your partner agree with the final selection and arrangement?
- Text Proofreading:
- Check every caption and piece of text for spelling, grammar, and punctuation errors.
- Read aloud to catch awkward phrasing.
- Verify names and dates are correct.
- Layout and Design Check:
- Examine each spread for visual balance. Is there enough white space?
- Are photos aligned correctly?
- Are any important details cut off by the album’s gutter or edges?
- Ensure consistency in fonts, sizes, and colors.
- Technical Specifications:
- Confirm image resolution meets the printer’s requirements for sharp, high-quality prints.
- Check color profiles. If your album company provides them, use their specifications to ensure accurate color reproduction.
Seek a Second Opinion
Ask a trusted friend or family member to review your album design. A fresh pair of eyes often spots errors or areas for improvement that you might have overlooked. They can also offer valuable feedback on the emotional impact and narrative clarity of your album. Provide specific instructions; ask them to look for typos, confusing photo sequences, or areas where the story feels incomplete. This objective feedback is invaluable for creating a beautiful wedding photo album.
Preserving Your Legacy: Caring for Your Wedding Photo Album
Your wedding photo album represents a significant investment, both financially and emotionally. Proper care and storage ensure this cherished wedding memory book remains pristine for decades, allowing future generations to enjoy your bridal photos as much as you do.
Optimal Storage Conditions
Environmental factors significantly impact the longevity of your album. Protect it from its biggest enemies: light, temperature, and humidity.
- Light: Store your album away from direct sunlight and strong artificial light. UV rays cause fading and degradation over time. Keep it in its box or a closed cabinet.
- Temperature and Humidity: Store your album in a stable environment. Avoid attics, basements, or garages, which experience extreme temperature fluctuations and high humidity. An ideal environment maintains a temperature between 65-70°F (18-21°C) and relative humidity between 30-50%. High humidity encourages mold growth, while low humidity causes materials to become brittle.
- Flat Storage: Store your album flat to prevent stress on the binding and pages. Never store it on its spine for extended periods.
Protective Measures
Investing in protective accessories safeguards your album from physical damage and environmental factors.
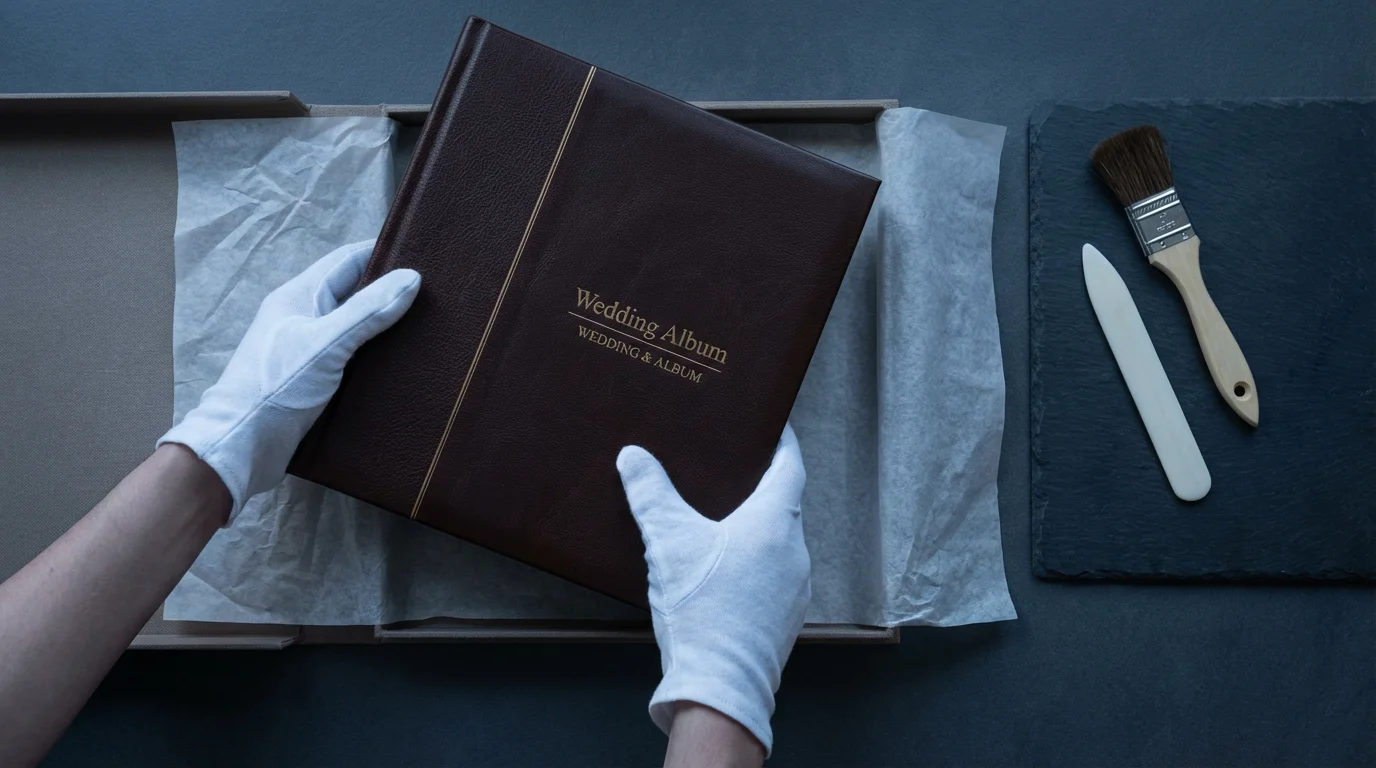
- Archival Box: Many high-quality albums come with a custom archival box. These boxes provide a crucial layer of protection against dust, light, and minor physical impacts. Ensure the box itself is made from acid-free materials.
- Cotton Gloves: Handle your album with clean hands or, ideally, with white cotton gloves. Oils and dirt from your fingers can transfer to pages and prints, causing damage over time.
- Avoid Adhesives and Chemicals: Never use sticky notes, glues, or chemicals near your album. These substances can cause permanent staining or degradation.
Digital Backup: Your Safety Net
While a physical album is irreplaceable for its tactile experience, always maintain a comprehensive digital backup of all your wedding photos.
* Multiple Copies: Store your digital files on at least two separate devices, such as an external hard drive and a cloud storage service.
* High Resolution: Keep the original, high-resolution files provided by your photographer. These are essential if you ever need to create additional prints or a replacement album.
* Regular Updates: Periodically check your backups to ensure data integrity and transfer them to newer storage formats as technology evolves.
By implementing these care practices, you actively preserve your wedding photo album, safeguarding your personal history and ensuring its place as a cherished family heirloom for generations to come.
Frequently Asked Questions
How many photos should a wedding album typically include?
Most wedding albums feature between 60 to 100 images to tell a comprehensive story without overwhelming the viewer. This range allows for impactful full-page spreads and engaging collages while maintaining a coherent narrative. The exact number depends on the album size and your specific design preferences.
What is the ideal size for a wedding photo album?
Common album sizes range from 8×10 inches to 12×12 inches or even 11×14 inches. A larger album provides more impact for individual images and allows for more intricate layouts. Consider where you will display and store the album, alongside its overall weight, when making your decision.
How long does it take to create a wedding album?
The timeline varies significantly based on whether you design it yourself or use a professional service. Self-design can take weeks or months, depending on your availability and decision-making speed. Professional album designers typically require 4-8 weeks from photo selection to final delivery, accounting for design time, client revisions, and printing.
Should I include black and white photos in my wedding album?
Yes, absolutely. Black and white photographs offer a timeless, artistic quality that often enhances emotional impact and highlights composition. Integrate them thoughtfully, perhaps grouping a few black and white images together on a spread, or using them to emphasize particularly poignant moments. They add visual depth and variety to your collection.
How can I make my wedding album more personal?
To personalize your album, include heartfelt captions, incorporate significant quotes from your vows or toasts, or even consider adding handwritten notes. You can also feature specific details that reflect your unique personalities, such as custom decor elements or candid shots of inside jokes. Selecting a cover material and engraving that resonates with your style also adds a personal touch.
Crafting a wedding photo album that truly tells your story is a rewarding endeavor. It transforms your memories into a tangible heirloom, a constant reminder of the joy, love, and commitment you celebrated on your special day. Approach the process with thoughtfulness and care, and you will create a treasured keepsake for generations to come.
Disclaimer: This article is for informational purposes only. When handling valuable or irreplaceable photographs, consider consulting a professional conservator. Always test preservation methods on non-valuable items first.


Leave a Reply