
Creating a baby’s first year photo album is more than just organizing pictures, it is a heartfelt journey to capture the fleeting moments of your child’s earliest days. Your baby changes rapidly during their first year, gaining new expressions, mastering new skills, and developing a unique personality. Documenting these milestones transforms into a precious keepsake, a tangible record of their growth that you and your family will cherish for decades. This guide provides practical steps and actionable advice to help you preserve these priceless memories, ensuring your baby memory book reflects the joy and wonder of their first year.
While this guide focuses on the first twelve months, the same principles apply to creating a year-in-review photo album for every subsequent year of your child’s life.
The Enduring Value of Your Baby’s First Year Photos
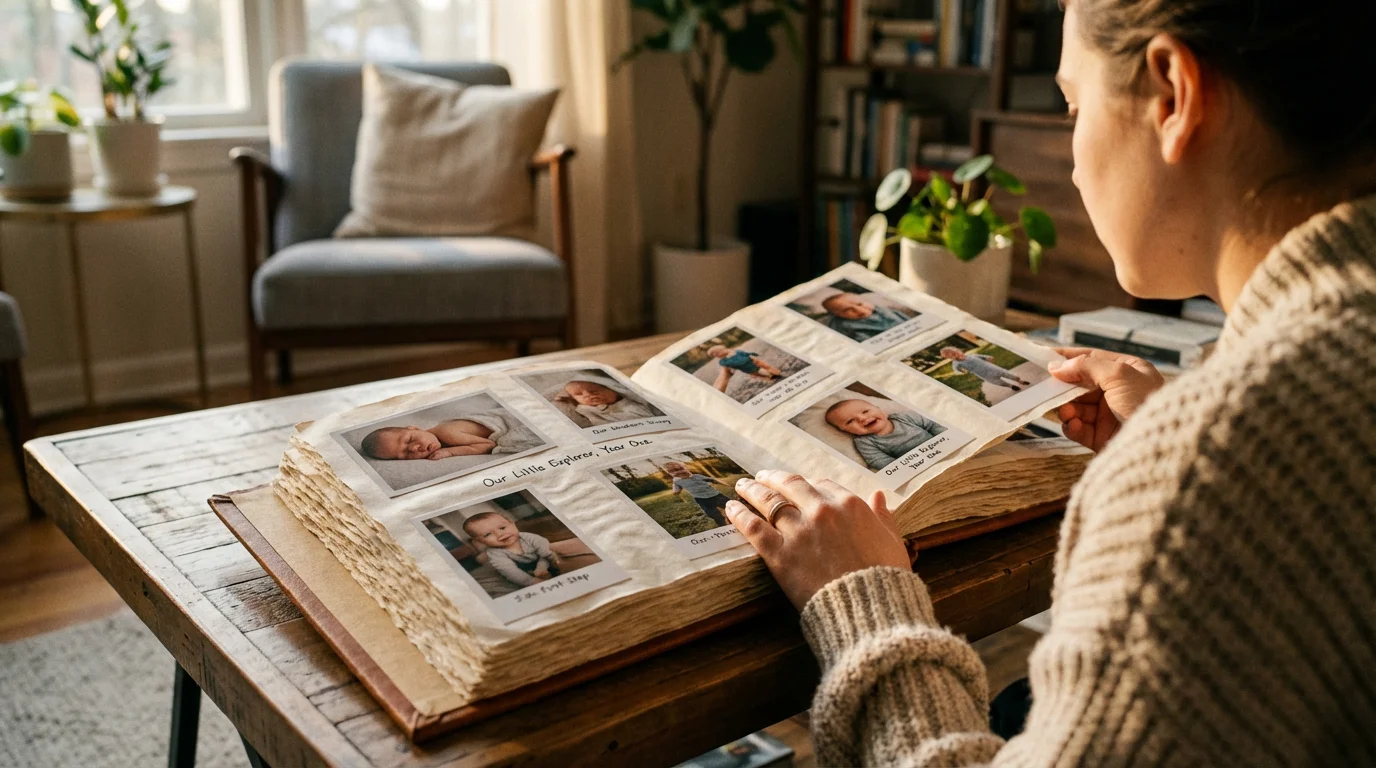
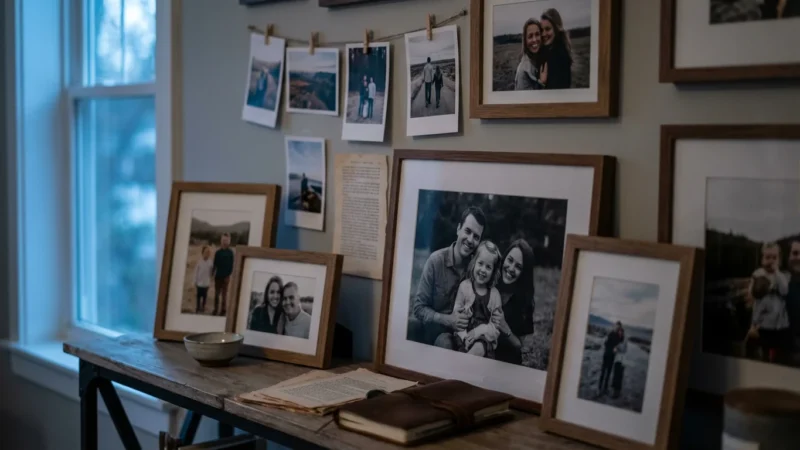
Your baby’s first year unfolds with remarkable speed, marked by incredible growth and countless “firsts.” From their first smile to their first steps, these moments are irreplaceable. Crafting a baby’s first year photo album allows you to bottle that magic, creating a narrative that illustrates your child’s early development. This project offers deep personal satisfaction, a chance to revisit those tender memories, and a valuable historical document for your family. It serves as a visual timeline, helping you recall specific dates, events, and the emotional journey of parenthood during this pivotal period.
Since many of these milestones happen unexpectedly, mastering a few smartphone photography tips will help you capture clear, vibrant images on the fly.
Consider the joy your grown child will feel looking back at images of their infant self, seeing how small they once were, and observing the pure wonder in their eyes. This album becomes a cherished heirloom, passed down through generations, connecting your family’s past with its future. It is a testament to love, growth, and the unique story of your child’s earliest beginnings.

Collecting and Curating Your Baby’s Memories
The first step in creating your baby photo album involves gathering all the potential content. This often means consolidating photos from various sources, a process that can feel overwhelming but is essential for a comprehensive collection. Begin by locating all your digital photos, which may reside on your phone, digital camera, computer, cloud storage, or social media accounts. Create a dedicated folder on your computer or an external hard drive specifically for your baby’s first year photos.
Before diving in, it is helpful to decide whether organizing photos by date or event will be the most efficient method for your specific project.
Organizing Digital Photos
Efficient digital organization saves significant time later. Rename files with a consistent format, such as “YYYY-MM-DD_BabyName_Event.jpg” (e.g., “2023-01-15_Lily_FirstSmile.jpg”). Many photo management software options, both free and paid, can help you tag, rate, and sort images. Utilize these tools to filter out blurry or redundant shots early in the process. Aim to select the best 1-3 images from each event or milestone.
For parents capturing many images, implementing a regular photo review schedule proves beneficial. For example, once a week or month, dedicate 15-30 minutes to quickly reviewing new photos, deleting duplicates, and moving the best ones to your designated “album” folder. This proactive approach prevents a daunting backlog and keeps your selection manageable. Back up your curated digital collection regularly to at least two different locations, such as an external hard drive and a cloud service, to protect against data loss.
Incorporating Physical Mementos
While digital photos dominate, do not forget physical items. These might include sonograms, hospital bracelets, birth announcements, special cards, or even a lock of hair from their first haircut. Scan any physical photos or documents you want to include digitally. Use a flatbed scanner to capture high-quality images of these items. Store original physical mementos in archival-safe sleeves and boxes to prevent damage and degradation over time. The Library of Congress provides extensive guidance on preserving family treasures, including paper documents and photographs, ensuring these precious items remain intact for future viewing.
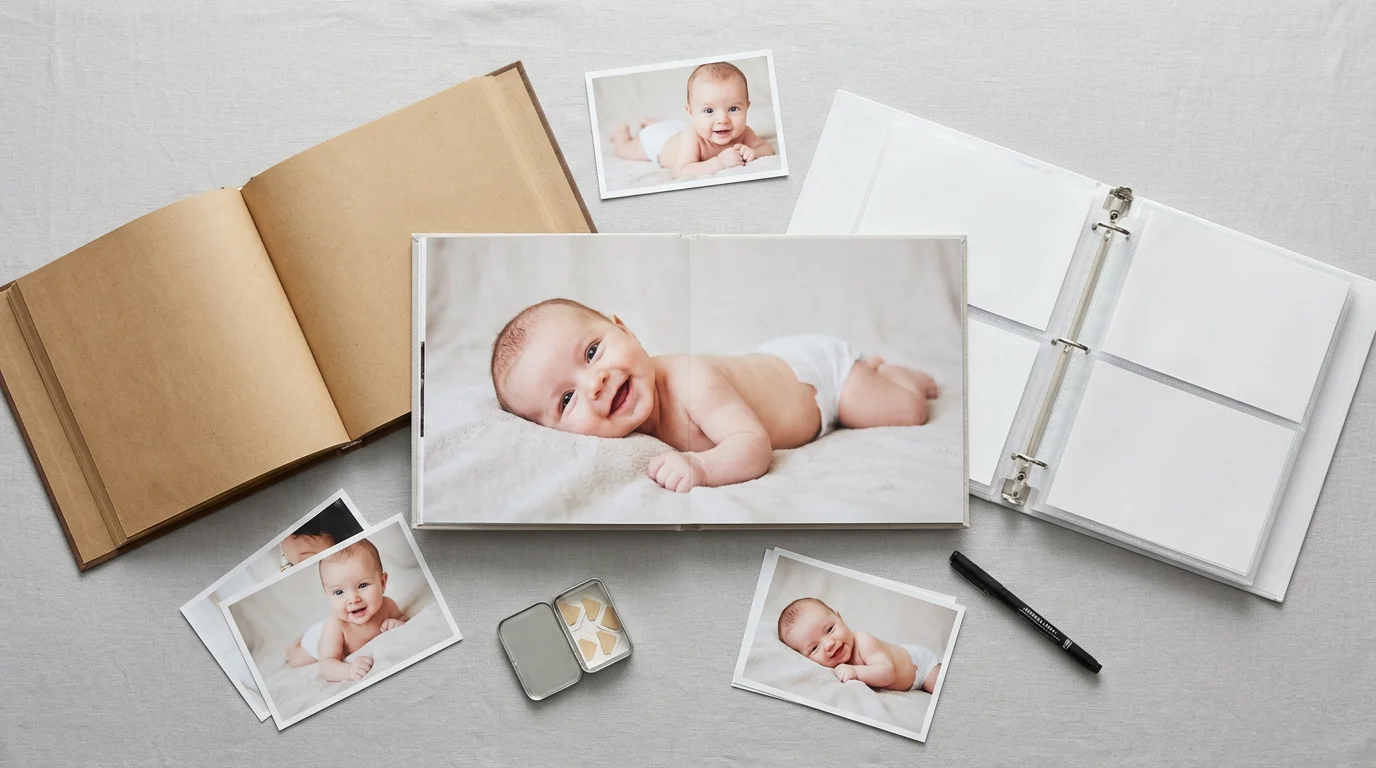
Selecting the Right Format for Your Baby Photo Album
You have several excellent options for your baby memory book, each with unique benefits. Your choice depends on your budget, time commitment, and desired aesthetic.
Once you have chosen your format, remember that these memory books also make wonderful DIY photo gifts for grandparents and godparents.
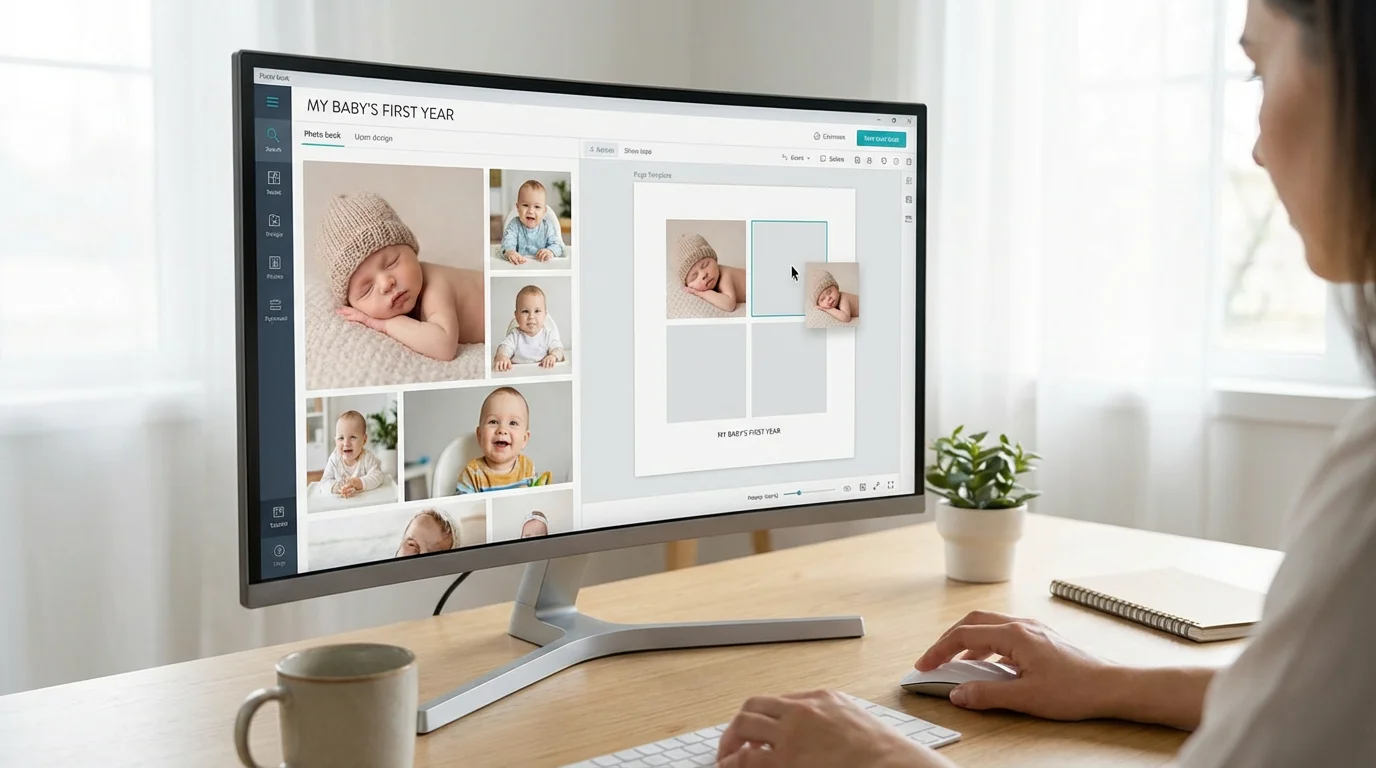
- Printed Photo Book: These are custom-designed books created online using photo book services. You upload your photos, arrange them on digital pages, add captions, and the company prints and binds a professional-looking book.
- Pros: Professional finish, durable, easy to share, wide range of themes and layouts. Many services offer lay-flat pages, which are ideal for showcasing panoramic shots or two-page spreads.
- Cons: Requires upfront design time, can be expensive depending on size and number of pages, not easily editable once printed.
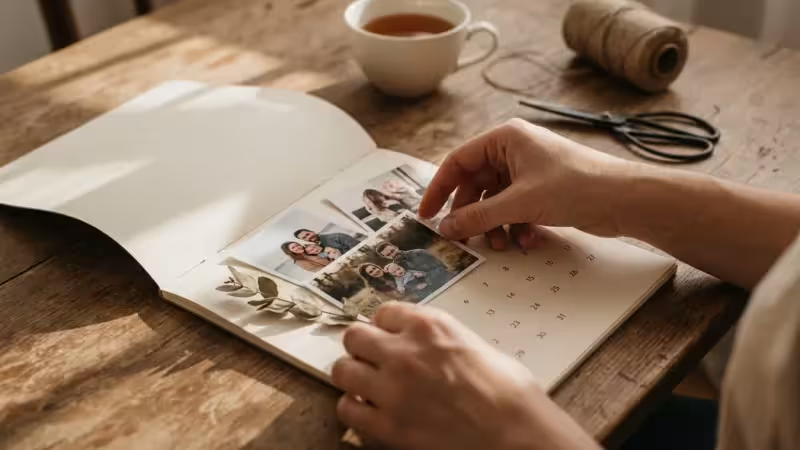
- Traditional Photo Album: This classic approach involves printing your photos and physically inserting them into an album with sleeves or adhesive pages.
- Pros: Allows for tactile interaction, easy to add or rearrange photos over time, often more affordable for printing photos individually. You can use archival-quality paper and photo-safe adhesives.
- Cons: Can be bulky, photos might yellow or stick if not using archival materials, requires careful handling to prevent damage.
- Scrapbook: A scrapbook offers the most creative freedom, allowing you to combine photos with journaling, decorative papers, stickers, and physical mementos.
- Pros: Highly personalized, integrates diverse elements, a creative outlet.
- Cons: Very time-consuming, requires specialized archival materials to ensure longevity, can become very thick.
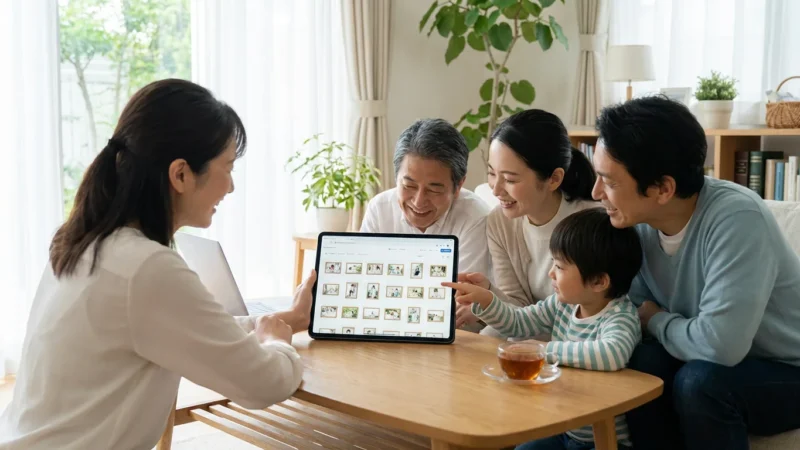
- Digital Album/Slideshow: While not a physical album, a high-quality digital slideshow or online gallery can serve as a modern “album” for sharing with a wider audience.
- Pros: Easily shareable, can include video clips, no physical storage space needed, often less expensive.
- Cons: Lacks the tactile experience of a physical book, dependent on technology for viewing, requires robust digital preservation strategies.
When choosing, prioritize archival quality for any physical components. Look for acid-free, lignin-free paper and plastics. These materials prevent yellowing, fading, and deterioration of your prints over time. For example, when using a traditional photo album, opt for polypropylene or polyester sleeves, which are inert and safe for long-term photo storage, avoiding PVC. The Image Permanence Institute offers valuable insights into selecting appropriate materials for photographic preservation.
“The true value of a photograph lies not just in the image itself, but in its ability to transport us back to a specific moment, evoking emotions and memories. Ensuring its physical stability protects that priceless connection for generations.”

Crafting Your Narrative: Photo Selection and Sequencing
With your format chosen, the exciting task of selecting and sequencing your first year photos begins. This is where you tell your baby’s story. A chronological approach often works best for a baby’s first year, as it naturally highlights growth and development.
As your child grows, you can eventually supplement these photo records by digitizing their artwork to include in subsequent volumes of their life story.
What to Include: Key Milestones and Candid Moments
Focus on capturing a balance between significant milestones and everyday candid moments. Milestones provide the framework, showing progress, while candid shots reveal personality and the nuances of daily life. Here is a suggested list of essential moments to consider:
- Pregnancy & Birth: Belly shots, hospital photos, first family photo.
- Newborn Stage (Weeks 1-4): Tiny hands and feet, sleeping peacefully, first bath, first feeding.
- Monthly Progress: A consistent photo taken each month (e.g., on the same blanket, with a specific prop or toy) clearly shows growth.
- First Smiles & Laughs: Capture these expressions of joy.
- Tummy Time & Rolling Over: Document physical development.
- Sitting Up Unassisted: A major milestone for many babies.
- First Foods: Messy, adorable moments at mealtime.
- Crawling & Standing: Their increasing mobility.
- First Steps: A truly monumental achievement.
- Interactions: With siblings, pets, grandparents, and parents.
- Holidays & Special Events: First Christmas, Halloween, birthdays.
- Everyday Life: Playing with toys, bath time, naps, feeding.
Aim for around 50-100 high-quality photos for a comprehensive album, though this number can vary based on your chosen format and personal preference. Some parents prefer a very curated album with 1-2 photos per month, while others want to include more detailed visual stories. The key is quality over quantity. Choose sharp, well-exposed images where your baby is the clear subject and their expressions shine through.
Sequencing for Storytelling
Arrange your chosen images in a clear chronological order. This creates a natural flow and helps viewers understand the timeline of your baby’s development. You might dedicate a few pages to each month or combine smaller milestones into thematic spreads. For instance, a “first foods” spread could feature multiple photos of various culinary adventures.
Think about visual variety. Alternate between close-ups and wider shots, portraits and candid interactions. This keeps the album engaging and dynamic. As you select, consider how each photo contributes to the overall story of your baby’s first year. If a photo does not add value or feels redundant, it is okay to omit it.
Designing Your Baby Memory Book with Care
Once you have your curated collection, the design phase begins. This is where you bring your baby’s story to life on the page.
To maximize space and visual interest, you can use photo collage design ideas to group several related images, like a series of bath time faces, onto a single page.
For those who want to move beyond the page, you can also explore creative photo wall ideas to display these milestones in your home.
Layout and Aesthetics
For printed photo books, most services offer pre-designed templates. While convenient, consider customizing them to reflect your style. Opt for clean layouts that let your photos be the stars. Avoid overly busy backgrounds or too many embellishments that might distract from the images.
- Less is More: Do not overcrowd pages. Give each photo space to breathe. A single large, impactful photo on a page can be more powerful than several small, cluttered ones.
- Consistency: Maintain a consistent design theme, including fonts, colors, and border styles, throughout the album for a cohesive look.
- White Space: Ample white space around photos enhances readability and elegance.
- Balance: Distribute photos evenly across pages, creating visual balance. Avoid having all your busiest pages clumped together.
Writing Meaningful Captions
Captions add depth and context to your photos, transforming them from mere images into story elements. Write concise, descriptive captions that capture the moment’s essence, include dates, locations, and any anecdotes.
| Caption Element | Example |
|---|---|
| Date & Location | January 15, 2023, Living Room |
| Milestone/Event | Lily’s first big smile at 6 weeks old. |
| Anecdote/Emotion | Her genuine laughter filled the room; it was contagious! |
| Quote (optional) | “The littlest feet make the biggest footprints in our hearts.” |
Consider adding short journal entries for each month or significant event. These provide a narrative voice to the album, enriching the visual story with your thoughts and feelings during that time. You might include details about what your baby was learning, their favorite toys, or funny things they did.
Integrating Other Mementos
If you have scanned physical mementos, integrate them into your design. A page dedicated to the hospital bracelet and birth certificate, for instance, can serve as a powerful opening. For scrapbooks, you can glue physical items directly onto pages, ensuring you use archival-safe adhesive like photo corners or acid-free glue dots. For traditional albums, you might include separate sleeves or pockets for these items.

Bringing Your Baby’s First Year Album to Life: Printing and Assembly
The final stage involves bringing your design into a physical form. The quality of your prints and materials significantly impacts the album’s longevity and appearance.
Printing Your Photos
If you chose a traditional album or scrapbook, select a reputable photo printing service. Look for options that use archival-quality paper and inks. Professional print labs often offer superior color accuracy and durability compared to home printers. When printing at home, invest in high-quality photo paper (acid-free, lignin-free) and pigment-based inks, which resist fading better than dye-based inks.
For photo books, research different online services. Compare factors such as:
- Paper Quality: Matte, glossy, luster, or lay-flat options. Lay-flat pages are excellent for seamless two-page spreads.
- Binding Options: Hardcover, softcover, perfect bound, or spiral bound. Hardcover offers the most durability.
- Customization: The flexibility of their design software.
- Cost: Compare pricing based on page count, size, and material choices.
- Reviews: Check customer reviews for print quality and service.
Order a small test print if possible, especially if you are investing in a large or expensive album. This allows you to check color accuracy, paper feel, and overall print quality before committing to the full project.
Assembling Your Physical Album
If you are creating a traditional album or scrapbook, careful assembly is crucial. Use only photo-safe adhesives or mounting methods. Avoid rubber cement, cellophane tape, or glues not specifically designed for photos, as these can cause discoloration and damage over time. Photo corners, adhesive dots, or double-sided archival tape are safer alternatives.
Handle your prints by the edges to avoid fingerprints and smudges. Wear lint-free cotton gloves when handling very important or irreplaceable photos. Arrange your photos on the pages before applying any adhesive to ensure optimal placement and visual flow.
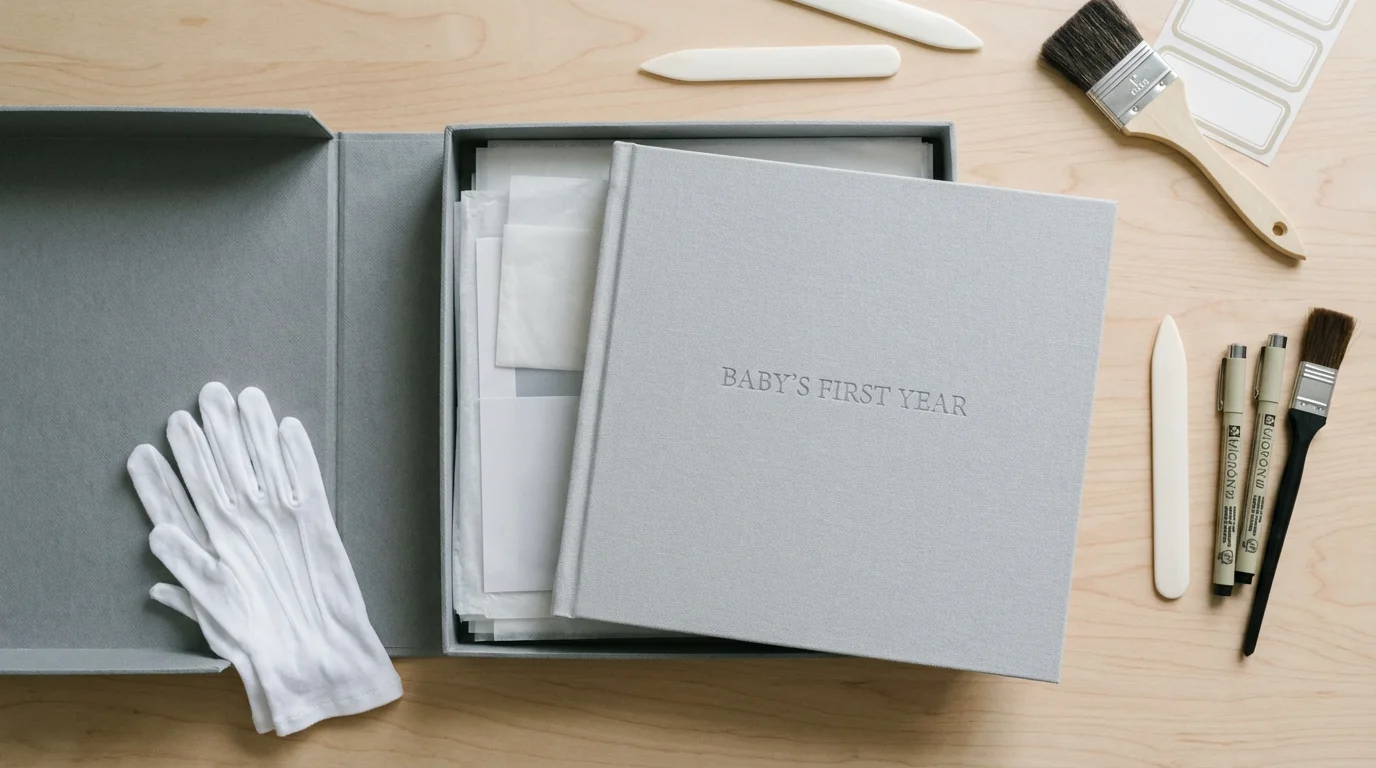
Ensuring Longevity: Preserving Your Baby Photo Album for Generations
Your baby’s first year photo album is a priceless artifact. Protecting it for the future requires mindful preservation strategies.
Environmental Controls for Physical Albums
Store your physical album in a stable environment. Fluctuations in temperature and humidity are highly damaging to photographic materials. The ideal conditions include a cool, dark, and dry space with consistent temperature and humidity levels. Avoid storing albums in attics, basements, garages, or near exterior walls, as these areas are prone to extreme environmental changes.
- Temperature: Keep temperatures below 70°F (21°C). Cooler temperatures slow down chemical degradation.
- Humidity: Maintain relative humidity between 30-50%. High humidity fosters mold growth and causes materials to stick; low humidity can make materials brittle.
- Light: Store albums away from direct sunlight and artificial UV light. Light exposure causes fading and discoloration. Keep them in archival boxes or opaque containers when not being viewed.
For added protection, store your album in an archival-quality storage box. These boxes are typically acid-free and lignin-free, offering a stable microenvironment. Place it horizontally on a shelf, not vertically, to prevent warping of the pages or binding.
Digital Preservation Strategies
Even if you create a physical album, maintain digital backups of all your original images. Digital files are susceptible to different forms of loss, such as hardware failure, accidental deletion, or technological obsolescence. Implement the “3-2-1 backup rule”:
- 3 Copies: Keep three copies of your data.
- 2 Different Media Types: Store copies on at least two different types of storage media (e.g., internal hard drive, external hard drive, USB drive).
- 1 Offsite Copy: Keep one copy in an offsite location (e.g., cloud storage, another physical location).
Regularly check the integrity of your backup files. Consider migrating your files to new formats or storage devices every few years as technology evolves. This proactive approach ensures your digital memories remain accessible and intact for the long term. The National Archives provides detailed guidance on digital preservation practices, emphasizing the importance of format migration and metadata.
By diligently creating, curating, and preserving your baby’s first year photo album, you create a legacy. This album will not only bring joy to you and your family today but will also offer a tangible connection to the past for future generations, celebrating the incredible journey of your child’s first year.
Frequently Asked Questions
What is the best way to organize digital photos for a baby’s first year album?
Start by creating a dedicated folder for your baby’s photos. Within that, create subfolders for each month or significant event. Rename files chronologically (e.g., “YYYY-MM-DD_Event_BabyName.jpg”) for easy sorting. Use photo management software to cull blurry or duplicate images and to tag important milestones. Regularly back up your organized collection to multiple locations.
How many photos should I include in a baby’s first year photo album?
The ideal number varies based on your chosen album size and layout, but aiming for 50-100 high-quality photos provides a comprehensive yet manageable collection. This allows you to showcase key milestones and significant candid moments without overwhelming the viewer. Focus on selecting the best 1-3 images from each event or monthly series.
What are archival-safe materials, and why are they important for a baby memory book?
Archival-safe materials are acid-free, lignin-free, and PVC-free. They are chemically stable and will not degrade or leach harmful substances onto your photos over time. Using these materials, such as acid-free paper, photo-safe adhesives, and polypropylene sleeves, prevents yellowing, fading, and chemical damage, ensuring your baby photo album lasts for generations.
Can I include video clips in a baby’s first year photo album?
You cannot embed video clips directly into a traditional physical baby photo album or printed photo book. However, you can create a hybrid approach. Include QR codes in your physical album that link to private online video galleries. Alternatively, compile a separate digital video album or slideshow to complement your physical baby memory book, offering a multimedia experience.
When should I start creating my baby’s first year photo album?
Begin collecting and organizing photos from day one. Many parents find it easiest to select and categorize photos monthly, rather than waiting until the end of the year. This prevents a daunting backlog and allows you to enjoy the process without feeling rushed. You can start the design and printing phase at any point, but having your photos organized incrementally makes the final project much smoother.
Disclaimer: This article is for informational purposes only. When handling valuable or irreplaceable photographs, consider consulting a professional conservator. Always test preservation methods on non-valuable items first.
Much like creating a year-in-review photo album, this project focuses on a single, transformative period in your family’s life.
If you have extra prints after assembling your book, they are perfect for creating sentimental DIY photo gifts for grandparents.


Leave a Reply