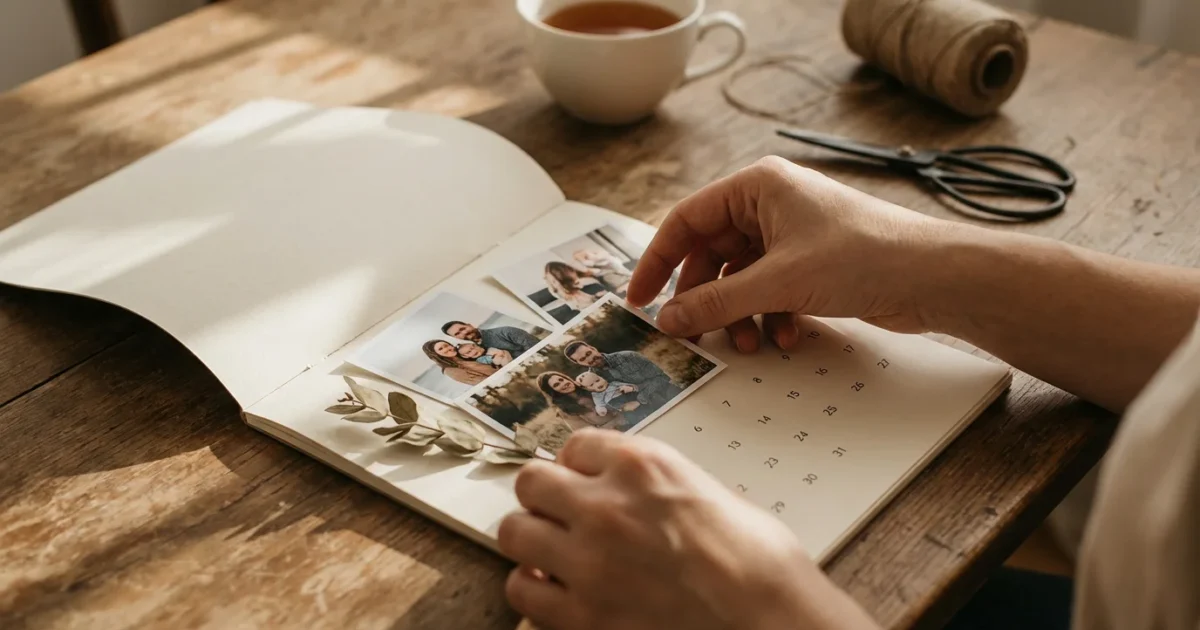
Transforming your cherished memories into a practical, year-long display brings daily joy and connection. A custom photo calendar, crafted with your family’s pictures, serves as a beautiful reminder of shared moments, a conversation starter, and an invaluable tool for organizing your year. Imagine seeing a heartwarming photo of a grandparent with a child each morning, or reliving a memorable vacation through a monthly snapshot. This guide provides actionable steps, helping you create a meaningful family calendar that everyone will adore, whether for your own home or as a thoughtful gift.
Why Create a Family Photo Calendar?
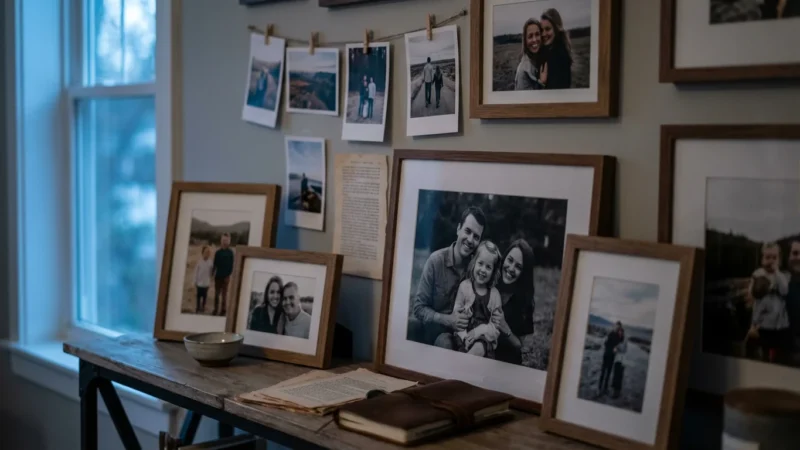
A family calendar offers so much more than a simple schedule keeper. It acts as a visual timeline of your life, capturing the essence of your family’s journey through carefully selected images. You gain a daily dose of warmth and nostalgia. You also create an ongoing project that encourages you to revisit and appreciate your photographic heritage, ensuring these precious moments do not remain forgotten in digital folders or dusty boxes.
In addition to calendars, you might explore various photo wall ideas to showcase your favorite moments year-round.
Beyond its sentimental value, a custom photo calendar serves practical purposes. It helps organize your digital photo collection by prompting you to select, review, and prepare images. It provides a structured way to share family history with children and grandchildren, sparking stories and connecting generations. For instance, a calendar featuring photos from different decades can become a fantastic educational tool, illustrating how family members have grown and changed, or highlighting historical events through personal lenses. Many families report that their photo calendars become central to their kitchen or office, fostering daily engagement with their memories.

Gathering Your Precious Photos
The foundation of any great family photo calendar lies in your photo selection. This initial step requires a careful approach, whether you work with digital files or physical prints. Begin by envisioning the stories you want your calendar to tell.
If you enjoy working with physical prints alongside your digital projects, you can also learn how to make a photo scrapbook from scratch to preserve your family stories.
Selecting Digital Photos
Most of us store thousands of images on phones, hard drives, and cloud services. Start by organizing these files. Create dedicated folders for different years, events, or family members. Use consistent naming conventions, for example, “2023-FamilyVacation-Beach_001.jpg.” This structured approach simplifies future photo projects and makes it easier to locate specific images.
When selecting images, prioritize variety and quality. Look for photos that evoke strong emotions, capture genuine moments, or showcase significant milestones. Consider a mix of portraits, candid shots, and landscape images that represent important family places. Ensure each chosen image has sufficient resolution for printing. A general rule for good print quality is to use images at least 300 pixels per inch (PPI) at the desired print size. Most modern smartphone photos or digital camera images meet this requirement for standard calendar sizes, but always double-check the image properties.
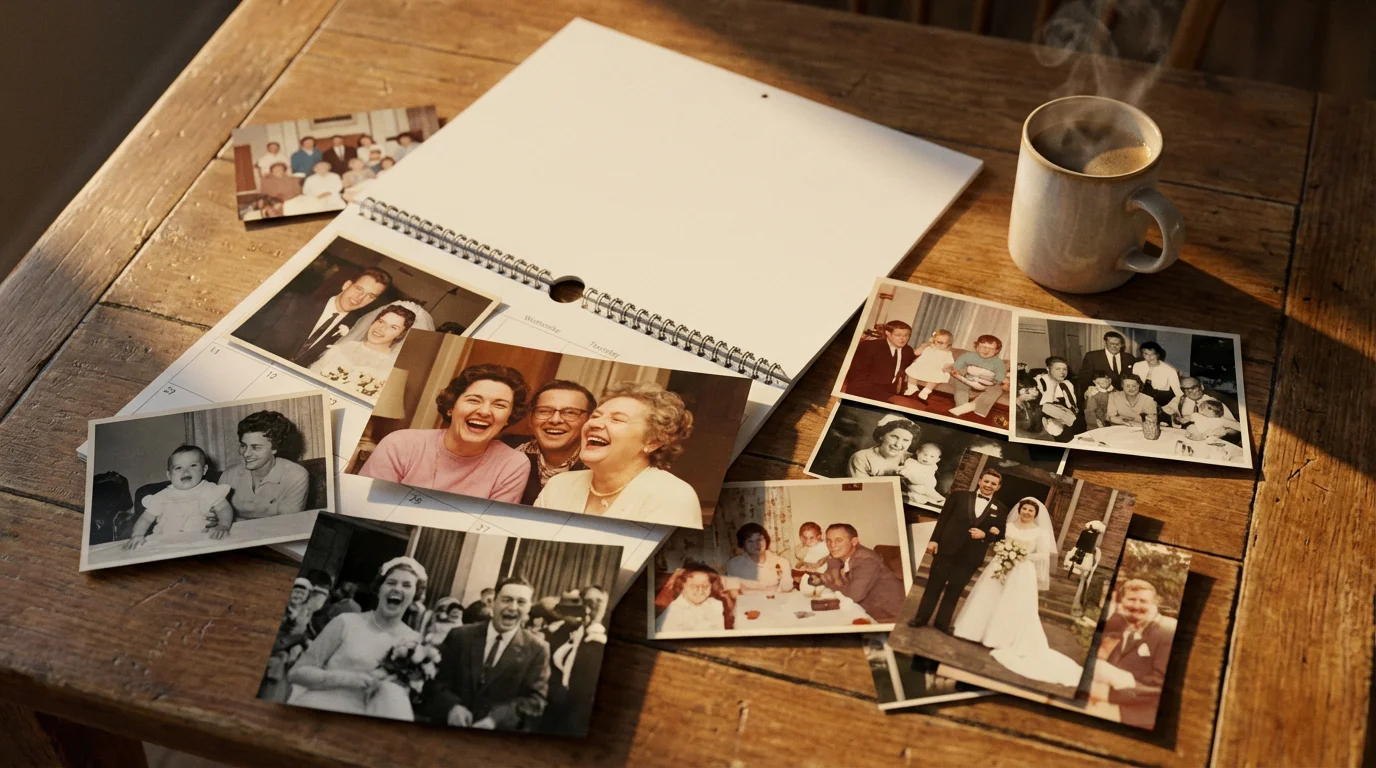
Digitizing Physical Photos
Many families possess boxes of irreplaceable physical photographs, slides, or negatives. These historical treasures offer incredible depth to a family calendar. Digitizing them properly ensures their preservation and prepares them for your project.
You have several options for scanning:
- Flatbed Scanner: A dedicated flatbed scanner offers the best quality for prints, negatives, and slides. Scan at a minimum of 600 DPI for standard prints, and higher, up to 2400-4800 DPI, for negatives or slides, to capture maximum detail. Save original scans as TIFF files for archival purposes, then create JPEG copies for use in your calendar project. TIFF files retain all image data, making them ideal for long-term preservation and future editing without loss of quality.
- Smartphone Scanning Apps: Apps like Google PhotoScan or Adobe Scan offer a convenient option for quick digitization of prints. While they do not match the quality of a flatbed scanner, they effectively reduce glare and correct perspective, making them suitable for casual use or when high-resolution archival scans are not the primary goal.
- Professional Digitization Services: For large collections, delicate or oversized prints, or unique formats like glass plate negatives, consider a professional digitization service. These services use high-end equipment and trained technicians to ensure optimal quality and careful handling of your originals.
Before scanning old photographs, handle them with extreme care. Wear clean cotton gloves to prevent transferring oils from your skin. Gently clean any surface dust with a soft, anti-static brush or a can of compressed air. Avoid using liquid cleaners or abrasive materials, as these can damage the emulsions. The American Institute for Conservation provides extensive guidelines on handling and preserving photographic materials, offering valuable insights into protecting your collection. Learn more about caring for your photographs and albums from the American Institute for Conservation.

Planning Your Calendar’s Theme and Content
A cohesive theme elevates your photo calendar from a simple collection of images to a meaningful narrative. Consider the overall story you wish to convey throughout the year.
Theme Ideas
Think about what resonates most with your family. Popular themes include:
- Chronological Journey: Each month features photos from a specific period, perhaps progressing from vintage family photos to recent ones, or showcasing a year in review.
- Family Milestones: Dedicate months to birthdays, anniversaries, graduations, or other significant events that occurred during that month.
- Seasonal Celebrations: Match photos to the corresponding season. January might feature snowy landscapes, while July highlights summer vacations.
- “A Day in the Life”: Each month could depict a different aspect of your family’s daily routines, hobbies, or passions.
- Specific Family Branches: If you have a large extended family, dedicate different months to different family lines, providing a wonderful way to honor everyone.
- Generational Showcase: Feature photos of ancestors for some months, then parents, then children, creating a visual family tree.
Photo Selection Strategy for Storytelling
Once you have a theme, strategically assign your chosen photos to each month. You might select one hero image per month, or create a small collage if the calendar service allows. Strive for balance. Incorporate a mix of old and new photographs, ensuring different family members appear throughout the year. If creating a chronological calendar, verify the dates of your photos to maintain accuracy. Remember to include yourself. Many people forget to add their own image to a family calendar.
The true power of a photo calendar often comes from the stories accompanying the images. Think about captioning each photograph with dates, names of individuals, locations, and brief anecdotes. For example, instead of just “Summer Vacation,” write “July 2018, Smith Family enjoying the Outer Banks, North Carolina. First time Sarah saw the ocean!” These small details transform a picture into a memory, enriching the experience for anyone viewing the calendar.

Essential Photo Editing and Preparation
Even well-composed photos benefit from some post-processing. This step ensures your images look their best when printed, enhancing their visual appeal and clarity.
Proper resolution and editing are also vital if you plan on printing photos on canvas for a high-quality wall display.
Basic Editing Techniques
Most photo calendar creation sites include basic editing tools. You can also use free software like GIMP or online editors like Pixlr for more control. Focus on these core adjustments:
- Cropping and Rotation: Frame your subject effectively and correct any skewed horizons. Ensure the image fits the calendar layout without losing essential elements.
- Color Correction: Adjust white balance to achieve natural-looking colors. Sometimes old photos can have a color cast, which you can often correct.
- Exposure Adjustment: Brighten underexposed images or darken overexposed ones. Aim for a balanced look where details are visible in both shadows and highlights.
- Contrast and Sharpness: A slight increase in contrast can make photos “pop,” while sharpening can bring out fine details. Be careful not to over-sharpen, as this can introduce artifacts.
Restoration Basics for Old Photos
Old, faded, or damaged photos might require a bit more attention. Many editing software programs offer tools for:
- Dust and Scratch Removal: Use spot healing or clone stamp tools to meticulously remove small imperfections. Patience is key here.
- Fading and Color Restoration: Advanced tools can help recover faded colors or convert sepia tones to more vibrant hues if desired, though often the sepia or black and white look holds its own charm.
- Noise Reduction: Older scanned images might have digital noise. Use noise reduction filters sparingly to smooth out grain without losing too much detail.
Approach restoration with a light touch. The goal is to enhance, not obliterate, the authentic character of the original photograph. Remember to always work on copies of your digitized images, preserving the original scans as untouched backups. For comprehensive guidance on photo editing, especially understanding technical aspects like resolution and color management, resources like Cambridge in Colour provide excellent tutorials that help you prepare your photos for optimal printing results. Explore photo editing and technique tutorials at Cambridge in Colour.
Ensuring Consistent Quality
Review all your selected images together. Look for a relatively consistent look and feel across all 12 (or more) photos. While variety is good, wildly different color tones or exposures can make the calendar feel disjointed. Adjust images to create a harmonious collection.

Choosing the Right Calendar Creation Service
Numerous online platforms and local print shops specialize in custom calendars. Your choice depends on factors like budget, desired quality, customization needs, and ease of use. You will find that the best sites for creating photo calendars offer a range of options.
Many of these platforms are also top choices for photo blankets, mugs, and custom merchandise if you want to expand your project.
Popular Online Services
Some of the most popular online providers include:
- Shutterfly: Known for user-friendly interfaces, frequent discounts, and a wide variety of templates and product offerings. They provide various calendar styles, including wall, desk, and poster calendars.
- Mixbook: Offers highly customizable templates and robust design tools. Mixbook emphasizes creative control, allowing you to fine-tune layouts, backgrounds, and embellishments.
- Snapfish: Similar to Shutterfly, Snapfish provides competitive pricing and a straightforward creation process. They often run promotions, making it a budget-friendly option.
- Zazzle: This platform offers unique designs from independent artists alongside standard templates. It provides a vast array of customization choices, including different paper types and binding options.
- VistaPrint: While often associated with business printing, VistaPrint also offers quality custom calendars, particularly good for those seeking a more professional, clean aesthetic.
Comparison Factors
When evaluating services, consider these points:
- Cost: Compare base prices, shipping fees, and look for promotional offers. Some services offer bulk discounts if you plan to order multiple calendars.
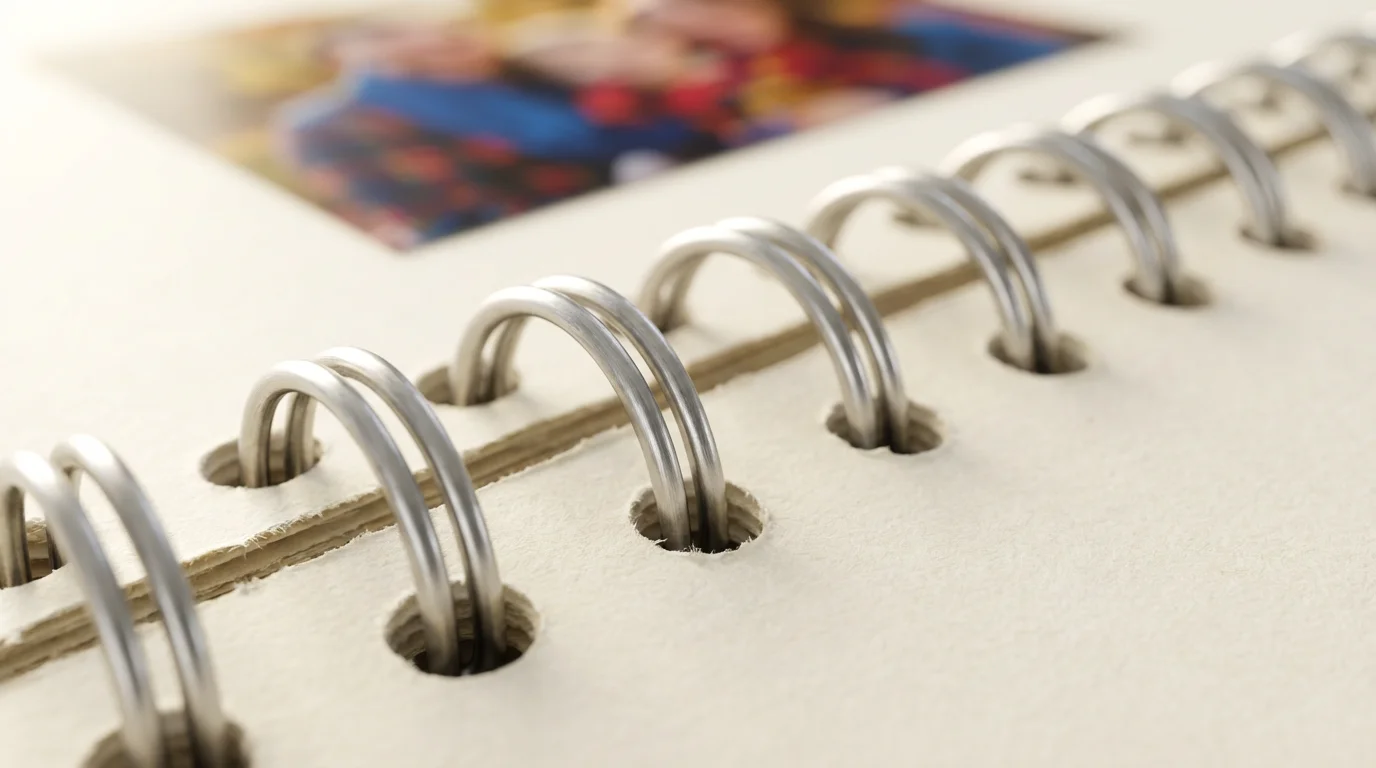
- Quality: Read customer reviews about print quality, paper stock, and binding. High-quality paper (e.g., heavyweight cardstock with a matte or glossy finish) and sturdy spiral binding contribute significantly to durability.
- Customization Options: Does the service allow you to add text to individual dates, change background colors, or create photo collages on pages? More options mean more creative freedom for your custom calendars.
- Ease of Use: Test the online design interface. Is it intuitive? Can you easily upload photos, drag and drop them into place, and preview your design?
- Shipping and Turnaround Time: Confirm delivery estimates, especially if you need the calendar by a specific date, such as for a holiday gift.
You might also explore local independent print shops. They often provide personalized service, unique paper options, and can sometimes handle more complex or custom requests that online platforms cannot. This can be a great option for a truly unique family calendar.

Step-by-Step Calendar Design and Layout
With your photos prepped and service chosen, you are ready to assemble your family calendar. Most online services follow a similar design process.
If you find you have too many great photos to fit into twelve months, consider how to create a beautiful photo book online to showcase the rest of your collection.
- Choose Your Calendar Type and Size: Select a wall calendar, desk calendar, or poster calendar. Decide on the size, typically 8×11 inches or 12×12 inches for wall calendars, which dictates the layout of your photos.
- Select a Starting Month and Year: Most services allow you to choose any month to start your 12-month calendar, ideal if you are creating it mid-year or as a birthday gift.
- Upload Your Photos: Transfer your prepared images from your computer or cloud storage to the calendar creation platform. Organize them into an album within the service for easy access.
- Choose a Template: Browse the available design templates. Look for layouts that complement your photos and theme. Some templates feature one large photo per month, while others offer collages or multiple smaller images. You can often customize colors, fonts, and backgrounds even within a template.
- Assign Photos to Months: This is the heart of creating a custom photo calendar.
- Drag and drop your selected images into the designated photo slots for each month.
- Consider your theme: if chronological, ensure photos progress logically. If seasonal, match the image to the month’s feel.
- Distribute family members evenly throughout the year, so everyone gets representation.
- Pay attention to cropping within the template. Adjust the photo placement to ensure important elements are not cut off.
- Add Text and Personalize Dates: This is where your family calendar truly comes to life.
- Add captions to each monthly photo. Include names, dates, and short anecdotes.
- Mark important family dates: birthdays, anniversaries, graduations, family reunion dates, and even inside jokes. Many services allow you to add custom text or even small icons to specific calendar days.
- Review and Proofread: This crucial step prevents errors.
- Carefully review every page of your calendar. Check photo placement, ensure all dates are correct, and proofread all captions and custom text for typos or grammatical errors.
- Confirm image quality. Does anything look pixelated or blurry in the preview?
- Look for any empty photo slots or placeholder text you may have missed.
- Check the overall flow and consistency.
- Save and Order: Once you are satisfied, save your project. Proceed to checkout, selecting your desired paper finish, binding type, and quantity.

Adding Personal Touches and Annotations
A family photo calendar becomes truly unique and cherished when you infuse it with personal details beyond just the pictures. These thoughtful additions transform it into a richer repository of your family story.
Consider custom date markers. Instead of simply marking “Grandma’s Birthday,” you might add a small, relevant photo of Grandma next to the date. You can include small anecdotes or inside jokes on particular days, referencing events that happened on that date in previous years. For example, if your family traditionally eats pizza on the last Friday of every month, you could add a small pizza icon or text to those specific days.
The power of captions cannot be overstated. A photograph alone tells part of a story, but a well-written caption provides context, emotion, and detail. Describe the moment, name the people involved, and note the date and location. This helps younger generations connect with their heritage and ensures memories remain vivid for older family members. These annotations serve as mini-historical records, guiding viewers through the past and highlighting significant events in your family’s journey.
“Photographs freeze moments in time, but it is the accompanying narrative that truly brings them back to life. Adding detailed captions and personal notes to your family calendar ensures those stories resonate deeply, becoming a cherished record of your shared history.”
Think about the recipient if you are giving the calendar as a gift. Tailor the content to their specific memories or interests. For instance, a calendar for grandparents might focus more on photos of their grandchildren and historical family events, while one for a sibling might highlight shared childhood adventures.
Maximizing Your Calendar’s Longevity
You invest time and emotion in creating a family photo calendar. Taking a few extra steps ensures it lasts and continues to bring joy throughout the year and beyond.
When ordering, select high-quality print options. Opt for archival-grade paper if available. This paper resists fading and yellowing over time, crucial for preserving the vibrancy of your photos. A sturdy binding, such as metal spiral binding, prevents pages from tearing or falling out with daily use. A protective cover, whether clear plastic or a durable cardstock, also helps shield the calendar from spills and wear.
Consider the display location. Avoid placing your calendar in direct sunlight, which causes colors to fade rapidly over time. Fluorescent lights can also accelerate fading. Choose a spot with stable temperature and humidity. High humidity can cause paper to warp and photos to stick together, while extreme dryness can make paper brittle. A cool, dry location away from direct light ensures your photo calendar remains vibrant for the entire year and serves as a treasured keepsake for years to come.
Finally, remember to save a digital copy of your finished calendar design. Most online services allow you to save your project. This backup ensures you can easily reorder the same calendar in the future, perhaps with updated photos, or simply retain a digital archive of your creation. A photo calendar is more than just a temporary item; it is a segment of your family’s visual heritage, deserving of protection and care.
Frequently Asked Questions
What resolution do I need for my photos?
Aim for at least 300 pixels per inch (PPI) at the final print size for optimal quality. For example, if a photo will print at 8×10 inches, you need an image with roughly 2400×3000 pixels. Most modern digital camera or smartphone images easily meet this requirement for standard calendar sizes. If you scan physical photos, scan them at 300-600 DPI to capture enough detail for various print sizes.
Can I use very old, faded photos?
Yes, you can use old and faded photos. Digitizing them at a high resolution (600 DPI or more) allows you to capture as much detail as possible. Basic editing tools can often correct color casts, adjust contrast, and reduce the appearance of fading, breathing new life into these precious images for your photo calendar.
How far in advance should I order custom calendars?
Order your custom calendars at least 2-3 weeks before you need them, especially during peak holiday seasons like November and December. Production and shipping times can vary significantly between services. Ordering early helps you avoid rush fees and ensures timely delivery.
What are the best sites for creating photo calendars for beginners?
For beginners, sites like Shutterfly and Snapfish offer intuitive, user-friendly interfaces with many pre-designed templates. They provide straightforward drag-and-drop functionality, making the design process simple and accessible even if you have no prior design experience.
Is it better to make a digital or physical family calendar?
A physical family calendar offers a tangible, ever-present reminder of your memories, engaging viewers daily without requiring a screen. While digital calendars offer convenience and shareability, the tactile experience of a physical photo calendar, especially with its high-quality prints and custom annotations, often creates a deeper emotional connection.
Disclaimer: This article is for informational purposes only. When handling valuable or irreplaceable photographs, consider consulting a professional conservator. Always test preservation methods on non-valuable items first.


Leave a Reply