Road trips are a quintessential American experience—long stretches of asphalt, neon signs at dusk, and the spontaneous detours that define a journey. Yet, all too often, the hundreds of photos captured during these miles remain trapped on a smartphone or buried in a cloud storage folder. A modern photo zine offers a tactile, artistic solution to this digital clutter. Unlike a bulky, formal photo book, a zine is a lightweight, self-published magazine that captures the raw, candid energy of travel. It emphasizes a specific mood or theme over a chronological list of events.
For those who want to record every stop in detail, creating a travel photo journal can be a perfect complement to a visual-first zine project.
Creating your own travel zine allows you to act as both photographer and editor. You curate the experience, choosing which moments deserve to be held in your hands. This process turns a collection of data into a physical heirloom that friends can flip through on a coffee table or you can store on a bookshelf for years to come. By following a structured design and printing process, you can transform your recent road trip into a professional-looking DIY magazine that feels both contemporary and nostalgic.
Curating the Road Trip Narrative
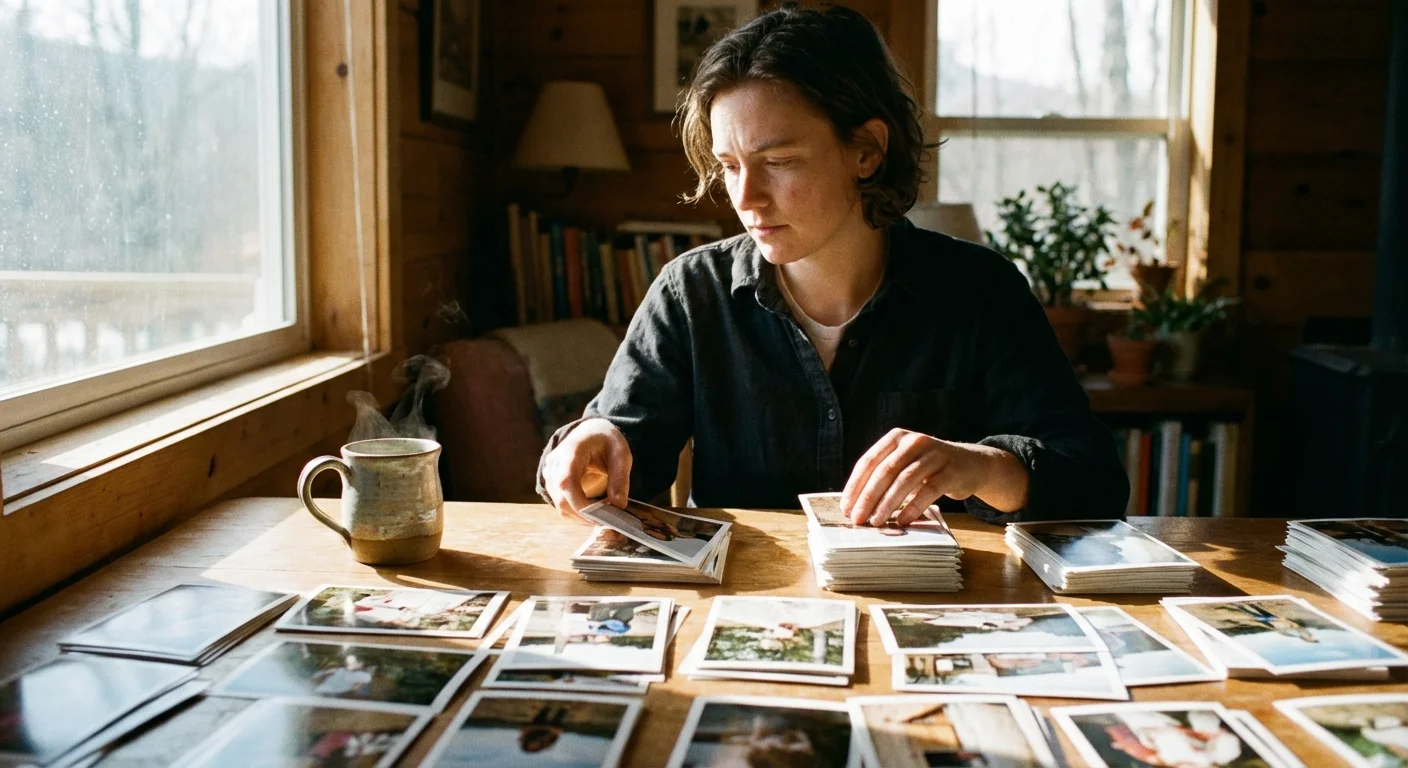
The biggest mistake most travelers make when documenting a trip is trying to include everything. A zine is not a complete archive; it is a curated highlights reel. To start, you must sift through your images and look for a unifying thread. Perhaps your trip was defined by the desolate beauty of the desert, or maybe it was a culinary tour of roadside diners. Identifying this “vibe” helps you decide which photos stay and which go.
Begin by selecting roughly 50 of your favorite shots. From there, perform a second pass to narrow that number down to 25. Look for a mix of wide-angle landscapes, medium shots of your travel companions, and tight “detail” shots—the texture of a steering wheel, a crumbled map, or the condensation on a soda bottle. These details provide the sensory context that makes the reader feel the heat or the dust of the road. Aim for a balance of images; too many similar landscapes can become repetitive, while too many portraits may lose the sense of place.
“A successful photo zine focuses on a specific mood or theme rather than an exhaustive chronological record of events.”
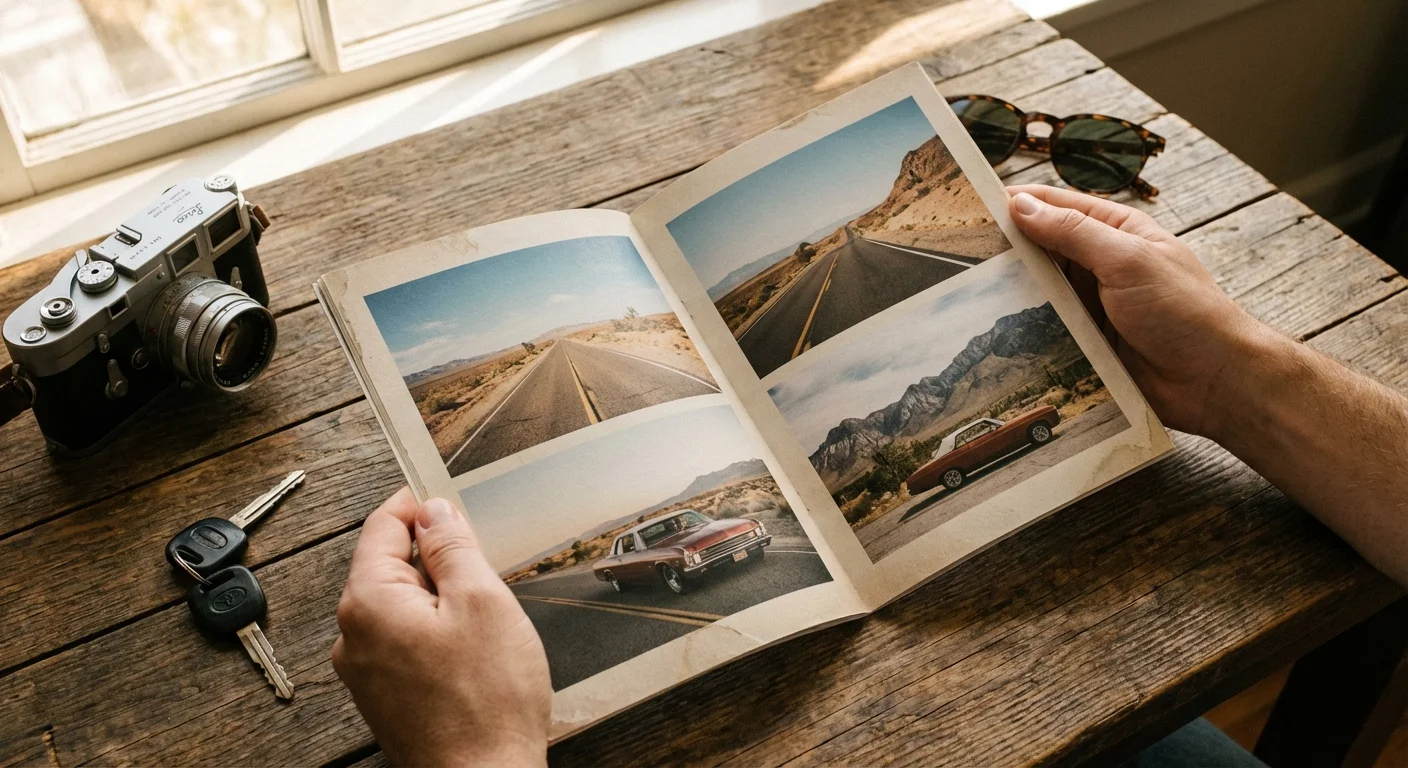
When curating, consider the “anchor” images. These are your strongest photographs—the ones that could stand alone on a gallery wall. You will likely give these images a full page or even a two-page spread. Surround them with smaller, supporting photos that build the atmosphere. By prioritizing quality over quantity, you ensure that every turn of the page offers something compelling to look at.
Choosing Your Zine Format and Aesthetic
Zines come in many shapes and sizes, but the most common for beginners is the “half-letter” or “digest” size. This is created by folding standard 8.5″ x 11″ paper in half, resulting in a 5.5″ x 8.5″ booklet. This size is cost-effective, easy to mail, and fits perfectly in a glove box or a small bag. If you want a more modern, cinematic look, consider a square format or an A5 size if you are using international paper standards.
Your aesthetic choices should reflect the nature of your trip. If you drove an old camper van through the Pacific Northwest, a “lo-fi” look with high-contrast black and white photos and handwritten captions might suit the project. If you took a luxury drive down the Amalfi Coast, a clean, minimalist layout with plenty of white space and crisp, vibrant colors would be more appropriate. Think about your typography as well; a sans-serif font feels modern and airy, while a typewriter-style font evokes a sense of vintage exploration.
Consider the color palette of your journey. A trip through the Southwest might be dominated by oranges, reds, and deep blues. You can lean into this by grouping images with similar tones on facing pages. This creates visual harmony and makes the zine feel like a cohesive piece of art rather than a random collection of snapshots. If you are struggling with image quality, Digital Photography Review offers extensive guides on understanding sensor capabilities and how to get the most out of your digital files before they go to print.
Designing the Layout for Visual Impact
Layout is where your narrative truly takes shape. You don’t need to be a graphic designer to create an effective flow. Use a “grid” system to keep your images aligned, but don’t be afraid to break the grid for dramatic effect. For example, placing a small photo in the center of a large white page creates a sense of isolation or focus. Conversely, a “full-bleed” image—one that runs off the edges of the paper—creates an immersive experience.
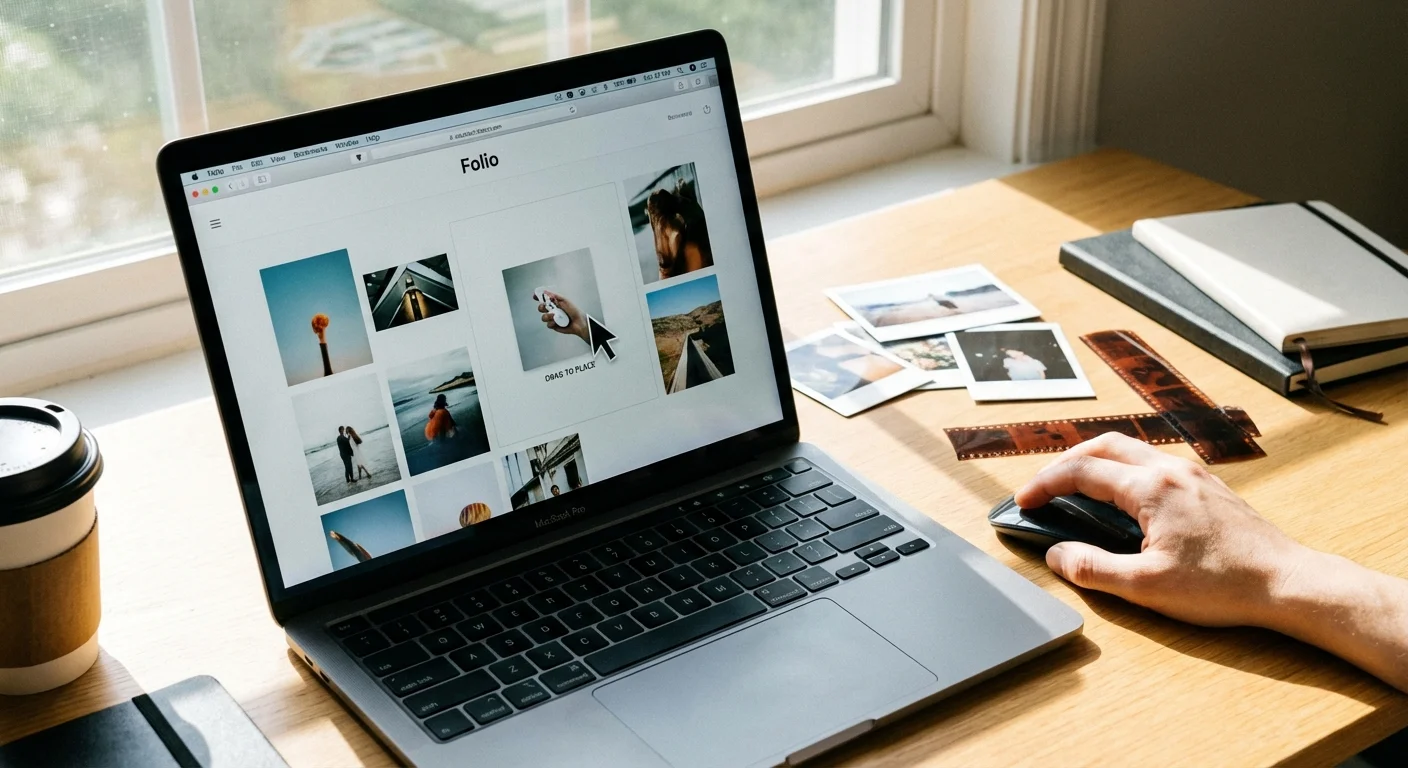
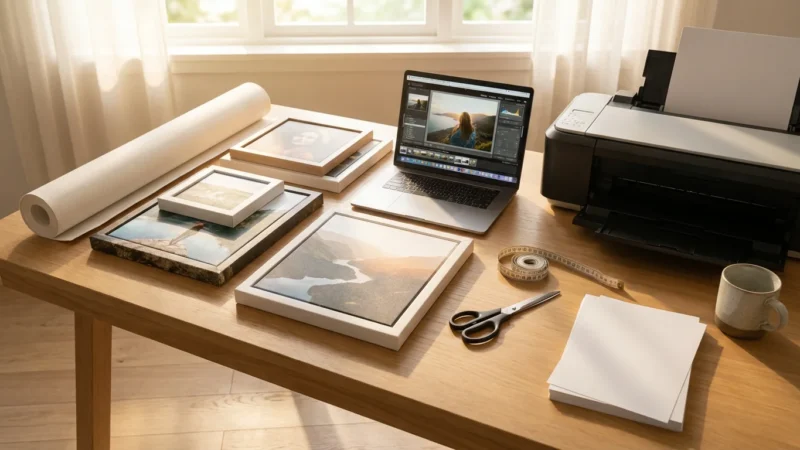
Sequence your photos to create a rhythm. Start with an “establishing shot” that sets the scene, such as the open road ahead or the packed trunk of a car. Follow this with a series of smaller moments. Periodically, insert a “breather” page—a page with a single small photo or just a few lines of text—to prevent the layout from becoming too crowded. You can use digital tools like Canva, Adobe Express, or specialized software like Blurb’s Bookwright to drag and drop your photos into templates.
Pay close attention to the “gutter,” which is the center fold where the pages meet. Avoid placing important details, such as a person’s face or a key landmark, directly in the gutter, as they will get lost in the binding. If you are doing a two-page spread, ensure the horizon line matches up across both pages to maintain the illusion of a single, continuous image.
Integrating Travel Ephemera and Text
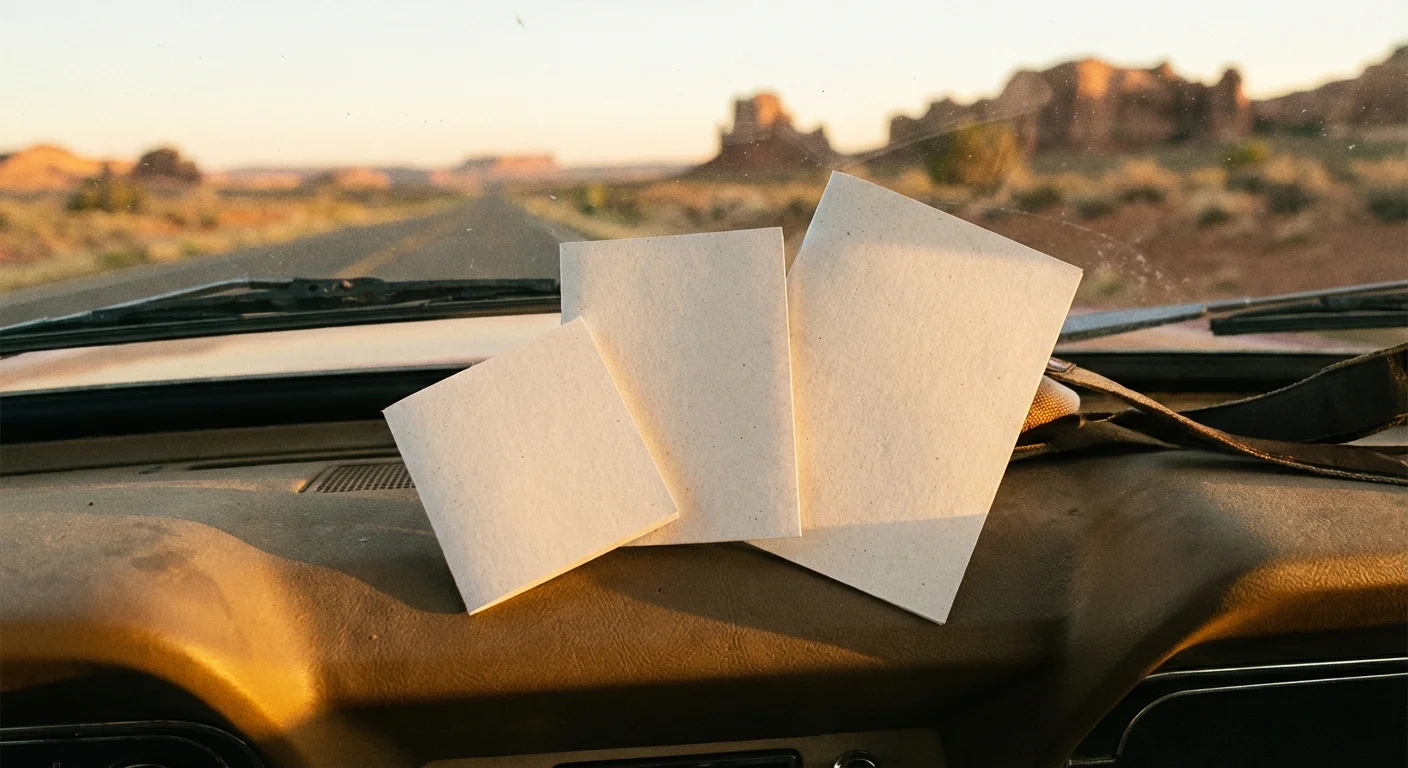
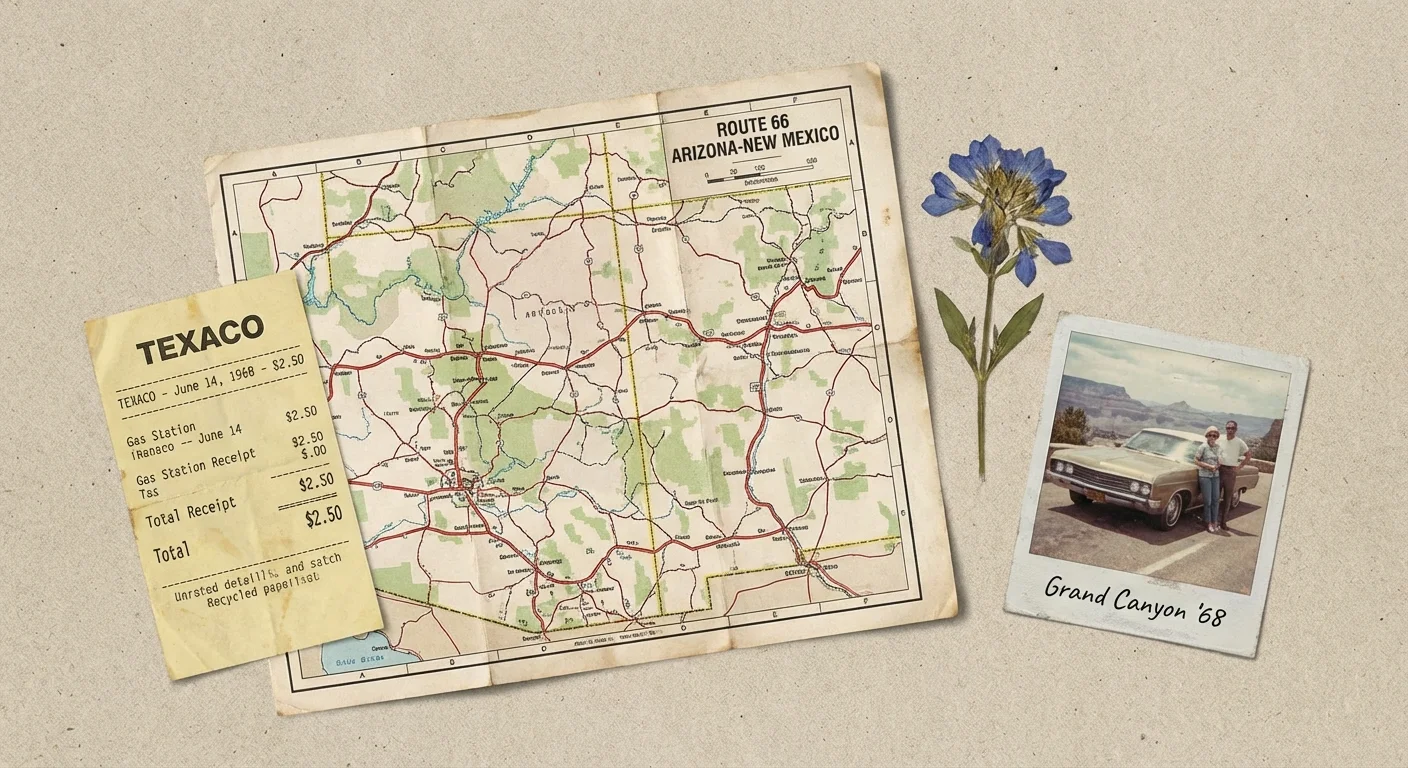
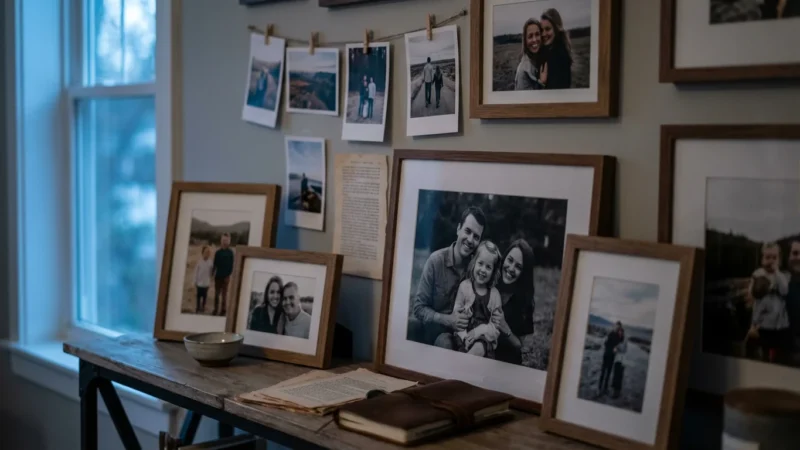
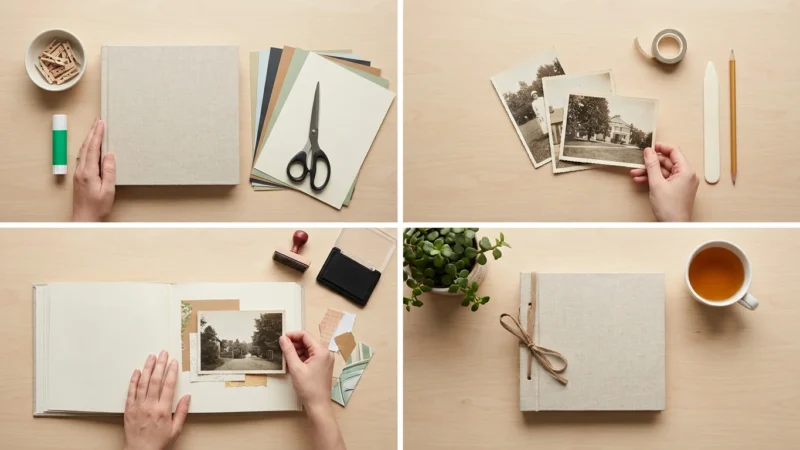
What sets a zine apart from a standard photo book is the inclusion of “ephemera”—those physical scraps of a trip that usually end up in the trash. Scanned receipts from a memorable meal, a ticket stub from a roadside museum, or a pressed leaf from a national park can add layers of texture to your zine. These items serve as tactile proof of your travels and break up the sequence of photographs.
Text should be used sparingly but effectively. You might include the coordinates of a specific spot, a short anecdote about a breakdown, or the lyrics of a song that played on repeat during the drive. If you prefer a more visual approach, use the text as a design element itself—large, bold titles for different sections of the trip can act as visual anchors. Remember to maintain a consistent tone; if the photos are moody and introspective, keep the text brief and poetic.
If you are creating a digital zine to be printed later, scan your physical items at a high resolution (at least 600 DPI for small items) to ensure they look sharp. You can then layer these scans behind your photos or place them on their own pages. This “collage” style is a hallmark of zine culture and gives your project an authentic, handmade feel that digital-only projects often lack.
Technical Specifications for Printing and Paper
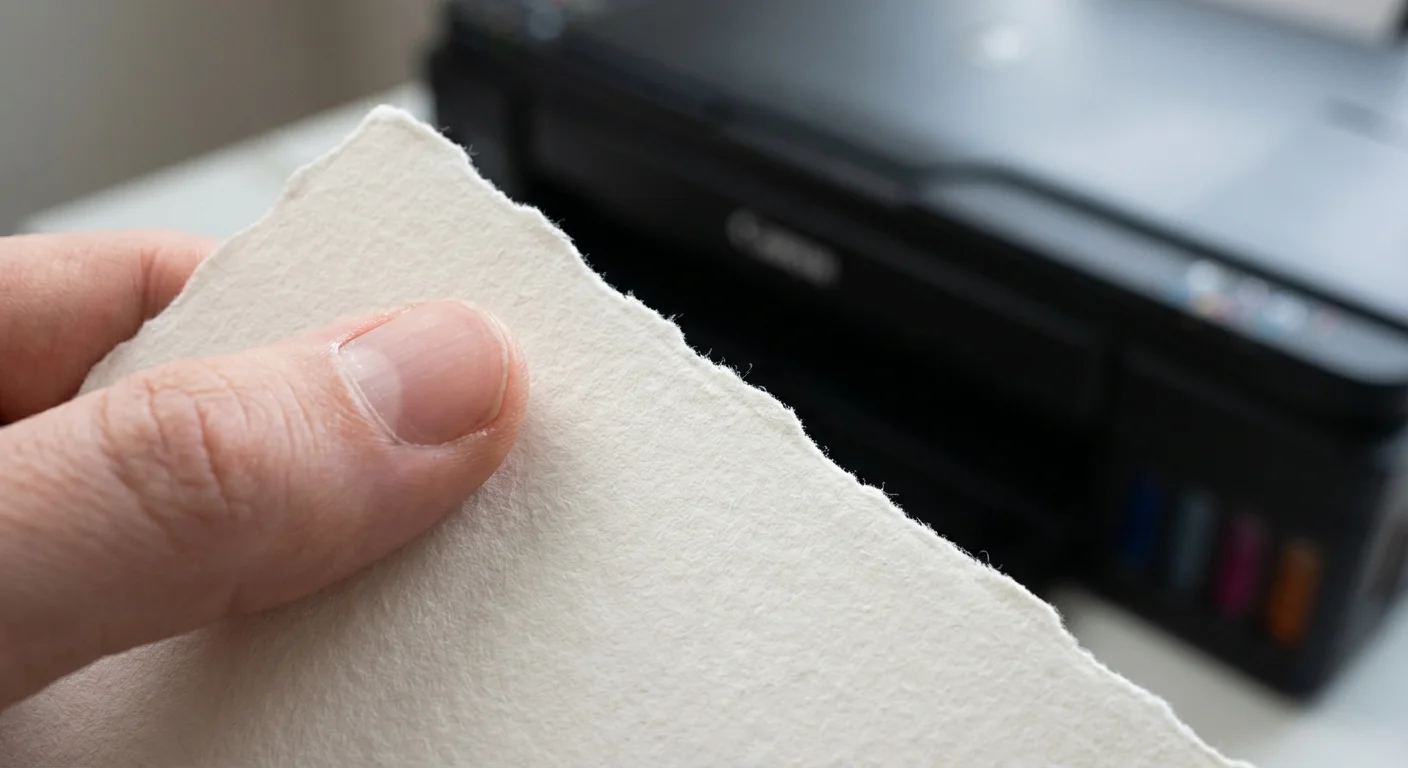
The choice of paper can dramatically change the feel of your zine. For a road trip project, you want something durable but not overly precious. Most zines use a heavier “cover stock” for the outside and a lighter “text stock” for the interior. If your photos are very colorful, a semi-gloss or “lustre” finish will help the colors pop. If you prefer a more artistic, muted look, a matte paper will provide a sophisticated, tactile texture.
If you prefer to outsource the physical production, explore the best photo printing services for quality prints to find a reliable partner for your project.
| Paper Type | Weight (GSM) | Best Use Case | Visual Effect |
|---|---|---|---|
| Uncoated Matte | 100-120 | Text-heavy zines, vintage photos | Soft, non-reflective, artistic |
| Satin/Lustre | 130-150 | High-detail photography | Slight sheen, vibrant colors |
| Glossy | 150+ | Cinematic, high-contrast shots | Shiny, deep blacks, high saturation |
| Cardstock (Cover) | 200-300 | Outer protection | Rigid, professional feel |
When preparing your files for a professional printer, always include a “bleed” area—usually 0.125 inches around the edge. This ensures that when the pages are trimmed, there are no awkward white slivers at the edges of your full-page photos. Export your final design as a high-quality PDF with all fonts embedded. If you are printing at home, test a few pages first to ensure your printer’s colors are accurate. Professional inkjets often provide better results for photography than standard office laser printers.
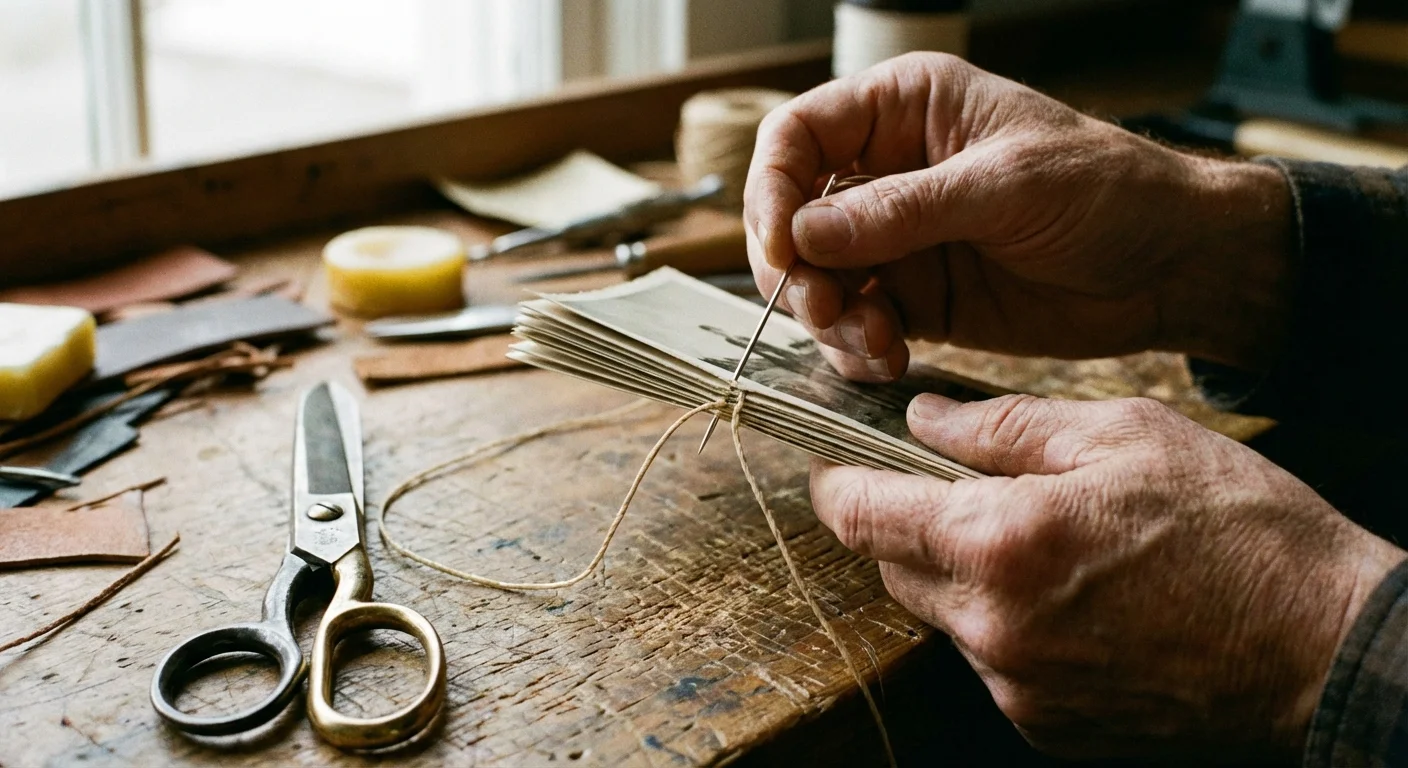
Binding and Assembly Techniques
Once your pages are printed, you must choose a binding method. The most common and accessible method for zines is the “saddle stitch.” This involves stapling the pages along the center fold. You can buy a “long-reach” stapler specifically for this purpose, which allows you to reach the center of an 11-inch sheet of paper. It is a quick, clean, and durable way to hold your zine together.
For a more artisanal look, you might consider “loop stitching” or even hand-sewing the spine with embroidery floss. This adds a personal touch and allows you to choose a thread color that complements your photos. If your zine is particularly thick (over 40 pages), saddle stitching might cause the book to pop open. In this case, you may need “perfect binding,” which uses glue along the spine to create a flat edge, similar to a paperback book. Most local print shops can perform perfect binding for a small fee.
After binding, use a craft knife and a metal ruler to trim the “creep.” Creep happens because the inner pages of a folded booklet stick out further than the outer pages. Trimming the outer edge after stapling gives your zine a perfectly flush, professional finish. Be careful to use a sharp blade and multiple light passes rather than one heavy cut to avoid tearing the paper.

Preserving Your Zine for the Future
Your photo zine is more than just a craft project; it is a historical record of your life. To ensure it lasts for decades, you should consider the materials you use. Standard printer paper and some inks contain acids that can cause yellowing and brittleness over time. If you want your zine to be a true heirloom, look for “acid-free” or “archival” paper and pigment-based inks, which are more resistant to fading than dye-based inks.
Following the principles of creating a home photo archive will help ensure your handmade zines stay in pristine condition for future generations to enjoy.
Storing your zines properly is equally important. Keep them in a cool, dry place away from direct sunlight, as UV rays are the primary enemy of printed photographs. If you have made several zines, consider storing them in acid-free sleeves or folders. For detailed guidance on preserving paper-based materials, the National Archives Preservation site offers excellent resources on environmental controls and handling techniques for documents and photographs.
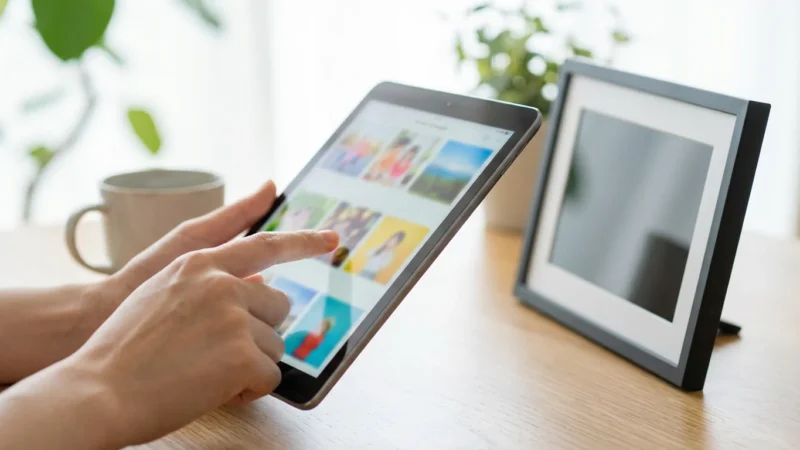
Finally, keep a digital backup of your zine design. If the physical copy is ever lost or damaged, you can simply print another. You might even consider uploading your zine to a digital platform like Issuu or Flipsnack, allowing you to share the road trip experience with friends and family across the globe without the cost of postage. By combining physical craftsmanship with digital backups, you ensure your road trip memories remain accessible for the next generation.
Frequently Asked Questions
How many photos should I include in a standard photo zine?
A standard photo zine usually runs between 16 and 40 pages. For a cohesive narrative, aim for 20 to 30 high-quality images. This allows for a mix of full-page spreads and smaller groupings without overwhelming the reader or making the booklet too thick to staple.
What is the best paper weight for a DIY travel zine?
For the interior pages, a weight between 80lb and 100lb (approx. 120-150 GSM) text paper works best. It provides a premium feel without being too stiff to fold. For the cover, use a slightly heavier cardstock, such as 80lb or 100lb cover weight, to protect the contents and give the zine structure.
Do I need professional software like Adobe InDesign to make a zine?
While professional tools offer the most control, they are not necessary. You can create a stunning zine using free web-based design tools, basic word processors, or even the “cut-and-paste” method with physical prints and a photocopier for a classic lo-fi aesthetic.
How do I ensure my photos don’t look blurry when printed?
Ensure your images have a resolution of at least 300 DPI (dots per inch) at their final print size. If you are using smartphone photos, avoid heavy cropping, which reduces the pixel count and leads to pixelation in the final print.
Disclaimer: This article is for informational purposes only. When handling valuable or irreplaceable photographs, consider consulting a professional conservator. Always test preservation methods on non-valuable items first.


Leave a Reply