
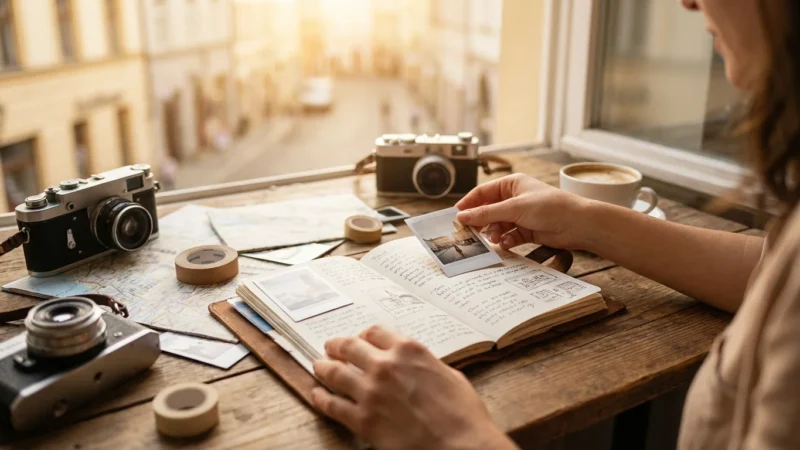
Creating a photo scrapbook allows you to transform cherished photographs into a tangible, storytelling keepsake. Whether you inherited boxes of faded family pictures or accumulate thousands of digital images on your devices, a scrapbook offers a beautiful way to organize, preserve, and share your most treasured memories. This comprehensive guide walks you through every step of how to start a photo scrapbook for beginners, ensuring your project becomes a lasting heirloom.
To keep your workflow efficient, it is helpful to create a photo organization system that allows you to find specific moments quickly before you begin assembly.
Before you begin, consider organizing physical photo prints to ensure you have all your favorite moments sorted and ready to use.
Why Create a Photo Scrapbook?
In an age dominated by digital screens, the physical experience of turning pages and holding printed memories offers a unique satisfaction. A photo scrapbook goes beyond a simple album; it is a curated collection of stories, emotions, and personal history. You create a physical legacy for your family, showcasing moments that shaped your life and the lives of those you love. Studies show that engaging with physical photographs can enhance memory recall and emotional connection, providing a deeper appreciation for your past. You move from passively scrolling through images to actively engaging with your family history, making each memory more vivid and meaningful.
If you prefer a digital approach over manual crafting, you might enjoy learning how to create a beautiful photo book online using customizable templates.
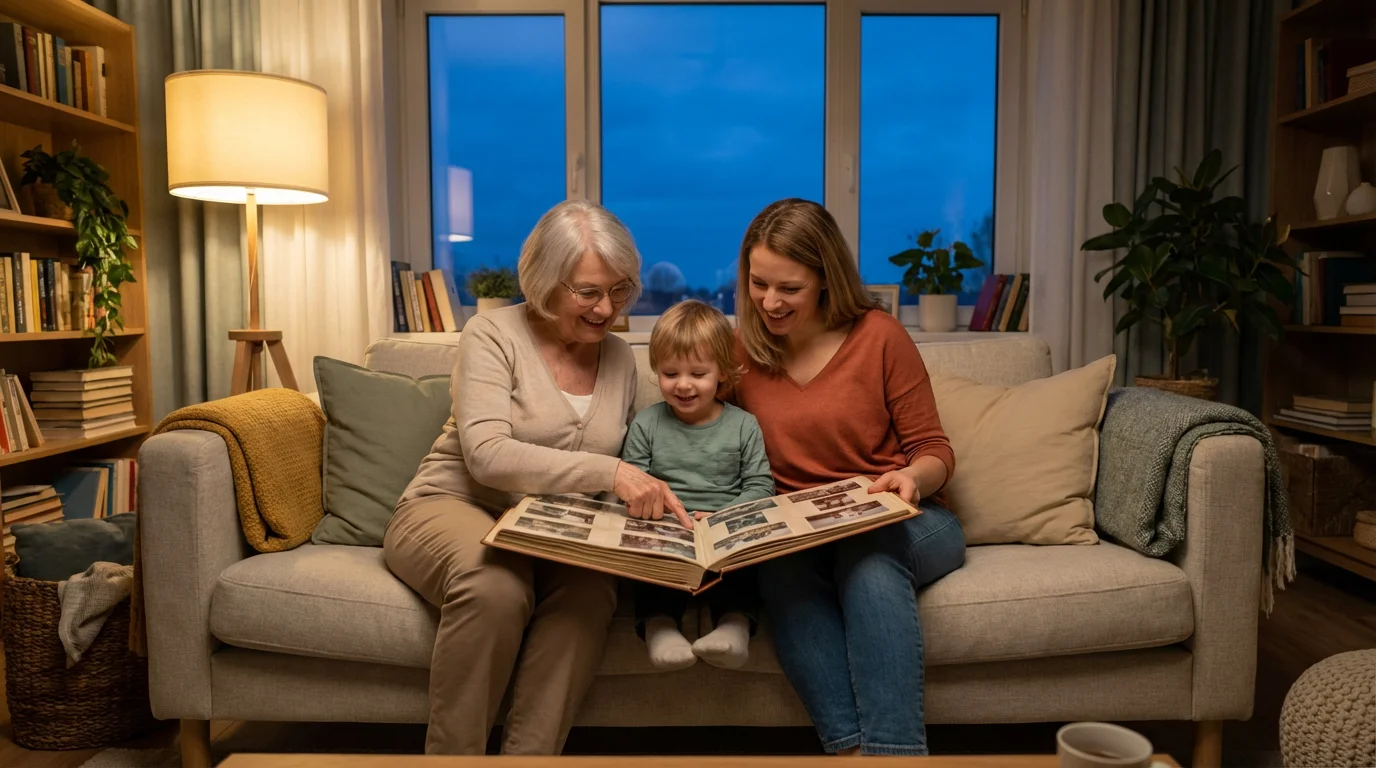
Think about the joy of sharing a physical memory album with loved ones. Grandparents can share stories with grandchildren, pointing to specific pictures and recounting the details behind them. Children delight in seeing their own growth through the years. A scrapbook acts as a bridge between generations, fostering connections and strengthening family bonds. It provides a tactile connection to your past, helping you connect with your personal and family identity in a profound way.

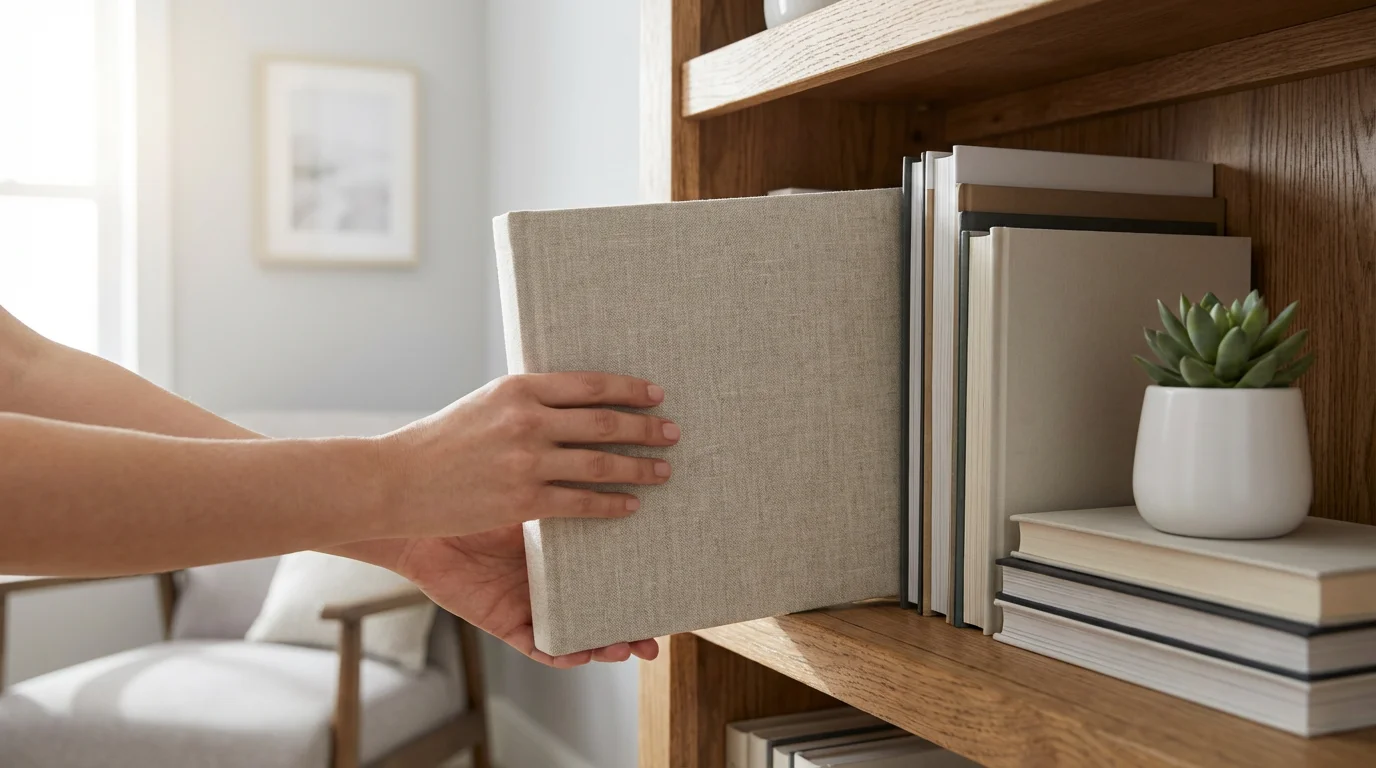
Gathering Your Scrapbooking Essentials
Starting your photo scrapbook journey requires the right tools. Focusing on archival-quality scrapbooking supplies ensures your efforts endure for generations. Archival materials prevent deterioration, fading, and damage to your precious photographs and memorabilia. Look for products labeled “acid-free,” “lignin-free,” and “photo-safe.” These terms indicate that the materials will not break down over time and release harmful chemicals that can damage your photos. Here’s a checklist of essential items to begin your project:
Learning these basic assembly skills can also inspire other creative projects, such as making DIY photo gifts for friends and family.
- Scrapbook Album: Choose an album that suits your style and the size of your pages. Common sizes include 8×8 inches, 10×10 inches, and 12×12 inches. Ring-bound or post-bound albums allow you to add or rearrange pages easily. Ensure the album itself is archival quality.
- Acid-Free Paper/Cardstock: This forms the base of your scrapbook pages. Opt for a variety of colors and patterns to add visual interest. Always check for the “acid-free” label to protect your photos from discoloration.
- Photo-Safe Adhesives: Select adhesives specifically designed for scrapbooking. Options include adhesive dots, tape runners, photo corners, and glue sticks. Test any new adhesive on a scrap piece of paper first to ensure it holds well and leaves no residue. Ensure all adhesives are acid-free and permanent, yet gentle on your photographs.
- Scissors and Paper Trimmer: Precision cutting makes a significant difference. A good pair of sharp, detail scissors and a paper trimmer help you achieve clean lines for photos and embellishments.
- Pens and Markers: Use archival, fade-resistant pens for journaling. Pigment-based inks last longer than dye-based inks and prevent bleeding or fading over time. Look for pens labeled “acid-free” or “photo-safe.”
- Ruler and Pencil: Essential for planning layouts and creating guides before applying anything permanently.
- Embellishments (Optional): Stickers, die-cuts, stamps, ribbons, and other decorative elements add personality. Again, choose acid-free options to prevent damage to your photos.
- Photo Organizer/Storage Box: Keep your chosen photos protected and organized before and during the scrapbooking process.
“Investing in archival-quality materials for your photo scrapbook safeguards your memories against the test of time. These products prevent yellowing, fading, and brittleness, ensuring your family’s visual history remains vibrant for future generations.”

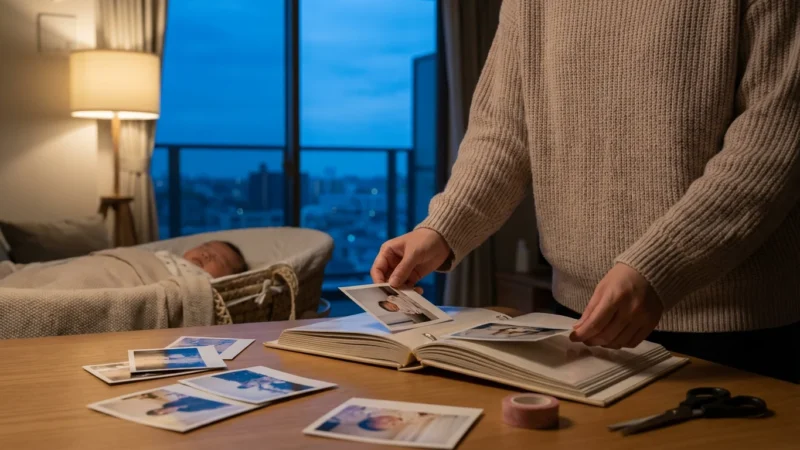
Selecting and Preparing Your Photographs
This critical step involves choosing which memories to include and preparing them for your memory album. Whether you work with physical prints or digital files, thoughtful selection and proper preparation ensure your scrapbook tells a cohesive and meaningful story.
As you sort through your materials, consider decluttering your photo collection to ensure only the most meaningful, high-quality images represent your story.
If you need to collaborate with relatives to find the best shots, first learn how to share photo galleries with family online to gather everyone’s favorite memories.
Curating Your Collection
Start by defining a theme or period for your scrapbook. Perhaps it is a family vacation, a child’s first year, or a decade of family gatherings. This focus helps you narrow down your vast collection. Review your photos, looking for images that evoke strong emotions, tell a part of your story, or capture significant moments. Do not feel obligated to include every single picture; prioritize quality over quantity. A well-curated collection creates a more impactful narrative.
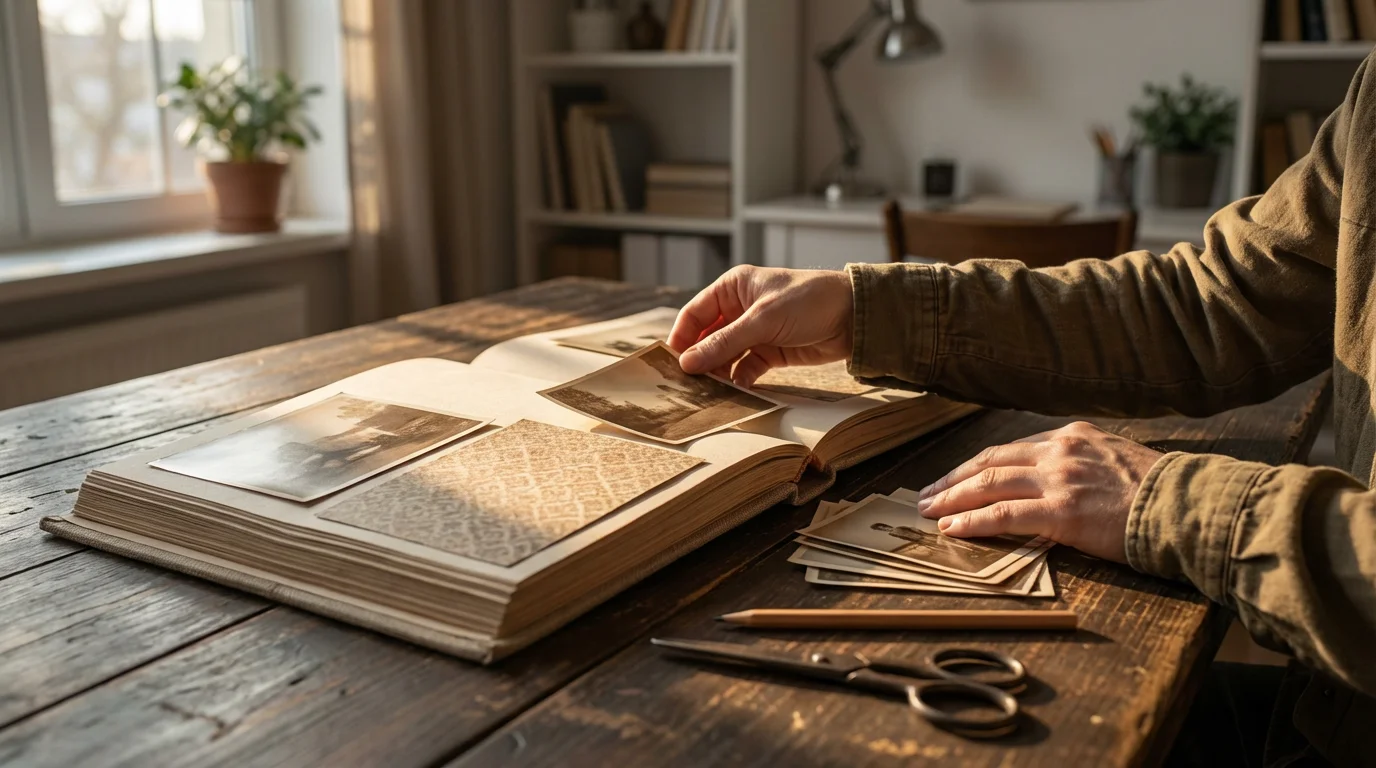
Handling Physical Photographs
When working with old physical prints, handle them with extreme care. Your hands carry oils and dirt that can transfer to photos, causing damage over time. Consider wearing cotton gloves, similar to those used by archivists, to protect surfaces. For information on preserving irreplaceable photographs, you can refer to resources from organizations like the National Archives Preservation.
Avoid cutting original photographs. Instead, make copies if you need a specific size or shape. Professional photo labs or even high-quality home scanners can create excellent reproductions. Scan photos at a high resolution (at least 300 DPI for printing, higher for archival purposes) to capture detail. Clean any dust or debris from old prints gently with a soft brush before scanning or adhering them.
Preparing Digital Photographs
If your photos exist only in digital form, this is your opportunity to bring them to life. Select your favorite digital images and have them professionally printed on archival-quality photo paper. Matte finishes often work well in scrapbooks, reducing glare and fingerprint smudges. Consider printing duplicates of particularly important photos, giving you flexibility in your design. You can also resize and crop images digitally before printing, saving you from altering the physical prints later.
Before printing, ensure your digital files are properly color-corrected and sharpened. If you do not feel confident editing yourself, many online and local print services offer these adjustments. High-quality prints make a dramatic difference in the final look of your photo scrapbook.
Designing Your Scrapbook Pages
Page design transforms your collection of photos into a visually engaging story. Think of each page, or a two-page spread, as a canvas where you arrange elements to create balance, flow, and emphasis. This is where your creativity truly shines in scrapbooking basics.
These layout principles also work exceptionally well when creating a travel photo journal for your favorite vacation memories.
For those documenting a specific milestone, the techniques used for creating a wedding photo album can help you build a narrative around a single special day.
Planning Your Layouts
Before gluing anything down, plan your page layouts. Use a pencil to lightly sketch where each photo, piece of paper, and embellishment will go. You can even create temporary mock-ups by placing your elements on the page without adhesive. This allows you to experiment with different arrangements and ensure everything fits. Consider these layout principles:
- Focal Point: Designate one main photo or element as the focal point of each page. All other elements should support and enhance this central image.
- Visual Flow: Arrange photos and elements to guide the viewer’s eye across the page. This might involve creating a diagonal line, a cluster, or a grid.
- White Space: Do not overcrowd your pages. Empty space, often called “white space,” gives the eye a place to rest and makes your design feel cleaner and more professional. It also helps your photos stand out.
- Storytelling: Each page or spread should tell a mini-story or capture a specific theme. Arrange photos chronologically or thematically to build a narrative.
- Balance: Distribute visual weight evenly. If you have a large photo on one side, balance it with a smaller cluster of photos or a journaling block on the opposite side.
You can find inspiration from online scrapbooking communities, magazines, or even other memory albums. Adapt ideas to fit your personal style and the story you want to tell.
Choosing Colors and Patterns
Colors and patterns set the mood for your pages. Select papers and embellishments that complement your photos rather than overpowering them. Soft, neutral tones often work well as backgrounds, allowing vibrant photos to pop. Use patterned papers sparingly or as accents to avoid a cluttered look. If your photos have a dominant color, incorporate that hue into your paper choices for a cohesive feel.
Consider the emotional tone of your photographs. Bright, cheerful colors suit celebratory events, while muted, earthy tones might complement historical or reflective themes. Maintain a consistent color palette within a spread or section of your scrapbook to ensure a harmonious overall appearance.
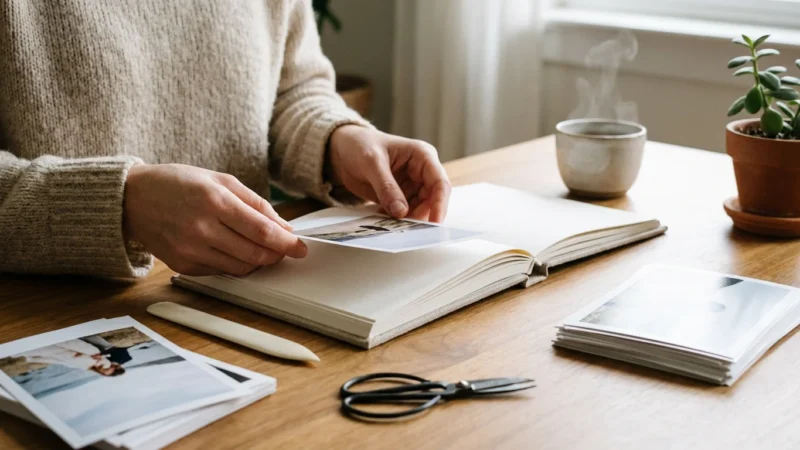
Assembling Your Memory Album
Once you finalize your layouts, the assembly process brings your designs to life. Careful execution ensures your scrapbook remains intact and beautiful for years to come. This is a key step in scrapbooking basics.
This organized assembly method is also ideal for creating a year-in-review photo album to document your family’s growth over the past twelve months.
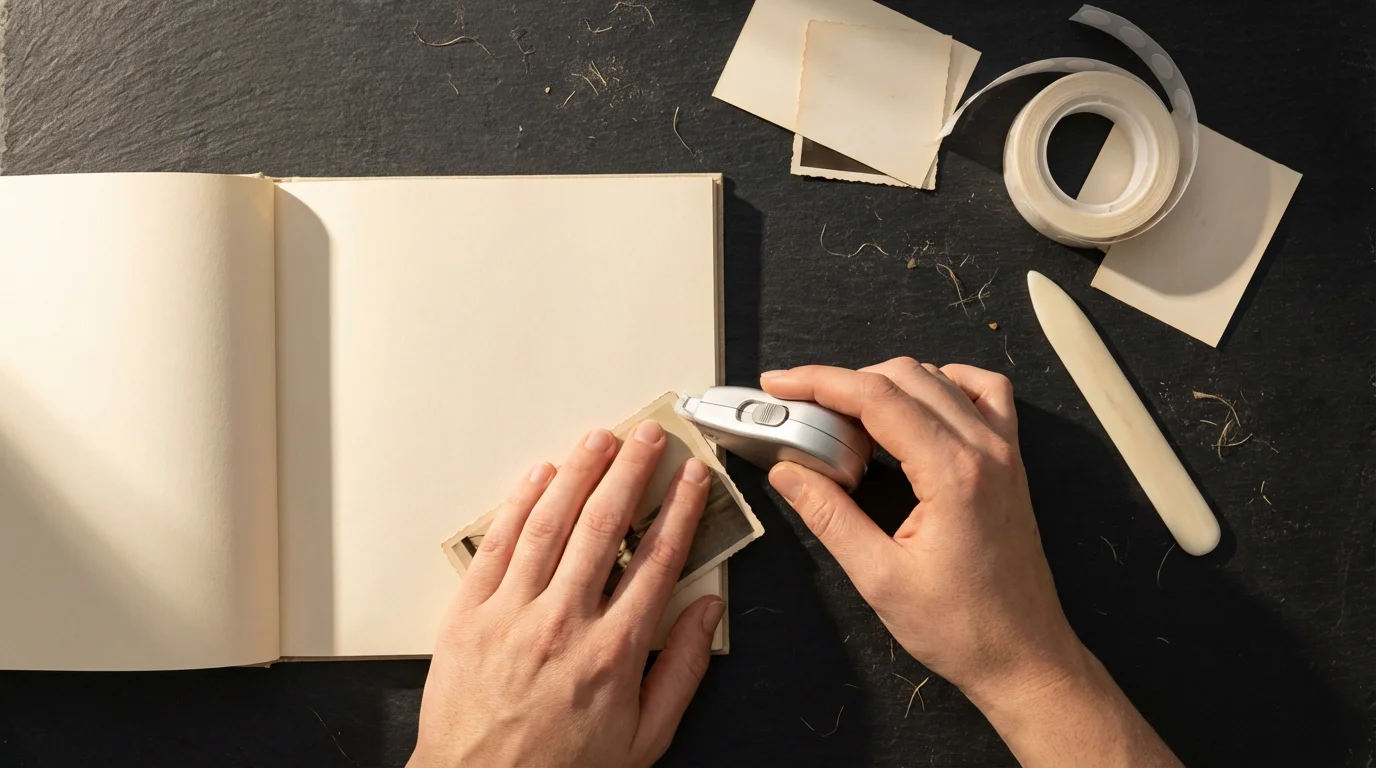
Adhering Your Photos and Papers
Use your chosen photo-safe adhesives sparingly but effectively. For photos, adhesive dots or a tape runner placed on the back corners or edges provide a secure hold without excess bulk. If you use photo corners, ensure they are acid-free and provide a snug fit for your prints. These reversible methods allow you to remove or reposition photos if necessary without damaging the original print, which is a key principle in photo preservation.
For larger pieces of paper or cardstock that form background layers, apply adhesive around all edges and a few spots in the center to prevent curling or lifting. Press firmly once placed to ensure good adhesion. Always work on a clean, flat surface to prevent transferring dirt or accidentally sticking pages together.
Adding Embellishments
Embellishments enhance your page’s visual appeal and help tell your story. Place stickers, die-cuts, and other decorative elements strategically, ensuring they do not obscure important parts of your photos or journaling. Use a variety of textures and dimensions to add interest, but avoid excessive bulk that might prevent your album from closing properly. Consider adding elements that relate directly to the photos, such as a tiny charm of a travel destination or a sticker representing a hobby.
Remember that “less is more” often applies to embellishments. Over-decorating a page can distract from the main focus—your photographs. Strive for balance and thoughtful placement, allowing your embellishments to complement the story rather than dominate it.
Adding Journaling and Personal Touches
Journaling elevates your photo scrapbook from a collection of images to a rich narrative. Your words provide context, emotion, and detail that photos alone cannot convey. This is where you truly personalize your memory album.
Writing Your Stories
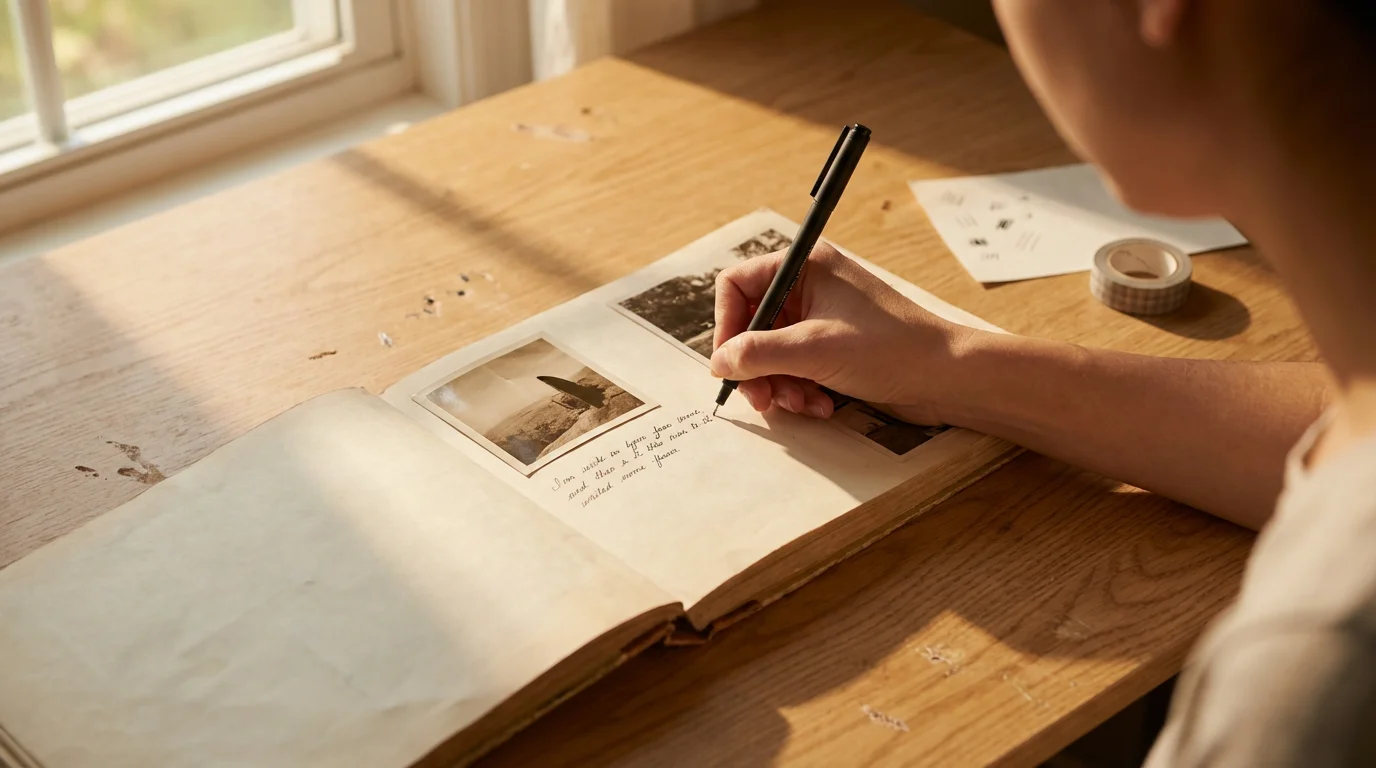
Use archival, acid-free pens for all journaling. Before writing directly onto your page, practice on a scrap piece of paper to ensure your pen flows smoothly and your handwriting is legible. Write down dates, names, locations, and anecdotes associated with each photo. What were you feeling? What was happening off-camera? These details become invaluable as time passes, preserving the stories behind the smiles.
You can write directly on the page, on small journaling cards, or on tags that pull out. Consider different styles of journaling:
- Descriptive: Simply state the facts: “August 15, 2023 – Family vacation at Glacier National Park.”
- Narrative: Tell a brief story: “This was the morning we saw a black bear cub by the stream. Everyone was so excited, but we kept our distance, as instructed.”
- Reflective: Share your thoughts and feelings: “Looking at this picture, I remember feeling so peaceful and grateful to be surrounded by nature and my loved ones.”
- Conversational: Write as if you are speaking directly to the viewer: “Do you remember how much fun we had building that giant sandcastle?”
Do not worry about perfect prose; authenticity matters most. Your unique voice is a precious addition to your photo scrapbook. You might find inspiration by simply looking at a photo and jotting down the first three memories or feelings that come to mind.
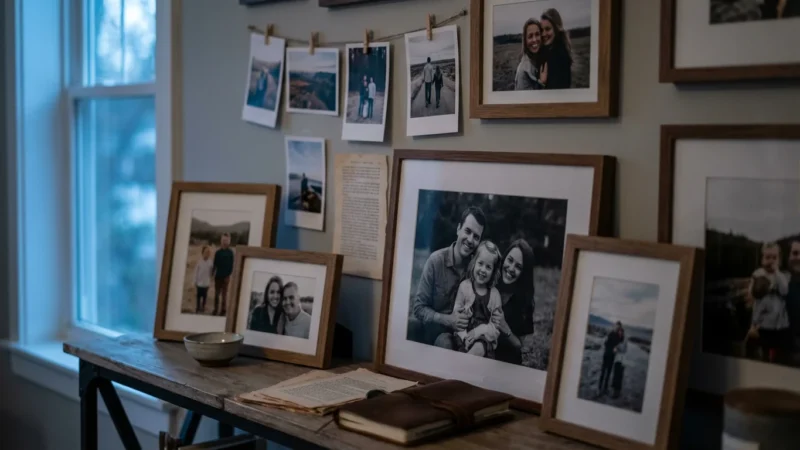
Integrating Mementos and Ephemera
Your scrapbook can also house tangible memories beyond photographs. Include ticket stubs, small maps, handwritten notes, children’s artwork, or dried flowers. Ensure these items are also acid-free or isolate them from your photos using protective sleeves or pockets to prevent any potential damage from acidic materials. Small envelopes or clear pockets can secure these items, allowing readers to discover hidden treasures within your memory album. This adds depth and a multi-sensory experience to your collection, truly making it a comprehensive record of your life’s moments.
Protecting Your Finished Creation
After all your effort, ensure your beautiful photo scrapbook lasts for generations. Proper storage and care are crucial for preserving your memory album.
Archival Storage Solutions
Store your scrapbook in a stable environment. Extreme fluctuations in temperature and humidity cause damage, leading to paper brittleness, mold growth, or photo fading. An interior closet or bookshelf in a climate-controlled room is far better than an attic, basement, or garage. Aim for consistent temperatures between 65-75°F (18-24°C) and relative humidity between 40-50%.
Consider placing your scrapbook inside an archival storage box. These boxes are acid-free and lignin-free, offering an additional layer of protection from dust, light, and environmental pollutants. Store albums flat if possible, especially if they are heavily embellished, to prevent stress on the binding and pages.
For more detailed information on environmental controls for archival preservation, the Image Permanence Institute offers excellent resources on caring for photographic materials.
Handling and Display
Handle your finished memory album with clean hands, just as you did during its creation. Avoid eating or drinking while looking through it to prevent spills or stains. When sharing your scrapbook, encourage others to handle it gently, turning pages carefully. Direct sunlight exposure causes irreversible fading to photographs and paper, even archival ones. Never display your open scrapbook in direct sunlight or under strong artificial lights for extended periods. When not in use, keep it closed and stored away from light sources.
Regularly check your scrapbook for any signs of wear or damage. Address minor issues, such as loose embellishments or pages, promptly to prevent further deterioration. By taking these proactive steps, you ensure your meticulously crafted photo scrapbook remains a vibrant testament to your memories for decades to come.
Frequently Asked Questions
What is the best type of adhesive for scrapbooking?
The best adhesives for scrapbooking are acid-free, lignin-free, and photo-safe. Look for tape runners, adhesive dots, or photo corners from reputable brands. These products prevent chemicals from leaching into your photographs and causing discoloration or degradation over time. Test any new adhesive on a non-valuable item before using it on your precious photos.
Can I use old, non-archival photos in my scrapbook?
You can use old photos, but you should prioritize making archival copies. Scan your old photos at a high resolution and print new, archival-quality versions for your scrapbook. If you must use original non-archival prints, place them in acid-free photo sleeves or pockets to create a barrier between them and other materials. This minimizes potential damage to your album.
How do I choose a theme for my first photo scrapbook?
Choosing a theme helps structure your scrapbook. For your first project, consider starting with a simple, focused theme. Good options include a specific event, a family vacation, a single year, or a collection of photos of one person. This narrow focus makes photo selection and page design less overwhelming, helping you gain confidence in scrapbooking basics.
How many photos should I put on one scrapbook page?
The number of photos per page depends on their size and your design preference. A good guideline for beginners is to focus on 1-3 main photos per page to avoid overcrowding. This allows each image to stand out and gives you space for journaling and embellishments. Some layouts might accommodate more smaller photos, but always prioritize readability and visual balance.
Is it okay to mix digital and traditional scrapbooking techniques?
Absolutely. Many scrapbookers combine digital and traditional methods. You can print digital photos, create digital embellishments to print, or even use digital journaling blocks. This hybrid approach allows you to leverage the best of both worlds, offering flexibility and creative possibilities. Just ensure that all printed digital elements use archival-quality paper and inks.
Disclaimer: This article is for informational purposes only. When handling valuable or irreplaceable photographs, consider consulting a professional conservator. Always test preservation methods on non-valuable items first.


Leave a Reply