
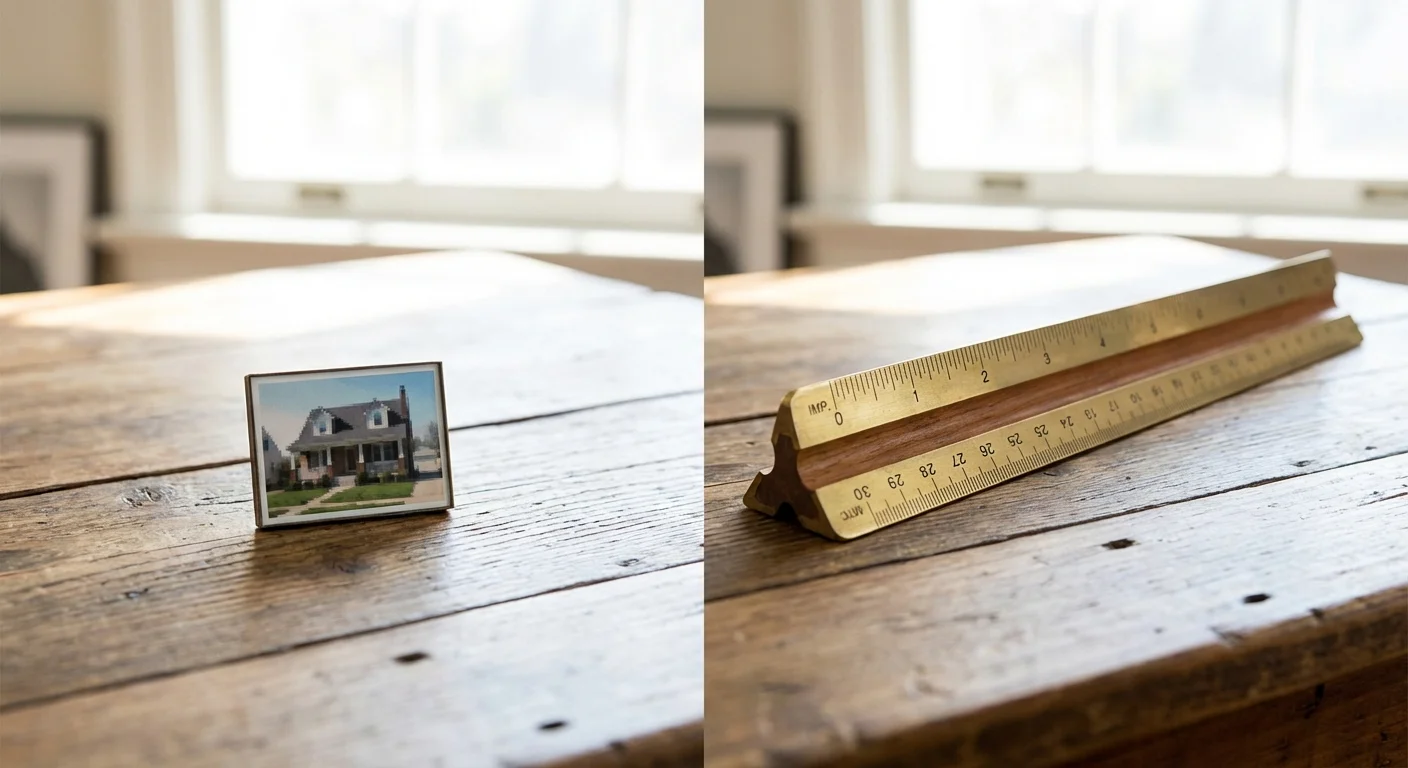
You may have discovered a digital treasure buried in an old hard drive—a low-resolution snapshot of a late relative, a tiny thumbnail of a childhood home, or a grainy photo from an early 2000s cell phone. Your first instinct is to print it large enough to frame, but when you try to enlarge it, the image dissolves into a blocky, blurred mess. Traditionally, this was a dead end in photography. You simply could not create data where none existed.
Artificial Intelligence has changed those rules. Today, AI upscaling allows you to take those small, low-resolution digital files and expand them into high-definition masterpieces suitable for large-format printing. This guide will walk you through the mechanics of AI image enlargement, the tools you need to succeed, and the practical steps to turn your digital memories into physical legacy pieces.
Understanding the Resolution Gap for Large-Scale Printing
To understand why you need an AI image enlarger, you must first understand the math behind printing. Digital images are made of pixels, while prints are made of dots. The bridge between these two worlds is DPI, or Dots Per Inch. When you view a photo on a screen, it might look crisp at 72 or 96 pixels per inch (PPI). However, a high-quality print requires significantly more data to look sharp to the human eye.
Standard professional printing typically requires 300 DPI. If you have a digital photo that is only 1,000 pixels wide and you want to print it as a 20-inch poster, you only have 50 pixels for every inch of paper. The result is “pixelation”—those jagged, square blocks that ruin the aesthetic of a photo. Even if your printer attempts to smooth those blocks, you end up with a muddy, out-of-focus appearance.
The resolution gap is the difference between the pixels you have and the pixels you need. For a 24×36 inch poster at 300 DPI, you would need a file that is 7,200 by 10,800 pixels. Most older digital photos or social media downloads don’t even come close to these dimensions. This is where upscaling becomes a necessity rather than a luxury.
How AI Upscaling Transforms Low-Resolution Data
In the past, software used “interpolation” to enlarge small photos. Methods like Bicubic or Bilinear interpolation looked at existing pixels and created new ones by averaging the colors of the neighbors. It was essentially a sophisticated way of stretching a rubber band; the larger you stretched it, the thinner and more transparent the details became.
AI upscaling operates on an entirely different logic. Instead of just stretching pixels, AI uses deep learning models—specifically Generative Adversarial Networks (GANs)—to predict what the missing details should look like. These models have been trained on millions of high-resolution images. When the AI sees a blurry edge of a leaf or the texture of a person’s skin, it “remembers” what those textures look like in high definition and reconstructs them.
Modern AI upscaling doesn’t just make an image bigger; it interprets the content of the photo to synthesize new, realistic details that weren’t visible in the original low-resolution file.
This process is particularly effective for organic shapes like faces, landscapes, and fabrics. While it isn’t “magic”—it cannot reveal a license plate number that is only a single pixel—it can make a 2-megapixel photo look like it was shot on a modern 20-megapixel DSLR. Understanding this distinction helps you set realistic expectations for your final print.

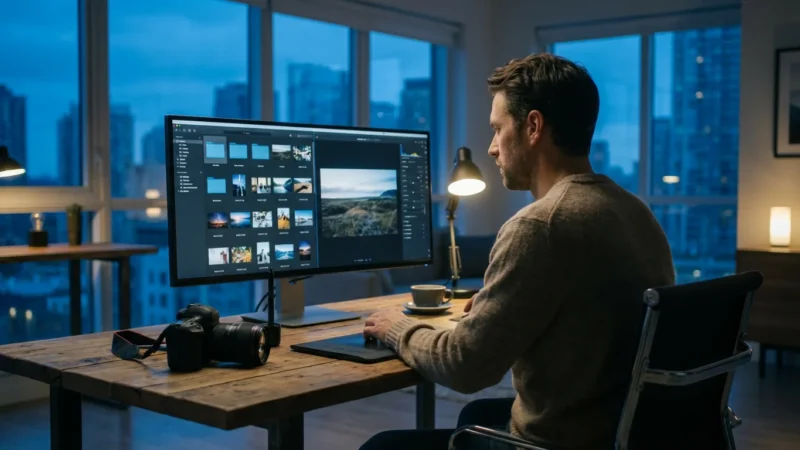
Choosing the Right AI Image Enlarger for Your Project
The market for AI upscaling has exploded, offering options ranging from free open-source software to professional-grade suites. Your choice depends on your technical comfort level and the value of the memories you are preserving.
- Topaz Photo AI (Gigapixel AI): widely considered the industry standard for photographers. It offers specialized models for “Low Resolution,” “Standard,” and “High Fidelity” upscaling. It is particularly adept at face recovery, making it ideal for family portraits.
- Adobe Photoshop (Super Resolution): If you already subscribe to the Creative Cloud, Photoshop’s “Super Resolution” feature is built into Camera Raw. It is a one-click solution that doubles the linear resolution of your image using machine learning.
- Upscayl: This is an excellent free, open-source desktop application. It allows you to upscale images for print without a subscription. It is remarkably powerful and works locally on your computer, which protects your privacy.
- VanceAI or Let’s Enhance: These are web-based tools. They are convenient if you only have one or two photos to process and don’t want to install software, though they typically operate on a credit-based payment system.
When selecting a tool, look for features like “Noise Reduction” and “Sharpening.” Many low-resolution photos are also plagued by “compression artifacts”—those weird swirls and blocks often found in JPEGs. A good AI tool will clean these artifacts before enlarging the image.
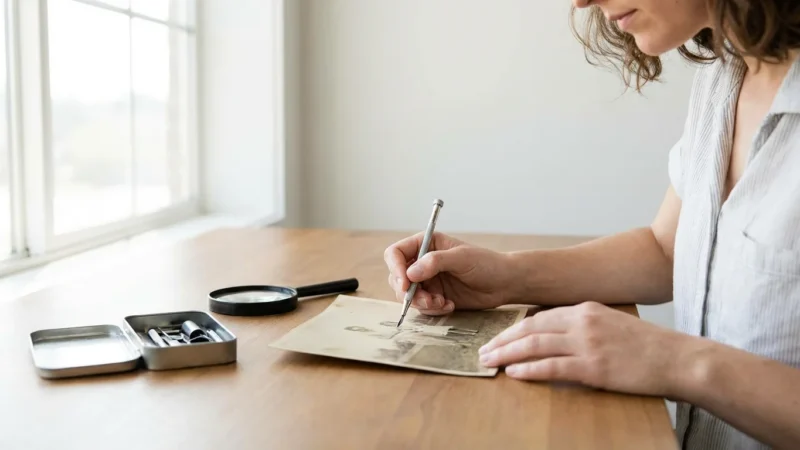
Pre-Processing Your Source Images for Maximum Quality
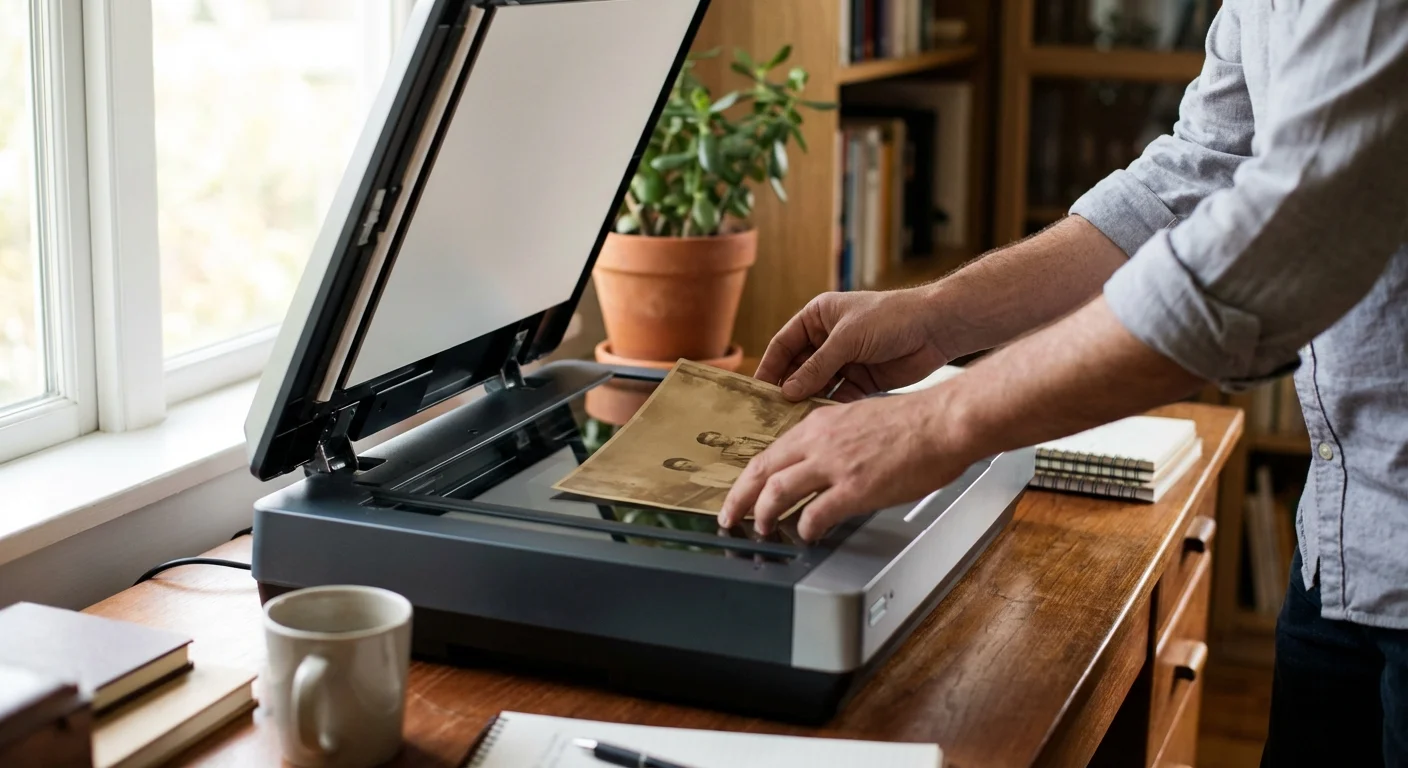
The old computer science adage “garbage in, garbage out” applies to AI upscaling. To get the best poster-sized print, you must start with the cleanest possible digital file. If you are working with a physical photograph, your scanning technique is the most critical step in the entire process.
According to the Library of Congress, photographs should be handled with care, preferably using lint-free gloves to avoid transferring oils. When you scan a small 4×6 photo with the intent to print a 24×36 poster, do not settle for the default 300 DPI scan setting. Scan at 600 or even 1200 DPI. This provides the AI with more “clues” to work with during the reconstruction phase.
If your image is already digital, find the original file. Avoid using photos downloaded from Facebook or sent via text message if possible, as these platforms aggressively compress images to save space. Always look for the version with the largest file size (in MB). Before you run the AI, do not apply heavy filters or sharpening in basic photo editors, as these can create “halos” that the AI might mistake for real detail and then amplify.
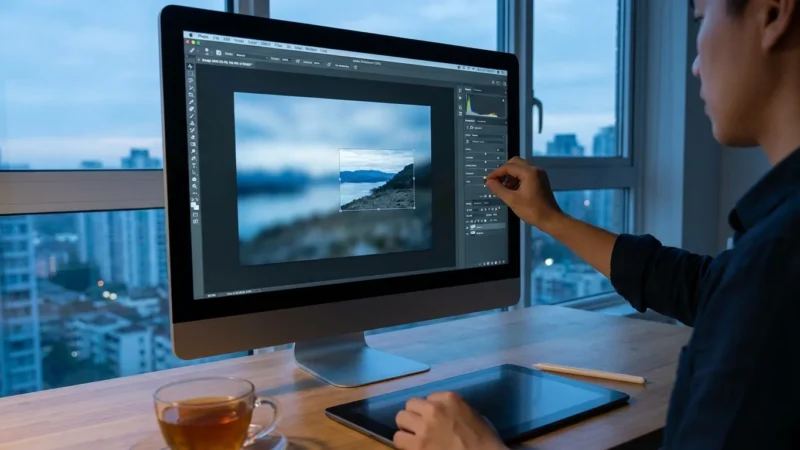
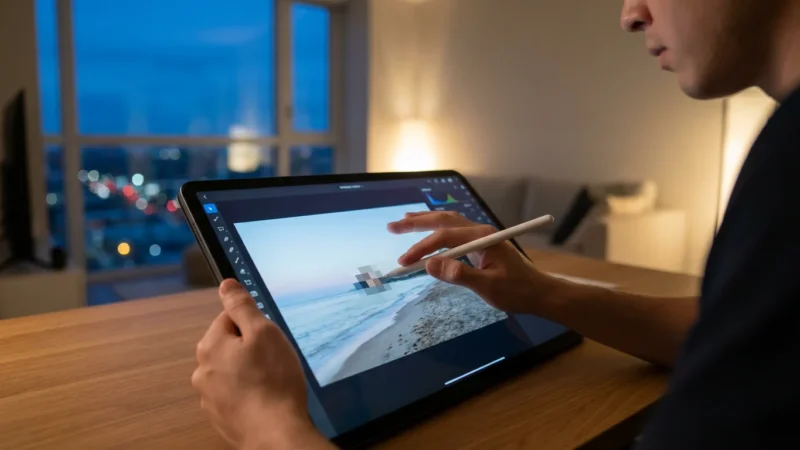
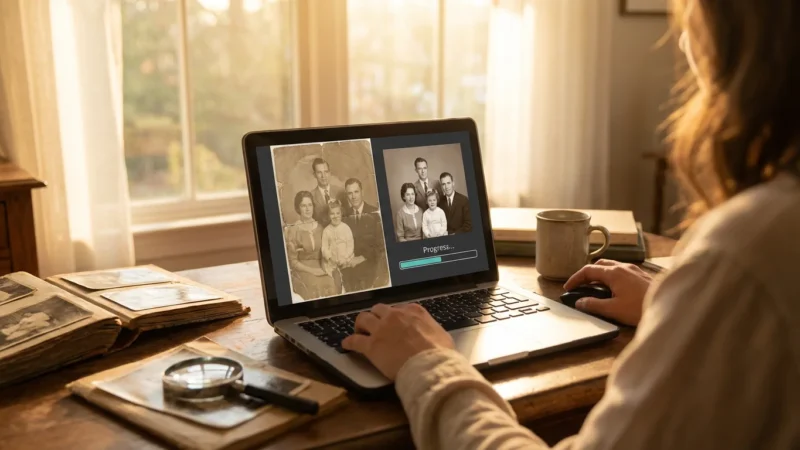
The Step-by-Step Workflow to Upscale Images for Print
Follow these steps to ensure your low-resolution photo is prepared correctly for large-format printing. For this example, we will assume you are using a dedicated tool like Topaz Photo AI or Upscayl.
- Load the Image: Open your software and import your highest-quality source file.
- Set the Scale Factor: To go from a small snapshot to a poster, you typically need a 4x or 6x upscale. Most AI tools allow you to input the specific width or height you want in inches or centimeters; set your target at 300 DPI for that size.
- Select the Model: If your photo is a portrait, choose a “Face Recovery” or “Portrait” model. If it is a landscape with lots of fine texture, choose a “High Fidelity” or “Natural” model.
- Adjust Denoise and Sharpening: Low-res photos often have digital noise. Turn up the denoise slider until the grain disappears, but stop before the skin looks like plastic. AI sharpening is powerful; use it sparingly to avoid a “crunchy” look.
- Preview at 100%: Zoom in on critical areas like eyes, hair, or text. Ensure the AI hasn’t introduced “hallucinations”—weird patterns or shapes that weren’t there before.
- Export as a High-Quality Format: Save your finished file as a TIFF or a high-quality (100%) JPEG. TIFF is preferred for printing because it is “lossless,” meaning it doesn’t lose data every time you save it.
Decoding Print Sizes and Pixel Dimensions
How big can you actually go? Use the table below to determine the pixel dimensions required for common poster sizes. While you can print at lower DPI for very large displays, aiming for 300 DPI ensures professional quality.
| Print Size (Inches) | Pixels Needed (at 300 DPI) | Megapixel Equivalent |
|---|---|---|
| 8 x 10 | 2400 x 3000 | 7.2 MP |
| 11 x 14 | 3300 x 4200 | 13.8 MP |
| 16 x 20 | 4800 x 6000 | 28.8 MP |
| 24 x 36 | 7200 x 10800 | 77.7 MP |
| 30 x 40 | 9000 x 12000 | 108 MP |
If your original photo is only 1.2 megapixels (common for early digital cameras), you are asking the AI to increase the pixel count by over 60 times to reach a 24×36 inch poster at 300 DPI. While modern AI is impressive, a 4x to 6x linear increase (which results in a 16x to 36x increase in total pixels) is usually the “sweet spot” for maintaining realism.
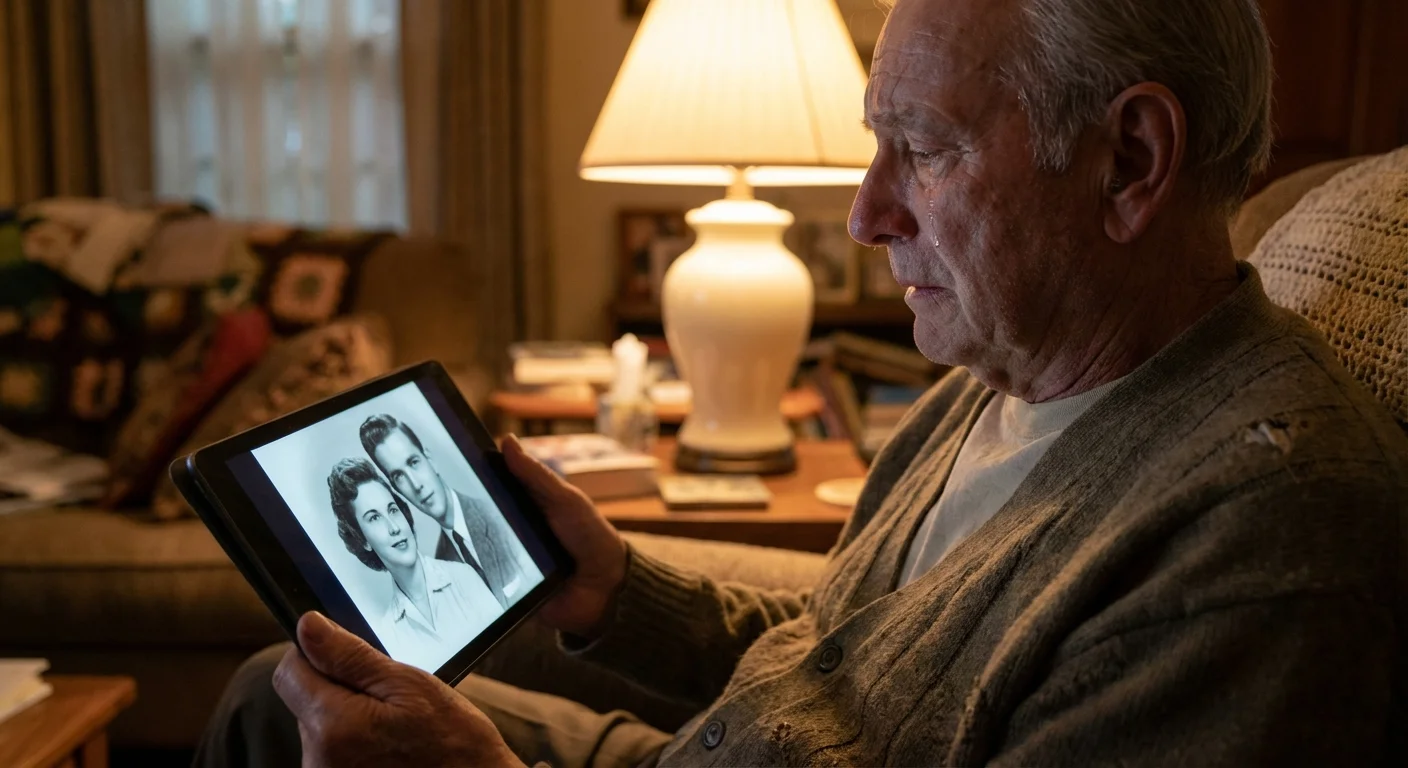
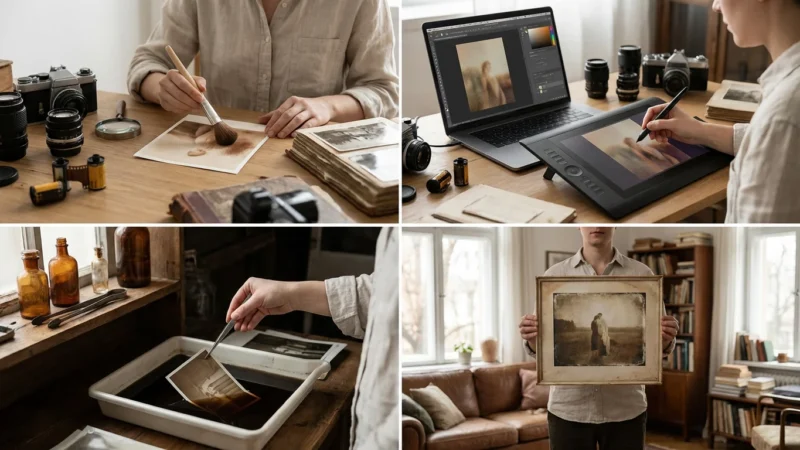
Restoring Heritage Memories with Face Recovery and Denoising
When you work with heritage photos—the kind passed down through generations—you aren’t just dealing with low resolution. You are often dealing with physical damage, faded contrast, and chemical grain. AI tools specialized in AI image enlarger technology often include “Face Recovery” modules. These are revolutionary for family history projects.
Face recovery works by identifying human facial structures and applying a specific model trained only on faces. This allows the AI to rebuild an eye or a mouth with incredible precision while leaving the background with a softer, more natural look. However, use this feature with care; you want the result to look like your grandmother, not a generic computer-generated person. Adjust the “strength” of the recovery to maintain her unique character features.
Furthermore, digital noise (the colorful speckles in dark areas) can become very distracting when enlarged to poster size. Use the AI’s denoising capabilities to smooth out these areas. This creates a clean “canvas” for the printer’s ink, resulting in deeper blacks and more vibrant colors in your final poster.
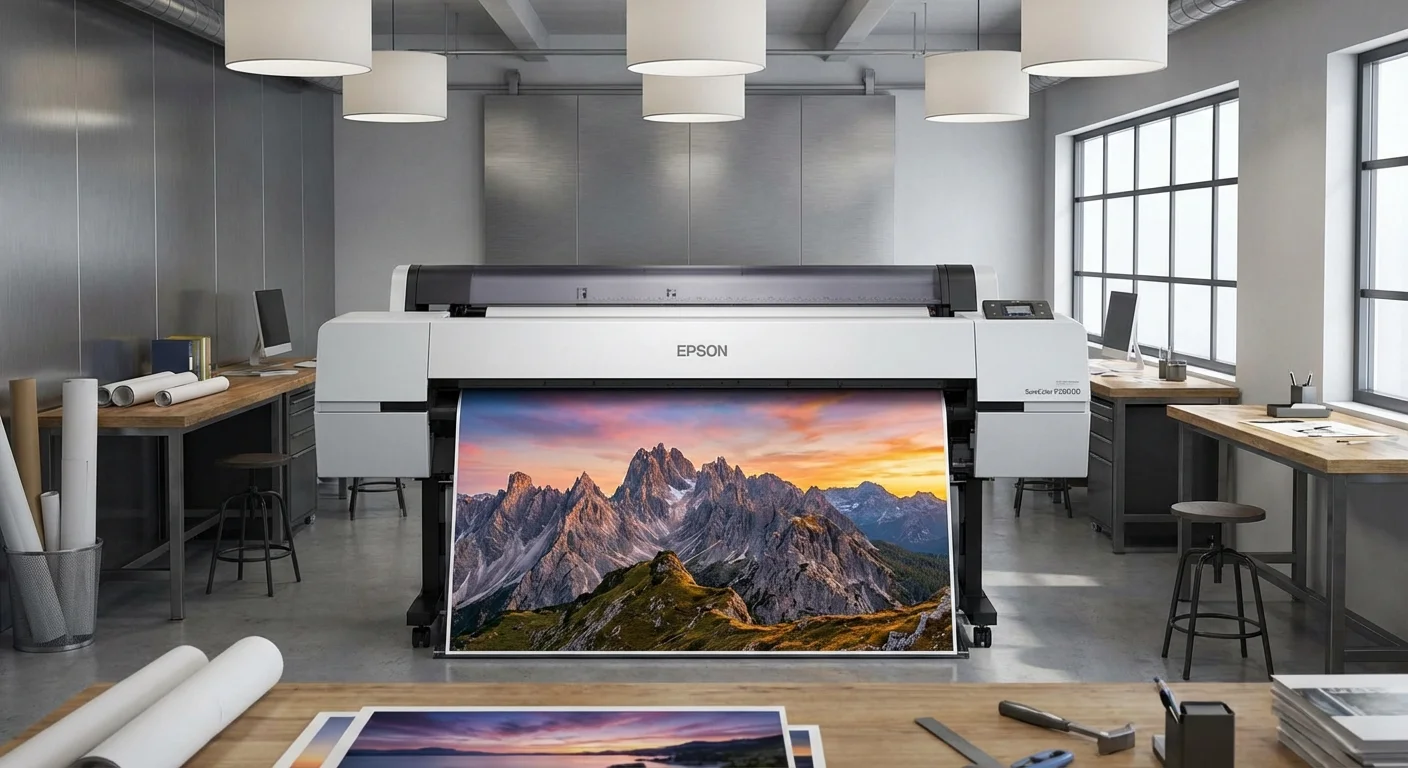
Final Preparation: From Digital File to Physical Poster
Once you have successfully upscaled your image, you are ready to move to the physical world. Your choice of paper and printing method will drastically affect how your AI-enhanced photo looks on your wall.
For large posters, consider the following:
- Paper Weight: Use a heavy-weight archival paper (at least 200 gsm). This prevents the poster from rippling when framed.
- Finish: A “Lustre” or “Satin” finish is often best for upscaled photos. It provides the color depth of a glossy print but reduces the glare that can highlight any minor AI artifacts.
- Color Space: Most consumer print labs prefer sRGB, but professional labs may accept Adobe RGB. If you don’t know the difference, stick with sRGB to ensure the colors you see on your screen match the print. You can learn more about the technical nuances of pixels and color at Cambridge in Colour.
- The “Squint Test”: Before spending money on a 24×36 inch print, print a small 8×10 “test crop” of a detailed area (like a face or a textured fabric). If the test crop looks good at a close distance, the full poster will look magnificent.
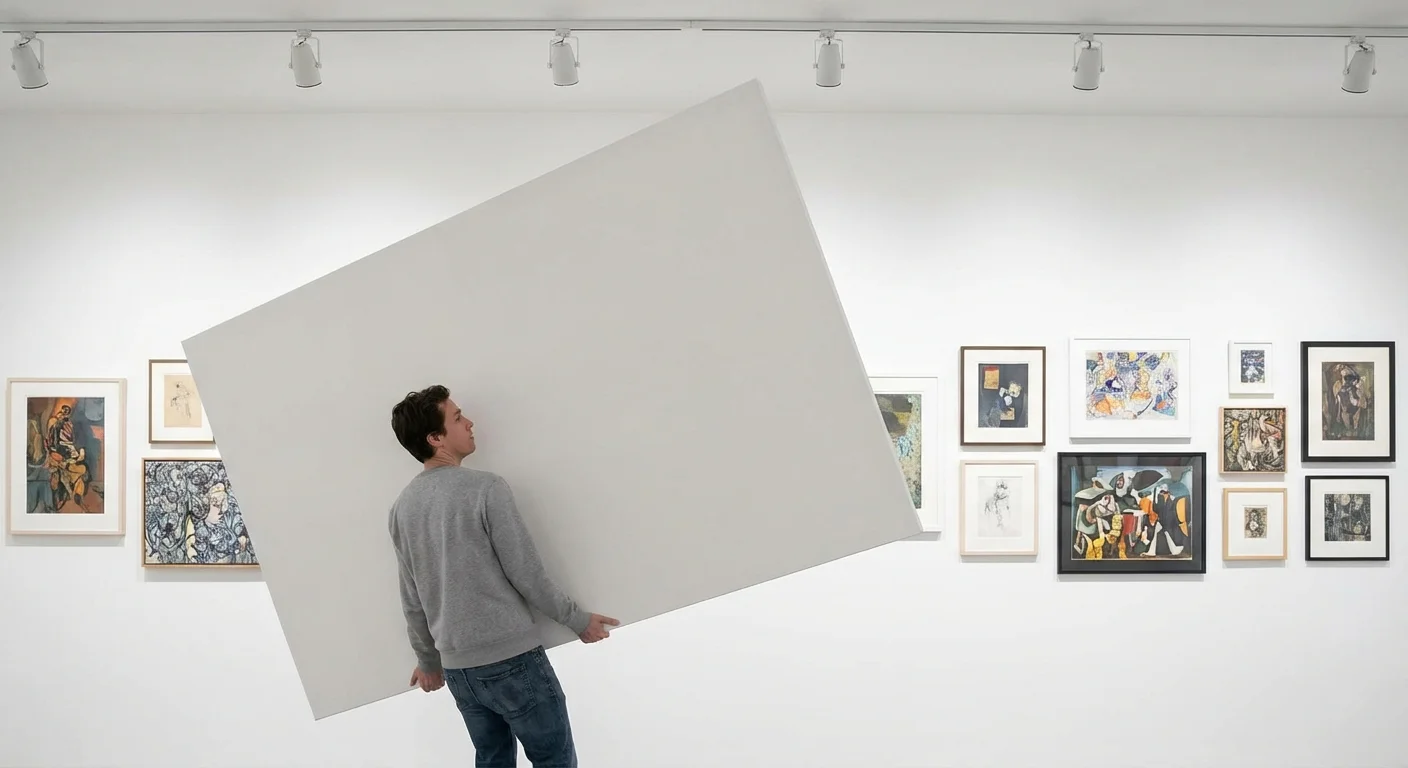
By following these steps, you take control of your photographic heritage. You are no longer limited by the technology of the year the photo was taken. Whether it’s a grainy shot from 2005 or a tiny scan of a 1940s portrait, AI upscaling gives you the power to bring those memories into the modern era in a big, bold way.
Frequently Asked Questions
Can I really print a poster from a small smartphone photo?
Yes, you can. By using AI upscaling tools, you can increase the resolution of a small photo by 400% or more while maintaining sharpness. While the results depend on the original photo’s clarity, modern AI can reconstruct missing details to make large-scale printing possible.
What is the best DPI for printing large posters?
For a high-quality poster viewed from a few feet away, 300 DPI (dots per inch) is the gold standard. However, for very large posters viewed from across a room, you can often get away with 150 to 200 DPI without noticeable loss in quality.
Is AI upscaling better than Photoshop’s standard resizing?
AI upscaling is significantly superior to traditional methods like Bicubic interpolation. While traditional resizing simply stretches existing pixels and blurs the edges, AI uses machine learning to “guess” and redraw missing details, resulting in a much sharper image.
Does upscaling work on old, blurry physical photos?
It does, but you must scan the photo first at a high resolution (at least 600 DPI). Once digitized, AI tools can help reduce noise and sharpen edges, though they cannot perfectly “fix” a photo that was completely out of focus when it was taken.
Disclaimer: This article is for informational purposes only. When handling valuable or irreplaceable photographs, consider consulting a professional conservator. Always test preservation methods on non-valuable items first.


Leave a Reply