Your old family photographs and treasured digital images hold a lifetime of stories. Preserving these memories often involves a little care, and for many digital photos, that means some basic photo editing. You do not need to be a professional editor to enhance your images. Understanding core concepts like brightness, contrast, and exposure adjustment empowers you to bring faded memories back to life, correct common issues, and ensure your photos look their best for future generations. This guide offers practical, actionable insights, helping you confidently approach basic photo editing for beginners.
The Foundation of Light: Understanding Exposure
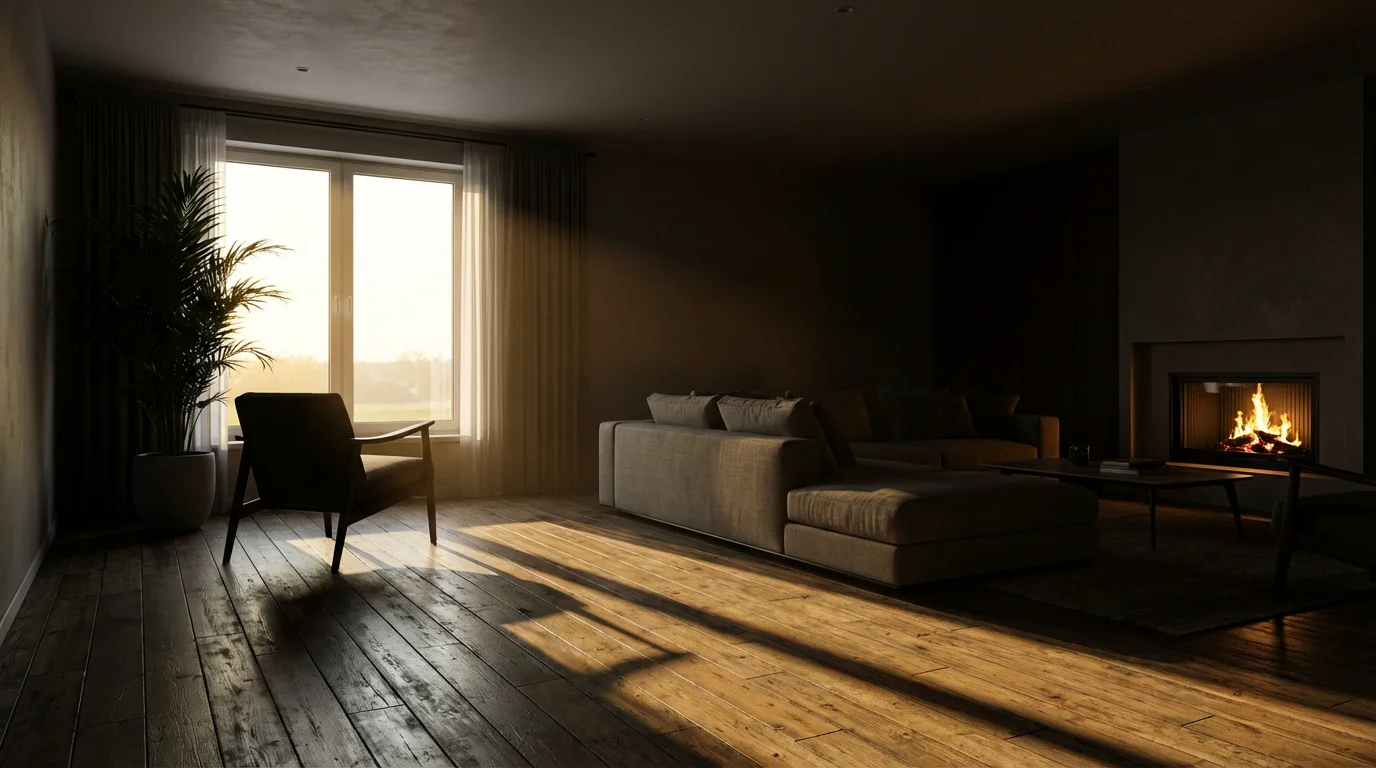
Before you dive into editing, grasp the fundamental concept of exposure. In photography, exposure refers to the amount of light that reaches your camera’s sensor or film, determining the overall lightness or darkness of an image. A properly exposed photograph captures a balanced range of light, showing detail in both the brightest highlights and the deepest shadows. Underexposed photos appear too dark, losing detail in shadows, while overexposed photos are too bright, with blown-out highlights lacking information.
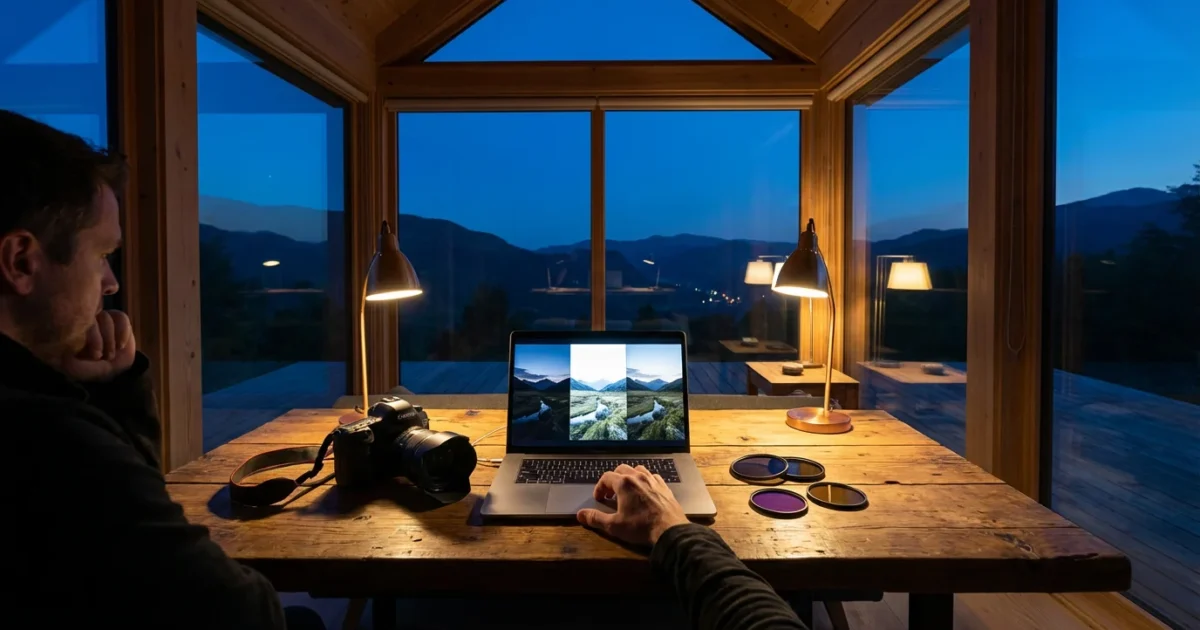
When you scan old physical photographs, the scanner’s settings, the original photo’s condition, and even the ambient light can influence the initial digital exposure. Often, scanned images come out looking a little flat, too dark, or too light compared to how you remember them. This is where your basic photo editing skills become invaluable. Digital tools allow you to correct these initial capture shortcomings, bringing the image closer to its true potential and protecting the visual integrity of your cherished memory.
Brightness: Illuminating Your Images
Brightness is one of the most intuitive adjustments in photo editing, directly influencing the overall luminosity of your image. Think of it as a dimmer switch for your entire picture. Increasing brightness makes the whole image lighter, while decreasing it makes the whole image darker. This adjustment applies a global change across all pixels in the image.
For quick adjustments on the go, many photo editing on your phone apps provide similar brightness controls.
When to Adjust Brightness
You typically adjust brightness when an image is globally too dark or too light. For instance, consider a family photo taken indoors without a flash, resulting in everyone appearing a bit shadowed and underexposed. Increasing the brightness can lift those shadows and make the subjects more visible. Conversely, if a scanned photograph appears washed out or slightly overexposed, decreasing the brightness can help.
How Brightness Works
When you move the brightness slider in an editing program, the software essentially tells every pixel in the image to become either lighter or darker by a uniform amount. This can be very effective for general corrections, but it is important to remember its global nature. Significant brightness adjustments can sometimes lead to a loss of detail in the highlights or shadows. For example, pushing brightness too high can “blow out” the highlights, turning white areas into featureless pure white. Similarly, dropping it too low can “crush” the shadows, making dark areas indistinguishable black blobs. Always save a copy of your original photo before making any edits.
“Non-destructive editing is key when working with precious photographic memories. Always make adjustments on a copy, preserving your original file for future reference. This ensures you can always revert to the raw capture if needed, protecting your invaluable family history.”
For example, if you have a cherished photo of your grandmother from the 1950s that appears dull and dark after scanning, a careful increase in brightness can illuminate her face and the surrounding details without distorting the overall image. Start with small increments and observe the effect. Most photo editing software, even basic programs, offers a brightness slider. Look for options labeled “Brightness,” “Exposure,” or “Lightness” in your editing panel.

Contrast: Adding Depth and Definition
Contrast refers to the difference between the lightest and darkest areas of an image. High-contrast images feature a wide range between whites and blacks, making them look punchy, vibrant, and defined. Low-contrast images have a narrower range, resulting in a flatter, softer, or sometimes muddier appearance where distinctions between tones are less obvious. Adjusting contrast impacts how clearly objects and details stand out from each other.
Beyond contrast, you may also need to remove scratches and dust that can become more noticeable as you sharpen the definition of an old print.
Beyond basic light adjustments, some prints may require specific techniques for saving yellowed and discolored photographs that have aged poorly over decades.
When to Adjust Contrast
You adjust contrast when your image lacks visual punch or, conversely, when it appears too harsh. Many old photographs, especially those that have faded over time or were scanned with default settings, often suffer from low contrast. They might look “flat” or “muddy” because the blacks are not truly black, and the whites are not truly white. Increasing contrast can restore richness, add depth, and make details crisper. For instance, a black and white portrait from the 1920s might benefit significantly from a contrast boost, bringing back the snap to the subject’s eyes and the texture of their clothing.
However, be mindful of excessive contrast. Pushing contrast too high can lead to lost detail in both the highlights (e.g., a bright sky becoming pure white) and the shadows (e.g., dark clothing becoming a uniform black mass). It creates a stark, sometimes unnatural, look. Conversely, too little contrast makes an image appear dull and lifeless.
The Impact of Contrast
Contrast adjustments essentially spread out or compress the tonal range of an image. Increasing contrast makes the dark pixels darker and the light pixels lighter, pushing them further apart on the tonal scale. Decreasing contrast brings them closer together. This is a powerful tool for adding drama and dimension, especially to images that feel “washed out.” When working with delicate old photos, start with subtle adjustments. You want to enhance definition, not introduce unnatural harshness. You can find contrast sliders in almost all photo editing applications, from simple mobile apps to robust desktop software.

Exposure Adjustment: The Global Light Control
In the context of photo editing software, the “exposure” slider functions as a precise, global adjustment to the overall brightness of your image. While it seems similar to the “brightness” slider, the exposure control often operates in a more sophisticated way, mimicking how a camera’s exposure settings would behave. It adjusts the midpoint of the tonal range, influencing how the entire image is lit or darkened. This differs from brightness, which typically applies a linear shift across all tones.
Once you have the overall exposure set, sharpening blurry photos is often the next step to enhance the clarity of your subjects.
Exposure vs. Brightness: Understanding the Nuance
Think of it this way: the exposure slider attempts to correct the fundamental capture of light. If your photo was simply taken too dark or too bright, the exposure slider is often your first and most effective tool. It shifts the entire histogram (a visual representation of your image’s tonal range) left or right. Brightness, on the other hand, might apply a more uniform “lightening” or “darkening” effect that can sometimes clip highlights or shadows more quickly than an exposure adjustment, especially when applied significantly.
For example, if you scanned a set of slides that consistently came out a stop or two underexposed, applying a positive exposure adjustment (+0.5 or +1.0) would globally brighten them in a very natural way, often preserving more detail than a brute-force brightness increase. Conversely, if a digital photo from your phone appears too bright, a slight decrease in exposure can quickly bring it back into balance.
When to Prioritize Exposure Adjustment
Use the exposure slider as your primary control for general lightness or darkness issues. If an image is noticeably too dark or too bright overall, start here. Many professional editors use exposure as their first light adjustment because of its global yet often more natural effect on the image’s tonal distribution. It is particularly effective for correcting photos where the camera’s meter misjudged the scene. You will find an “Exposure” slider in most advanced and even many intermediate photo editing programs, often alongside other fundamental adjustments like highlights and shadows.

The Interplay: Working with Brightness, Contrast, and Exposure
Brightness, contrast, and exposure adjustment are not isolated tools. They are interconnected and influence each other significantly. Adjusting one setting almost always impacts the others. Understanding this interplay helps you achieve a balanced and pleasing final image.
In addition to these light settings, understanding white balance is essential for ensuring your photos have realistic and natural color tones.
Once you have balanced the light and tones in your image, you can further enhance the impact by cropping and straightening your photos to improve the overall composition.
The Balancing Act
- Increasing Exposure: This generally makes the entire image brighter. You might then find that your contrast appears lower, or some areas become too bright. You may need to slightly decrease brightness or increase contrast to compensate.
- Decreasing Exposure: This darkens the image. Consequently, colors might seem more saturated, and contrast might appear higher. You might need to slightly increase brightness or decrease contrast.
- Increasing Brightness: This lightens the image, but it can sometimes reduce the apparent contrast, making the image look flatter. You might need to add a touch more contrast to restore definition.
- Increasing Contrast: This makes darks darker and lights lighter. While it adds punch, it can also make the image appear globally darker because the shadows become deeper. You might then need to slightly increase brightness or exposure to balance the overall luminosity.
There is no strict universal order for applying these adjustments, as every photo presents unique challenges. However, a common workflow for basic photo editing for beginners involves starting with exposure, then moving to contrast, and finally fine-tuning with brightness if needed. This sequence often provides a good foundation:
- Exposure: Start by getting the overall lightness or darkness of the image correct. Is it fundamentally too dark or too bright?
- Contrast: Once the global exposure is set, adjust contrast to bring out detail and add depth. Does the image look flat or too harsh?
- Brightness: Use brightness for minor, overall tweaks to luminosity after exposure and contrast are dialed in. Is the image still just a hair too dark or too light overall, without major exposure issues?
This iterative process allows you to build corrections gradually. You might find yourself going back and forth, making small adjustments to each slider until you achieve the desired look. For example, you might increase exposure to brighten a shadowy photograph, then realize it now looks a bit flat, so you add some contrast. This might make it slightly dark again, prompting a tiny brightness tweak. This is a normal part of the editing process.

Practical Steps for Basic Photo Editing
Applying these concepts is straightforward with most photo editing software. Whether you use a free program like Google Photos, the built-in editor on your phone, or more robust software, the principles remain the same.
If you have a large collection with similar lighting issues, batch editing can help you apply these fundamental adjustments efficiently.
When working with a large digital library, batch editing photos allows you to apply these light and contrast settings to multiple images at once.
Before You Start
- Always work on a copy: Never edit your original file. Duplicate the image and make your adjustments to the copy. This safeguards your precious original.
- Understand your software: Familiarize yourself with where the brightness, contrast, and exposure sliders are located. They might be under “Adjustments,” “Basic Edits,” or “Light.”
- Calibrate your monitor: For more consistent results, ensure your computer monitor is reasonably calibrated. This helps ensure what you see on screen accurately reflects the image’s true appearance.
The Editing Process in Action
Here is a step-by-step approach to how to adjust brightness and contrast in photos:
- Open your photo: Load the copied image into your chosen editing software.
- Assess the image: Look at your photo critically. Is it too dark, too bright, or lacking “pop”? Identify the primary issue.
- Adjust Exposure: If the image is fundamentally underexposed (too dark) or overexposed (too bright), find the “Exposure” slider. Make small, incremental adjustments. Move it slowly to the right to brighten, or to the left to darken. Stop when the overall luminosity looks balanced, ensuring you are not losing detail in the brightest whites or darkest blacks.
- Refine Contrast: Next, locate the “Contrast” slider. If your image looks flat or muddy, slowly increase the contrast by moving the slider to the right. Observe how the darks get darker and the lights get lighter, adding definition. If the image looks too harsh, decrease contrast by moving it to the left. Aim for a natural appearance where details are clear but not overly stark.
- Fine-tune Brightness: After exposure and contrast are set, if the image still feels just a little too dark or too light overall, use the “Brightness” slider for a final, subtle tweak. Remember this is a global adjustment, so use it sparingly after the more nuanced exposure and contrast corrections.
- Review and compare: Most software allows you to toggle between your edited version and the original. Use this feature to see the impact of your changes. Step away from the image for a few minutes and then return with fresh eyes.
- Save your work: Save your edited image in a high-quality format, preferably retaining its full resolution. Consider adding “edit” or “enhanced” to the filename to distinguish it from the original.
For additional resources on proper digital file management and naming conventions to ensure your edited images are preserved for the long term, explore guides from institutions like the Image Permanence Institute.
Common Editing Pitfalls and Solutions
Even with basic photo editing, it is easy to overdo adjustments. Knowing common pitfalls helps you avoid them.
For more difficult restoration jobs, using AI photo restoration tools can provide automated solutions for correcting complex tonal and lighting problems.
In addition to balancing light, remember that cropping and straightening photos can dramatically improve the composition and overall impact of your images.
Over-editing
One of the most common mistakes is pushing sliders too far, resulting in an unnatural or artificial look. For example, an image with excessively high contrast might look grungy, while one with too much brightness might appear ethereal and washed out.
Solution: Practice subtlety. Make small, incremental adjustments. Aim for an enhanced, natural look, not a drastically altered one. Your goal is to restore the memory, not reinvent it. The best edits are often those you do not immediately notice.
Losing Detail in Highlights or Shadows
Aggressive exposure, brightness, or contrast adjustments can cause areas of your photo to become pure white (blown-out highlights) or pure black (crushed shadows), losing all visual information. Once detail is gone, it is extremely difficult to recover.
Solution: Pay attention to the critical areas of your photo. If you are brightening a dark photo, ensure the brightest parts do not become pure white. If you are adding contrast, check that the darkest shadows still retain some discernible texture. Many editing programs include a histogram, which is a graph showing the tonal distribution of your image. If the graph “clips” on either the far left or far right, you are losing shadow or highlight detail, respectively.
Inconsistent Look Across a Series
When editing a collection of photos from the same event or album, inconsistent editing can create a disjointed viewing experience. One photo might be vibrant, while the next looks dull.
Solution: When possible, apply similar adjustments to a series of related photos. Many editing programs allow you to copy and paste adjustments. Even if you cannot batch edit, try to keep a mental note of the general level of brightness, contrast, and exposure you are aiming for across a set. This creates a cohesive narrative for your visual memories.

Beyond the Basics: Continued Preservation
Mastering basic photo editing is an important step in preserving your photographic heritage. These initial adjustments can significantly improve the quality of your digitized images, making them more enjoyable to view and share. However, editing is just one part of a comprehensive preservation strategy.
After mastering these light adjustments, you may want to explore how to restore old faded photos to reverse years of environmental damage.
Once your images are enhanced, focus on robust organization and storage. Ensure you back up your edited files to multiple locations, including cloud storage and external hard drives. Implement a clear naming convention. Consider creating physical prints of your favorite enhanced digital images, using archival-quality paper and inks, to create new tangible memories for future generations. For further exploration of photography fundamentals, including how cameras capture light to begin with, resources like Cambridge in Colour’s exposure tutorial offer deeper insights.
Your journey with PhotoMemoryHub.com aims to empower you to protect every precious photograph, from fading prints to chaotic digital folders. With these foundational editing skills, you are better equipped to ensure your family’s visual legacy shines brightly for years to come.
Frequently Asked Questions
What is the difference between brightness and exposure adjustment in photo editing?
Brightness globally lightens or darkens an image by applying a uniform shift across all tones. Exposure adjustment, on the other hand, mimics a camera’s exposure control, typically making a more sophisticated and often natural adjustment to the overall lightness or darkness, particularly influencing the mid-tones and attempting to correct the original light capture.
Can I really damage a photo by editing it?
You cannot damage the original digital file if you always work on a copy. However, poor editing choices, like over-adjusting brightness, contrast, or exposure, can make the edited image look unnatural, introduce artifacts, or cause irreversible loss of detail in highlights or shadows. Always save a copy, and edit subtly.
How do I know if my photo has enough contrast?
A photo with good contrast typically has distinct differences between its lightest and darkest areas, making objects appear defined and vibrant. If your image looks flat, muddy, or dull, it likely needs more contrast. If it looks too harsh, or details are lost in very bright or very dark areas, it may have too much contrast.
Should I edit old scanned photos differently than modern digital photos?
While the editing tools are the same, your approach might differ. Old scanned photos often suffer from fading, color shifts, or a general lack of contrast due to age or scanning limitations. You might need more aggressive adjustments to restore their vibrancy compared to a well-captured modern digital photo. Always prioritize natural-looking restoration over artistic alteration for historical images.
What is the best order to apply brightness, contrast, and exposure?
A common and effective workflow is to start with Exposure to set the overall global lightness, then adjust Contrast to add depth and definition, and finally use Brightness for any subtle, overall fine-tuning of luminosity. This allows you to build your edits progressively and often yields the most balanced results.
Disclaimer: This article is for informational purposes only. When handling valuable or irreplaceable photographs, consider consulting a professional conservator. Always test preservation methods on non-valuable items first.


Leave a Reply