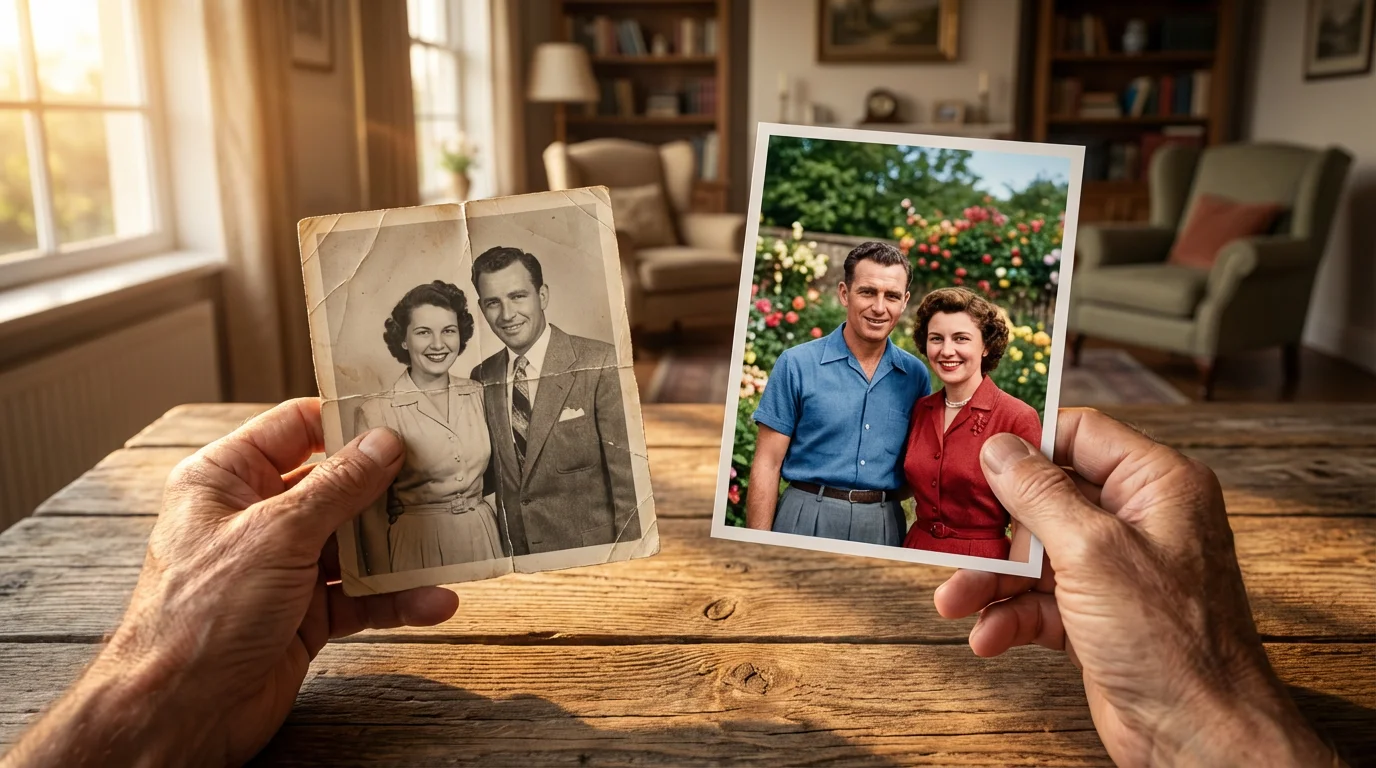
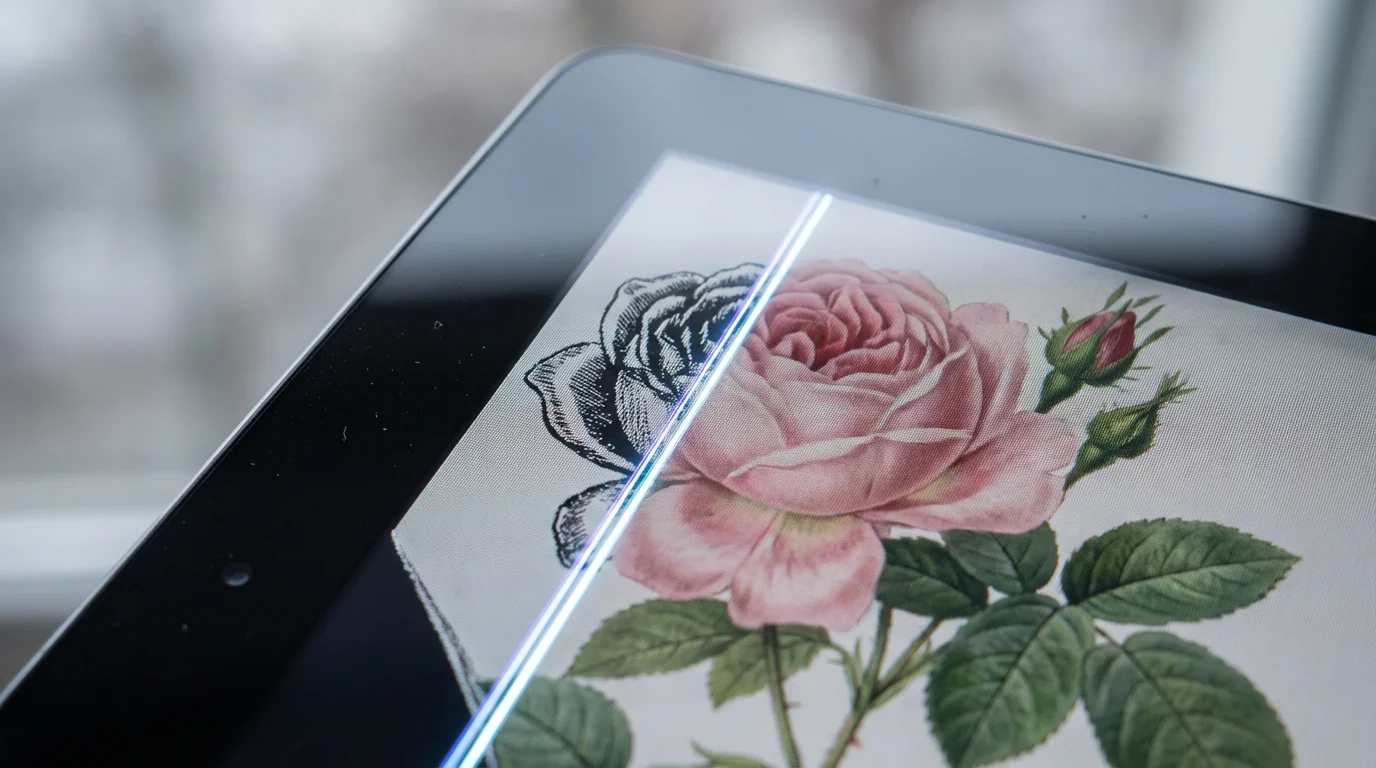
Black and white photographs hold immense historical value, capturing moments from a bygone era with timeless elegance. Yet, many of us wonder what these scenes truly looked like in full color. Imagine seeing your grandparents’ wedding portrait with the vibrant hues of their clothing, or a historic city street bustling with the actual colors of its buildings and vehicles. The process of adding color to old black and white photos, known as photo colorization, offers a powerful way to connect with the past on a deeper, more personal level. It breathes new life into cherished memories, helping us visualize our ancestors’ worlds with a fresh perspective.
Before beginning the digitization process, it is essential to know how to handle and display antique photographs safely to avoid any physical damage to your originals.
This guide empowers you to embark on your own colorization journey. We will explore both traditional, manual techniques using professional software and modern, AI-powered solutions that deliver impressive results with minimal effort. You will learn how to approach this task respectfully, ensuring your efforts enhance the original image without detracting from its historical integrity. By understanding the tools and techniques available, you can transform your black and white heritage into a vivid tapestry of color, preserving its legacy for generations to come.
Understanding the Appeal of Photo Colorization
Colorizing black and white photos is more than just a technical process, it is an act of historical imagination. It allows you to see the world as it truly appeared to those who lived it, adding a layer of realism and emotional depth that monochrome images, while beautiful, sometimes lack. For families, this means bringing ancestral portraits to life, making distant relatives feel more immediate and relatable. You might discover details previously overlooked, such as the true color of a grandparent’s eyes, the vibrant pattern on a family heirloom, or the specific hue of a vintage automobile. This process transforms a historical document into a more immersive experience, forging a stronger connection between past and present.
If your source material has significantly aged, you might also be interested in techniques for saving yellowed and discolored photographs to improve the starting quality.
For historians and enthusiasts, colorization can make historical events and figures feel more contemporary and accessible. A vivid image of a historical landmark, rendered in its original colors, can help you visualize its context more clearly than a grayscale version. Data from platforms offering colorization services shows a significant increase in engagement for colorized historical images, often sparking renewed interest and deeper study. This surge in popularity underscores the human desire to experience history with greater fidelity, demonstrating colorization’s power to bridge temporal gaps and foster a more empathetic understanding of the past.
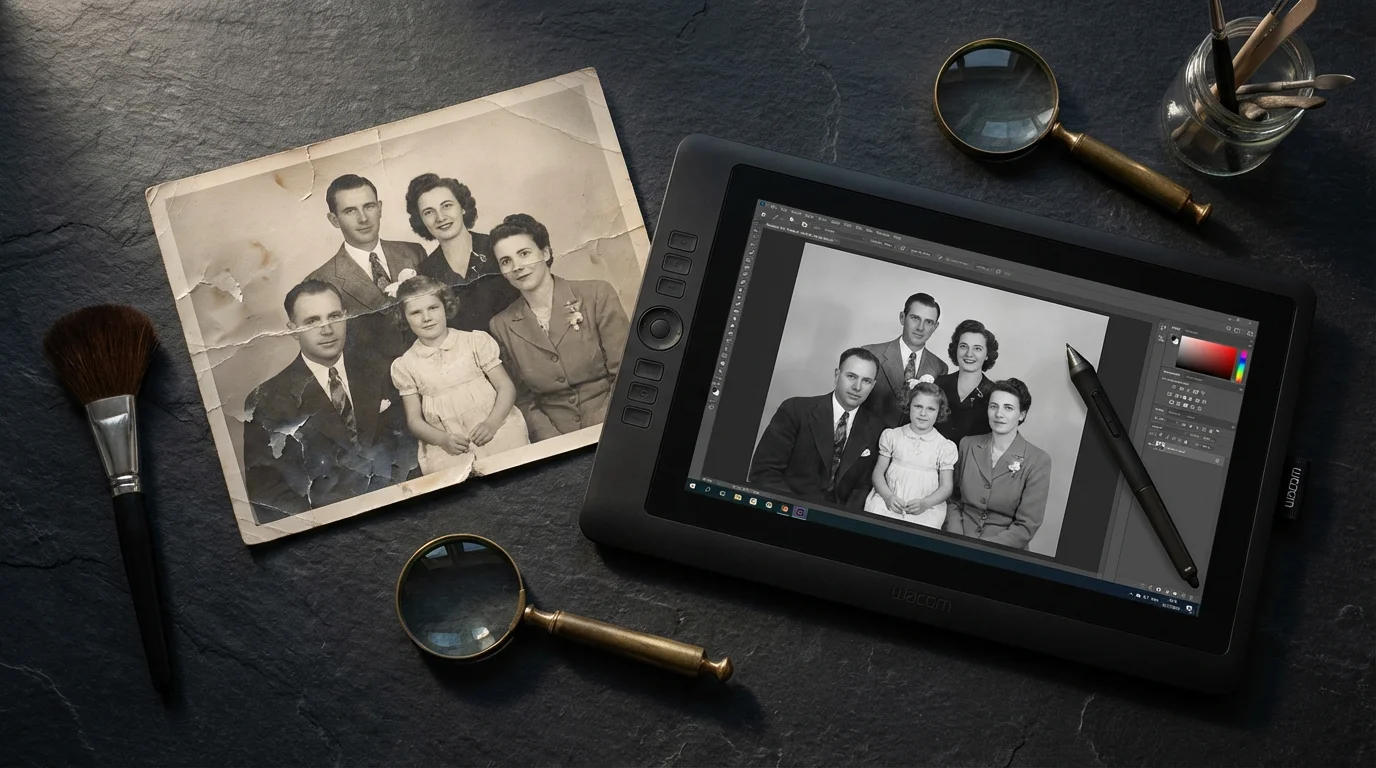
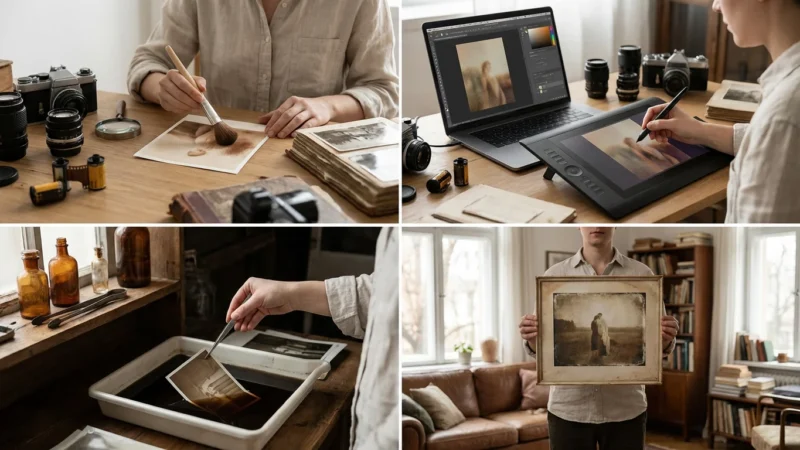
Preparing Your Photos for Colorization: Essential First Steps
The success of your colorization project largely depends on the quality of your source image. A poorly scanned or damaged black and white photo will yield less convincing results, regardless of the advanced tools you use. Consider these preparatory steps before you begin adding color:
For those without a dedicated scanner, scanning photos with your smartphone using specialized apps can provide a quick digital starting point.
Properly handling and cleaning your originals before they ever touch the scanner bed will save you significant time in the editing phase.
During the preparation phase, you may also consider removing unwanted objects from photos to ensure the final result is clean and focused.
-
Digitize Your Originals: If you are working with physical photographs, high-resolution scanning is paramount. Aim for a resolution of at least 600 DPI (dots per inch) for standard prints, and 1200 DPI or higher for smaller negatives or slides. This captures maximum detail, providing more data for the colorization process. Ensure your scanner glass is clean to avoid dust and scratches appearing on your digital file. For best practices in scanning, consult reputable photography resources.
-
Clean and Restore the Image: Before colorizing, address any physical damage or digital imperfections. This involves:
- Dust and Scratches: Use a soft brush or compressed air to remove physical dust from the print before scanning. Digitally, use image editing software’s spot healing, clone stamp, or dust and scratch removal tools to eliminate blemishes.
- Tears and Creases: Minor tears and creases are often repairable digitally. Use tools like the patch tool or content-aware fill in programs such as Adobe Photoshop or GIMP to carefully mend these areas.
- Contrast and Brightness: Adjust the image’s contrast and brightness to ensure a full tonal range, from deep blacks to bright whites, without clipping details. A well-exposed grayscale image provides a better foundation for color application.
- Sharpening: Apply a subtle amount of sharpening if the image appears soft, but avoid over-sharpening, which can introduce artifacts.
-
Save a Master Copy: Always work on a duplicate of your original scanned image. Preserve the original untouched scan as your master file. This ensures you can always revert to the starting point if your colorization efforts do not meet your expectations or if new techniques emerge later.
“A high-quality scan is the cornerstone of any successful photo restoration or colorization project. You cannot add detail that is not present in the original capture, so invest time in a meticulous digitization process.”
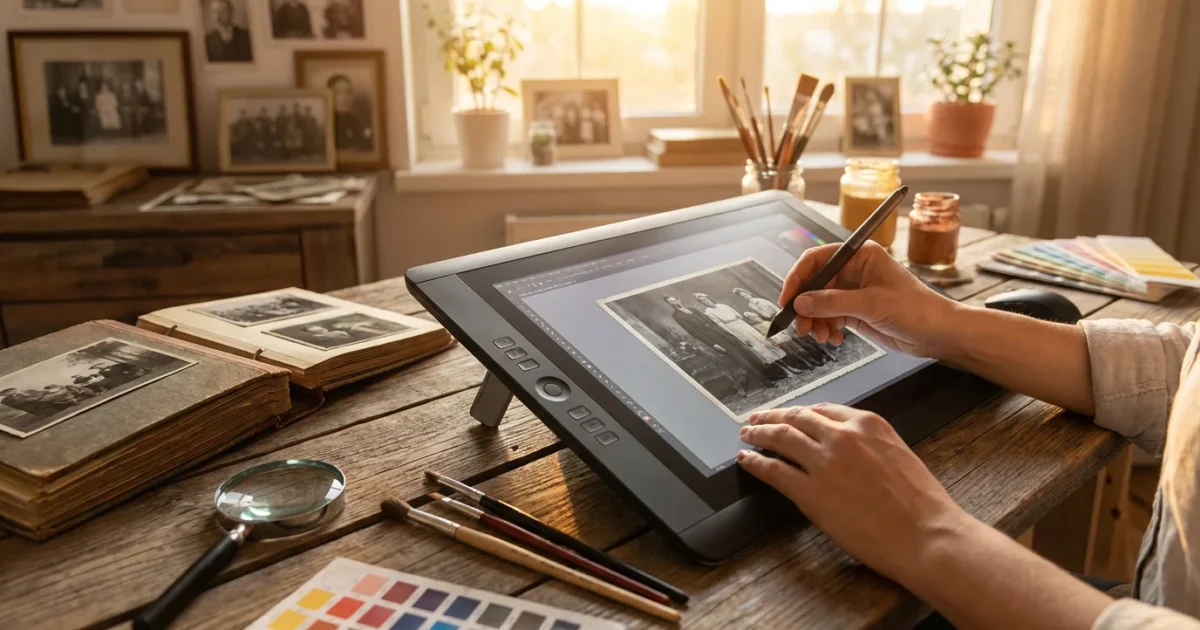
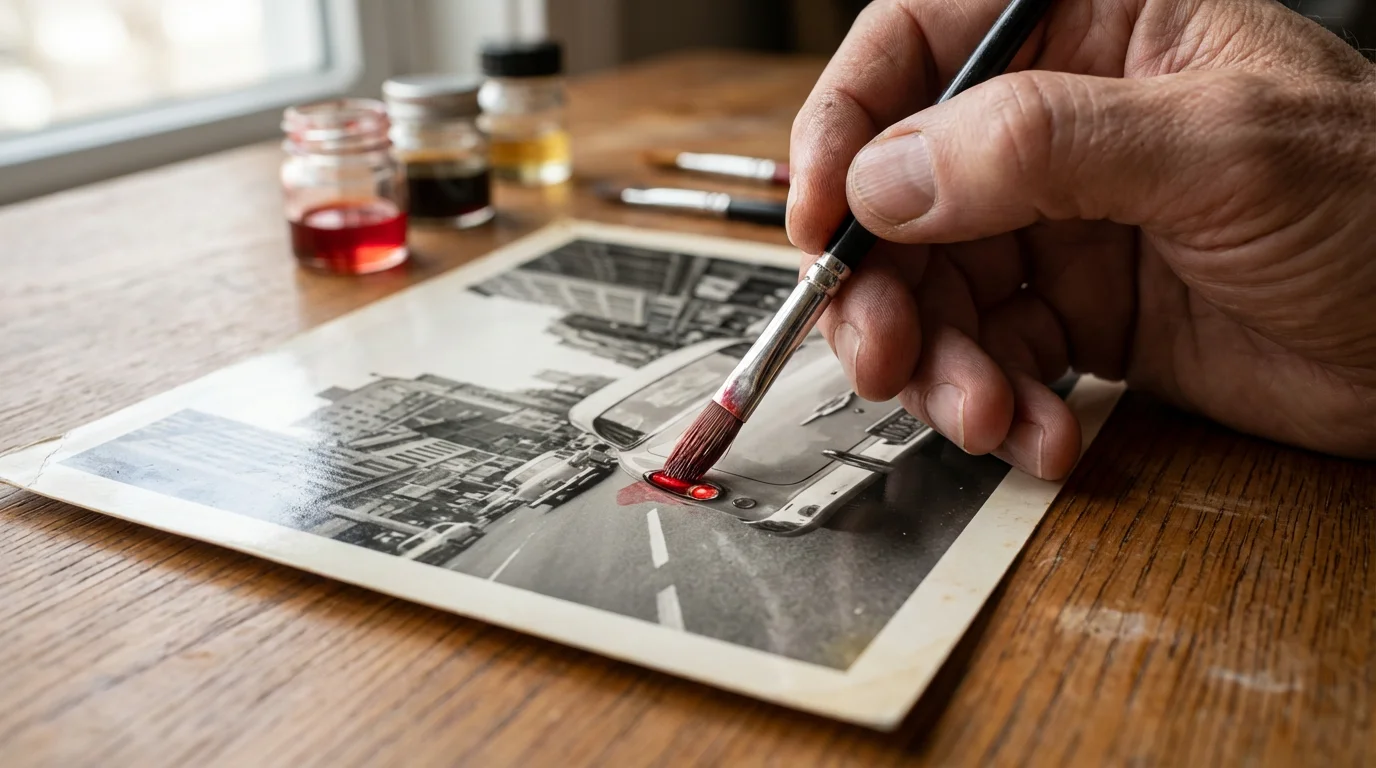
Manual Colorization: The Artistic Approach
Manual colorization offers unparalleled control and artistic freedom. It demands patience and a keen eye for detail, but rewards you with highly realistic and historically accurate results. This method is ideal for those who enjoy the creative process and desire precise control over every hue and shade. You will primarily use image editing software for this technique.
Manual colorization allows for deep customization, though some photographers prefer creating vintage and retro photo effects to lean into the aged aesthetic instead.
Even if you choose not to colorize a monochrome image, understanding color correction for scanned photos is vital for any digitizing project.
Software for Manual Colorization
Professional-grade image editing software provides the most robust toolsets for manual colorization:
- Adobe Photoshop: The industry standard, offering extensive layer management, blending modes, selection tools, and brush customization. Its comprehensive features make it the top choice for advanced users.
- GIMP (GNU Image Manipulation Program): A powerful, open-source alternative to Photoshop. GIMP provides many similar features, making it an excellent free option for manual colorization.
- Corel PaintShop Pro: Another strong contender, offering a robust set of photo editing and graphic design tools suitable for colorization.
Step-by-Step Manual Colorization Process (Using Photoshop/GIMP Principles)
The core principle involves applying color to separate layers and using blending modes to integrate them naturally with the grayscale image.
-
Duplicate Your Background Layer: Open your prepared grayscale image. Duplicate the background layer (e.g., Layer > Duplicate Layer). This protects your original grayscale data. Convert your image mode to RGB if it is not already (Image > Mode > RGB Color).
-
Create New Color Layers: For each distinct color area (e.g., skin, clothing, sky, foliage), create a new empty layer above your grayscale image. Name these layers appropriately (e.g., “Skin Tone,” “Blue Shirt,” “Green Leaves”). This organization is crucial for precise adjustments.
-
Set Blending Modes: Select a new color layer. Change its blending mode to ‘Color’ (or ‘Soft Light’ for more subtle effects, or ‘Overlay’ for more intensity). The ‘Color’ blending mode applies the hue and saturation of the color layer while retaining the luminosity (lightness and darkness) of the grayscale layer beneath it. This ensures your colors look natural and dimensional.
-
Apply Color with Brushes: Choose a soft-edged brush with low opacity (10-30%) and low flow. Select a color from your palette. Carefully paint over the areas on your new color layer. Build up the color gradually. If you make a mistake, erase it on that specific color layer without affecting other areas.
- Skin Tones: Start with a base peach or light brown color. Use slightly darker or redder tones for cheeks, lips, and areas with more blood flow.
- Clothing: Research the typical colors of the era to ensure accuracy. Vary the intensity based on fabric texture and lighting.
- Sky and Foliage: Use appropriate blues for skies and various greens for trees and grass, considering the season and light conditions.
-
Refine with Selection Tools: For intricate areas or sharp edges, use selection tools (e.g., Pen Tool, Quick Selection Tool, Lasso Tool) to create precise masks or selections. This confines your brush strokes to specific areas, preventing color bleeding. Save complex selections for reuse.
-
Adjust Hues, Saturation, and Brightness: Each color layer can be adjusted independently. Use Hue/Saturation, Color Balance, or Curves adjustment layers (clipped to your color layer) to fine-tune the color appearance. This allows you to experiment without permanently altering the applied colors.
-
Add Details and Highlights: For a more realistic look, consider adding subtle variations. For example, use a lighter shade for highlights on hair or fabric, and a slightly darker shade for shadows. This adds depth and dimension to your colorized image.
-
Review and Save: Step back periodically to assess your work. Zoom out to see the overall effect. Once satisfied, save your project as a layered file (e.g., PSD for Photoshop, XCF for GIMP) to allow for future edits. Then, export a flattened copy as a JPG or PNG for sharing.
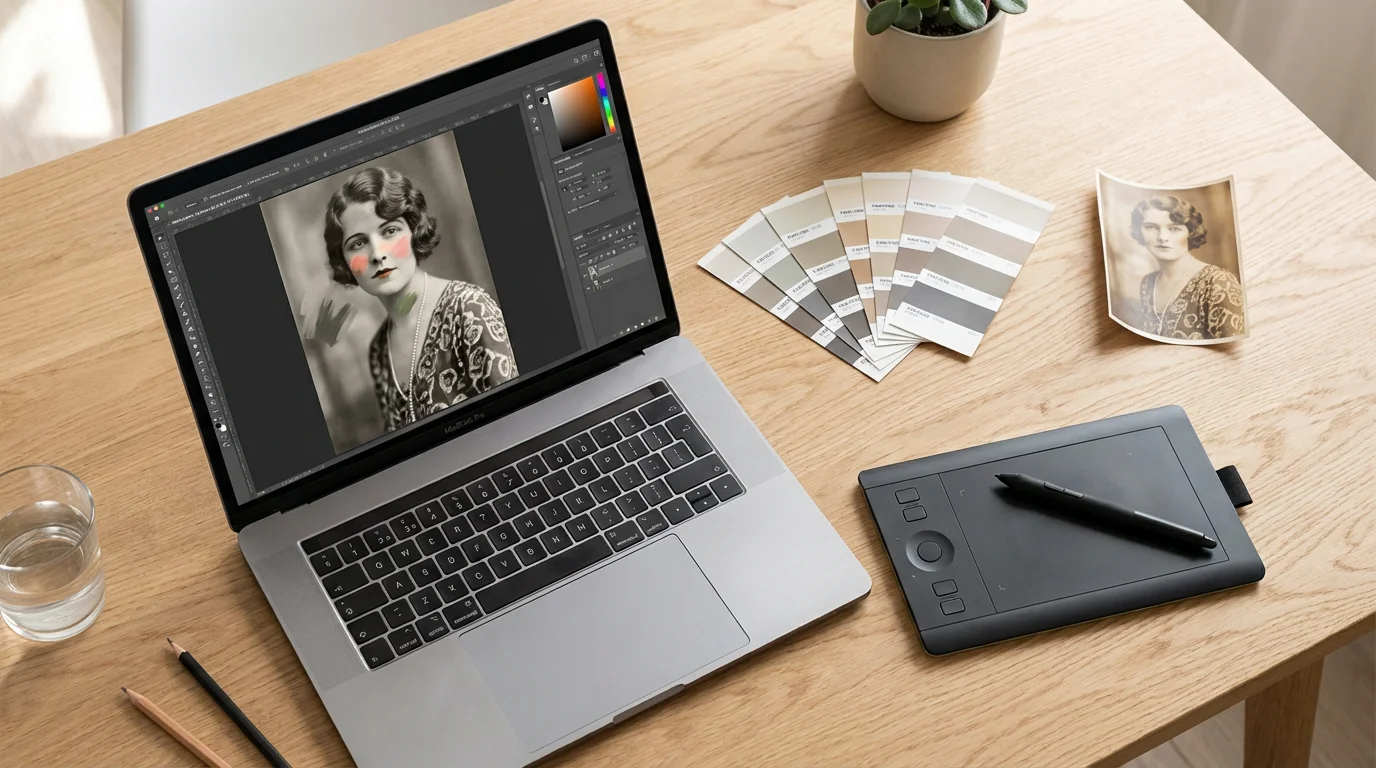
Leveraging AI for Instant Color: Tools and Simplicity
Artificial Intelligence has revolutionized photo colorization, making it accessible to anyone. AI-powered tools use sophisticated algorithms, often neural networks trained on vast datasets of color and black and white image pairs, to automatically apply color. These tools analyze the content of your image and infer appropriate colors, producing impressive results in seconds.
In addition to adding color, modern AI can also automatically remove red eye from old photos and clean up other facial artifacts.
Before applying color, many users find it helpful to use AI photo restoration tools to automatically repair physical damage on the original image.
How AI Colorizing Works
When you upload a black and white photo to an AI colorization service, the algorithm performs several complex steps:
-
Feature Recognition: It identifies objects, textures, and scenes within the image (e.g., faces, sky, grass, clothing).
-
Color Inference: Based on its training data, it predicts the most probable colors for each identified feature. For instance, it learns that skies are usually blue, grass is green, and human skin tones fall within a certain range.
-
Contextual Application: The AI considers the overall context and lighting of the image to ensure color consistency and realism. It might adjust colors based on shadow areas or highlights.
-
Blending: The inferred colors are then seamlessly blended into the grayscale image, respecting its original luminance values.
Popular AI Colorizing Tools and Apps
Several excellent AI tools are available, ranging from web-based services to desktop applications:
- MyHeritage In Color™: This popular online tool, integrated into the MyHeritage genealogy platform, offers exceptional results, particularly for portraits. It excels at rendering natural skin tones and clothing colors, making it a favorite for family historians.
- Colourise.com: A simple, effective web-based tool. Upload your image, and it returns a colorized version quickly. It is user-friendly for quick results.
- VanceAI Photo Colorizer: This online service provides various AI enhancement tools, including a robust colorizer. It often offers options for adjusting color vibrancy after processing.
- DeepAI Colorizer: Another straightforward online tool that uses deep learning to add color to images. It is known for its speed and ease of use.
- Colorize It (by Skylum): A feature within Skylum’s Luminar AI and Luminar Neo editing software. This offers advanced control for those who want AI assistance within a more comprehensive editing environment.
- Remini: Primarily an image enhancer, Remini often includes a colorization feature that works well on mobile devices, alongside its ability to sharpen and restore old photos.
Using AI Tools: A Simple Process
The general workflow for most AI colorizing tools is incredibly straightforward:
-
Upload Your Image: Visit the chosen tool’s website or open its application. Locate the “Upload” or “Choose File” button and select your prepared black and white image.
-
Initiate Colorization: Click the “Colorize,” “Enhance,” or similar button. The AI processes your image, which usually takes a few seconds to a minute, depending on file size and server load.
-
Review and Adjust (if available): Many tools present a side-by-side comparison of the original and colorized image. Some platforms, like VanceAI or MyHeritage, offer sliders to adjust color intensity or warmth. Evaluate the results critically.
-
Download Your Colorized Image: Once satisfied, download the newly colorized image. Most services provide it in JPG or PNG format.
Choosing Your Method: Manual Versus AI
Deciding between manual and AI colorization depends on your goals, resources, and technical comfort. Each method offers distinct advantages and disadvantages.
If neither manual nor AI methods suit your needs, consider researching professional photo restoration services to handle the task for you.
Manual Colorization: Pros and Cons
Pros:
- Unparalleled Control: You dictate every color, shade, and nuance, ensuring historical accuracy and artistic vision.
- Superior Accuracy: With diligent research and skilled application, manual colorization can achieve historically precise color representations.
- Handles Complexities: Better at distinguishing subtle textures, complex lighting, and specific details that AI might misinterpret.
- Artistic Satisfaction: The process itself is a rewarding creative endeavor.
Cons:
- Time-Consuming: A single image can take hours or even days, depending on its complexity and your skill level.
- Requires Skill: You need proficiency in image editing software and a basic understanding of color theory.
- Steep Learning Curve: Mastering the techniques takes practice and dedication.
- Cost: Professional software like Photoshop comes with a subscription fee.
AI Colorization: Pros and Cons
Pros:
- Speed and Efficiency: Colorizes images in seconds, making it ideal for large batches or quick transformations.
- Ease of Use: Most tools are highly intuitive, requiring no specialized software knowledge.
- Accessibility: Many free or low-cost online tools are readily available.
- Good Starting Point: Can provide a solid base for further manual refinements.
Cons:
- Potential for Inaccuracy: AI may guess colors incorrectly, especially for unusual objects or historical uniforms it has not been extensively trained on.
- Artifacts and Unnatural Hues: Sometimes produces “ghosting” effects, unnatural skin tones, or color bleeding.
- Lacks Nuance: May not capture subtle variations in light, shadow, or texture as accurately as a human eye.
- Limited Control: You have minimal input on the specific colors chosen by the algorithm.
Recommendation: For a quick and easy transformation, or if you have many photos, start with AI. For truly precious, historically significant, or high-detail images where accuracy is paramount, consider the manual approach or use AI as a first pass, then refine manually. Many users combine methods, using AI for a baseline colorization and then importing the result into Photoshop or GIMP for manual adjustments.

Tips for Authentic and Respectful Colorization
Colorizing historical photographs is a responsibility. You are interpreting the past, and your choices impact how viewers perceive those moments. Approach this task with respect for the original image and its subjects.
-
Research Historical Colors: Do not guess. Research the period, location, and subjects of your photograph. What colors were popular for clothing? What were typical building materials and paint colors? Use historical archives, old magazines, and other color photographs from the same era as references. For example, a vehicle from the 1920s likely had a very different color palette than one from the 1960s.
-
Study the Original Photograph: The grayscale image itself contains clues. Variations in tone and texture often indicate different colors. A very light gray might suggest a pastel or white color, while a dark gray could be black, deep blue, or dark brown. Use these tonal cues to guide your color choices.
-
Strive for Realism, Not Over-Saturation: The goal is to make the image look as though it was originally captured in color, not to make it appear garish or artificial. Opt for subtle, muted tones over overly vibrant ones, which can make the image look unrealistic. The most convincing colorizations often use a slightly desaturated palette, reflecting the photographic technology of the time.
-
Preserve the Integrity of the Original: Always keep the original black and white image. Presenting both the monochrome and colorized versions side-by-side educates viewers and respects the photograph’s journey. You are creating an interpretation, not replacing history.
-
Be Mindful of Context and Emotion: Sometimes, black and white adds a powerful, somber, or timeless quality that color might diminish. Consider the original photographer’s intent or the historical context. For certain images, particularly those depicting solemn events, colorization might feel inappropriate to some viewers. The Getty Conservation Institute provides valuable guidance on the ethical considerations of digital restoration, which can inform your decisions.
“Treat colorization as an interpretive art form. It is about bringing a new dimension to history, but this dimension must remain in harmony with the original intent and historical context of the photograph.”
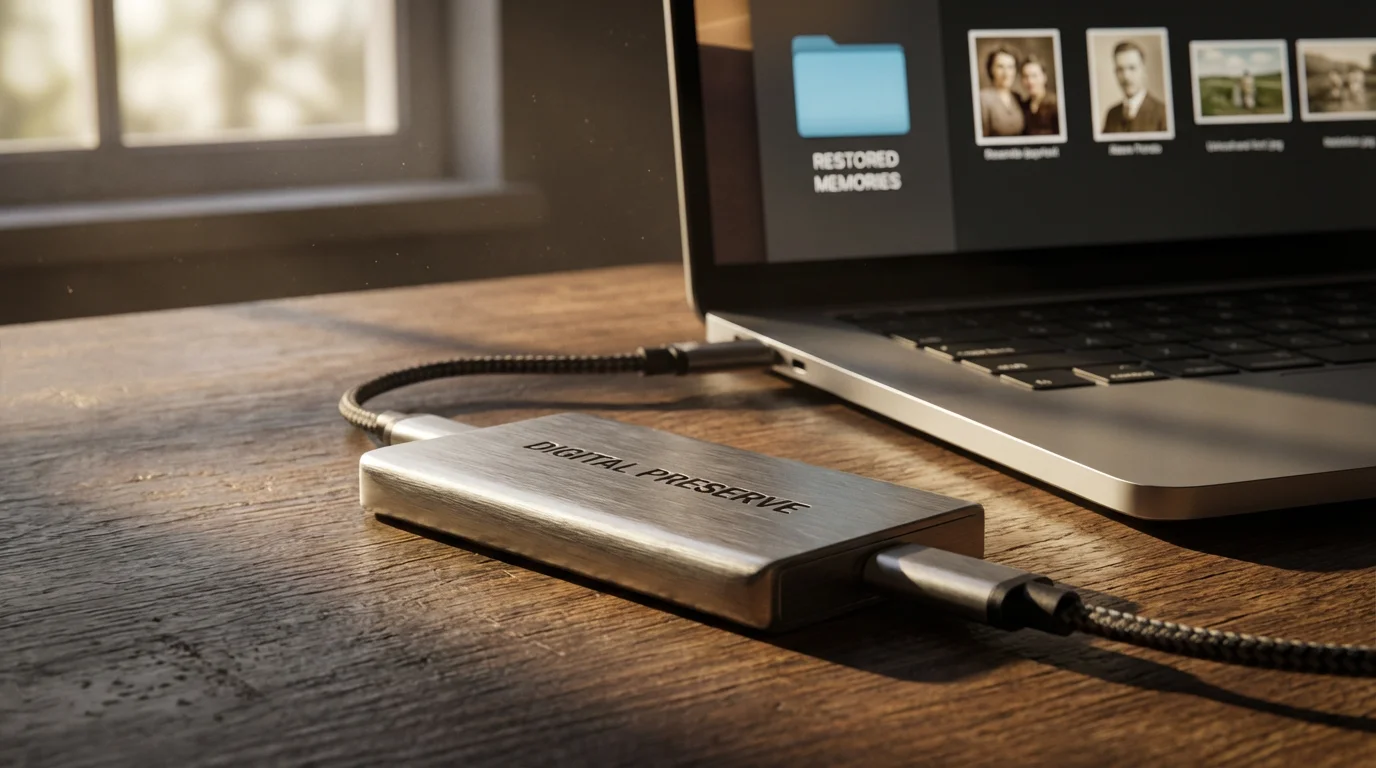
Preserving Your Newly Colorized Memories
After investing time and effort in colorizing your precious photographs, ensure you properly preserve these new versions. Digital preservation is crucial for their longevity and accessibility.
Once your project is complete, follow the creating a home photo archive guide to organize and safeguard your new digital collection.
-
Save in High-Quality Formats: When saving your final colorized images, choose formats that retain maximum quality. TIFF (Tagged Image File Format) is uncompressed and ideal for archival purposes, preserving all image data. PNG (Portable Network Graphics) is another excellent lossless option, especially for images with sharp edges or text. JPG (Joint Photographic Experts Group) is suitable for sharing due to its smaller file size, but it uses lossy compression, so use a high-quality setting.
-
Organize and Name Files Clearly: Implement a consistent naming convention. For example, “GrandparentsWedding_1955_BW_Original.tif” and “GrandparentsWedding_1955_Colorized_v1.tif.” Create dedicated folders for “Original Scans,” “Restored BW,” and “Colorized Versions.” This organization makes finding and managing your collection much easier.
-
Implement a Backup Strategy: Digital files are vulnerable to hardware failure, accidental deletion, or cyber threats. Protect your work by following the “3-2-1 backup rule”:
- 3 copies of your data: The original and two backups.
- 2 different media types: For example, internal hard drive and an external hard drive.
- 1 offsite copy: Stored in a different physical location, such as a cloud storage service (e.g., Google Drive, Dropbox, OneDrive) or an offsite external drive.
Regularly test your backups to ensure they are accessible and uncorrupted.
-
Consider Printing Archival Copies: For physical preservation, print your colorized photos using archival-quality papers and inks. These materials resist fading and degradation for decades, often exceeding 100 years under proper storage conditions. Store prints in acid-free, lignin-free albums or boxes, away from direct sunlight, humidity, and extreme temperatures.
-
Share Your Stories: Colorized photos are not just images, they are conversation starters. Share them with family and friends, discussing the process and the history behind the images. This sharing helps keep memories alive and fosters deeper connections with your family heritage.
Frequently Asked Questions
Can I colorize a very low-quality black and white photo?
While you can attempt to colorize a low-quality photo, the results will likely be less satisfactory. AI tools might struggle to accurately identify objects, and manual colorization will be difficult due to a lack of detail. For best results, always start with the highest quality original you can obtain, ideally a high-resolution scan.
Is it disrespectful to colorize historical photos?
The sentiment around colorizing historical photos varies. Many view it as a way to bring history to life and engage new audiences. Others argue it can alter the original artistic intent or historical perception. When colorizing, always retain the original black and white version, strive for historical accuracy in your color choices, and respect the context of the image. Your intent to enhance understanding and connection typically guides the ethical consideration.
How long does it take to manually colorize a photo?
The time required for manual colorization varies significantly. A simple portrait might take a few hours for an experienced user, while a complex scene with multiple subjects, intricate details, and varied textures could take many hours, even days. Factors include the image’s complexity, your skill level, and the desired level of detail and realism.
Can AI tools make mistakes in colorizing?
Yes, AI tools can make mistakes. They rely on patterns learned from training data, so if an object or scene is unusual, or if the original grayscale tones are ambiguous, the AI might misinterpret it. Common mistakes include incorrect skin tones, unnatural sky colors, or miscolored objects. This is where manual refinement becomes valuable, correcting any AI errors.
What is the best way to learn manual photo colorization?
To learn manual photo colorization, begin by familiarizing yourself with image editing software like Photoshop or GIMP. Focus on understanding layers, blending modes (especially ‘Color’), selection tools, and brush techniques. There are numerous online tutorials, YouTube videos, and courses available that provide step-by-step guidance. Practice with simple images first, gradually moving to more complex ones as your skills develop.
Disclaimer: This article is for informational purposes only. When handling valuable or irreplaceable photographs, consider consulting a professional conservator. Always test preservation methods on non-valuable items first.


Leave a Reply