
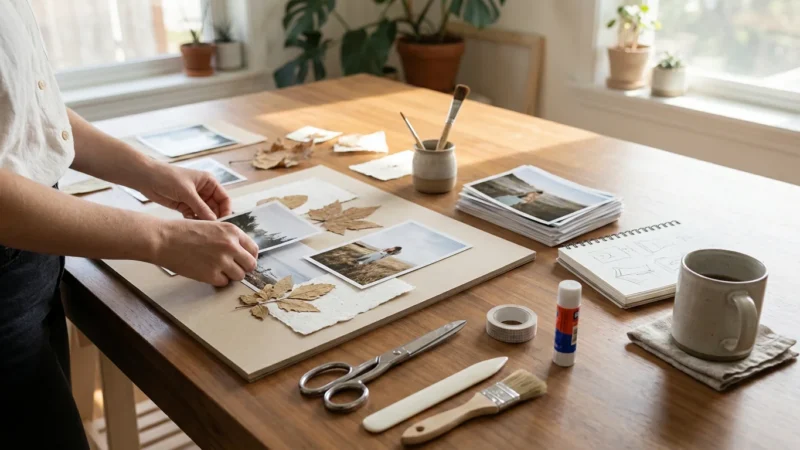
Your photo collection, whether boxes of treasured family albums or thousands of digital files, tells your unique story. Preserving these memories means more than just protecting them from physical damage, it also means enhancing their visual impact. Effective editing, particularly cropping photos and straightening images, dramatically transforms an ordinary snapshot into a captivating image, allowing its story to shine.
Before focusing on composition, you might also want to explore basic photo editing like brightness and contrast to ensure your lighting is perfect.
Cropping and straightening are not merely technical adjustments. They are powerful tools for composition editing that refine your perspective, eliminate distractions, and guide the viewer’s eye. Imagine a beloved family photo from a holiday past. A slight tilt in the horizon or an unnecessary background element can detract from the joy captured in your relatives’ faces. With thoughtful cropping and straightening, you bring those precious smiles into sharp focus, making the memory even more vibrant. You don’t need to be a professional photographer to master these techniques. This guide will walk you through how to crop photos for better composition, providing practical photo cropping tips and techniques you can implement immediately.
The Power of the Crop: Why It Matters for Your Memories
Cropping is the process of selecting a specific area of an image and discarding the rest. This seemingly simple action holds immense power in photography and memory preservation. When you crop photos, you actively redefine what your image communicates. You remove distracting elements, tighten the focus on your subject, and enhance the overall visual balance.
As you decide which parts of an image to keep, you may also find it helpful to start decluttering your photo collection to remove low-quality duplicates.
When dealing with physical archives, you can often restore old faded photos after the scanning process to bring back lost detail.
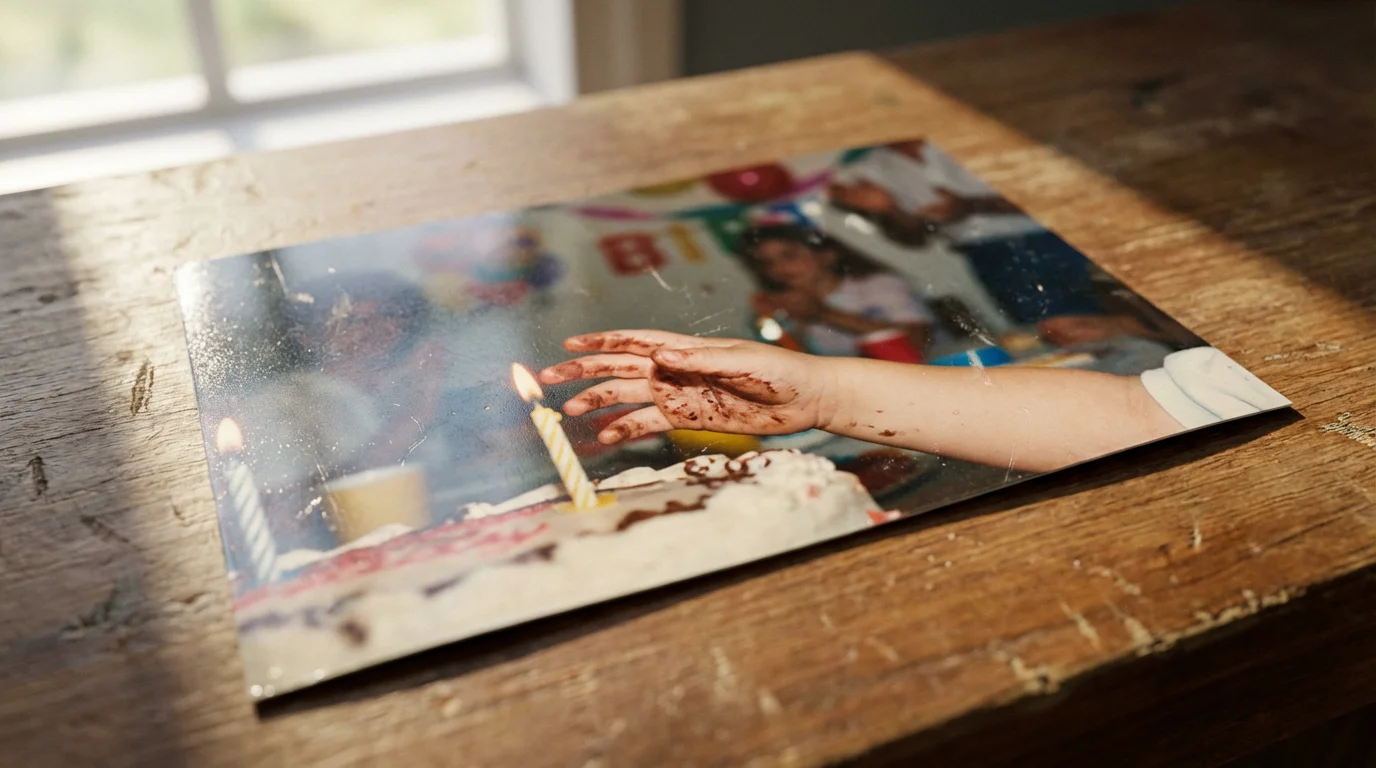
Consider an old family photo from a birthday party. Perhaps an extraneous hand holding a camera appears at the edge of the frame, or a cluttered background pulls attention away from the beaming birthday child. By carefully cropping these elements out, you direct the viewer’s eye exactly where you want it, to the joyful expression or the beautifully decorated cake. This makes the memory more impactful and easier to appreciate.
A well-executed crop clarifies the narrative of your photograph. It transforms a busy scene into a focused story. For instance, studies in visual perception demonstrate that reducing visual clutter improves comprehension and engagement with an image. When you simplify an image through cropping, you enhance its emotional resonance and ensure the core memory stands out, rather than getting lost in unnecessary detail.
You decide what truly matters in your photograph when you crop it. This deliberate choice shapes how others perceive your memory and how you revisit it yourself.

Understanding Straightening: Fixing Your Perspective
Just as cropping defines your image’s content, straightening refines its alignment. A crooked horizon line or a slightly askew building can unconsciously create a sense of unease or amateurism in a photograph. Straightening images corrects these rotational imbalances, restoring a sense of stability and professionalism to your pictures.
Once your perspective is correct, you might also need to sharpen blurry photos to ensure the details are as crisp as possible.
Think about a landscape photo from a cherished vacation. If the ocean horizon dips noticeably to one side, it visually unbalances the entire scene. Your brain detects this inconsistency, even if you do not consciously register it. Straightening that horizon line immediately makes the image more visually pleasing and harmonious. It creates a stable foundation for the viewer’s eye to explore the scene.
Beyond landscapes, straightening applies to architectural shots, portraits, and even group photos. A slight tilt in a portrait can make the subject appear off-balance. Correcting this tilt brings a sense of composure and dignity to the person in the frame. This simple adjustment ensures your precious memories are presented with the respect they deserve, free from minor technical flaws that detract from their beauty.

Essential Tools for Cropping and Straightening
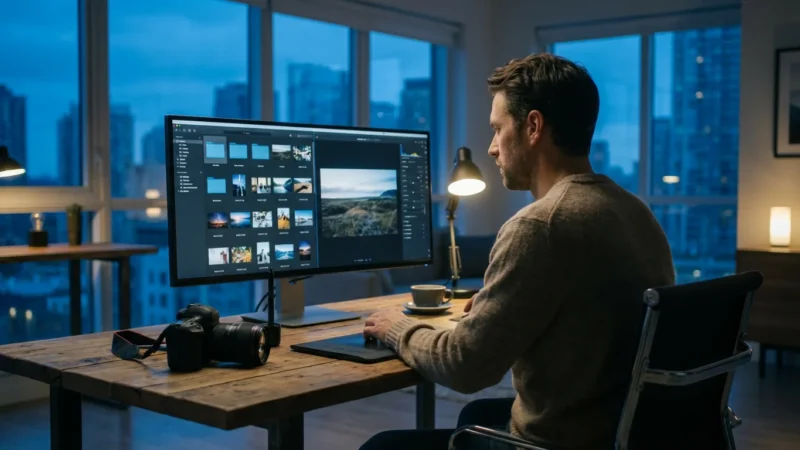
You have access to a wide array of tools for composition editing, ranging from free software to professional suites. Most modern devices, including smartphones and computers, feature built-in editing capabilities that effectively handle basic cropping and straightening. You do not need expensive software to begin refining your images.
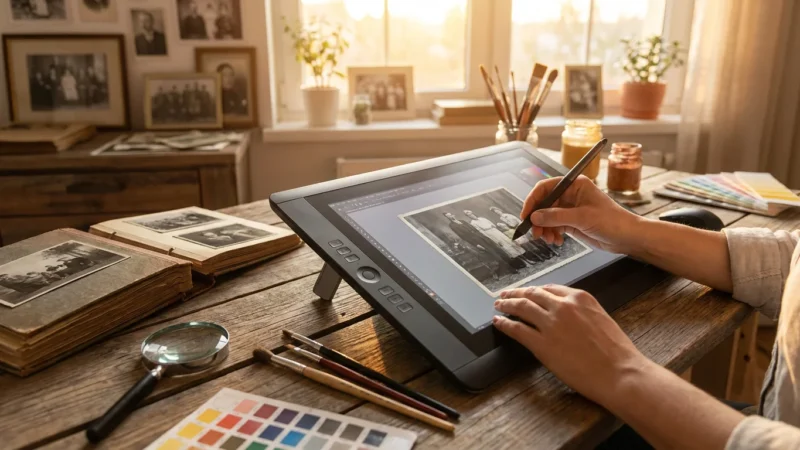
For heavily damaged physical copies, using AI photo restoration tools can automate the process of fixing tears and stains.
If you primarily use your mobile device, check out these smartphone photography tips for better initial captures.
While standard computer applications are great, comparing Lightroom vs Photoshop is helpful if you want professional-grade organizational features.
For those working with physical media, it is also helpful to know how to remove scratches and dust from scanned photos during the digitization process.
Here is a breakdown of common tools:
- Smartphone Apps: Your phone’s native photo app, Google Photos, Apple Photos, Snapseed, or VSCO offer intuitive cropping and straightening functions. These are excellent for quick edits on the go.
- Desktop Operating System Tools: Windows Photos and Apple Photos on macOS provide robust, easy-to-use editing options. You can import photos from your camera or scanner and perform edits directly on your computer.
- Free Online Editors: Websites like Photopea or Pixlr offer browser-based editing capabilities similar to professional software, allowing you to crop and straighten without downloading applications.
- Dedicated Photo Editing Software: Programs like Adobe Photoshop Elements, Affinity Photo, GIMP (free and open-source), or professional-grade Adobe Photoshop provide advanced control over cropping, straightening, and many other aspects of image manipulation. These tools offer greater precision and additional features like perspective correction.
Start with the tools you already have. As you become more comfortable, you might explore more advanced options that offer finer control and additional creative possibilities. Remember, the best tool is the one you understand and use consistently.

Composition Fundamentals for Better Cropping
To truly understand how to crop photos for better composition, you need a basic grasp of compositional principles. These principles are not rigid rules, but rather guidelines that help you create visually appealing and impactful images. Applying them ensures your crops enhance, rather than detract from, your photographs.
Beyond cropping, mastering other composition techniques can help your photos stand out even before you start editing.
Sometimes cropping isn’t enough to clean up a shot, in which case removing unwanted objects from the background is the next logical step.
- The Rule of Thirds: Imagine your image divided into nine equal sections by two horizontal and two vertical lines. Placing your main subject or key compositional elements along these lines or at their intersections often creates a more balanced and dynamic image than centering everything. For instance, if you have a portrait, placing the subject’s eyes on an upper intersection point can draw the viewer in more effectively. You can learn more about this fundamental concept and others at Cambridge in Colour.
- Leading Lines: These are lines within your image that draw the viewer’s eye towards the main subject. Roads, fences, rivers, or even the gaze of people in a photograph can act as leading lines. Cropping can enhance these lines, making them more prominent or eliminating elements that break their flow.
- Framing: Natural frames within your photograph, such as doorways, windows, or tree branches, can draw attention to your subject. When you crop, consider how you can use these existing elements to frame your subject more effectively, creating depth and context.
- Negative Space: This refers to the empty space around and between the subject(s) of an image. Sometimes, removing too much negative space makes an image feel cramped. Other times, an expansive negative space can emphasize a small subject, creating a powerful sense of isolation or scale. Your crop can adjust this balance.
- Symmetry and Balance: While the Rule of Thirds suggests asymmetry, sometimes a symmetrical composition works powerfully, especially for architecture or reflections. When you crop, decide if you want to emphasize symmetry or create a balanced, asymmetrical composition.
- Simplification and Eliminating Distractions: This is arguably the most common reason for cropping. Any element in your photo that does not contribute to your main subject or story is a distraction. Your crop is your opportunity to remove these visual nuisances, making your message clearer.
Practice recognizing these elements in your own photos. You will quickly develop an intuitive understanding of how to apply photo cropping tips and techniques to your images.
Step-by-Step: Cropping Your Photos Effectively
Now, let us put theory into practice. Follow these steps to effectively crop your photos using most common editing tools:
After refining your images, don’t forget to tag and label photos so you can find your newly edited masterpieces later.
A series of creatively cropped images can also be used to create photo collages that tell a more comprehensive family story.
If you find yourself needing to edit hundreds of images at once, learning how to batch edit photos can be a major time-saver.
- Open Your Photo: Launch your preferred photo editing software or app and open the image you want to crop.
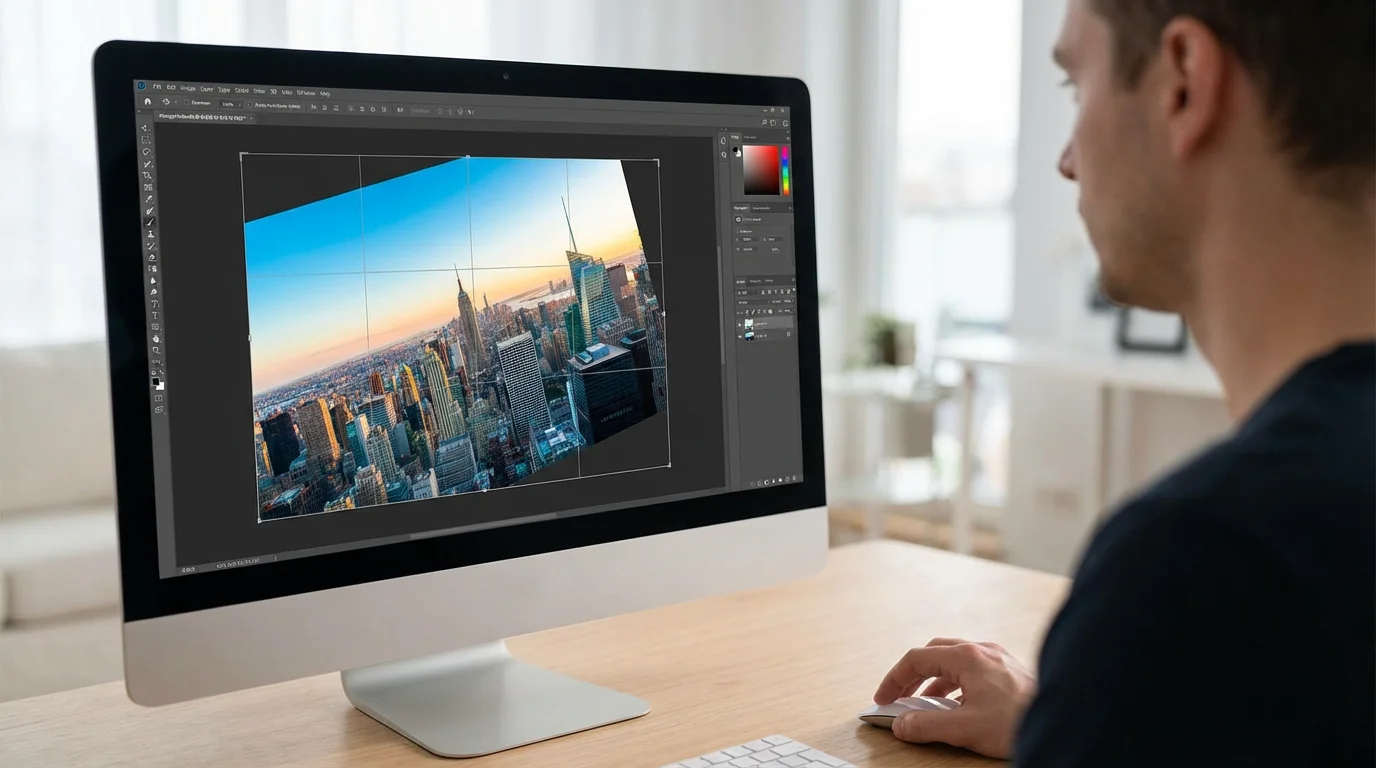
- Locate the Crop Tool: Most editing interfaces feature a distinctive crop icon, often resembling two intersecting right angles or a square with adjustable corners. Click or tap this icon to activate the tool.
- Identify Your Subject and Story: Before you even touch the crop handles, mentally determine the most important part of your image. What story do you want this photograph to tell? What elements are essential, and what is superfluous?
- Select an Aspect Ratio (Optional but Recommended): An aspect ratio defines the proportional relationship between an image’s width and height. Common ratios include 3:2 (standard DSLR), 4:3 (point-and-shoot, phone), 16:9 (widescreen), or 1:1 (square, popular for social media).
- Many tools offer “Original” to maintain the current ratio or “Free” to crop without constraints.
- Choosing a specific ratio helps you visualize how the image will look in different contexts, such as a photo print or a digital frame.
- Adjust the Crop Box: Drag the corners or edges of the cropping frame inwards. As you move the frame, observe how the composition changes.
- Look for distractions along the edges you can eliminate.
- Consider applying the Rule of Thirds grid, which many crop tools overlay, to position your subject effectively.
- Ensure your subject maintains sufficient space without feeling cramped.
- Refine and Preview: Take your time. Step back, and look at the image from a slight distance. Does the new crop improve the focus? Does it eliminate unwanted elements? Does it feel more balanced? Most tools allow you to preview the crop before committing.
- Apply or Confirm the Crop: Once satisfied, click “Apply,” “Done,” or the equivalent button to finalize your crop. Remember, in most non-destructive editing software, you can revert to the original image later if you change your mind. Always work on a copy if you are unsure.

Step-by-Step: Straightening Your Images with Precision
A skewed horizon can undermine even the most beautiful photograph. Follow these steps to straighten images and restore balance:
- Open Your Photo: Open the image in your chosen editing software.
- Locate the Straighten Tool: This tool might be integrated within the crop tool, or it could be a separate option often labeled “Straighten,” “Level,” or “Rotate.” It typically has an icon resembling a spirit level or a circular arrow.
- Look for Reference Lines: Identify prominent horizontal or vertical lines in your image that should be perfectly straight. Examples include horizons, buildings, door frames, or telephone poles. These will serve as your guides.
- Use the Automatic Straighten (If Available): Many modern editing tools offer an “Auto” straighten function. This often works well for scenes with clear horizontal or vertical elements, like a horizon line. Try it first. If it is not perfect, proceed to manual adjustment.
- Manual Straightening Techniques:
- Drag a Line: Many tools allow you to draw a line along what you know should be perfectly horizontal or vertical (e.g., the horizon). The software then automatically rotates the image to align with your drawn line. This is often the most precise method.
- Rotation Slider: Most tools include a slider or dial that allows you to manually rotate the image clockwise or counter-clockwise by small degrees. Adjust this slowly, paying close attention to your reference lines.
- Utilize the Grid Overlay: As you straighten, most tools overlay a grid (often the Rule of Thirds grid or a simpler square grid). Align your identified horizontal or vertical elements with these grid lines to achieve precise leveling.
- Check All Edges and Elements: After making an adjustment, quickly scan the entire image. Ensure that straightening one element does not unintentionally skew another important part of the photo. Sometimes, a compromise is necessary if an image contains multiple, conflicting “straight” lines.
- Apply the Adjustment: Once you achieve a perfectly level image, confirm your changes by clicking “Apply” or “Done.”
Remember, straightening often involves a slight crop as the image rotates. The software typically handles this automatically, but be aware that you might lose a tiny amount of the image’s edges in the process.
Common Cropping Mistakes to Avoid
While cropping photos is a powerful technique, you can easily diminish an image’s impact with a few common missteps. Avoid these pitfalls to ensure your composition editing always enhances your memories:
- Cropping Too Tight: Leaving insufficient breathing room around your subject often makes an image feel claustrophobic or awkward. For portraits, avoid cropping directly at joints like knees or elbows. Give your subject a bit of space to “look into” the frame.
- Cutting Off Important Elements: Accidentally severing a hand, a foot, or the top of someone’s head is a common error. Always scan your crop box carefully to ensure all vital parts of your subject remain within the frame.
- Ignoring the Background Entirely: While cropping aims to remove distractions, sometimes a blurred background or a hint of context adds depth and story. Do not crop so aggressively that you eliminate all sense of place or environment.
- Not Considering the Output: A crop perfect for a social media post might look awkward as an 8×10 print. Think about where your photo will live and choose an aspect ratio that suits that purpose. Cropping for a print frame is different from cropping for a digital slideshow.
- Over-Cropping Low-Resolution Images: If you crop too much from a low-resolution image, you significantly reduce the number of pixels in your final output. This results in a pixelated, blurry, or “blocky” image when viewed at a larger size. Always start with the highest resolution image possible. For old scanned photos, aim for a high initial scan resolution (e.g., 600 DPI or more) to give you maximum flexibility for cropping later.
- Not Making a Copy: Always work on a copy of your original photo, especially with irreplaceable historical images. Most modern software handles this automatically, but confirm you are not destructively editing your sole original.

Creative Cropping: Beyond the Basics
Once you master the fundamentals of how to crop photos for better composition, you can explore more creative uses of the crop tool. Cropping is not merely about fixing errors; it is also about reimagining your images and discovering new perspectives.
To further personalize your cropped images, you can add text and captions to photos to document the dates and names associated with the memory.
- Changing Aspect Ratios for Impact: Experiment with different aspect ratios. A panoramic crop (e.g., 2:1 or wider) can transform a landscape into a cinematic vista. A square crop (1:1) can create a sense of balance and focus, often favored for minimalist compositions or social media.
- Focusing on Detail: Sometimes, a tiny detail within a larger scene holds significant emotional weight. Cropping in tightly on a hand holding another, an antique locket, or a child’s toy can create a powerful, intimate portrait of that specific moment, even if it was not the main subject of the original shot.
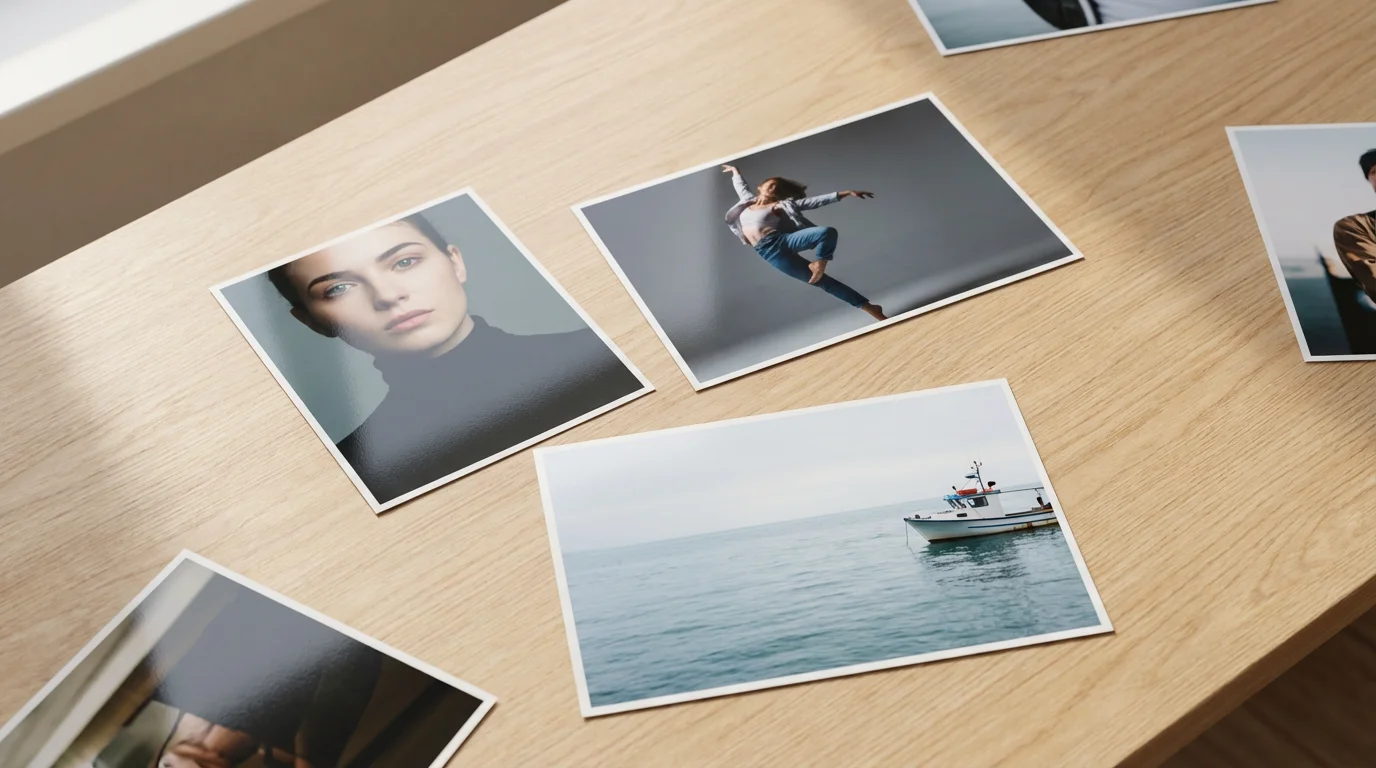
- Creating Multiple Stories: One original photograph might contain several interesting compositions. You can create multiple unique images from a single frame by strategically cropping different sections. For example, a wide family portrait might yield a close-up of a grandparent, a group shot of the children, and a detail of the decorations.
- Removing the Obvious: Challenge yourself to crop out the most obvious elements and see what remains. Sometimes, removing the “main” subject allows secondary elements to come forward, revealing a new narrative or abstract beauty.
- Emphasizing Texture or Pattern: If an image features an interesting texture, like weathered wood or intricate fabric, you can crop to highlight this pattern, turning an everyday object into an abstract work of art.
Creative cropping invites you to see your photographs with fresh eyes. It encourages you to extract new meanings and beauty from images you might have overlooked. Approach it as an artistic exercise, allowing your intuition and creativity to guide you.

Preserving Your Edited Masterpieces
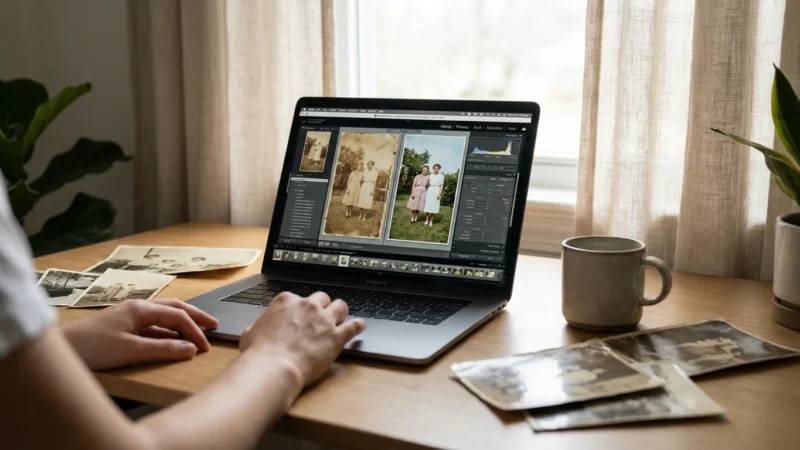
After dedicating time to composition editing and perfecting your cropping photos and straighten images techniques, you need to ensure these enhanced memories are safely preserved. Digital files, while convenient, require thoughtful management to prevent loss or degradation.
- Save in a Non-Destructive Format (If Possible): Many advanced editing programs save your edits as instructions, leaving the original file untouched. When you export or save your final edited image, use a high-quality format. TIFF or high-quality JPEG are common choices for preservation. If you plan further edits, save a copy as a PSD (Photoshop) or equivalent file to retain layers and editing history.
- Implement a 3-2-1 Backup Strategy: This widely recommended strategy ensures robust data protection:
- 3 Copies: Keep at least three copies of your important files.
- 2 Different Media Types: Store your copies on at least two different types of storage media (e.g., your computer’s hard drive, an external hard drive, cloud storage).
- 1 Off-site Copy: Keep one copy in a different physical location (e.g., cloud storage, a friend’s house) to protect against local disasters like fire or theft.
- Organize and Rename: Develop a consistent naming convention for your edited photos. Include dates, subjects, and keywords. For example:
2023-10-26_FamilyVacation_BeachSunset_Cropped.jpg. Store them in logically organized folders. This makes finding your enhanced memories much easier in the future. - Consider Archival Prints: For truly precious images, especially those that represent significant family history, create archival-quality prints. Use acid-free, lignin-free paper and professional printing services. Store these prints in archival photo albums or boxes, away from direct sunlight, humidity, and extreme temperatures.
- Regularly Review and Migrate: Technology evolves. What works today for storage might not be accessible in 10-20 years. Periodically review your digital collection and migrate files to newer, more stable storage formats or platforms as they become available. The Image Permanence Institute offers valuable resources on digital preservation.
Your efforts in composition editing elevate your photographs. Your dedication to preservation ensures these enhanced memories endure for generations.
Frequently Asked Questions
Is it always better to crop photos?
No, it is not always better to crop photos. Sometimes, the original composition is strong, or the additional elements contribute to the story. Cropping serves as a tool for improvement, not a mandatory step. You should crop purposefully, only when it enhances the focus, removes distractions, or reframes the narrative of your image. Always ask yourself if the crop genuinely makes the photo better.
What is the ideal resolution for photos I plan to crop heavily?
When you anticipate significant cropping photos, start with the highest possible resolution. For digital images, this means using your camera’s highest megapixel setting. For scanned physical photos, scan them at a minimum of 600 DPI, or even 1200 DPI for very small originals. More pixels give you greater flexibility to crop without significantly degrading image quality, preventing pixelation or softness in your final image.
Can I straighten images without cropping?
Yes, you can often straighten images without a visible crop. However, any rotation of a rectangular image will naturally create empty triangular spaces at the corners. Most photo editing software automatically crops these empty spaces out to maintain a clean rectangular shape. If your original image has ample border or empty space around the main subject, you may not notice the crop. Some tools offer a “content-aware fill” option to fill these spaces, but results vary. For the cleanest look, a slight automatic crop is typically the preferred method after straightening.
How do I know what aspect ratio to choose when cropping?
The best aspect ratio depends on your photo’s content and its intended use. For social media, 1:1 (square) or 4:5 (portrait) are popular. For prints, common ratios are 4:3, 5:7, 8:10, or 2:3. If you plan to display the photo on a widescreen monitor or TV, 16:9 works well. Consider the subject itself; a tall building might suit a portrait aspect ratio, while a sprawling landscape often looks best in a wider format like 16:9 or a custom panoramic crop. Experimentation helps you find the most impactful ratio for each image.
What is the difference between cropping and resizing?
Cropping photos removes portions of an image’s edges, changing its composition and often its aspect ratio. It reduces the physical dimensions and the number of pixels in your image. Resizing, on the other hand, changes the overall size of the entire image without removing any parts of it. You can resize an image to make it larger or smaller, altering its pixel dimensions but keeping the original composition intact. You might resize an image for web use to make it load faster, or enlarge it for a print without altering its content.
Disclaimer: This article is for informational purposes only. When handling valuable or irreplaceable photographs, consider consulting a professional conservator. Always test preservation methods on non-valuable items first.


Leave a Reply