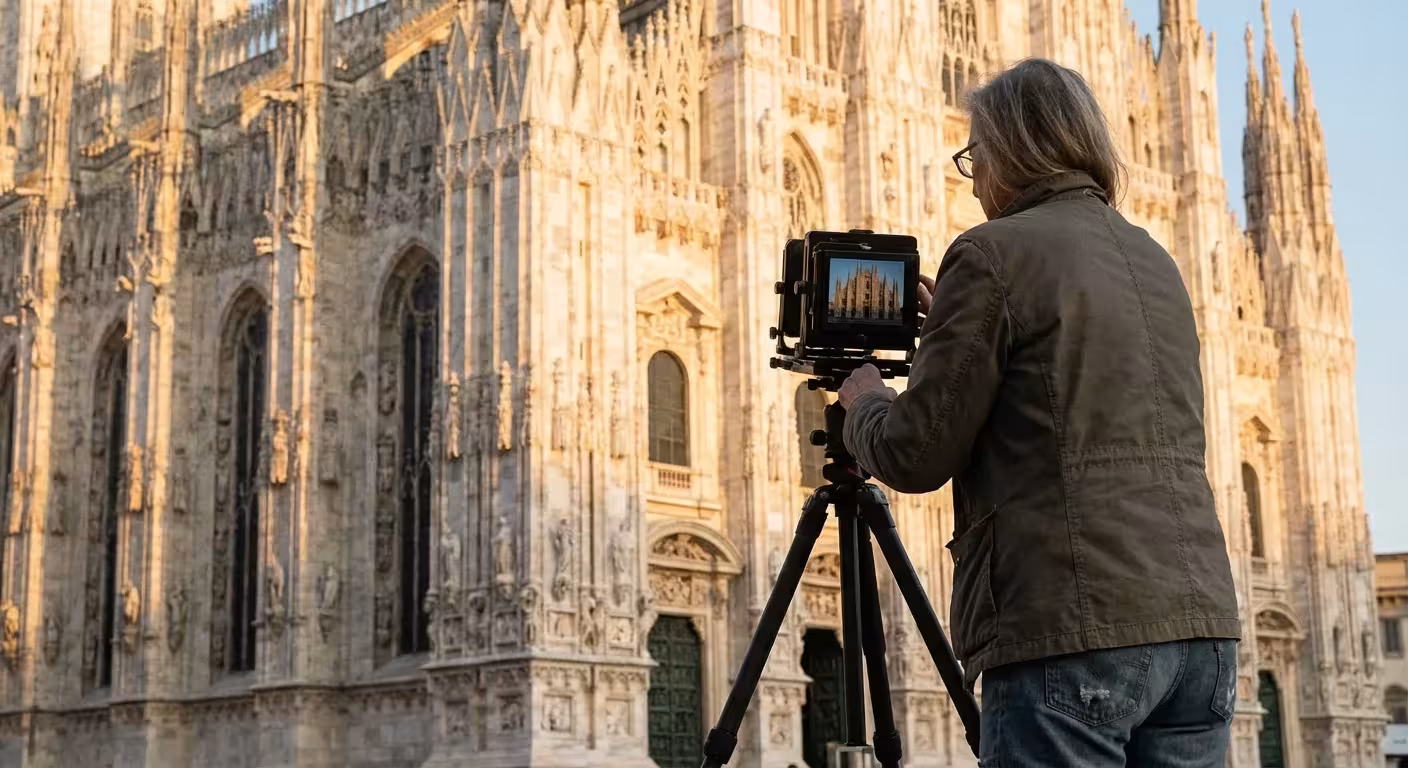
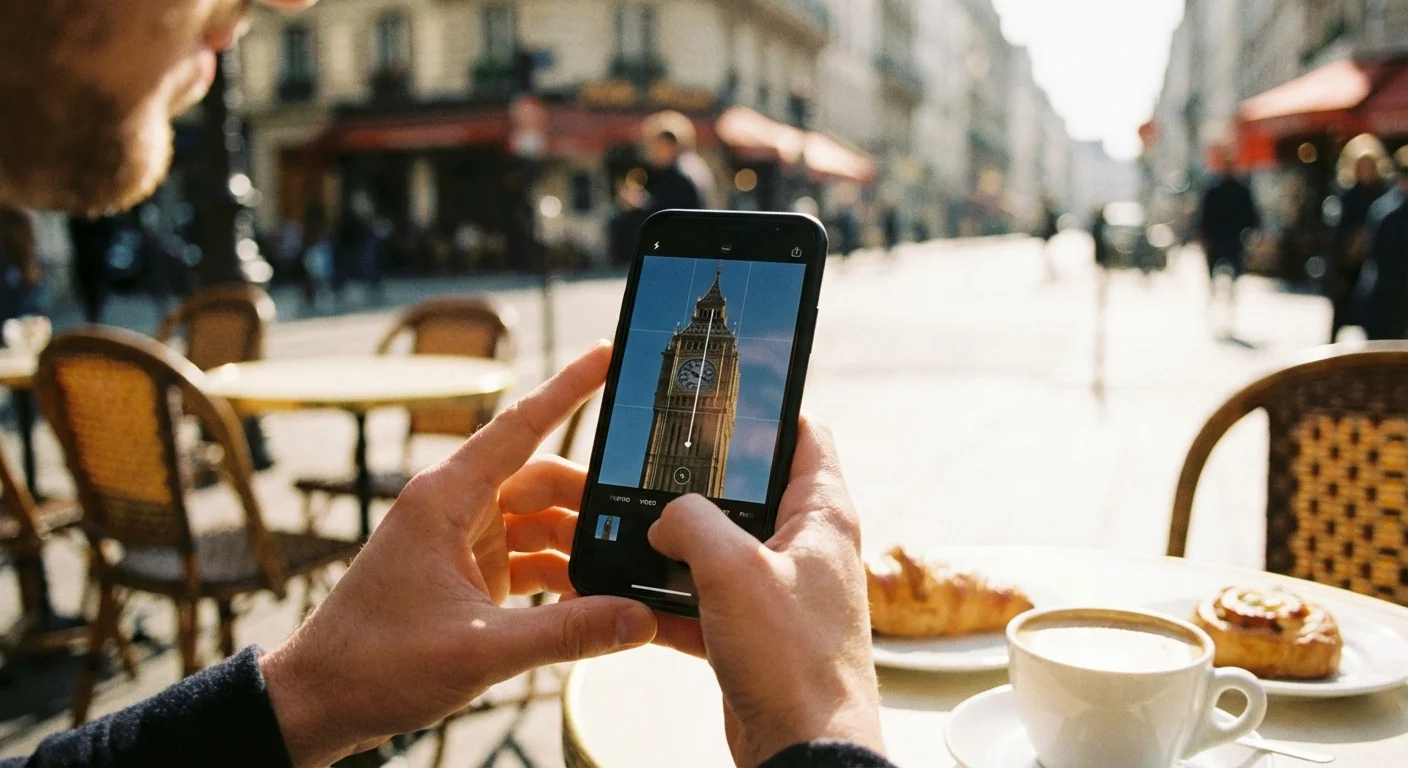
You stand before a breathtaking cathedral or a sleek modern skyscraper, frame the shot perfectly, and press the shutter. Later, you look at the image and realize the majestic building looks like it is falling over backward. The vertical lines of the walls angle inward, turning a proud structure into a collapsing pyramid. This phenomenon, known as perspective distortion or keystoning, frustrates even seasoned photographers. It occurs because the camera sensor is not parallel to the face of the building—usually because you had to tilt the camera up to fit the whole structure in the frame.
Correcting these architectural leanings and optical quirks transforms a snapshot into a professional-caliber photograph. While your eyes naturally compensate for these angles in person, the camera sensor records the geometry exactly as it hits the glass. Understanding how to manage these lines allows you to preserve the true essence of the architecture you admire. Whether you are documenting your family home for a heritage project or capturing travel memories, mastering perspective correction ensures your photos look grounded and true to life.
The Difference Between Optical and Perspective Distortion
Before you reach for the sliders in your editing software, you must distinguish between two very different types of image distortion. Solving the problem effectively requires knowing if the fault lies with your lens hardware or your camera position.
Optical distortion is a physical byproduct of lens construction. Wide-angle lenses often suffer from barrel distortion, where straight lines bow outward toward the edges of the frame. This creates a “fisheye” effect, though often much more subtle. Conversely, telephoto lenses can exhibit pincushion distortion, where lines curve inward toward the center. These are flaws in how the glass bends light. Most modern editing software includes lens profiles that recognize your specific camera and lens model to automatically flatten these curves with a single click. You can learn more about the physics of these optical properties at Cambridge in Colour, which offers detailed visualizations of how light interacts with camera glass.
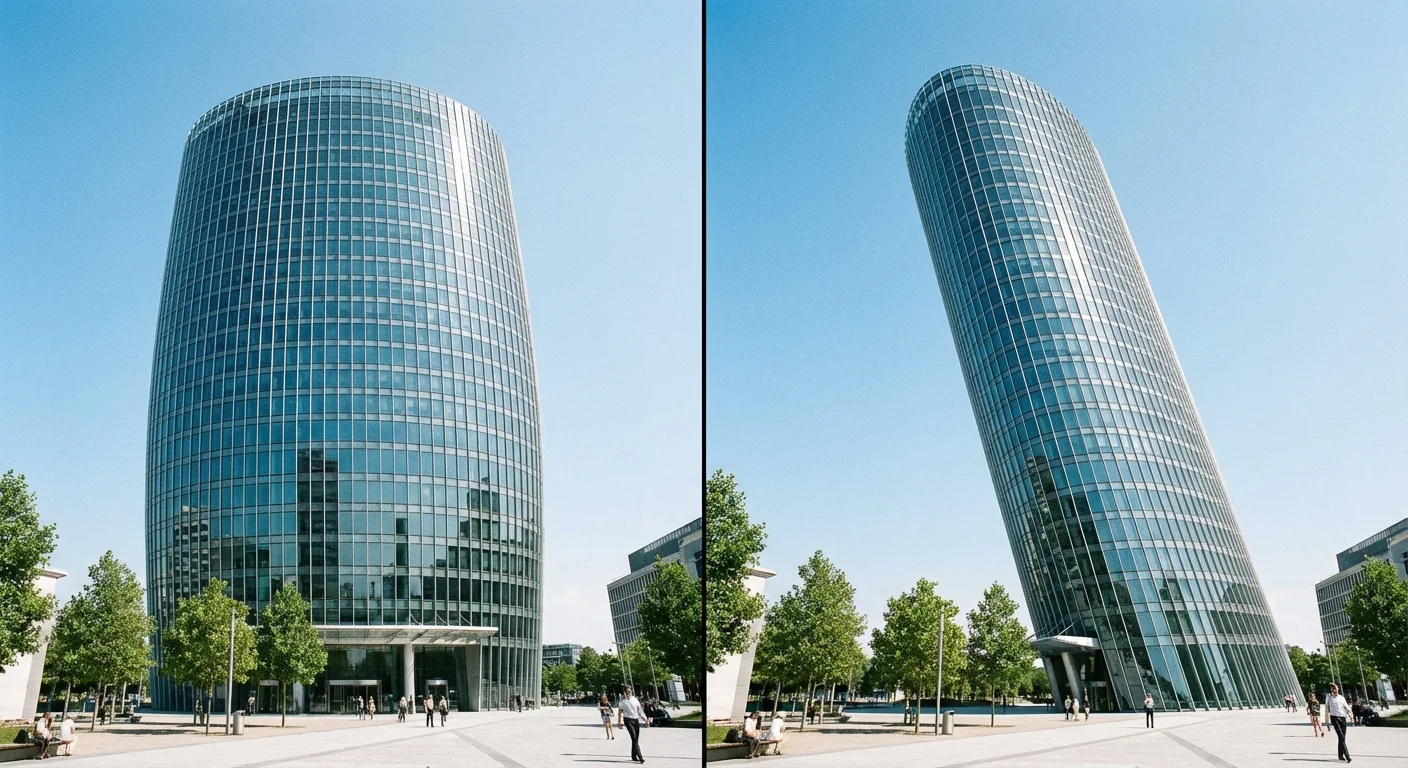
Perspective distortion, on the other hand, is a matter of geometry, not glass. This happens when you tilt the camera. If you point your lens upward to capture the roof of a house, the top of the house is further away from the sensor than the bottom. Because objects further away appear smaller, the top of the house looks narrower than the base. This “keystone effect” makes the vertical lines converge. This is not a “defect” in your lens; it is a mathematical reality of 3D-to-2D projection. You cannot fix this with a lens profile; you must use transform tools to stretch the top of the image back to its proper width.
In-Camera Techniques to Prevent Leaning Buildings
The best way to fix a leaning building is to never let it lean in the first place. This saves you from the pixel degradation and heavy cropping that happens during digital correction. The golden rule of architectural photography is to keep your camera sensor parallel to the subject. If the wall is vertical, your sensor should be vertical.
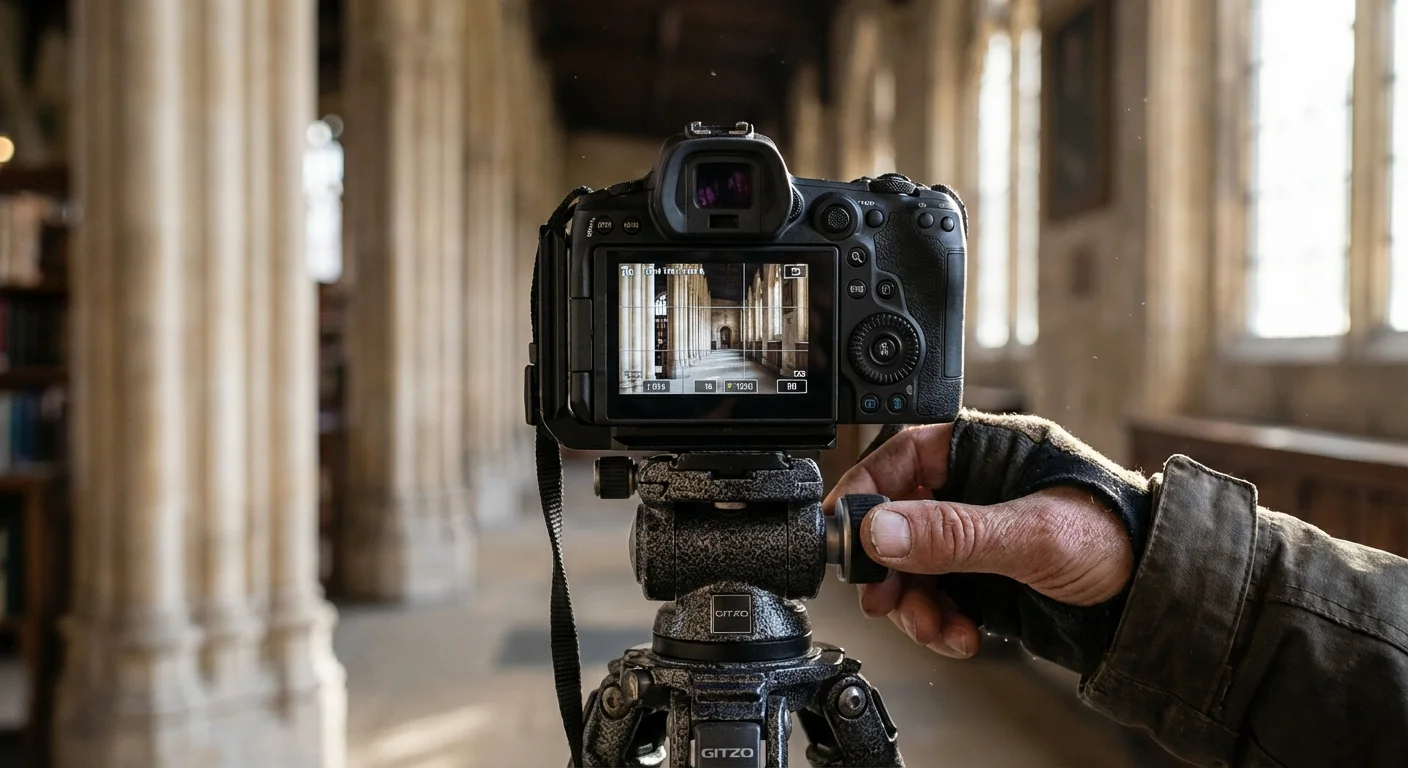
Use a tripod whenever possible. Many modern tripods include a bubble level on the legs or the head. Even better, most digital cameras have a built-in electronic level or “virtual horizon” that you can toggle on the screen. Align your camera so the level turns green, indicating the sensor is perfectly perpendicular to the ground. If you do this, the vertical lines of the building will remain perfectly straight.
Of course, keeping the camera level often means the bottom half of your frame is filled with unnecessary pavement while the top of the building is cut off. To solve this without tilting the camera, try these strategies:
- Move Back: The further away you are from the building, the less you need to tilt the camera to fit it in. Use a longer lens from across the street rather than a wide lens from the sidewalk.
- Elevate Your Position: Shooting from the second floor of a building across the street puts your camera closer to the vertical midpoint of your subject, reducing the need for tilting.
- Shoot Wide: Keep the camera level even if it means including too much foreground. You can crop the bottom of the photo later. This preserves the straight vertical lines without the digital stretching required by perspective correction.
The Digital Fix: Straightening Lines in Post-Processing
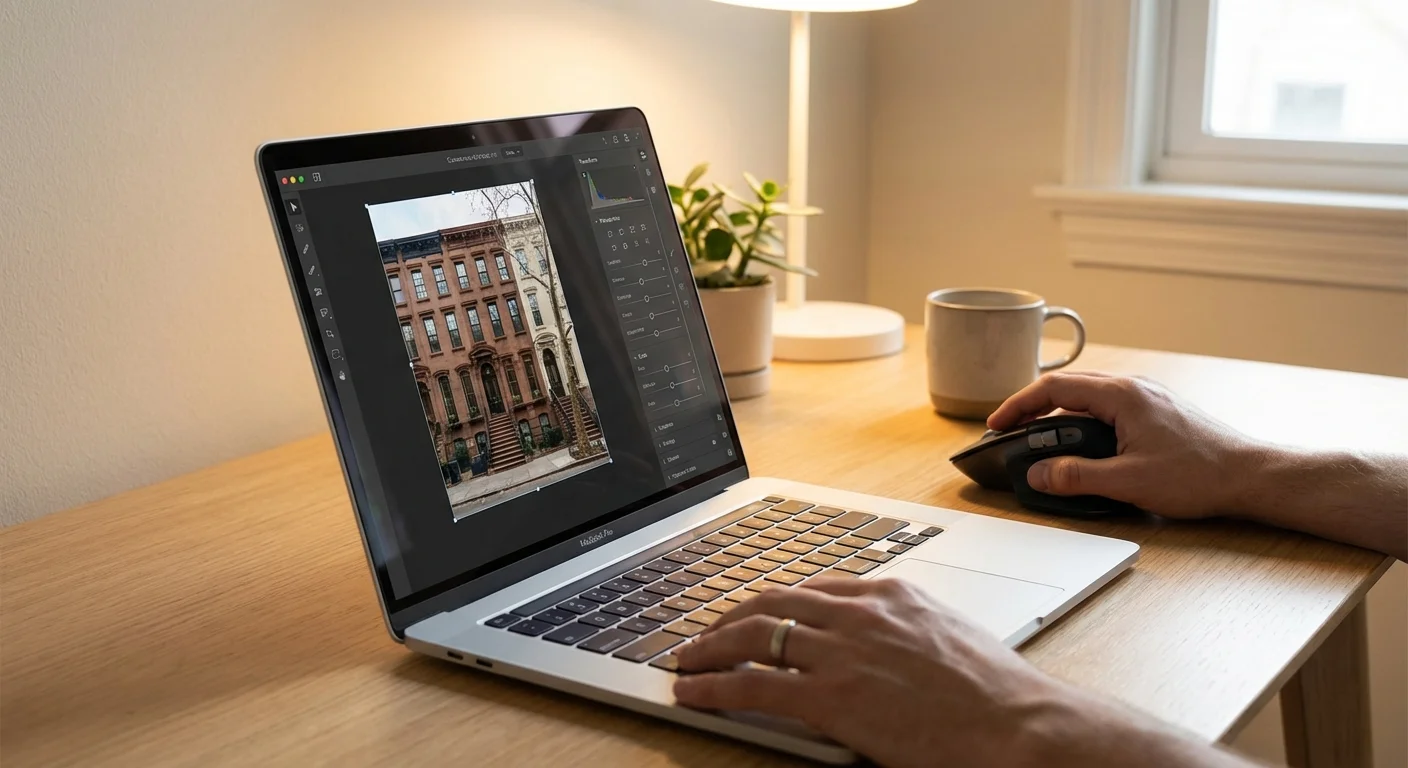
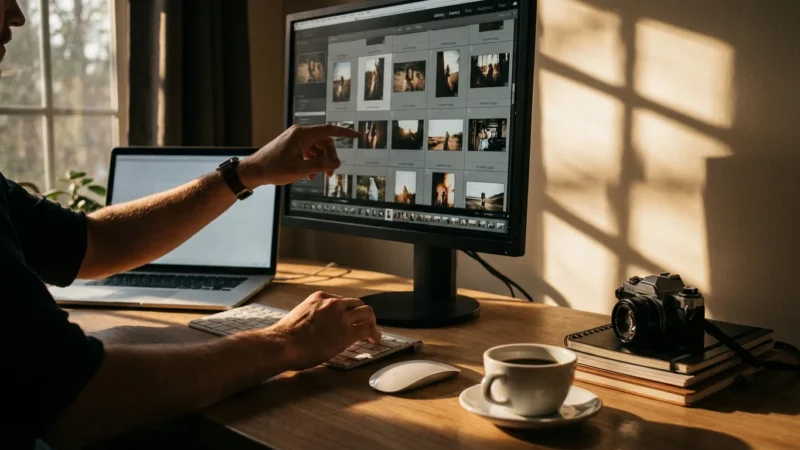
If you have already taken the photo and the buildings are leaning, Adobe Lightroom and Camera Raw provide powerful, semi-automated tools to rectify the geometry. The “Transform” panel is your primary weapon for this task. You should perform these steps after you have applied your basic exposure and color edits.
Start by enabling Profile Corrections in the Lens Corrections panel. This fixes the optical barrel or pincushion distortion first. Once the lines are “flat” (even if they are still leaning), move to the Transform panel. Lightroom offers several “Upright” modes:
- Level: Fixes horizontal lines (good for crooked horizons).
- Vertical: Forces vertical lines to be parallel, fixing the “leaning back” look.
- Auto: Attempts to balance both horizontal and vertical corrections.
- Full: A more aggressive version of Auto that forces all lines to be perfectly square.
The most precise option is Guided Upright. With this tool, you manually draw lines along the edges of the building that should be vertical or horizontal. Draw two vertical lines on opposite sides of the building, and the software will instantly warp the image to make those lines perfectly parallel. It feels like magic, but remember that this process creates empty white space around the edges of your warped photo. You will need to check the “Constrain Crop” box to automatically trim the photo to its new, straight dimensions.

Advanced Photoshop Techniques for Complex Geometry
Sometimes a simple vertical adjustment isn’t enough, especially if you are dealing with wide-angle shots or complex cityscapes where multiple buildings lean in different directions. In these cases, Adobe Photoshop offers the Perspective Warp tool. This tool allows you to define different planes in an image and manipulate them independently.
To use Perspective Warp, convert your layer into a Smart Object first so your changes remain reversible. Go to Edit > Perspective Warp. First, you draw a “quad” (a four-sided box) over the face of the building. You can snap the corners of the box to the corners of the building. Then, switch the tool from “Layout” to “Warp” mode. You can now pull the corners of that box to straighten the building while Photoshop intelligently shifts the pixels to keep the texture looking natural. This is far more powerful than the standard “Distort” or “Skew” commands because it understands the three-dimensional depth of the scene.
Perspective Warp is the most powerful tool for architectural photographers because it allows you to manipulate the perceived camera angle after the shot is taken. It can literally make it look like you were standing ten feet higher or further to the left.
When using these tools, pay close attention to the aspect ratio of your subject. Extreme perspective correction can make buildings look unnaturally tall and “squashed” or short and “fat.” Use the “Aspect” slider in Lightroom or the “Scale” tool in Photoshop to stretch the image vertically or horizontally until the proportions look realistic again. A good trick is to look at windows or doors; if they look like rectangles instead of their usual shapes, your aspect ratio is likely off.
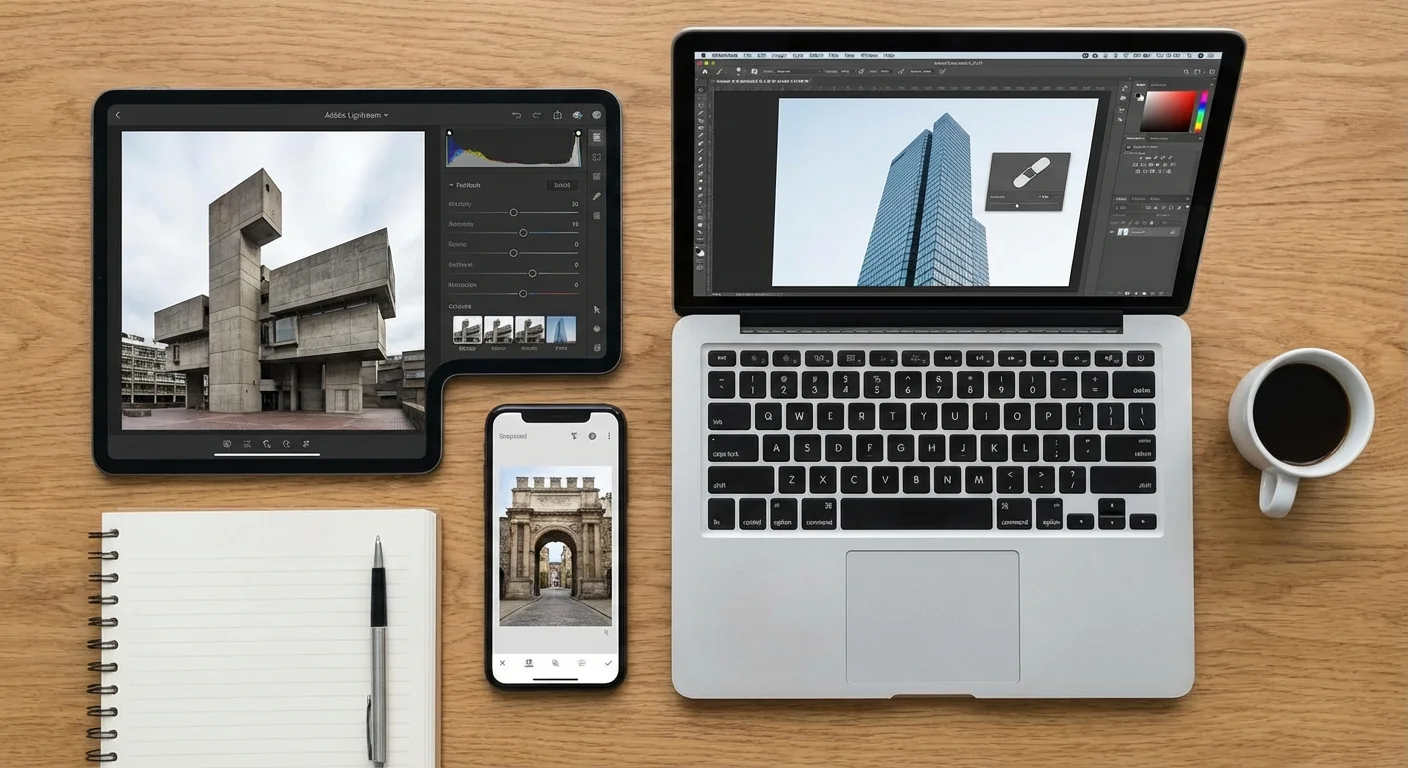
Correcting Perspective on Your Smartphone
You do not need a desktop computer to fix leaning buildings. Modern smartphone photography often relies on very wide lenses, which are prone to significant perspective distortion. Fortunately, the apps available today are incredibly sophisticated. For detailed reviews on the latest mobile photography software and how they handle sensor data, check Digital Photography Review.
Snapseed, a free app by Google, includes a “Perspective” tool that is remarkably intuitive. When you open this tool, you can choose “Tilt,” which allows you to swipe vertically or horizontally to change the perspective. One of the best features of Snapseed is the “Smart Fill” option. When you tilt the image and create empty space at the edges, the app uses content-aware technology to fill in those gaps with matching sky, clouds, or pavement. This minimizes the amount of the image you have to crop away.
The native Photos app on iPhones also includes basic perspective correction. Hit “Edit,” then the crop/rotate icon, and you will see three icons above the slider for vertical and horizontal perspective. While not as powerful as Guided Upright in Lightroom, it is perfect for a quick fix before sharing a photo of a cool storefront or a monument on social media.
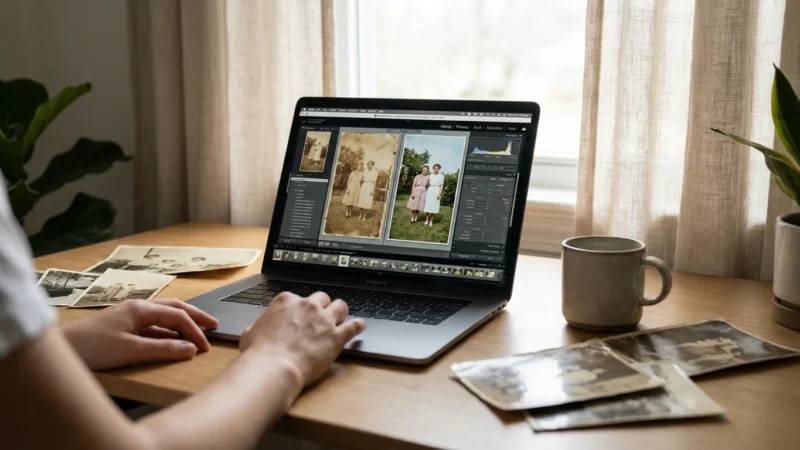
Applying Corrections to Historical and Scanned Photos
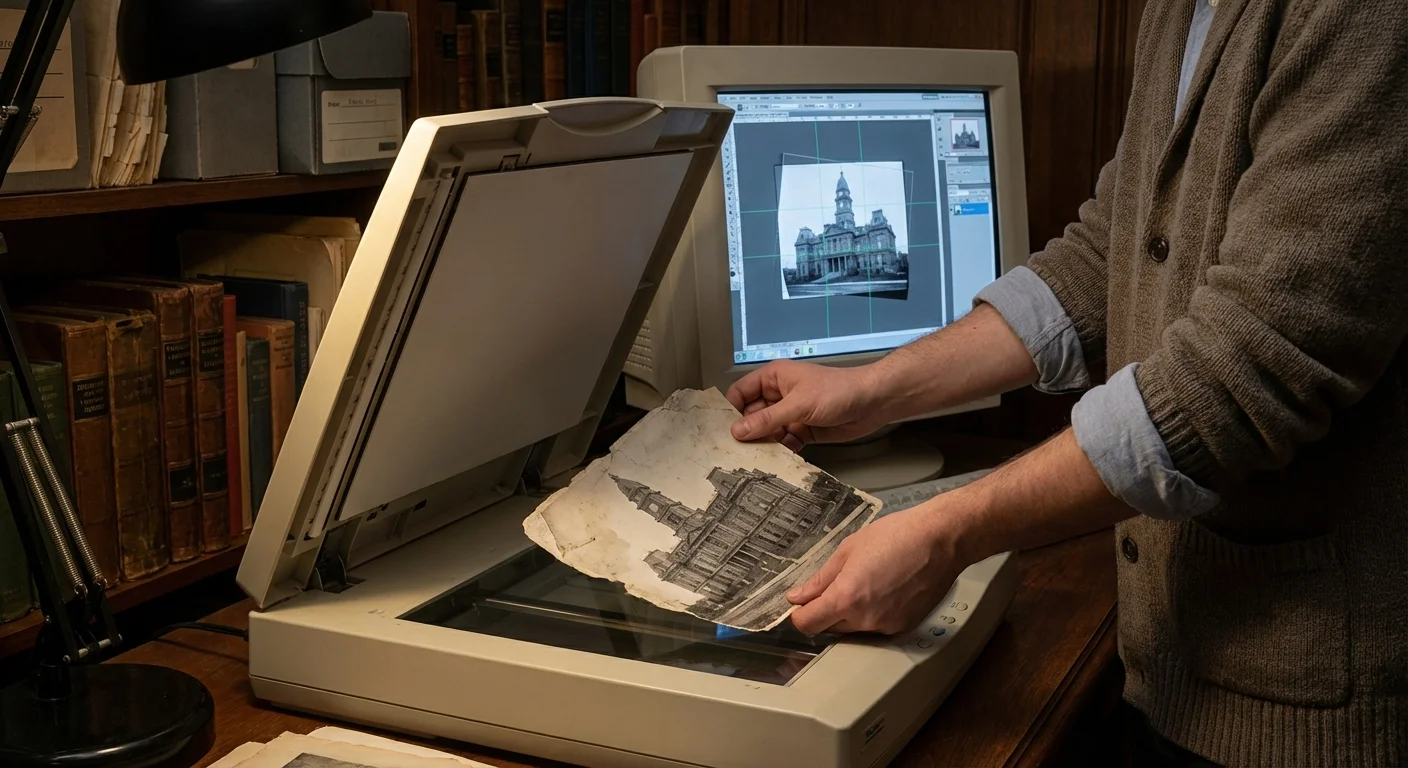
When working with old family photographs or heritage archives, the goal is often preservation through digitization. You might find a 1920s snapshot of the family homestead where the camera was tilted, or the print itself has warped over time. When you scan these items, you have a unique opportunity to “restore” the original architectural intent.
However, when handling precious historical objects, you must approach digital editing with a preservation mindset. Always keep your original, unedited scan as a “Master File.” Create a copy for your perspective-corrected version. When you straighten the lines of an old house in a scan, you may reveal that the person who took the photo was standing in a specific spot or using a specific type of early consumer camera. This metadata of human experience is worth preserving in the original file.
For those interested in the ethical and technical standards of architectural preservation, the Getty Conservation Institute provides resources on documenting and protecting heritage sites. While their focus is often on the physical structures, their principles of “accuracy over aesthetics” apply perfectly to how we should treat historical photographs of those structures.
When correcting historical photos, be careful not to over-correct. Sometimes a slight lean feels more authentic to the era and the equipment used. If the building is perfectly straight but the surroundings look warped and artificial, you have gone too far. Aim for a balance where the building feels stable and upright without losing the “soul” of the vintage photograph.
Comparing Correction Tools and Software
Depending on your skill level and the importance of the project, different tools will serve you better. Below is a comparison of common methods for fixing lens and perspective distortion.
| Tool/Software | Best For | Level of Control | Cost |
|---|---|---|---|
| Lightroom “Upright” | Rapid batch editing of modern photos | High (Automated & Guided) | Subscription |
| Photoshop Perspective Warp | Complex architectural shots and retouching | Very High (Manual) | Subscription |
| Snapseed (Mobile) | Quick travel shots and social media | Moderate | Free |
| In-Camera Leveling | Professional results with zero pixel loss | Highest (Preventative) | Free (Equipment dependent) |
| DxO ViewPoint | Specific, high-end geometric corrections | Professional Grade | One-time Purchase |
Each of these tools uses different algorithms to remap pixels. Professional software like DxO ViewPoint or Lightroom’s Transform engine is generally better at preserving fine details during the “stretching” phase. If you are planning to print your photos in a large format—perhaps for a wall display of your family’s ancestral home—use the highest quality desktop software available to ensure the building remains sharp after the correction.
Frequently Asked Questions
What is the difference between lens distortion and perspective distortion?
Lens distortion is an optical defect caused by the physical design of the lens, resulting in curved lines like barrel or pincushion distortion. Perspective distortion occurs when the camera is not level or parallel to the subject, causing vertical lines to converge, which makes buildings appear to lean backward.
Can I fix perspective issues without expensive software?
Yes, many free or low-cost mobile apps like Snapseed offer a ‘Perspective’ tool that allows you to tilt and rotate the image to straighten lines. Additionally, some free desktop editors like GIMP provide manual transform tools to correct vertical and horizontal convergence.
How do I prevent buildings from leaning while taking the photo?
The most effective way is to keep your camera perfectly level and parallel to the building. If you tilt your camera up to capture the top of a structure, the lines will converge. Use a tripod with a spirit level or stand further back and use a longer focal length to keep the sensor plane vertical.
Does fixing perspective reduce the quality of my photo?
Correcting perspective involves stretching and remapping pixels, which can lead to a slight loss in sharpness, especially at the edges. It also requires cropping into the image, which reduces the overall resolution. Always shoot with extra space around your subject if you plan to fix the perspective later.
Disclaimer: This article is for informational purposes only. When handling valuable or irreplaceable photographs, consider consulting a professional conservator. Always test preservation methods on non-valuable items first.


Leave a Reply