You have cherished moments captured in photographs, but sometimes a fleeting moment or a slight tremor results in a blurry image. Whether you inherited a stack of faded family pictures or your smartphone camera missed its mark, a blurry photo can feel like a lost memory. Fortunately, you can often bring those soft images into clearer focus with the right techniques and tools.
If your blurry images are currently physical prints, knowing how to scan old photos at home is the first step to creating a digital version you can edit.
This guide will equip you with practical, actionable strategies to sharpen blurry photos, transforming them from fuzzy disappointments into clearer keepsakes. We will explore the common causes of blur, evaluate what you can realistically fix, and walk you through various software solutions and techniques. You will learn to approach image sharpening with confidence, preserving the visual details that make your memories so precious.
Understanding the Root Causes of Blurry Photos
Before you fix blur, it helps to understand why your photos appear soft. Blurriness is not a single problem but a symptom of several underlying issues. Identifying the cause often guides you toward the most effective sharpening solution. Here are the most common culprits:
Sometimes what looks like focus issues is actually just surface grime, so be sure to clean your camera lens properly before your next session.
- Camera Shake: This happens when the camera moves during exposure. It is especially common in low light conditions or when using slower shutter speeds without a tripod. The entire image typically appears uniformly blurred, often with a directional streak.
- Subject Motion: If your subject moves while the shutter is open, the subject itself will appear blurred, even if the background remains sharp. Think of a child running or a pet darting across the frame.
- Focus Issues: The camera failed to focus correctly on your intended subject. This results in parts of the image being sharp while your main subject is soft, or the entire image might be out of focus. Lens limitations or user error can cause this.
- Shallow Depth of Field: Sometimes, blur is intentional, used to create artistic effects where the background or foreground is soft, drawing attention to the sharp subject. However, if your subject falls outside this narrow zone of focus, it will appear unintentionally blurry.
- Poor Lens Quality: Lower-quality lenses can produce softer images, especially at the edges, even under ideal conditions. This type of blur is often less dramatic but consistently present.
- Digital Noise and Artifacts: When you shoot in very low light at high ISO settings, or when you excessively compress an image, you introduce digital noise. This noise can make an image appear soft and less detailed, mimicking blur.
- Low Resolution or Upscaling: If you start with a low-resolution image and try to enlarge it, the pixels stretch, creating a visibly soft, pixelated appearance rather than true blur.
Understanding these distinctions helps you determine if your blurry photo has a chance at significant improvement. For instance, a photo with minor camera shake often responds well to sharpening, while a severely out-of-focus shot presents a much greater challenge.
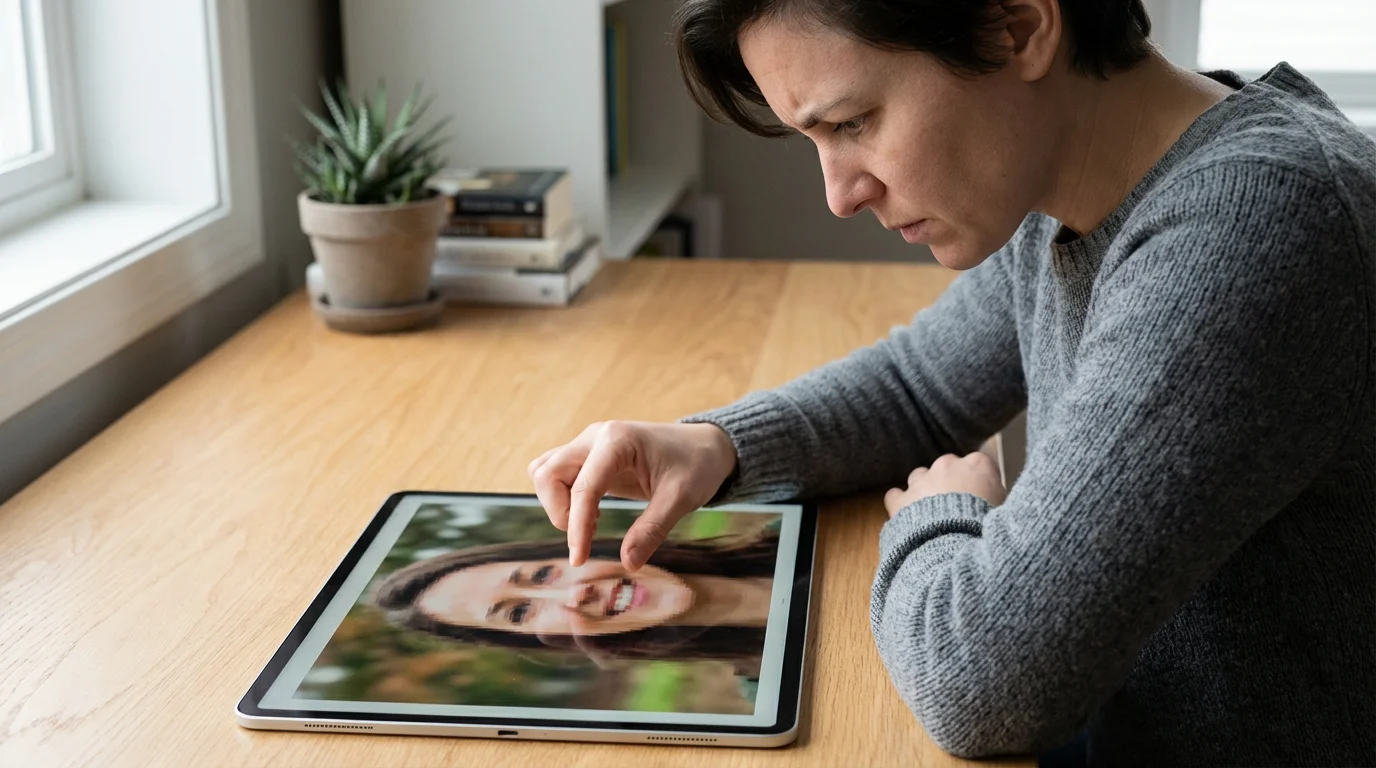
Evaluating Your Blurry Photo: Is It Fixable?
Not all blurry photos are created equal, and not all blur is reversible. Managing your expectations is a crucial first step. You cannot invent detail that was never captured. Sharpening tools primarily enhance the contrast along edges, making existing details more prominent. They do not magically add missing information.
Sometimes, deciding if a photo is beyond repair is an important part of decluttering your photo collection to ensure you focus on your highest-quality memories.
If your blurry image is part of an older collection, you might also need to learn how to remove scratches and dust from scanned photos to achieve a clean final result.
Here is how to assess your image:
- Zoom In to 100% or 200%: Open your photo in an editing program and zoom in. A slight blur that looks significant on a small screen might be minor at full resolution. Look closely at key details, like eyes in a portrait or text on a sign.
- Identify the Type of Blur:
- Minor Camera Shake or Motion Blur: These often respond well to sharpening. You can usually discern faint edges and details that just need a boost in contrast.
- Slightly Out of Focus: If the focus plane is just a little off, you might recover some sharpness. The key is that *some* detail must be present, even if it is soft.
- Severe Out of Focus: If the subject is completely indistinct, a mere “blob” of color, then no amount of sharpening will magically bring it into focus. The information is simply not there.
- Gaussian Blur or Extreme Diffusion: This is the most challenging type of blur to fix. If the image looks like it was intentionally blurred with a strong Gaussian filter, your options are limited.
- Check for Noise: Heavily noisy images are difficult to sharpen effectively. Sharpening noise often amplifies it, making the image look worse. You might need to address noise reduction before or in conjunction with sharpening.
- Consider the Original Resolution: High-resolution images offer more data to work with. Low-resolution or heavily compressed images have less detail to begin with, making effective sharpening more challenging.
If you see even a hint of detail or structure in the blurry areas you want to sharpen, you likely have a good chance of improvement. If it is pure mush, you might need to accept the limitations.
“Successful image sharpening is not about making a truly blurry image sharp, but about making an already reasonably sharp image appear even sharper and more detailed by enhancing its existing micro-contrast and edge definition.”
Essential Principles of Image Sharpening
Sharpening an image is a delicate balancing act. You aim to enhance clarity without introducing unwanted artifacts. Here are fundamental principles to guide your process:
Before diving into sharpening, it is often helpful to have a solid grasp of basic photo editing like adjusting brightness and exposure to improve the overall look of the shot.
- Sharpen for the Output: The amount of sharpening you apply depends on how you will use the image. A photo for web display requires less sharpening than one destined for a large print. Sharpening for print often needs to be more aggressive to compensate for ink diffusion.
- Less is Often More: Over-sharpening is a common pitfall. It creates unsightly halos around edges, exaggerates noise, and gives images an artificial, digital look. Start with subtle adjustments and gradually increase them.
- Non-Destructive Editing: Always work on a duplicate layer or use smart objects in programs like Photoshop. This preserves your original image, allowing you to backtrack or modify your sharpening later without damaging the source file.
- Sharpen Last: Apply sharpening as one of the final steps in your editing workflow. Perform color correction, cropping, noise reduction, and other adjustments first. Sharpening an image that still needs significant adjustments can lead to undesirable results.
- Selective Sharpening: Not every part of an image needs the same amount of sharpening, or any sharpening at all. Often, you only want to sharpen your main subject, leaving backgrounds naturally soft to maintain depth and realism. Using masks to apply sharpening selectively is a powerful technique.
- View at 100% Zoom: Judge your sharpening results at 100% magnification. Viewing an image zoomed out can mask over-sharpening artifacts. Also, zoom out occasionally to see the overall impact.
Adhering to these principles will help you achieve natural, effective sharpening results that enhance your photos without degrading their quality.
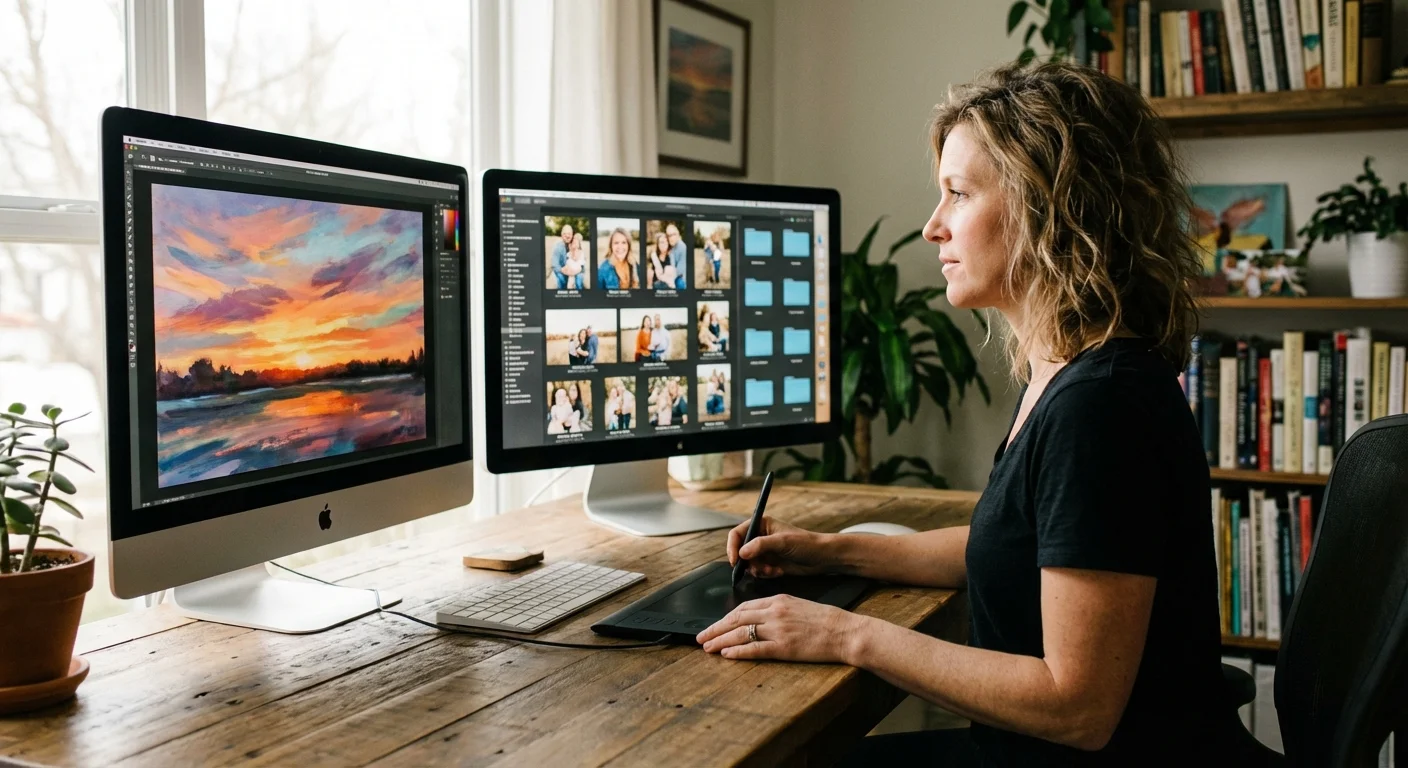
Software Solutions for Image Sharpening
A wide array of software tools, from professional suites to mobile apps, offer image sharpening capabilities. The choice often depends on the severity of the blur and your comfort level with editing. Here are some of the most effective options:
For images with more than just blur issues, using AI photo restoration tools can help reconstruct missing details and repair physical damage.
If you are editing on the go, there are many mobile apps for photo editing that include sophisticated sharpening sliders and AI tools for quick repairs.
Desktop Software: For Comprehensive Control
Desktop software provides the most robust and precise control over sharpening. You will typically find multiple tools and settings designed to address different types of blur.
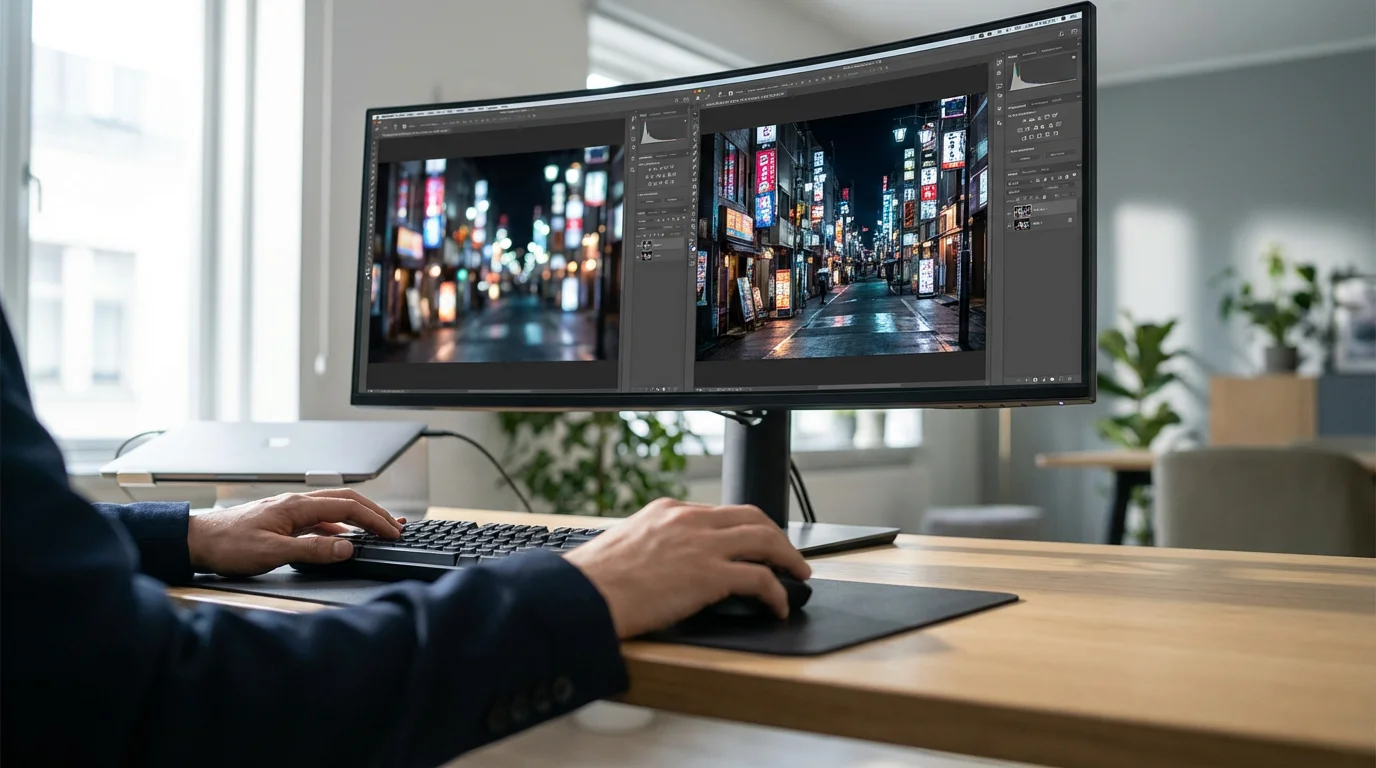
- Adobe Photoshop: This industry standard offers powerful sharpening tools.
- Unsharp Mask: A foundational sharpening filter. It works by detecting edges and increasing the contrast along them. You control three key parameters: Amount (how much contrast is added), Radius (how wide the area around the edge is affected), and Threshold (the minimum contrast difference before sharpening is applied, useful for avoiding noise amplification).
- Smart Sharpen: A more advanced tool that provides greater control, allowing you to sharpen shadows and highlights independently and choose different types of blur reduction (e.g., Gaussian Blur, Lens Blur, Motion Blur).
- Camera Raw Filter / Lightroom Detail Panel: Both Photoshop’s Camera Raw filter and Adobe Lightroom share a similar Detail panel. This offers sliders for Amount, Radius, Detail (controls how much fine detail is sharpened versus larger edges), and Masking (to apply sharpening only to areas with significant detail, protecting smooth areas from noise). This is often your first stop for raw image sharpening.
- Adobe Lightroom Classic / Lightroom: Ideal for managing and processing large collections of photos, Lightroom offers an intuitive Detail panel with excellent sharpening controls. The Masking slider in particular helps prevent noise in smooth areas.
- GIMP (GNU Image Manipulation Program): A free, open-source alternative to Photoshop, GIMP also includes an “Unsharp Mask” filter with similar controls for Amount, Radius, and Threshold. It is a capable tool for basic and intermediate sharpening tasks.
- Affinity Photo: A popular professional-grade photo editor, Affinity Photo features robust sharpening options, including an Unsharp Mask filter, a Clarity filter, and frequency separation techniques for more controlled sharpening.
AI-Powered Sharpening Tools: For Significant Blur
Artificial intelligence has revolutionized blur reduction, especially for photos with more significant blur that traditional sharpening struggles with. These tools use machine learning to intelligently reconstruct details.
- Topaz Labs Sharpen AI: This dedicated software uses AI models to identify and reverse different types of blur (motion blur, out-of-focus blur, soft images). It often achieves remarkable results on challenging images where traditional sharpening would fail or introduce artifacts.
- DxO PhotoLab: Known for its exceptional lens corrections and noise reduction, DxO PhotoLab also includes powerful sharpening features that leverage its deep understanding of optics and image processing.
- ON1 Photo RAW: This comprehensive editor incorporates AI-powered sharpening alongside other editing tools, offering a versatile solution for photographers.
- Adobe’s AI Features: Adobe continues to integrate AI into Photoshop and Lightroom, offering features like Super Resolution, which can sometimes improve detail and apparent sharpness, and Neural Filters, which may include future sharpening enhancements.
Mobile Apps: For On-the-Go Sharpening
For quick edits on your phone or tablet, several apps offer convenient sharpening features.
- Snapseed (Google): A free, powerful mobile editor with a “Details” tool that includes a “Sharpening” slider and a “Structure” slider for enhancing local contrast and detail.
- Lightroom Mobile: The mobile version of Adobe Lightroom offers the same intuitive Detail panel for sharpening as its desktop counterpart.
- Google Photos: Basic sharpening tools are available within the Google Photos editing suite, suitable for minor adjustments.
- Dedicated Sharpening Apps: Many other apps focus specifically on sharpening, often using simpler sliders for quick results.
Each tool has its strengths. For subtle enhancements, the built-in sharpeners in Photoshop or Lightroom are excellent. For more challenging images with noticeable blur, AI-powered solutions often provide a superior outcome.
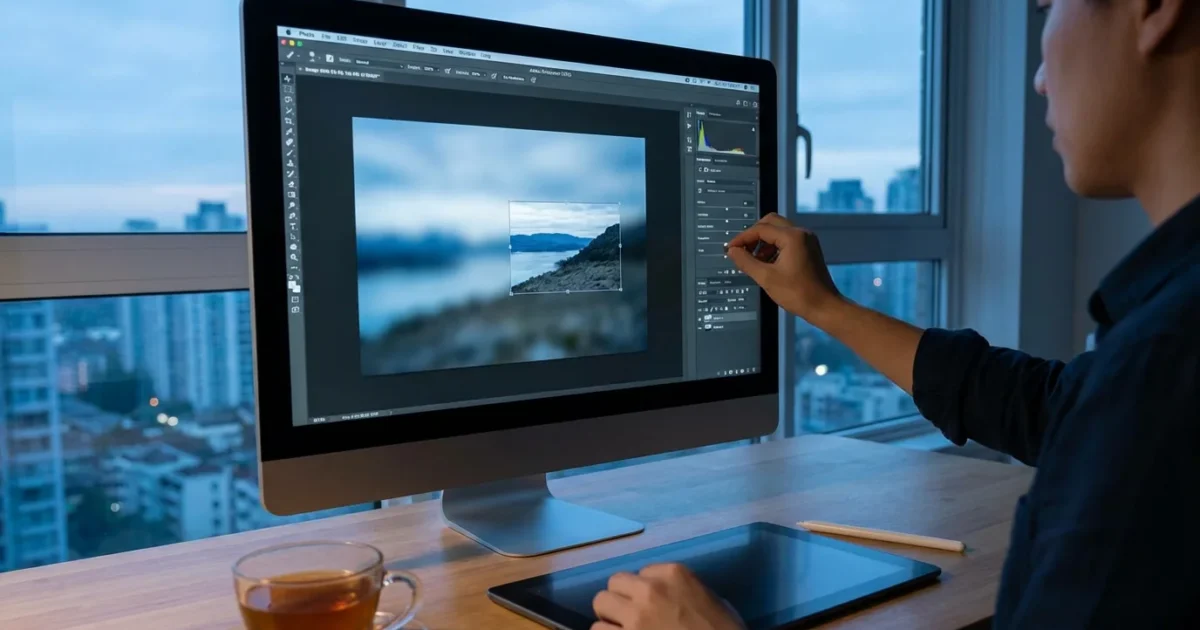
Step-by-Step Guide: Sharpening in Your Editing Software
While specific tools vary, the general workflow for sharpening remains consistent across most desktop editing software. This guide uses common concepts found in programs like Photoshop or GIMP.
- Open Your Image and Prepare for Editing:
- Start by opening your blurry photo in your preferred editing software.
- Duplicate Your Layer: To ensure non-destructive editing, create a duplicate of your background layer. In Photoshop, press
Ctrl+J(Windows) orCmd+J(Mac). You can also convert this layer to a Smart Object, which allows you to re-edit filters later.
- Apply a Sharpening Filter:
- Navigate to the sharpening filters. In Photoshop, this is typically under Filter > Sharpen > Unsharp Mask or Filter > Sharpen > Smart Sharpen. For Lightroom, go to the Detail panel.
- Adjust the Sharpening Parameters:
You will usually encounter three main sliders:
- Amount (or Strength): This controls the intensity of the sharpening effect. Start with a moderate value, perhaps around 50-100% for Unsharp Mask. Too high, and you will introduce halos and noise.
- Radius: This determines the width of the edge area where contrast is enhanced. A smaller radius (0.5-1.5 pixels) sharpens fine details, while a larger radius (2-4 pixels) affects broader edges. For general sharpening, start with a low radius. Too large a radius emphasizes halos.
- Threshold: This setting tells the software how much contrast difference must exist between adjacent pixels before it applies sharpening. Increasing the threshold helps protect smooth areas, like skin or clear skies, from becoming noisy. Start with a low threshold (0-5) and increase it if noise becomes apparent.
Practical Tip: Zoom your image to 100% when adjusting these sliders. This allows you to accurately see the effects of your sharpening.
- Refine with Masking (if available):
Many advanced sharpening tools, particularly in Lightroom and Photoshop’s Camera Raw filter, include a “Masking” slider. This is incredibly useful.
- Hold the
Alt(Windows) orOption(Mac) key while dragging the Masking slider. Your image will turn black and white. White areas show where sharpening applies, and black areas show where it does not. - Adjust the slider until sharpening only affects the detailed areas of your image, leaving smooth areas like skin tones or out-of-focus backgrounds untouched. This prevents noise in those smooth regions.
- Hold the
- Review and Fine-Tune:
- Toggle the sharpening effect on and off to compare the before and after.
- If you see halos, reduce the “Amount” or “Radius”.
- If you see increased noise, increase the “Threshold” or “Masking” value.
- Adjust until the image looks sharp and natural, not over-processed.
- You might find that a combination of a smaller, subtle sharpening application followed by a slightly larger, more aggressive one on a separate layer yields better results, especially with more challenging blur.
- Save Your Work:
- Once satisfied, save your sharpened image. If you used layers, save as a PSD or TIFF to retain those layers for future edits. For final output, save as a JPEG or PNG.
Advanced Techniques for Maximum Clarity
When basic sharpening tools do not quite cut it, or you want more precise control, you can employ several advanced techniques.
Selective Sharpening with Layer Masks
This is arguably one of the most powerful techniques. It ensures you only sharpen the areas that need it, leaving others untouched.
- Duplicate Layer: Apply your sharpening filter (e.g., Unsharp Mask) to a duplicate layer or Smart Object.
- Add a Layer Mask: With the sharpened layer selected, click the “Add layer mask” icon (a rectangle with a circle inside) at the bottom of the layers panel.
- Invert the Mask: Press
Ctrl+I(Windows) orCmd+I(Mac) to invert the mask to black. This hides the entire sharpening effect. - Paint on the Mask: Select a white brush tool. Paint over the areas of your image where you want the sharpening to appear. Adjust the brush opacity and flow to control the intensity of the sharpening. This gives you incredibly precise control over where the sharpening applies.
High Pass Sharpening
The High Pass filter isolates edges, making it an excellent non-destructive sharpening method.
- Duplicate Layer: Duplicate your image layer.
- Apply High Pass: Go to Filter > Other > High Pass.
- Adjust Radius: Set the radius until you see only the edges and details of your image, with everything else turning gray. A radius of 1-5 pixels often works well.
- Change Blend Mode: Change the blend mode of this High Pass layer to Overlay, Soft Light, or Linear Light. Overlay and Soft Light provide a more subtle effect, while Linear Light is more intense.
- Adjust Opacity: Reduce the layer’s opacity to fine-tune the sharpening strength. You can also add a layer mask to selectively apply this effect.
Deconvolution Sharpening
Deconvolution sharpening attempts to reverse the process that caused the blur. It is more complex and often integrated into dedicated software like Topaz Sharpen AI or advanced Photoshop plugins.
- Understanding the Concept: This method requires information about the nature of the blur (e.g., direction and distance of motion blur, type of lens blur) to effectively undo it.
- Software Implementation: Tools like Smart Sharpen in Photoshop have built-in deconvolution algorithms that let you specify blur types. Dedicated AI tools leverage advanced machine learning to identify and correct blur patterns more effectively than traditional methods.
While highly effective, deconvolution sharpening can sometimes introduce artifacts if the blur analysis is incorrect. Experimentation and careful observation are key.
Noise Reduction Before Sharpening
Noise and grain can appear more pronounced with sharpening. Address noise reduction before or in conjunction with sharpening.
- Process Order: Apply noise reduction as an earlier step in your workflow, typically after basic exposure and color adjustments but before sharpening.
- Targeted Noise Reduction: Use luminance noise reduction to smooth out grain while preserving detail. Chrominance noise reduction targets color speckles.
- Balance: Avoid over-reducing noise, as this can make your image look plasticky and remove fine texture.
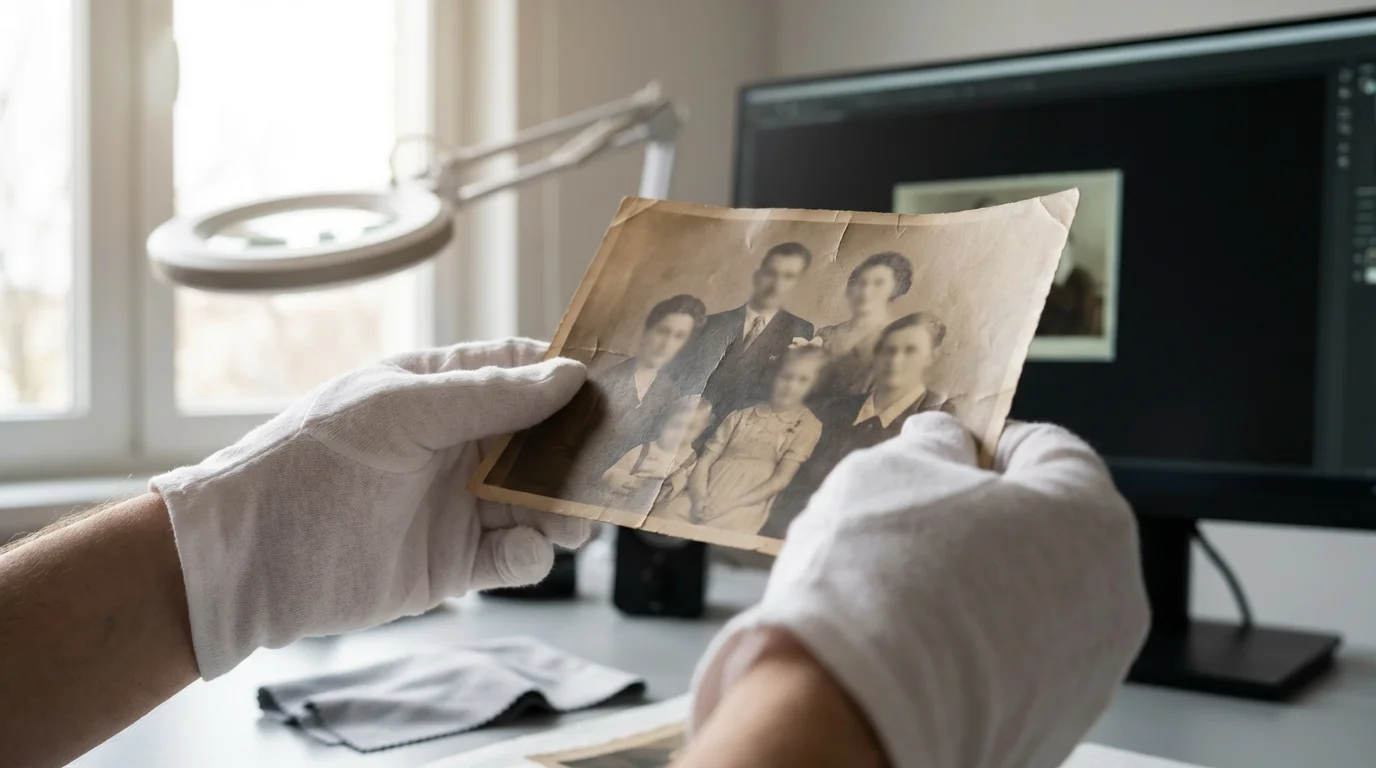
For more challenging old photographs that you have digitized, consider professional services from a conservator. They can offer insights into the physical handling and digital restoration possibilities. The American Institute for Conservation provides resources for finding qualified professionals. Your treasured memories deserve careful consideration.
Learn more about conservation at the American Institute for Conservation.
Preventing Blurry Photos in the Future
The best way to deal with blurry photos is to avoid them in the first place. By understanding the common causes of blur, you can implement proactive measures to ensure your future captures are sharp and clear.
Beyond equipment, learning specific techniques on how to take sharp photos every time will significantly reduce the need for digital sharpening in the future.
To ensure your future captures are crisp, review our expert guide on how to take sharp photos every time using manual settings and stabilization.
Combat Camera Shake:
- Increase Shutter Speed: A faster shutter speed freezes motion, both of your camera and your subject. A general rule of thumb for handheld shooting is to use a shutter speed at least equal to 1 divided by your lens’s focal length (e.g., 1/50th second for a 50mm lens, or faster for crop sensor cameras).
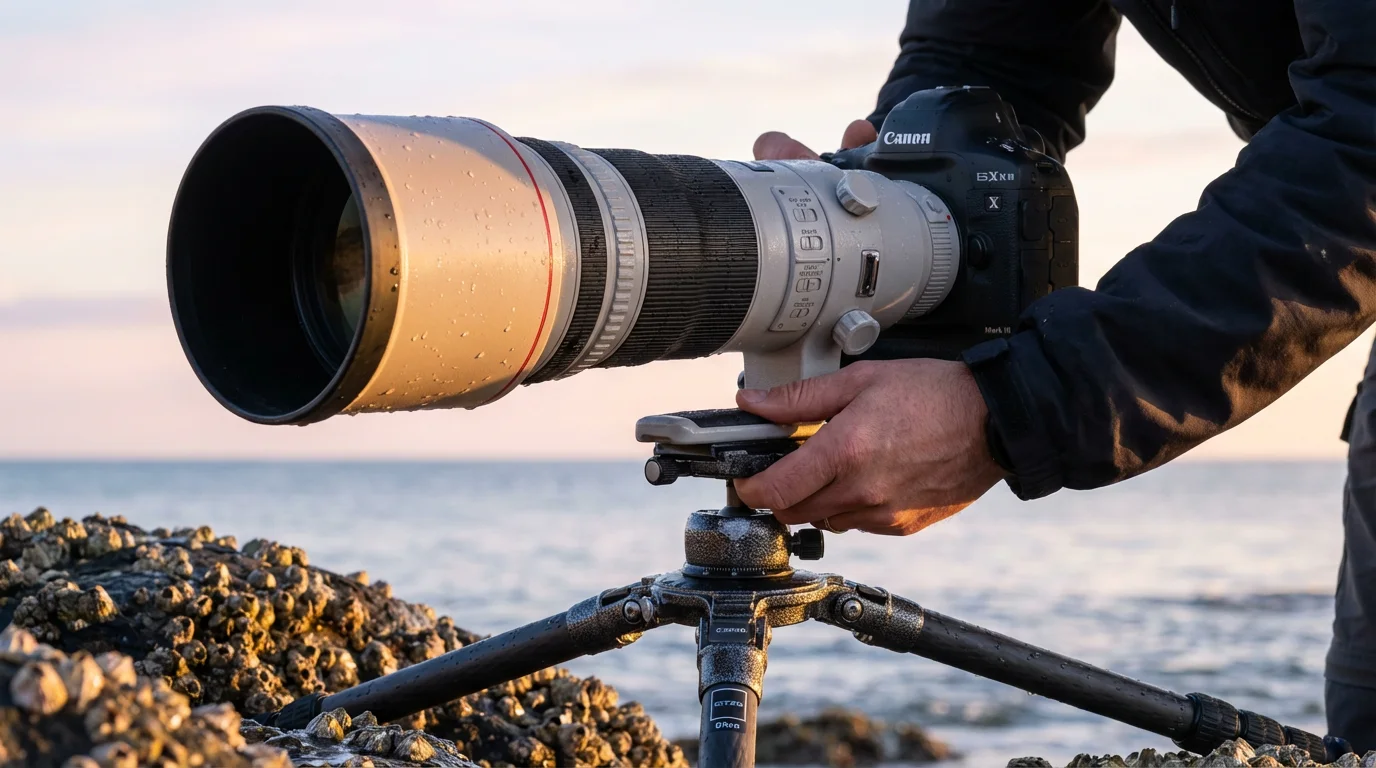
- Use a Tripod or Monopod: For low-light situations, long exposures, or when using telephoto lenses, a tripod provides indispensable stability. A monopod offers good support while maintaining flexibility.
- Image Stabilization: Many modern cameras and lenses include built-in image stabilization (IS or VR). Ensure it is turned on when shooting handheld.
- Proper Grip: Hold your camera firmly with both hands, tucking your elbows close to your body for added stability.
- Remote Shutter Release or Timer: Pressing the shutter button can introduce slight shake. Use a remote trigger or the camera’s self-timer (2-second delay) to minimize this.
Master Focus:
- Select Your Focus Point: Do not rely solely on the camera’s automatic focus point selection. Manually select the focus point that falls directly on your main subject.
- Understand Depth of Field: Learn how aperture affects your depth of field. A wider aperture (smaller f-number like f/1.8) creates a shallower depth of field, making it easier to miss focus. A narrower aperture (larger f-number like f/8) keeps more of the scene in focus.
- Focus and Recompose: If your camera does not allow you to select individual focus points easily, focus on your subject, then lock focus (often by holding down the shutter button halfway), and recompose your shot before fully pressing the shutter.
- Manual Focus (When Appropriate): For stationary subjects, close-up photography, or in very low light, manual focus can provide greater precision than autofocus. Use live view and zoom in to ensure critical focus.
Optimize Lighting and Settings:
- Ample Light: Good lighting allows for faster shutter speeds and lower ISO settings, both of which contribute to sharper images.
- Lower ISO: High ISO settings introduce digital noise, which can make images appear less sharp. Keep your ISO as low as possible for the lighting conditions.
- Lens Sweet Spot: Most lenses perform optimally in terms of sharpness one or two stops down from their maximum aperture (e.g., an f/2.8 lens might be sharpest at f/4 or f/5.6). Experiment to find your lens’s sweet spot.
- Clean Your Lens: A dirty or smudged lens can cause soft, hazy images. Regularly clean your lens with a microfibre cloth and lens cleaning solution.
Adopting these preventative habits will significantly reduce the number of blurry photos you capture, allowing you to focus on creating and preserving clear memories.
Explore more about preventing camera shake and blur from Cambridge in Colour.
When to Seek Professional Help
While you can achieve impressive results with software, some photos present challenges beyond typical home editing capabilities. Knowing when to consult a professional photo restorer or conservator is crucial, especially for irreplaceable or historically significant images.
When a memory is irreplaceable and personal editing tools fall short, seeking professional photo restoration services can provide the expert results you need.
For irreplaceable heirlooms that are severely damaged, it may be best to consult professional photo restoration services to safely recover the details.
Consider Professional Help When:
- The Blur is Extreme: If an image is severely out of focus, has significant motion blur, or is pixelated from low resolution, a professional might have more advanced tools and techniques (including highly specialized deconvolution algorithms) that can extract more detail than consumer software.
- The Photo is Irreplaceable: For unique family heirlooms, historical documents, or photos with immense sentimental value, the risk of accidental damage or irreversible edits during DIY attempts is too high. A professional will work non-destructively and often possess deeper expertise in historical photographic processes.
- Physical Damage is Present: If your original physical photograph is not only blurry but also faded, torn, stained, or cracked, a professional restorer can address these physical imperfections alongside digital sharpening. They understand archival practices to preserve the physical artifact.
- You Lack Time or Expertise: Digital restoration can be time-consuming and requires a learning curve. If you lack the patience, time, or inclination to master complex software, outsourcing to an expert saves you effort while delivering high-quality results.
- For Archival Standards: If you are digitizing photos for long-term archival purposes, a professional can ensure the highest quality scan and restoration, adhering to preservation standards that maintain the integrity of the image for future generations. The Library of Congress offers guidelines on preserving photographic materials.
A professional photo restorer understands the nuances of image enhancement and can often achieve results that are simply not possible with standard consumer tools. They will also advise you on how to best care for your original photographs. Search for “photo restoration services near me” or consult organizations focused on heritage preservation.
Visit the Library of Congress for information on preserving photographic materials.
Frequently Asked Questions
Can you unblur a photo completely?
You cannot completely unblur a severely blurry photo in the same way you would recover lost data. Sharpening tools enhance existing details by increasing contrast along edges. If the original image lacks discernible detail due to extreme blur, software cannot magically invent that missing information. You can often significantly improve minor to moderate blur, but perfect clarity from a very blurry source is generally not possible.
What is the best software to sharpen blurry photos?
The “best” software depends on the severity of the blur and your needs. For minor to moderate blur and comprehensive control, Adobe Photoshop and Lightroom are excellent choices, offering advanced tools like Unsharp Mask, Smart Sharpen, and precise masking. For more significant blur, AI-powered software like Topaz Labs Sharpen AI often yields superior results by intelligently reconstructing details. For quick mobile edits, Snapseed or Lightroom Mobile work well.
Does sharpening degrade image quality?
Sharpening itself does not degrade image quality if applied correctly. In fact, it enhances perceived quality by making details clearer. However, over-sharpening definitely degrades image quality. Excessive sharpening introduces artifacts such as halos around edges, amplifies digital noise, and can give the image an artificial, gritty, or “crunchy” look. The key is to apply sharpening subtly and judiciously.
How much is too much sharpening?
You apply too much sharpening when you start to see undesirable artifacts. These include glowing white or dark lines (halos) around high-contrast edges, an increase in visible noise in smooth areas (like skies or skin), or a generally unnatural, digital appearance. Always view your image at 100% zoom while sharpening to accurately judge the effect. If the image looks good at 100% and also maintains a natural appearance when zoomed out, you likely have found the right balance.
Can old physical photos be sharpened after digitization?
Yes, you can sharpen old physical photos after you digitize them. The quality of the digital scan is paramount. A high-resolution scan (300-600 DPI, or higher for very small photos) captures as much existing detail as possible. Once digitized, the image becomes a digital file, allowing you to use the same software and techniques described in this article to sharpen it, just as you would with a digitally captured photo.
Disclaimer: This article is for informational purposes only. When handling valuable or irreplaceable photographs, consider consulting a professional conservator. Always test preservation methods on non-valuable items first.
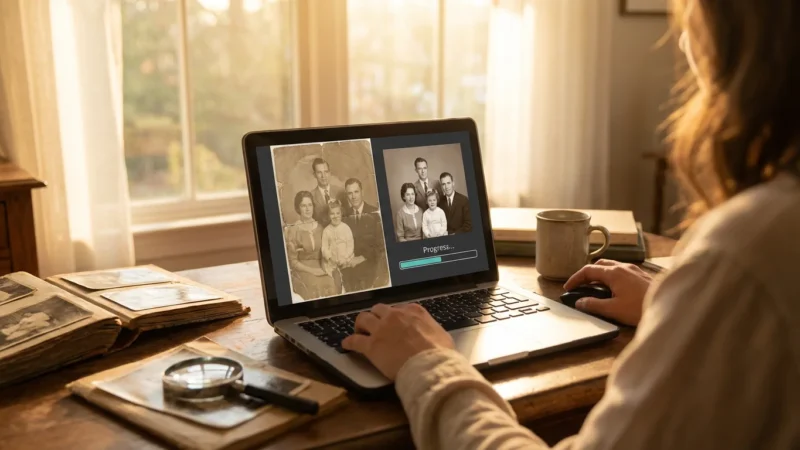
Beyond sharpening, many AI suites now excel at colorizing black and white photos, adding a new dimension of realism to historical captures.


Leave a Reply