
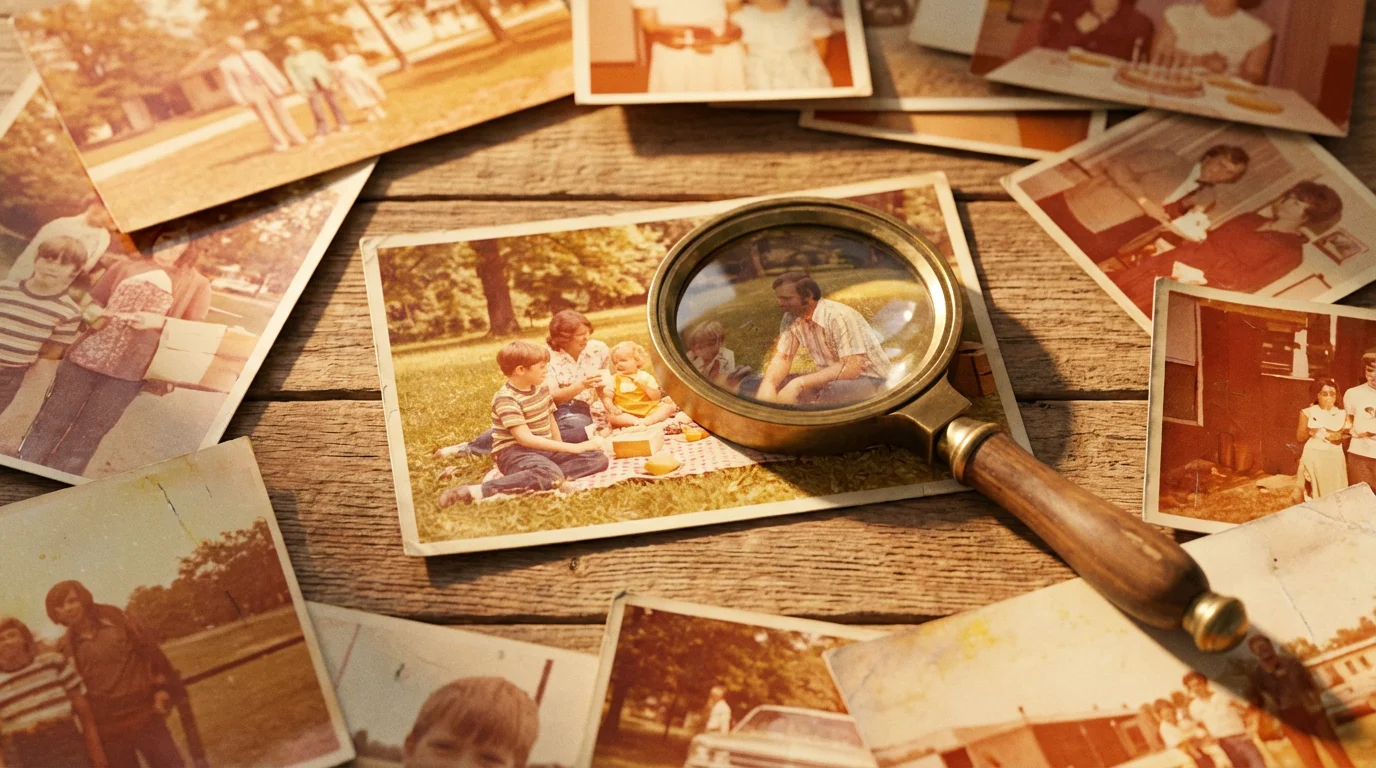
Those cardboard boxes in your attic hold more than just paper; they contain the vibrant history of your family. However, if you have peeked inside recently, you may have noticed a heartbreaking change. The brilliant blues of a 1970s beach trip have shifted to a muddy purple, or the once-vivid greens of a backyard barbecue have dissolved into a sickly yellow. This phenomenon is not your imagination—it is the result of chemical instability inherent in vintage color film and prints. While black-and-white photos often last for a century, color photographs from the mid-to-late 20th century are notoriously fragile.
You do not have to accept this slow disappearance. Modern digital tools have made it possible for anyone with a computer and a bit of patience to bring these images back to life. You can fix faded color photos and reverse decades of environmental damage right from your home office. By following a structured restoration workflow, you will move beyond simple filters and learn to reconstruct the original brilliance of your most precious memories. This guide walks you through the professional techniques used to identify color shifts and apply precise corrections that honor the original moment.
The Science of Why Color Photos Fade Over Time
To restore vintage photos online or via desktop software effectively, you must understand what you are fighting. Most color prints from the 1960s through the 1990s use chromogenic dyes. Unlike the silver particles in black-and-white photography, which are relatively stable, these organic dyes are prone to “dark fading” and “light fading.” Even when stored in total darkness, the cyan, magenta, and yellow dye layers degrade at different rates. Usually, the cyan dye is the most unstable, which explains why so many old family photos eventually look bright orange or red; the blue and green components have simply evaporated on a molecular level.
Environmental factors like humidity, high temperatures, and acidic storage materials accelerate this decay. When you see a photo that has turned completely yellow, you are looking at a chemical reaction where the magenta and cyan dyes have failed, leaving only the yellow layer behind. The Image Permanence Institute provides extensive research on how these environmental variables impact the longevity of various print types. Recognizing that your photo is not just “dirty” but chemically altered helps you approach the restoration process with the right technical mindset.
Digitization Essentials: Capturing the Best Starting Point
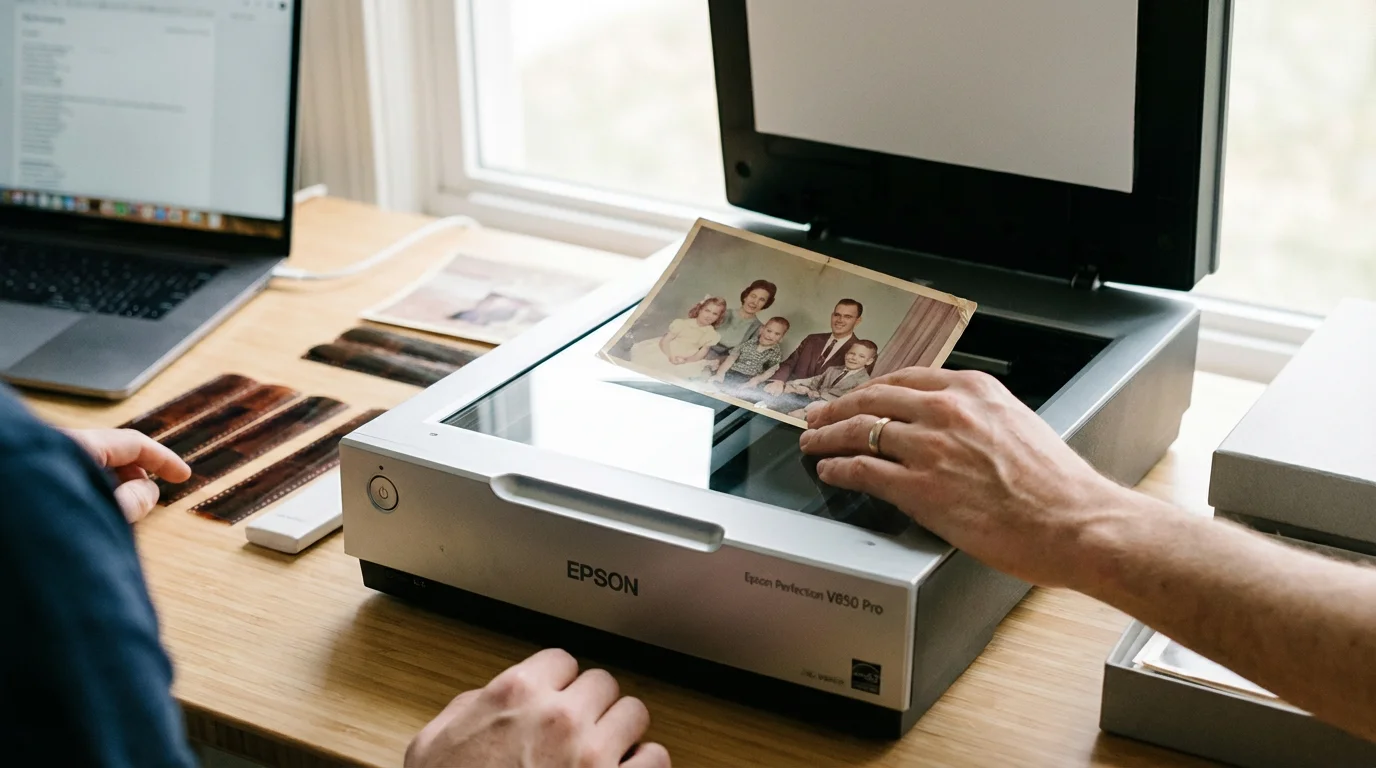
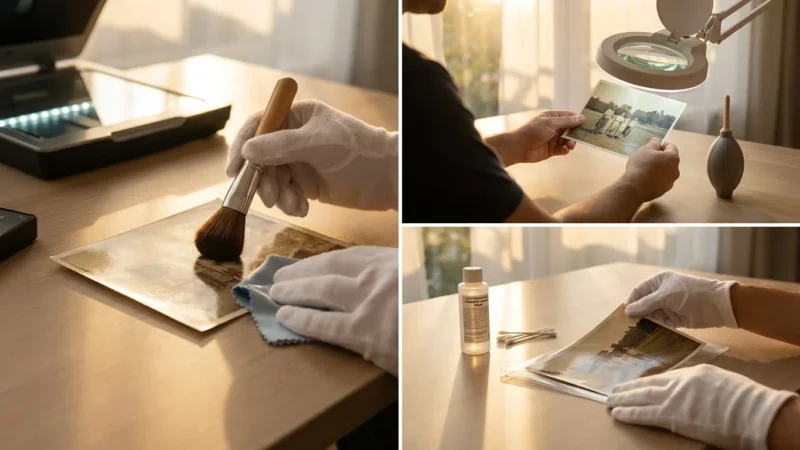
Your restoration is only as good as your initial scan. If you start with a low-quality, compressed image, you limit how much color information you can recover. Do not rely on your smartphone camera for this stage. While convenient, phone cameras introduce “keystoning” (distortion) and uneven lighting from the room’s lamps. Use a flatbed scanner to ensure the photograph is perfectly flat and illuminated by a consistent, neutral light source.
When you open your scanner software, bypass the “Auto-Fix” or “Dust Removal” settings. These built-in features often use aggressive algorithms that blur fine details like hair or fabric textures. Instead, aim for a “raw” capture. Set your resolution to at least 600 DPI (dots per inch) for standard 4×6 prints. If you plan to enlarge the photo later, increase this to 1200 DPI. Most importantly, save your scan as a TIFF file. Unlike JPEGs, which discard data every time you save them, TIFFs are a lossless format that preserves every bit of color information your scanner can find. This extra data gives you the “headroom” needed to push and pull colors during the restoration process without the image falling apart into digital noise.

Step 1: Rebuilding Exposure and Contrast Foundations
Once you have a high-quality scan, your first step is to address the tonal range. Faded photos often look “washed out” because the blacks have turned grey and the whites have become yellowed or dull. You cannot accurately fix color until you have established the proper brightness and darkness levels. Open your photo in an editor like Adobe Photoshop, GIMP, or a dedicated photo restoration tool and look for the Histogram—a graph that shows the distribution of tones in your image.
In a faded photo, the histogram usually looks like a cramped mountain in the middle of the graph, with no data touching the far left (blacks) or the far right (whites). Use the “Levels” or “Curves” tool to drag the black point slider until it just touches the start of the data on the left. Then, drag the white point slider to the edge of the data on the right. This simple move immediately adds “punch” to the image. You will see shadows become deeper and highlights become crisper. However, be careful not to “clip” the data by dragging the sliders too far, as this will turn dark details into solid black blobs and bright areas into featureless white patches.

Step 2: Neutralizing Destructive Color Casts
This is the most transformative step in photo restoration. Most faded photos suffer from a global color cast—a single color that seems to veil the entire image. To fix this, you must find a “neutral” point in the photo. A neutral point is something that should be perfectly grey, white, or black in real life, such as a white shirt, a concrete sidewalk, or a black car tire.
Use the “Eyedropper” tool within your software’s Curves or Levels menu. Select the grey eyedropper and click on that neutral area. The software will instantly recalculate the color balance of the entire image to make that specific point neutral, which often removes the ugly orange or purple tint in a single click. If the result looks too cold (blue) or too warm (yellow), you can manually adjust the individual Red, Green, and Blue channels. For instance, if the photo still feels too red, go to the Red channel and pull the curve downward slightly to add more cyan, which is red’s opposite on the color wheel. This balancing act requires a delicate touch; trust your eyes, but also take frequent breaks to prevent “eye fatigue,” which can make you misjudge color accuracy.
Step 3: Implementing Targeted Color Correction
Global corrections rarely fix everything. You might successfully remove a yellow cast from the sky only to find that the grass now looks unnaturally blue. This is where targeted color correction becomes essential. Professionals use “Adjustment Layers” and “Layer Masks” to apply changes to specific parts of the photo without affecting others. If the skin tones in your family portrait look a bit sickly, you can create a Selective Color adjustment layer, target the “Reds” and “Yellows,” and gently shift them toward a more natural peach or tan hue.
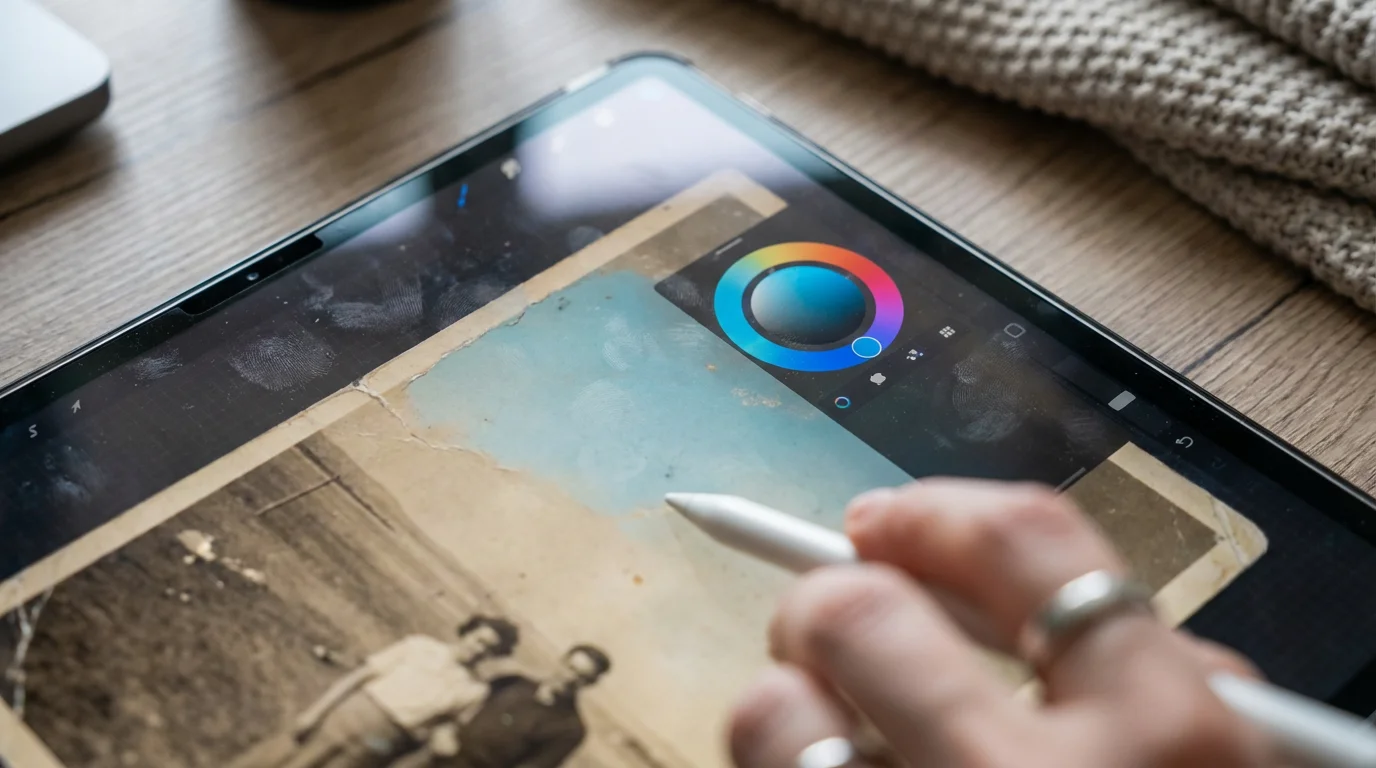
For photos with significant color loss, you may need to use a “Vibrance” tool rather than a “Saturation” tool. Saturation increases every color equally, which often leads to neon-looking skin tones. Vibrance is smarter; it targets the muted colors in the image while leaving the already-saturated ones alone, providing a much more realistic result. If certain areas are completely devoid of color, you can create a new layer set to the “Color” blend mode and gently “paint” back the correct hues using a low-opacity brush. This technique allows you to tint specific objects, like a blue dress or a red rose, while preserving the underlying texture and detail of the original photograph.
Step 4: Repairing Physical Damage and Surface Noise
Fading is rarely the only problem. Old photos often carry the scars of time: scratches, dust, creases, and “silver mirroring” (a metallic sheen in dark areas). Now that your colors are balanced, these physical defects will likely be more visible. Use the “Spot Healing Brush” or the “Clone Stamp” tool to meticulously remove these distractions. Zoom in to 200% and work in small sections. The goal is to be invisible; you are not trying to change the photo, but rather to remove the obstacles between the viewer and the memory.
You should also address “grain” or digital noise. High-resolution scans of old film often reveal the physical grain of the film stock, which can look distracting when viewed on a modern screen. Use a noise reduction filter, but apply it sparingly. If you push noise reduction too far, people’s skin will begin to look like plastic or wax. It is often better to leave a little bit of natural grain to maintain the “vintage” character of the photograph. As the Library of Congress suggests regarding digital preservation, the goal is to maintain the integrity of the original record while making it accessible and clear.
“True restoration is not about making an old photo look like it was taken today on an iPhone; it is about uncovering the original intent of the photographer by removing the veil of chemical decay.”

Step 5: Final Sharpening and Archival Exporting
The final step in your restoration journey is to bring back the crispness that fading and scanning might have softened. “Unsharp Mask” or “Smart Sharpen” are the go-to tools here. These tools do not actually make the photo more focused—that is physically impossible—but they increase the contrast along the edges of objects, which tricks the eye into perceiving more detail. Focus your sharpening on high-contrast areas like the eyes, jewelry, or patterns in clothing. Avoid sharpening flat areas like skies or smooth skin, as this will only highlight the noise and grain you worked so hard to minimize.
When you are satisfied, it is time to save your work. You should have three versions of every photo:
- The Raw Scan: The unedited TIFF file directly from your scanner.
- The Master Work: A layered file (like a .PSD) that contains all your adjustment layers so you can make changes later.
- The Delivery File: A high-quality JPEG or PNG for printing and sharing on social media.
Always use a descriptive naming convention. Instead of “IMG_001.jpg,” use “1974_Smith_Family_Reunion_Restored.jpg.” This makes your collection searchable and ensures that future generations know exactly who and what they are looking at.

Choosing Your Tools: Software vs. Online AI Solutions
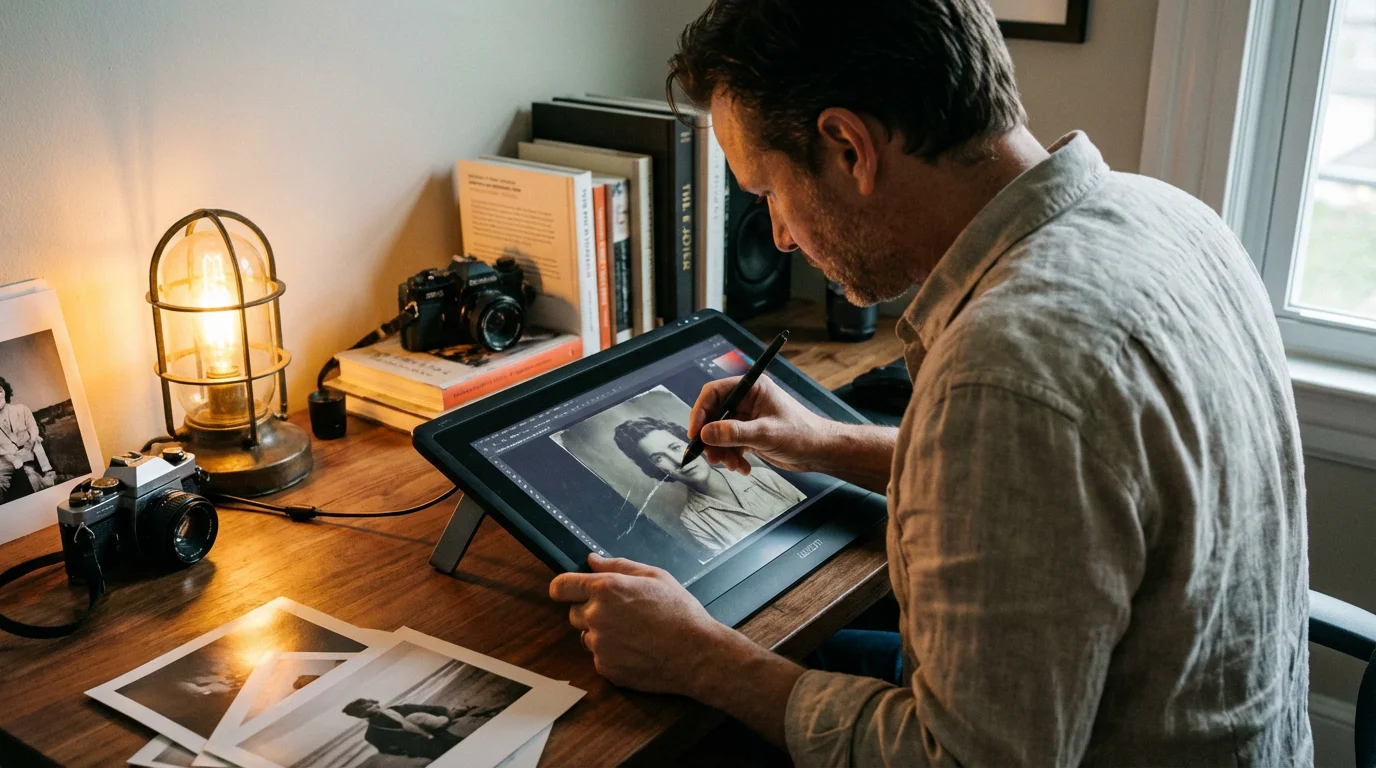
You have more choices today than ever before when it comes to restoration software. For the hobbyist who wants the most control, Adobe Photoshop remains the industry standard, especially with its recent introduction of “Neural Filters” that can colorize black-and-white photos or repair scratches automatically using artificial intelligence. However, Photoshop requires a monthly subscription and has a steep learning curve. If you prefer a one-time purchase, Affinity Photo offers many of the same professional-grade tools at a fraction of the cost.
If the manual process feels overwhelming, you can restore vintage photos online using AI-powered platforms like MyHeritage, Remini, or VanceAI. These tools use deep learning to “guess” missing details and can produce startlingly good results in seconds. The downside to AI is a loss of authenticity; sometimes these tools “hallucinate” details, making your grandfather look like a slightly different person. For the best results, use AI as a starting point, then bring the image into a traditional editor to fine-tune the colors and ensure the “soul” of the photo remains intact. No machine can match your personal memory of what your mother’s favorite red dress actually looked like.
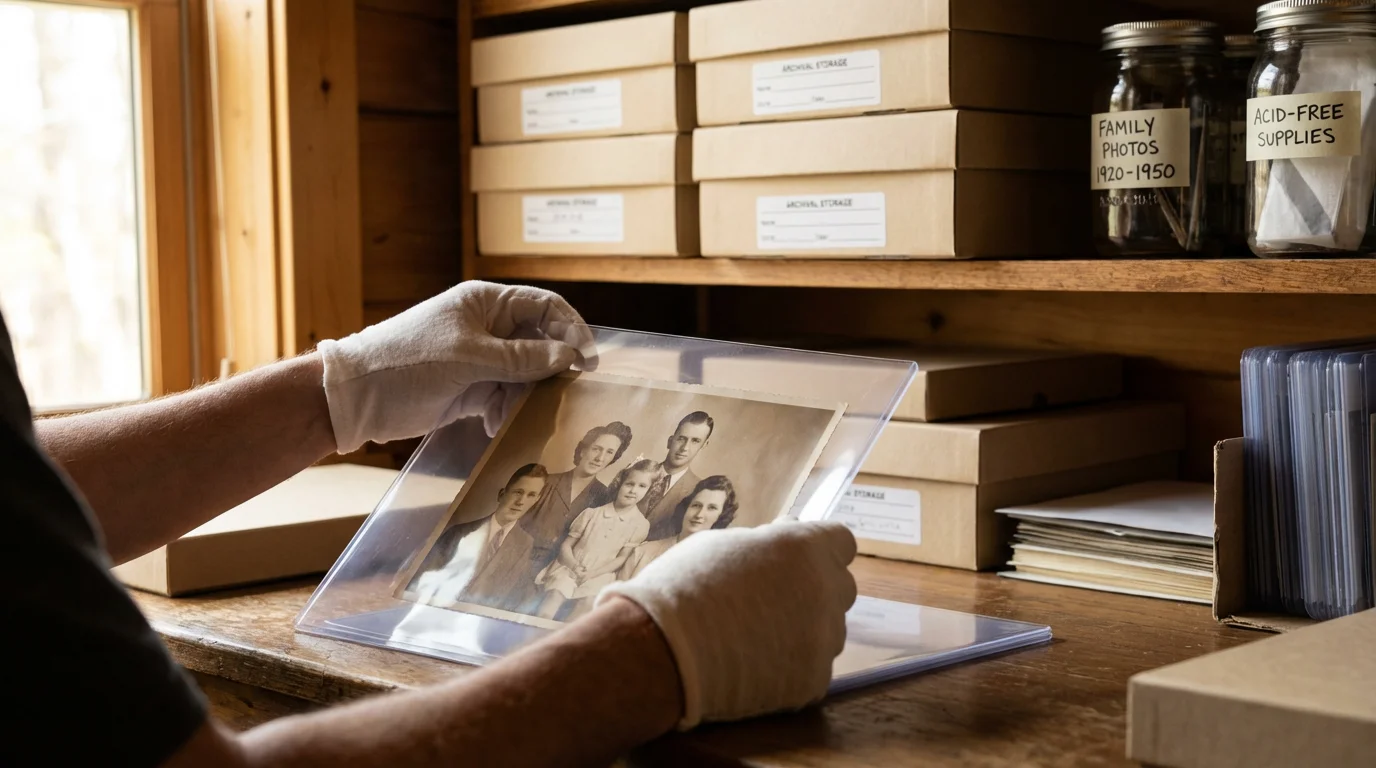
Physical Preservation: Stopping Further Deterioration
Restoring a digital copy is only half the battle; you must also protect the physical original. Once you have scanned your photo, do not put it back in the same acidic sticky-page album or the damp cardboard box where you found it. The American Institute for Conservation emphasizes that proper housing is the single most effective way to slow down further fading. Invest in archival-quality, acid-free, and lignin-free folders or sleeves. Look for products that have passed the “PAT” (Photographic Activity Test), which ensures the material won’t chemically react with your photos.
Store your physical collection in a “cool, dry, and dark” location. The ideal temperature is below 70 degrees Fahrenheit, with relative humidity between 30% and 40%. Avoid attics (which get too hot) and basements (which are too damp). A closet in the main living area of your home is usually the best environment. By digitizing and then properly archiving the physical print, you are creating a “redundant” system. If the digital file is lost in a hard drive crash, you still have the original; if the original is damaged in a fire or flood, your digital restoration lives on in the cloud. This two-pronged approach is the gold standard for preserving your photographic heritage.
Frequently Asked Questions
Can I fix a photo that has severe water damage or mold?
Water damage and mold are complex issues. While you can digitally “clone out” mold spots or water stains, the physical photo may be hazardous to your health and your scanner. If a photo is stuck to glass or shows active mold growth, do not attempt to peel it or scan it. Consult a professional conservator. Digitally, you can often save the image by using the “Frequency Separation” technique, which allows you to edit the color of the stain without destroying the texture of the photo underneath.
Is it possible to bring back color in a photo that has turned completely black and white?
Technically, if the dye is 100% gone, you cannot “bring it back” because the data no longer exists. However, you can “recolor” it. This is where AI colorization tools excel. They analyze the grey values and objects in the photo (like grass, skin, or sky) and apply historically plausible colors. While it isn’t a “restoration” of the original color, it is a recreation that can make the image feel much more immediate and modern.
What is the biggest mistake people make when restoring their own photos?
The most common mistake is over-processing. It is very easy to get excited and turn the saturation up too high, or use too much noise reduction until the people look like plastic dolls. Always keep a copy of your original scan visible as a reference. Every 15 minutes, look away from your screen or toggle your edits on and off. If the restored version looks “fake,” you have likely gone too far. Aim for a look that feels like a well-preserved photo from that era, not a modern digital image.
Disclaimer: This article is for informational purposes only. When handling valuable or irreplaceable photographs, consider consulting a professional conservator. Always test preservation methods on non-valuable items first.


Leave a Reply