Disclaimer: This article is for informational purposes only. When handling valuable or irreplaceable photographs, consider consulting a professional conservator. Always test preservation methods on non-valuable items first.
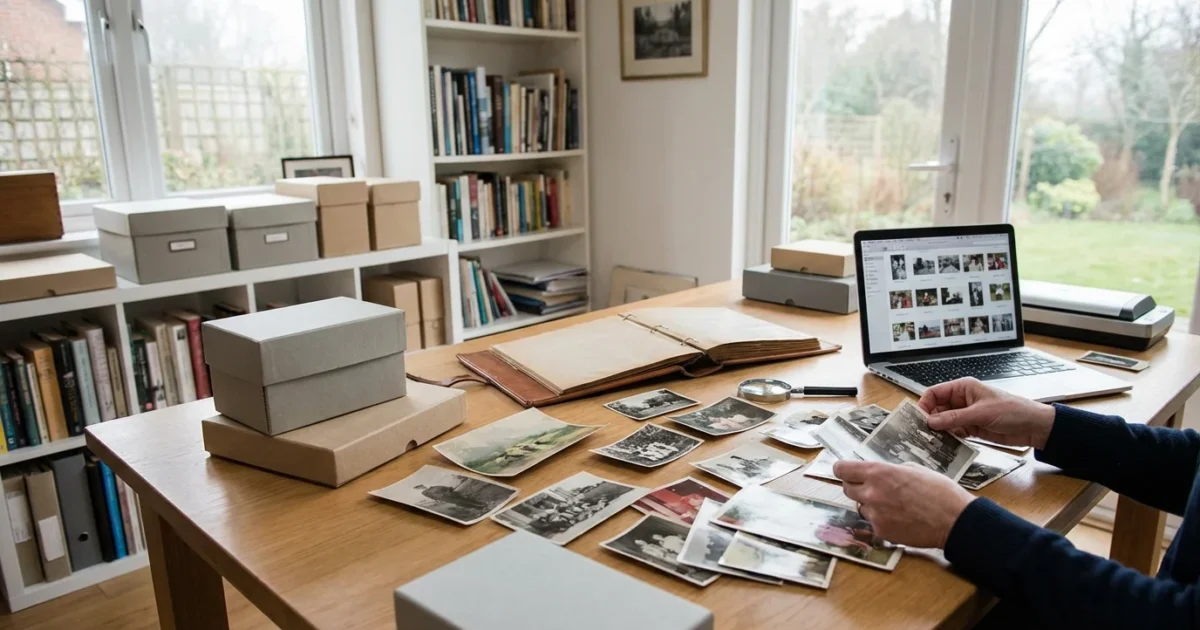
Your family’s photographs are more than just pictures; they are tangible links to your past, windows into generations that shaped who you are today. Uncovering the stories behind these precious images forms a cornerstone of any family history project. However, many people inherit boxes overflowing with unsorted prints or face overwhelming digital folders, making the task seem impossible. This guide provides a practical, step-by-step approach to organize photos for a family history project, helping you transform chaos into a treasured family photo archive.
Why Organize Your Family Photos for Genealogy?
Embarking on a family history project offers immense rewards, connecting you deeply with your heritage. Your photographs are invaluable primary sources. They capture faces, fashion, architecture, and daily life, providing visual context that goes beyond written records. Proper genealogy organization for your photos allows you to:
Building a photo organization system that sticks is essential for maintaining your progress as your genealogy research grows.
- Identify Unknown Relatives: An organized collection helps you spot recurring faces, patterns, and connections that might reveal previously unknown ancestors or collateral lines.
- Verify Information: Photos can confirm names, dates, and locations found in census records, birth certificates, or family lore. Seeing a photo of your great-grandparents in front of their documented home adds powerful verification.
- Bring Stories to Life: A photograph transforms a name on a tree into a real person. Visuals make your family history more engaging for everyone, especially younger generations.
- Preserve Your Heritage: Organizing prevents further damage or loss. When you know what you have and where it belongs, you actively protect these irreplaceable artifacts for future generations.
- Reduce Overwhelm: A structured process breaks down a monumental task into manageable steps, making the goal of a comprehensive family photo archive achievable.
By investing time in organizing your family history photos, you unlock a richer, more vivid understanding of your roots.

Prepare Your Workspace and Mindset
Before you dive into boxes of photos, set yourself up for success. A dedicated, clean workspace and the right mental approach make a significant difference in the efficiency and enjoyment of your project.
To maintain progress without feeling overwhelmed, consider adopting a short daily organization routine.
Establish Your Workspace
You need a clean, dry, and well-lit area. Clear a large table or desk where you can spread out photos without them overlapping or falling off. Ensure good ventilation, especially if you anticipate dusty items. Keep food and drinks away from your workspace to prevent spills. Cleanliness is paramount when handling old photographs; dust and grime can easily transfer and damage delicate surfaces.
Gather Basic Supplies
Before you acquire specialized archival materials, have these general items on hand:
- Clean white cotton gloves or nitrile gloves (to prevent transferring oils from your skin to photos).
- Soft, clean cloths (microfiber is excellent for dusting surfaces, not photos).
- Pencils (for non-damaging notations).
- Eraser (non-abrasive, white vinyl).
- Small dust brush (artist’s brush for delicate dusting).
- Sticky notes or scrap paper (for temporary labels).
- Boxes or containers (for initial sorting).
- A digital camera or smartphone (for quick documentation before scanning).
Adopt the Right Mindset
Organizing old family photos for genealogy is a marathon, not a sprint. Approach it with patience and a respectful curiosity. You will encounter mysteries, and that is part of the journey. Set realistic expectations for progress. It is better to work in short, focused sessions, for example, one hour a day, or a few hours a week, than to attempt to do it all at once and burn out. Remember, you are uncovering and protecting a vital part of your family’s story.
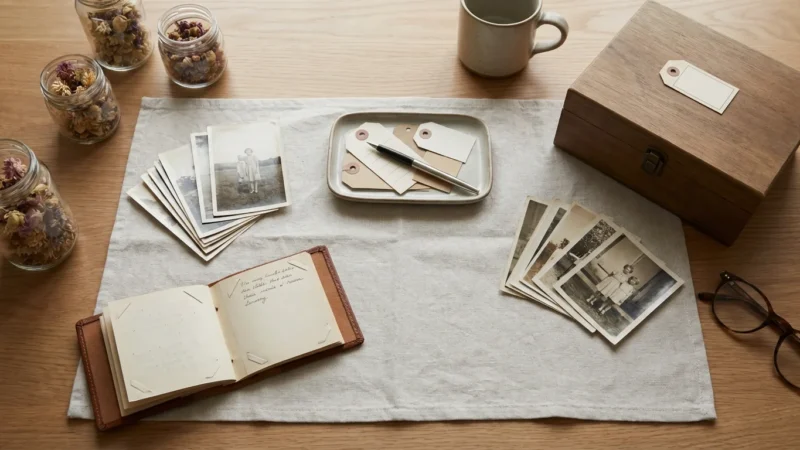
Gather and Sort Physical Ancestor Photos
This phase is about collection and initial categorization. Think of it as creating a preliminary inventory of your ancestor photos before diving into the detailed work.
In addition to prints, you may find that preserving newspaper clippings is necessary for documenting related family news.
If your collection is scattered across different areas of your home, follow an organizing physical photo prints strategy to gather everything systematically.
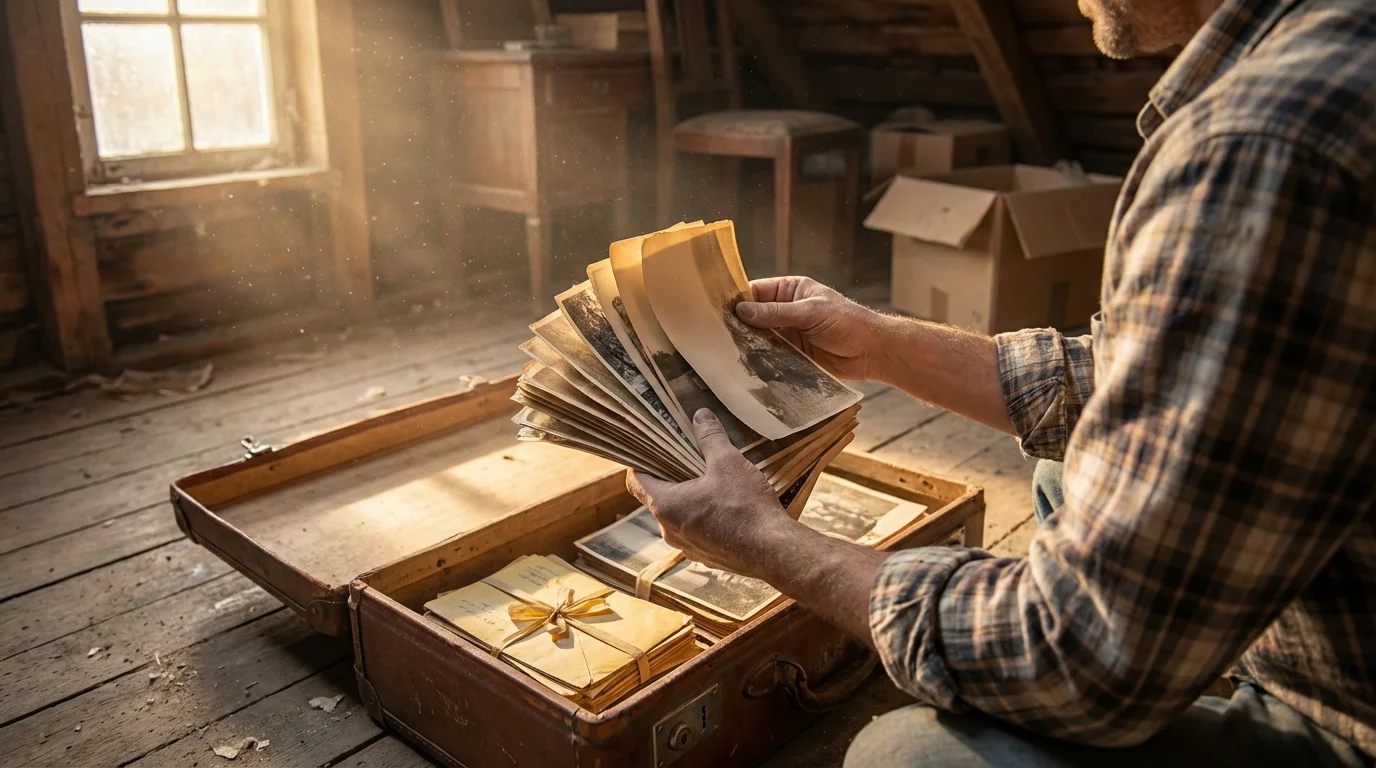
Step 1: Collect Everything
Gather all physical photographs, negatives, slides, photo albums, and scrapbooks from every corner of your home, and potentially from relatives who have given you permission to include their items. Look in attics, basements, closets, old suitcases, and dusty boxes. Consolidate them into one central, temporary storage area.
Step 2: Initial Damage Assessment and Separation
As you collect, do a quick visual scan. Separate any photos that are visibly damaged, moldy, or stuck together. Place these problematic items in separate, clearly labeled temporary containers. You will address these later, often requiring professional help. Do not try to clean or separate them yourself, as you risk further damage.
“When handling old photographs, your primary goal is to avoid causing new damage. Use clean hands or gloves, support the image fully, and never bend or crease the material. These are irreplaceable historical documents.”
Step 3: Rough Sort by Family Branch or Time Period
Begin a broad, high-level sort. Without getting bogged down in specifics, try to group photos. Common categories include:
- By Family Surname/Branch: “Smith Family,” “Jones Family,” “Maternal Side,” “Paternal Side.”
- By Decade or Era: “Pre-1900,” “1920s,” “Mid-20th Century.”
- By Location: If distinct moves or residences are obvious.
- Known Individuals: Photos featuring a clearly identifiable person, for example, “Grandma’s Photos.”
Use temporary dividers or envelopes with pencil notations to keep these groups separate. This initial pass helps you gain a sense of the scope of your collection and where major clusters of ancestor photos lie.
Step 4: Remove Photos from Harmful Albums and Frames
Many old photo albums use acidic paper, glues, or plastic sleeves that cause irreversible damage over time. Carefully remove photos from these albums. If a photo is stuck, do not force it. Consult a conservator for removal techniques. Similarly, remove photos from non-archival frames, especially if they touch the glass directly or use acidic backings.
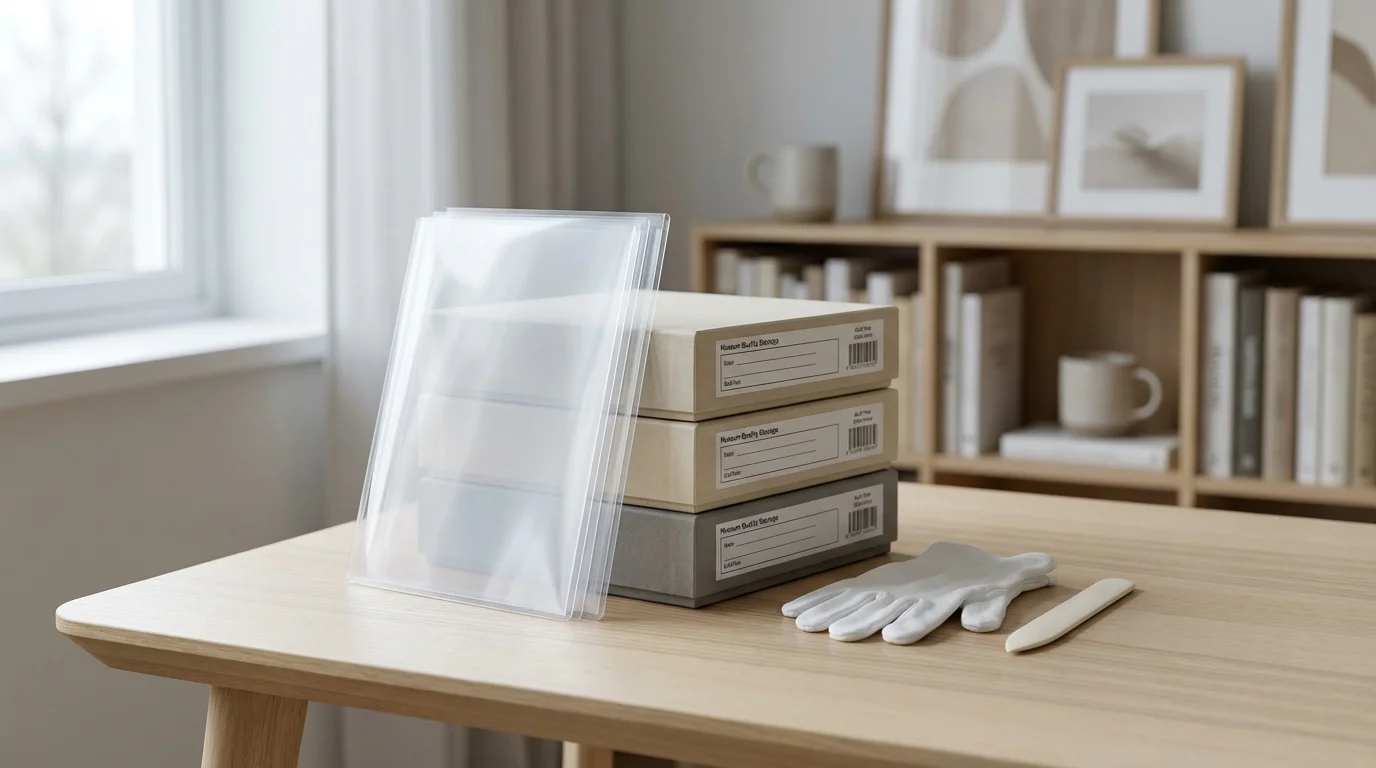
Essential Tools and Archival Supplies
To properly care for your old family photos for genealogy, you need to invest in quality archival materials. These supplies ensure your physical photos remain safe and stable for generations.
When you are ready to digitize your collection, follow a complete guide to scanning photos at home to ensure the best digital quality.
If you find photos are stuck to old pages, it is often safer to look into scanning photos from albums without removing them to prevent tearing.
Archival Storage Materials
Archival quality means materials are acid-free, lignin-free, and pass the Photographic Activity Test (PAT), which confirms they will not react negatively with photographic emulsions. Look for products labeled “archival safe” or “museum quality.”
- Archival Boxes: These sturdy, acid-free boxes protect photos from light, dust, and environmental fluctuations. Store prints flat in appropriately sized boxes.
- Recommendation: Use boxes that match the size of your largest prints to minimize movement.
- Archival Sleeves/Envelopes: Place individual photographs in Mylar (polyester), polypropylene, or polyethylene sleeves. These clear sleeves allow viewing without direct handling. Paper envelopes should also be acid-free and lignin-free.
- Recommendation: Use individual sleeves for each important print. For very small photos or groups, use archival envelopes.
- Acid-Free Tissue Paper/Interleaving: Use this between photos when stacking, or to cushion prints within a box.
- Pencils: Only use soft lead pencils, for example, 2B, to write identifying information directly on the back of prints along the border, avoiding the image area. Never use pens, markers, or adhesive labels, as these can bleed through, fade, or damage the emulsion.
You can find reliable archival supplies from specialty preservation vendors. The Library of Congress provides comprehensive guidelines on selecting appropriate materials for various types of collections. Consult resources like the Library of Congress Preservation for expert guidance on photo care and materials.
Documentation Tools
- Magnifying Glass: A small magnifier helps you examine details, signatures, or subtle clues on photographs.
- Ruler: For measuring photos and ensuring they fit into sleeves or boxes.
- Notebook and Pens: For jotting down notes, family stories, and research leads as you uncover them.
- Spreadsheet Software: For creating a digital inventory of your physical collection. More on this in the digital organization section.
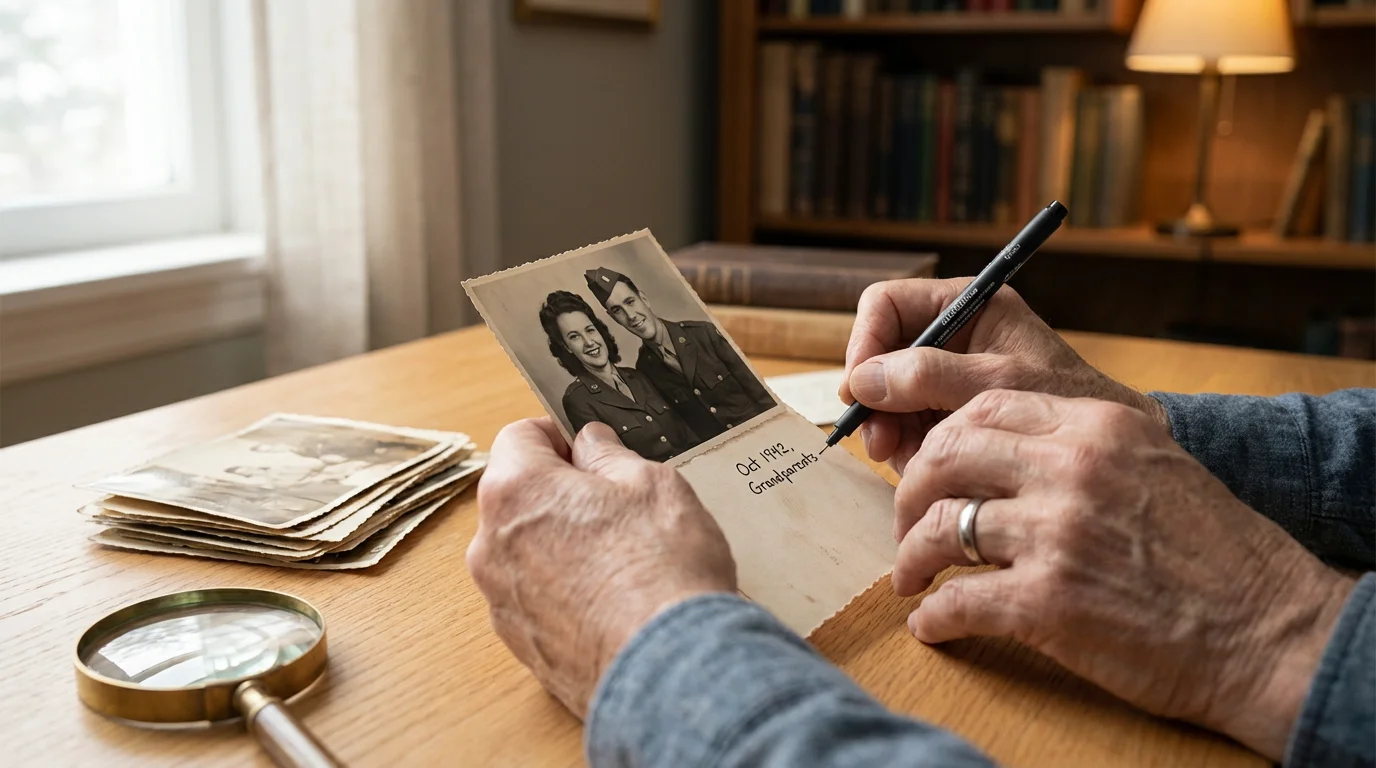
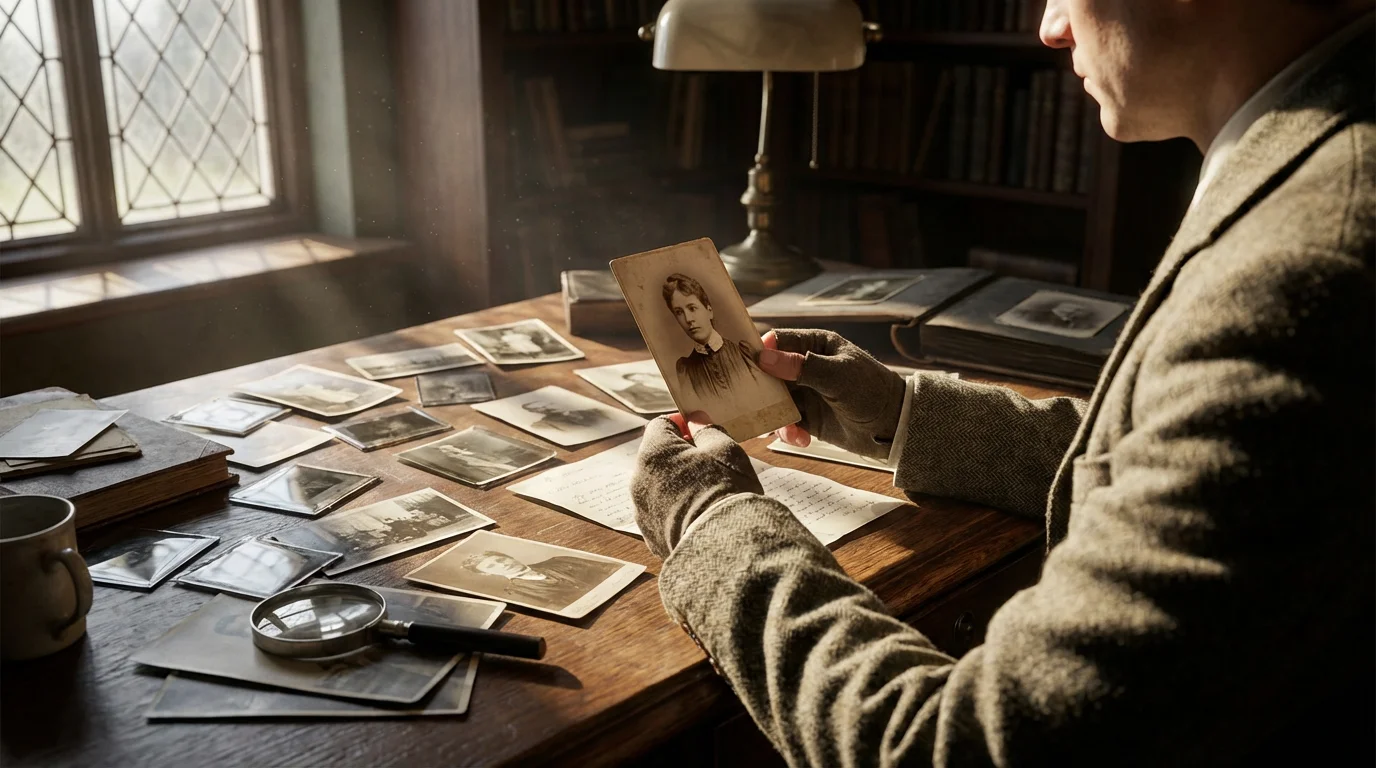
Identifying and Documenting Your Photographs
This is arguably the most critical step for your family history project. Unidentified photos hold limited genealogical value. Giving your ancestor photos context transforms them into powerful historical documents.
Once identified, learning how to tag and label photos digitally ensures your digital records are just as descriptive as your physical ones.
Step 1: The “Who, What, When, Where” Approach
For each photo, ask yourself these questions:
- Who is in the photo? List all identifiable individuals, including their relationship to each other.
- What is happening? Describe the event, activity, or scene. Is it a wedding, a picnic, a school play?
- When was the photo taken? Estimate dates as precisely as possible, for example, “circa 1930s,” “around the time of Aunt Mary’s wedding in 1955.” Look for clues like clothing styles, car models, or documented events.
- Where was the photo taken? Identify the location, city, state, country, specific building or landmark.
Record this information immediately. If you are unsure, make a note of your uncertainty. For example, “Possibly my great-aunt Sarah, circa 1920s.”
Step 2: Interview Family Members
Living relatives are your best resource for identifying people and stories in old photos. Arrange interviews, show them the photos, and record their recollections with their permission. Transcribe these interviews later. What seems like a trivial detail to them might be a crucial piece of your genealogy organization puzzle.
Step 3: Look for Clues Within the Photo
Photographers often left subtle clues:
- Back of the Photo: Look for photographer’s stamps, studio names, handwritten notes, dates, or names.
- Clothing and Hair: Styles change rapidly. Use online resources to date clothing, hairstyles, and accessories.
- Vehicles: Car models can often be dated within a few years.
- Background Elements: Buildings, signs, landscapes, and even foliage can offer location or seasonal clues.
- Objects: Furniture, tools, and decorations can sometimes provide a timeframe.
Step 4: Documenting Physical Photos
Once you identify information, use a soft lead pencil, 2B is ideal, to write light notations on the back of the print, along the edge, away from the image area. Never press hard. Record key facts and assign a unique identifier, for example, “S-1925-001” for Smith family, 1925, photo 001. This identifier will link the physical photo to your digital records.
For a detailed guide on photo identification, the American Institute for Conservation offers practical advice for home preservation, including methods for handling and documentation. Their resources help you approach how to organize old family photos for genealogy with expert-backed techniques. Visit the American Institute for Conservation website for more information.
Safely Digitizing Your Family History Photos
Digitizing your family history photos creates accessible copies, protects against loss of the original, and enables sharing. It is a critical step in building your family photo archive.
Learning how to scan old photos at home allows you to maintain full control over the quality and handling of your precious heirlooms.
Choosing Your Digitization Method
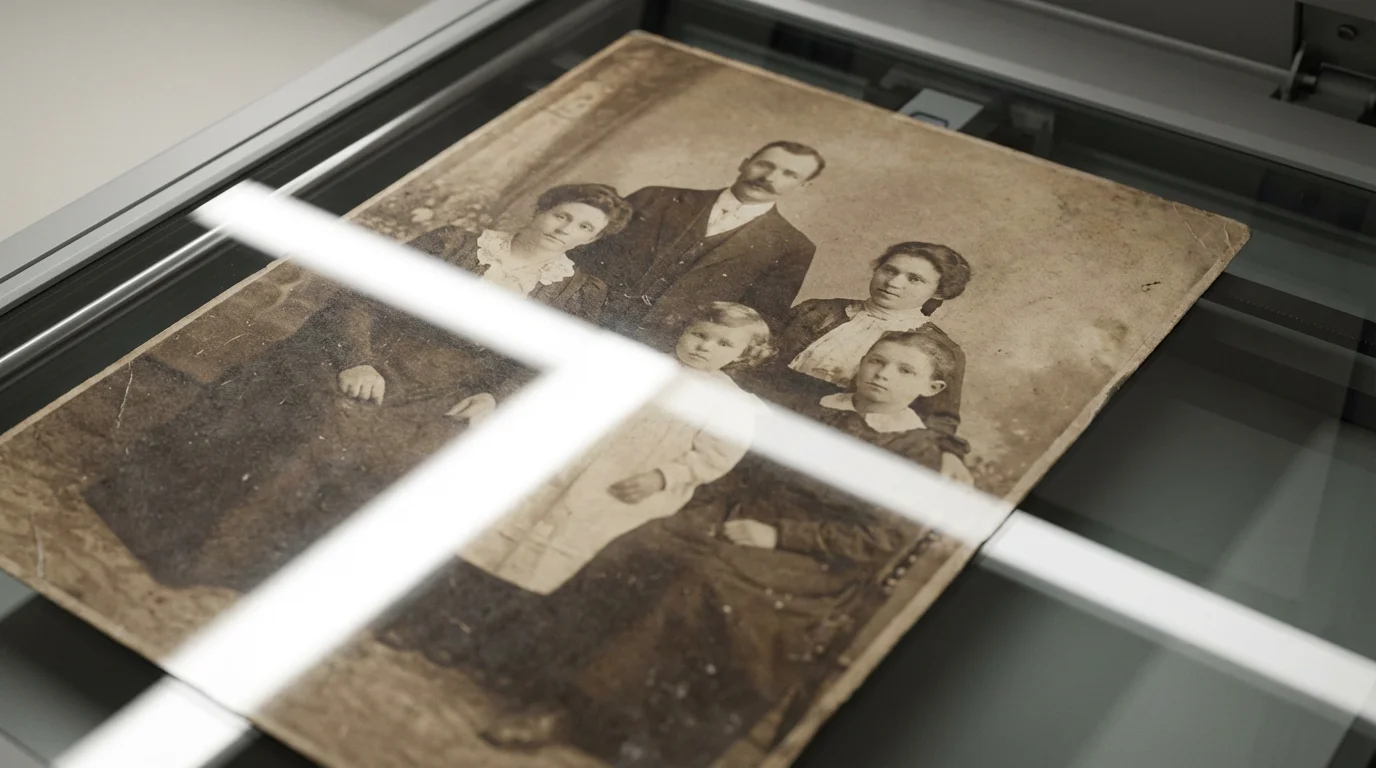
- Flatbed Scanner: This is the gold standard for prints, negatives, and slides. A good quality flatbed scanner provides high resolution and accurate color reproduction.
- Recommendation: Use a scanner that can achieve at least 600 optical dots per inch (dpi) for prints, and 2400-4800 dpi for negatives and slides. This resolution captures enough detail for future enlargements or corrections.
- Pros: High quality, control over settings, suitable for various formats.
- Cons: Time-consuming, initial investment.
- Digital Camera with Macro Lens / Copy Stand: For very fragile or oversized items that cannot lie flat on a scanner, a high-resolution digital camera mounted on a copy stand can be effective.
- Pros: Excellent for fragile items, faster for large volumes once set up.
- Cons: Requires specialized equipment and lighting, steeper learning curve.
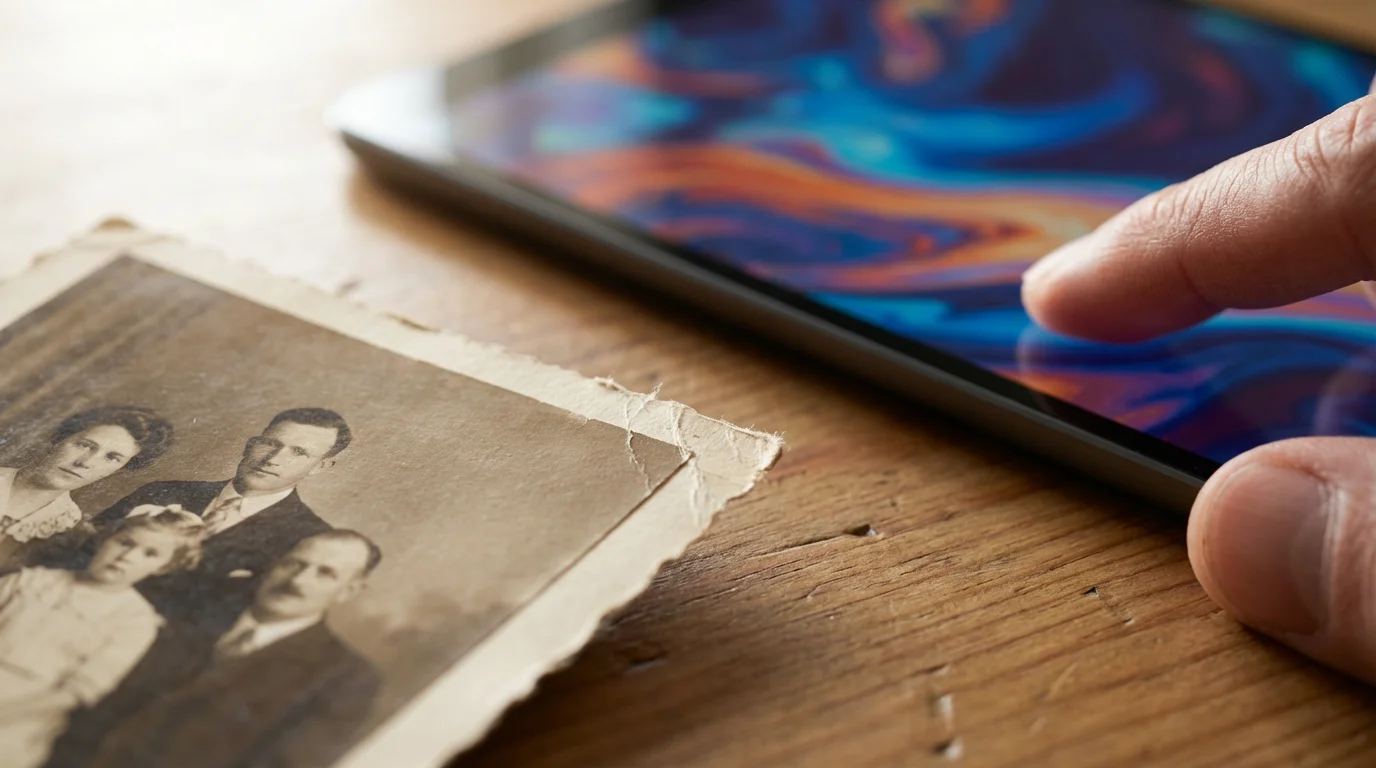
- Smartphone App (Last Resort for Quick Share, Not Archival): While convenient, smartphone camera quality and specialized apps rarely match a dedicated scanner for archival purposes. They often introduce distortion, glare, and lower resolution.
- Recommendation: Use only for immediate sharing or quick reference when quality is not paramount. Do not rely on it for your primary digital archive.
Digitization Best Practices
- Cleanliness: Clean your scanner bed or camera lens before each session. Use a soft, lint-free cloth.
- Resolution: Scan prints at a minimum of 600 dpi. Negatives and slides require higher resolutions, typically 2400-4800 dpi, to capture detail that becomes apparent when enlarged.
- Color Depth: Scan in 24-bit color.
- File Formats:
- TIFF (Tagged Image File Format): Use TIFF for your archival master copies. It is an uncompressed, lossless format that preserves all image data.
- JPEG (Joint Photographic Experts Group): Use JPEG for sharing, web use, and everyday viewing. Save JPEGs at a high quality setting, low compression, to minimize data loss. Always create JPEGs from your TIFF masters, never vice versa.
- Batch Scanning: Group similar items to streamline the process.
- Maintain Order: As you scan, keep your physical photos in the same organized groups you established earlier. Scan them sequentially if possible.

Structuring Your Digital Family Photo Archive
Once digitized, your how to organize old family photos for genealogy project shifts to the digital realm. A consistent, logical structure for your digital files is crucial for long-term accessibility and searchability.
Developing a consistent folder structure for your photo library is vital for ensuring your digital ancestors stay organized for years to come.
Step 1: Develop a Consistent Folder Structure
Create a logical hierarchy that makes sense to you and any future family members who might access the archive. A common and effective structure starts broad and narrows down:
My_Family_Photo_Archive/
├── Ancestor_Name_Surname_Branch_A/
│   ├── 1880s/
│   │   ├── 1885_Smith_Family_Farm_Summer_Gathering/
│   │   │   ├── S_1885_001_Smith_Farm_Main_House.tif
│   │   │   ├── S_1885_001_Smith_Farm_Main_House.jpg
│   │   │   └── S_1885_002_Smith_Family_Portrait.tif
│   │   │   └── S_1885_002_Smith_Family_Portrait.jpg
│   ├── 1890s/
│   └── 1900s/
├── Ancestor_Name_Surname_Branch_B/
│   ├── 1920s/
│   └── 1930s/
└── Undated_Unidentified/
    ├── Undated_Unknown_Branch_A/
    └── Undated_Unknown_Branch_B/
Key elements of this structure:
- Top Level: Broad family branches or surnames.
- Second Level: Decades or specific years.
- Third Level: Specific events, locations, or groups of people.
- Inside Event Folders: Individual photos.
Always maintain separate folders for TIFF master files and JPEG copies. This keeps your high-quality archival versions distinct from your everyday sharing versions.
Step 2: Implement a Robust Naming Convention
Filenames are a powerful search tool. Create a consistent naming convention for all your digital files. Include key information that allows you to identify the photo without opening it.
Recommended Format: YYYY-MM-DD_Surname_GivenName_Description_UniqueID.ext
- YYYY-MM-DD: Year, month, day, even if approximate, use 00 for unknown. This allows for chronological sorting.
- Surname_GivenName: Identify key individuals in the photo.
- Description: A brief summary, for example, “Wedding,” “Vacation,” “Farmhouse.”
- Unique ID: The same identifier you wrote on the back of the physical print, for example, S-1925-001, links digital to physical.
- Extension: `.tif` or `.jpg`.
Example: 1935-06-15_Smith_John_Family_Picnic_S-1935-005.tif
Step 3: Add Metadata (Digital Tags)
Metadata is data about data. It is embedded directly into your image files and allows for powerful searching and filtering, even if files are moved. Use photo management software, like Adobe Lightroom, Apple Photos, digiKam, or simpler alternatives, to add metadata.
- Keywords/Tags: Add names of everyone in the photo, locations, events, objects, and any other relevant terms, for example, “John Smith,” “Mary Jones,” “Oak Street,” “Christmas,” “Dog,” “Ford Model T.”
- Dates: Ensure the correct date is embedded.
- Captions/Descriptions: Write a detailed caption explaining the photo’s context.
- Creator/Copyright: If known, add information about the photographer or copyright holder.
Consistent use of metadata is the most effective way of creating a family photo archive that is truly searchable and navigable for future generations.

Backing Up and Preserving Your Digital Memories
Digitizing your photos is only half the battle. If you do not back them up, you risk losing all your hard work. Digital files are susceptible to hard drive failure, accidental deletion, fire, theft, and ransomware. A robust backup strategy is non-negotiable for preserving your family history photos.
Deciding between external hard drives vs cloud storage is a vital step in ensuring your digital heritage is protected from hardware failure.
The 3-2-1 Backup Rule
This industry standard is the most effective way to protect your data:
- 3 Copies of Your Data: Keep your photos on your computer, original copy, and at least two separate backup copies.
- 2 Different Media Types: Store your backups on at least two different types of storage media. For example, your computer’s internal drive, an external hard drive, and cloud storage.
- 1 Off-Site Copy: Keep at least one copy in a different physical location than your primary copy. This protects against catastrophic local events like fire or flood.
Backup Options
- External Hard Drives: Affordable and reliable. Purchase at least two drives. Rotate them, keeping one off-site.
- Cloud Storage: Services like Google Drive, Dropbox, OneDrive, Backblaze, or Amazon Photos offer convenient off-site storage. Many provide automatic syncing and version history.
- Recommendation: Research services carefully, considering security, privacy, and cost for large photo collections.
- Network Attached Storage (NAS): A mini-server for your home network. Offers greater control and local redundancy, RAID, but requires more technical setup.
- Archival Optical Discs (CD/DVD/Blu-ray): While once popular, these are becoming less reliable for long-term archival storage due to degradation and obsolescence of playback technology. Use only as an additional, very long-term copy.
Regularity and Verification
Implement a schedule for regular backups. Weekly or monthly is a good starting point, depending on how frequently you add new photos. Crucially, periodically verify your backups. Attempt to restore a few files to ensure they are readable and not corrupted. A backup that does not work when you need it is no backup at all.
Sharing Your Ancestor Photos and Family Stories
The ultimate reward of organizing your how to organize old family photos for genealogy project is the ability to share your discoveries. These photos are meant to connect generations and inspire new stories.
Integrate with Genealogy Platforms
Most online genealogy websites, for example, Ancestry.com, FamilySearch, MyHeritage, allow you to upload photos and link them directly to individuals in your family tree. This instantly broadens the reach of your ancestor photos and allows other researchers to find and contribute to your collection. Ensure you only upload copies, JPEGs, and retain your high-resolution masters.
Create Digital Displays and Photo Books
- Digital Photo Frames: Load a curated selection of photos onto a digital frame for a rotating display in your home.
- Online Galleries: Create private or public galleries on platforms like Flickr, SmugMug, or Google Photos to share with family members.
- Photo Books: Design custom photo books that tell specific family stories or cover entire branches of your tree. These make wonderful gifts and tangible keepsakes.
- Slideshows and Videos: Combine photos with music, captions, and narration to create engaging video presentations for family gatherings or anniversaries.
Share with Libraries and Historical Societies
If you have photos of historically significant individuals, places, or events, consider donating copies to local historical societies, archives, or libraries. These institutions often have specific interests in regional history and can properly preserve and provide access to your unique contributions. This ensures your family history photos become part of a broader historical record.
By sharing your creating a family photo archive work, you not only honor your ancestors but also ignite interest in your family’s heritage among younger generations, ensuring these memories continue to inspire and educate.
Frequently Asked Questions
How long does it take to organize family photos for genealogy?
The time investment varies significantly depending on the volume of your collection and the depth of your research. A small collection might take a few weeks of dedicated effort, while a large, multi-generational archive could easily take months or even years of consistent work. Focus on progress, not perfection, and break the task into manageable segments.
Can I use my smartphone to digitize old photos?
While convenient, a smartphone offers a lower quality alternative to a dedicated flatbed scanner for archival digitization. Smartphones typically produce lower resolution images, can introduce distortion or glare, and struggle with color accuracy. Use a flatbed scanner for your master archival copies and reserve your smartphone for quick sharing or non-critical documentation.
What is the best way to store physical photos after digitizing?
After digitizing, store your physical photos in acid-free, lignin-free archival boxes and individual sleeves or envelopes. Keep these boxes in a cool, dry, dark, and stable environment, away from direct sunlight, extreme temperature fluctuations, and humidity. Basements and attics are generally poor choices for long-term storage due to environmental instability.
How do I handle damaged or fragile photos?
For damaged, moldy, or extremely fragile photos, avoid handling them directly if possible. Do not attempt to clean or repair them yourself. Instead, isolate them in a separate, labeled archival enclosure and consult a professional photograph conservator. They possess the expertise and specialized tools to safely treat and stabilize delicate artifacts.
Is cloud storage safe for my family photo archive?
Cloud storage is generally very safe and forms a critical part of a robust 3-2-1 backup strategy, providing an off-site copy of your family photo archive. However, no single solution is foolproof. Choose reputable providers, use strong passwords, enable two-factor authentication, and ensure you understand their terms of service regarding privacy and data retention. Combine cloud storage with local backups for maximum protection.


Leave a Reply