Your photographs capture invaluable moments, preserving memories of loved ones, significant events, and personal journeys. These tangible pieces of your family history, whether old prints or recent photographic masterpieces, face a silent, relentless enemy: light. Over time, exposure to light, especially the ultraviolet (UV) spectrum, causes irreversible damage, leading to fading, discoloration, and the gradual loss of detail. Understanding how light impacts your precious images and implementing effective protection strategies ensures their longevity for future generations.
Protecting your photographic heritage requires a proactive approach. This comprehensive guide will equip you with practical, actionable insights to safeguard your photos from the damaging effects of light and UV exposure. You will learn the science behind photo degradation, discover methods for archival storage, and explore safe display practices that preserve your memories without sacrificing their visibility.
Understanding the Threat: How Light Damages Photos
Light appears harmless, yet its energy, particularly in the ultraviolet and visible spectrums, initiates destructive chemical reactions within photographic materials. This process, known as photodegradation, slowly erodes the integrity of your prints, slides, and negatives. You must understand the components of light to effectively combat its destructive potential.
While standard prints are vulnerable, protecting Polaroid photos from deterioration requires even more vigilance due to their unique chemical layers.
The Spectrum of Light and Its Impact
- Ultraviolet (UV) Light: This is the most damaging component. UV radiation carries high energy, capable of breaking down molecular bonds in dyes, pigments, and paper fibers. You cannot see UV light, but its presence accelerates fading and yellowing significantly. Sunlight is a primary source of UV, but fluorescent lights also emit measurable amounts.
- Visible Light: While less energetic than UV, visible light also contributes to degradation. Prolonged exposure causes fading and shifts in color balance. Your eyes perceive visible light, which means any displayed photograph constantly interacts with this damaging energy.
- Infrared (IR) Light: Infrared radiation primarily generates heat. While not directly causing chemical degradation like UV, elevated temperatures accelerate existing deterioration processes triggered by UV and visible light. A hot, sunny window can amplify damage through both light and heat.
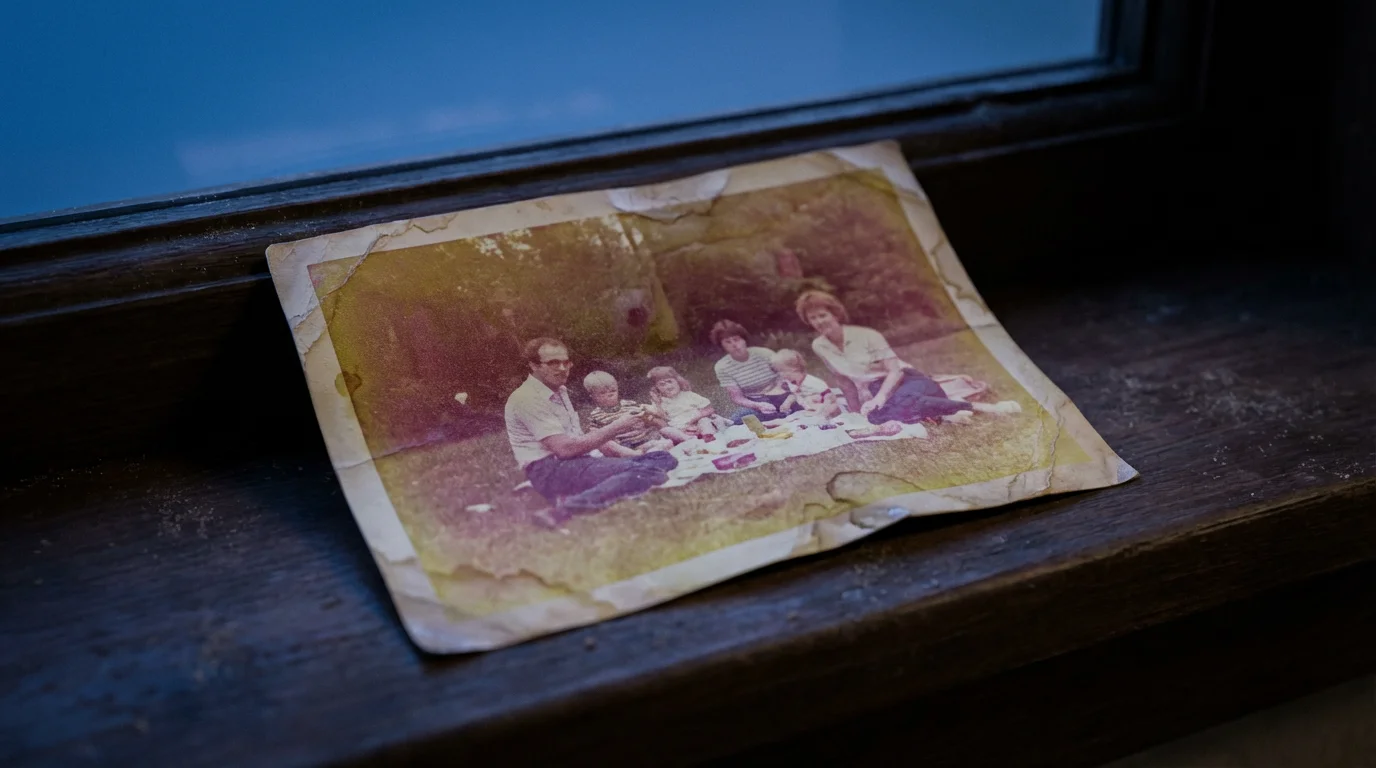
Consider a color photograph as a delicate arrangement of dyes or pigments embedded in a paper base. When light energy hits these dyes, it excites their molecules. Over time, this excitation leads to changes in their chemical structure, causing them to break down, fade, or shift in color. The paper support also suffers, often becoming brittle, yellowed, or stained.

The Science of Fading: Irreversible Changes
Photo fading prevention hinges on understanding the irreversible nature of light damage. Once dyes or pigments degrade, you cannot restore them to their original state. This makes preventative measures crucial for preserving the original appearance of your photographs.
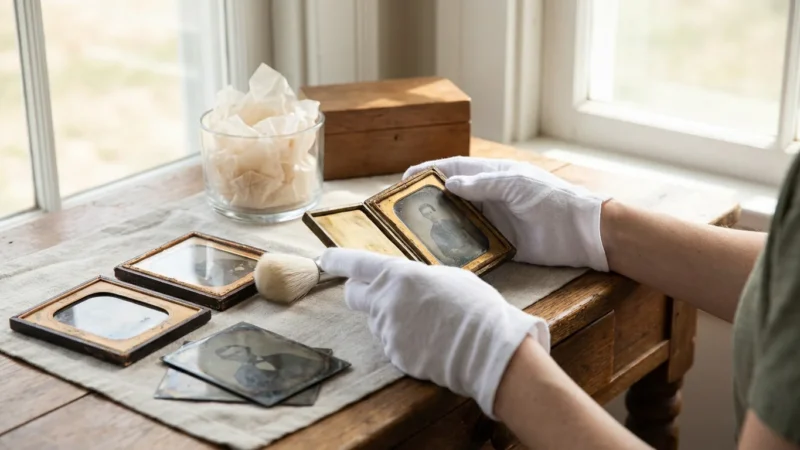
When dealing with your oldest family heirlooms, it is vital to learn how to care for tintype and daguerreotype photos as these metallic images have specific light-reflection and storage needs.
While preventative care is essential, you can also learn how to restore old faded photos using modern digital tools if damage has already occurred.
How Different Photo Types Respond to Light
Different photographic processes exhibit varying degrees of susceptibility to light damage:
- Early Color Prints (e.g., C-prints from the 1960s-1980s): These prints used less stable organic dyes that are highly prone to fading and color shifts, especially under UV exposure. Magenta, cyan, and yellow layers fade at different rates, leading to an unnatural color balance, often with a dominant yellow or red cast.
- Black and White Prints (Silver Gelatin): Generally more stable than early color prints, black and white prints can still suffer. Prolonged light exposure may cause a phenomenon called “silver mirroring,” where the silver image particles migrate to the surface, creating a metallic sheen. The paper base also yellows and becomes brittle.
- Inkjet Prints (Modern Digital Prints): The stability of inkjet prints varies significantly depending on the ink and paper used. Pigment-based inks offer superior lightfastness compared to dye-based inks. Using archival quality pigment inks on acid-free, lignin-free paper dramatically improves longevity.
- Slides and Negatives: These transparencies are also vulnerable. Color slides and negatives can fade and shift in color, impacting their ability to produce accurate prints. Black and white negatives are more stable but still require protection from light and heat.
The Image Permanence Institute emphasizes that all photographic materials, regardless of their inherent stability, are susceptible to degradation from light. Minimizing exposure to all forms of light, especially ultraviolet, is the single most effective way to extend the life of your photographs.
Think of light exposure as a cumulative dose. A photograph exposed to moderate light for many hours accumulates the same damage as one exposed to intense light for a shorter period. Each photon of light absorbed contributes to the chemical breakdown, steadily eroding the image.

Assessing Your Risk: Identifying Vulnerable Photos and Environments
Before you implement protective measures, evaluate the current risks to your photo collection. Understanding which photographs are most vulnerable and where they are stored or displayed helps you prioritize your preservation efforts.
Implementing best practices for creating a home photo archive will help you organize and protect your collection from environmental threats systematically.
Special care should be taken with heirlooms, so understanding how to handle and display antique photographs safely is a vital part of your risk assessment.
Inventory Your Collection and Identify Risk Factors
Start by considering:
- Type of Photograph: Are they color prints from the mid-20th century, black and white heirlooms, or modern digital prints? As discussed, different types have varying vulnerabilities.
- Current Condition: Do you already observe signs of fading, yellowing, or brittleness? These indicate past exposure and a higher likelihood of further damage.
- Storage Environment:
- Are photos stored in acidic albums or cardboard boxes?
- Do they sit in attics or basements with fluctuating temperatures and humidity?
- Are they exposed to direct sunlight or harsh artificial light?
- Display Environment:
- Are framed photos hanging on walls receiving direct sunlight?
- Do they sit on shelves near windows?
- Are they illuminated by intense spotlights?
For example, if you inherited a shoebox full of vibrant family snapshots from the 1970s, consider them highly vulnerable. These prints likely use unstable dyes. If you also find they are stored near a window or in a sunlit room, their risk of accelerated photo fading prevention becomes an immediate concern.

Immediate Action: Shielding Photos from Direct Light
You can take simple, immediate steps to reduce light exposure, even before investing in specialized preservation materials. These actions provide a crucial first line of defense against light damage photos.
For those seeking the highest level of security, understanding how to preserve photos in a fireproof safe can offer protection from both light and heat-related damage.
Quick Wins for Photo Protection
- Relocate Exposed Photos: Move any photographs currently displayed in direct sunlight or intense artificial light. Windows, skylights, and even strong overhead lighting contribute to damage.
- Rotate Displayed Prints: For irreplaceable prints you wish to display, consider rotating them. Display a print for a few months, then store it in archival conditions for a period, replacing it with a copy or another original.
- Use Curtains and Blinds: Keep curtains, blinds, or shades drawn during peak sunlight hours in rooms where you display or store photographs. This significantly reduces the total light dose.
- Turn Off Lights: When you leave a room, turn off the lights. This simple habit minimizes unnecessary exposure.
Even a photograph on a bookshelf, away from direct sun, receives ambient light throughout the day. While this exposure is less severe than direct sunlight, it still contributes to gradual fading over years. Your goal is to minimize the total amount of light energy your photos absorb over their lifetime.
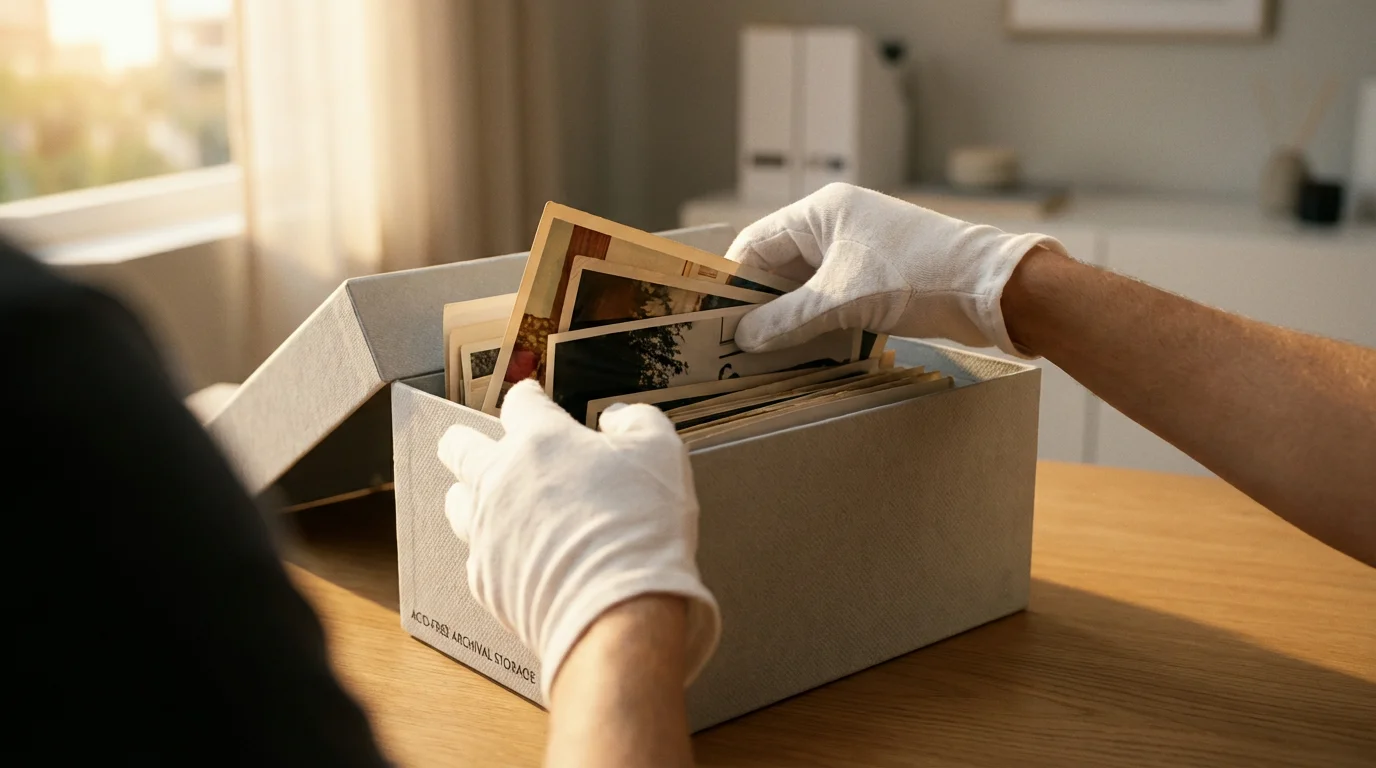
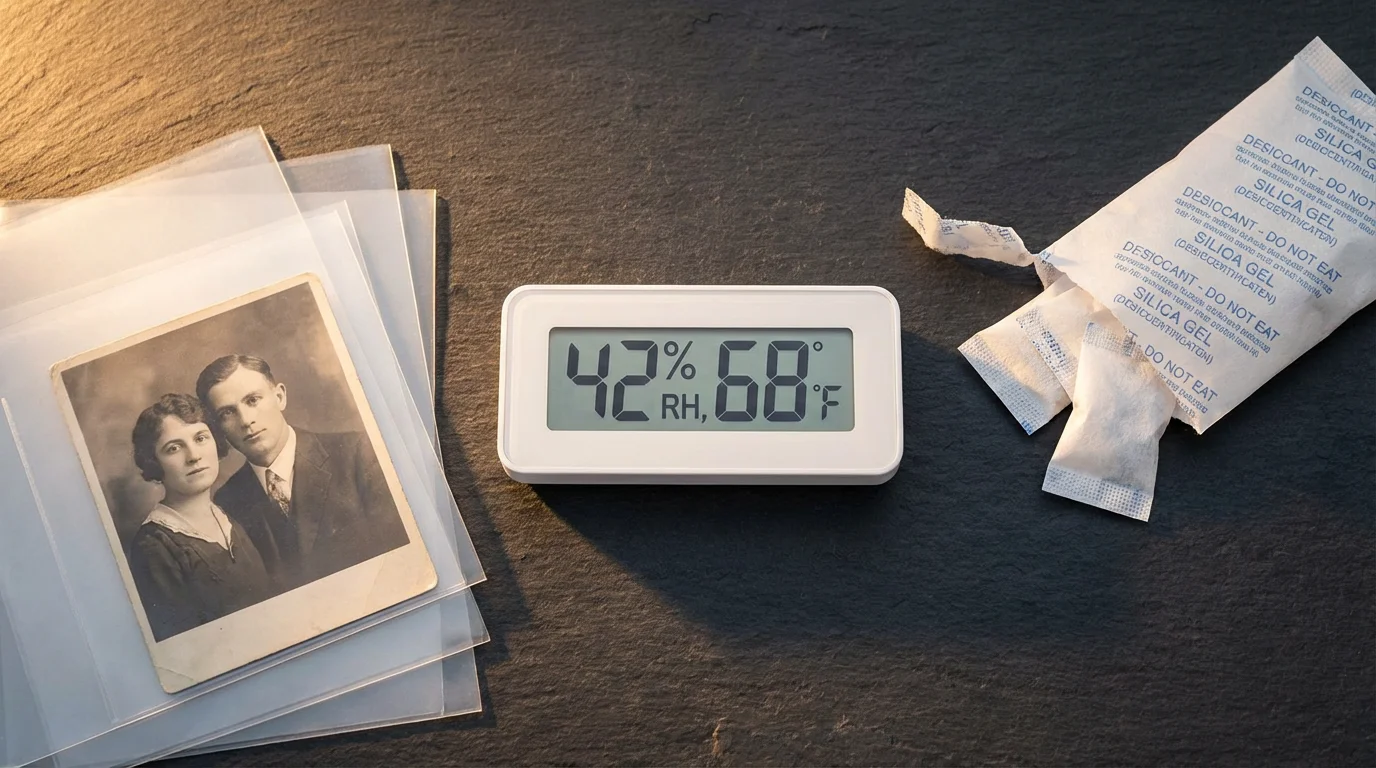
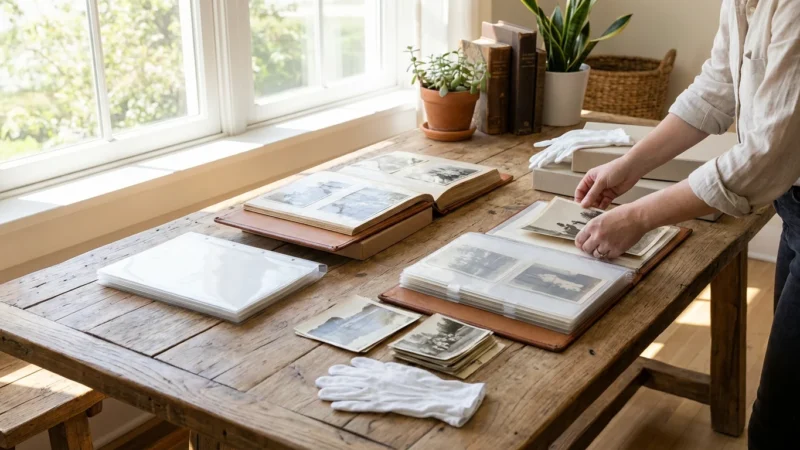
Archival Storage Solutions: Protecting Photos in the Dark
The safest environment for any photograph is darkness, protected within an inert, stable environment. Archival storage solutions create this optimal environment, significantly slowing down degradation processes. This is your primary strategy for UV protection and long-term preservation.
Ultimately, the importance of backing up physical photos digitally cannot be overstated, as it provides a permanent safeguard against the unavoidable aging of physical materials.
Before placing your originals into dark storage, following a guide to scanning old photos at home ensures you have a high-quality digital backup for sharing.
Choosing the Right Archival Materials
Archival materials are chemically stable and free from acids, lignins, and PVC, substances that degrade over time and leach damaging chemicals onto your photos.
- Archival Boxes:
- Choose sturdy, acid-free, lignin-free, and buffered boxes. Look for the “Photo Safe” or “PAT (Photographic Activity Test) passed” label.
- Store prints flat in these boxes, never overfilling them.
- Separate different print sizes with archival paper or envelopes.
- Protective Sleeves and Envelopes:
- Polyester (Mylar D): This is a highly stable, inert plastic, excellent for individual prints, negatives, and slides. It offers good clarity and protection.
- Polypropylene: A safe, affordable alternative to polyester. Ensure it is virgin (not recycled) and free of plasticizers.
- Polyethylene: Also generally safe, but ensure it is free of additives.
- Paper Envelopes: Opt for acid-free, lignin-free paper envelopes for negatives and prints. Glassine is also a good choice for interleaving or protecting individual items. Avoid PVC sleeves, which degrade rapidly and off-gas harmful chemicals.
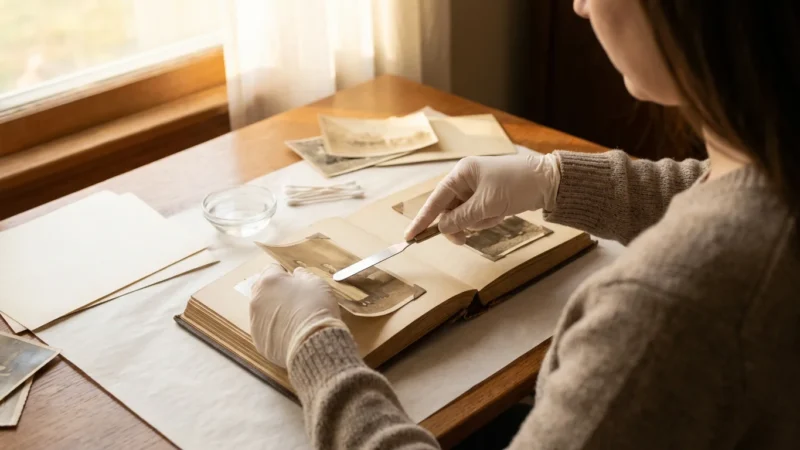
- Albums:
- Avoid old magnetic or self-adhesive albums. The glues and plastic sheets are highly acidic and will damage your photos.
- Invest in archival albums with acid-free paper pages and polypropylene or polyester sleeves. Mount photos using archival corners or reversible adhesives.
Proper storage is a cornerstone of how to protect photographs from sunlight damage and other environmental threats. For instance, imagine a vintage family portrait placed directly into an ordinary cardboard box. Over years, the acids in the cardboard would yellow and embrittle the photo, creating permanent damage. Replacing that box with an archival, acid-free alternative immediately halts this deterioration process.

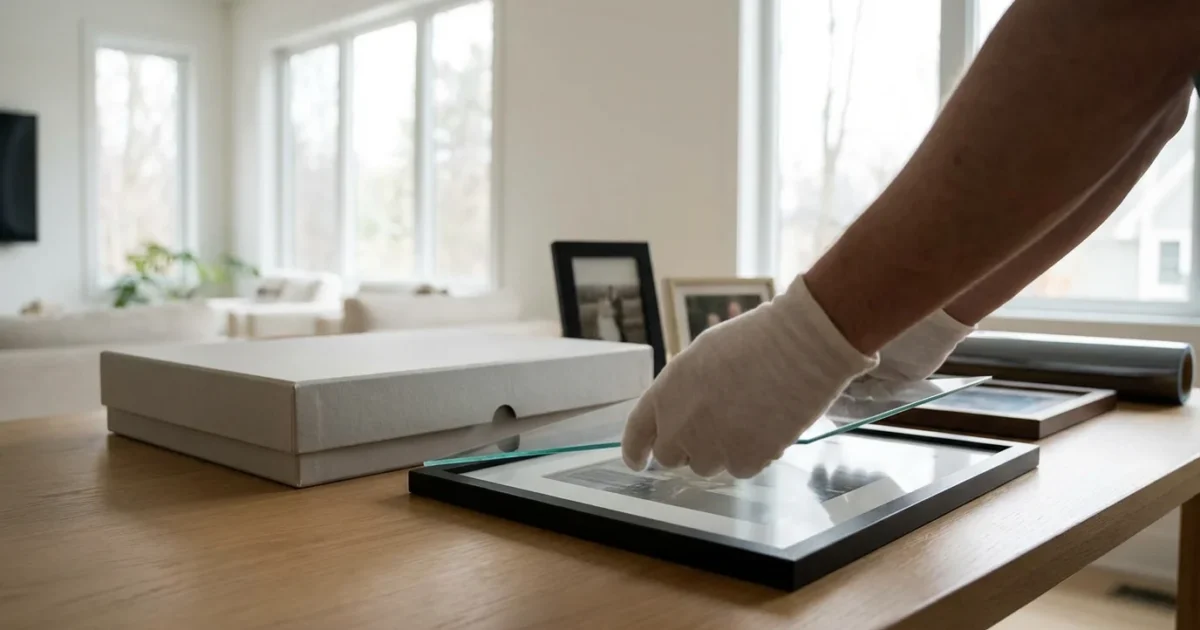
Displaying Photos Safely: UV Protection for Framed Prints
While dark storage is ideal, you often want to display your cherished memories. Displaying photos safely requires a strategic approach to framing materials and placement to mitigate light damage.
Before framing your collection, ensure you understand how to handle and display antique photographs safely to avoid oil transfer and mechanical damage.
Selecting UV Protective Framing Materials
The glass or acrylic you choose for your framed prints plays a critical role in UV protection. Standard glass blocks only a small percentage of UV light, leaving your photos vulnerable.
- UV Filtering Glass: This specialized glass is treated to block a significant percentage of UV radiation, typically 97-99%. It looks like regular glass but offers superior protection.
- UV Filtering Acrylic (Plexiglas): Acrylic is lighter and more shatter-resistant than glass, making it ideal for large pieces or high-traffic areas. Like glass, UV filtering acrylic blocks 97-99% of UV light.
- Museum Glass/Acrylic: This is the highest level of protection, offering UV filtering alongside anti-reflective properties, enhancing visibility and safety.
When selecting `best UV protective frames for photos`, prioritize frames that allow for adequate space between the print and the glazing (using a mat or spacers) to prevent the image surface from adhering to the glass or acrylic. Always use archival mats and backing boards (acid-free, lignin-free, and buffered) to prevent chemical migration from the frame materials to your photograph.
Optimal Display Location
Even with UV protective glazing, placement matters:
- Avoid Direct Sunlight: Never hang photographs on walls that receive direct sunlight, even for a portion of the day. South-facing windows are particularly problematic.
- Steer Clear of Bright Artificial Lights: Avoid positioning photos directly under intense spotlights or fluorescent lights, which emit UV. LED lighting is generally safer due to its low UV and heat output.
- Consider Room Usage: Place your most valuable or vulnerable photos in rooms with less ambient light or where you can control light levels more easily.
Imagine a vibrant wedding photo from 1985 displayed in a standard frame directly across from a sunny window. Within a decade, the bride’s dress might turn yellowish, and the groom’s suit might develop an unnatural greenish hue. Replacing that standard glass with a UV filtering option and relocating the frame to a wall away from direct light significantly slows this inevitable process, preserving its original colors for decades longer.
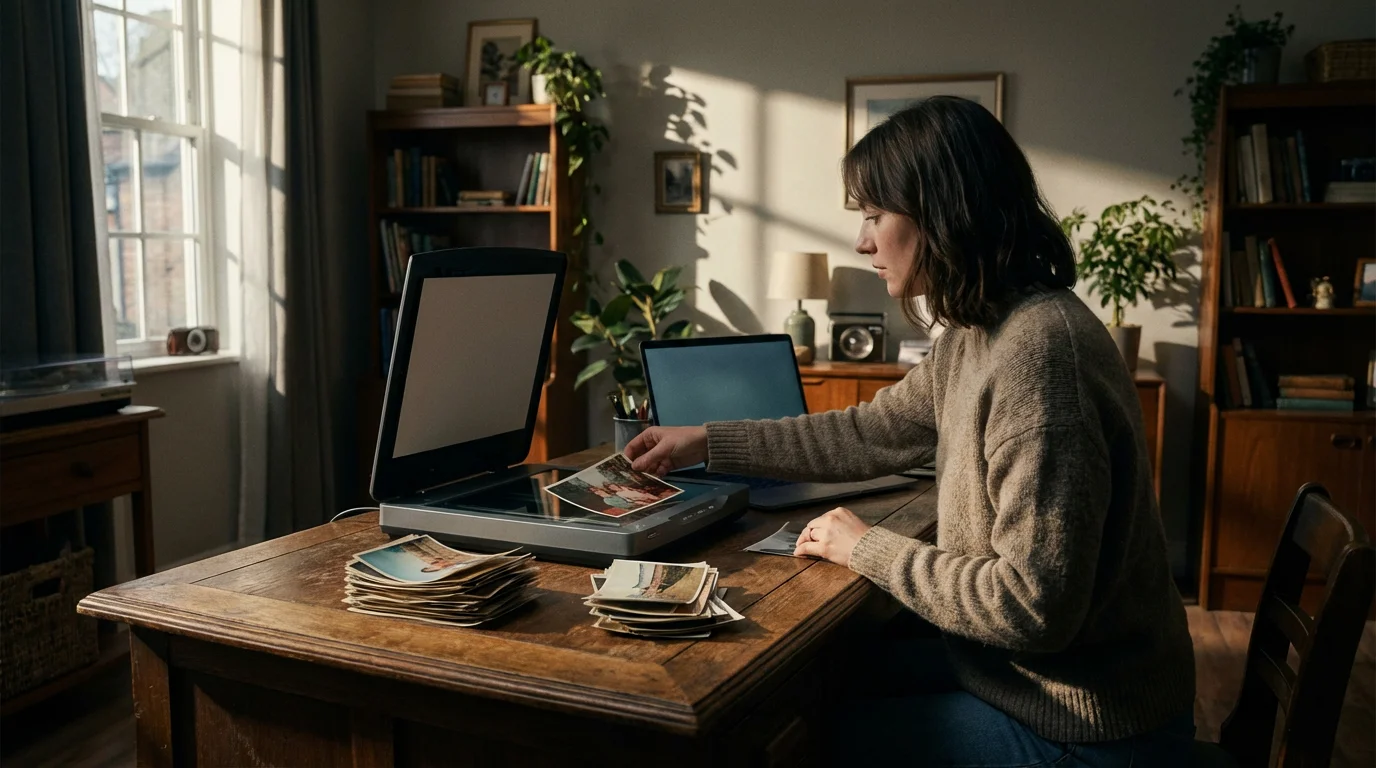
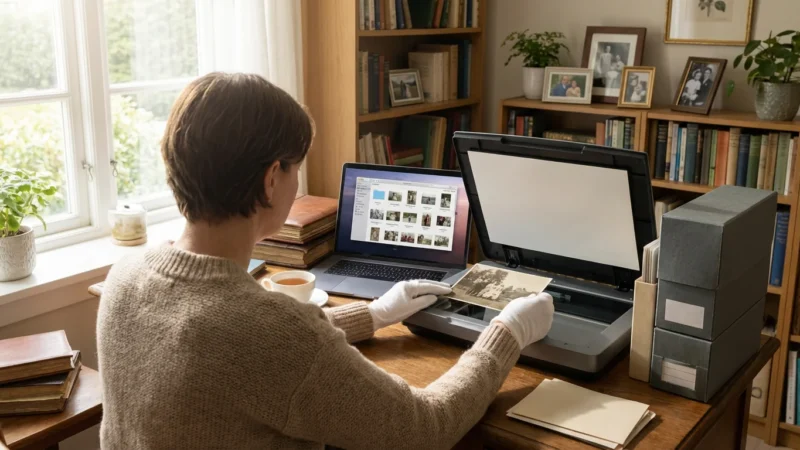
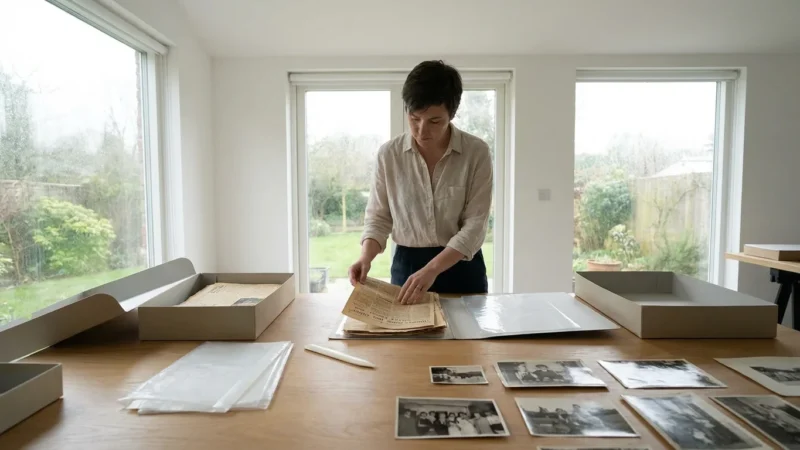
Digitization: The Ultimate Backup Against Light Damage
Digitizing your photo collection offers the most robust form of photo fading prevention and protection against any physical damage, including light exposure. A high-quality digital scan creates an exact copy of your image, preserving it even if the original degrades or is lost.
Steps for Effective Digitization
- Invest in a Quality Scanner: Flatbed scanners are ideal for prints, while dedicated film scanners provide superior results for negatives and slides. Aim for optical resolutions of at least 600 dpi for prints and 2400-4000 dpi for film to capture fine detail.
- Clean Your Photos: Before scanning, gently clean prints with a soft, lint-free cloth or a photographic air blower. Dust and debris will show up in your scans.
- Use Archival Settings: Scan in a lossless format like TIFF to retain maximum image quality. Save originals at a high bit depth (e.g., 24-bit color, 48-bit color) for future editing flexibility.
- Organize and Backup Digital Files: Once digitized, organize your files with descriptive names and metadata. Implement a robust backup strategy:
- Store copies on an external hard drive.
- Use cloud storage services.
- Consider a local network attached storage (NAS) system.
Digitization is not merely a convenience; it is a critical preservation step. Even with the best physical protection, accidents happen, and materials degrade. A digital archive ensures that the visual information of your memories remains intact, accessible, and shareable for generations, regardless of the fate of the original physical print.
Creating an Environmental Preservation Strategy
Protecting your photos from light damage integrates into a broader environmental preservation strategy. Light is one factor, but temperature, humidity, and air quality also play significant roles in the longevity of your collection.
Holistic Approach to Photo Preservation
Consider these additional environmental controls:
- Temperature and Humidity Control: Store photographs in cool, dry, and stable environments. High temperatures accelerate chemical reactions, and high humidity fosters mold growth and emulsion degradation. Aim for temperatures below 70°F (21°C) and relative humidity between 30-50%. Avoid basements, attics, and exterior walls, which experience the most significant fluctuations.
- Air Quality: Pollutants in the air, such as ozone, sulfur dioxide, and nitrogen oxides, can also damage photographs. Store photos in enclosures that offer some protection from airborne contaminants.
- Handling Protocols: Always handle photographs by their edges, preferably with clean cotton or nitrile gloves, to avoid transferring oils and dirt from your hands.
- Regular Monitoring: Periodically check your stored and displayed photographs for any signs of degradation. Early detection allows for timely intervention.
By implementing a comprehensive strategy that addresses light, temperature, humidity, and handling, you establish the best possible conditions for your entire photographic heritage. This proactive approach ensures that your cherished memories remain vibrant and accessible, reflecting the care and respect you dedicate to them.
Frequently Asked Questions
Are LED lights safe for displaying photos?
Yes, LED lights are generally much safer for displaying photos than incandescent or fluorescent lights. They produce very little heat and emit negligible amounts of UV radiation, making them an excellent choice for illuminating framed prints without accelerating light damage.
Can photos fade even when stored in a dark box?
Photos can still undergo very slow degradation even in a dark, archival box, but the rate is drastically reduced compared to light exposure. Factors like residual chemicals from processing, inherent instability of materials, high humidity, or extreme temperatures can contribute to very gradual changes over many decades. Proper archival storage minimizes these internal and environmental factors.
How often should I rotate my displayed photos?
If you have irreplaceable original prints on display, rotate them at least once a year, or even every six months, with a stored copy or another original. This practice significantly reduces the cumulative light exposure on any single print, extending its display life.
What should I do if my photos have already started to fade?
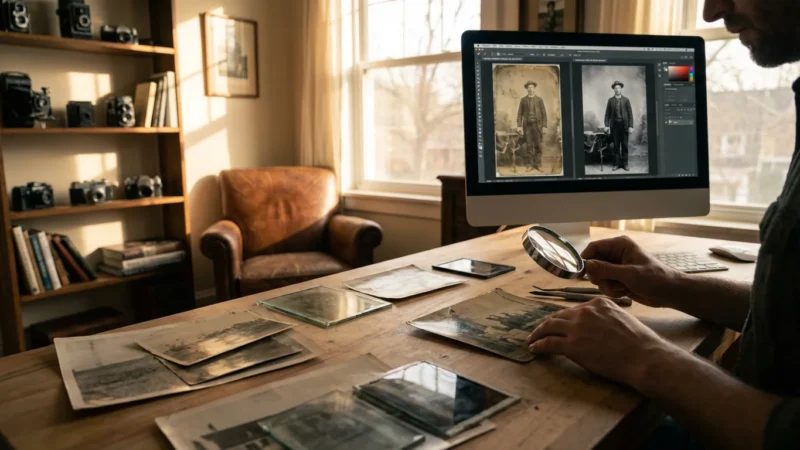
Once photos start to fade, you cannot reverse the damage. However, you can prevent further degradation by immediately removing them from light exposure and placing them in archival storage. You can also digitize the faded images at a high resolution. Digital photo editing software can often help restore some of the lost color and contrast in the digital copy, but the physical original remains permanently altered.
Is it worth buying museum glass for all my framed photos?
Museum glass offers the highest level of UV protection and anti-reflection, making it ideal for extremely valuable, rare, or irreplaceable photographs. For less critical or easily replaceable prints, high-quality UV filtering glass or acrylic offers excellent protection at a more accessible price point. Prioritize museum glass for your most precious heirlooms.
Disclaimer: This article is for informational purposes only. When handling valuable or irreplaceable photographs, consider consulting a professional conservator. Always test preservation methods on non-valuable items first.


Leave a Reply