Discovering your treasured photographs damaged by water can feel like a punch to the gut. Whether from a leaky pipe, an unexpected flood, or a forgotten mishap, water poses a significant threat to your prints and negatives. But do not despair. Many water damaged photos are savable with prompt, careful intervention. This guide provides practical, actionable steps to help you rescue and restore your precious memories, from immediate recovery to long-term preservation. You can dramatically increase your chances of successful photo restoration by understanding the right techniques and acting quickly.

Immediate Actions: Assessing the Damage and Ensuring Safety
Time is your most critical factor when addressing water damaged photos. The longer photographs remain wet, the higher the risk of mold growth, emulsion deterioration, and photos sticking together permanently. Prioritize your safety above all else.
Your Safety First
If the water damage resulted from a flood or burst pipe, assess for electrical hazards or structural instability before entering the affected area. Floodwaters often contain contaminants like sewage or hazardous chemicals. Wear protective gear, including waterproof gloves, a mask, and sturdy boots, especially if the water is unsanitary or you suspect mold. Your health is not worth risking for photographs, no matter how precious.
Initial Assessment of Your Photos
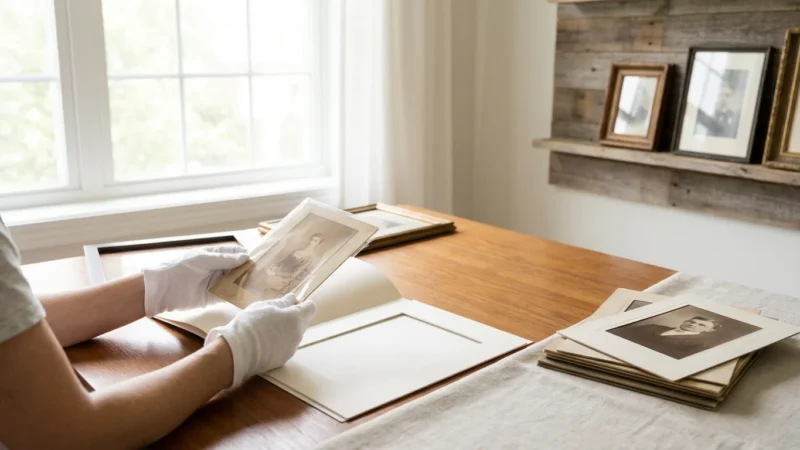
Once you confirm the environment is safe, begin by gently retrieving the photos. Avoid rubbing or squeezing them. Handle prints by their edges if possible. Separate different types of photographic materials, such as modern prints, historical prints, negatives, and slides, as each may require slightly different handling. Color photographs from the 1970s onward are particularly susceptible to color shifts and emulsion damage when wet, compared to older black-and-white prints which often prove more resilient.
The urgency to address water-damaged photographs cannot be overstated. Acting within 24 to 48 hours dramatically increases the success rate for salvage and minimizes irreversible damage like mold and adhesion.
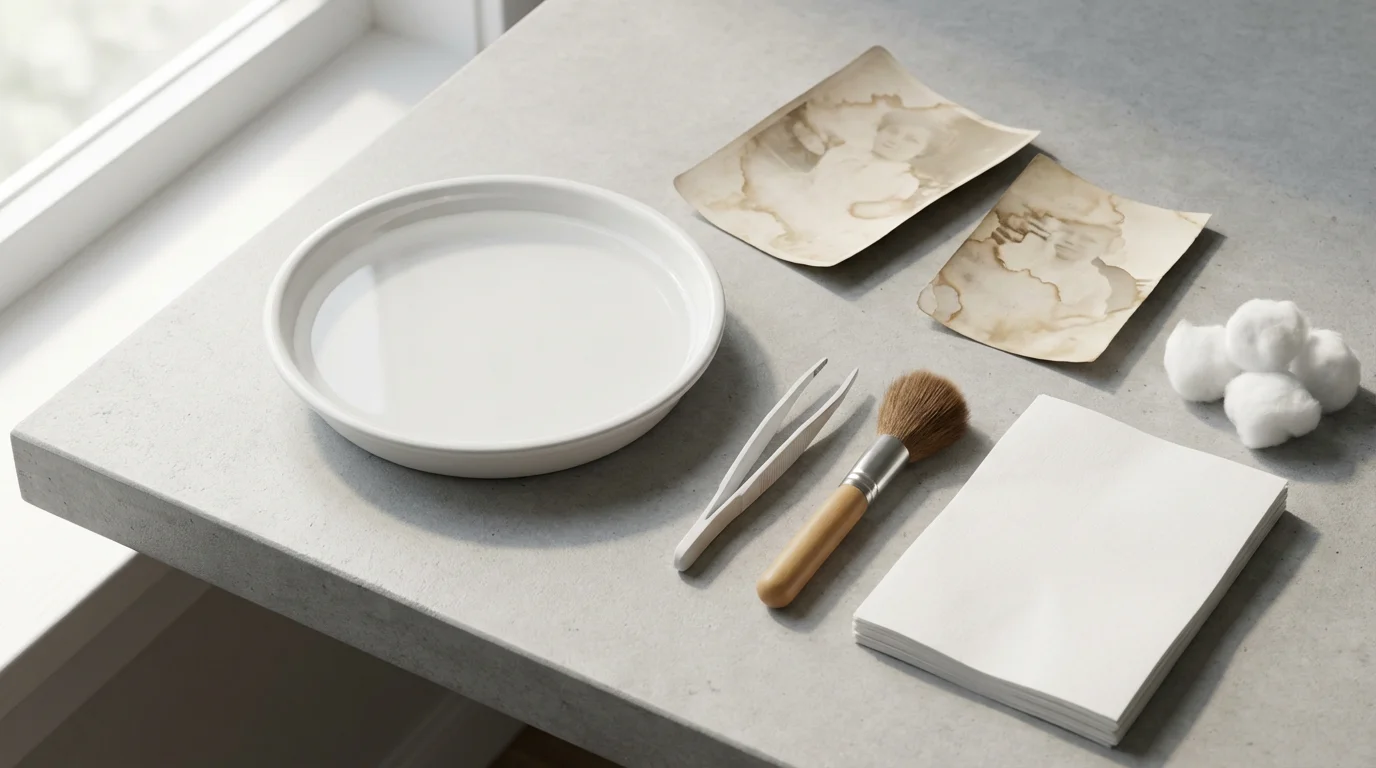
Essential Supplies for Photo Rescue
Preparation streamlines the recovery process. Having the right tools on hand prevents further damage and ensures efficiency. Gather these items before you begin:
- Personal Protective Equipment (PPE): Waterproof gloves (nitrile or latex), N95 mask (especially if mold is present or suspected), eye protection.
- Clean, Cool Water: A basin or sink filled with clean tap water for rinsing. Distilled water is ideal if available, but clean tap water is acceptable for initial rinsing.
- Blotting Material: White, lint-free paper towels, unprinted newsprint, or clean cotton cloths. Avoid colored towels, which can transfer dye.
- Separation Aids: Non-coated freezer paper, wax paper, or silicone baking mats. These provide a non-stick surface during drying.
- Drying Racks: Clean clotheslines with plastic clothespins, plastic mesh drying racks, or clean screens. Ensure good airflow.
- Plastic Bins/Trays: For organizing and transporting wet photos.
- Soft Brushes/Spatulas: For very gently dislodging debris or carefully separating stuck photos (use with extreme caution).
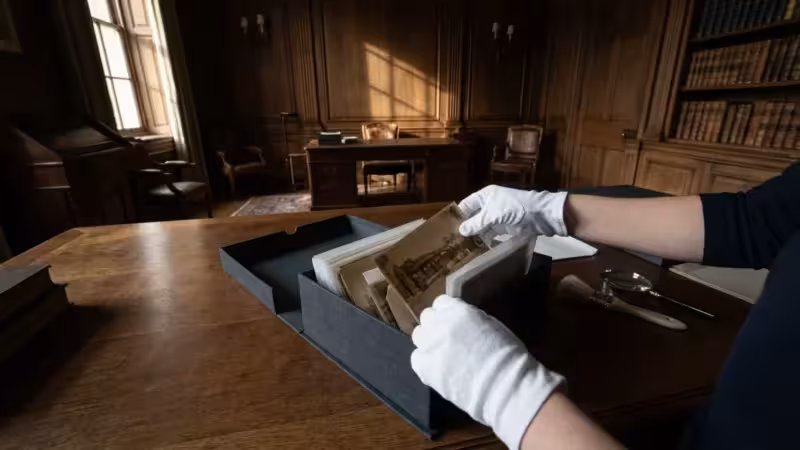
- Archival Storage Materials: Once dry, plan to store your photos in acid-free, lignin-free sleeves and boxes.
- Freezer (Optional): If you have a large volume of photos or cannot process them immediately, a freezer can temporarily halt deterioration.
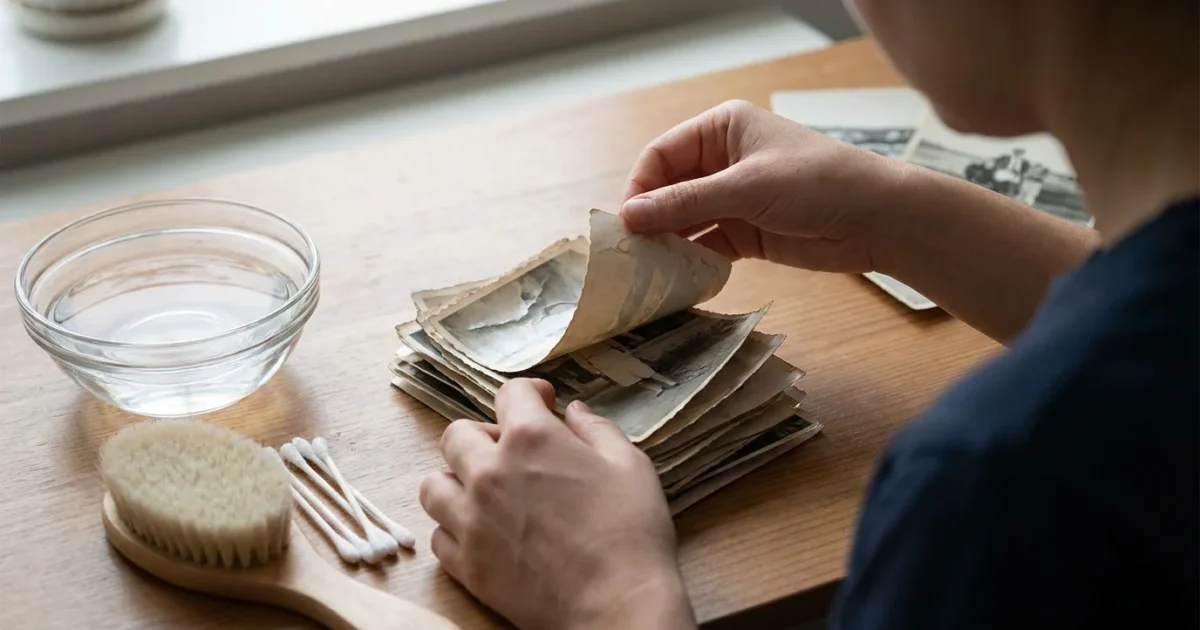
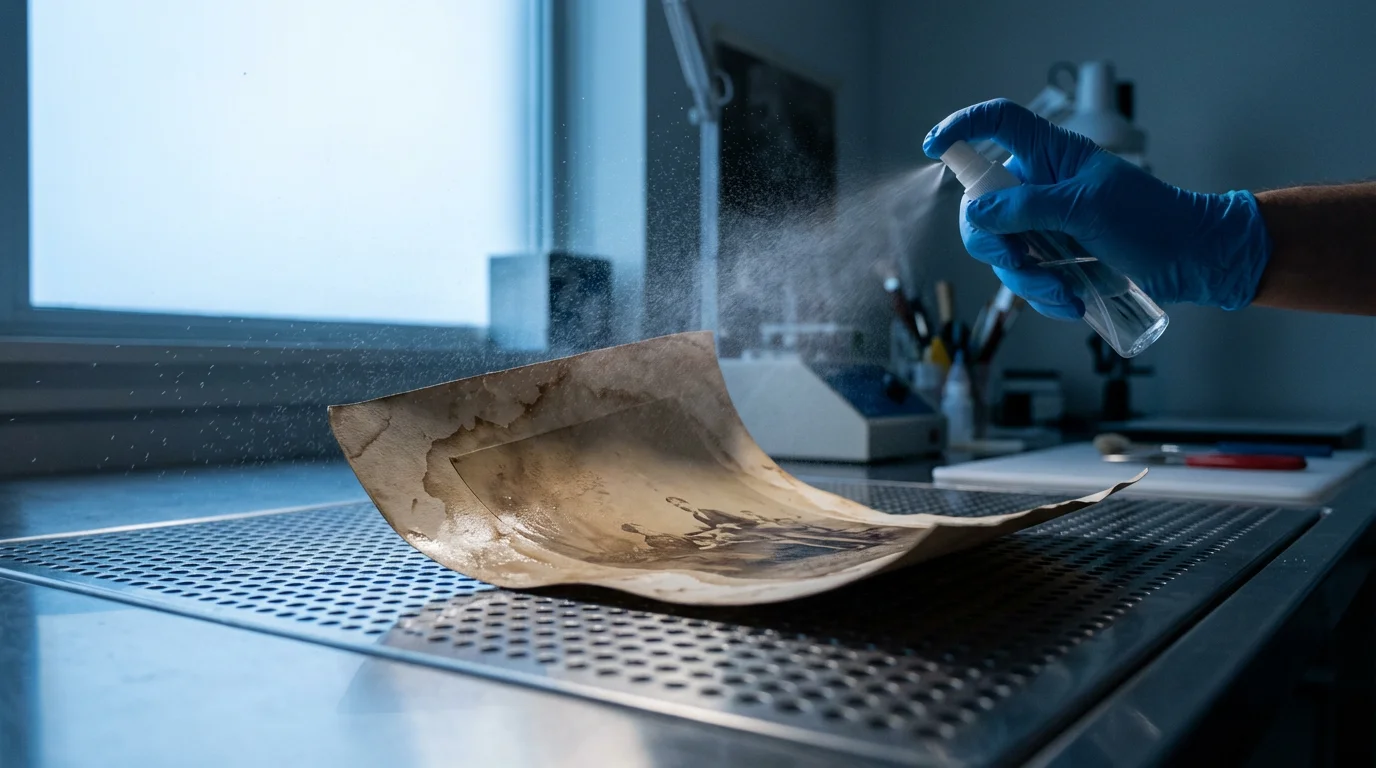
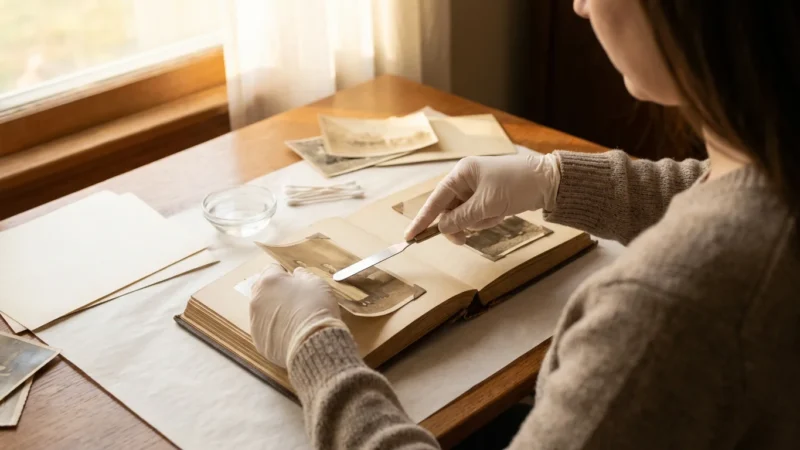
Gentle Cleaning and Separation Techniques
This stage focuses on carefully removing contaminants and separating photos that have adhered to each other. Handle every item with utmost care.
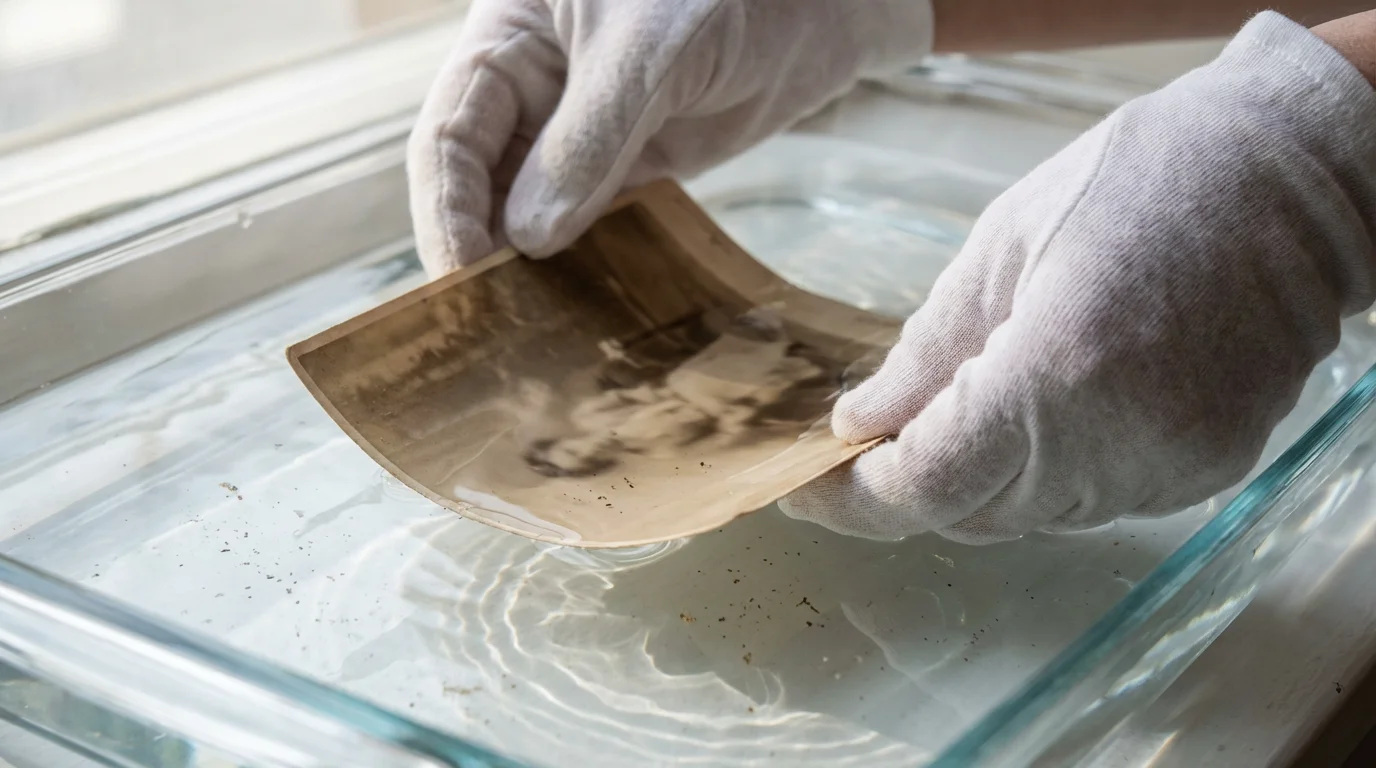
Rinsing Off Dirt and Debris
Carefully rinse each individual photo under a gentle stream of clean, cool water or immerse it in a tray of clean water. Agitate the water very gently to loosen mud, dirt, or foreign particles. Do not rub the surface of the print, as this can easily scratch the emulsion and permanently damage the image. Change the rinse water frequently to prevent re-depositing contaminants. For negatives and slides, a similar gentle rinse is appropriate; hold them by their edges.
Separating Stuck Photos
Water-damaged photos often stick together, sometimes forming solid blocks. Attempting to peel them apart forcefully will almost certainly tear the emulsion and destroy the image. Patience is crucial here.
- Soak Gently: For blocks of stuck photos, immerse them in a tray of clean, cool water for 20-30 minutes. This re-hydrates the emulsion, making it more pliable.
- Gentle Agitation: Very gently rock the tray or gently fan the water to encourage separation. Sometimes, layers will begin to loosen naturally.
- Edge Separation: If photos remain stuck, try to gently lift an edge or corner using a soft, rounded tool, like a plastic spatula or your fingernail (if clean and trimmed), but only if you feel no resistance.
- Never Force: If photos resist separation, continue soaking for longer periods, changing the water, or try freezing them to stabilize their condition before attempting separation again once thawed.
Some photos, especially those from old albums with adhesive, may prove impossible to separate without specialized conservation techniques. Accept that some losses may occur despite your best efforts. Your priority is saving what you can.
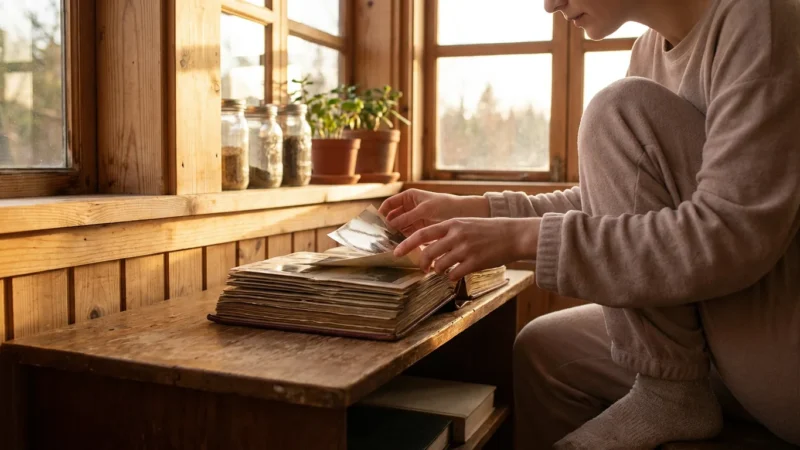
The Drying Process: Air Drying vs. Freezing
Once cleaned and separated, photos must dry properly to prevent further damage. The method you choose depends on the volume of photos and the time you have.
Air Drying Individual Prints
Air drying is the preferred method for most water damaged photos you can process immediately. It allows for controlled evaporation and minimizes the risk of mold.
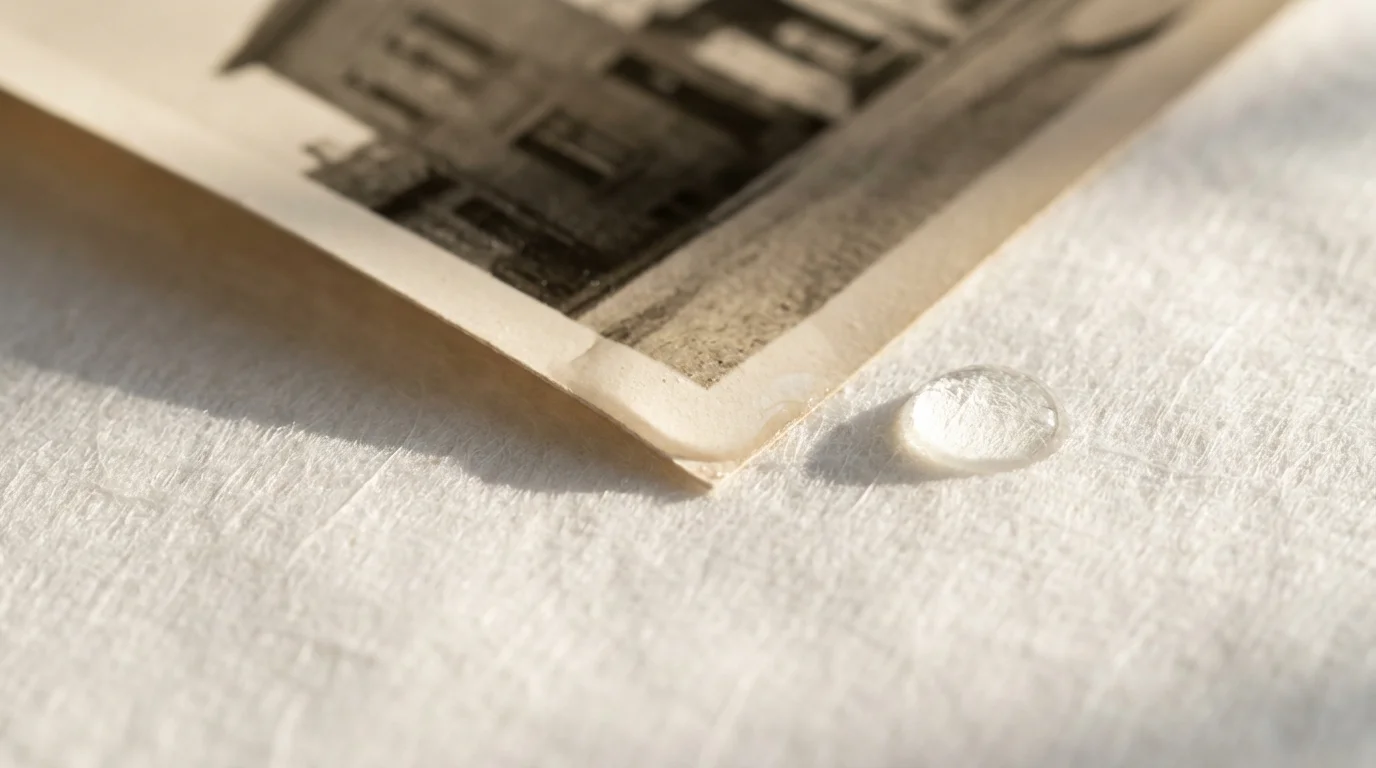
- Blot Excess Water: Gently place each rinsed photo face-up on a clean, lint-free paper towel to absorb excess surface water. Do not rub. Replace blotting material as it becomes saturated.
- Lay Flat or Hang:
- Flat Drying: Arrange photos face-up on clean, non-stick surfaces such as freezer paper (wax side up), silicone baking mats, or plastic mesh drying racks. Ensure good air circulation around each photo.
- Hanging Drying: For individual prints, you can use plastic clothespins to hang them from a clean clothesline. Hang them by a corner to minimize stress on the print surface. Ensure they do not touch each other.
- Ensure Air Circulation: Dry photos in a cool, well-ventilated area, away from direct sunlight or heat sources. Use fans to circulate air, but do not aim them directly at the photos. Maintain low humidity, ideally below 50%.
- Monitor Drying: Periodically check photos. If prints curl excessively, you can place a clean, flat object like a book on top once they are almost dry to help flatten them, but avoid doing so when they are still significantly damp.
Freezing for Bulk or Delay
If you have hundreds or thousands of water damaged photos, or if you cannot immediately dedicate time to air drying, freezing is an excellent option. It halts deterioration and mold growth, buying you valuable time.
- Prepare for Freezing: After a gentle rinse, lightly blot each photo to remove surface water. Place non-coated freezer paper or wax paper between individual photos or small stacks to prevent them from sticking together in the freezer.
- Package Safely: Stack photos (with interleaving paper) in small, manageable bundles. Place these bundles into airtight freezer bags or plastic containers. Remove as much air as possible from bags.
- Freeze Solid: Place the packaged photos in a deep freeze. Freezing them quickly helps prevent large ice crystal formation, which can damage emulsions.
- Thawing and Drying: When you are ready to process them, remove a small batch from the freezer. Allow them to thaw slowly at room temperature before proceeding with air drying as described above. They may still be stuck together after thawing, requiring the gentle soaking and separation steps.
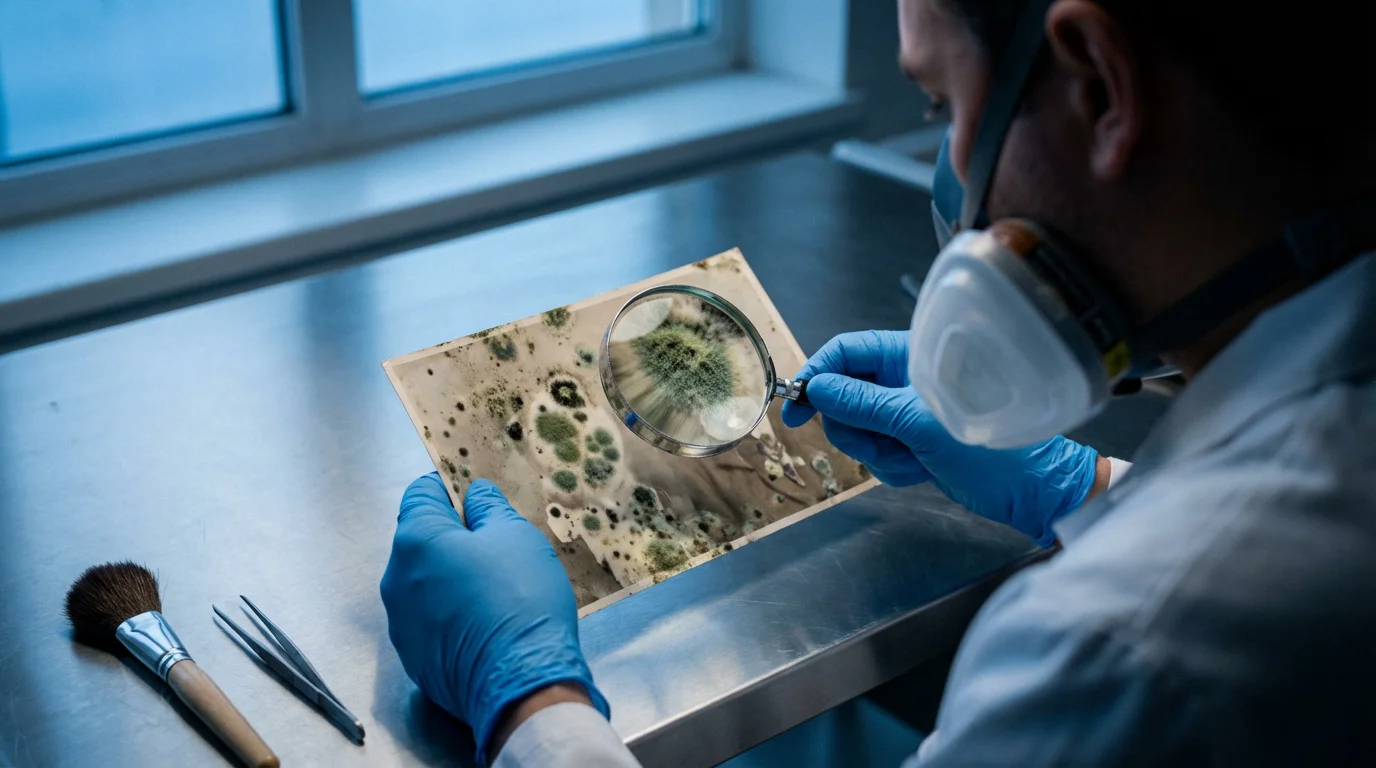
Dealing with Mold and Mildew
Mold is a common and serious consequence of water damage, especially if photos remain wet for more than 48 hours. Mold can cause permanent staining, weaken the paper support, and pose health risks. Approach mold-affected items with extreme caution.
Once your items are dry, you can often mitigate the appearance of stains or spots by using photo editing software on your digital copies.
Identifying Mold
Mold often appears as fuzzy, discolored spots (green, black, white, gray, or brown) on the surface of photographs. It can also have a distinct musty odor. Do not confuse mold with dirt; mold will often grow in distinct patterns.
Safety Precautions for Mold
Never handle moldy items without proper personal protective equipment. Work in a well-ventilated area, ideally outdoors. Wear an N95 respirator mask to avoid inhaling mold spores, rubber gloves, and eye protection. Isolate moldy items from clean ones to prevent cross-contamination.
Mold Removal: A Delicate Balance
For minor, surface mold on dried photographs:
- Ensure Photos are Dry: Mold removal is only effective on dry items. If photos are wet and moldy, freeze them first.
- Gentle Brushing: In a well-ventilated area, gently brush off surface mold with a very soft, clean brush (like a camel hair brush or a dedicated soft paintbrush). Do this over a disposable surface or outdoors so spores do not spread indoors. Collect and dispose of the moldy debris immediately.
- Avoid Liquids: Do not use water, bleach, or any chemical cleaners on moldy photographs. Liquids can spread mold deeper into the fibers and cause further damage or staining.
For extensive mold growth, particularly if it has penetrated the emulsion or caused significant staining, professional intervention is often the only safe and effective solution. Mold can be tenacious and complex to remove without damaging the image. A professional conservator has the specialized tools and knowledge to safely mitigate mold.
Digitization: Preserving the Restored Image
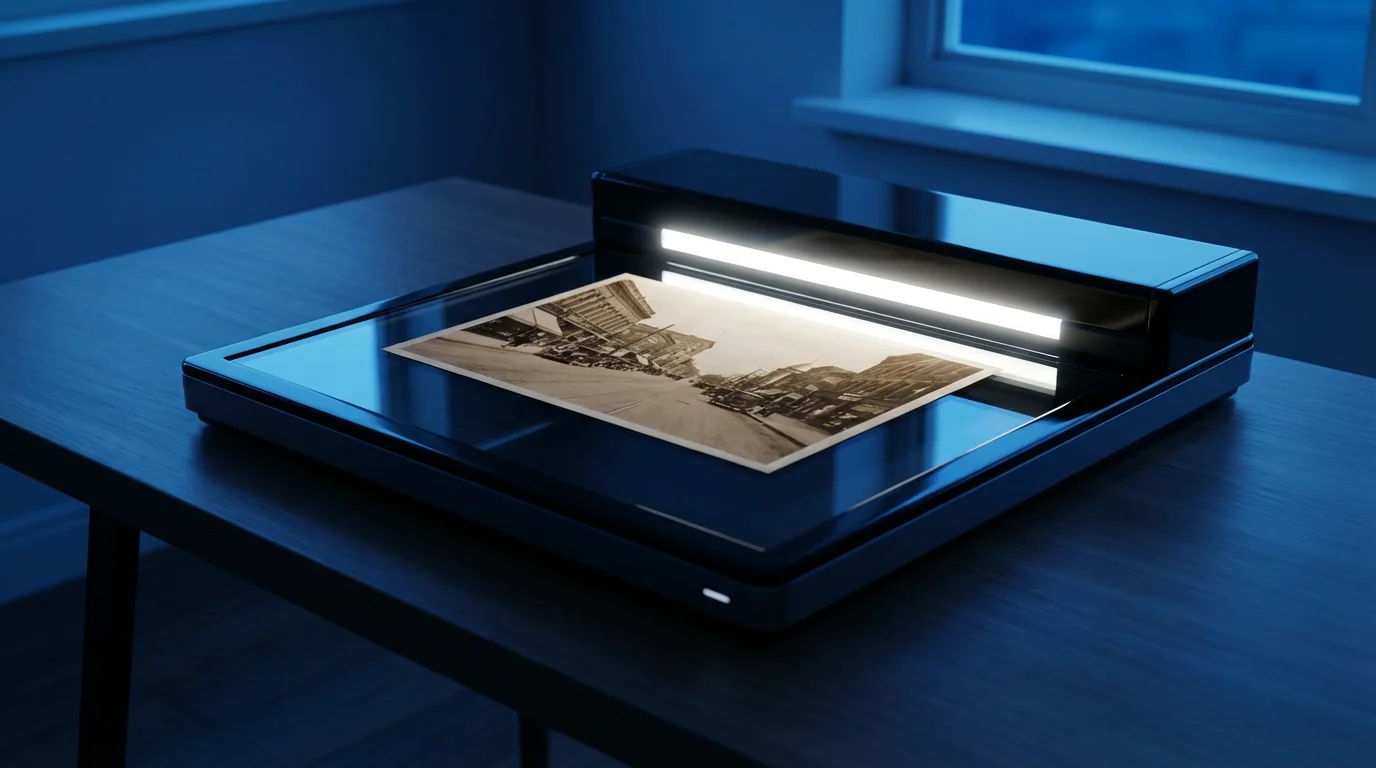
Even after successful physical restoration, water damage leaves prints vulnerable. Digitizing your restored photos provides an invaluable layer of protection, creating a permanent backup and offering opportunities for digital enhancement.
To protect your salvaged memories from future physical damage, follow a professional workflow to scan your old photos at high resolution.
Once you have a digital copy, you can use AI photo restoration tools to remove any remaining water spots or emulsion cracks that physical cleaning couldn’t fix.
High-Resolution Scanning
Invest in a good quality flatbed scanner, or use a professional scanning service. Scan your restored photographs at a high resolution, ideally 600 dots per inch (dpi) or higher for standard prints, and even higher for negatives or slides (e.g., 2400-4800 dpi). High resolution captures maximum detail, crucial for potential future digital restoration efforts. Save images in uncompressed formats like TIFF or DNG to preserve all captured data, then create JPEG copies for everyday sharing.
Digital Restoration Software
Once digitized, you can use photo editing software (such as Adobe Photoshop or free alternatives like GIMP) to address any remaining imperfections. This includes:
- Color Correction: Adjusting faded or discolored areas.
- Spot Removal: Carefully cloning out small spots or minor mold stains.
- Contrast and Brightness: Enhancing image clarity.
- Sharpening: Improving perceived detail.
Digital restoration tools allow you to meticulously refine the image without further physical alteration to the original print. This digital copy becomes your “new” master for sharing and viewing.
Archival Digital Storage
Your digital files are only as safe as their storage. Implement a robust backup strategy, often referred to as the “3-2-1 rule”: three copies of your data, on two different types of media, with one copy offsite. This might include external hard drives, cloud storage, and network-attached storage (NAS) devices. Regularly check your digital files for integrity and migrate them to new formats or media as technology evolves, ensuring your digital memories remain accessible for generations.
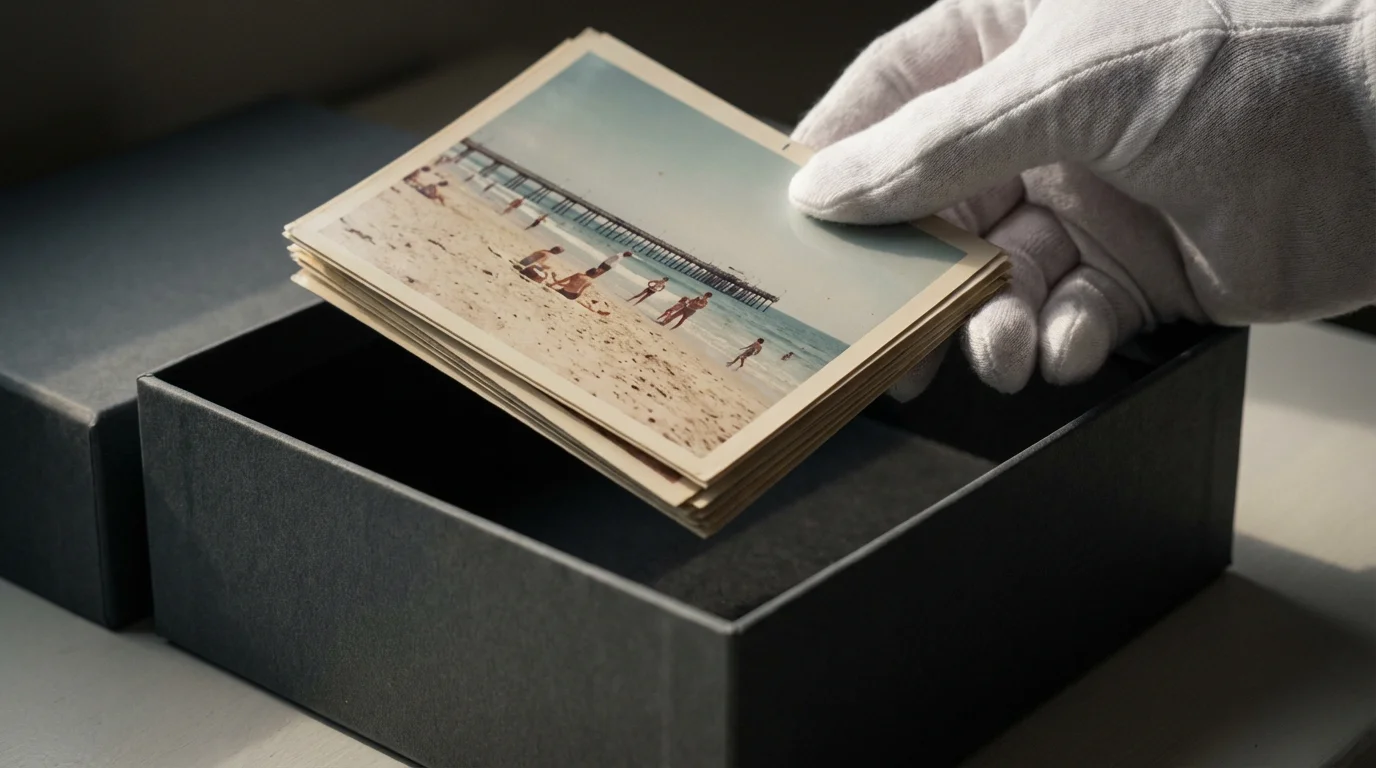
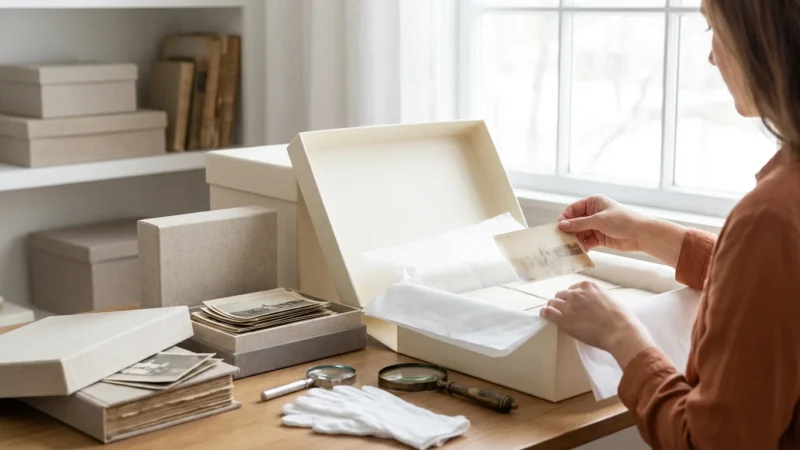
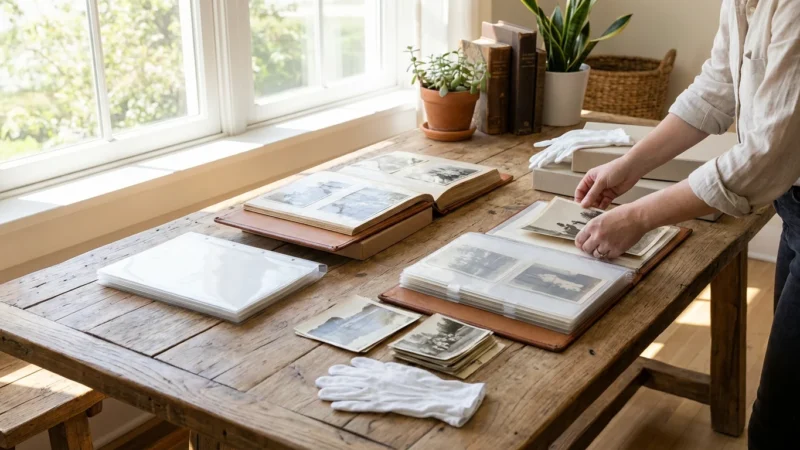
Long-Term Preservation and Storage
After going through the effort of rescuing your water damaged photos, protecting them from future harm is paramount. Proper archival storage ensures their stability for decades to come.
To prevent similar disasters in the future, you may want to consider using a fireproof safe to protect your most valuable originals from both fire and water.
Archival Materials are Key
Store your restored photographs in acid-free, lignin-free, and PVC-free archival materials. These materials will not degrade and off-gas harmful chemicals that can damage your photos over time.
- Sleeves: Use individual polyester, polypropylene, or polyethylene sleeves for each print or negative. These provide physical protection and prevent damage from handling.
- Boxes: Store sleeved photos in acid-free archival boxes. These boxes protect against light, dust, and environmental fluctuations.
- Albums: If you use albums, choose those specifically labeled “archival safe” with polypropylene or polyester pages, not sticky magnetic pages, which cause irreversible damage.
You can find more detailed information on archival practices and materials from institutions dedicated to preservation. The Library of Congress Preservation pages offer excellent resources on caring for photographic collections.
Environmental Control
The environment where you store your photos significantly impacts their longevity. Maintain a stable, cool, and relatively dry environment:
- Temperature: Aim for temperatures below 70°F (21°C). Cooler temperatures slow down chemical degradation processes.
- Humidity: Keep relative humidity between 30% and 50%. High humidity encourages mold growth and accelerates chemical deterioration, while excessively low humidity can make materials brittle.
- Light: Store photos in dark conditions. Light, especially UV light, causes fading and discoloration. If displaying photos, use UV-filtering glass and display copies, not originals.
- Air Quality: Protect photos from pollutants like smoke, fumes, and dust. Archival boxes help create a microclimate that shields items from these airborne threats.
Avoid storing photographs in attics, basements, or garages, where temperature and humidity fluctuate wildly, creating prime conditions for damage.
When to Call a Professional Conservator
While this guide empowers you with actionable steps, some situations demand the expertise of a professional photograph conservator. Knowing when to seek help protects your irreplaceable heirlooms.
Before making a final decision on your most precious heirlooms, research professional photo restoration services to understand the potential costs and restoration outcomes.
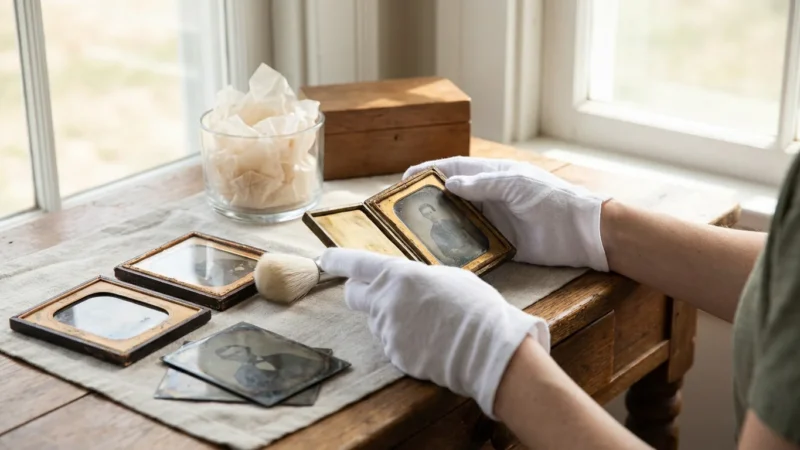
Irreplaceable or Historically Significant Photos
If the photographs hold immense sentimental, historical, or monetary value, and especially if they are unique, consider professional consultation. Conservators possess specialized knowledge of photographic processes, materials, and complex restoration techniques that are not feasible or safe for home application.
Extensive or Complex Damage
Professional conservators are best equipped to handle:
- Severe Adhesion: When photos are densely stuck together and resist gentle separation.
- Extensive Mold: If mold has deeply permeated the emulsion or caused significant staining.
- Fragile Formats: Daguerreotypes, ambrotypes, tintypes, glass plate negatives, or delicate albumen prints require specific handling and often unique chemical treatments.
- Chemical Damage: If photos were exposed to chemicals other than water.
These experts can perform advanced treatments like chemical baths, localized solvent application, and precise surface cleaning under magnification. They use reversible methods and archival materials that ensure the long-term stability of the restored image. You can locate accredited professionals through organizations like the American Institute for Conservation of Historic and Artistic Works (AIC).
Cost vs. Value
Professional conservation comes with a cost. Weigh the sentimental and historical value of the photograph against the expense. For truly irreplaceable items, the investment in professional restoration often provides peace of mind and ensures the longevity of your family’s visual legacy.
Frequently Asked Questions
Are all water damaged photos savable?
No, not all water damaged photos are savable, but many are. The success of restoration largely depends on the type of photographic material, the extent and duration of water exposure, and how quickly and carefully you intervene. Modern color prints and those from albums with adhesive backing are often more challenging to restore than older black-and-white prints.
Can I use a hairdryer or direct heat to dry water damaged photos faster?
No, avoid using hairdryers, direct sunlight, or any direct heat source to dry water damaged photos. Rapid drying can cause prints to curl excessively, stick together permanently, or damage the emulsion through cracking or blistering. Air drying in a cool, well-ventilated area with good air circulation is the safest method.
What if my water damaged photos are already dry and stuck together?
If your water damaged photos have dried while stuck together, re-wetting them in a tray of clean, cool water is often the best approach to attempt separation. Soak them gently for an extended period, changing the water regularly. Avoid forcing them apart, as this will likely tear the emulsion. Freezing can also stabilize them before re-wetting.
How do I prevent future water damage to my photo collection?
Store your photo collection in acid-free archival boxes in a stable environment with controlled temperature and humidity, away from basements, attics, and exterior walls. Use archival sleeves for individual prints. Consider digitizing your entire collection to create digital backups, ensuring your memories are safe from physical damage.
Should I throw away moldy photographs?
Do not immediately throw away moldy photographs, as many can be salvaged. If the mold is minor and surface-level, you can often gently brush it off once the photo is completely dry, using appropriate safety precautions. For extensive mold, consult a professional conservator. However, if the mold has completely destroyed the image or poses significant health risks you cannot mitigate, then disposal might be a last resort.
Disclaimer: This article is for informational purposes only. When handling valuable or irreplaceable photographs, consider consulting a professional conservator. Always test preservation methods on non-valuable items first.


Leave a Reply