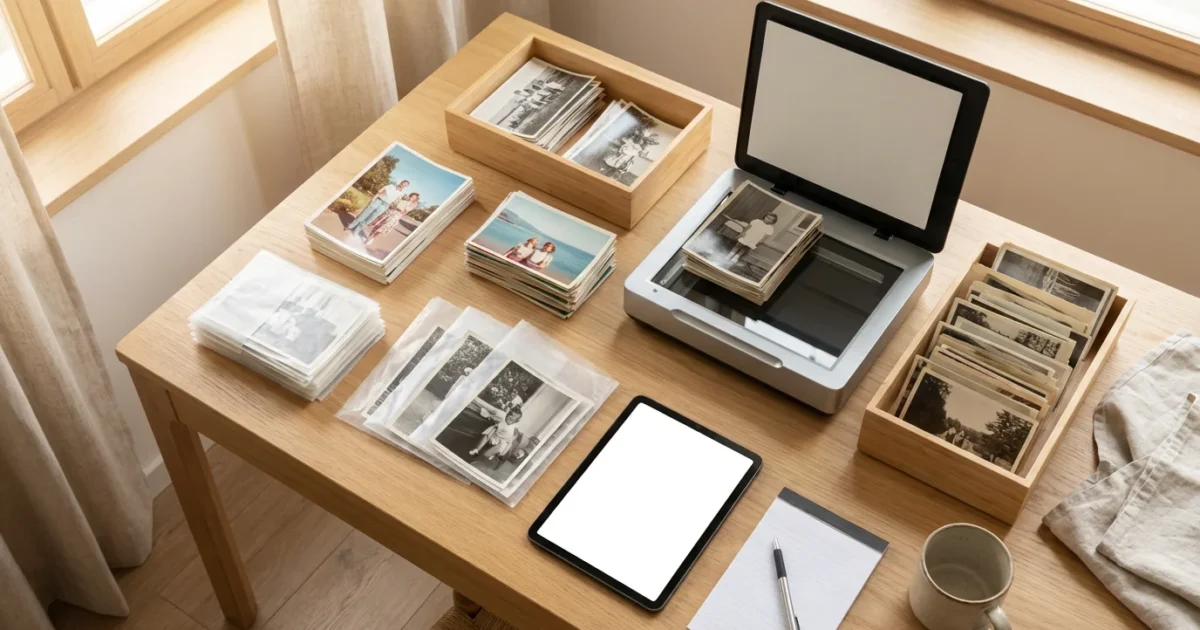
You have a treasure trove of family memories, perhaps boxes overflowing with vintage prints or albums spanning generations. Digitizing these large photo collections safeguards them for the future, but the task often feels overwhelming. Scanning hundreds, even thousands, of photographs individually consumes significant time. This guide simplifies the process, equipping you with the strategies for efficient scanning through effective batch digitization. You will learn how to approach bulk digitization intelligently, making the preservation of your photographic heritage manageable and rewarding.
While dedicated equipment is best for high volume, you might consider scanning photos with your smartphone for small, quick captures or one-off memories.

Why Batch Scan Your Photo Collection?
Digitizing your entire physical photo collection offers immense benefits. You protect your memories from physical degradation, fire, flood, or accidental loss. Digital copies allow for easy sharing with family members across distances, facilitate restoration of damaged prints, and open doors for creative projects like photo books or slideshows. However, the sheer volume of images often deters people. Batch scanning provides the solution, allowing you to digitize large quantities of photos much faster than scanning each print individually.
Consider the time investment. Scanning a single 4×6 print on a flatbed scanner might take 30 seconds to a minute, including placement and removal. Multiply that by 1,000 photos, and you face 8-16 hours of active scanning time, not including setup or organization. Batch scanning significantly reduces this duration, often cutting it by half or more, by processing multiple images in one go or using automated feeders. This efficiency makes digitizing even the largest family archives a realistic goal.
Understanding Your Photo Collection: Assessment and Preparation
Before you even power on a scanner, understand the scope and nature of your collection. This initial assessment streamlines your entire batch scanning project.
For those specifically working with transparencies, follow these specialized techniques for scanning slides to ensure the highest fidelity.
Categorize Your Photos
Begin by roughly categorizing your photos. Are they mostly standard prints, delicate historical documents, or a mix of sizes and formats? This categorization informs your choice of scanning equipment and preparation strategy. Create broad categories such as:
- Standard 4×6 or 5×7 prints (glossy or matte)
- Larger prints (8×10 or custom sizes)
- Small, delicate, or uniquely sized prints (e.g., wallet photos, irregular shapes)
- Photos with sticky residue, tears, or creases
- Album pages (mounted or loose)
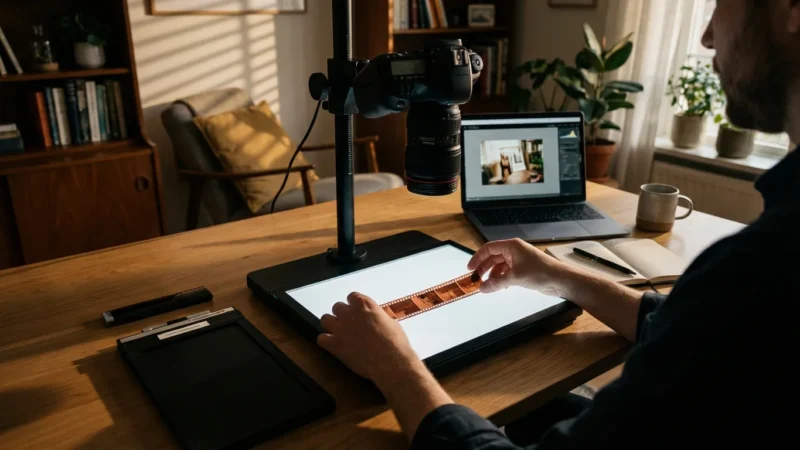
- Negatives or slides (if you plan to include these in your batch digitization project)
Estimate the Volume
Count or estimate the number of photos in each category. You do not need an exact count, but knowing if you have hundreds or thousands helps determine the necessary equipment and timeline. For example, a shoebox typically holds 100-200 standard prints.
Initial Cleaning and Handling
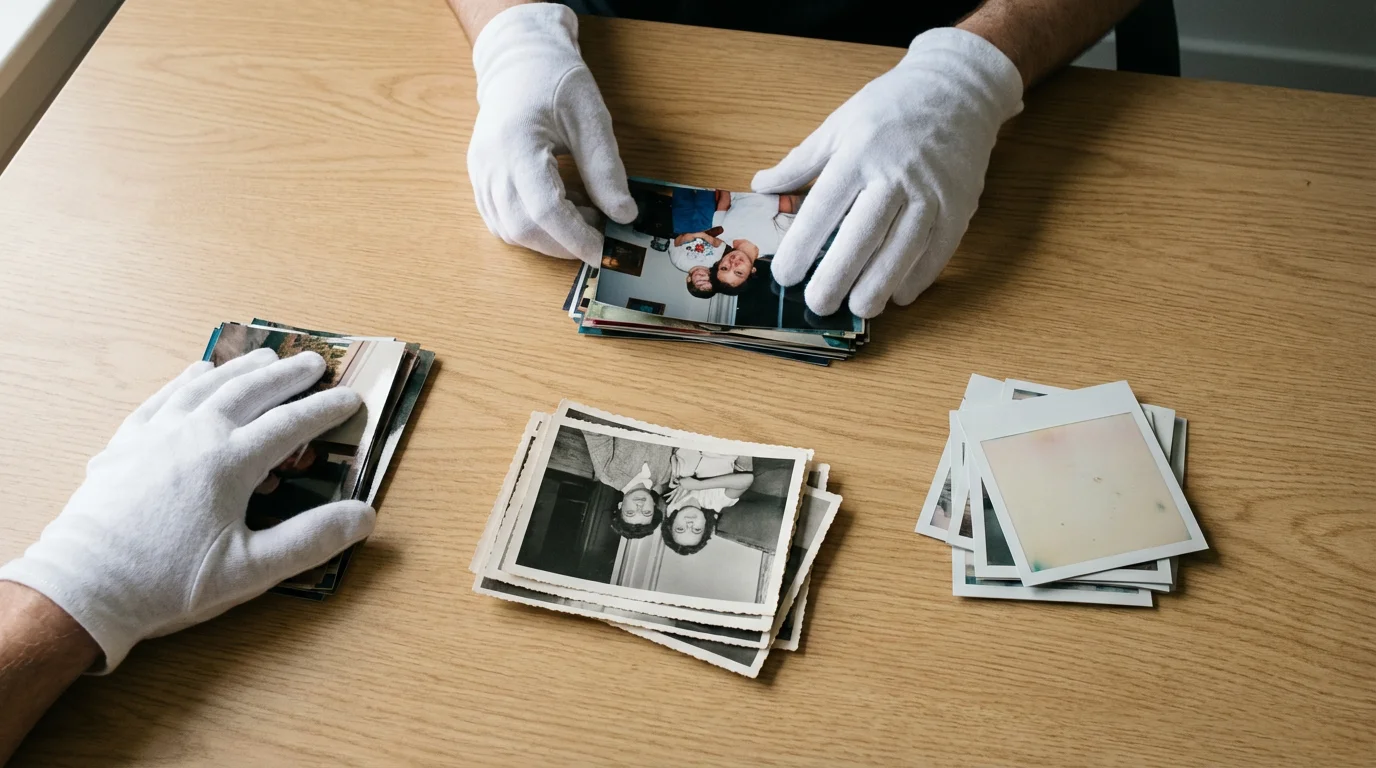
Handle old photos with care. Oils from your skin can leave fingerprints, potentially degrading the image over time. Use cotton gloves to prevent this. Lightly clean each photo with a soft, dry microfiber cloth or a photographic brush to remove dust, lint, and loose debris. Avoid harsh chemicals or water, which can damage delicate emulsions. For deeply embedded dirt, consider consulting a professional conservator. The Library of Congress Preservation website offers comprehensive advice on handling historical photographs.
Preservation experts emphasize gentle handling for all photographic materials. “Always wear clean cotton gloves when handling photographic prints, negatives, or slides to prevent transferring natural oils and dirt from your hands to the emulsion,” advises a conservator. This simple step significantly reduces damage and the need for post-scan touch-ups.
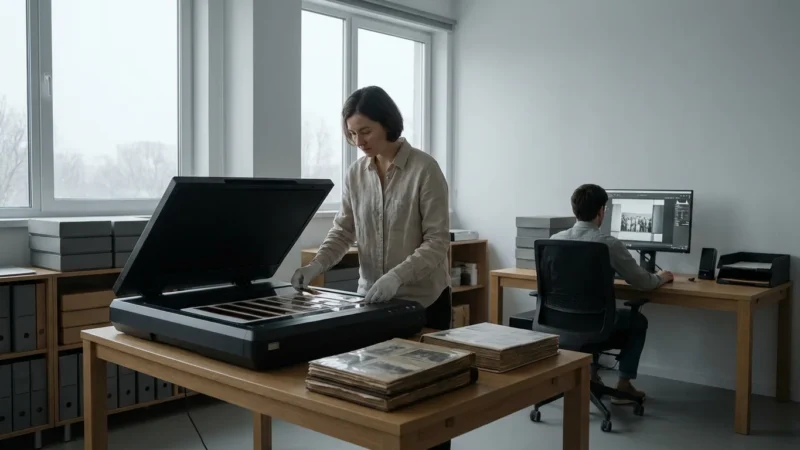
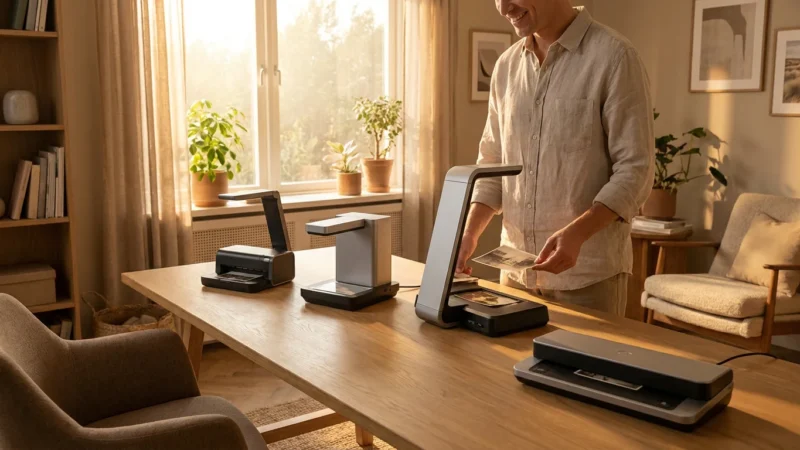
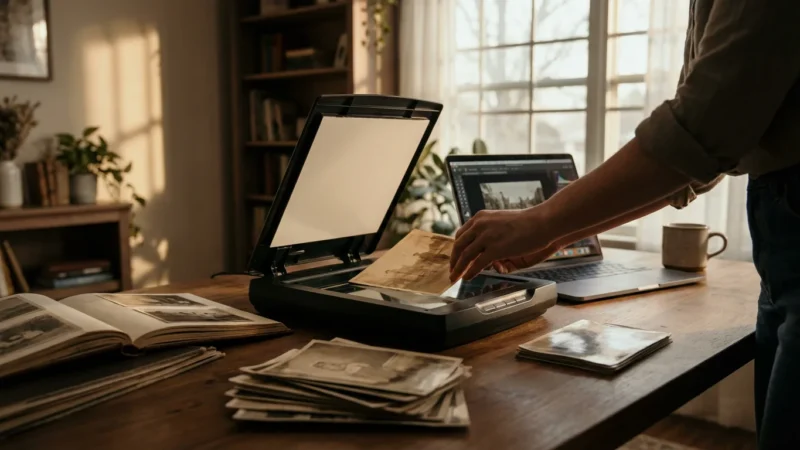
Choosing the Right Scanner for Efficient Bulk Digitization
Selecting the appropriate scanner is critical for successful bulk digitization. Different scanner types offer varying levels of speed, quality, and versatility, each with specific advantages for batch scanning large collections.
Flatbed Scanners with Transparency Adapters (TAs)
- Pros: Excellent image quality for prints, negatives, and slides. Versatile for odd-sized or delicate items. Often a good all-rounder for varied collections. You place multiple items on the glass, then scan a “batch” of images.
- Cons: Slower for very large collections, as you manually place each batch.
- Best for: Mixed collections, fragile photos, negatives, and slides where maximum quality is a priority.
Dedicated Photo Scanners (Sheet-fed)
- Pros: Extremely fast for standard-sized prints (e.g., 4×6, 5×7). Many models can scan hundreds of photos in minutes using an automatic document feeder (ADF) specifically designed for photos. They often include software for basic color correction and dust removal.
- Cons: Not suitable for fragile, oddly shaped, or mounted photos. Risk of damaging delicate prints in the feeder. Quality may be slightly less than a high-end flatbed for some applications.
- Best for: Large collections of standard-sized, undamaged prints.
All-in-One Printer/Scanners
- Pros: Convenient if you already own one.
- Cons: Generally slower scan speeds and lower optical resolution than dedicated scanners. Batch scanning capabilities are minimal, often limited to flatbed scanning.
- Best for: Very small collections or as a last resort if other options are unavailable.
Professional Scanning Services
- Pros: Highest quality, fastest turnaround for very large collections, handles all types of media. No equipment purchase necessary.
- Cons: Can be expensive, especially for large volumes. You temporarily entrust your original photos to a third party.
- Best for: Extremely valuable, fragile, or very large collections where budget allows and professional handling is preferred.
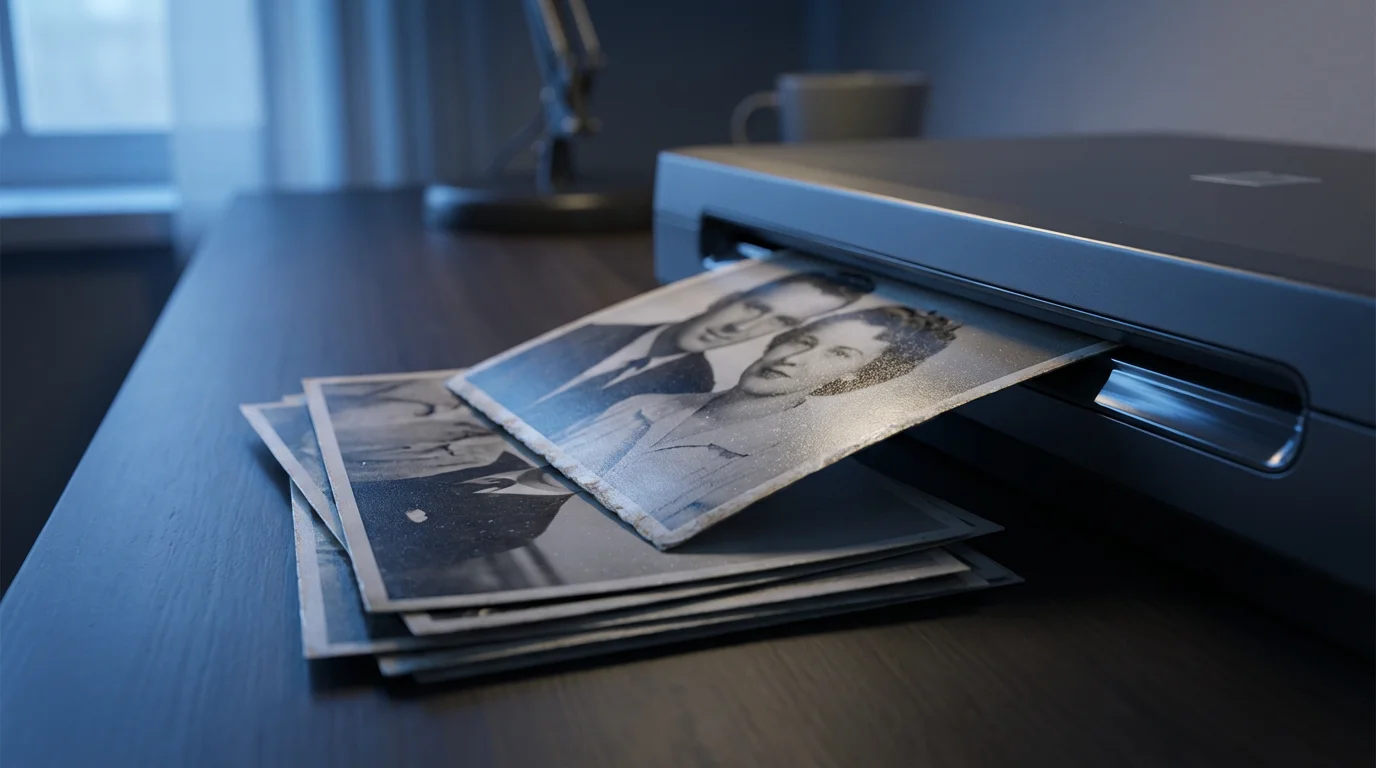
Preparing Your Photos for Batch Scanning
Thorough preparation ensures a smoother scanning process and higher quality digital images. This step is crucial for efficient scanning, preventing jams, and preserving your original prints.
Physical Cleaning and Repair
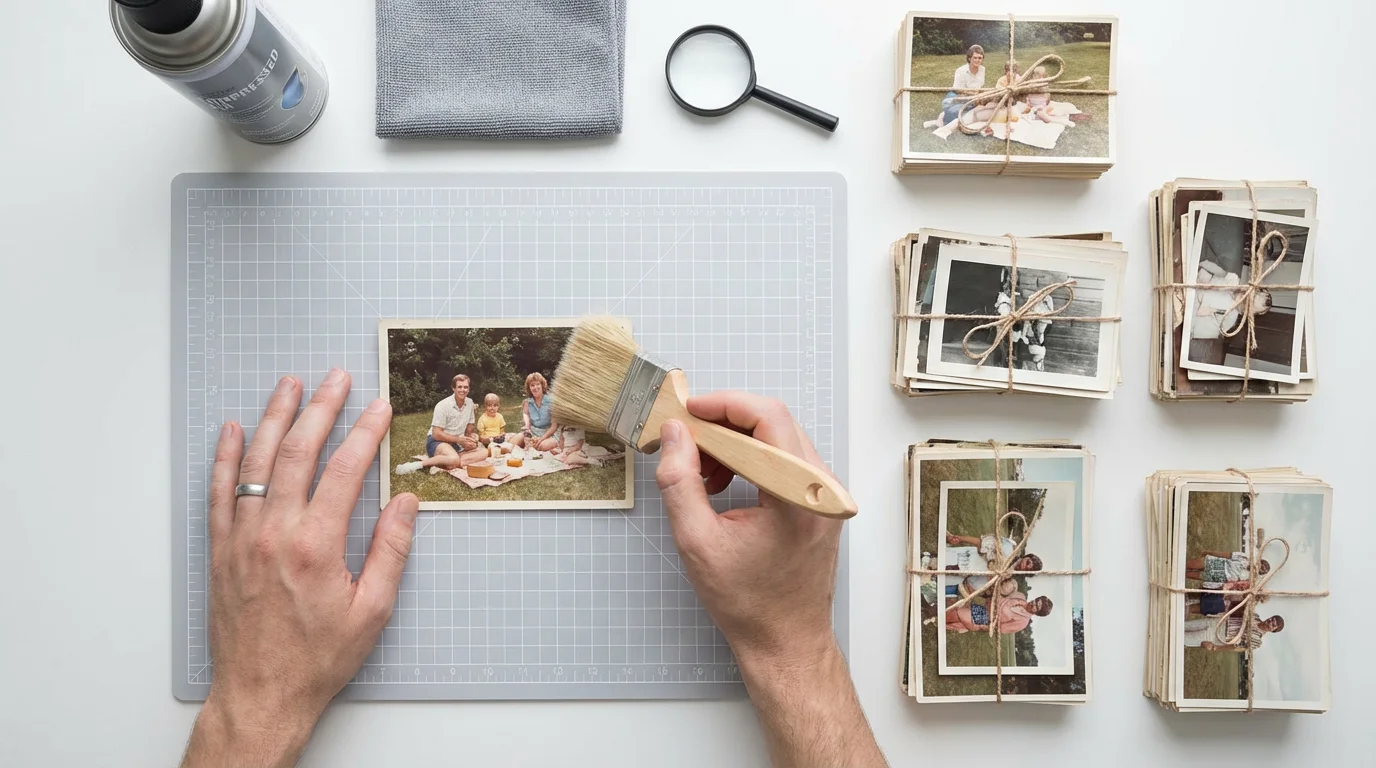
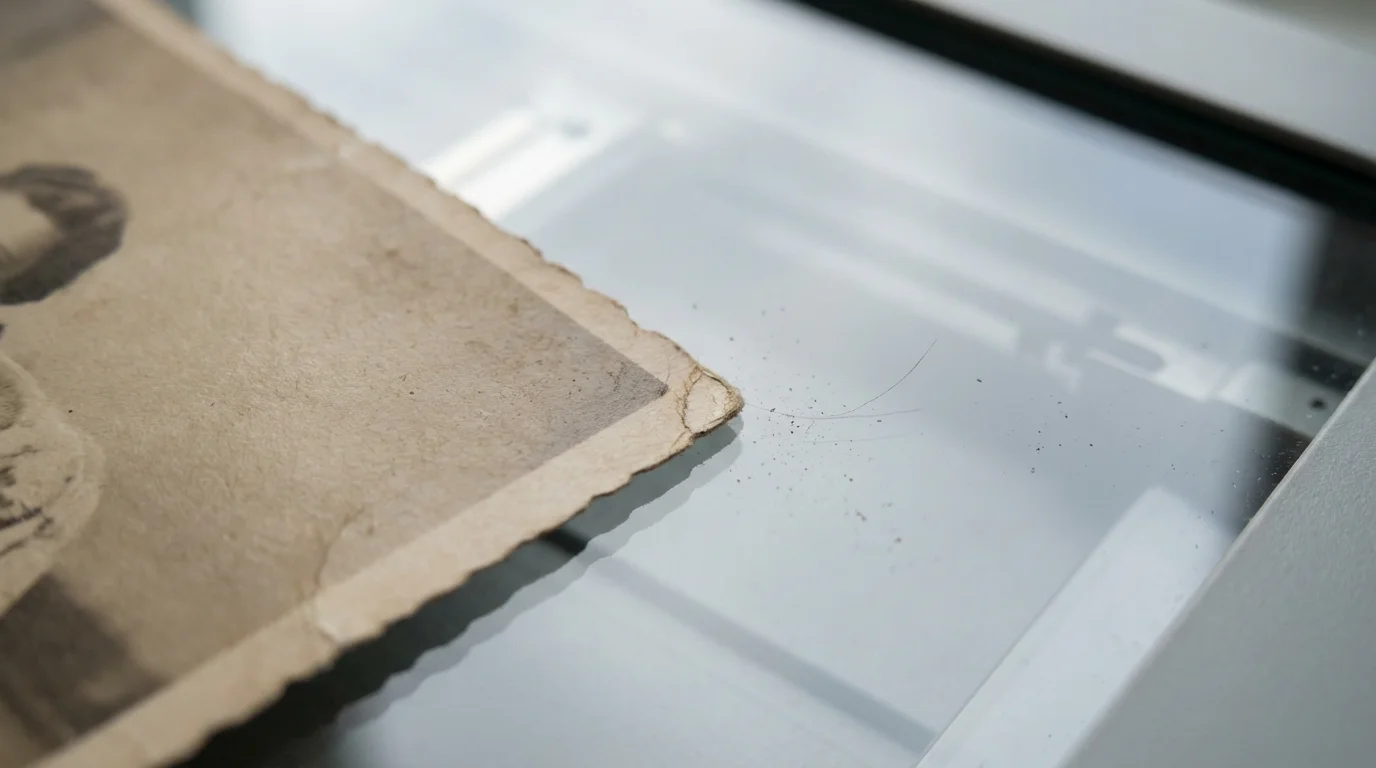
- Dust Removal: Use compressed air (holding the can upright to prevent propellant discharge) or a soft, anti-static brush to remove surface dust. Dust particles show up prominently on scans.
- Fingerprints: Gently wipe photos with a clean, dry microfiber cloth, avoiding excessive pressure.
- Minor Repairs: For small tears, use archival-quality, reversible document repair tape on the back of the photo. Avoid standard office tape, which can degrade and damage the photo over time. Do not attempt major repairs yourself; consult a professional conservator for significant damage.
Sorting and Grouping
Organize photos into manageable batches based on criteria such as:
- Size: Group photos of similar dimensions. This minimizes scanner adjustments.
- Condition: Separate fragile or damaged photos from sturdy ones. Fragile items require a flatbed scanner.
- Orientation: Group landscape-oriented photos together, then portrait-oriented ones. This reduces post-scan rotation.
- Chronology or Event: If known, grouping by date or event (e.g., “Grandma’s 80th Birthday,” “Summer Vacation 1985”) makes post-scan organization easier.
Keep smaller batches (e.g., 20-50 photos) to maintain focus and manage potential issues. You can use acid-free archival sleeves or envelopes to keep these sorted groups together before scanning.
Removing Obstructions
Remove photos from albums if possible without damage. Staples, paper clips, or adhesive can jam sheet-fed scanners and damage prints. If photos are glued into an album and removal risks damage, flatbed scanning the entire album page is often the safest option.
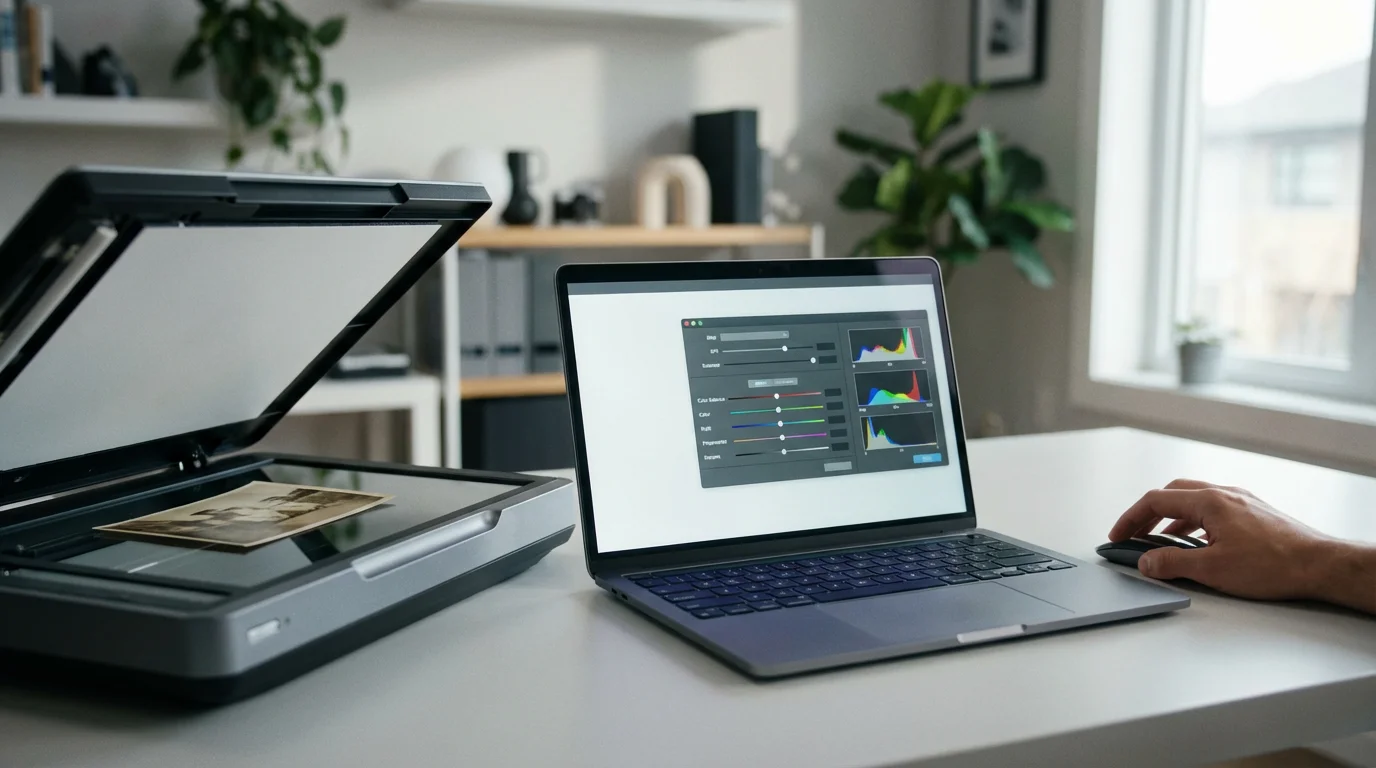
Optimizing Scanner Settings for Quality and Speed
Scanner settings directly impact the quality of your digital images and the efficiency of your batch scanning efforts. Balance quality with manageable file sizes and scanning speed.
Resolution (DPI)
DPI (dots per inch) determines the detail captured. Higher DPI means larger files and longer scan times.
- Standard prints (4×6, 5×7): Scan at 300-600 DPI. 300 DPI suffices for viewing and sharing online; 600 DPI allows for quality prints and moderate cropping without pixelation. For very small photos you wish to enlarge significantly, consider 1200 DPI.
- Negatives and Slides: These require higher DPI, typically 2400-4800 DPI, because the original image area is much smaller.
Color Depth
Scan in 24-bit color (millions of colors) for most photographs. This provides rich, accurate colors without creating excessively large files. 48-bit color captures more tonal information, beneficial for professional restoration, but creates much larger files and requires specific software to edit. For bulk digitization, 24-bit is usually the practical choice.
File Format
- TIFF (Tagged Image File Format): A lossless format, meaning no image data is discarded during compression. Ideal for archival purposes and images you plan to edit. TIFF files are significantly larger.
- JPEG (Joint Photographic Experts Group): A lossy format, which discards some image data to achieve smaller file sizes. Suitable for everyday viewing, sharing, and web use. Choose a high-quality JPEG setting (e.g., 80-90%) to minimize visible compression artifacts.
For your primary archive, scanning to TIFF offers the best long-term preservation. You can then create high-quality JPEG copies for sharing and general use.
Scanner Software Features
Many scanners include software with features that assist batch scanning:
- Automatic Document Feeder (ADF) Options: If using a sheet-fed scanner, configure settings for multi-photo detection and automatic cropping.
- Deskewing and Cropping: Enable automatic deskewing to straighten images and automatic cropping to trim blank borders. This saves significant post-processing time.
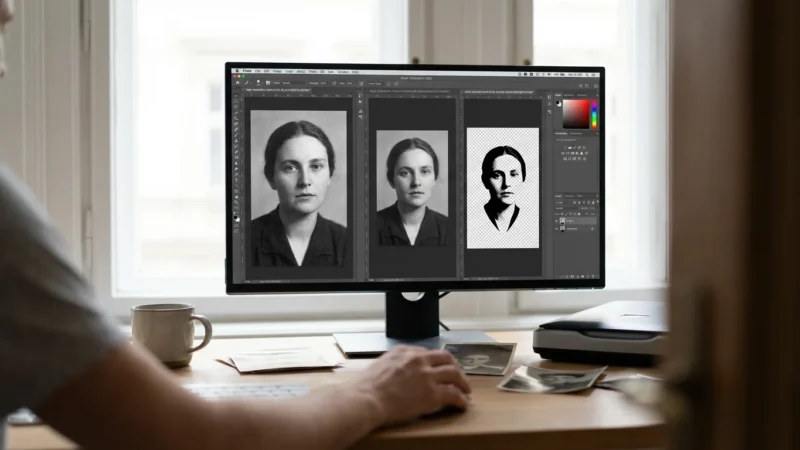
- Dust and Scratch Removal: Digital ICE or similar technologies can automatically detect and remove minor dust and scratches. While effective, it can sometimes soften image details or add to scan time. Use it selectively.
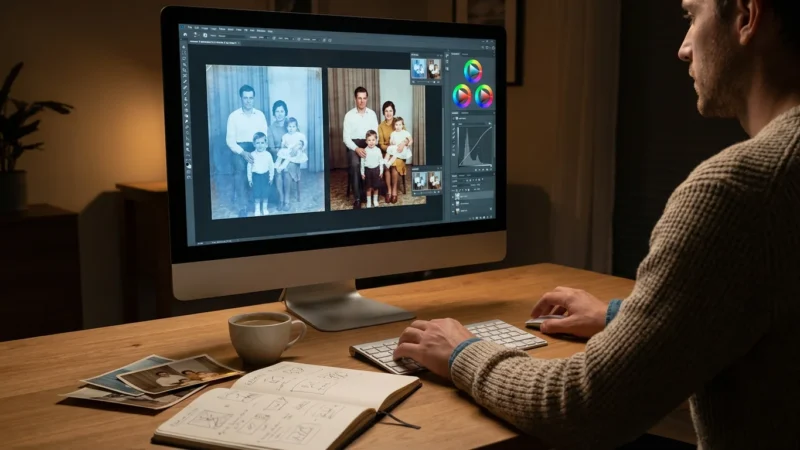
- Color Restoration/Correction: Some software offers basic color correction for faded photos. Use these features cautiously; it is often better to capture the raw image and perform corrections in dedicated photo editing software later for greater control.
The Batch Scanning Workflow: A Step-by-Step Approach
A structured workflow ensures consistency, efficiency, and accurate organization throughout your bulk digitization project.
Step 1: Set Up Your Workspace
Dedicate a clean, well-lit area free from distractions. Ensure your scanner connects properly to your computer. Have your sorted photo batches ready for quick access, along with a separate pile for scanned images to prevent re-scanning.
Step 2: Calibrate Your Scanner (Optional but Recommended)
For optimal color accuracy, especially if you have a professional-grade scanner, use a calibration target (like a color checker card) and software. This ensures your scanner produces true-to-life colors.
Step 3: Perform Test Scans
Before committing to a large batch, scan a few representative photos from each category. Experiment with DPI, color depth, and automatic correction settings. Review the test scans on your computer screen. Adjust settings until you achieve the desired balance of quality and file size. This prevents re-scanning an entire batch later.
Step 4: Execute the Batch Scan
Based on your scanner type:
- For Sheet-fed Scanners: Load your sorted stack of photos into the feeder. Ensure they are aligned correctly and not overlapping. Initiate the scan. Monitor the feeder for jams and the software for errors.
- For Flatbed Scanners: Arrange multiple photos on the scanner bed. Leave a small gap between each photo so the software can detect and crop them individually. Use the scanner software’s batch scanning mode, which typically allows you to select multiple scan areas.
Scan consistently using the optimized settings determined during your test scans. It is generally more efficient to complete all scanning for a batch before moving to extensive editing.
Step 5: Immediate Review and Basic Sorting
After each batch scan, quickly review the resulting digital images. Check for:
- Orientation: Are photos correctly oriented, or do they require rotation?
- Cropping: Did the automatic cropping work effectively? Are there unwanted borders or cut-off elements?
- Image Quality: Are scans clear and free from significant dust or streaks?
Perform basic rotations or re-scans for critical errors at this stage. Rename files with temporary identifiers if needed (e.g., “Batch1_001.tif,” “Batch1_002.tif”) to maintain order.
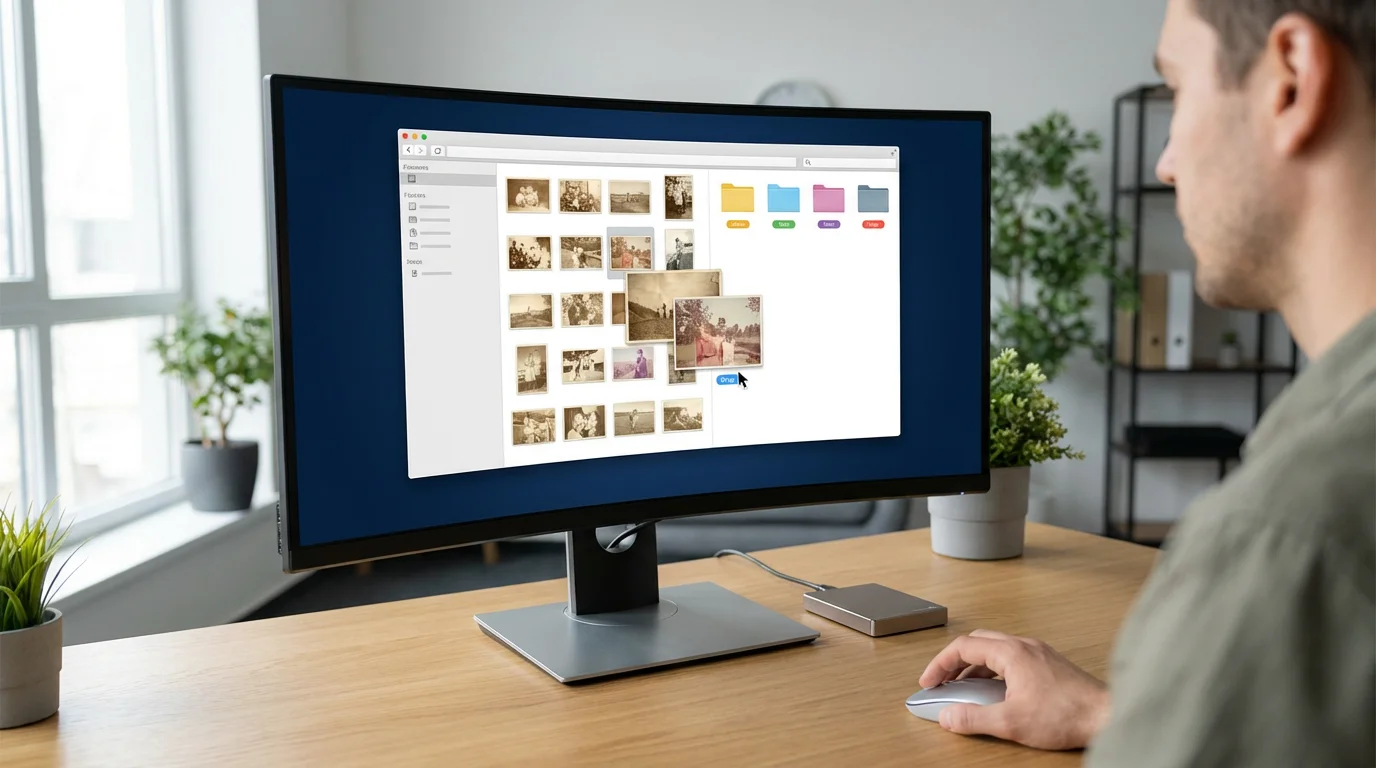
Post-Scanning: Organization, Backup, and Archiving
Digitizing your collection is only half the battle. Proper organization, robust backup, and thoughtful archiving secure your newly digitized heritage.
Developing a robust home photo archive ensures your digital files remain organized and accessible for decades to come.
Once your files are saved, you can batch edit your photos to quickly adjust brightness and contrast across the entire group.
File Naming Conventions
Establish a consistent file naming convention immediately. This is perhaps the most critical step for long-term organization. A good convention includes relevant details and allows for easy sorting. Consider formats like:
YYYY-MM-DD_Event_Description_PersonName_OriginalNumber.tif(e.g.,1985-07-04_FamilyPicnic_Grandma_001.tif)YYYY-MM_Location_Subject_SequenceNumber.tif(e.g.,1992-08_BeachTrip_KidsPlaying_012.tif)
Using leading zeros (e.g., 001 instead of 1) ensures correct numerical sorting. Utilize batch renaming tools in your operating system or photo management software to streamline this process.
Folder Structure
Create a logical folder structure on your computer. Common approaches include organizing by:
- Year:
Photos/1985/ - Year/Event:
Photos/1992/SummerVacation/ - Person:
Photos/GrandmaMary/
A combination often works best, for example: Photos/Year/Event-or-Subject/.
Metadata and Tagging
Embed descriptive information (metadata) directly into your image files using photo management software (e.g., Adobe Lightroom, digiKam, Google Photos). Metadata includes:
- Date Taken: The actual date the photo was captured.
- Keywords/Tags: Names of people, locations, events, or objects (e.g., “birthday,” “beach,” “California,” “John Smith”).
- Description: A short narrative about the photo.
This information makes your photos searchable, even if you move them or change your folder structure. Consistency in tagging is key.
The 3-2-1 Backup Strategy
Protect your digitized memories with a robust backup strategy:
- 3 Copies: Maintain at least three copies of your data.
- 2 Different Media Types: Store copies on at least two different types of storage media (e.g., internal hard drive, external hard drive, cloud storage).
- 1 Offsite Copy: Keep at least one copy in a different physical location (e.g., cloud storage, a friend’s house).
Examples of storage options include:
- External Hard Drives: Affordable, large capacity. Replace them every 3-5 years.
- Cloud Storage: Convenient, offsite, accessible from anywhere (e.g., Google Drive, Dropbox, Backblaze, Amazon Photos).
- Network Attached Storage (NAS): A personal cloud solution for home use, providing redundancy with multiple drives.
- Archival DVDs/Blu-rays: Can be good for very long-term cold storage, but media can degrade.
Regularly check your backups to ensure data integrity. Image Permanence Institute provides excellent resources on digital storage best practices for longevity.
Troubleshooting Common Batch Scanning Issues
Even with careful preparation, you may encounter issues during bulk digitization. Here are solutions to common problems:
| Issue | Possible Cause | Solution |
|---|---|---|
| Scanner Jams (Sheet-fed) | Misaligned photos, sticky residue, bent corners, too many photos in feeder. | Ensure photos are flat and aligned. Remove sticky tape or residue. Separate delicate/damaged photos for flatbed scanning. Do not overload the feeder. |
| Dust/Hair on Scans | Dirty scanner glass or photo surface. | Clean scanner glass thoroughly with a lint-free cloth and glass cleaner. Clean photos with compressed air or a microfiber cloth before scanning. |
| Color Shifts/Fading | Faded original photo, incorrect scanner color settings, uncalibrated scanner. | Scan in 24-bit color. Avoid automatic color correction during scanning. Post-process in editing software for better control. Calibrate your scanner if possible. |
| Blurred or Out-of-Focus Scans | Vibrations during scan, scanner malfunction, dirty optics. | Ensure the scanner is on a stable surface. Clean scanner optics if accessible. If the issue persists, the scanner may require service. |
| Images Cropped Incorrectly | Scanner software misdetecting individual photos. | Ensure adequate spacing between photos on the flatbed. Adjust software settings for photo detection sensitivity. Manually select cropping areas if automatic fails. |
| Slow Scan Speeds | High DPI, older computer, USB 2.0 connection, complex image processing enabled. | Reduce DPI if quality allows. Use a computer with sufficient RAM and a fast processor. Connect via USB 3.0 or higher. Disable unnecessary automatic corrections during scanning. |
Frequently Asked Questions
What is the ideal DPI for digitizing old family photos?
For standard prints (4×6, 5×7), a resolution of 300-600 DPI is ideal. 300 DPI creates files suitable for sharing and basic viewing, while 600 DPI provides enough detail for quality reprints and moderate enlargements. If you scan very small photos that you intend to significantly enlarge, consider 1200 DPI.
Should I scan photos as JPEGs or TIFFs?
For archival purposes and maximum quality, scan your original photos as TIFF files. TIFF is a lossless format, meaning it preserves all image data. You can then create high-quality JPEG copies from the TIFFs for sharing, emailing, and general use. JPEG is a lossy format that compresses data, making files smaller but sacrificing some image information.
How can I preserve the physical copies of my photos after scanning?
Store physical photos in acid-free, lignin-free archival boxes, sleeves, or albums. Keep them in a cool, dark, and dry environment with stable humidity to prevent further degradation. Avoid attics, basements, or garages. Reputable archives like the Smithsonian Archives offer detailed guidelines for long-term physical preservation.
Can I scan photos directly from an album?
You can scan photos directly from an album using a flatbed scanner if removing them risks damage. However, this often results in lower quality scans due to glare, uneven surfaces, or adhesive shadows. Ideally, remove photos carefully if possible, but if not, use a flatbed and ensure the album page lies as flat as possible against the glass. You will likely need to crop individual photos manually from the larger album page scan.
What should I do with faded or damaged photos before scanning?
Perform basic cleaning to remove dust and dirt. For minor tears, use archival-grade, reversible repair tape on the back. For severely faded photos, scan them at a higher bit depth (if your scanner supports 48-bit color) to capture as much original data as possible, then use photo editing software to restore colors digitally. For significant physical damage, consult a professional conservator before scanning.
Disclaimer: This article is for informational purposes only. When handling valuable or irreplaceable photographs, consider consulting a professional conservator. Always test preservation methods on non-valuable items first.


Leave a Reply