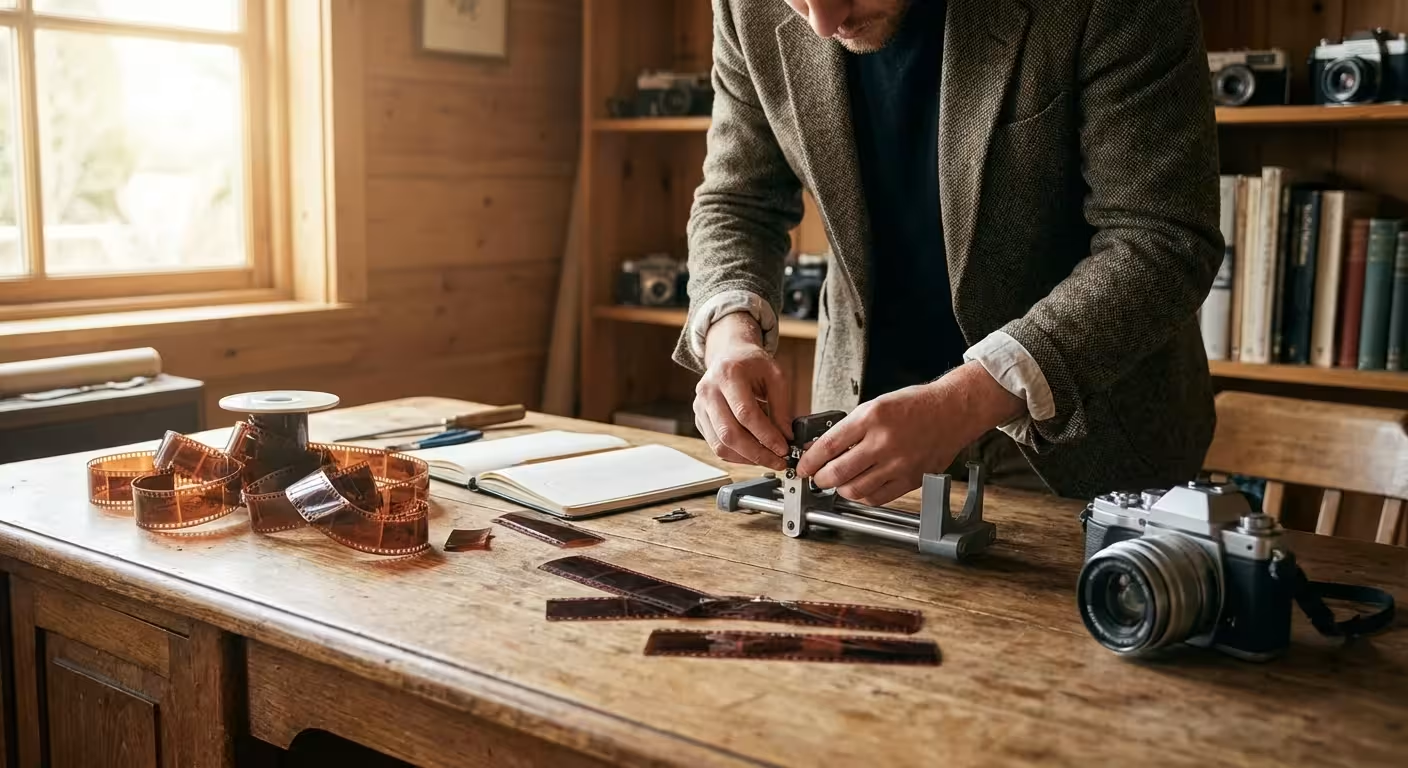
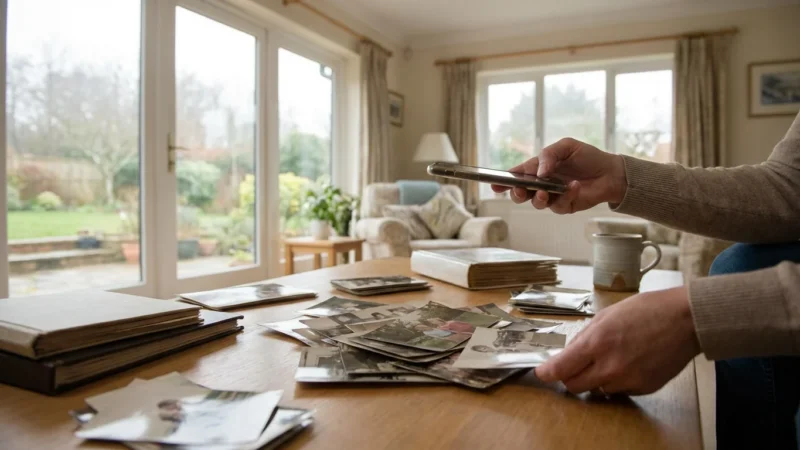
You likely have a box tucked away in a closet or attic—a cardboard time capsule filled with fading snapshots, yellowed envelopes, and strips of curly brown film. These artifacts hold the visual history of your family, yet they remain vulnerable to the ravages of time, humidity, and accidental loss. While professional digitizing services offer convenience, the costs accumulate quickly if you have hundreds or thousands of images to process. Fortunately, you can achieve professional-grade results at home by building a DIY camera scanning rig using equipment you may already own.
Camera scanning, often referred to as “digitizing with a DSLR,” has revolutionized the way preservationists and hobbyists alike approach photo archiving. Unlike traditional flatbed scanners that move a sensor slowly across the glass, a camera captures the entire image in a fraction of a second. This method provides superior color depth and sharpness; furthermore, it allows you to utilize the powerful sensor technology found in modern digital cameras to breathe new life into old memories.
The Benefits of Camera Scanning Over Traditional Methods
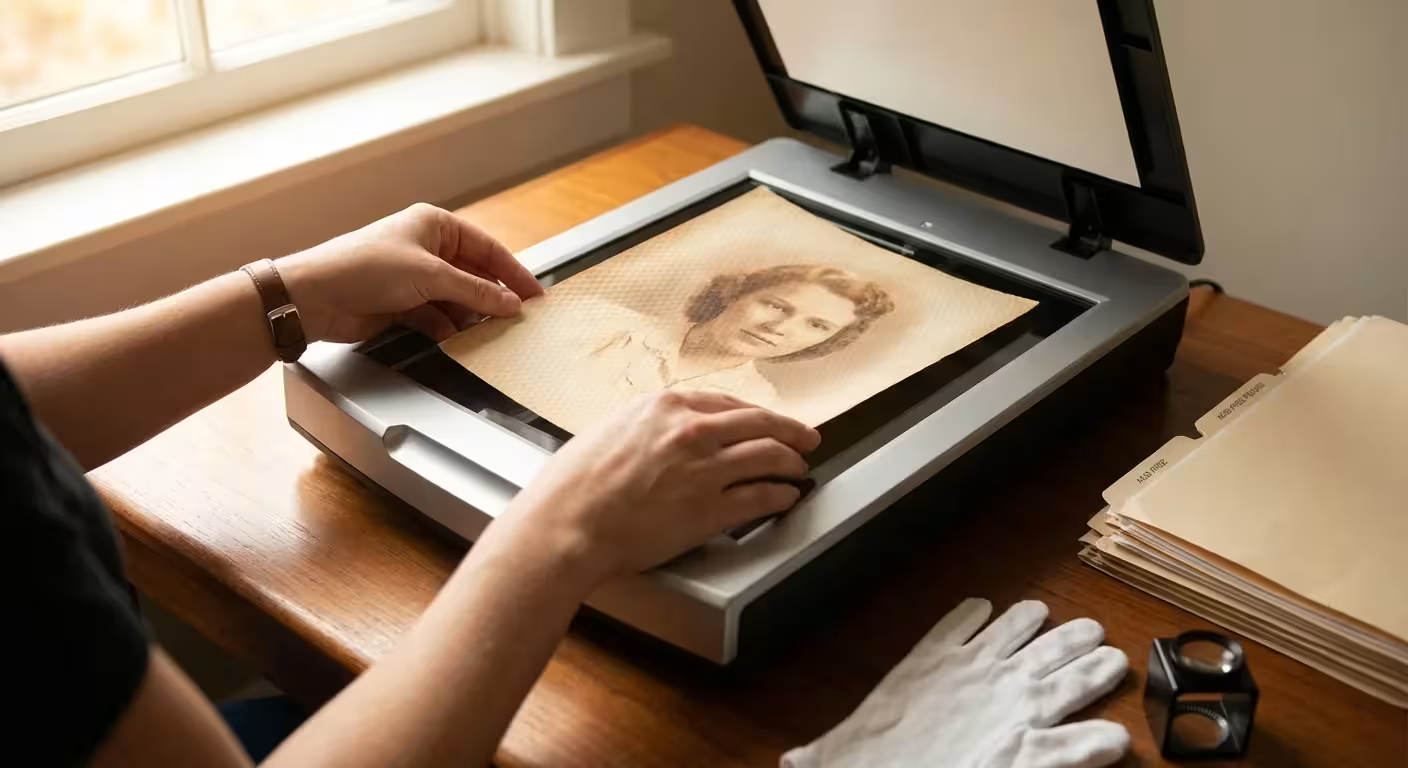
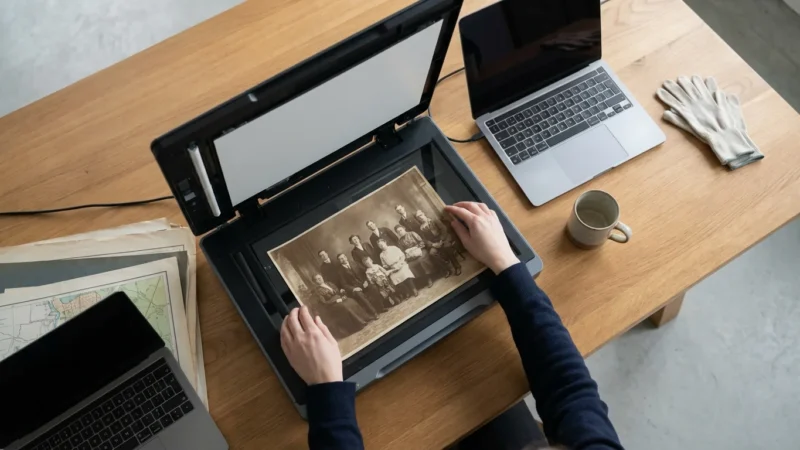
When you evaluate your options for digitization, you generally choose between a flatbed scanner and a camera-based setup. Flatbed scanners are the traditional choice, but they often struggle with the dynamic range of film negatives—the ability to see detail in both the brightest highlights and deepest shadows. A modern DSLR or mirrorless camera excels in this area, capturing a broader range of tones that results in a more lifelike reproduction of the original scene.
Speed is the most significant practical advantage you will notice. A high-resolution flatbed scan can take three to five minutes per frame when you factor in the warm-up time and the slow movement of the scanning head. If you have a collection of 1,000 slides, that equates to over 50 hours of active scanning time. With a properly aligned camera rig, you can capture that same collection in a single afternoon. You simply swap the film, click the shutter, and move to the next frame. This efficiency turns a daunting multi-month project into a manageable weekend task.
“Camera scanning has become the preferred method for many institutional archives because it combines the archival quality of high-end scanners with the workflow efficiency of digital photography.”
Furthermore, camera scanning is a non-destructive process that respects the physical integrity of your photos. You avoid the risk of Newton’s rings—those distracting rainbow patterns caused by film touching scanner glass—because your negatives are often held in a way that creates a small air gap. By taking control of the process yourself, you ensure that your precious originals never leave your sight, protecting them from the risks of shipping or impersonal handling at a commercial lab.
The Core Components: Choosing Your Gear
To scan photos with DSLR equipment effectively, you do not need the most expensive gear on the market. You need stability and a lens capable of focusing on small objects. The following components form the foundation of your DIY rig:
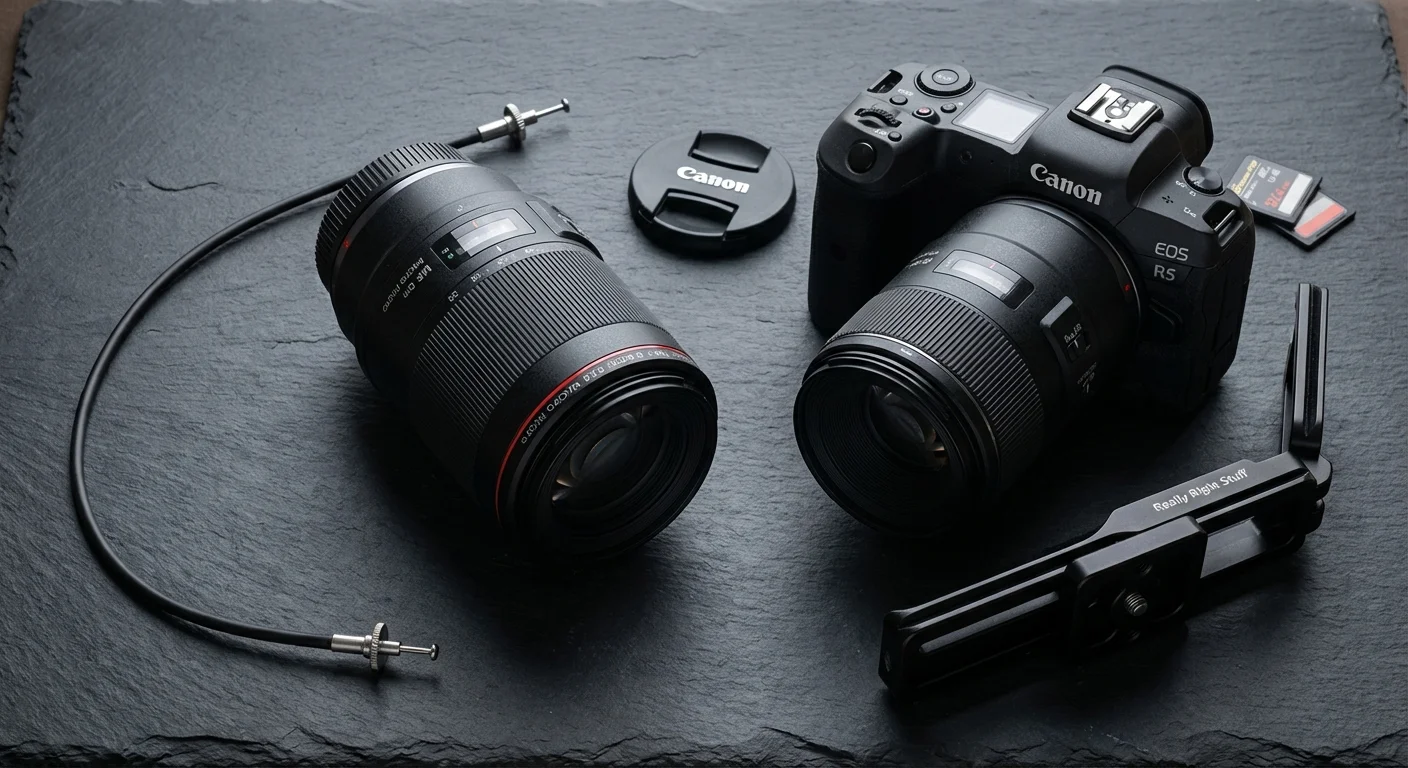
- The Camera: Any digital camera with at least 16 to 24 megapixels will produce excellent 8×10 prints or high-quality digital displays. Mirrorless cameras are particularly helpful because they often feature “focus peaking,” which highlights the sharpest parts of the image on the screen, helping you nail the focus on the grain of the film.
- The Macro Lens: This is the most critical piece of the puzzle. A standard lens cannot focus closely enough to fill the frame with a 35mm slide. If a dedicated macro lens is outside your budget, consider “extension tubes.” These hollow rings fit between your camera body and your standard lens, allowing it to focus much closer for a fraction of the cost.
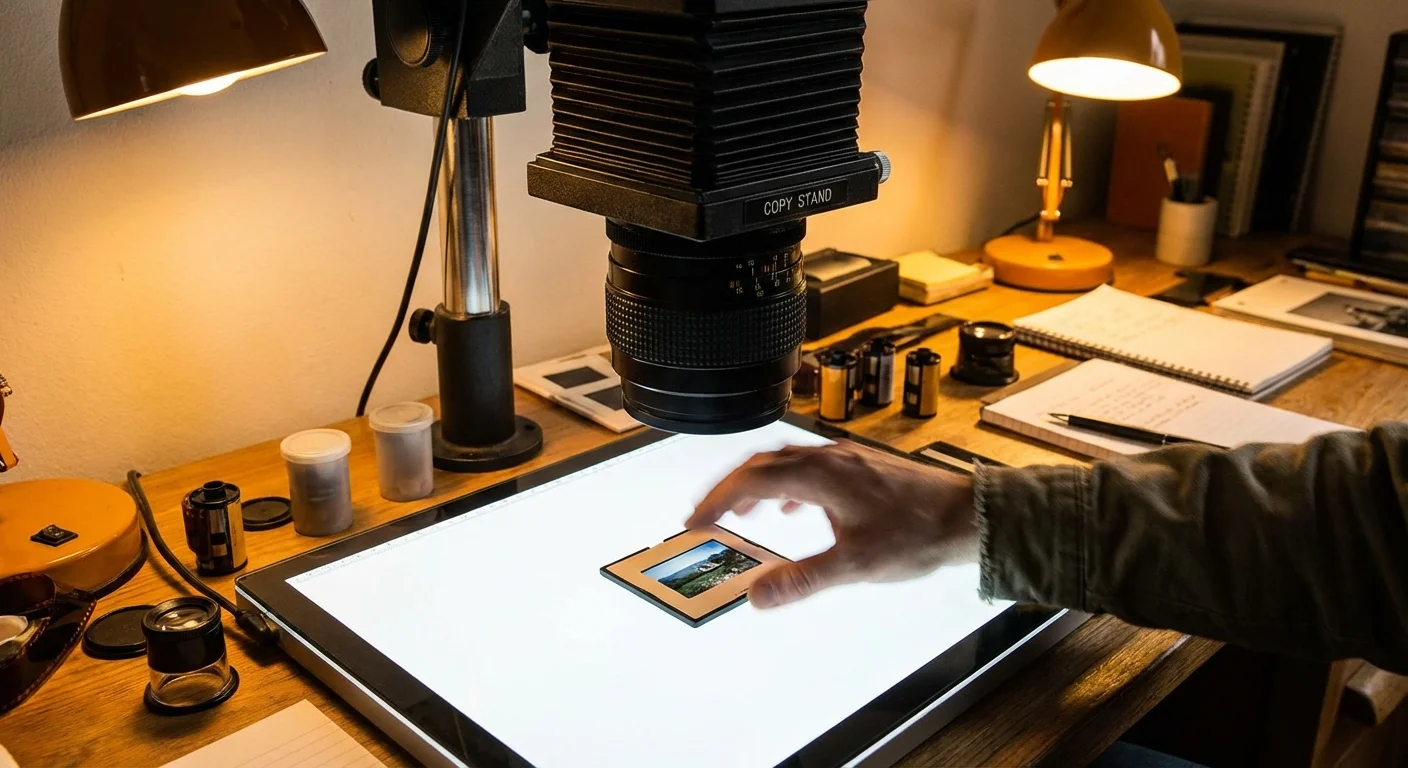
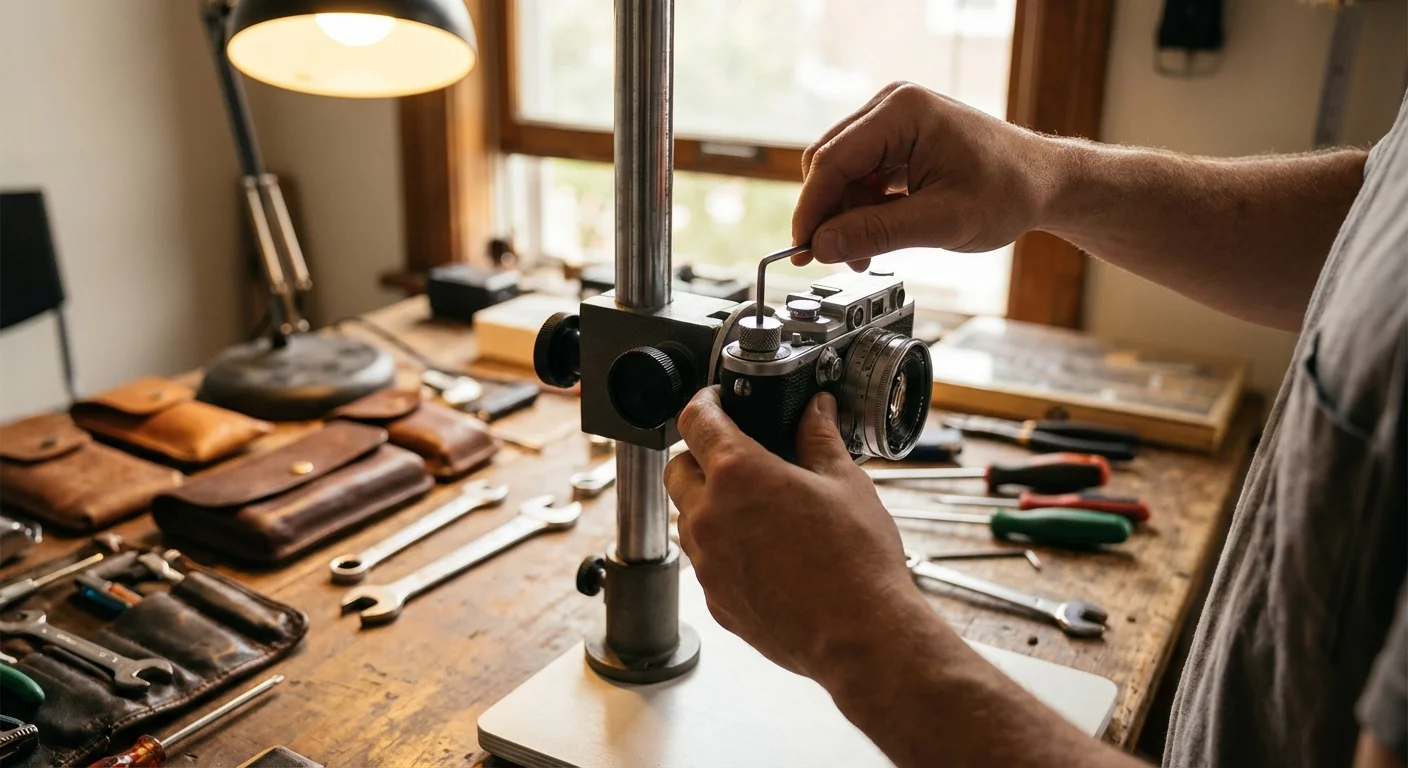
- A Stable Support: You must keep the camera perfectly still. A tripod with a center column that can flip upside down (a “macro mode”) works well. Alternatively, you can repurpose an old enlarger stand or build a simple wooden “copy stand” to hold the camera face-down over your photos.
- A Remote Shutter Release: Even the act of pressing the shutter button can cause microscopic vibrations that blur your image. Use a cheap wired remote, a wireless trigger, or even the built-in self-timer on your camera to ensure the sensor is perfectly still when the “scan” occurs.
You can find detailed reviews of entry-level macro lenses and camera bodies that excel at this task on Digital Photography Review, which provides comprehensive side-by-side comparisons to help you stay within your budget.
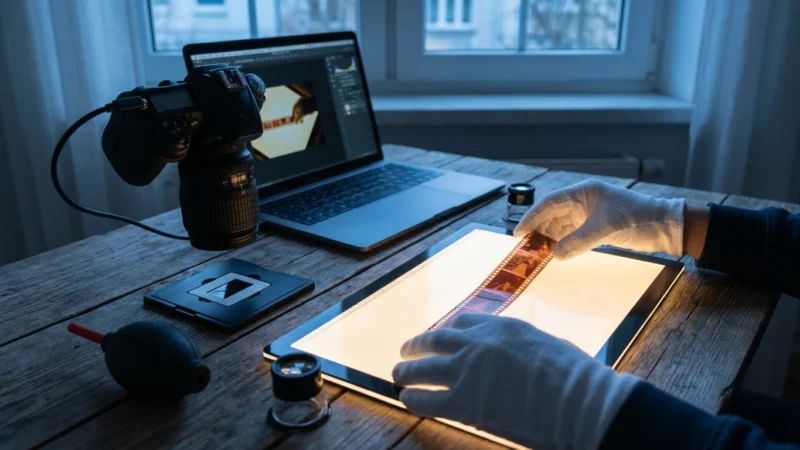
Illuminating History: Budget-Friendly Light Sources
When digitizing negatives with camera setups, your light source determines the accuracy of your colors. You cannot simply use a desk lamp or a flashlight; these sources often have “gaps” in their color spectrum, leading to muddy skin tones or unfixable color casts. You need a light source with a high Color Rendering Index (CRI), ideally 95 or higher.
For a budget-friendly approach, look for thin LED light pads designed for artists or tracing. Many of these pads now offer high CRI ratings for under $50. If you are in a pinch, you can even use a tablet or smartphone screen displaying a pure white image, though you must be careful—if the film is too close to the screen, the camera might capture the individual pixels of the display. To prevent this, place a piece of frosted acrylic or “milk glass” about an inch above the screen to diffuse the light and hide the pixel grid.
Consistency is your goal. Once you set your white balance for your light source, every photo in that batch will have identical color properties. This makes batch-processing your images significantly easier during the editing phase. If you are interested in the physics of how light interacts with camera sensors and the importance of spectral consistency, Cambridge in Colour offers excellent tutorials on digital sensor performance and lighting.
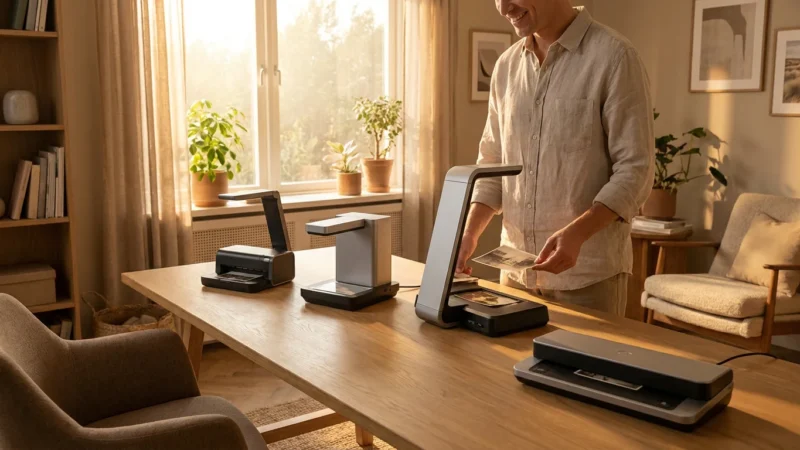
Assembling Your DIY Scanning Station
Building your DIY camera scanning rig is an exercise in creative problem-solving. The goal is to create a vertical or horizontal “optical bench” where the camera and the photo stay perfectly aligned. If you are working on a budget, you can construct a highly effective rig using items from a hardware store or even heavy-duty cardboard.
One popular DIY design involves a “scanning box.” You cut a hole in the top of a sturdy cardboard or wooden box that is slightly smaller than your photo or negative. You place your light source inside the box, pointing upward. On top of the box, you place a “carrier” to hold your film flat. To keep your negatives from curling, you can use two pieces of anti-reflective glass or a 3D-printed film holder. If you have access to a 3D printer, many community-sourced designs for film holders are available for free online, specifically tailored to hold 35mm or 120mm film strips securely.
| Component | DIY Budget Option | Professional Equivalent |
|---|---|---|
| Camera Support | Inverted Tripod or Wood Stand | Professional Copy Stand |
| Light Source | High-CRI LED Tracing Pad | High-End Strobe/Video Light |
| Film Holder | Cardboard Mask / 3D Printed | Stainless Steel Film Carrier |
| Optics | Kit Lens + Extension Tubes | 1:1 Dedicated Macro Lens |
Your workspace should be comfortable. You will likely spend several hours at this station, so ensure the height of the rig allows you to swap photos without straining your back. By keeping the workflow ergonomic, you reduce the likelihood of making mistakes as you tire.
The Secret to Sharpness: Precision and Alignment
The most common reason for soft or blurry “scans” isn’t a bad lens; it is poor alignment. If your camera sensor is not perfectly parallel to the photograph or negative, one side of the image will be in focus while the other side is blurry. This is known as “plane of focus” error.
You can solve this with a simple “mirror trick.” Place a small, flat mirror on the surface where your photo will sit. Look through your camera’s viewfinder or use the Live View screen. Adjust your camera until you see the reflection of your lens centered perfectly in the middle of the frame. When the lens “sees itself” in the center, your camera is perfectly parallel to the scanning surface. This simple five-second check ensures that every pixel of your digital copy is as sharp as the original artifact.
Additionally, you must eliminate any movement. If you are working on a wooden floor, even walking near the rig during an exposure can cause “camera shake.” Place your rig on a sturdy table, and if possible, use “Electronic First Curtain Shutter” (EFCS) or a fully electronic shutter mode. This prevents the physical vibration of the camera’s internal mechanics from blurring the fine details of the film grain.
Optimizing Your Settings for Maximum Detail
To get the most out of your DIY camera scanning setup, you must move away from “Auto” mode. You are essentially taking a portrait of a tiny object, and you need total control over how the camera interprets that data. Follow these steps for the best results:
- Shoot in RAW: This is non-negotiable. RAW files contain all the data captured by the sensor without any permanent “baked-in” adjustments. This gives you the flexibility to fix exposure errors and adjust colors later without degrading the image quality.
- Use Base ISO: Set your ISO to its lowest native setting (usually ISO 100 or 160). This ensures the cleanest possible image with the least amount of digital noise.
- Aperture Sweet Spot: Don’t use the widest or narrowest aperture. Most lenses are sharpest between f/5.6 and f/8. This range provides enough depth of field to account for any slight “curl” in the film while avoiding the blurring effects of diffraction.
- Manual Focus: Use your camera’s magnification tool in Live View to focus on the actual grain of the film. If you can see the grain clearly, the image itself will be perfectly sharp.
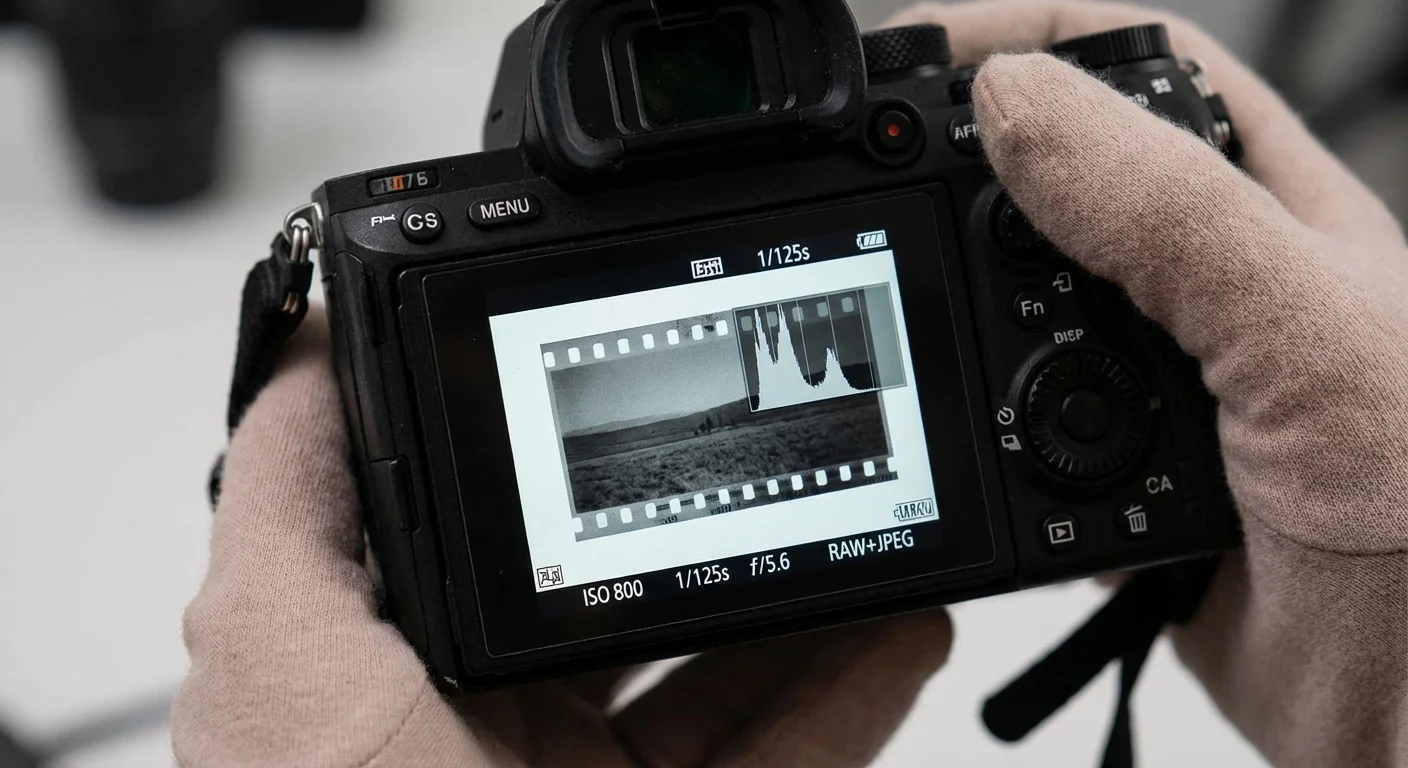
- Expose to the Right (ETTR): Look at your histogram. You want the “mountain” of data to be as far to the right as possible without touching the edge. This captures the maximum amount of information in the shadows, which is crucial for digitizing negatives.
By following these technical standards, you are creating a “digital master” that adheres to the preservation guidelines suggested by organizations like the Library of Congress. These standards ensure that your digital files will remain useful even as display technology improves in the coming decades.
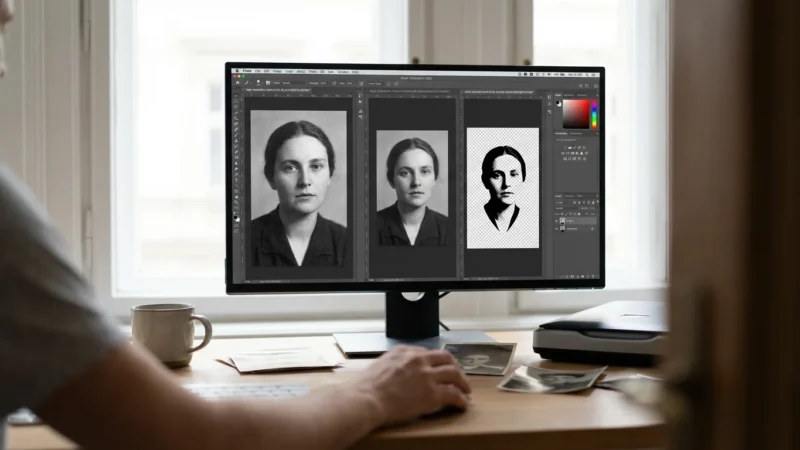
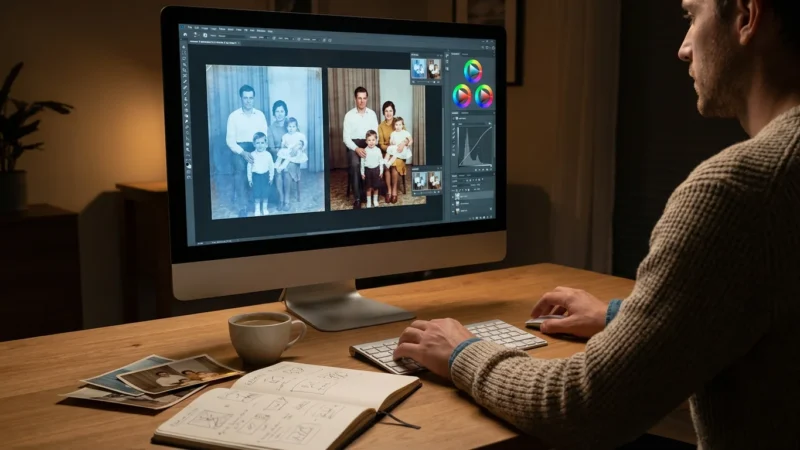
Post-Processing: Converting Negatives to Positives
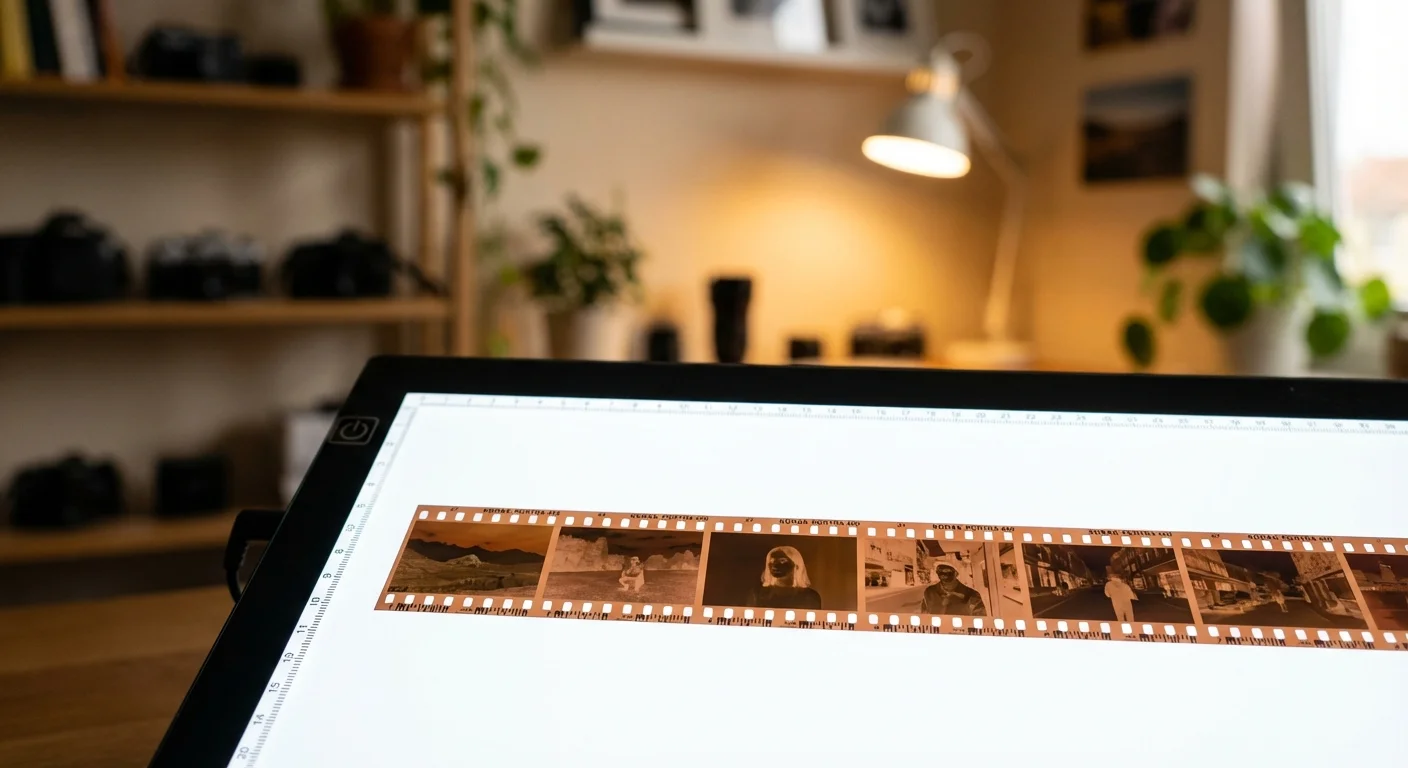
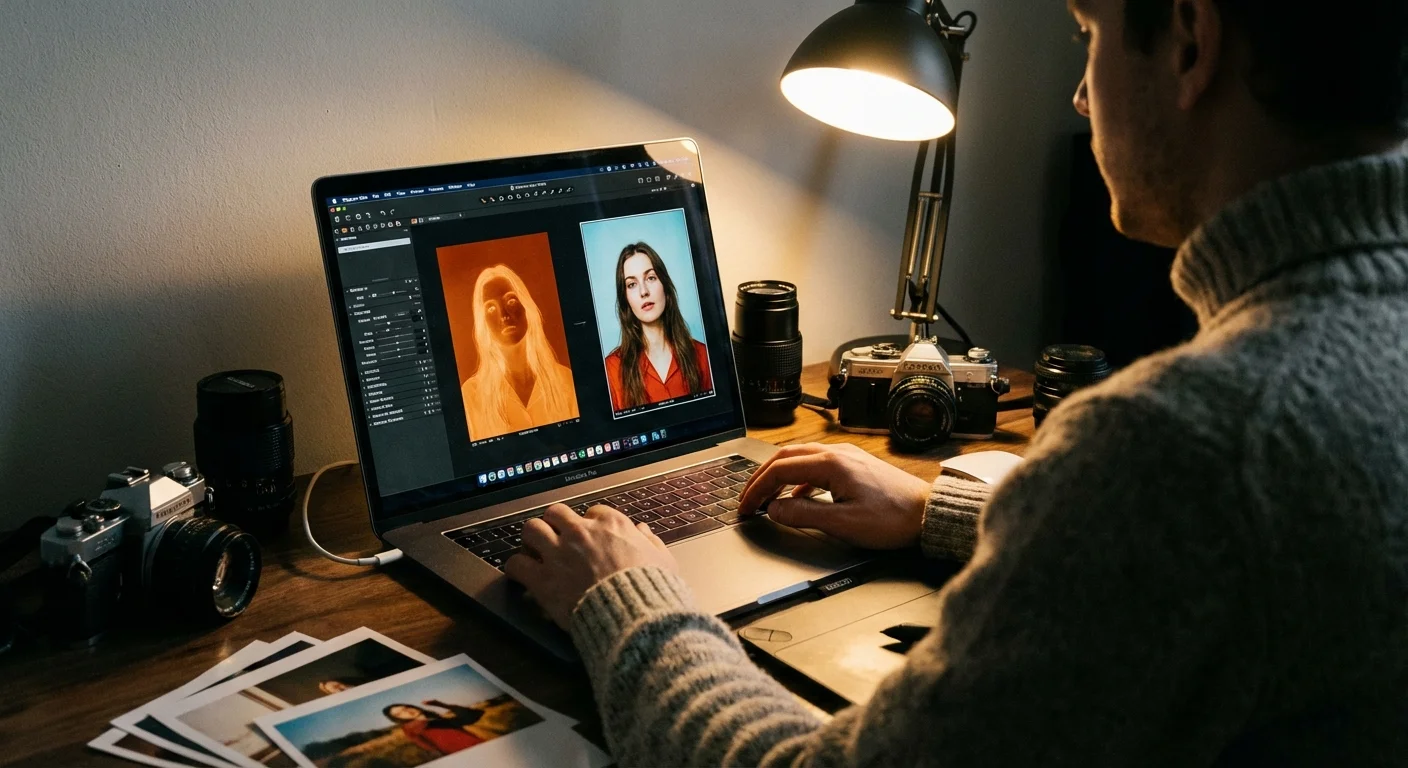
Once you have your RAW files, you will notice that your negatives still look… like negatives. If you scanned color film, they will also have a strong orange mask. Transforming these into beautiful color or black-and-white images is where the magic happens. You have several options depending on your technical comfort level.
For a streamlined workflow, many enthusiasts use specialized software like Negative Lab Pro (a plugin for Adobe Lightroom). It automates the inversion and color correction process, producing remarkably accurate results with one click. However, if you prefer a free or manual approach, you can use software like RawTherapee or Darktable. The manual process involves inverting the “Levels” or “Curves” tool—switching the black and white points—and then carefully neutralizing the orange cast using the white balance eyedropper tool on the unexposed part of the film strip.
Do not be discouraged if the colors look slightly “off” initially. Color film was designed to be printed on specific photographic papers, and recreating that “look” digitally requires a bit of experimentation. Treat your first few scans as a learning phase; soon, you will develop a “preset” or a series of adjustments that you can apply to your entire collection, saving you hours of individual editing.
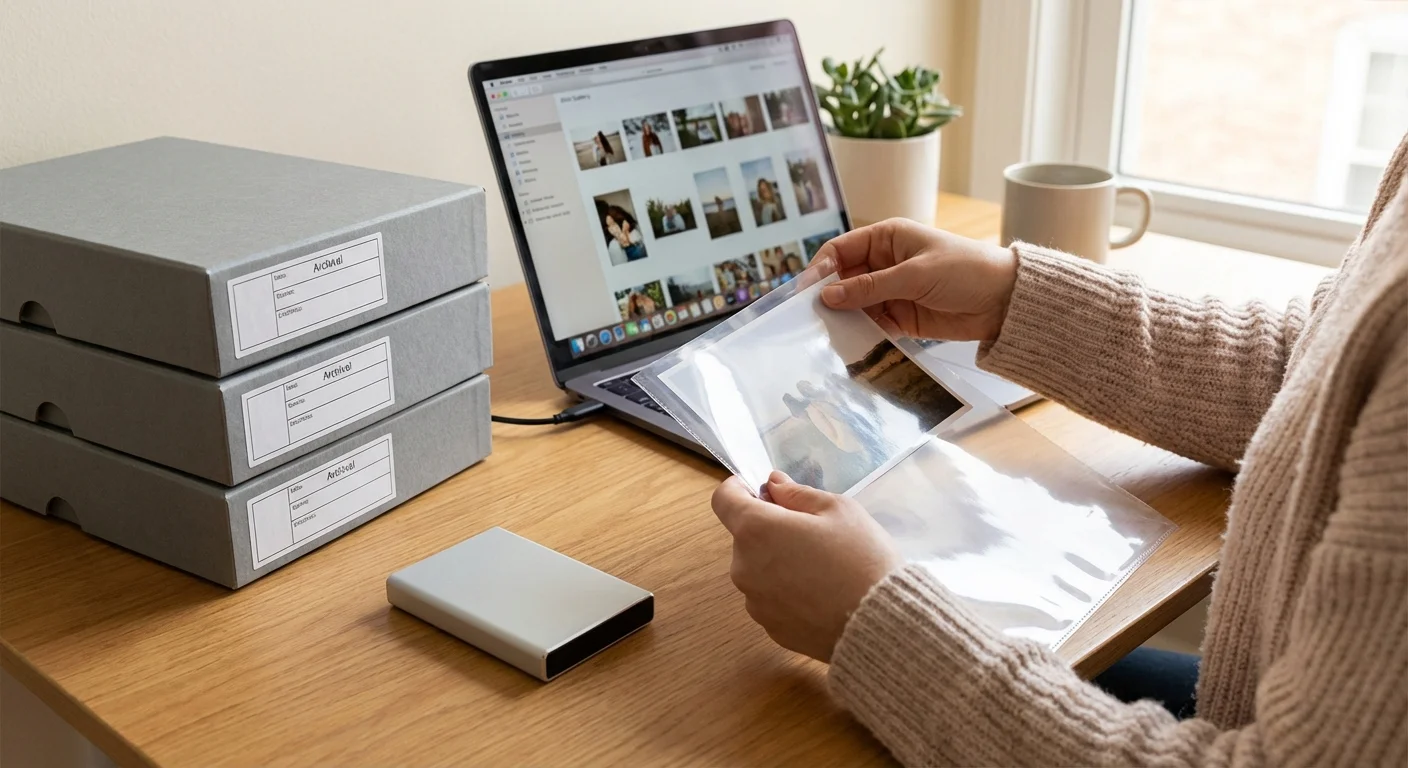
Archiving and Protecting Your Digital Heritage
You have built the rig, aligned the camera, and processed the images. Now, you must ensure these files survive for the next generation. Digital files are ironically more fragile than physical photos because they can disappear instantly due to a hard drive failure or a corrupted cloud account. Your preservation project is not complete until you have implemented a robust backup strategy.
Adopt the “3-2-1 rule” for your digital memories: Keep three copies of your data, stored on two different types of media (e.g., an external hard drive and a cloud service), with one copy located off-site. For example, you might keep your primary files on your computer, a backup on a high-quality external SSD in your home, and a second backup on a service like Backblaze, Google Drive, or iCloud.
Organization is just as important as backup. Use a consistent naming convention for your folders and files. Instead of “IMG_4502.jpg,” use a format like “YYYY-MM-DD_Event_Person_Location.” For example: “1984-06-12_Grandpa-Birthday_Chicago.jpg.” This metadata makes your collection searchable and ensures that thirty years from now, your descendants will know exactly who and what they are looking at. Your digital rig has given these memories a new life; your organizational habits will give them a future.
Frequently Asked Questions
Can I use my smartphone for this instead of a DSLR?
You can use a high-end smartphone for digitizing prints, but it is challenging for 35mm negatives. Smartphones have very small sensors and wide-angle lenses that cause distortion when you get close. While “macro” modes on modern phones are improving, a DSLR or mirrorless camera with a larger sensor will always provide significantly more detail and better color for film preservation.
What if my photos are stuck in an album?
If photos are stuck to the pages of an “adhesive” or “magnetic” album, do not try to peel them off, as you may tear the emulsion. Instead, place the entire album page on your scanning rig. You can use a piece of high-quality, non-reflective glass to hold the page flat. If the plastic cover is reflective, it is often best to carefully remove the plastic overlay before “scanning” the photo while it is still attached to the page.
How do I deal with dust and scratches?
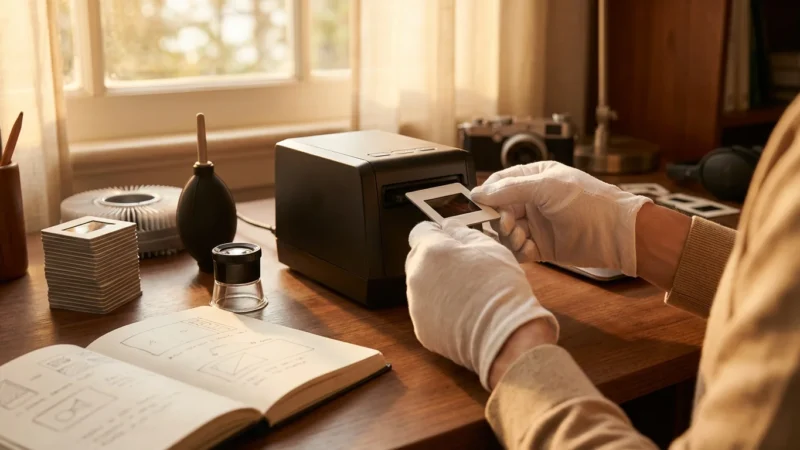
The best way to handle dust is to prevent it. Use a hand-held rubber air blower (like a Rocket Blower) to clean your film and your camera sensor before every session. For stubborn dust, a soft anti-static brush works well. While you can fix scratches in software like Photoshop or GIMP, it is a time-consuming process. Taking thirty seconds to clean your film before you click the shutter will save you hours of digital repair work later.
Do I need to scan in 4K or 8K resolution?
Resolution is often misunderstood. For a standard 35mm negative, a 20-to-24-megapixel camera captures almost all the meaningful detail present in the film grain. Scanning at higher resolutions (like 45 or 60 megapixels) is beneficial for medium-format or large-format film, but for standard family snapshots, a mid-range camera provides plenty of resolution for large prints and future-proofing.
Disclaimer: This article is for informational purposes only. When handling valuable or irreplaceable photographs, consider consulting a professional conservator. Always test preservation methods on non-valuable items first.

Leave a Reply