Old negatives and slides hold invaluable family history, capturing moments that modern digital cameras never recorded. These fragile pieces of film are often the only records of past generations, forgotten events, and cherished memories. While robust, they face threats from physical damage, environmental decay, and simply being inaccessible. Converting these film formats into digital files protects your heritage for future generations and makes these precious images shareable and viewable on modern devices. This guide provides practical steps and expert insights to help you confidently preserve your photographic past.
Once your negatives are converted, you’ll need a strategy to organize your growing library of digital images so they remain accessible.
Developing a consistent home photo archive will help you keep these new digital files organized alongside your existing collection.
Why Digitize Negatives and Slides?
Transforming your physical negatives and slides into digital copies offers profound benefits for preservation and accessibility. Your film collection, whether carefully stored or tucked away in a dusty box, degrades over time. Color shifts, fading, scratches, and mold are common issues that diminish the quality of these irreplaceable artifacts. Digitization actively combats this degradation by creating stable, high-quality replicas that you can preserve indefinitely.
Beyond protection, digital copies unlock accessibility. You can easily share these historical images with family members, incorporate them into digital photo albums, or use them in multimedia presentations. Imagine bringing a long-lost ancestor’s portrait to life on a digital frame or sharing vibrant vacation slides from decades past with your children. Converting slides to digital photos allows you to relive these moments without special projectors or viewing equipment. This process democratizes your family archives, making them readily available and enjoyably interactive for everyone. Think of film digitization as creating a permanent, accessible backup for your most cherished visual heritage.
Identifying Your Film Formats
Before you begin the digitization process, understand the types of film you possess. Correct identification ensures you use the appropriate equipment and techniques. Most family collections contain 35mm negatives or slides, but larger formats also exist.
After identification and scanning, make sure you store your physical negatives and slides in a way that prevents future environmental deterioration.
If your collection is primarily mounted transparencies, you may want to explore specialized techniques for scanning slides to get the most out of your hardware.
**Common Negative Formats:**
- 35mm Negatives: These are the most prevalent, appearing as strips of film, usually in black and white or color. Each frame measures approximately 24x36mm. You often find them in sleeves or rolled up.
- Medium Format Negatives: Larger than 35mm, these negatives come in various sizes, such as 6×4.5cm, 6x6cm, or 6x7cm. They typically deliver higher image quality due to their larger surface area. You find them from cameras like Hasselblad or Rolleiflex.
- Large Format Negatives: These are individual sheets of film, much larger than medium format, often 4×5 inches or 8×10 inches. They produce exceptional detail but require specialized scanning equipment.
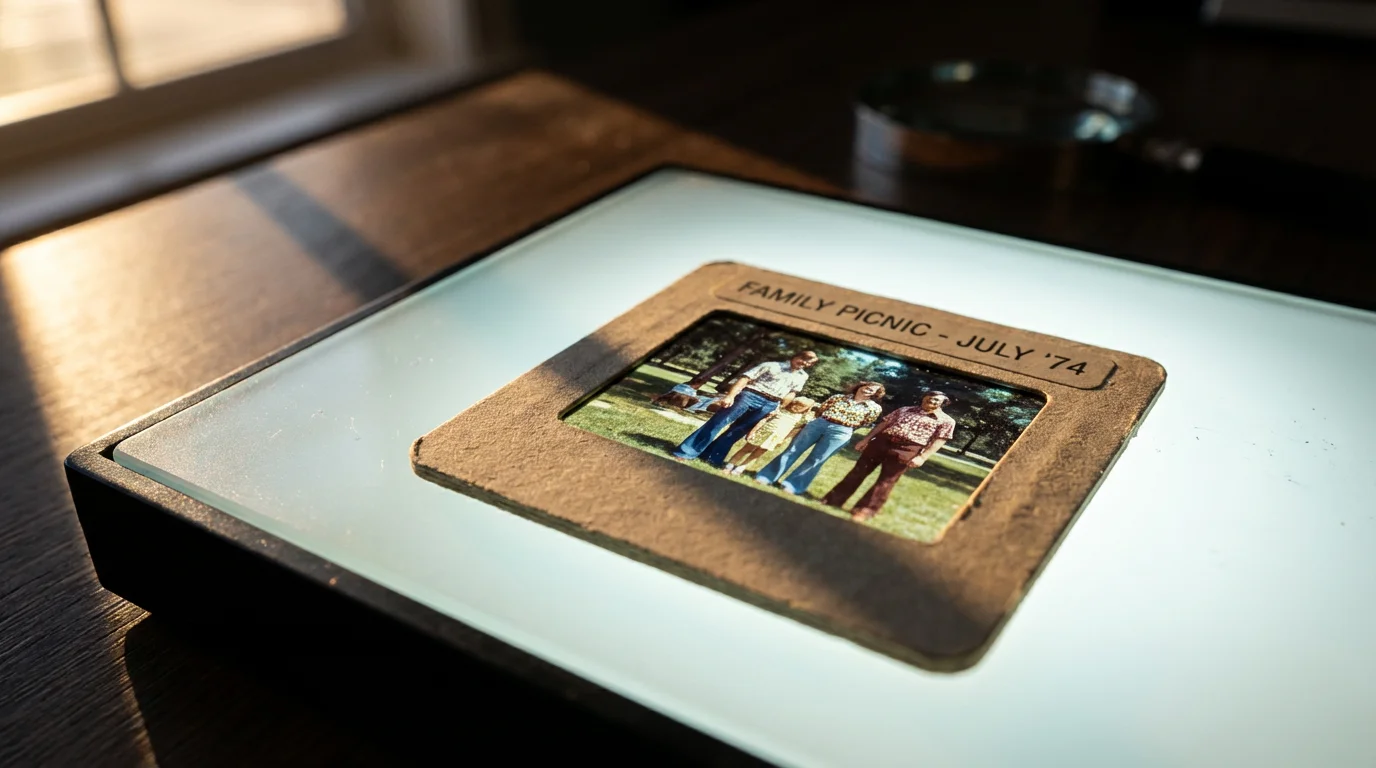
**Common Slide Formats:**
- 35mm Slides: The most common slide type, encased in a 2×2-inch cardboard or plastic mount. Projectors typically display these slides. The actual image frame is 24x36mm, identical to 35mm negatives.
- 126 Instamatic Slides: Similar to 35mm but with a square image format, mounted in 2×2-inch frames.
- 110 Slides: Much smaller, usually mounted in a 2×2-inch frame but with a tiny image area of 13x17mm. These often have lower image quality due to their size.
- Medium Format Slides: Less common, these are larger transparency films mounted in bigger frames, often 2.75×2.75 inches or 3.25×3.25 inches.
Knowing your film type guides your equipment choices. A 35mm film scanner handles 35mm negatives and slides, but you will need specialized equipment for medium or large format films. Identifying your collection properly streamlines your entire workflow.

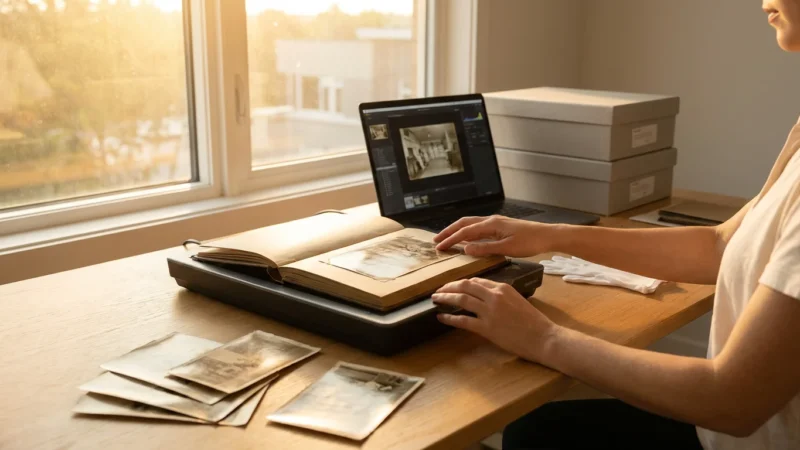
Preparing Your Negatives and Slides for Digitization
Proper preparation of your negatives and slides is critical to achieving high-quality digital copies and preventing damage. Dust, fingerprints, and scratches on the film translate directly into flaws in your digitized images, requiring extensive post-processing or reducing overall quality. Treat these originals with extreme care.
Many of these cleaning principles also apply to print preservation, such as these handling tips for physical photos used before scanning.
Begin by setting up a clean, dust-free workspace. A well-lit table away from open windows or high-traffic areas works best. Use compressed air to clear the area before you start.
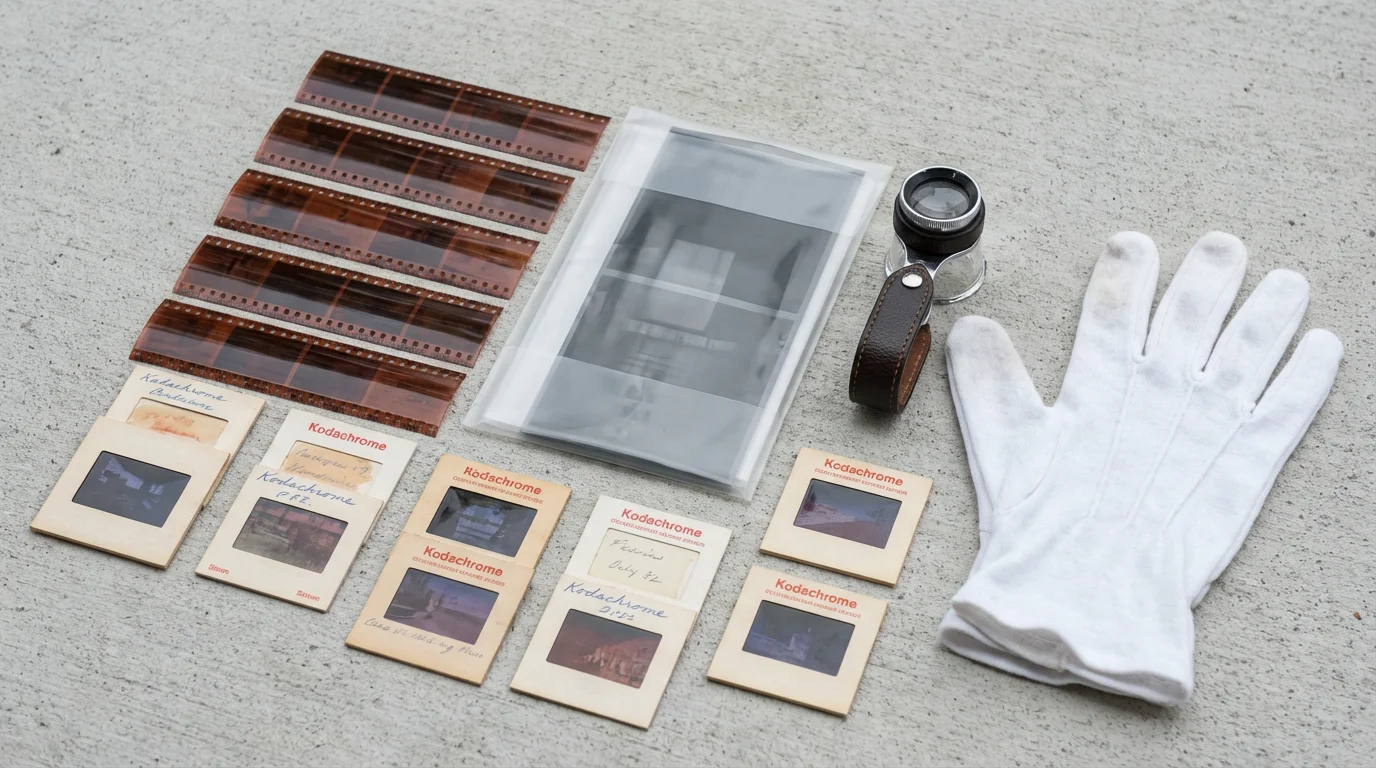
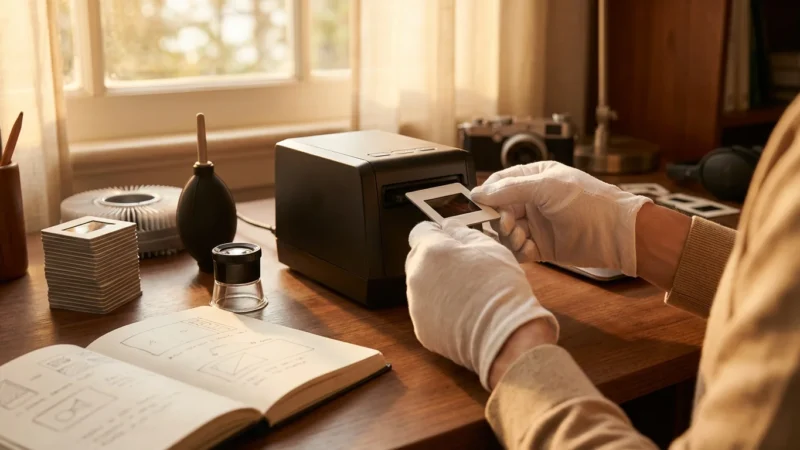
Essential Cleaning and Handling Tools:
- White Cotton Archival Gloves: Wear these gloves at all times when handling film. Your skin’s natural oils can leave permanent fingerprints on emulsion, attracting dust and causing damage.
- Compressed Air or a Blower Brush: Use an air blower, not canned air, to gently remove loose dust particles from the film surface. Canned air can leave propellant residue and is often too forceful. Hold the film at an angle while blowing to ensure dust lifts away.
- Anti-Static Cloth: A specialized microfiber cloth can help reduce static electricity, which attracts dust to film. Gently wipe the film with this cloth if static is a persistent issue.
- Film Cleaning Solution (Optional): For stubborn dirt or grime, use a photographic film cleaning solution with a lint-free cloth or Pec-Pads. Apply the solution sparingly to the cloth, never directly to the film. Always test on a non-valuable negative first.
Handling Techniques:
When you handle negatives, hold them by the edges or the non-emulsion side if you can identify it. Avoid touching the image area. For slides, grasp them by their plastic or cardboard mounts, again avoiding contact with the film itself. Store negatives in archival-safe sleeves immediately after cleaning and before scanning to prevent recontamination.
The Library of Congress emphasizes that careful handling is the first line of defense for photographic materials. Always use gloves and ensure your workspace is free of dust and debris to prevent irreversible damage during any preservation process. For more information on handling and care, visit the Library of Congress Preservation website.
This meticulous preparation saves you significant time in post-processing and ensures your digital copies negatives are as pristine as possible.
Choosing the Right Digitization Method
Selecting the correct digitization method depends on your budget, the volume of your collection, your desired image quality, and your technical comfort level. Each option offers distinct advantages.
While this guide focuses on film, you can also learn how to scan old photos at home to digitize your entire family print collection.
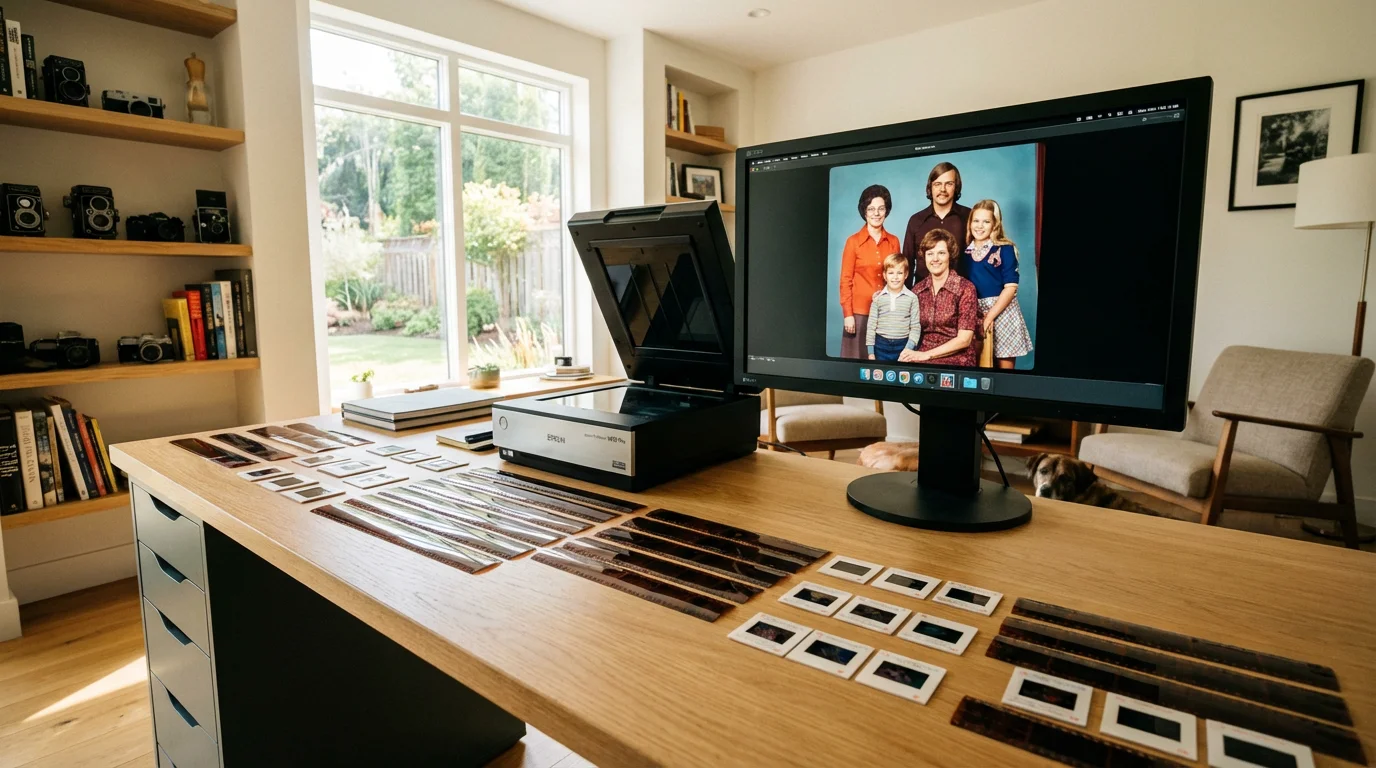
Flatbed Scanners with Film Adapters
Many modern flatbed scanners include a “transparency unit” or film adapter, allowing them to scan film.
- Pros: Affordable, versatile for prints and film, relatively easy to use. Good for occasional scanning and basic quality needs. Some models can handle multiple film types.
- Cons: Slower than dedicated film scanners, often lower resolution and dynamic range compared to specialized units. Film holders can be finicky.
- Best for: Individuals with a mixed collection of prints and film, lower volume scanning, and those seeking an economical entry point into film digitization.
Dedicated Film Scanners
These devices are specifically engineered to scan film, offering superior resolution, dynamic range, and color accuracy.
- Pros: Excellent image quality, faster scanning of film strips and slides, often include automatic dust and scratch removal technologies (like Digital ICE). Many models offer batch scanning capabilities.
- Cons: Higher cost, specialized equipment means it only scans film. Some models might have a steeper learning curve.
- Best for: Serious enthusiasts, photographers, or individuals with large collections of 35mm film who prioritize the highest possible image quality from their digital copies negatives and converting slides to digital photos.
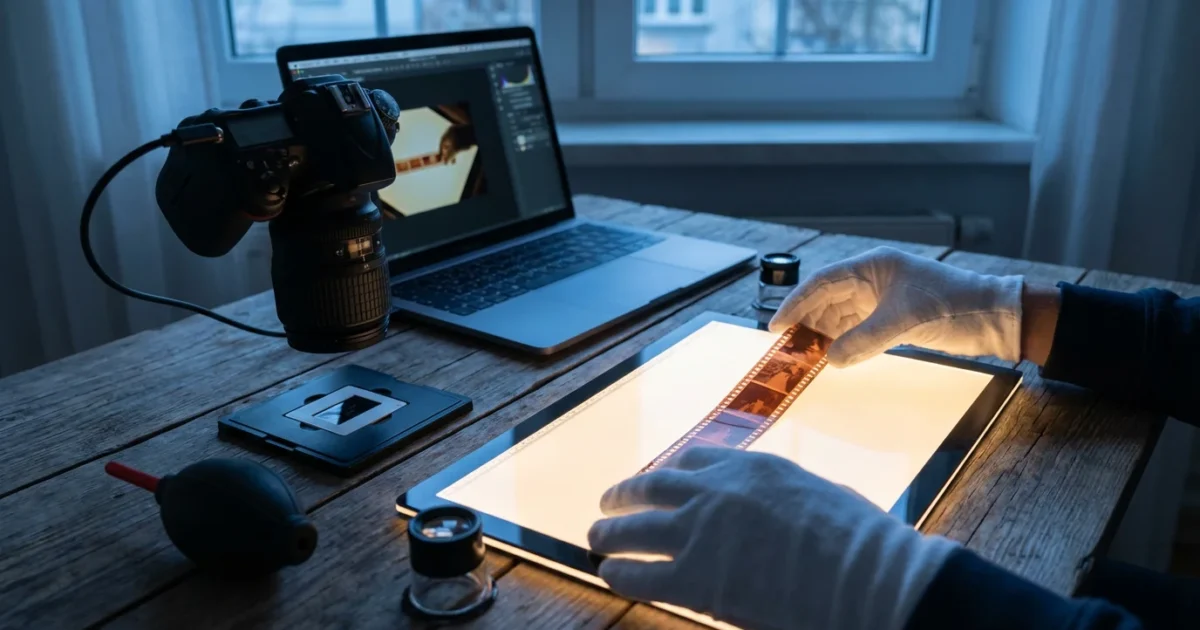
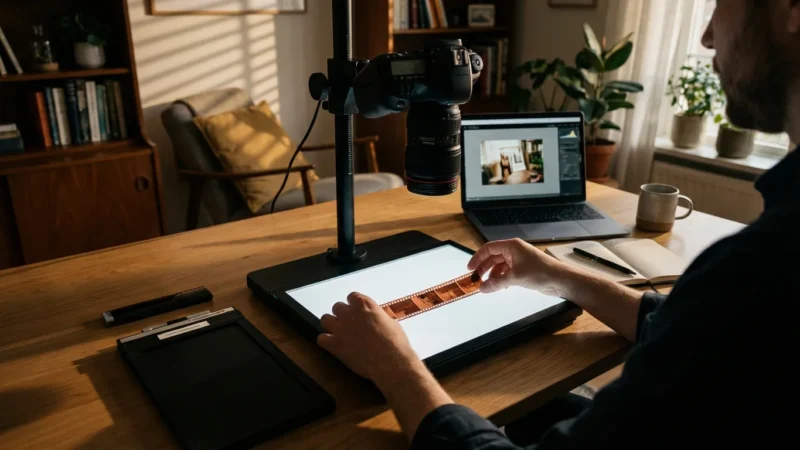
DSLR/Mirrorless Camera Scanning
This method uses your digital camera, a macro lens, a light source, and a film holder or copy stand to photograph your negatives and slides.
- Pros: Extremely high resolution (limited only by your camera’s sensor), fast capture times once set up, excellent control over lighting and focus, potentially lower cost if you already own a suitable camera and macro lens.
- Cons: Requires more technical expertise and specific equipment (macro lens, light source, copy stand/film holder), significant post-processing (inverting negatives, color correction) is essential.
- Best for: Advanced users, photographers with existing DSLR/mirrorless equipment, and those seeking maximum control and speed for high-volume film digitization, especially for medium and large format.
Professional Digitization Services
If your collection is vast, irreplaceable, or you lack the time or equipment, professional services are an excellent option.
- Pros: Highest quality results, handled by experts with professional-grade equipment, no effort required on your part, often includes advanced restoration.
- Cons: Can be expensive, especially for large collections. You entrust your originals to a third party.
- Best for: Anyone with extremely valuable or fragile collections, very large archives, or those who prefer a hands-off approach to converting slides to digital photos and film digitization.
Consider these factors carefully to choose the method that best aligns with your goals for preserving your photographic heritage.

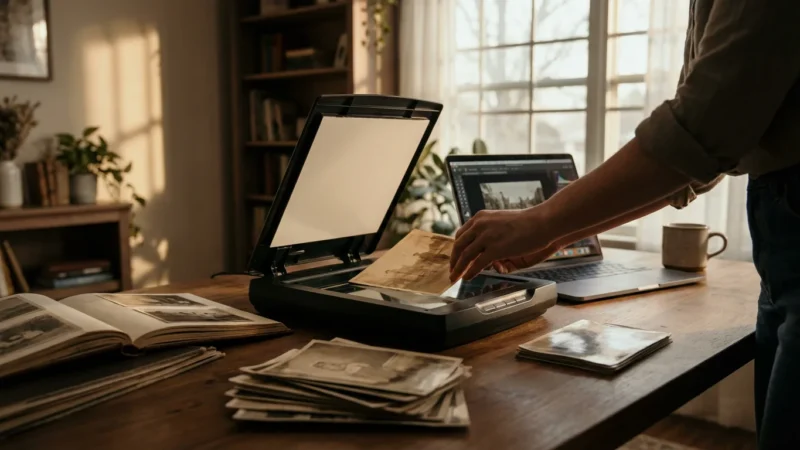
Step-by-Step Guide to DIY Scanning
This section focuses on using a flatbed scanner with a transparency adapter, a popular and accessible option for many. The principles apply broadly to other scanning methods.
1. Set Up Your Workspace
Ensure your clean, dust-free workspace, as described in the preparation section. Position your scanner on a stable surface. Connect it to your computer and install the necessary software and drivers.
2. Configure Scanner Settings
Access your scanner’s software and adjust the settings before you scan. These choices significantly impact your final image quality.
- Resolution (DPI): This is critical. For 35mm negatives and slides, aim for at least 3200 DPI, and ideally 4000-5000 DPI. Higher DPI captures more detail, which is essential for making quality prints or significant cropping later. For medium format, 2400-3200 DPI is often sufficient.
- Color Depth: Scan in 48-bit color (16 bits per channel). This captures a wider range of tones and colors, providing more flexibility for post-processing without introducing banding or posterization.
- File Format: Save your initial scans as TIFF files. TIFF is a lossless format, meaning it retains all image data without compression artifacts. You can convert to JPEG later for sharing, but always keep the master TIFF files.
- Dust and Scratch Removal: Many scanners offer hardware-based dust and scratch removal, often called Digital ICE (Image Correction and Enhancement) or a similar proprietary name. Enable this feature. It uses an infrared channel to detect and map physical imperfections on the film, then digitally removes them from the scan. This saves immense time in post-processing.
- Exposure and Color Correction: While the scanner software may offer these, it is generally best to scan as “flat” as possible, with minimal automatic adjustments. You gain more control and better results by making these adjustments in dedicated image editing software later. Aim for a neutral scan.
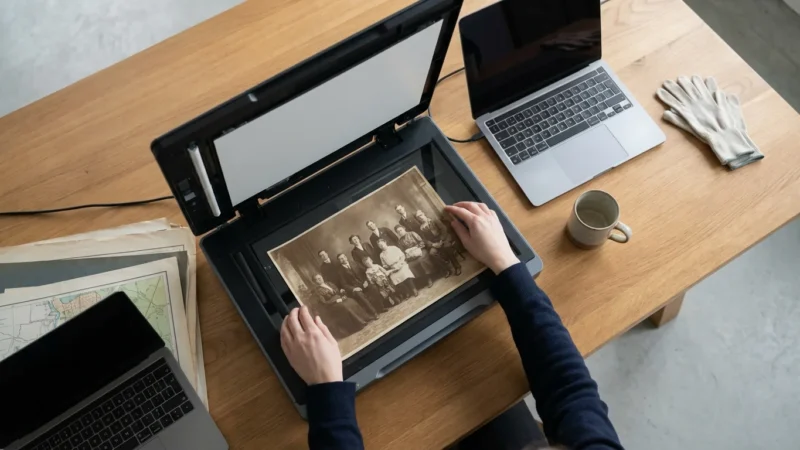
3. Load Your Film
Carefully place your cleaned negatives or slides into the appropriate film holder provided with your scanner. Ensure they sit flat and are correctly oriented. Avoid touching the film surface. Close the film holder securely and place it onto the scanner bed, aligning it with the marked guides. Some scanners have dedicated slots for film holders.
4. Preview and Scan
Perform a preview scan in your software. This generates a low-resolution version, allowing you to check framing, orientation, and make any final adjustments to settings. Once satisfied, initiate the high-resolution scan. This process takes time, especially at higher DPI settings and with Digital ICE enabled. Be patient.
5. Quality Check
After the scan completes, immediately review the digital image on your computer screen. Zoom in to check for dust, focus issues, or color problems. If you notice significant flaws, clean the film again and re-scan. Consistency in quality during the capture stage minimizes work later.

Optimizing Your Scans and Post-Processing
Raw scans, particularly from negatives, often appear dull, have a color cast, or contain dust spots. Post-processing is an essential step to transform these raw files into vibrant, accurate, and shareable images. Use photo editing software like Adobe Photoshop, Lightroom, Affinity Photo, or GIMP.
1. Inverting Negatives
If you scanned film negatives, your initial digital image will appear as a negative. You must invert it to reveal the positive image. Most photo editing software has an “Invert” function (e.g., Image > Adjustments > Invert in Photoshop). After inversion, the image will still likely have a strong color cast, typically orange or blue, from the film’s base.
2. Color Correction and White Balance
This is the most critical step for achieving accurate colors.
- Levels and Curves: Use the Levels or Curves adjustment tools to set your black point, white point, and mid-tones. This tool controls the tonal range and contrast. For curves, you can often find preset curves for specific film types or experiment to balance the highlights and shadows.
- Color Balance: Adjust individual color channels (Red, Green, Blue) to neutralize any color cast. For inverted negatives, you might need to add Cyan, Magenta, or Yellow. Eyedropper tools for setting white balance are often available; try finding a neutral gray area in the image.
- Hue/Saturation: Fine-tune specific colors or overall saturation if needed, but use sparingly to maintain a natural look.
3. Cropping and Straightening
Crop away any black borders or unwanted edges from the scan. Use the straighten tool to correct any slight rotation introduced during scanning.
4. Dust and Scratch Removal
Even with Digital ICE, some dust or minor scratches might remain. Use cloning, healing, or spot removal tools in your software to meticulously remove these imperfections. Zoom in closely and work methodically. This process can be time-consuming but dramatically improves the final image.
5. Sharpening
Apply a subtle amount of sharpening to enhance detail. Avoid over-sharpening, which can introduce artifacts and noise. Sharpen at the end of your editing process.

Archiving and Preserving Your Digital Images
Creating digital copies of old negatives is only half the battle. Effective storage and archiving ensure these precious files remain accessible and intact for decades. Implement a robust strategy immediately after post-processing.
File Naming Conventions
Develop a consistent and descriptive naming system for your digital files. This helps with organization and retrieval.
Example: YYYY-MM-DD_Event_Subject_OriginalFilmIdentifier.tiff
Actual Example: 1978-07-22_FamilyVacation_GrandCanyon_35mmNeg-001.tiff
Such a system makes searching and browsing your collection much simpler.
File Formats for Archiving
Always preserve your master scans in a lossless format.
- TIFF (Tagged Image File Format): This is the industry standard for archival images. TIFF files retain all original image data, supporting high color depth and multiple layers without compression artifacts. Keep your original, unedited TIFFs as your primary archive.
- JPEG (Joint Photographic Experts Group): Use JPEG for sharing and web use. JPEG applies lossy compression, which reduces file size but discards some image data. Save JPEGs at the highest quality setting, but never use them as your sole archival format.
- DNG (Digital Negative): A raw image format created by Adobe, DNG is gaining traction for archiving. It stores raw sensor data, is openly documented, and is designed for long-term accessibility. If you used a DSLR for scanning, you might already have raw files.
The 3-2-1 Backup Rule
This widely recommended strategy minimizes the risk of data loss.
- 3 Copies of Your Data: Keep your photos on your primary computer and two separate backups.
- 2 Different Media Types: Store your backups on at least two different types of storage media. This could mean an external hard drive and cloud storage, or an external hard drive and a network-attached storage (NAS) device.
- 1 Off-Site Copy: Store at least one copy in a different physical location. This protects against local disasters like fire, flood, or theft. Cloud storage services naturally provide an off-site solution.
Regularly test your backups to ensure files are accessible and not corrupted. Schedule automated backups whenever possible.
Recommended Storage Solutions
- External Hard Drives: Affordable and offer large capacities. Choose reputable brands and consider solid-state drives (SSDs) for speed and durability, though they are more expensive.
- Network Attached Storage (NAS): A personal cloud solution that stores data on multiple hard drives, often with redundancy (RAID). Provides central access for multiple devices and can be configured for automatic backups.
- Cloud Storage Services: Solutions like Google Drive, Dropbox, OneDrive, or specialized photo services like SmugMug or Amazon Photos offer convenient off-site storage. Review their terms for privacy, data retention, and file type support.
- Archival Optical Discs (M-DISC): While less common now, M-DISCs are designed for extremely long-term storage (hundreds of years) under proper conditions. They are write-once and resistant to environmental degradation.
By diligently applying these archiving principles, you safeguard your digital copies negatives, ensuring your family’s visual legacy endures for generations.
Frequently Asked Questions
What is the ideal DPI for scanning 35mm negatives and slides?
For 35mm negatives and slides, aim for at least 3200 DPI (dots per inch). Many experts recommend 4000 DPI to 5000 DPI to capture enough detail for quality prints or future cropping without excessive interpolation. Lower resolutions might suffice for quick sharing, but a higher DPI provides more flexibility for long-term preservation and larger prints.
Can I use my smartphone to digitize negatives and slides?
While smartphone apps and dedicated light boxes exist for quick capture, they generally offer lower quality than dedicated scanners or DSLR setups. Smartphone scanning might work for casual sharing or previewing, but it usually lacks the resolution, color accuracy, and dynamic range needed for archival-quality digital copies. Always prioritize a scanner or camera setup for the best results.
How do I handle warped or curled negatives?
Warped or curled negatives pose a challenge for scanners that require flat film. Try placing the negative under a heavy book for a few days to gently flatten it. For stubborn curling, use a film holder that provides more pressure or consider placing the negative between two sheets of anti-Newton ring glass within a holder. Extreme cases might require professional intervention.
What is Digital ICE and should I use it?
Digital ICE (Image Correction and Enhancement) is a hardware-based dust and scratch removal technology found in many film scanners. It uses an infrared light source to detect physical imperfections on the film surface and then digitally removes them from the scan. You should absolutely use it, as it saves significant time in post-processing. Note that Digital ICE does not work on traditional black and white film, which lacks the dye layers that allow the infrared light to pass through.
How often should I back up my digital photo collection?
Establish a regular backup schedule that suits your needs. For actively growing collections, back up new additions weekly or monthly. For static archives, a quarterly or bi-annual backup is advisable. The most important aspect is consistency and adherence to the 3-2-1 backup rule. Regularly verify your backups to ensure data integrity.
The journey of converting your old negatives and slides into digital memories is a rewarding one. You gain not only digital copies negatives, but also a deeper connection to your past and the satisfaction of preserving precious family heritage. Take your time, approach each step with care, and enjoy the rediscovery of your photographic treasures.
Disclaimer: This article is for informational purposes only. When handling valuable or irreplaceable photographs, consider consulting a professional conservator. Always test preservation methods on non-valuable items first.
If you are in the market for new hardware, you can find our recommendations for the best photo scanners for home use in our dedicated review guide.
For those specifically working with this popular format, we have a deep-dive tutorial on how to digitize 35mm film negatives at home using various DIY techniques.


Leave a Reply