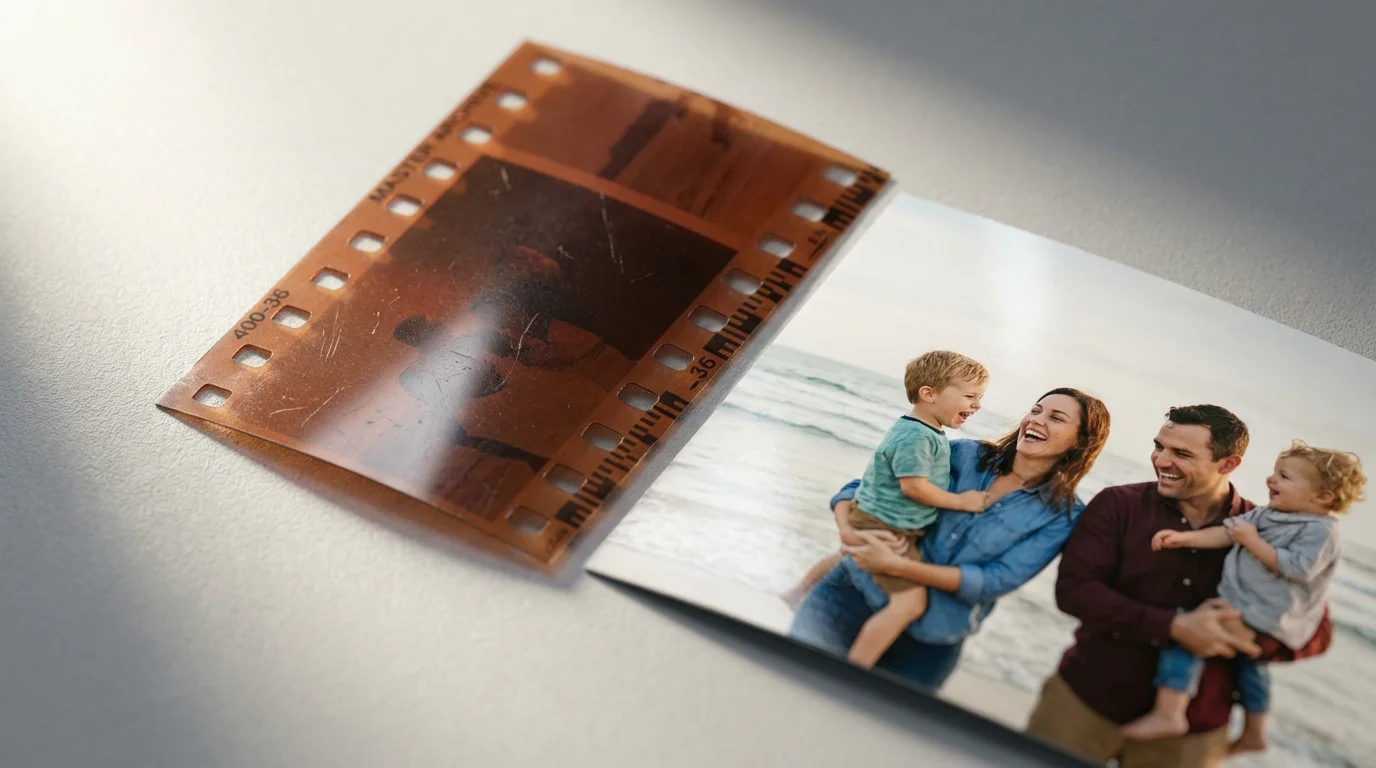
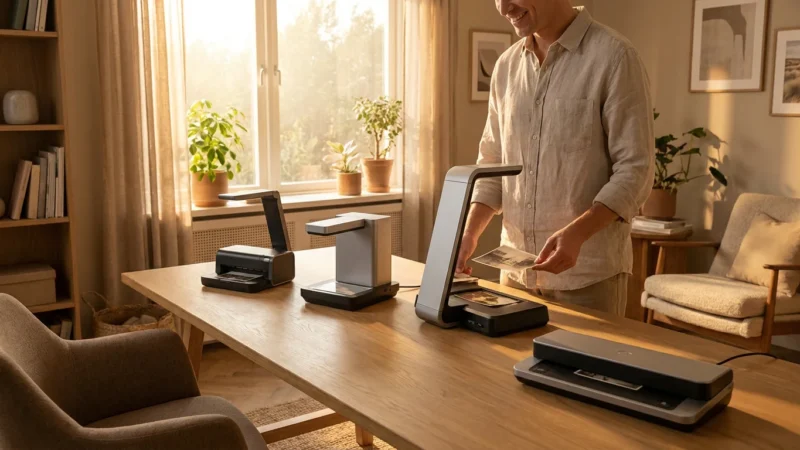
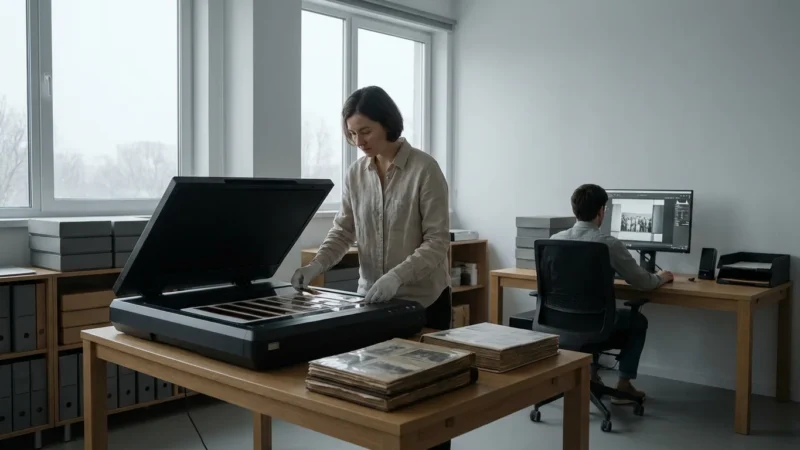
Your family photographs hold invaluable stories. They are windows into the past, offering glimpses of loved ones, significant events, and cultural heritage. As you embark on the crucial journey of digitizing these cherished memories, a fundamental decision arises: which file format should you choose for your scanned photos? This choice impacts image quality, file size, long-term accessibility, and your ability to preserve these memories for generations. Understanding the strengths and weaknesses of popular options like TIFF, JPEG, and PNG is essential for building a robust digital archive.
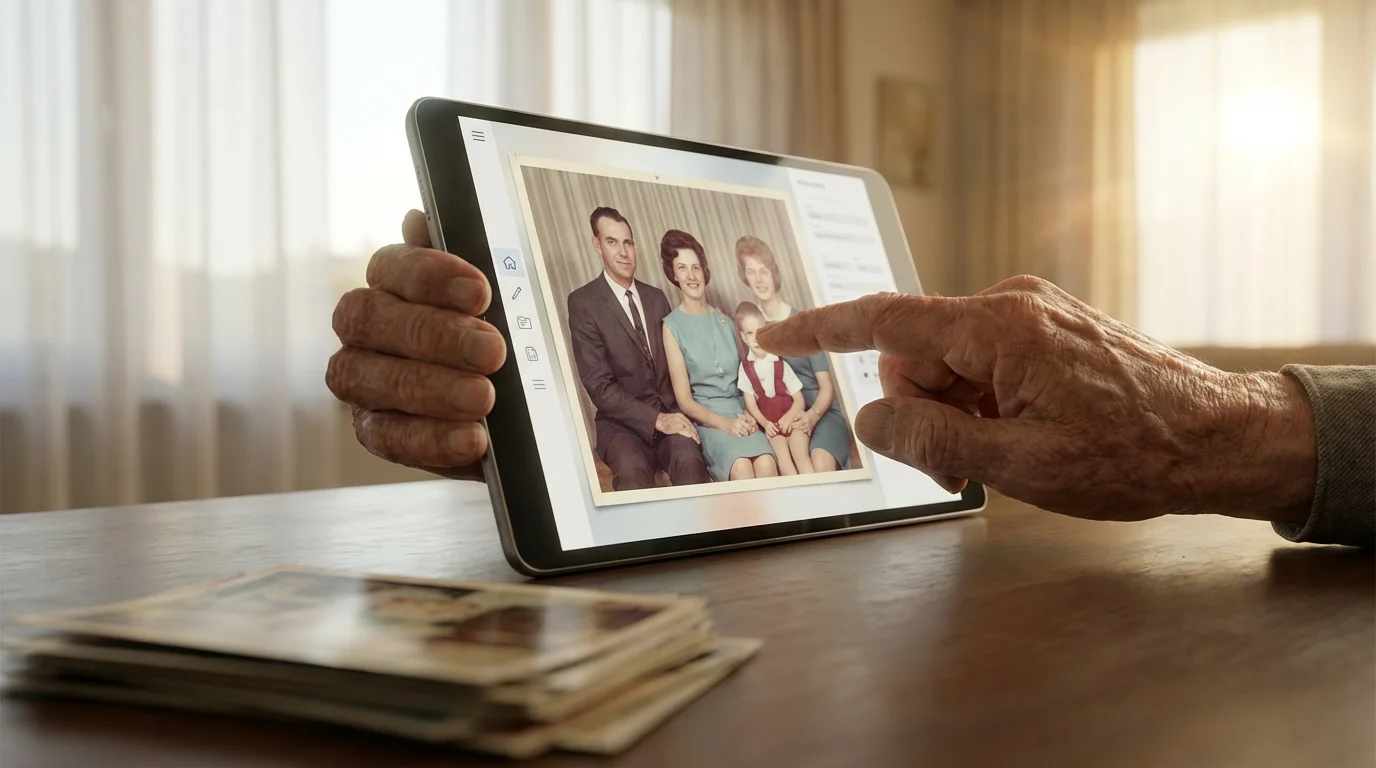
Before you begin, it is worth reflecting on the importance of backing up physical photos digitally to ensure your family history is never lost to fire, flood, or decay.
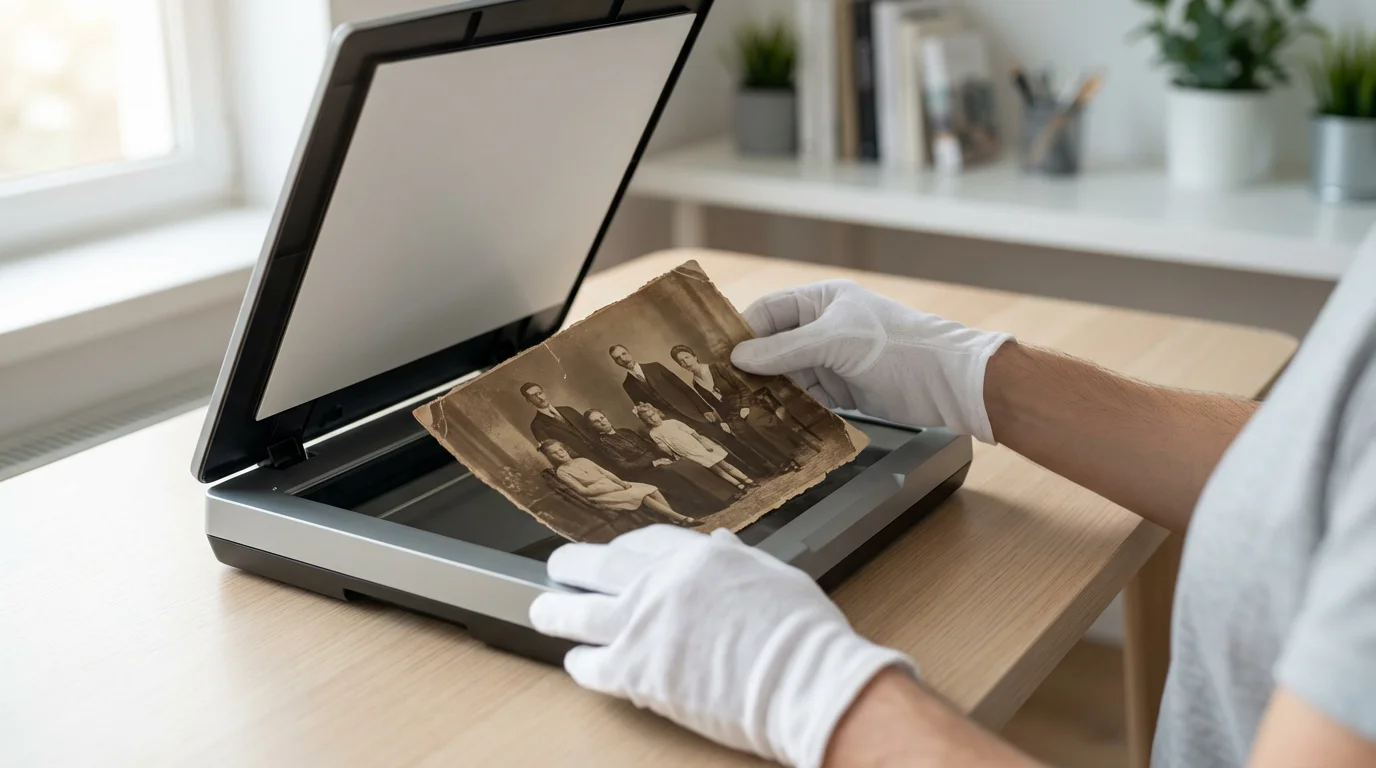
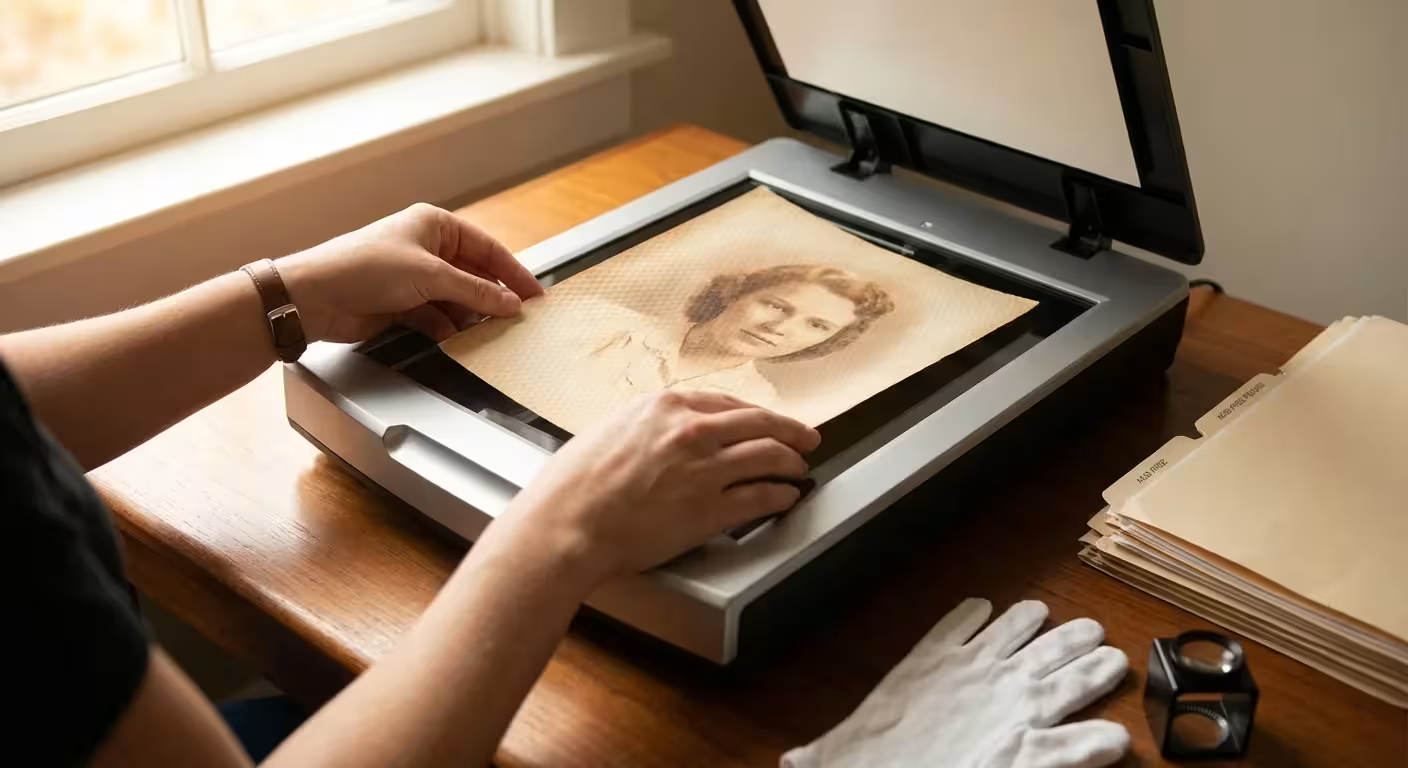
It is also vital to properly prepare your physical photos by cleaning off dust and handling them with care before they ever touch the scanner bed.
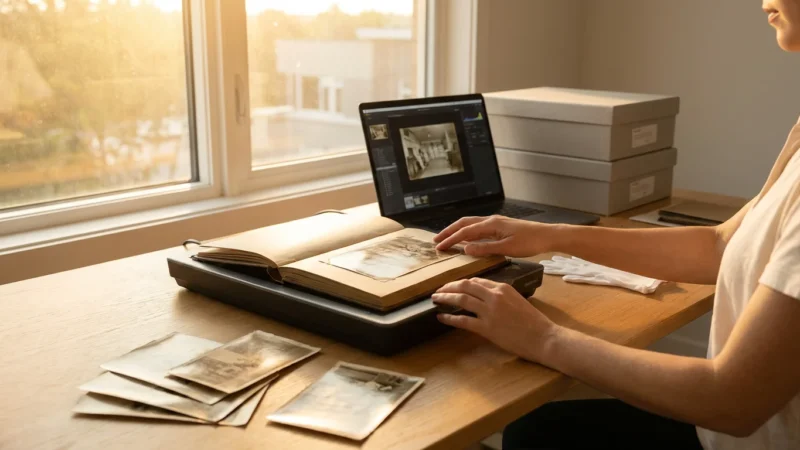
Before selecting your formats, it is helpful to understand the fundamentals of how to scan old photos at home to ensure a successful start to your project.
You want to ensure your efforts today result in high-quality, durable digital assets tomorrow. This guide explains the core differences between these formats, providing practical advice to help you make informed decisions for your unique photo collection.
Understanding Image Compression: Lossy Versus Lossless
Before diving into specific file formats, you must grasp the concept of image compression. Compression reduces the size of a digital file, making it easier to store and transmit. However, not all compression methods are equal; they fall into two primary categories: lossy and lossless.
Lossy Compression
Lossy compression permanently discards some image data to achieve significantly smaller file sizes. JPEG is the most common example of a lossy format. When you save an image using lossy compression, the algorithm identifies and removes information it deems less critical to the overall visual appearance. While this often produces file sizes ideal for web use or sharing, the discarded data is gone forever. Each time you edit and re-save a lossy file, more data degrades, leading to a noticeable reduction in image quality, often visible as “artifacts” like blockiness or blurring, especially in areas of subtle color gradation. This process is irreversible.
Lossless Compression
Lossless compression reduces file size without discarding any original image data. When you open a losslessly compressed file, the decompression process reconstructs the image perfectly, identical to the original. TIFF and PNG are examples of formats that can employ lossless compression. While lossless files are larger than their lossy counterparts, they offer the assurance that every pixel of your scanned photograph remains intact. This makes them ideal for archiving and any situation where absolute image fidelity is paramount. You can open, edit, and re-save a lossless file countless times without any degradation in quality.
TIFF: The Archival Gold Standard
The Tagged Image File Format, or TIFF, stands as the professional and archival standard for scanned photographs. You often see museums, libraries, and professional photo labs relying on TIFF for its unparalleled quality retention and versatility. This format is your best choice for creating master archive files of your precious family photos.
Key Characteristics and Advantages
- Lossless Quality: TIFF typically uses lossless compression (such as LZW) or no compression at all. This means it preserves every single pixel of your original scanned image. You get the highest possible fidelity, ensuring no data loss occurs from the scanning process itself or subsequent saves. This makes TIFF future-proof, safeguarding your images against technological obsolescence and ensuring they look as good as possible for decades to come.
- High Bit Depth Support: TIFF supports 8-bit, 16-bit, and even 32-bit color depths. Scanning at a higher bit depth, like 16-bit, captures a much wider range of tones and colors than 8-bit, which is especially beneficial for old, faded photos. This expanded data provides more flexibility for color correction and restoration work without introducing banding or posterization.
- Versatility: TIFF can store multiple images in a single file, although this is less common for individual photo scans. It also supports transparency, layers, and various color spaces. This robust feature set makes it a highly flexible format for advanced image manipulation.
- Widespread Professional Support: Virtually all professional image editing software, scanning equipment, and archival systems fully support TIFF. This broad compatibility ensures you will always be able to open and work with your TIFF files.
Considerations and When to Use TIFF
- Large File Sizes: The primary drawback of TIFF files is their size. Because they retain all image data, they are significantly larger than JPEGs. A single high-resolution scanned photo saved as a TIFF can easily be tens or even hundreds of megabytes. This requires substantial storage space.
- Not Web-Friendly: Due to their large size, TIFF files are not practical for sharing online or displaying on websites. They take too long to load and consume too much bandwidth.
When to use TIFF: You should use TIFF for your primary archival copies of all scanned photographs. This is your digital negative, the master file from which all other versions will be derived. Scan your photos at a high resolution (e.g., 600 DPI) and save them as uncompressed or LZW-compressed TIFFs. Do not edit or repeatedly resave these master files unless you are performing a significant, irreversible restoration. Instead, create working copies.
The Library of Congress emphasizes the importance of saving original digital captures in a lossless format like TIFF for long-term preservation. They consider it a robust format capable of maintaining image integrity over time. Your master files must live up to these standards.

JPEG: The Efficient Everyday Workhorse
JPEG, short for Joint Photographic Experts Group, is the most common image file format you encounter daily. It is ubiquitous on the web, on digital cameras, and in sharing apps. While JPEG is incredibly convenient, its lossy compression mechanism carries significant implications for long-term photo preservation.
Key Characteristics and Advantages
- Small File Sizes: JPEG excels at creating relatively small file sizes. Its lossy compression algorithm efficiently discards visual information that human eyes are less likely to perceive, making it highly effective for reducing storage requirements and speeding up transfers.
- Universal Compatibility: Virtually every device, software application, and web browser can open and display JPEG files. This universal support makes it the most practical format for sharing your photos with family and friends.
- Web and Email Friendly: Due to their small size, JPEGs load quickly on websites and attach easily to emails. This efficiency is why they dominate online content.
- Variable Compression Levels: When saving a JPEG, you typically have control over the compression level, often represented as a quality slider from 0 to 100 or 1 to 12. Higher quality settings result in less compression and larger files, while lower quality settings yield smaller files but more significant data loss and visible artifacts.
Considerations and When to Use JPEG
- Permanent Data Loss: The core disadvantage of JPEG is its lossy nature. Each time you save a JPEG, especially after editing, you lose data permanently. This cumulative degradation means that an image saved repeatedly at a lower quality setting will progressively deteriorate. You cannot recover the lost information.
- Compression Artifacts: At higher compression levels (lower quality settings), JPEGs can display visible artifacts. These include blockiness in smooth areas, color banding, and “mosquito noise” around sharp edges. These imperfections compromise the visual integrity of your cherished photos.
When to use JPEG: You should use JPEG for copies of your scanned photos intended for everyday viewing, sharing via email or social media, creating photo albums, or displaying on a website. It is the practical choice for distribution. However, you must always create JPEGs from your lossless TIFF master files. Never use JPEGs as your primary archive format, and avoid repeatedly editing and re-saving the same JPEG file, as each save chips away at its quality.
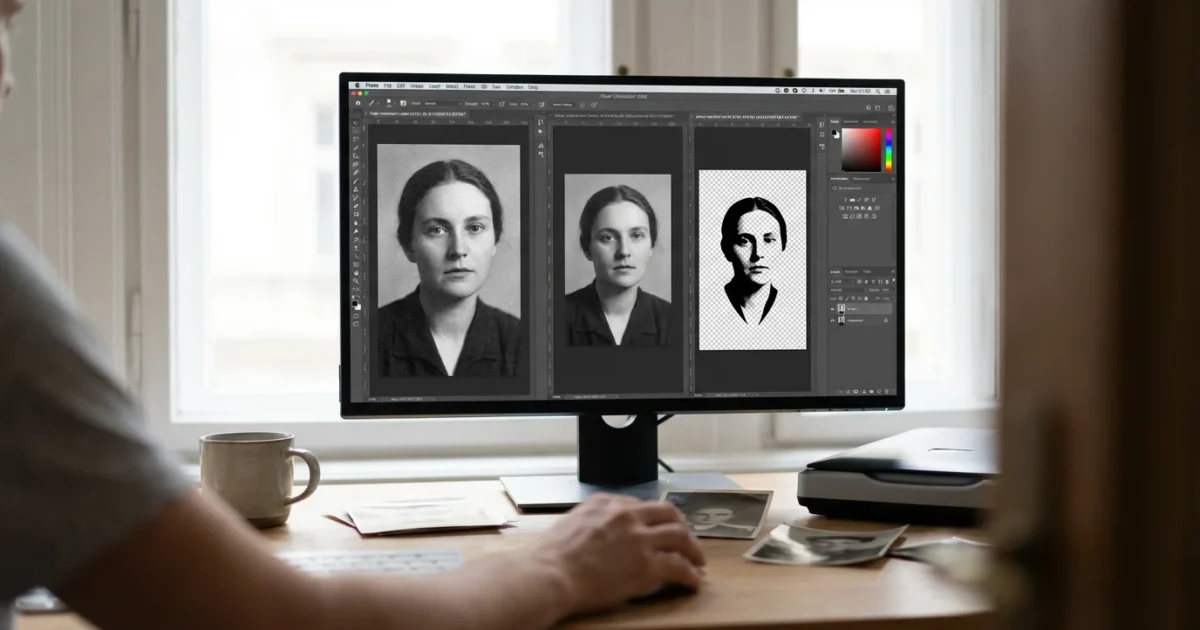
PNG: Transparency and Specific Applications
Portable Network Graphics, or PNG, emerged as a free, open-source alternative to GIF, offering lossless compression and superior transparency handling. While it employs lossless compression like TIFF, its typical use cases differ, making it less common for general photographic archives but valuable for specific needs.
Key Characteristics and Advantages
- Lossless Compression: Like TIFF, PNG uses lossless compression. This means no data is discarded when you save an image as a PNG, preserving every pixel perfectly. You can open and re-save PNGs without quality degradation.
- Excellent Transparency Support: PNG supports full alpha channel transparency, allowing for smooth, gradual transparency effects, unlike the all-or-nothing transparency of GIF. This feature is invaluable for web graphics, logos, or images where you need parts of the image to blend seamlessly with a background.
- Better for Graphics: PNG generally handles images with sharp lines, text, and large areas of flat color better than JPEG. Its compression algorithm is optimized for these types of images, whereas JPEG is designed for photographic gradients and complex color variations.
- Web Friendly: PNG files are widely supported by web browsers and are suitable for online display, especially when transparency or lossless quality for graphics is required.
Considerations and When to Use PNG
- Larger File Sizes for Photos: While lossless, PNG files are typically larger than JPEGs for photographic images. For complex photos with millions of colors and subtle gradations, a PNG file can even be larger than a TIFF, as its compression algorithm is not as efficient for photographic data.
- Less Efficient for Photographic Tone: PNG is not optimized for compressing the continuous tones and varied textures found in photographs. While it preserves detail, it often results in larger file sizes compared to TIFF for high-resolution photo scans, without offering additional benefits for photographic content.
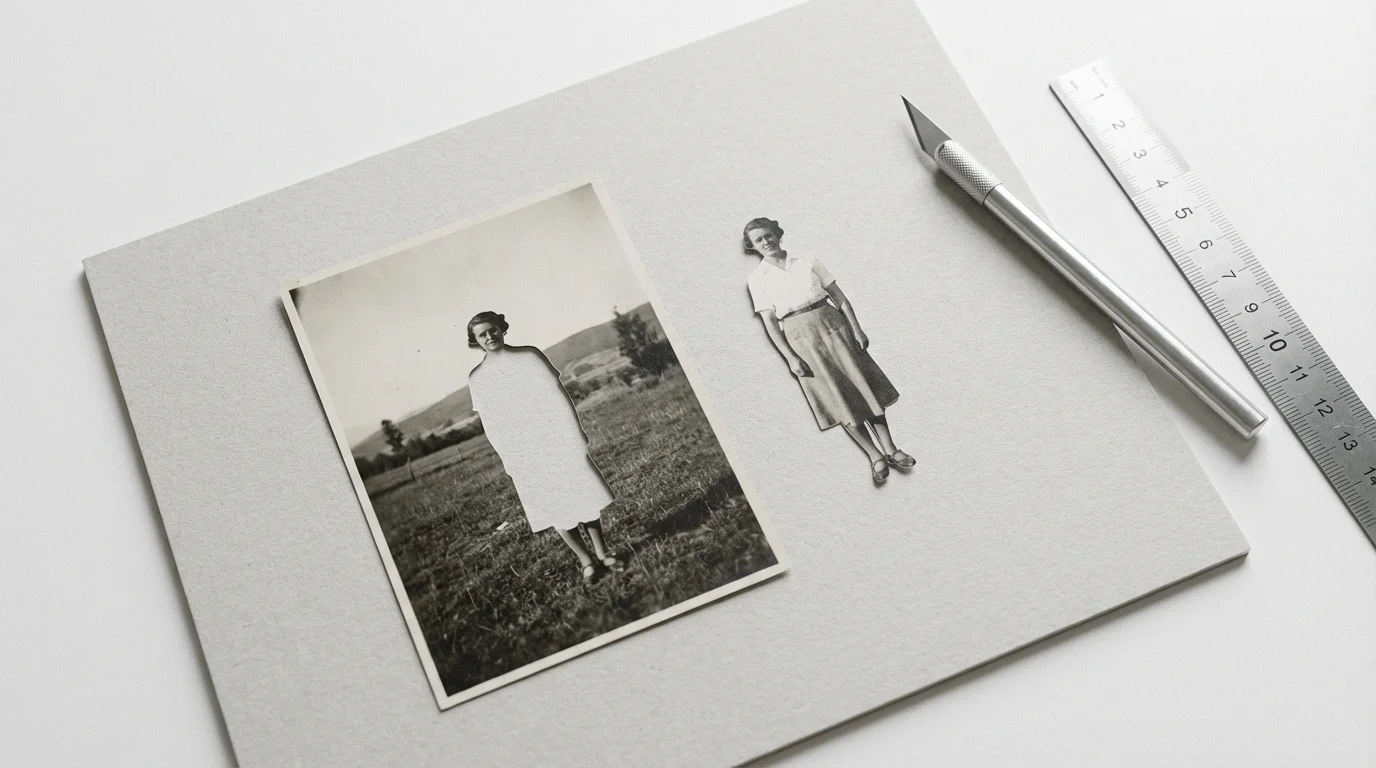
When to use PNG: You might consider PNG for scanned images that require transparency, such as a cutout of a person or object to be composited onto another background. It is also an excellent choice for scanning documents, line art, or graphics that you want to preserve losslessly. For general photographic archiving, however, TIFF is almost always the superior choice due to its optimization for photographic data and broader professional support for high bit depths.
Comparing the Formats: At a Glance
To help you visualize the differences and choose the right format for your needs, this table summarizes the key characteristics of TIFF, JPEG, and PNG:
| Feature | TIFF (Tag Image File Format) | JPEG (Joint Photographic Experts Group) | PNG (Portable Network Graphics) |
|---|---|---|---|
| Compression Type | Lossless (or uncompressed) | Lossy | Lossless |
| Image Quality | Highest, no data loss. Retains all original pixel data. | Variable, degrades with each save. Permanent data loss. | High, no data loss. Retains all original pixel data. |
| File Size (for photos) | Very Large | Smallest | Large (often larger than TIFF for photos) |
| Best Use | Archival masters, professional editing, print production. | Web display, sharing, email, everyday viewing copies. | Web graphics, logos, images with transparency, screenshots. |
| Web Friendly | No (too large) | Yes (fast loading) | Yes (good for graphics, transparency) |
| Transparency Support | Yes (full alpha channel) | No | Yes (full alpha channel, excellent) |
| Bit Depth Support | High (8-bit, 16-bit, 32-bit) | Limited (8-bit per channel) | High (8-bit, 16-bit) |
| Edit/Resave Impact | None, quality preserved. | Degrades quality with each save. | None, quality preserved. |

Building Your Smart Archiving Strategy: The Dual-Format Approach
For most families and individuals digitizing their photo heritage, the optimal strategy involves a dual-format approach. You create a master archive and then derive working copies from it. This method ensures maximum preservation quality while maintaining practical usability.
If you are dealing with thousands of images, you can apply these format choices while using efficient batch scanning methods to save time.
To get the clearest possible master files, be sure to prepare your photos for scanning by removing dust and fingerprints first.
Step-by-Step Archiving Workflow
-
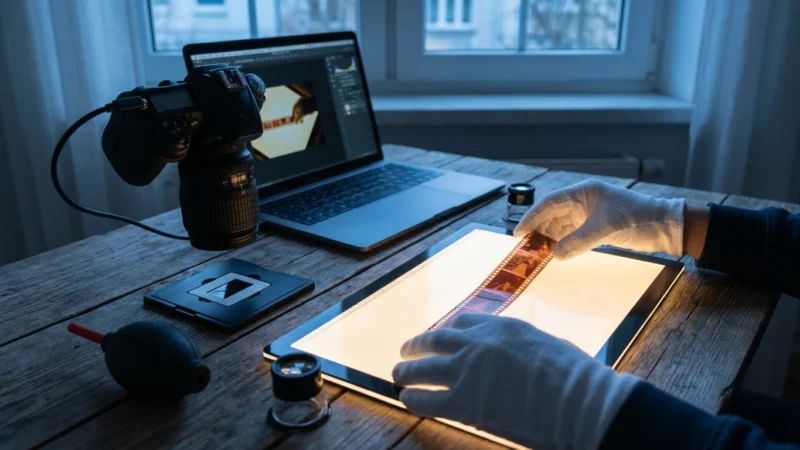
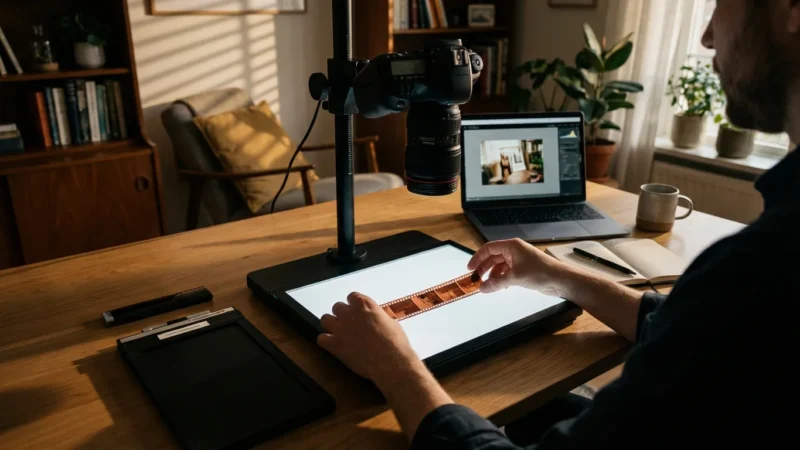
Scan at Optimal Resolution and Color Depth: Set your scanner to capture at a high resolution, typically 600 DPI (dots per inch) for general prints. For negatives or slides, you might consider even higher DPI, like 2400-4000 DPI. Scan in color, even for black and white photos, as this captures more tonal information. Aim for 16-bit color depth if your scanner supports it; this provides the richest data for future adjustments.
-
Save Your Master Files as TIFF: Immediately after scanning, save the raw scan as a TIFF file. Opt for uncompressed TIFF or LZW-compressed TIFF. LZW is a lossless compression method that reduces file size without any quality loss, making it a good balance for storage efficiency without compromise. Give these files descriptive names that include dates, subjects, and locations where possible (e.g., `1985-07-22_GrandmaSmith_BirthdayParty_001.tif`). These TIFFs are your digital negatives; treat them as irreplaceable.
-
Perform Edits on a Copy: Never directly edit your master TIFF file. Instead, make a copy of the TIFF. Use this copy for any necessary adjustments like cropping, color correction, dust removal, or minor restorations. This ensures your original, untouched scan always remains pristine.
-
Export Working Copies as High-Quality JPEG: Once you complete your edits on the TIFF copy, export this edited version as a JPEG. When saving the JPEG, choose the highest quality setting possible (e.g., 100 or 12). This creates a smaller, shareable version that retains excellent visual quality without degrading your master. Name these files similarly to your TIFFs, perhaps adding an “edited” suffix if you keep both (e.g., `1985-07-22_GrandmaSmith_BirthdayParty_001_edited.jpg`). You can then share these JPEGs, upload them to social media, or include them in digital photo albums.
-
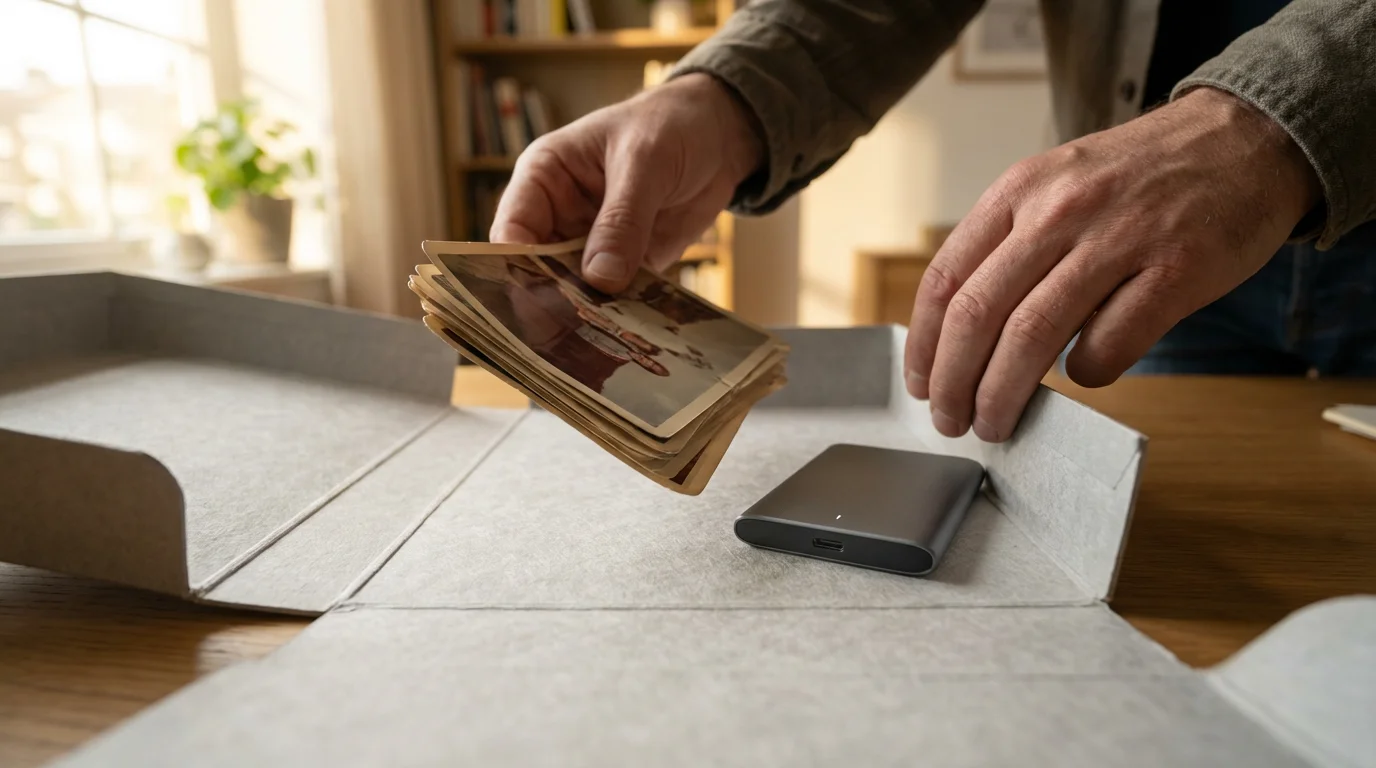
Organize and Back Up: Implement a robust digital preservation strategy immediately. Store your master TIFFs and working JPEGs in a well-organized folder structure. Crucially, follow the “3-2-1” backup rule: three copies of your data, on two different types of media, with one copy offsite. This might mean having one copy on your computer, one on an external hard drive, and one in a cloud storage service. Regular backups protect your precious files from accidental deletion, hardware failure, or disaster.
Digital archivists consistently advise creating a “master” file in a lossless, uncompressed format and “derivative” files in compressed formats for everyday use. This layered approach offers both maximum fidelity for the future and practical usability for the present. Your family memories deserve this careful attention.
Beyond File Formats: Essential Digital Preservation
Choosing the correct file formats is a vital first step, but a comprehensive digital preservation strategy extends further. You must consider several other factors to truly safeguard your scanned photos.
Metadata Tagging
Metadata, “data about data,” is crucial. It includes information such as the date a photo was taken, who is in it, where it was taken, and notes about the event. Embed this information directly into your image files (TIFF and JPEG support this) using EXIF, IPTC, or XMP standards. This ensures that even if files are separated from your organizing software, their descriptive information remains attached. Future generations will thank you for providing context.
Consistent Naming Conventions
Establish a consistent file naming convention and stick to it. A good system might include the date (YYYY-MM-DD), a brief description, and a sequence number (e.g., `2001-08-15_FamilyVacation_Beach_001.jpg`). This makes finding specific photos much easier and helps maintain order in large collections.
Folder Structure
Create an intuitive and logical folder structure. Organize by year, event, person, or a combination that makes sense for your collection. Avoid dumping all your photos into one large folder. A well-organized structure complements your naming conventions, making your archive navigable.
Monitor and Migrate
Technology evolves. File formats and storage media that are robust today may become obsolete in the future. Periodically check your digital archive for file integrity and accessibility. Be prepared to migrate your files to newer formats or storage solutions as technology advances. This proactive approach is a hallmark of good digital preservation.
Frequently Asked Questions
Is there ever a reason to save only as JPEG?
While generally discouraged for archival purposes, you might save only as JPEG if storage space is extremely limited and you are not concerned with future editing or maximum quality. For instance, if you quickly scan a stack of “junk” photos solely for casual digital viewing, where quality degradation is not a concern, JPEG might suffice. However, for any photo with sentimental or historical value, a TIFF master is always recommended.
What DPI should I use for scanning?
For most printed photographs, scanning at 600 DPI (dots per inch) is an excellent balance between detail capture and manageable file size. For negatives or slides, which contain significantly more detail, you might consider 2400 DPI or even higher to capture all available information. A higher DPI allows you to crop and enlarge sections of the photo without pixelation.
Can I convert my JPEGs to TIFFs later?
Yes, you can convert a JPEG file to a TIFF file. However, this process does not magically restore the data lost during the JPEG compression. The resulting TIFF file will be lossless, but it will only contain the data that remained in the JPEG. You will not recover the original image quality present before the JPEG compression occurred. This is why you should always aim to create a TIFF master from the initial scan.
How often should I check my digital archives?
You should review and verify the integrity of your digital archives at least once every 3-5 years. This involves checking that files open correctly, comparing checksums if you are advanced, and considering migration to new storage media or formats if older ones show signs of obsolescence or failure. Regular checks are crucial for long-term preservation.
What about other formats like HEIC or WebP?
HEIC (High Efficiency Image File Format) and WebP are newer image formats designed for efficient storage and web use. HEIC is common on Apple devices, offering high quality at smaller file sizes than JPEG. WebP, developed by Google, also provides excellent compression. While these formats are efficient for modern devices and web content, they are not currently considered archival standards like TIFF. For your master archives, stick to TIFF for maximum compatibility and future-proofing. You can convert your TIFF masters to HEIC or WebP derivatives for specific modern sharing needs.
Empowering Your Photo Preservation Journey
Your journey to preserve your family’s photographic heritage is a meaningful one. Understanding file formats like TIFF, JPEG, and PNG empowers you to make informed decisions that safeguard your memories for generations. By adopting a dual-format strategy, creating lossless TIFF masters for your archives, and generating high-quality JPEG derivatives for everyday use, you strike the perfect balance between preservation and practicality.
Remember, the goal is to protect the stories, faces, and moments that matter most. Take these actionable steps, start with even a small batch of photos, and build your digital archive confidently. Your efforts today create an enduring legacy for tomorrow, ensuring these precious images continue to tell their tales.
Disclaimer: This article is for informational purposes only. When handling valuable or irreplaceable photographs, consider consulting a professional conservator. Always test preservation methods on non-valuable items first.
If you are dealing with thousands of family images, using batch scanning techniques can help you process your collection while maintaining these high-quality file standards.


Leave a Reply