Your old home videos hold priceless moments. They capture first steps, family gatherings, holiday celebrations, and voices of loved ones who may no longer be with you. These VHS tapes and other analog formats are more than just recordings; they are tangible pieces of your family’s history. Unfortunately, time is not kind to these magnetic tapes. They degrade, lose quality, and become unplayable, taking your precious memories with them.
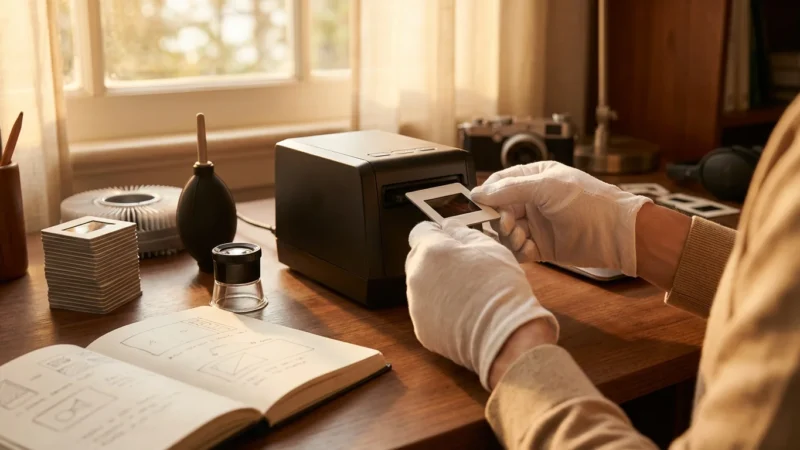
While you focus on video preservation, you might also want to learn how to save yellowed and discolored photographs to ensure your entire family archive is protected.
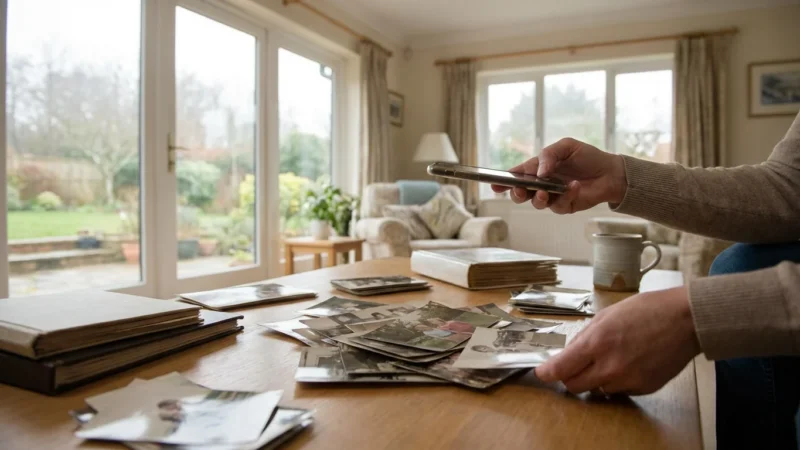
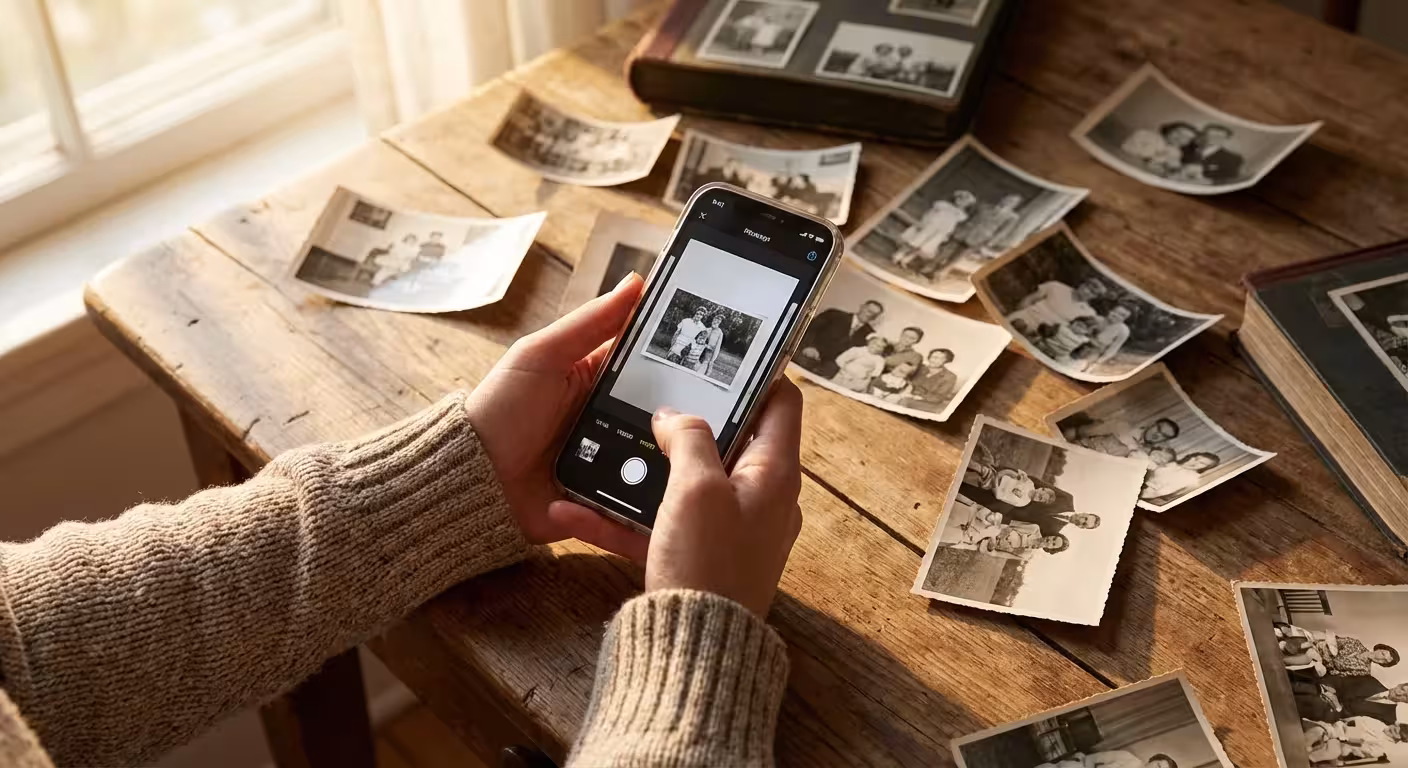
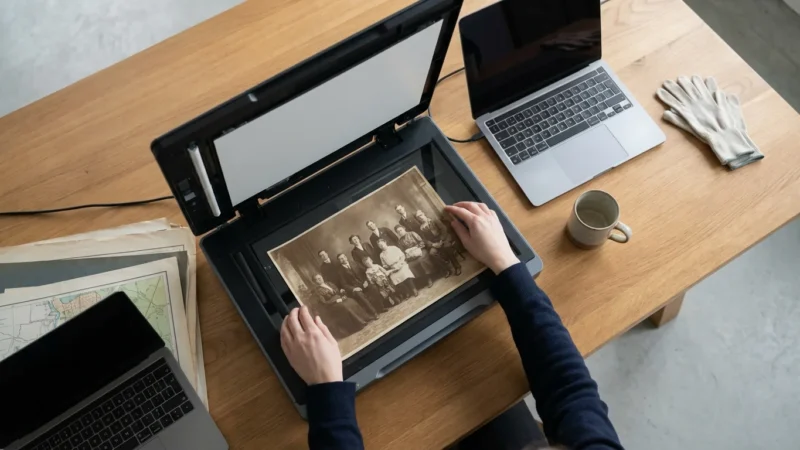
Once you have secured your videos, you might also want to explore how to scan old photos at home to complete your digital collection.
This guide equips you with practical, actionable steps to safeguard your family’s video heritage. You will learn how to digitize VHS tapes and other old home videos, converting them into durable digital files. Whether you choose a hands-on DIY approach or opt for a professional service, this resource empowers you to protect and share these irreplaceable moments for generations to come. Let’s start the journey of preserving your family’s visual stories.

Preserving Irreplaceable Memories: Why Digitize Your Home Videos?
The decision to digitize VHS tapes and other analog home videos extends beyond simple technical conversion; it is an act of preserving your personal history. Consider the unique value these tapes hold. They contain the unfiltered, spontaneous moments of life that professional photos often miss. Your parents’ wedding, your childhood birthday parties, a beloved grandparent’s voice, or a simple family dinner recorded years ago—these are snippets of time that represent your legacy.
Once your videos are digitized, following best practices for creating a home photo archive will help you maintain a cohesive and secure family history.
While focusing on video, don’t forget that creating digital copies of photo negatives and slides is another vital step in preserving your complete family history.
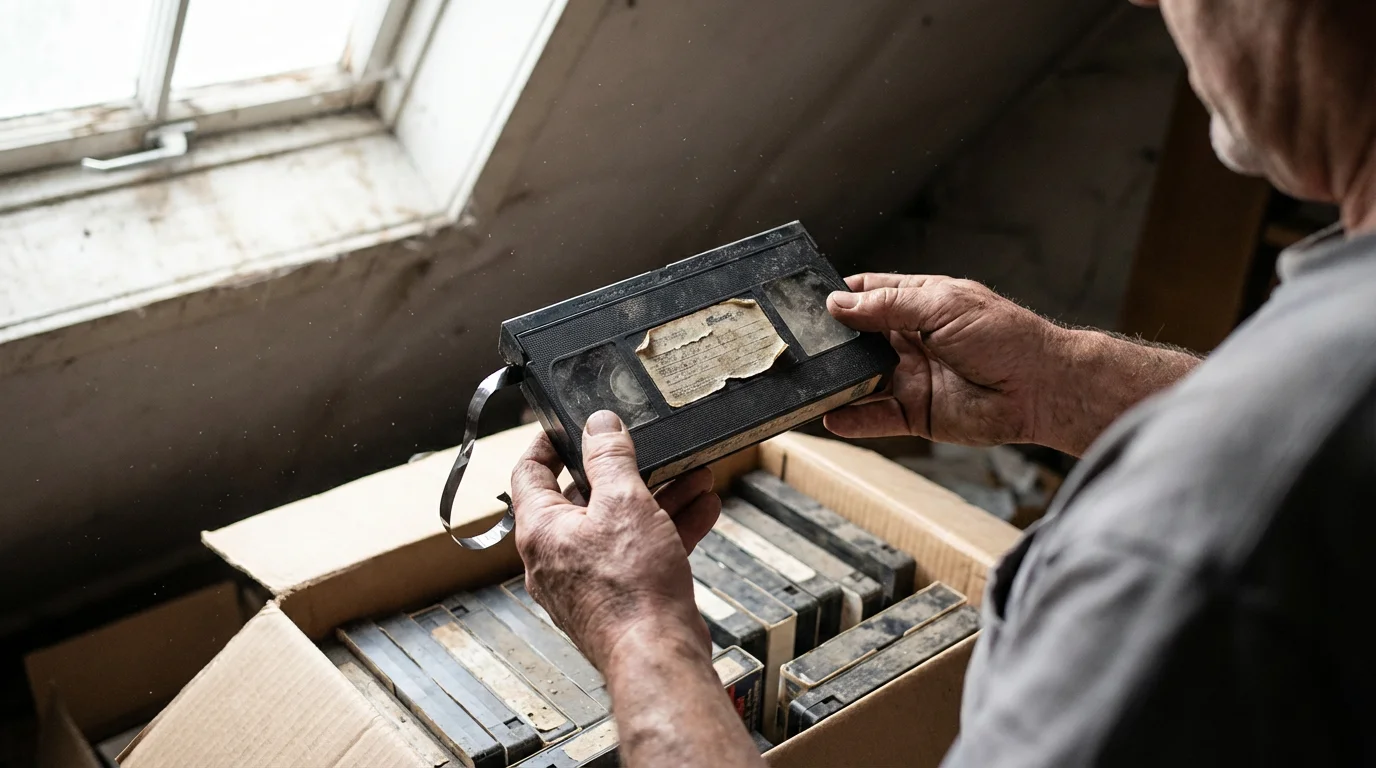
The problem with physical tapes, such as VHS, Video8, Hi8, and MiniDV, is their inherent fragility. They are susceptible to physical damage, magnetic degradation, and the relentless march of time. A tape stored improperly can easily develop mold, lose magnetic data, or suffer physical wear from repeated playback. Once that damage occurs, retrieving your memories becomes challenging, if not impossible. By converting these physical assets to digital files, you create a robust, accessible, and shareable archive that defies the limitations of decaying physical media. This proactive step ensures that the laughter, the tears, and the everyday moments captured on those tapes remain vibrant and available for future generations to experience.
Understanding VHS Degradation and the Urgency of Conversion
Magnetic tape, the medium for VHS and similar formats, has a finite lifespan. Experts estimate that the optimal playable life for a VHS tape is typically 10 to 20 years under ideal storage conditions. After this period, you begin to see a noticeable decline in video and audio quality. This degradation is not a sudden event; it is a gradual process that accelerates over time.
This rapid decline in quality emphasizes the importance of backing up physical photos digitally before environmental damage sets in permanently.
To protect your printed memories from similar risks, follow these best practices on how to store old photographs to prevent long-term fading and environmental damage.
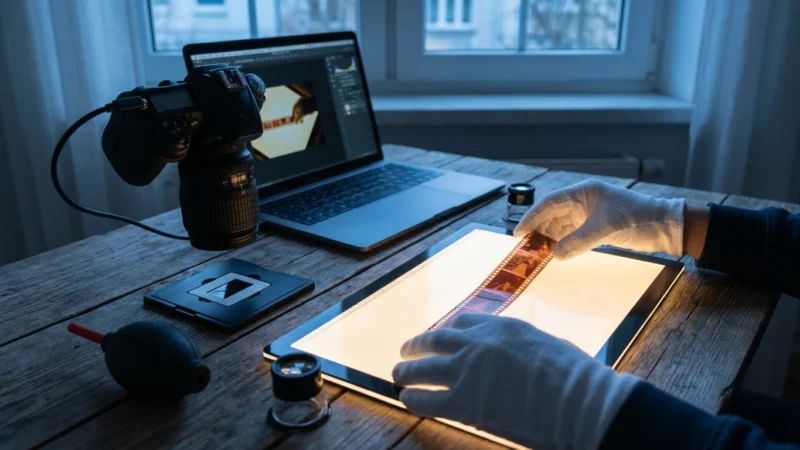
Just as magnetic tape fades, your film strips are also vulnerable; learning how to digitize 35mm film negatives at home can protect those still images from similar environmental damage.
Several factors contribute to this inevitable decline:
- Magnetic Signal Loss: The magnetic particles on the tape slowly lose their charge, weakening the recorded signal. This leads to faded colors, reduced sharpness, and overall image deterioration.
- Physical Wear and Tear: Each time you play a tape, the VCR’s heads rub against the tape, causing physical wear. This results in dropouts, streaks, and tracking issues.
- Environmental Factors: Heat, humidity, and direct sunlight accelerate degradation. High humidity can cause tapes to stick, mold to grow, and the binder that holds the magnetic particles to weaken. Extreme temperature fluctuations expand and contract the tape, leading to warping.
- Dust and Contaminants: Dust particles and other debris can get embedded in the tape, causing signal interference and VCR head clogging.
Recognizing these vulnerabilities underscores the urgency. Every year you wait, the quality of your tapes diminishes. Converting your home videos to digital files today captures them at their current best possible state, effectively freezing their deterioration and creating a permanent, stable version of your memories. Do not let these irreplaceable moments fade away; act now to preserve them.
“The true value of digitization is not just about moving from analog to digital, but about safeguarding the narrative of our lives. Magnetic tapes are fragile storytellers; digital files give them an enduring voice.”

Choosing Your Conversion Path: DIY Versus Professional Service
You have two primary options when considering how to digitize VHS and other home videos: a do-it-yourself (DIY) approach or using a professional conversion service. Each path offers distinct advantages and disadvantages, and the best choice depends on your budget, time commitment, technical comfort level, and the volume of tapes you possess.
If you have delicate physical albums stored with your tapes, you can also learn about scanning photos from albums without removing them to protect their original layouts.
If you have a large collection of prints as well, you may want to compare these options to professional photo scanning services to see which approach works best for your stills.
If you have a significant amount of media to process, techniques like batch scanning large photo collections efficiently can help you manage your time effectively across different projects.
DIY Conversion: Empowering Your Preservation
The DIY route puts you in direct control of the conversion process. You handle every step, from preparing the tapes to encoding the final digital files.
- Pros:
- Cost-Effective: For a large collection of tapes, the per-tape cost is significantly lower than professional services. You make a one-time investment in equipment.
- Full Control: You dictate the quality settings, file formats, and any real-time adjustments during capture. This level of control ensures your specific preferences are met.
- Privacy: Your sensitive family memories remain entirely within your possession, never leaving your home.
- Learning Experience: You gain valuable technical skills in video capture and digital file management.
- Cons:
- Time-Consuming: Digitizing requires real-time playback. A two-hour tape takes at least two hours to capture, plus setup, troubleshooting, and post-processing. A large collection demands a substantial time commitment.
- Initial Equipment Cost: You need to purchase a VCR (if you do not have one), an analog-to-digital converter, and potentially editing software.
- Technical Learning Curve: Setting up hardware, installing drivers, and configuring capture software can be challenging for those unfamiliar with video technology.
- Quality Variability: Without professional-grade equipment and expertise, the quality of your DIY conversions may vary.
Professional Conversion Services: Convenience and Quality
Professional services handle the entire conversion process for you. You send your tapes, and they return digital files, often on a hard drive, USB stick, or via cloud download.
- Pros:
- Convenience: This is the most significant advantage. You save immense time and effort.
- Higher Quality: Reputable services use professional-grade equipment, often with built-in time base correctors (TBCs) that stabilize the video signal, resulting in cleaner, more stable captures.
- Expert Handling: Professionals understand how to handle delicate tapes, including those with minor damage or mold.
- Specialized Formats: Many services can convert obscure or less common tape formats that are difficult to process at home.
- Cons:
- Higher Cost: Professional services charge per tape, which can become expensive for large collections.
- Loss of Control: You have less input on the technical specifics of the conversion process.
- Privacy Concerns: You entrust your personal family videos to an external company. Research their privacy policies and security measures thoroughly.
- Shipping Risks: Tapes can be lost or damaged during transit to and from the service provider.
Evaluate your comfort with technology, the number of tapes you have, and your budget. If you have a few tapes and value convenience, a professional service might be best. If you enjoy technical projects, have many tapes, and want to save money, the DIY route offers a rewarding experience.
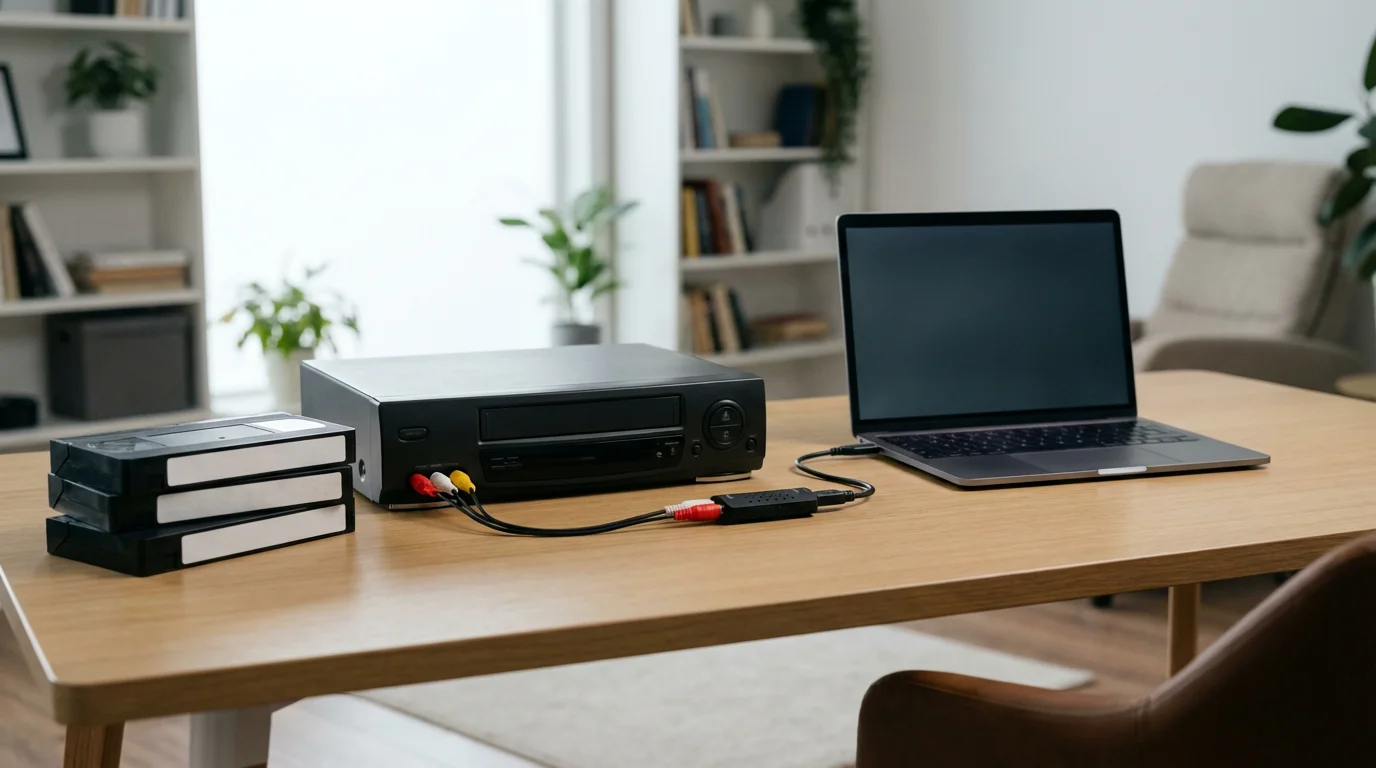
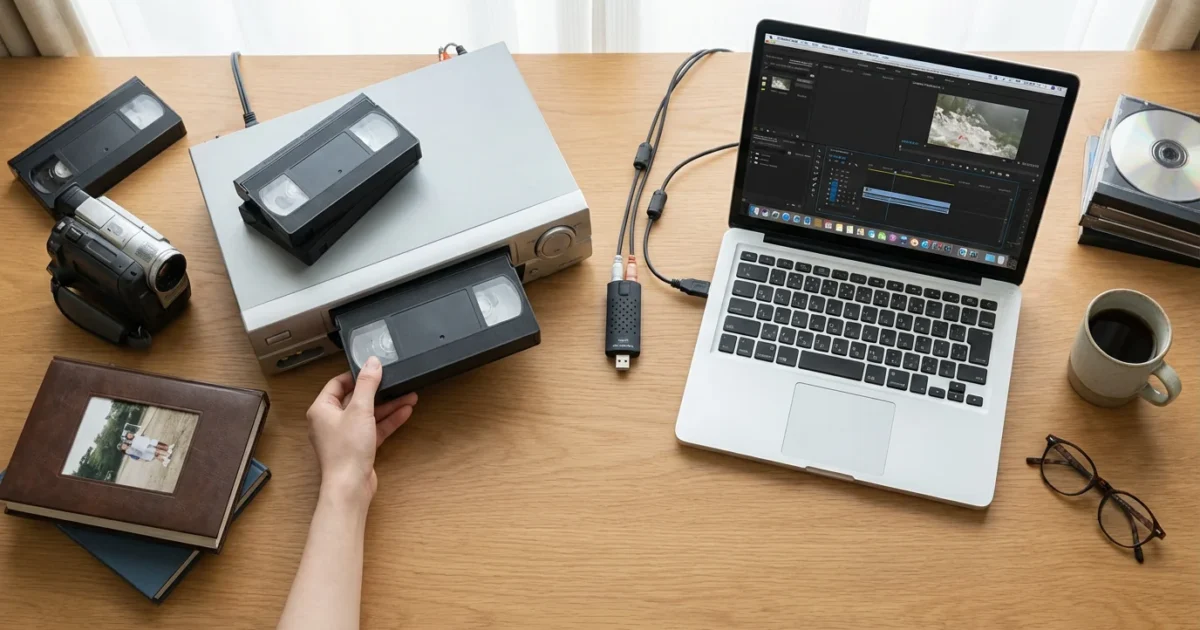
Essential Equipment for DIY VHS to Digital Conversion
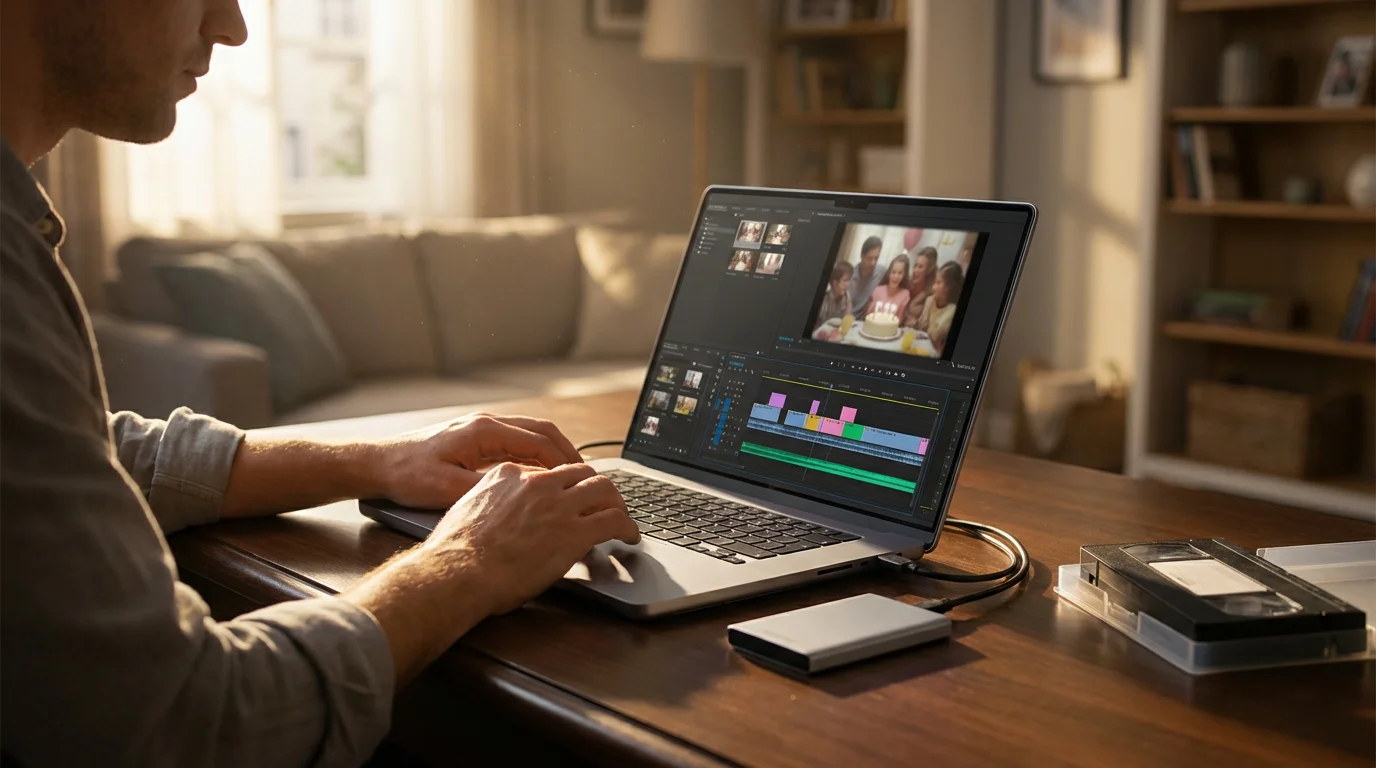
Embarking on a DIY home video conversion project requires a few key pieces of hardware and software. Gathering these items before you begin streamlines the process and ensures a smoother experience. This equipment forms the core of your setup to successfully `digitize VHS` and convert your `home video conversion` efforts into lasting digital files.
To build out your complete home digitizing station, you may also want to research the best photo scanners for home use for your printed memories.
Beyond video capture hardware, having one of the best photo scanners for home use allows you to archive related keepsakes like photo albums and Polaroids.
- Working VCR (Video Cassette Recorder):
- This is non-negotiable. You need a VCR in good working order to play your VHS tapes. If you do not have one, check local thrift stores, online marketplaces, or ask friends and family. Ensure the VCR has standard RCA (red, white, yellow) output jacks, and ideally, an S-Video output for better quality.
- Tip: Before using an old VCR, consider cleaning its heads with a specialized VCR head cleaning kit to prevent dust and debris from affecting the capture quality. Test it with a non-precious tape first.
- Analog-to-Digital Converter (Capture Card/Device):
- This is the critical piece that translates the analog signal from your VCR into a digital signal your computer can understand. These come in two main forms:
- USB Capture Device: These external devices connect to your computer via a USB port. They are generally plug-and-play, affordable, and easy for beginners. Many come with included capture software. Look for devices that support S-Video input if your VCR offers it, as S-Video provides a clearer image than composite (yellow RCA). Many users consider this the `best VHS to digital converter` for home use due to its simplicity.
- Internal Capture Card: These cards install directly into a desktop computer’s PCI-e slot. They often offer higher quality and more advanced features but require a desktop PC and some technical comfort for installation.
- This is the critical piece that translates the analog signal from your VCR into a digital signal your computer can understand. These come in two main forms:
- Computer:
- You need a computer with sufficient processing power and storage space. Video files, even at VHS resolution, can be large.
- Processor: A modern dual-core or quad-core processor (Intel i3/i5/i7 or AMD Ryzen equivalent) provides enough power.
- RAM: 8GB of RAM is generally sufficient; 16GB is even better for smoother operation and potential editing.
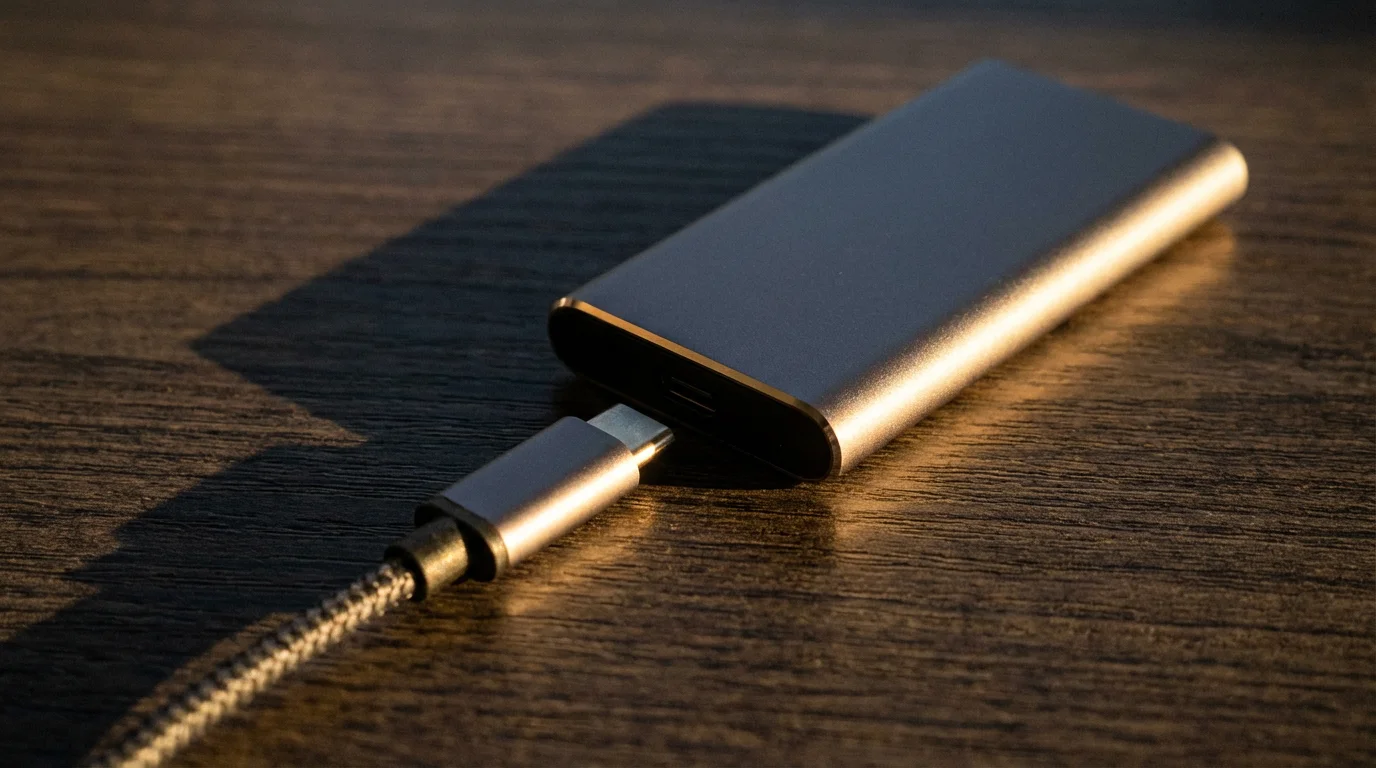
- Storage: Dedicate plenty of free hard drive space. A 2-hour VHS tape can generate a file between 2-5GB depending on the capture settings and format. An external hard drive is highly recommended for storing the final `video to digital` files.
- You need a computer with sufficient processing power and storage space. Video files, even at VHS resolution, can be large.
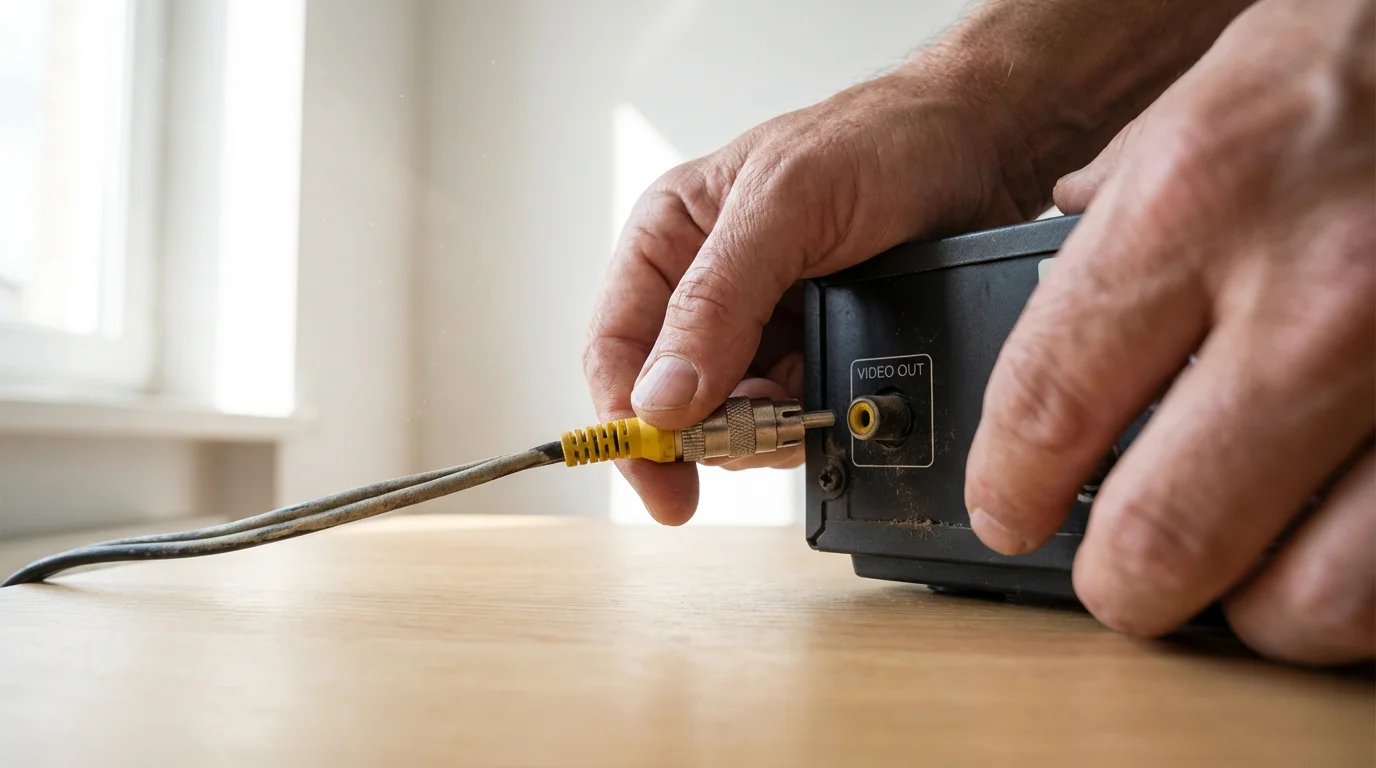
- RCA Cables (and S-Video if applicable):
- These cables connect your VCR to the analog-to-digital converter.
- RCA Cables: A set of three cables: yellow for video, and red/white for stereo audio.
- S-Video Cable: If your VCR and converter both support S-Video, use this instead of the yellow RCA cable for improved picture quality. You will still need the red and white RCA cables for audio.
- These cables connect your VCR to the analog-to-digital converter.
- Video Capture Software:
- Many USB capture devices come bundled with basic software. If not, or if you prefer more features, popular options include:
- OBS Studio: Free, open-source, powerful, and widely used for capturing video. It has a steeper learning curve but offers extensive control.
- Elgato Video Capture: User-friendly software often bundled with Elgato capture devices.
- Roxio Easy VHS to DVD: A popular commercial option often bundled with capture hardware, designed specifically for this purpose.
- Many USB capture devices come bundled with basic software. If not, or if you prefer more features, popular options include:
With these components in place, you are well-equipped to undertake your project and `how to convert VHS tapes to digital files` efficiently.
Step-by-Step Guide to Digitizing Your VHS Tapes
Converting your precious `home video conversion` to digital files involves a methodical approach. Follow these steps carefully to ensure the best possible quality when you `digitize VHS` tapes.
Proper handling is key to a high-quality capture; much like how to prepare photos for scanning, ensure your tapes are clean and free of debris before starting.
- Prepare Your Tapes and VCR:
- Inspect Tapes: Visually examine your VHS tapes for any visible mold, creases, or damage. Do not play a moldy tape, as it can spread mold to your VCR and damage your equipment and other tapes. If a tape has mold, consult a professional for cleaning.
- Fast Forward/Rewind: Fully fast-forward and then rewind each tape once. This re-tensions the tape evenly, which can improve playback stability and reduce tracking issues during capture.
- Clean VCR Heads: Use a dry VCR head cleaning tape according to its instructions. This removes dust and debris that can degrade video quality.
- Connect Your Equipment:
- VCR to Converter: Connect the RCA cables (yellow for video, red for right audio, white for left audio) from the “OUT” jacks on your VCR to the “IN” jacks on your analog-to-digital converter. If your VCR has an S-Video output and your converter has an S-Video input, use an S-Video cable for video instead of the yellow RCA. Remember to still connect the red and white RCA cables for audio.
- Converter to Computer: Plug the USB end of your converter into a free USB port on your computer. Your operating system may automatically install drivers, or you might need to install them from an included disc or the manufacturer’s website.
- Install and Configure Capture Software:
- Install the video capture software that came with your converter or your chosen alternative (e.g., OBS Studio).
- Select Input Source: In the software settings, choose your analog-to-digital converter as the video and audio input device.
- Configure Settings:
- Resolution: Set the capture resolution to 640×480 (standard definition for VHS) or 720×480 for NTSC. Do not attempt to capture at higher resolutions; it only upscales a low-resolution signal, creating larger files without true quality improvement.
- Frame Rate: Set to 29.97 fps (NTSC) or 25 fps (PAL) depending on your region.
- Aspect Ratio: Choose 4:3.
- File Format: Select MP4 (H.264) for broad compatibility and good compression.
- Bitrate: Experiment with bitrates. A good starting point for VHS is 2000-5000 kbps. Higher bitrates yield larger files but potentially better detail retention.
- Test Audio/Video: Play a segment of a tape and check if the audio and video appear correctly in your software’s preview window. Adjust volume levels to avoid clipping.
- Start Capturing Your Video:
- Queue the Tape: Rewind the tape to the very beginning.
- Synchronize: Click “Record” in your capture software, then immediately press “Play” on your VCR. This synchronization ensures you capture the entire video.
- Monitor the Capture: Watch the video during the capture process. Look for any skips, drops, or audio issues. If problems arise, pause, troubleshoot, and restart the capture.
- Save and Name Your Files:
- Once the tape finishes playing, press “Stop” on both your VCR and the capture software.
- Save the captured file. Give it a descriptive name immediately, such as “FamilyVacation_1995_Tape1.mp4.” Consistent naming conventions are crucial for organization.
- Repeat for All Tapes: Work through your entire collection, one tape at a time. This systematic approach ensures every precious memory gets preserved. This process answers `how to convert VHS tapes to digital files` for your entire collection.
Optimizing Your Digitized Videos: Enhancements and File Management
Once you have captured your raw digital video files, the next step involves refining them. This optimization process can improve their watchability and ensure they are manageable for long-term storage and sharing. This stage is crucial for transforming your initial `video to digital` conversion into polished, accessible memories.
When managing your new digital library, understanding the pros and cons of different file formats for scanned media will help you choose the right balance of quality and storage space.
Basic Editing and Enhancements:
Raw VHS captures often include blank segments, unwanted commercials, or dead air. Simple editing can significantly enhance the viewing experience.
- Trimming: Use a basic video editor (like DaVinci Resolve Free, Shotcut, or the Photos app on Windows) to trim off any blank leading or trailing segments, commercials, or unwanted footage. Keep the focus on the meaningful content.
- Color Correction: VHS colors often appear washed out or have an undesirable tint. Many video editors offer basic color adjustment tools, allowing you to tweak brightness, contrast, and saturation. Small adjustments can make a big difference in vibrancy.
- Audio Enhancement: Old tapes might have background hums or muffled audio. Some editors offer noise reduction filters that can subtly clean up the sound. Ensure the audio is clear and at a consistent volume level throughout the video.
- Stabilization: If the original footage was shaky, some advanced editing software can offer digital stabilization. While it cannot perfectly fix severely shaky footage, it can make minor improvements.
Remember that you cannot create high-definition footage from a standard-definition source. Focus on improving clarity, color balance, and audio within the inherent limitations of the original VHS quality.
File Format and Resolution Considerations:
- Primary Archive Format: MP4 (H.264 codec) remains the most recommended format. It strikes an excellent balance between file size, quality, and universal compatibility. It plays natively on almost every device and platform.
- Resolution: Keep your resolution at its native standard definition (e.g., 640×480 or 720×480 for NTSC, 768×576 for PAL). Do not upscale to HD resolutions (1080p or 4K) as it only interpolates pixels, creating larger files without adding actual detail.
- Bitrate: If you re-encode or export edited videos, aim for a bitrate of 2000-5000 kbps for video and 128-192 kbps for audio. This range typically preserves good quality without excessive file sizes.
Metadata and Organization:
Metadata is data about your data. Adding descriptive metadata helps you find and understand your files in the future.
- File Naming Convention: Adopt a consistent naming structure from the start. Examples:
- YYYY-MM-DD_EventName_Location_TapeNumber.mp4 (e.g., 1995-07-04_FamilyReunion_GrandmasHouse_Tape01.mp4)
- EventName_YYYY_Participants.mp4 (e.g., JohnFirstSteps_1988_MomDadJohn.mp4)
- Add Tags/Keywords: Use your operating system’s file properties or a dedicated media organizer to add tags such as names of people, places, dates, and events. These keywords make searching your collection much easier.
- Create Folders: Organize your videos into logical folders, perhaps by year, event, or family branch. This structure prevents your digital collection from becoming a cluttered mess.
By taking these steps, you not only convert your tapes but also elevate your digital memories into a well-organized, accessible, and enjoyable archive for years to come.
Securing Your Digital Legacy: Storing and Organizing Your Video Collection
Converting your `home video conversion` to digital files is only the first step in long-term preservation. The next, equally crucial phase involves securing and organizing these precious `video to digital` assets. Digital files, while durable, are not immune to loss. Hard drive failures, accidental deletions, and ransomware attacks pose real threats. A robust storage strategy ensures your newly digitized memories endure.
As your library grows, learning how to organize digital photos and videos will ensure you can always find the specific family moments you are looking for.
Implementing the 3-2-1 Backup Rule:
The gold standard for digital preservation is the 3-2-1 backup rule:
- 3 Copies of Your Data: Keep your original files (the ones on your computer after conversion) and at least two backup copies.
- 2 Different Media Types: Store your backups on at least two different types of storage media. For example, your computer’s internal drive, an external hard drive, and cloud storage.
- 1 Offsite Copy: Keep at least one copy in a different physical location. This protects against local disasters like fire, flood, or theft.
Storage Solutions for Your Digital Videos:
Consider a multi-pronged approach using a combination of these options:
- External Hard Drives:
- Pros: High capacity, relatively inexpensive per gigabyte, fast local access.
- Cons: Susceptible to physical damage, theft, or data corruption. They are not an offsite solution unless you store one at another location.
- Action: Purchase at least two reliable external drives. Dedicate one for your primary backup and another for an offsite copy.
- Cloud Storage Services:
- Pros: Automatic offsite backup, accessible from anywhere, good protection against local disasters. Services like Google Drive, Dropbox, Microsoft OneDrive, and dedicated photo/video services like Amazon Photos (for Prime members) offer substantial storage.
- Cons: Ongoing subscription costs, slower access for very large files, potential privacy concerns (though reputable services are secure).
- Action: Choose a reputable cloud provider and upload your most cherished videos. Regularly check your storage limits and backup status.
- Network Attached Storage (NAS):
- Pros: Centralized storage for your entire home network, often configured for RAID (Redundant Array of Independent Disks) for data protection, accessible from multiple devices. Acts as a personal cloud.
- Cons: Higher initial cost, requires some technical setup and maintenance.
- Action: If you have a large family archive and technical comfort, a NAS can be an excellent long-term solution.
- Archival Optical Media (e.g., M-Disc Blu-ray):
- Pros: Extremely long lifespan (1,000+ years claimed), physical offsite storage option.
- Cons: Lower capacity than hard drives, requires a Blu-ray burner, slower write speeds, cannot be easily updated.
- Action: Best for truly irreplaceable files that will not change, used in conjunction with other methods.
Ongoing Organization and Maintenance:
- Regular Backups: Make backing up a routine. Set a schedule—monthly or quarterly—to copy new and existing files to your backup drives and cloud storage.
- Verify Backups: Periodically check your backup files to ensure they are accessible and not corrupted. Play a few random videos from your external drives.
- Future-Proofing: Keep an eye on evolving digital formats and storage technologies. While MP4 is robust now, be prepared to migrate your files to newer, more stable formats if necessary decades down the line. The Library of Congress offers excellent resources on digital preservation best practices, which you can consult for further guidance on maintaining digital assets long-term. Visit the Library of Congress Preservation website for detailed information.
- Metadata Review: Periodically review your file names and tags to ensure accuracy and consistency. The more detail you add now, the easier it becomes to find specific memories years from now.
By diligently following these storage and organization principles, you move beyond merely digitizing your videos to actively preserving your digital legacy, making sure these stories remain vibrant and accessible for future generations.
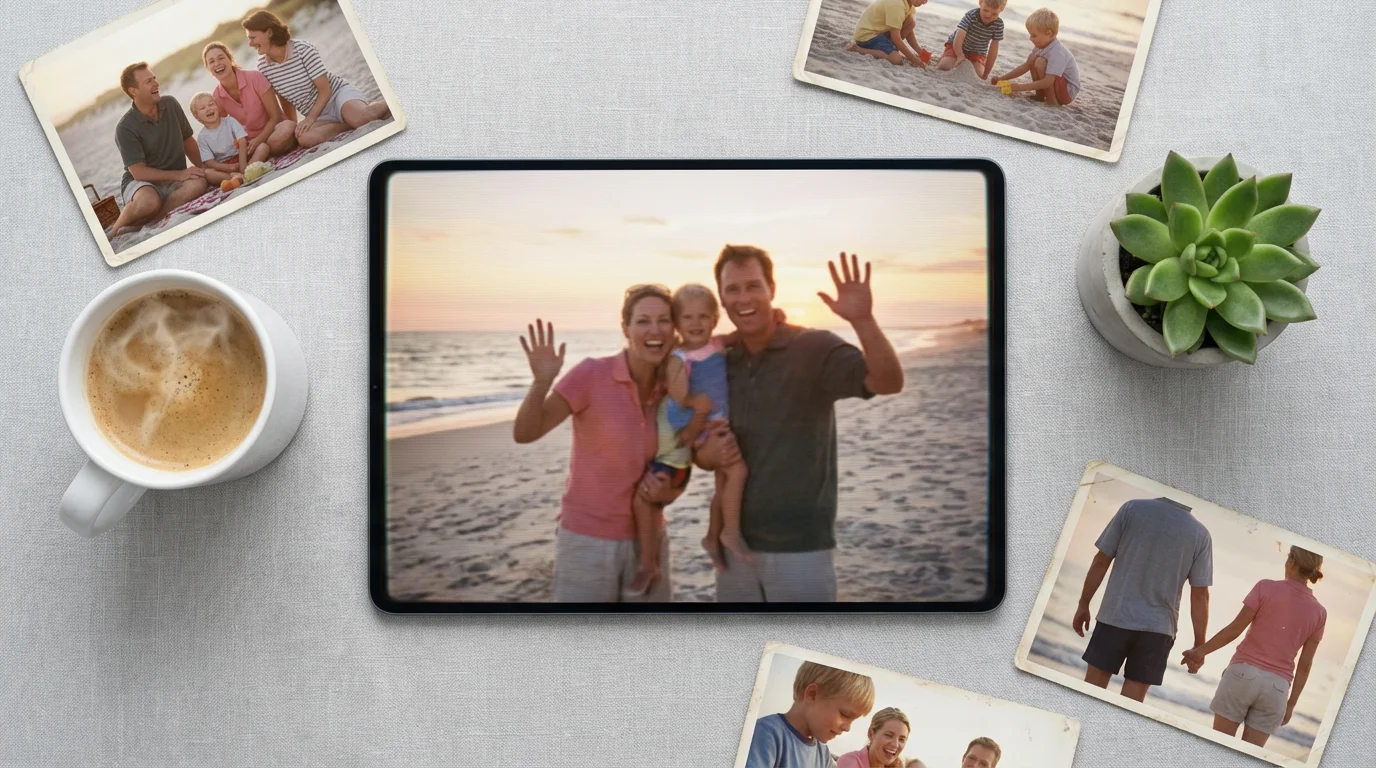
Sharing Your Treasured Home Videos with Loved Ones
The ultimate goal of converting your `how to convert VHS tapes to digital files` is not just preservation; it is about sharing these invaluable pieces of your family history. Digital files offer unprecedented flexibility in how you can distribute and enjoy your home videos. Once you have completed your `video to digital` conversion and organized your collection, the real fun begins: bringing these memories back to life for everyone to experience.
Digital Sharing Methods:
- Cloud Storage Links: Most cloud services (Google Drive, Dropbox, OneDrive) allow you to share links to specific files or folders. You can send a link to family members, granting them view-only or download access. This is ideal for distributing individual videos or small collections.
- External Hard Drives/USB Sticks: For larger collections, physically handing over an external hard drive or a large USB stick loaded with all the digitized videos is a practical solution. This is especially useful for older family members who may not be comfortable with cloud platforms.
- Private Video Hosting: Consider creating a private playlist on platforms like YouTube or Vimeo. You can set videos to “unlisted” or “private” and share the links or invite specific viewers. This allows for streaming without making the videos public.
- Family Photo/Video Albums: Create a shared online album using services like Google Photos or Apple Photos, inviting family members to view and contribute. These platforms often optimize videos for streaming and include robust organization features.
Creative Ways to Re-engage with Memories:
- Family Movie Nights: Gather your family for a dedicated movie night featuring your newly digitized home videos. Seeing these old clips on a modern TV can spark wonderful conversations and reminiscence.
- Personalized Video Compilations: Use video editing software to create themed compilations. For instance, a “Best of Birthdays” video, a “Summer Vacations” montage, or a tribute video for a special anniversary. These edited highlights are often more engaging than watching raw footage.
- Digital Photo Frames (with video capabilities): Some modern digital frames support video playback. Load a selection of short, meaningful clips onto a frame to play continuously, offering a dynamic display of family history in your home.
- Integrate into Digital Scrapbooks: If you create digital scrapbooks or memory books, embed short video clips directly into the pages. A QR code can also link to a full video online from a physical scrapbook page.
- Gifts for Special Occasions: A customized USB stick filled with family memories makes a deeply personal and meaningful gift for birthdays, anniversaries, or holidays.
By embracing these sharing and creative utilization methods, you transform dormant archives into living, breathing memories. Your efforts to `digitize VHS` tapes not only preserve the past but actively enrich the present, ensuring that the laughter and love captured on those tapes continue to resonate with everyone who watches them.
Frequently Asked Questions
What is the best file format for digitizing VHS tapes?
For preserving your home videos, most experts recommend MP4 using the H.264 codec. This format offers an excellent balance of quality, compression, and universal compatibility. It plays on nearly all devices and operating systems, making your memories easily accessible for years to come. While some capture devices may offer AVI or MOV, MP4 provides robust future-proofing without excessive file sizes.
How long does it take to digitize a VHS tape?
Digitizing a VHS tape requires real-time playback. A two-hour VHS tape takes at least two hours to capture. This duration does not include setup time, file processing, or any post-capture editing. If you have multiple tapes, factor in significant time for the entire project. Professional services often streamline this process, but a DIY approach demands patience and dedicated time.
Can I improve the quality of my old VHS tapes during conversion?
You cannot improve the source quality beyond what exists on the tape. VHS resolution is inherently low. However, you can make improvements to the *presentation* of the digitized video. Modern capture software and video editing tools allow for basic color correction, brightness and contrast adjustments, and noise reduction filters. Cleaning your VCR’s heads before conversion also ensures the best possible capture from the original signal. Do not expect high-definition results, but you can certainly enhance clarity and watchability.
What if my VCR does not work, or I no longer own one?
If your VCR is broken, or you simply do not have one, you have several options. You can purchase a used or refurbished VCR online or from a local electronics store. Ensure it is in good working condition. Alternatively, consider borrowing one from a friend or family member. If these options are not feasible, or you prefer not to handle the equipment, professional video conversion services are an excellent solution. They possess the necessary working equipment and expertise to handle your tapes without you needing to invest in hardware.
Is it safe to mail my tapes to a professional conversion service?
Mailing your irreplaceable VHS tapes to a professional service requires careful consideration. Choose a reputable service with positive reviews and clear policies on handling and return shipping. Package your tapes securely with ample padding, and use a shipping method that includes tracking and insurance. Taking photos or a video of your tapes before shipping provides a record. While services generally handle tapes with care, minimize risks by selecting a trusted provider and documenting your shipment.
Disclaimer: This article is for informational purposes only. When handling valuable or irreplaceable photographs, consider consulting a professional conservator. Always test preservation methods on non-valuable items first.
If you find you enjoy the hands-on approach, you might also be interested in learning how to scan old photos at home to digitize your physical print collection.


Leave a Reply