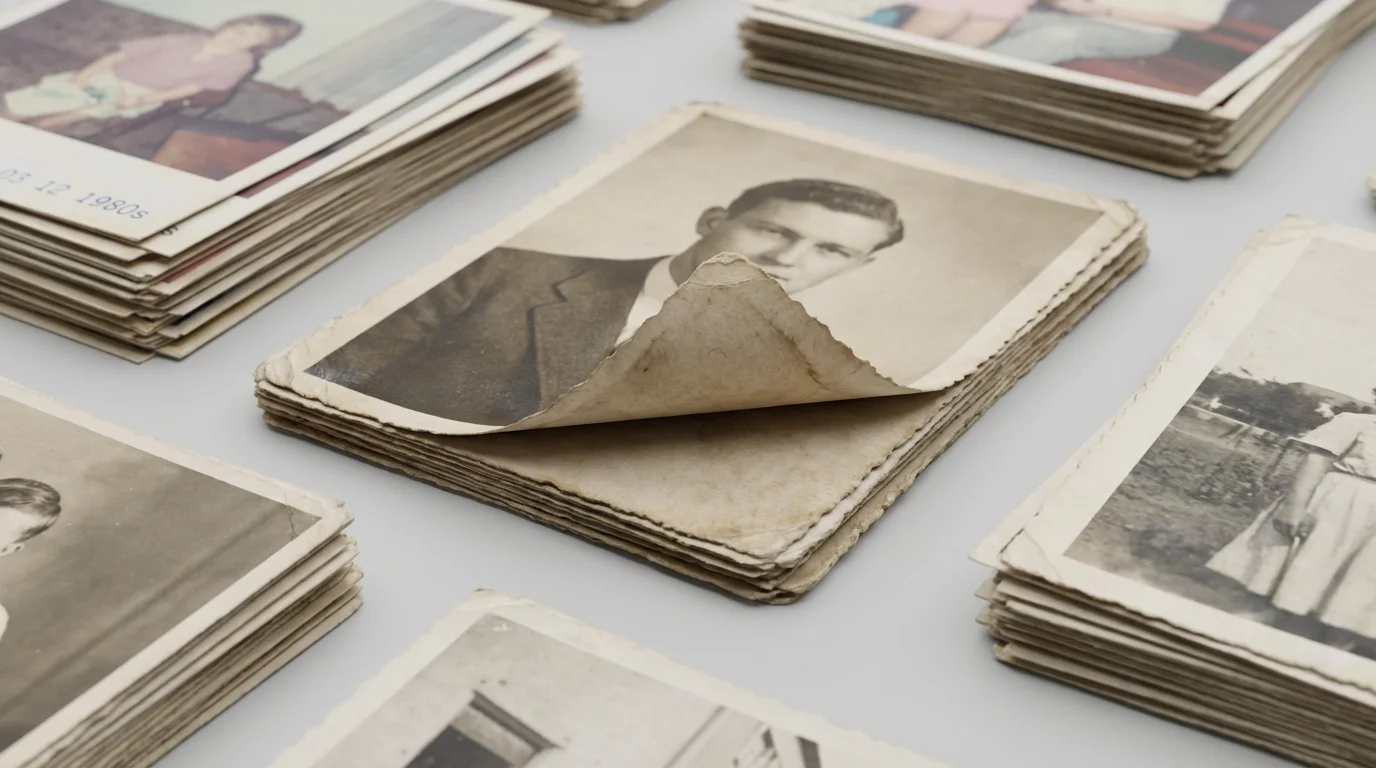
Your boxes of old family photos hold invaluable stories, faces, and moments. You want to preserve these tangible pieces of your past, and scanning offers a vital step in safeguarding your photographic heritage for future generations. However, rushing into the scanning process without proper preparation can lead to disappointing results, or worse, damage to irreplaceable originals. Effective preparation ensures high-quality scans and protects your precious artifacts.
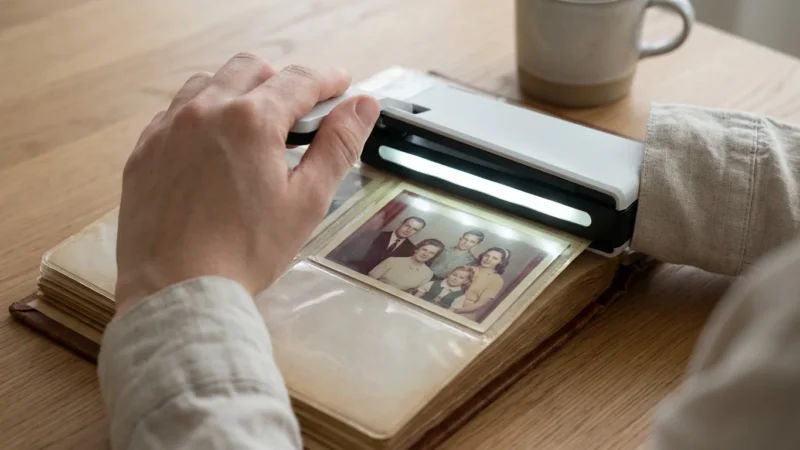
Once you have prepared your collection, you can follow our how to scan old photos at home guide to start the digitization process.
Why Proper Photo Preparation Matters for Scanning
Preparing old photographs for digitization involves more than just gathering them. This critical first step significantly impacts the quality of your digital files and the longevity of your original prints. Neglecting preparation can introduce dust, smudges, or even damage your scanner, leading to a frustrating experience and subpar results.
Before you begin, it is also helpful to determine what DPI you should use when scanning photos to ensure maximum detail is captured.
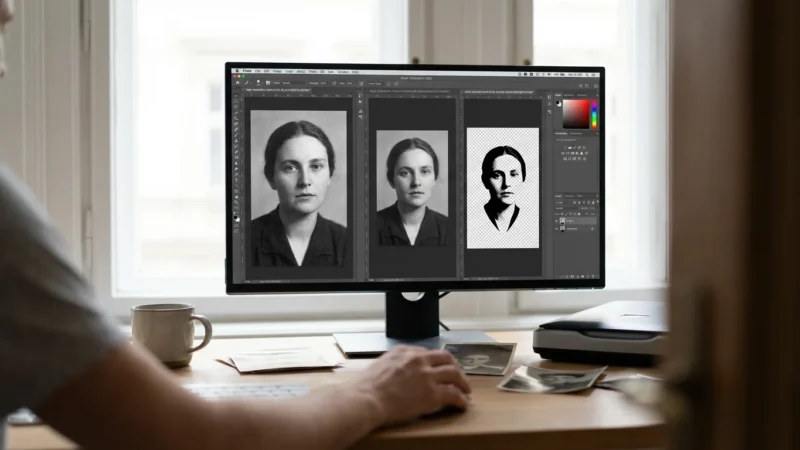
First, cleaning ensures your scanned images are free from visible imperfections. Dust, dirt, and fingerprints translate directly into digital noise, requiring time-consuming post-processing to correct. A clean scan is a clearer, more authentic digital reproduction of your original. Data from professional scanning services indicates that improperly prepared photos often require 30-50% more post-processing time, directly impacting cost and efficiency.
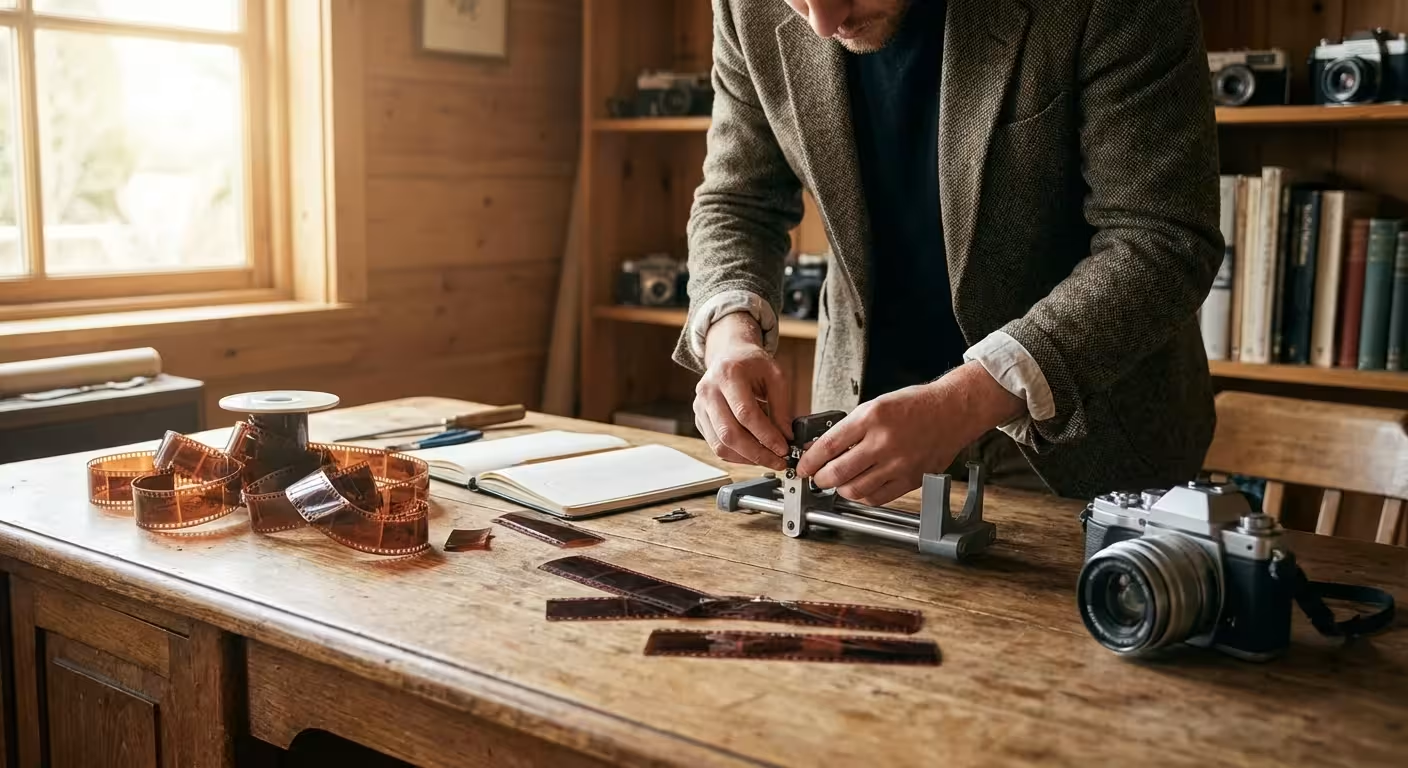
Second, proper handling prevents physical damage. Old photos, especially those from the early 20th century, are often fragile. They curl, crack, and tear easily. Careless handling can inflict irreversible damage, destroying the very memories you aim to preserve. Your investment in time now protects the physical artifact for years to come.
Third, good preparation safeguards your scanning equipment. A dusty or damaged photo can scratch a flatbed scanner’s glass or jam an automatic document feeder (ADF) scanner. Protecting your equipment ensures its continued reliable performance for your entire collection.
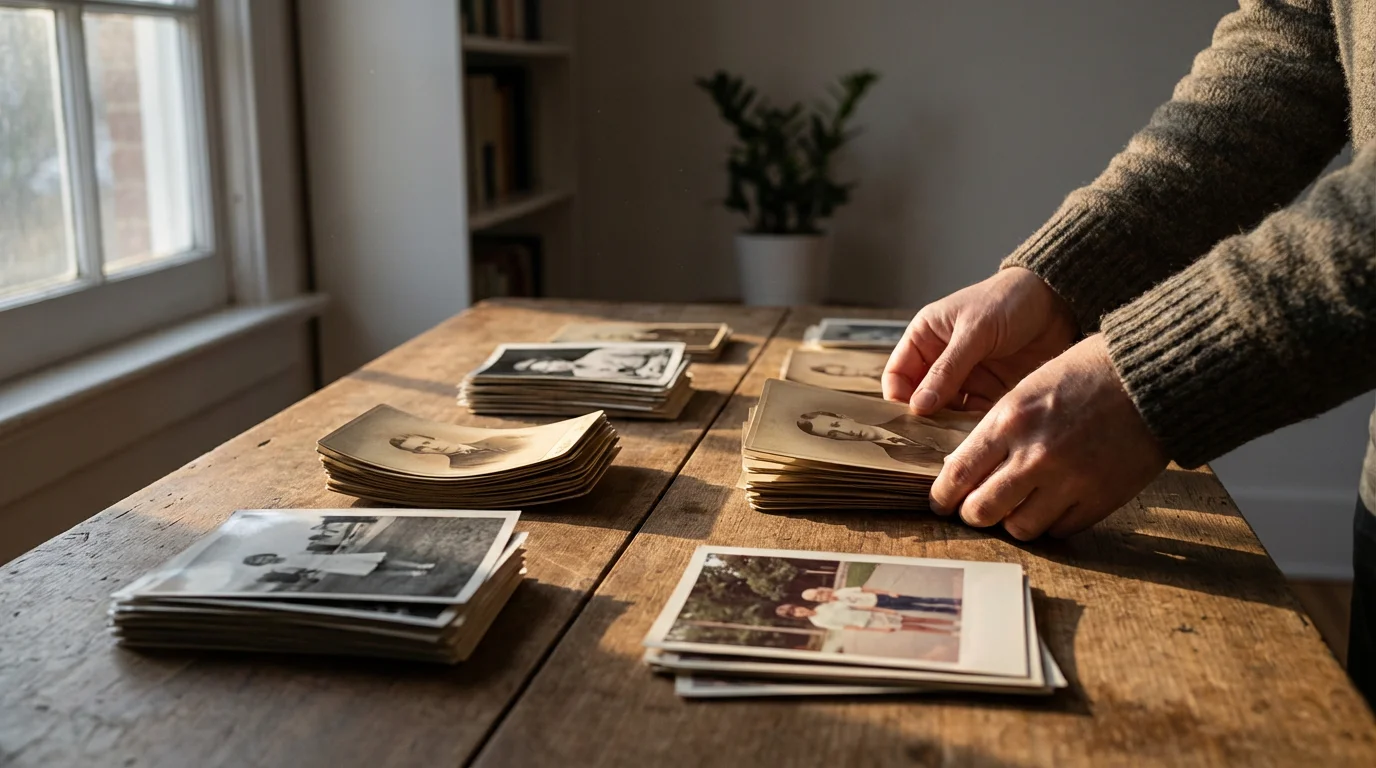
Assessing Your Photo Collection: The Initial Sort
Before any cleaning begins, take time to understand what you possess. This initial assessment guides your entire preparation strategy. You gain clarity on the scope of your project, identify photos needing special care, and prioritize your efforts.
For those who prefer a quicker method for less critical images, scanning photos with your smartphone can be a convenient alternative to using a flatbed scanner.
If you discover large portraits or certificates during your sort, you may need specific techniques for scanning oversized photos that won’t fit on a standard scanner bed.
To manage a large volume of images before you begin, follow a structured method for organizing physical photo prints room-by-room.
Start by laying out your photos in a clean, dust-free area, perhaps on a large table covered with a clean sheet or archival paper. Work in small batches to avoid overwhelming yourself. As you go, categorize your photos. You might sort them by:
- Condition: Group photos that are pristine, those with minor dust, those with surface dirt, and those with significant damage like tears, mold, or severe curling. This helps you apply appropriate cleaning methods.
- Chronology or Event: Organize by approximate date, family, or specific events (e.g., weddings, vacations). This makes scanning and future organization much easier.
- Size: Batching by size can streamline the scanning process, especially if your scanner has adjustable settings or specialized carriers.
- Priority: Identify your most cherished or fragile photos. These often receive special attention and potentially professional handling.
During this assessment, gently check for any photos stuck together. Do not force them apart. If photos are adhered, set them aside for professional intervention or consider scanning them as a single unit if separation is impossible without damage. Similarly, identify photos showing signs of mold. Isolate these immediately to prevent mold spores from spreading to other images.
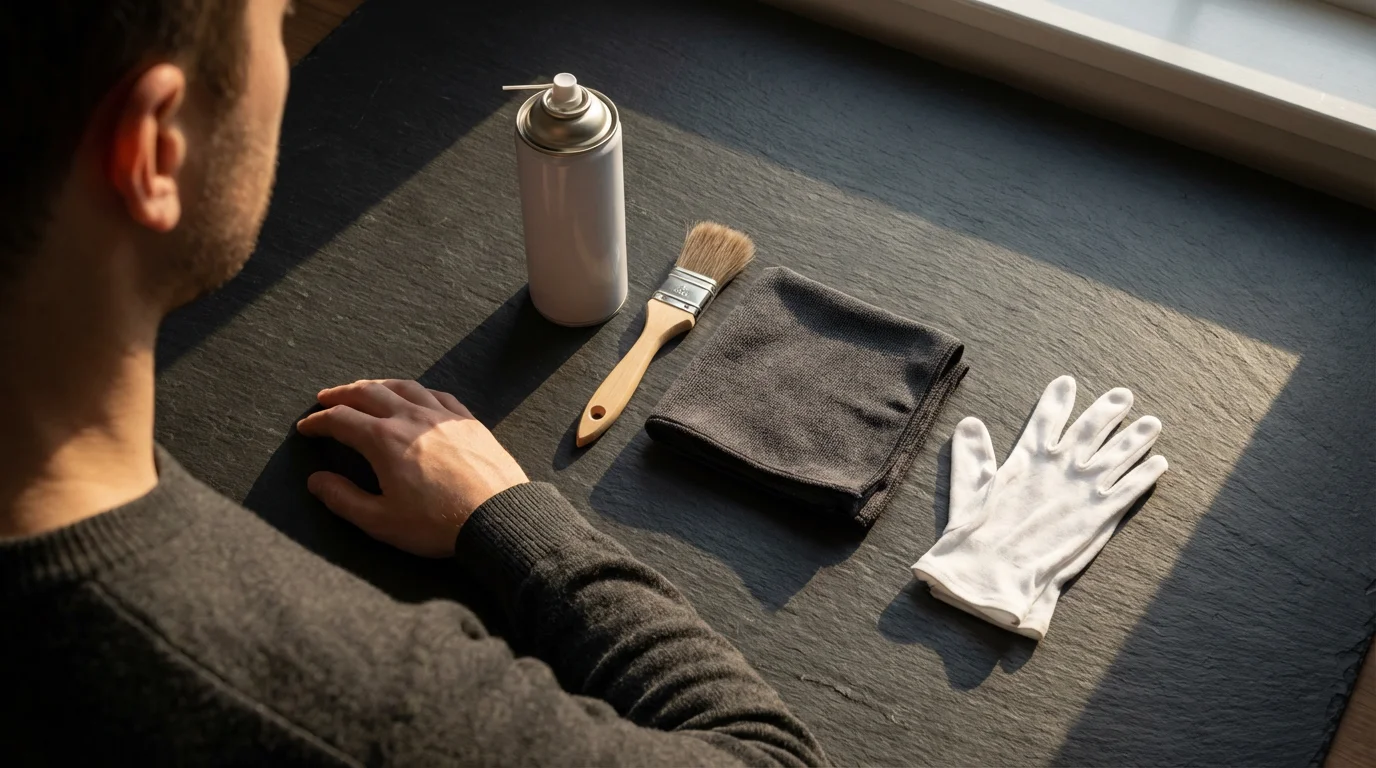
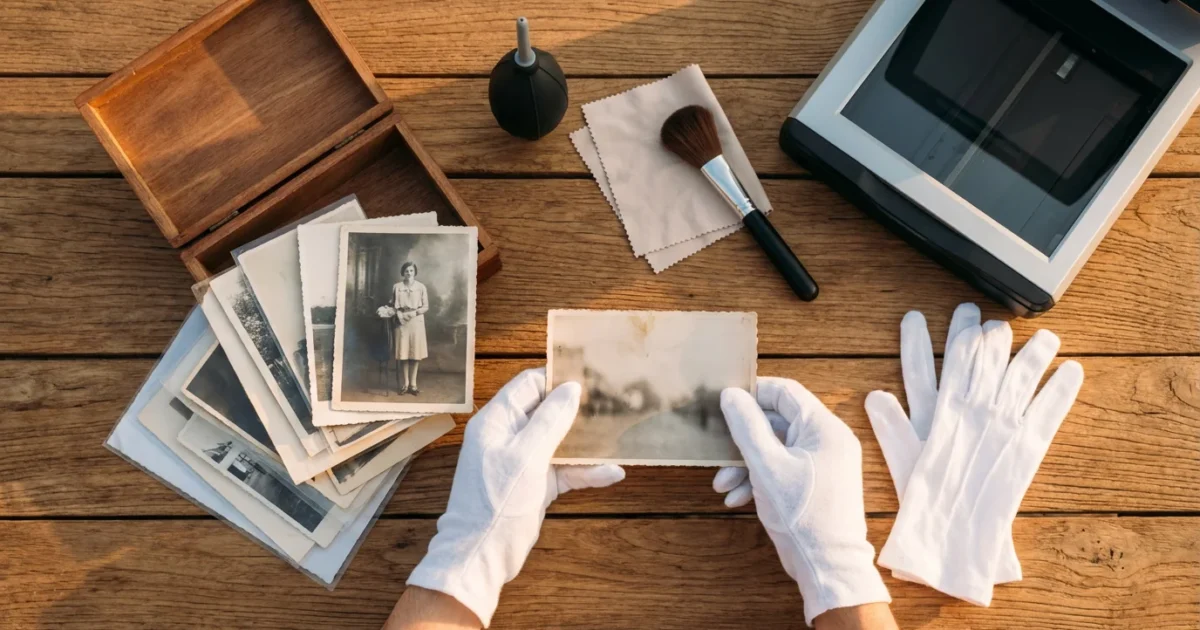
Essential Tools for Safe Handling and Cleaning
The right tools make all the difference in safely preparing your photos. Think of these as your personal preservation toolkit. Most items are inexpensive and readily available.
Note that if your collection includes transparencies, you will need specialized equipment for scanning slides which requires different handling than paper prints.
As you gather your tools, it is also wise to decide on your preferred file formats for scanned photos to ensure you are capturing the highest quality possible.
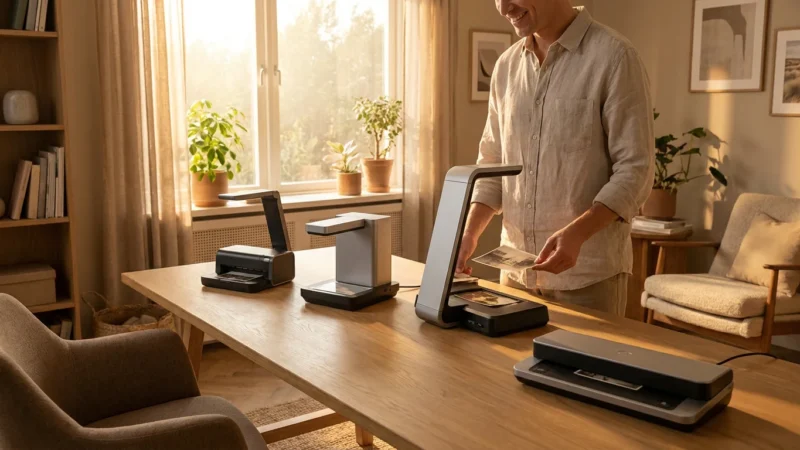
Using high-quality equipment is just as important as the right tools; check out our reviews of the best photo scanners for home use in 2025 for reliable options.
- Clean, Lint-Free Cotton or Nitrile Gloves: Your hands naturally produce oils and acids. These transfer to photos, leaving fingerprints that can become permanent stains or attract dust. Gloves create a barrier, protecting your precious images.
- Bulb Air Blower (Rocket Blower): This tool uses a strong puff of air to dislodge loose dust and debris without touching the photo surface. Do not use canned air, as it can contain propellants that leave residues or freeze the surface, potentially causing damage.
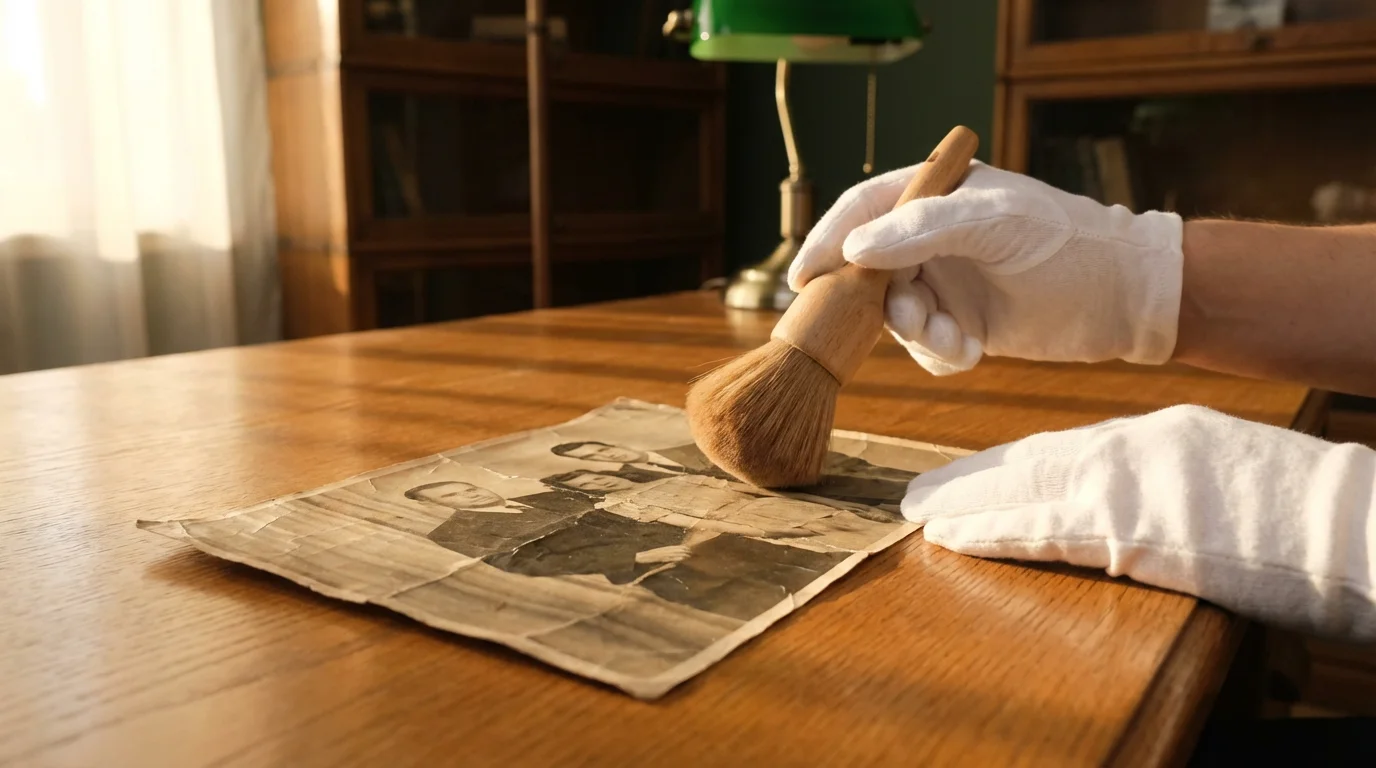
- Soft, Anti-Static Brush: A very soft, natural hair brush, like a camel hair brush or a dedicated photo brush, helps gently sweep away stubborn dust particles that the air blower misses. Always brush lightly and in one direction.
- Microfiber Cloths: Use these for gently wiping scanner glass and potentially for very light surface cleaning on robust modern prints. Ensure they are clean and specifically designed for optics. Do not use them dry on old, fragile prints as they can create static or micro-scratches.
- Archival Pencil (2B or softer): If you must mark photos, use a soft lead pencil on the back, along the edge. Avoid pens or markers, which can bleed through or create indentations.
- Acid-Free Storage Materials: Use archival folders, sleeves, or boxes to store photos temporarily after cleaning and before scanning, or long-term after scanning. This protects them from environmental damage. The Image Permanence Institute offers excellent resources on suitable storage materials.
- Flat, Clean Workspace: Work on a clean, stable surface, free of food, drinks, and potential spills. Cover your workspace with a clean sheet or archival paper for an extra layer of protection.

Handling Your Precious Photos Safely
Treat every photograph as a fragile, irreplaceable artifact. Your handling technique directly impacts its survival. Implement these practices consistently throughout your preparation process.
If you are dealing with delicate bound collections, see our advice on scanning photos from albums without removing the prints.
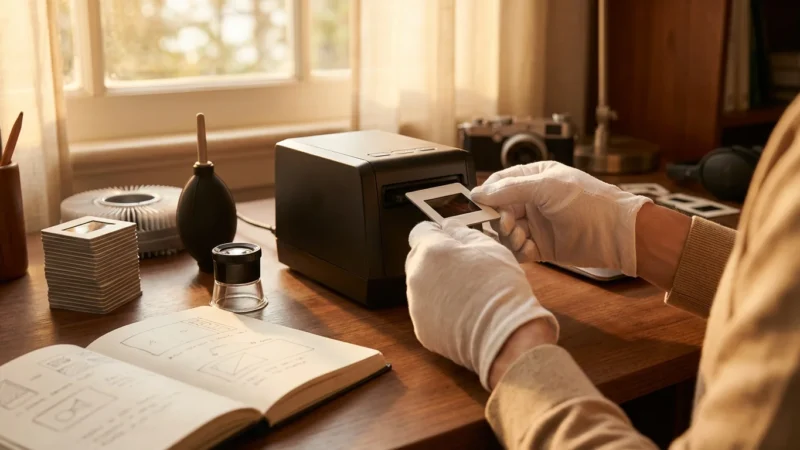
- Always Wear Gloves: This is non-negotiable. As mentioned, even clean hands carry oils and acids. Cotton gloves or thin nitrile gloves prevent this transfer.
- Handle by the Edges: Whenever possible, hold photos only by their edges, especially the white borders if they have them. Avoid touching the image area directly.
- Support the Entire Photo: Old photographs, particularly larger ones, can be brittle. When moving them, use both hands or a piece of acid-free board to provide full support. This prevents creasing, bending, or tearing under their own weight.
- Work on a Clean, Flat Surface: Always place photos face-up on a clean, stable, and flat surface. Never hold them loosely in the air for extended periods, as they can slip, bend, or be dropped.
- Avoid Bending or Rolling: Never bend, fold, or roll old photos, even if they are curled. Forcing a photo flat can cause irreparable cracks in the emulsion layer. Address curling with gentle, gradual flattening techniques described later.
- Keep Food and Drink Away: Accidents happen quickly. Maintain a strict “no food or drink” policy in your photo preparation area.
- Manage Your Environment: Work in a well-lit area but avoid direct sunlight, which can cause fading. Ensure the area is relatively dust-free and has stable temperature and humidity.
“Even microscopic fingerprints or dust particles on a photograph can become magnified and permanently visible once scanned. Diligent pre-scanning preparation is the unsung hero of digital preservation, ensuring the cleanest possible capture without damaging the original.”

Gentle Cleaning Techniques for Common Photo Issues
The goal of cleaning before scanning is to remove surface contaminants without harming the photographic emulsion. Always prioritize the gentlest, driest methods first. When in doubt, do less, or consult a professional. Always test any method on a non-valuable, similar-aged photo first if you are unsure.
While cleaning removes surface grime, further steps may be required for saving yellowed and discolored photographs that have suffered from chemical instability over time.
While cleaning prints is straightforward, creating digital copies of photo negatives requires specialized handling to protect the film’s emulsion.
If your photos have faded over time despite cleaning, you can learn more about restoring them with our color correction tips for scanned photos.
Removing Dust and Loose Debris
This is the most common and safest cleaning step.
- Use a Bulb Air Blower: Hold the photo securely by its edges with one gloved hand. Use the air blower to direct puffs of air across the entire surface of the photo. Angle the photo slightly so gravity helps carry dislodged particles away.
- Gently Brush with an Anti-Static Brush: For dust that the blower does not remove, lightly sweep the surface with a soft, anti-static brush. Brush in one consistent direction, from the center outwards, using minimal pressure. Lift the brush after each stroke to avoid dragging particles back.
Addressing Surface Dirt and Smudges
Approach this with extreme caution. This step is usually only appropriate for more robust, modern photographic papers. For very old, delicate, or damaged photos, skip this and consult a conservator.
- Light Dabbing with a Microfiber Cloth: For very minor smudges on modern prints, gently dab the affected area with a clean, dry microfiber cloth. Do not rub vigorously, as this can abrade the surface.
- Barely Damp Cotton Swab (Extremely Rare Cases): In very rare instances, for a stubborn, small smudge on a robust, non-valuable print, you might consider a cotton swab barely dampened with distilled water. Wring out all excess water. Lightly roll the swab over the smudge. Immediately follow with a dry swab to absorb any moisture. This method carries significant risk and is generally discouraged for valuable heirlooms. It can lift emulsion, cause water spots, or leave residue.
Dealing with Fingerprints
Fingerprints, unfortunately, are often embedded oil and can be difficult to remove without risk. For valuable photos, leave them. The scanner will capture them, and you can attempt digital spot removal during post-processing.
For less valuable photos, a very light dab with a clean, dry microfiber cloth can sometimes reduce the appearance of fresh fingerprints. Avoid rubbing.
Handling Mold and Mildew
Mold and mildew on photographs are serious issues. Mold actively consumes the gelatin emulsion of a photo, causing irreversible damage. If you encounter mold:
- Isolate Immediately: Place affected photos in a separate, sealed, archival plastic bag to prevent spores from spreading.
- Do Not Attempt Wet Cleaning: Water activates mold spores, making the problem worse.
- Consult a Professional Conservator: For any significant mold growth, a professional conservator is your only safe option. They have specialized equipment and knowledge to treat mold without further damaging the photograph.
- Light Surface Dusting (Extreme Caution): For very minor, dry, powdery surface mold (not active, fuzzy growth) on a non-valuable photo, you might carefully use a bulb air blower outdoors, away from other photos, to dislodge loose spores. Follow with a very soft brush, used only on moldy areas and discarded afterward. This is a last resort and carries risk.
Flattening Curled Photos
Many older photos curl due to changes in humidity or improper storage. Forcing them flat can cause cracks.
- Gentle Pressure Over Time: Place the curled photo between two sheets of clean, acid-free paper or archival board. Then, place a flat, evenly distributed weight (like several heavy books) on top.
- Patience is Key: Allow several days, or even a week, for the photo to slowly relax and flatten. Check periodically, but avoid rushing the process.
- Avoid Heat or Moisture: Never use an iron, steam, or direct moisture to flatten photos, as this can cause irreversible damage to the emulsion and paper.

What NOT to Do When Cleaning Photos
Just as important as knowing what to do is understanding what to avoid. These actions can cause irreparable harm to your irreplaceable memories.
As you move from preparation to the technical settings, decide which file formats for scanned photos like TIFF or JPEG best suit your needs.
- Do NOT use any harsh chemicals or household cleaners: This includes window cleaner, alcohol, acetone, bleach, or any commercial cleaning sprays. These substances contain solvents and abrasives that will permanently damage the photographic emulsion, cause discoloration, or accelerate degradation.
- Do NOT use abrasive materials: Paper towels, rough cloths, erasers, or your fingernails will scratch, scuff, or abrade the delicate surface of photographs, leaving permanent marks.
- Do NOT immerse photos in water: Even if a photo appears sturdy, water can cause emulsion to lift, swell, or dissolve, leading to irreversible damage, warping, and potential mold growth.
- Do NOT try to pull apart stuck photos: Photos stuck to album pages, glass, or other photos require specialized techniques. Forceful separation will almost certainly result in tearing and loss of the image. Consult a professional conservator for these cases.
- Do NOT attempt to “repair” tears with household tape: Most tapes contain adhesives that will yellow, become brittle, and stain the photo over time, making future archival repair much more difficult. Archival repair tape is available, but generally, professional intervention is best for tears.
- Do NOT rub vigorously: Even with a soft cloth, rubbing too hard can abrade the surface, spread dirt, or embed particles deeper into the emulsion. Always use light, gentle motions.
- Do NOT use canned air directly: Canned air can contain propellants that leave residues or cause extreme cold spots, which can damage delicate emulsions. A manual bulb air blower is the safer alternative.

Preparing Mounted or Framed Photos for Scanning
Photos stored in frames or old albums often present unique challenges. Approach these carefully to prevent damage.
Removing from Frames
Many older photographs are framed behind glass, sometimes for decades. Dust and debris can accumulate, and sometimes the photo itself might adhere to the glass or mat board.
- Work on a Clean, Flat Surface: Lay the framed photo face down on your covered workspace.
- Carefully Open the Frame: Remove any backing board, nails, or flexible tabs holding the contents in place. Do this slowly and deliberately.
- Check for Adherence: Once the back is off, gently lift the backing material. If the photo is stuck to the glass, the mat, or the backing, do not force it. If it is lightly adhered, a very gentle tap on the edge might loosen it. If it remains stuck, proceed with extreme caution or consider leaving it in place and consulting a conservator. Scanning an image still under glass might be possible, but glare can be an issue.
- Clean Glass and Mat Board: If the photo separates easily, clean the glass with a lint-free cloth and glass cleaner (away from the photo). Clean the mat board with an air blower or soft brush if it is dust-free. If the mat is acid-damaged or deteriorating, replace it with an archival, acid-free mat when reframing.
- Extract the Photo: Using gloved hands, carefully slide the photo out. Avoid pulling or bending.
Dealing with Photos in Old Albums
Old photo albums can be preservation nightmares. Photos might be held by harmful adhesives, corners, or simply gravity.
- Assess the Album Type: Identify if photos are glued down, in corner mounts, or in magnetic albums (which often use harmful glues).
- Do Not Force Removal: If photos are glued or firmly stuck, do not try to peel them off. This almost guarantees tearing and emulsion loss. It is safer to scan the entire album page if possible.
- Careful with Corner Mounts: If photos are in individual corner mounts, gently slide them out. If the corners are brittle or fused, do not force.
- Magnetic Albums: Photos in “magnetic” or “self-stick” albums often adhere tightly due to the acidic adhesive strips. Attempting to remove these without specialized tools will likely damage the photos. For these, professional conservation is highly recommended. If you must proceed, scan the entire page.
Organizing Photos Before Scanning: A Smart Strategy
Preparation extends beyond cleaning. Organizing your physical photos before scanning significantly streamlines the digital organization process afterward. You avoid creating a digital mess that mirrors your physical one.
- Create Logical Batches: Based on your initial assessment, group photos into manageable scanning batches. This could be by year, event, person, or theme. For example, all photos from “Grandma’s 1960 Vacation” go into one batch.
- Establish Naming Conventions: Decide on a consistent file naming structure before you scan. This might be
YYYY-MM-DD_Event_Description.jpgorYYYY-MM_Family_Surname_SequenceNumber.tif. Consistency is paramount for retrieval later. - Document Metadata: As you handle each photo, consider creating a simple spreadsheet or note system to record details. Note down names, dates, locations, and any stories associated with the image. This information becomes invaluable metadata you can embed into your digital files later.
- Use Archival Dividers/Folders: As you clean and prepare photos for scanning, place them in archival, acid-free folders or sleeves within their respective batches. This keeps them clean and organized as they await their turn on the scanner.
- Prioritize: Scan your most precious or fragile photos first, after ensuring they receive the most careful preparation. This minimizes their handling time and ensures they are digitized quickly.
By investing time in these meticulous preparation steps, you not only ensure the highest quality scans but also protect the physical integrity of your cherished photographic heritage. This careful approach translates directly into a more efficient scanning process and a more robust, searchable digital archive for generations to come.
Frequently Asked Questions
Can I use household cleaners on old photographs?
No, you should never use household cleaners, window cleaner, or any abrasive chemicals on old photographs. These products contain ingredients that can permanently damage the emulsion, fade colors, or react unexpectedly with photographic paper. Stick to dry, gentle methods like an air blower or a soft brush, and consult a professional conservator for more severe cleaning needs.
What should I do if a photo is stuck to an album page or another photo?
Do not attempt to pull stuck photos apart or forcefully remove them from album pages. This action almost always results in tearing, loss of emulsion, or permanent damage. Instead, consider scanning the entire album page if possible. For seriously stuck individual photos, consult a professional conservator. They possess specialized techniques and tools to separate adhered photographs safely, often involving controlled humidity.
Is it okay to write directly on the back of old photos with a pen?
Writing directly on the back of old photos with a ballpoint pen or permanent marker is not recommended. The pressure can leave indentations that show through to the front of the image, and the inks can bleed through or react chemically with the photo’s emulsion over time, causing discoloration or damage. Instead, use a soft lead pencil (like a 2B) to write lightly on the back edges, or better yet, create a separate archival record that correlates with your scanned images.
How do I flatten curled photographs before scanning?
Flattening curled photographs requires patience and gentleness to prevent cracking or damage. You can try placing the curled photo between two sheets of clean, acid-free paper or board, then placing a flat, heavy object on top. Allow several days, even a week, for the photo to slowly relax. Ensure the weight distributes evenly to avoid creases. For severely curled or brittle photos, professional intervention is the safest option. Avoid using heat, steam, or direct moisture.
Do I need special gloves to handle photos?
Yes, wearing clean, lint-free cotton or nitrile gloves is strongly recommended when handling old photographs. Your skin naturally produces oils and acids that can transfer to the photo’s surface, leaving fingerprints that can become permanent stains or attract dust over time. Gloves create a barrier, protecting your precious images from these contaminants during the preparation and scanning process.
Disclaimer: This article is for informational purposes only. When handling valuable or irreplaceable photographs, consider consulting a professional conservator. Always test preservation methods on non-valuable items first.


Leave a Reply