Disclaimer: This article is for informational purposes only. When handling valuable or irreplaceable photographs, consider consulting a professional conservator. Always test preservation methods on non-valuable items first.
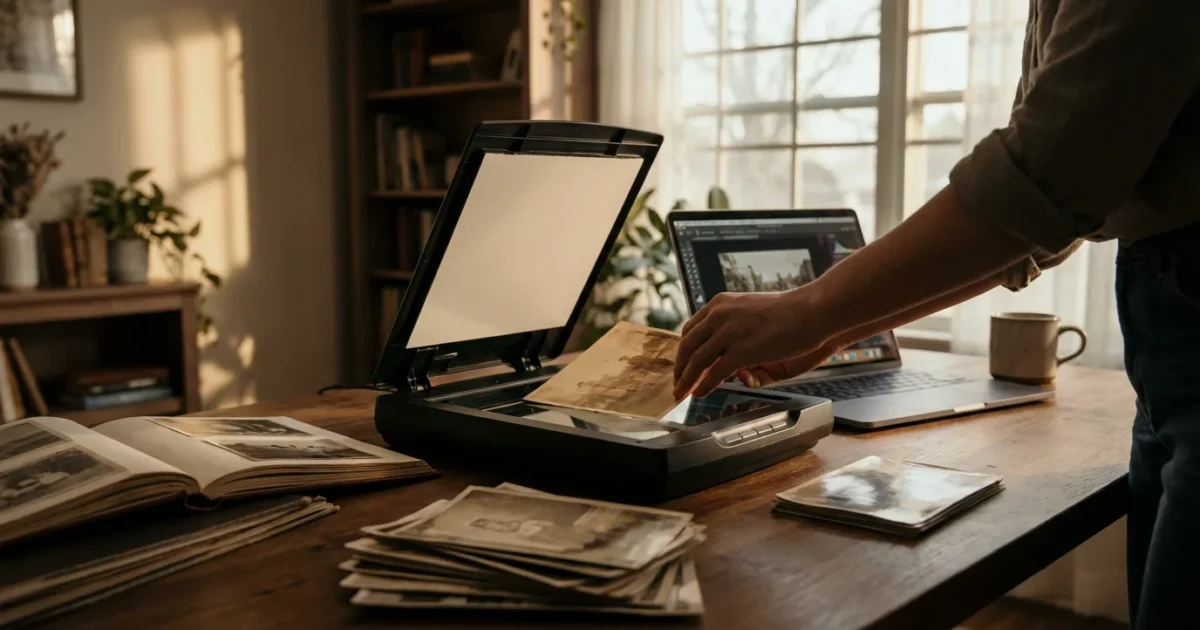
Your boxes of old family photos hold more than just paper and emulsion, they contain irreplaceable memories, stories, and connections to your past. The delicate nature of these physical artifacts, along with the ravages of time, makes photo digitization a crucial step in safeguarding your family’s visual heritage. Learning how to scan old photos at home empowers you to take control of this essential preservation task, transforming vulnerable originals into digital assets that you can share, enjoy, and protect for generations.
This comprehensive guide walks you through every step of the home scanning process. You will learn how to prepare your treasured prints, choose the right equipment, master the best settings for scanning photos, and create an organized digital collection. Our aim is to provide you with practical, actionable insights, making the journey of photo digitization accessible and rewarding, even if you are starting with thousands of unorganized images.
Getting Started with Your Photo Digitization Project
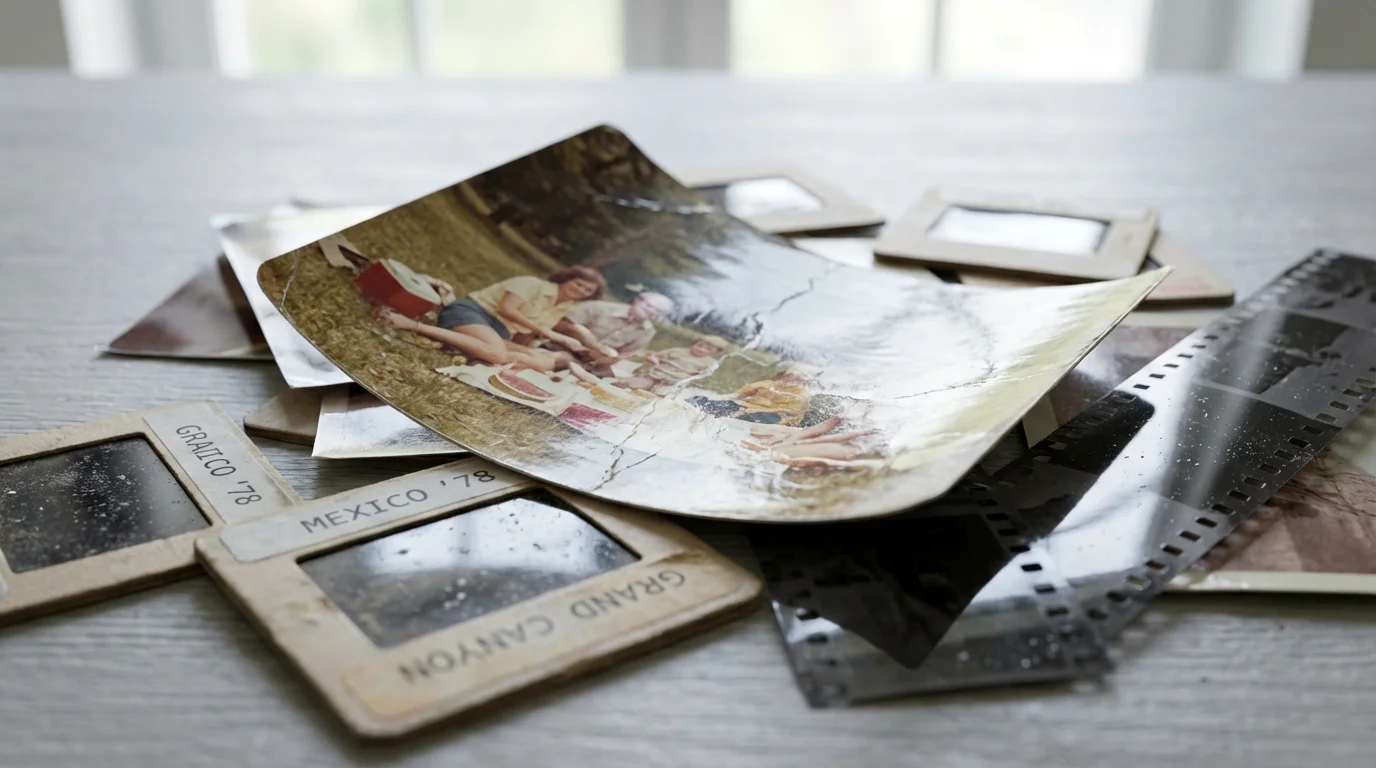
Beginning a photo digitization project can feel overwhelming, especially if you face overflowing shoeboxes and dusty albums. Break down the task into manageable phases. Start by understanding the scope of your collection: how many photos do you have? Are they mostly prints, slides, or negatives? This initial assessment helps you plan your time, budget for equipment, and maintain motivation. Recognize that this is a marathon, not a sprint, and every photo you scan contributes to a lasting legacy.
For those working with massive archives, mastering batch scanning techniques is essential to maintain momentum without sacrificing quality.
If the sheer volume of your collection feels overwhelming, you may want to evaluate if professional photo scanning services are a better fit for your needs.
Many individuals inherit large collections, often without context or organization. Acknowledge the emotional weight these images carry. Approach them with respect, knowing you are preserving a piece of your family’s story. Your commitment to home scanning ensures these precious visual records endure, accessible to future generations, regardless of the physical prints’ condition.

Gathering Your Materials: What You Need for Home Scanning
Successful home scanning relies on having the right tools. Equipping yourself properly protects your originals and ensures high-quality digital results. You do not need an elaborate setup, but a few key items make a significant difference in efficiency and output quality for your photo digitization efforts.
Essential Equipment and Supplies:
- Flatbed Scanner with Transparency Adapter (Optional but Recommended): This is your primary tool. Look for one designed for photos, offering good optical resolution. A transparency adapter allows you to scan slides and negatives.
- Microfiber Cloths: Use these to gently clean scanner glass and, in some cases, photo surfaces. Ensure they are clean and lint-free.
- Canned Air or Blower Brush: These remove dust and debris from photos and scanner surfaces without touching them, preventing scratches.
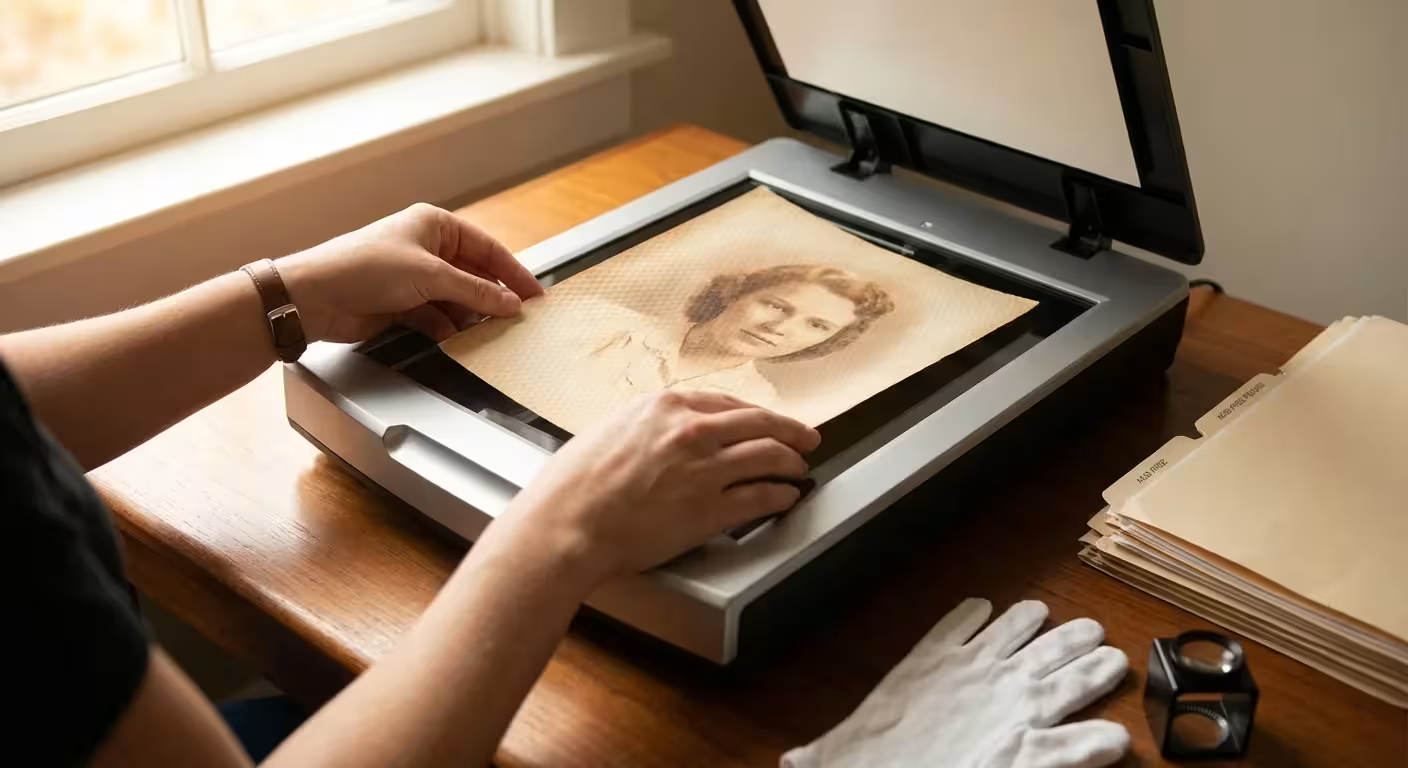
- White Cotton Gloves: Handle old photographs with clean, lint-free gloves to avoid transferring oils and dirt from your hands. This prevents damage and preserves the photo’s surface. The American Institute for Conservation recommends handling photographic materials by their edges, especially with gloves.
- Photo Sleeves or Archival Boxes: After scanning, store your originals safely.
- Computer with Sufficient Storage: Digital image files, particularly high-resolution TIFFs, consume significant disk space. Ensure your computer has ample room and consider an external hard drive for backups.
- Image Editing Software: Programs like Adobe Photoshop Elements, GIMP, or even your scanner’s bundled software allow for basic color correction, cropping, and dust removal.
Investing in quality cleaning supplies and proper handling tools protects your physical prints. These measures prevent damage during the scanning process, ensuring you preserve the integrity of your precious originals.

Preparing Your Old Photos for Scanning
Proper preparation is paramount. Haphazard handling or neglecting cleaning steps can damage your originals and compromise scan quality. Taking the time to prepare your photos correctly ensures you capture the best possible image and avoid introducing new problems during the scanning process.
- Sort and Prioritize: Start by sorting your photos. Separate them by date, event, or family branch. Prioritize the most fragile, historically significant, or unique items first. This helps manage the workload and ensures critical photos receive attention quickly.
- Gentle Cleaning:
- Use a soft, dry microfiber cloth to gently wipe dust and surface dirt from prints.
- For stubborn debris, use a can of compressed air or a hand blower to dislodge particles. Hold the can upright and spray in short bursts, keeping a safe distance. Avoid touching the photo surface with the can’s nozzle.
- Never use water, cleaning solutions, or chemical sprays directly on old photographs unless you are a trained conservator. These can cause irreversible damage.
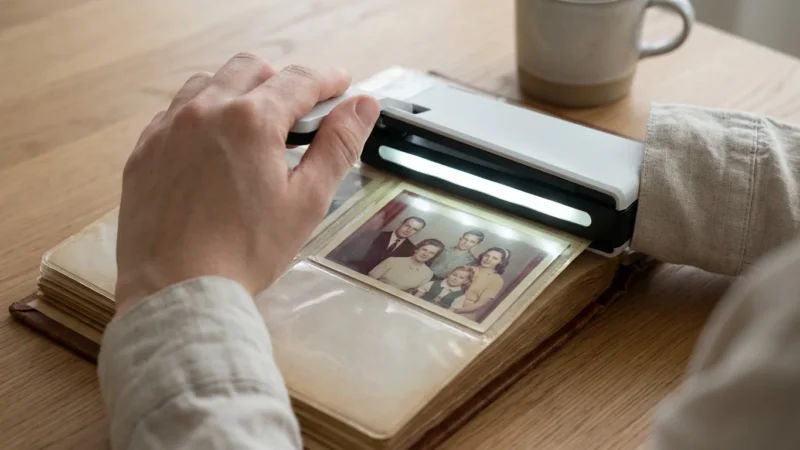
- Handle with Care:
- Always wear white cotton gloves when handling photographs. The oils and acids from your skin can leave permanent fingerprints and accelerate deterioration.
- Hold photos by their edges. Avoid touching the image surface.
- Work on a clean, flat, and well-lit surface.
- Flatten Curled Photos: Gently flatten curled photos by placing them between archival-safe paper under a flat weight for a few days. Do not force them flat, as this can crack the emulsion.
- Remove from Albums (if safe): If photos are loosely mounted in albums, carefully remove them. If they are glued or severely stuck, consider scanning them in the album or consulting a professional conservator. Forcing them out will likely cause damage.
The Library of Congress emphasizes that “the primary goal of preservation is to extend the useful life of materials, ensuring their availability for current and future generations.” Proper handling and cleaning are fundamental steps in achieving this goal for your photographic heritage.

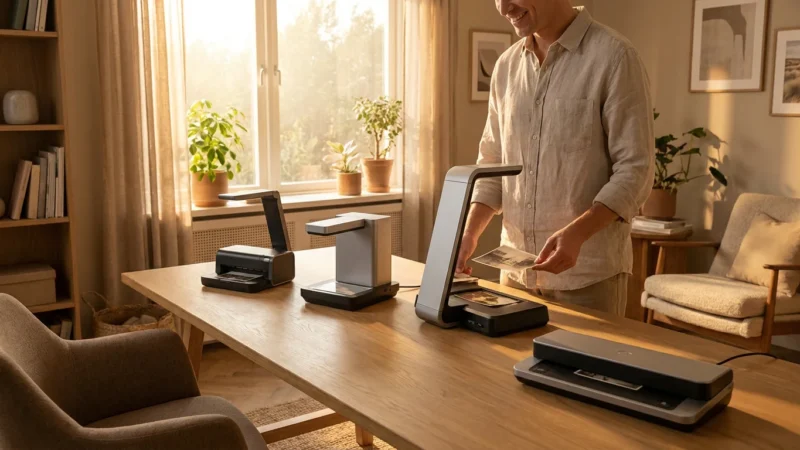
Choosing the Right Scanner for Your Needs
The market offers various scanners, each with strengths and weaknesses. Selecting the appropriate one for your home scanning project significantly impacts the quality and efficiency of your photo digitization efforts.
If your collection includes large portraits or diplomas, you may need specific strategies for scanning oversized photos that won’t fit on a standard glass bed.
For a more detailed breakdown of current hardware, read our review of the best photo scanners for home use.
Types of Scanners:
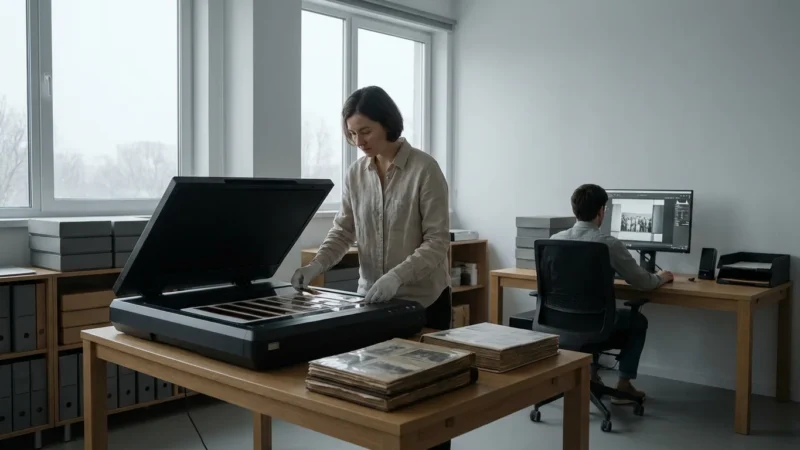
- Flatbed Scanners: These are the most versatile and common choice for home users.
- Pros: Excellent for prints of various sizes, delicate or irregularly shaped items, and pages from albums. Many models include transparency adapters for slides and negatives. They provide good resolution and color accuracy.
- Cons: Slower for large batches of photos compared to dedicated photo scanners. Requires manual placement of each photo or a small batch.
- Recommendation: A high-quality flatbed scanner with an optical resolution of at least 2400-4800 dpi is ideal for most home users scanning prints, slides, and negatives. Brands like Epson and Canon offer popular models known for photo scanning capabilities.
- Dedicated Photo Scanners (Automatic Feeders): These are designed for speed and efficiency.
- Pros: Scan large stacks of prints very quickly. Some models offer automatic dust removal and color correction.
- Cons: Not suitable for fragile, delicate, or odd-sized photos. They only handle standard print sizes and can potentially damage very old or fragile prints. Do not scan slides or negatives.
- Recommendation: Consider this option if you have thousands of standard-sized, robust prints and prioritize speed over handling delicate items or non-standard formats.
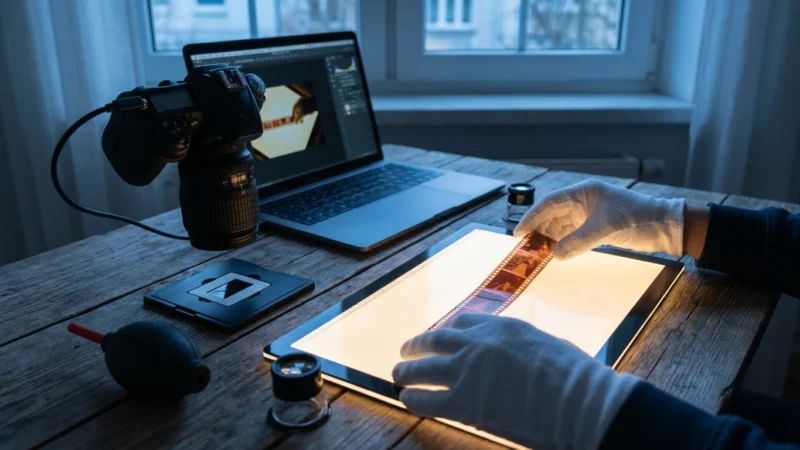
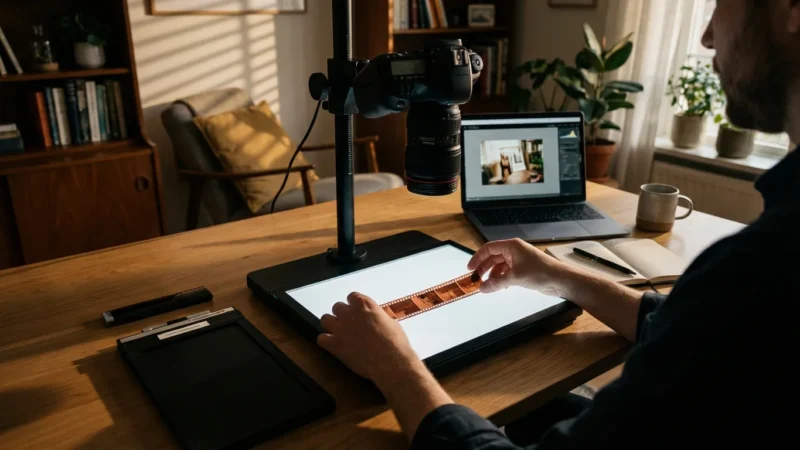
- Slide and Negative Scanners: Specialized scanners for transparencies.
- Pros: Offer very high resolution for slides and negatives, crucial for preserving detail in small formats.
- Cons: Only scan transparencies, not prints. Can be slower.
- Recommendation: A flatbed scanner with a transparency adapter often provides a good balance for both prints and transparencies. If you have an exceptionally large collection of slides/negatives, a dedicated film scanner might be worth considering for specialized quality and efficiency.
Avoid using your smartphone camera for archival quality digitization. While convenient for quick shares, smartphone cameras lack the optical resolution, controlled lighting, and color accuracy needed to truly preserve the detail and fidelity of your original photographs.

Mastering Scanner Settings: Resolution, Color, and File Formats
The quality of your digital scans hinges significantly on the settings you choose. Understanding and applying the best settings for scanning photos ensures you capture maximum detail and color accuracy, creating digital files suitable for long-term preservation and versatile use.
Beyond resolution, it is crucial to understand which file formats for scanned photos like TIFF or JPEG best serve your long-term storage needs.
Resolution (DPI – Dots Per Inch):
Resolution dictates the detail captured in your scan. Higher DPI results in larger file sizes but allows for greater enlargement and cropping without pixelation. Too low, and you lose critical detail; too high, and you create unnecessarily huge files without adding real information.
- Prints:
- 300-600 DPI: Sufficient for most common prints (e.g., 4×6, 5×7). A 300 DPI scan of a 4×6 print will print at the same size with good quality. A 600 DPI scan offers more flexibility for minor enlargements or cropping.
- 600-1200 DPI: Recommended for smaller prints (e.g., wallet-sized, locket photos) or if you anticipate significant enlargement or cropping. This captures much finer detail.
- Archival Standard: Many experts recommend at least 600 DPI for archival quality scans of prints, offering a good balance between detail preservation and file size.
- Slides and Negatives: These require much higher resolution due to their small physical size.
- 2400-4800 DPI (or higher): Essential for capturing sufficient detail. A 35mm slide scanned at 4000 DPI yields a digital image roughly equivalent to a good quality digital camera sensor in terms of pixel count.
- Archival Standard: Aim for at least 4000 DPI for 35mm slides and negatives to ensure you capture the maximum detail the original film holds.
Practical Tip: A good rule of thumb is to scan at a resolution that allows you to print the image twice its original size without noticeable pixelation. For example, a 4×6 print scanned at 600 DPI will look good when printed at 8×12.
Color Depth:
Color depth refers to the number of colors a pixel can display. Higher color depth captures a wider range of tones and more subtle color variations.
- 24-bit Color (True Color): This is the standard setting for most color photos. It captures millions of colors, which is usually sufficient for most images.
- 48-bit Color: This setting captures billions of colors, offering a wider tonal range and more flexibility for post-processing without introducing banding or posterization. While it creates significantly larger files, consider using it for extremely valuable or high-quality originals, especially if you plan extensive editing.
- Grayscale: For black and white photos, scan in grayscale, not 24-bit color. Scanning black and white photos in color can sometimes introduce a subtle color cast that is difficult to remove.
File Formats:
Your choice of file format affects image quality, file size, and compatibility.
- TIFF (Tagged Image File Format):
- Pros: Lossless compression, meaning no image data is discarded. TIFFs retain the highest possible image quality and are considered the gold standard for archival preservation. They support high color depths and resolutions.
- Cons: Very large file sizes, consuming significant storage space. Not ideal for web use or quick sharing.
- Recommendation: Use TIFF for your primary archival copies. This ensures you have the highest quality master file for long-term storage and future use.
- JPEG (Joint Photographic Experts Group):
- Pros: Lossy compression, resulting in much smaller file sizes. JPEGs are widely compatible, ideal for sharing via email, social media, and displaying on digital devices.
- Cons: Discards some image data to achieve smaller file sizes. Each time you edit and re-save a JPEG, you lose more quality.
- Recommendation: Create JPEG copies from your TIFF master files for sharing and everyday use. Save these JPEGs at a high-quality setting (e.g., 80-90%) to minimize compression artifacts. Never use JPEGs as your sole archival format.
- PNG (Portable Network Graphics):
- Pros: Lossless compression, supports transparency, good for web graphics.
- Cons: Larger file sizes than JPEG, generally not preferred over TIFF for photographic archival purposes due to less widespread support in professional archival workflows and potentially less efficient compression for photographs compared to TIFF.
- Recommendation: Stick to TIFF for archival masters and JPEG for derivatives.
Consider a “Two-Tier” Approach: Scan everything as a high-resolution, 48-bit TIFF for your master archival copy. Then, create a set of lower-resolution (e.g., 300 DPI), 24-bit JPEG files from these TIFFs for everyday viewing, sharing, and smaller file storage. This strategy provides both maximum preservation and practical usability.

The Step-by-Step Scanning Process
With your photos prepared and scanner settings understood, you are ready to begin the hands-on scanning. Follow these steps for an efficient and high-quality photo digitization workflow.
- Clean Your Scanner Glass: Before each scanning session, wipe the scanner glass thoroughly with a clean microfiber cloth. Even tiny dust specks show up prominently on your scans.
- Place the Photo:
- Wearing cotton gloves, carefully place your photo face down on the scanner glass.
- Align it with the scanner’s guides or corners to ensure straight scans.
- If scanning multiple small photos at once, leave a small gap between each one. Your scanning software can often detect and crop them individually, saving time.
- Configure Software Settings:
- Open your scanner’s software.
- Select “Photo” or “Film” mode, depending on what you are scanning.
- Choose your desired resolution (e.g., 600 DPI for prints, 4000 DPI for slides).
- Set the color depth (e.g., 24-bit or 48-bit color, or grayscale for black and white).
- Select your output file format (TIFF for masters).
- Specify the folder where scans will be saved.
- Preview the Scan:
- Always perform a preview scan. This displays a low-resolution version of the image.
- Use the preview to check for correct orientation, cropping, and exposure. Adjust these settings as needed.
- If your software has features like “dust and scratch removal” or “color restoration,” preview the results carefully. Sometimes these automated tools can over-process and reduce image quality. Prefer manual adjustments later.
- Execute the Scan:
- Once satisfied with the preview, initiate the full scan.
- Wait for the scanner to complete the process. Do not move the photo or scanner during this time.
- Review and Save:
- Immediately after the scan, review the digital image on your computer screen. Check for focus, dust, proper cropping, and color accuracy.
- If the scan is not satisfactory, re-clean the photo and scanner glass, adjust settings, and rescan.
- Save the file with a descriptive name. This leads directly into the next critical step: organization.
- Repeat: Remove the scanned photo, place the next one, and repeat the process. Consistency in your technique improves overall results.

Organizing and Backing Up Your Newly Digitized Photos
Scanning is only the first step in effective photo preservation. Without a robust organization and backup strategy, your digital photos are just as vulnerable as your physical ones. Implement a clear system to protect your invaluable digital assets.
Understand the importance of backing up physical photos digitally to ensure that your new digital files and the original prints are both protected for the long term.
Organizing Your Digital Collection:
- Consistent Naming Convention: Adopt a clear file naming structure from the start. A common and effective method is “YYYY-MM-DD_Event_Description_001.tif”. For example: “1985-07-14_FamilyVacation_GrandCanyon_001.tif”. This ensures logical sorting.
- Folder Structure: Create a hierarchical folder system. A common approach is:
PhotosYYYY(e.g.,1985)YYYY-MM(e.g.,1985-07)YYYY-MM-DD Event Name(e.g.,1985-07-14 Grand Canyon Trip)
- Metadata (Optional but Recommended): Metadata are data about your photos, like dates, locations, and names of people. Image editing software allows you to embed this information directly into TIFF and JPEG files. This makes your photos searchable, even if you move them outside your folder structure.
- Curate as You Go: Delete obviously bad scans (blurry, severely underexposed) as you scan or shortly thereafter. This reduces clutter and storage requirements.
Backup Strategy: The “3-2-1 Rule”:
Protecting your digital memories requires redundancy. The 3-2-1 backup rule is an industry standard for data safety:
- 3 Copies of Your Data: Keep your photos on your computer, plus two separate backups.
- 2 Different Media Types: Store backups on at least two different types of storage media (e.g., external hard drive and cloud storage, or two different external hard drives).
- 1 Offsite Copy: Keep at least one backup copy in a physically separate location from your home. This protects against local disasters like fire or flood.
Backup Options:
| Backup Type | Description | Pros | Cons |
|---|---|---|---|
| External Hard Drive | Physical drive connected to your computer. | Fast, large capacity, no ongoing fees. | Vulnerable to physical damage, theft, local disasters. |
| Cloud Storage | Services like Google Drive, Dropbox, OneDrive, Amazon Photos. | Automatic sync, offsite backup, accessible anywhere. | Requires internet, ongoing subscription fees, privacy concerns for some. |
| Network Attached Storage (NAS) | Personal server on your home network. | Centralized storage, accessible by multiple devices, good control. | Initial setup cost and complexity, still vulnerable to local disaster unless offsite sync is configured. |
| Archival Optical Discs (M-Disc) | Specialized discs designed for long-term data storage. | Extremely long lifespan (hundreds of years), stable, no ongoing fees. | Limited capacity per disc, requires compatible burner and drive, slower to access. |
Implement your backup strategy immediately after scanning and consistently update it. Schedule regular backups (e.g., weekly or monthly) to ensure your latest scans are protected.

Preserving the Originals: After Scanning Care
Digitization safeguards your images, but it does not diminish the value of your physical prints. These originals are unique artifacts with tactile and historical significance. Proper post-scanning preservation ensures their continued survival for generations to come.
Key Principles for Archival Storage:
- Archival-Safe Materials: Store photographs in materials specifically designed for long-term preservation. These materials are inert, meaning they will not react with or degrade your photos over time. Look for products labeled “acid-free,” “lignin-free,” and “PAT tested” (Photographic Activity Test).
- Individual Sleeves: Place each photo in an individual archival polyester (Mylar D or Polypropylene) sleeve. This protects against scratches, fingerprints, and environmental damage. Avoid PVC sleeves, as they off-gas harmful chemicals.
- Archival Boxes: Store sleeved photos in sturdy, acid-free archival boxes. These boxes provide physical support, protect against light, dust, and environmental fluctuations.
- Environmental Control:
- Temperature: Store photos in a cool, stable environment, ideally below 70°F (21°C). Colder temperatures slow down chemical degradation.
- Humidity: Maintain stable relative humidity between 30-50%. High humidity encourages mold growth and accelerates chemical reactions. Low humidity can make materials brittle. Avoid attics, basements, and garages, which experience wide temperature and humidity swings.
- Light: Store photos in darkness. Light, especially UV light, causes fading and discoloration. Archival boxes block light effectively.
- Flat Storage: Store prints flat rather than rolled or bent to prevent permanent curling and cracking.
- Separate Materials: Store different types of photographic processes separately if possible, especially if you have fragile or unique formats like tintypes or albumen prints. This prevents cross-contamination of degrading chemicals.
By treating your original photographs with the same care you would accord any precious artifact, you ensure their physical preservation alongside their digital counterparts. This dual approach provides the most robust protection for your family’s visual heritage.
Frequently Asked Questions
What resolution should I use to scan old photos?
For standard prints (4×6 inches or larger), aim for 300-600 DPI. For smaller prints or if you plan significant enlargement, scan at 600-1200 DPI. For slides and negatives, which are much smaller, use 2400-4800 DPI or higher to capture sufficient detail.
What is the best file format for scanning old photos for archival purposes?
TIFF (Tagged Image File Format) is the gold standard for archival photo digitization. It uses lossless compression, preserving all original image data. While TIFF files are larger, they offer the highest quality master file for long-term preservation. You can create smaller JPEG copies from your TIFF masters for sharing and everyday use.
Can I scan multiple photos at once with a flatbed scanner?
Yes, most flatbed scanners allow you to place several small prints on the platen at once. Your scanner software will often include a feature to automatically detect and crop each individual photo, scanning them as separate files. This saves time compared to placing each photo individually, but ensure you leave adequate space between prints.
How do I clean old photos before scanning?
Gently clean old photos with a soft, dry microfiber cloth to remove surface dust. Use canned air or a hand blower to dislodge stubborn particles without touching the photo. Always wear clean white cotton gloves when handling photographs to prevent transferring oils and dirt from your hands. Never use liquid cleaners or water on old prints.
Is it worth scanning my old photos myself, or should I use a professional service?
Home scanning is a rewarding and cost-effective option for many, offering control over quality and careful handling of precious originals. It is suitable if you have the time, patience, and a moderate-sized collection. A professional service might be better for extremely large collections, very fragile or valuable photos, or if you need specialized services like advanced restoration. Assess your collection’s size, condition, and your available time to decide.

Your Legacy in Pixels: Taking the Next Steps
Congratulations, you have embarked on an invaluable journey of photo digitization. By learning how to scan old photographs at home, you are doing more than just creating digital files, you are actively preserving a vital piece of your family’s story and ensuring its accessibility for generations to come. The effort you invest in home scanning now pays dividends in timeless memories. Remember, consistency is key. Even scanning a few photos a week adds up significantly over time.
Now that you possess a robust digital collection, the possibilities for enjoying and sharing your memories expand exponentially. You can create digital photo albums, share images with family members across the globe, design personalized gifts, or even contribute to genealogical research. Your diligently preserved scans become the foundation for countless creative projects. Continue to explore, organize, and cherish these digital treasures, knowing you have secured your photographic heritage.


Leave a Reply