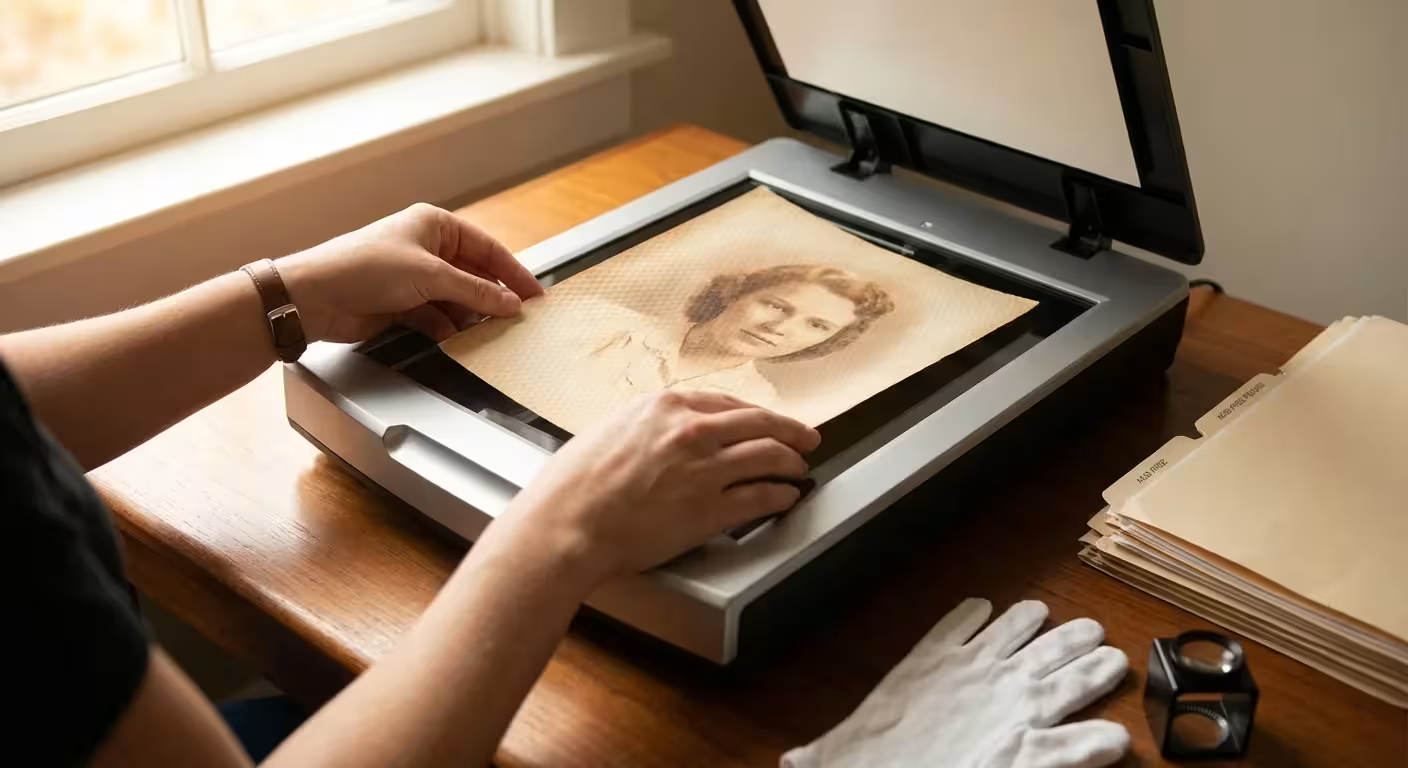
You open an old family album and find a stunning portrait of your grandparents from the 1970s. You decide to digitize it for a holiday gift, but when the preview appears on your computer screen, the image looks like it was printed on a honeycomb or a piece of fine mesh. This frustrating phenomenon is the hallmark of silk-finish and textured photographic paper. While these finishes were popular decades ago because they resisted fingerprints and looked elegant in a frame, they represent one of the most significant hurdles in photo preservation today.
When you scan these prints, the scanner’s internal light source strikes the raised “peaks” of the paper’s texture. This creates microscopic highlights and shadows that the scanner interprets as a grid of white dots or “hot spots.” You are not just capturing the image; you are capturing the physical topography of the paper itself. To preserve your family heritage accurately, you must employ specific techniques to neutralize this texture during the digitization process.
Understanding the Physics of Textured Prints
To solve the problem of glare in your scans, you first need to understand why it happens. Photographic paper manufacturers designed silk and matte finishes to scatter light. In a physical environment, this scattering prevents a single, harsh reflection from hitting your eye, making the photo easier to view from various angles. However, a flatbed scanner works differently than the human eye. It uses a linear light source—usually a cold cathode fluorescent lamp (CCFL) or an LED bar—that moves across the image at a very close range.
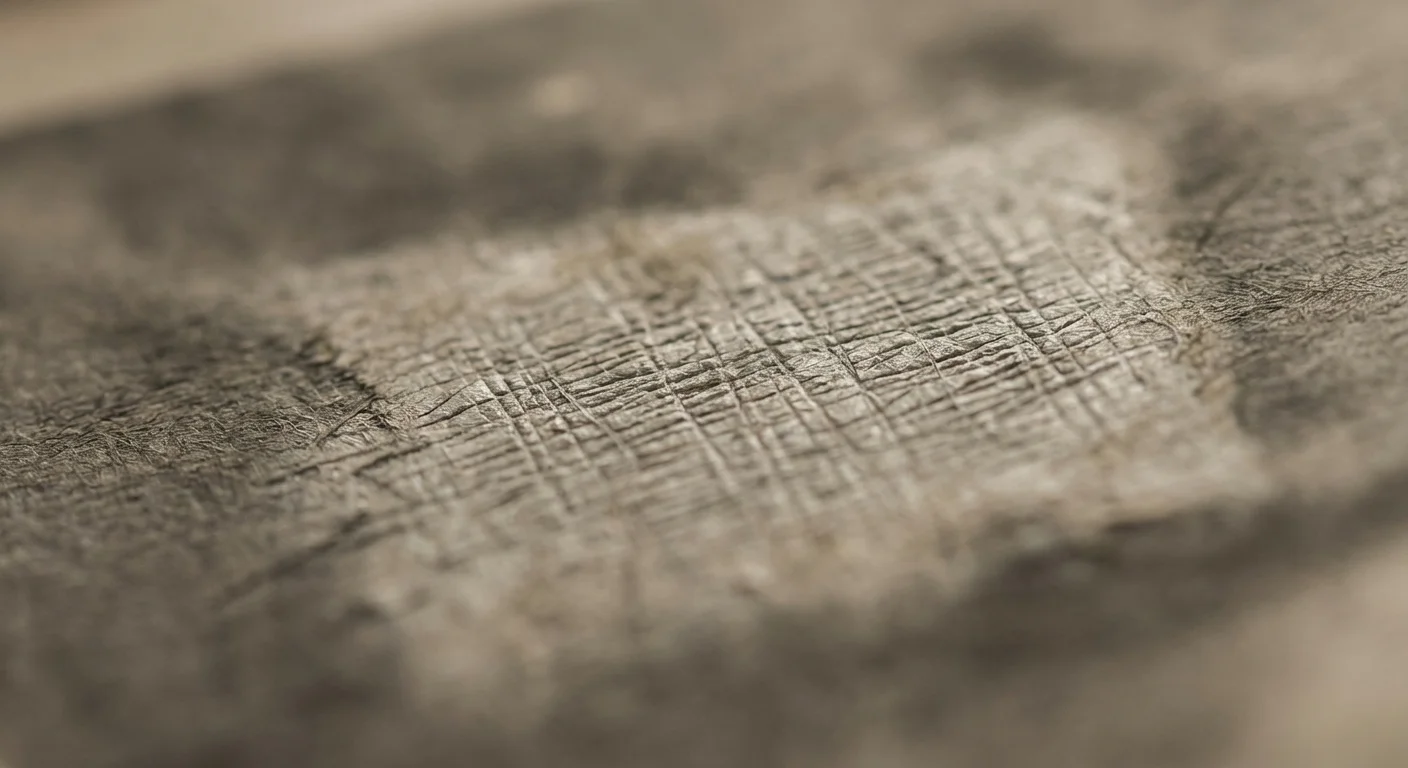
As this light bar passes over a textured print, it illuminates one side of the paper’s texture and leaves the other side in shadow. If the paper has a “linen” or “silk” finish, it consists of thousands of tiny raised bumps. The scanner captures the bright reflection on the leading edge of every bump and the tiny shadow on the trailing edge. The result is a digital file where the image is obscured by a repetitive, distracting pattern. This pattern is particularly difficult to remove because it is “baked” into the pixels of the scan.
You may also encounter “hot spots,” which are larger areas of glare where the photo might not be lying perfectly flat against the scanner glass. Because textured paper is often thicker or more prone to curling than modern glossy paper, maintaining perfect contact with the glass is essential. If you don’t address these issues during the initial scan, you will spend hours in photo editing software trying to fix an image that could have been captured correctly from the start.
Optimizing Your Hardware and Software Settings
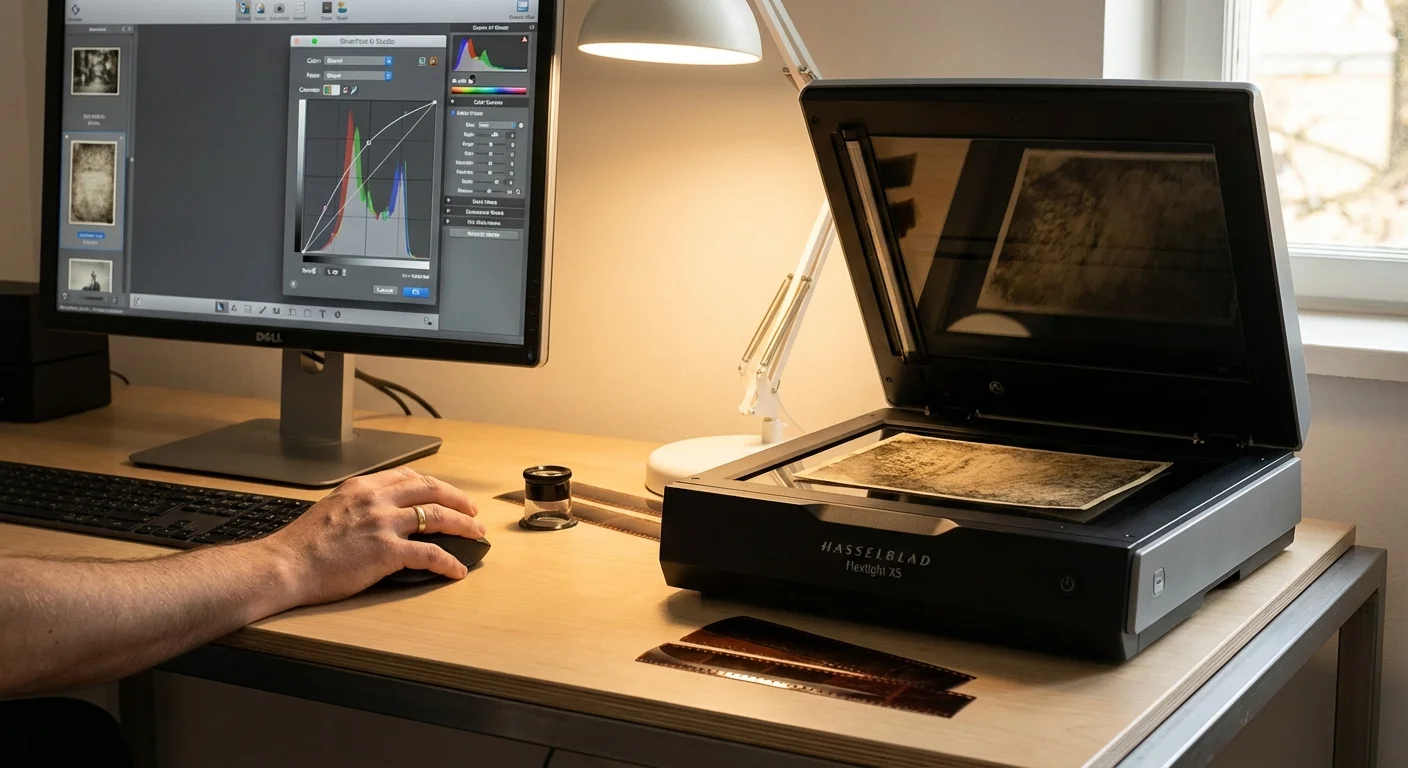
Before you begin the actual scanning process, you must configure your scanner software to capture as much data as possible. When you deal with textured prints, “Auto” settings are your enemy. You want manual control over the resolution and the bit depth to ensure that the subtle details of the photo are preserved despite the interference of the paper grain.
First, set your resolution to at least 600 DPI (dots per inch). While 300 DPI is often sufficient for smooth prints, 600 DPI provides the “overhead” needed for digital noise reduction later. If you plan to enlarge the photo, consider 1200 DPI. Higher resolutions capture the texture more accurately, which paradoxically makes it easier for advanced software filters to identify and isolate the repeating pattern from the actual image content.
Second, choose 48-bit color (or 16-bit grayscale for black and white photos) rather than the standard 24-bit color. This captures a much wider range of tonal values. When you eventually apply filters to remove the texture, having more “room” in the data prevents the image from looking “posterized” or muddy. You should also disable any “Auto-Sharpening” or “Dust Removal” features built into your scanner software. These features often mistake the paper texture for detail or dust, creating weird artifacts that are impossible to remove later.
“The goal of a preservation-grade scan is to capture a raw, unmanipulated record of the original object, allowing for sophisticated digital corrections that do not compromise the integrity of the image.”
The Rotation Method: A Step-by-Step Guide
The most effective “low-tech” way to remove glare from silk-finish photos is known as the Multi-Pass Rotation Method. This technique relies on the fact that the scanner’s light source always hits the photo from the same direction. By rotating the photo and scanning it multiple times, you change which side of the texture grain is illuminated.
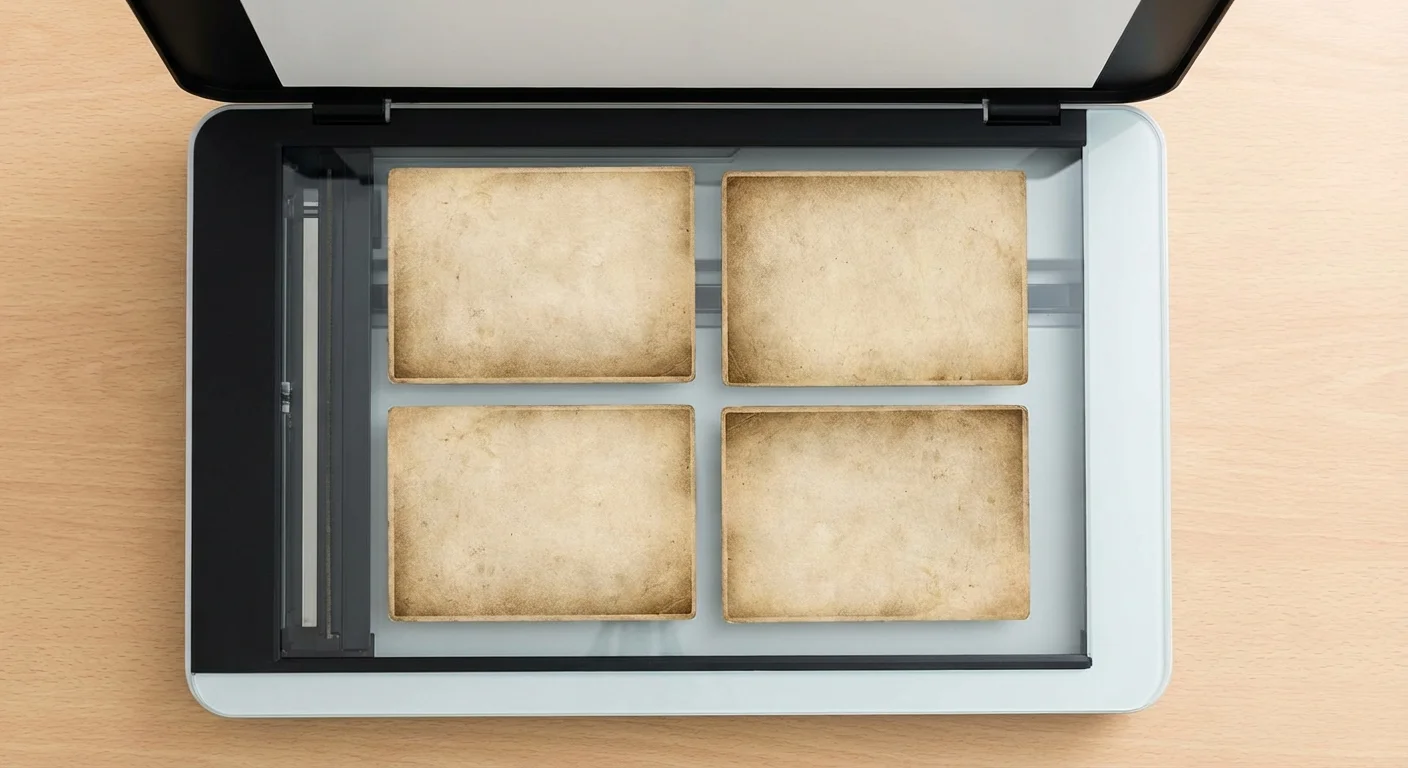
- Position and Scan: Place your photo at the very top-left corner of the scanner bed. Align it perfectly with the edges. Perform your first scan at 600 DPI and save it as “Photo_0.tif”.
- Rotate 180 Degrees: Turn the physical photo 180 degrees. Ensure it is tucked into the same corner. Scan again and save as “Photo_180.tif”.
- Optional 90-Degree Rotations: For particularly aggressive textures, repeat the process at 90 degrees and 270 degrees.
- Import to Software: Open your photo editing software (such as Adobe Photoshop or GIMP). Import both (or all four) images as separate layers in a single document.
- Align Layers: Use the “Auto-Align Layers” feature. Even though you used the corner of the scanner, the alignment must be pixel-perfect.
- Blend the Images: Change the Opacity of the top layer to 50%. Because the shadows and highlights from the texture are now on opposite sides, they will effectively cancel each other out, leaving a much smoother image.
This method works because you are using light to fight light. The “hot spot” captured in the 0-degree scan is filled in by the “shadow” area captured in the 180-degree scan. While this doubles or quadruples your scanning time, it is the most reliable way to handle textured prints without specialized equipment.
Using Cross-Polarization for Professional Results
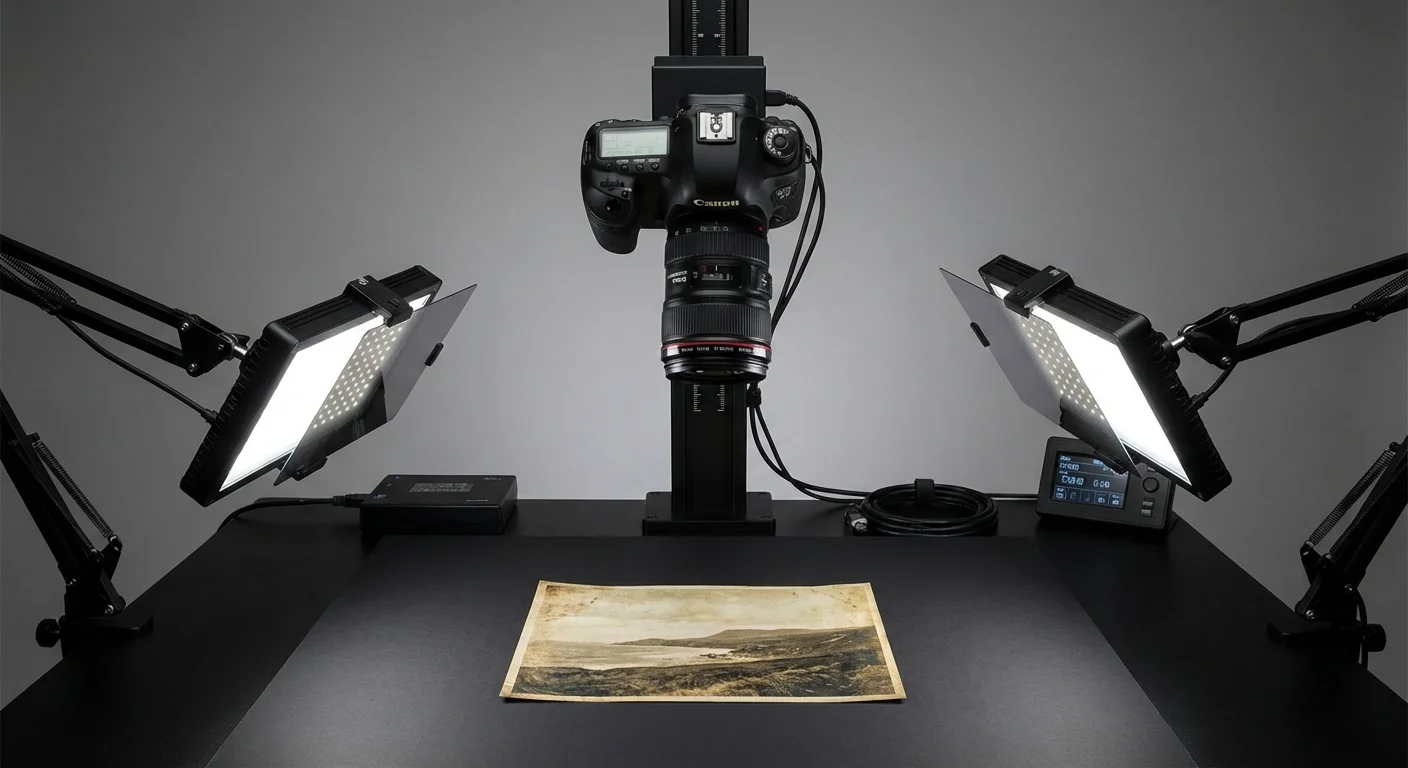
If you have a high-quality DSLR or mirrorless camera and a tripod, you can bypass the flatbed scanner entirely. This method is often preferred by institutions like the National Archives because it allows for much greater control over lighting. To eliminate glare from silk-finish photos using a camera, you should employ a technique called “cross-polarization.”
Cross-polarization involves placing polarizing filters over your light sources and a circular polarizing filter (CPL) on your camera lens. You set up two lights at 45-degree angles to the photo. You then rotate the polarizing filter on your lens until the glare literally disappears from your viewfinder. This works because the filters block the specific “polarized” light waves that bounce off the surface of the texture while allowing the “depolarized” light from the image itself to pass through.
This setup requires an initial investment in filters and lights, but for a collection of hundreds of textured photos, it is significantly faster than the rotation method. It also prevents the “hot spots” that occur when a photo isn’t perfectly flat against scanner glass, as you aren’t pressing the photo against a surface. For more technical details on how light interacts with surfaces, you can explore the optics guides at Cambridge in Colour.

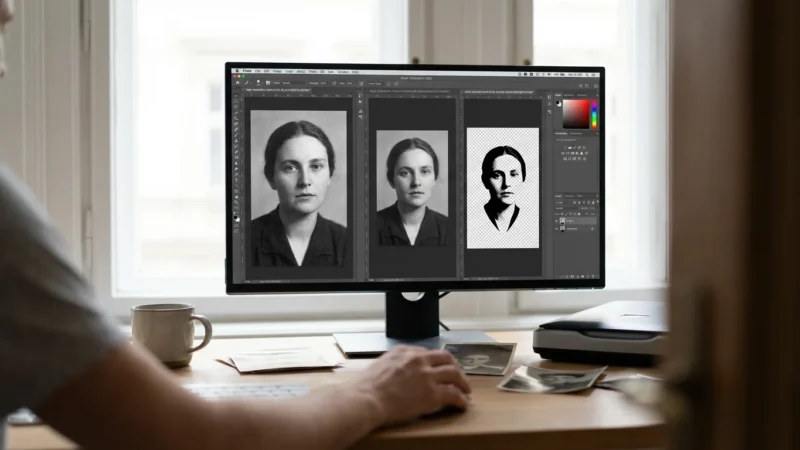
Removing Texture Patterns with Digital Filters
Sometimes, even a great scan leaves behind a faint “ghost” of the texture. If the texture is a regular, repeating pattern (like a grid or honeycomb), you can use a mathematical tool called a Fast Fourier Transform (FFT) filter. This is a specialized tool often available as a plugin for Photoshop or within open-source tools like ImageJ.
An FFT filter converts your image from “spatial” data (pixels) into “frequency” data. In the frequency view, a repetitive texture appears as distinct bright dots away from the center of the image. By “painting out” those dots and converting the image back to pixels, you can remove the texture while leaving the actual photo details untouched. It feels like magic, but it is simply advanced mathematics.
If you don’t want to dive into FFT filters, you can use the “Frequency Separation” technique commonly used in skin retouching. This splits your photo into a “High Frequency” layer (containing the texture and sharp details) and a “Low Frequency” layer (containing the colors and tones). You can then apply a slight Gaussian blur to the High Frequency layer in the areas where the texture is most distracting, or use a “Median” filter to knock back the peaks of the silk finish.
| Method | Best For | Complexity | Result Quality |
|---|---|---|---|
| Rotation (0/180) | Standard Flatbed Users | Medium | High |
| Cross-Polarization | Large Collections / Professional | High | Excellent |
| FFT Software Filter | Heavy Grid Textures | High | Superior |
| Frequency Separation | Mild Matte Textures | Medium | Moderate |
Safe Handling and Preservation Standards
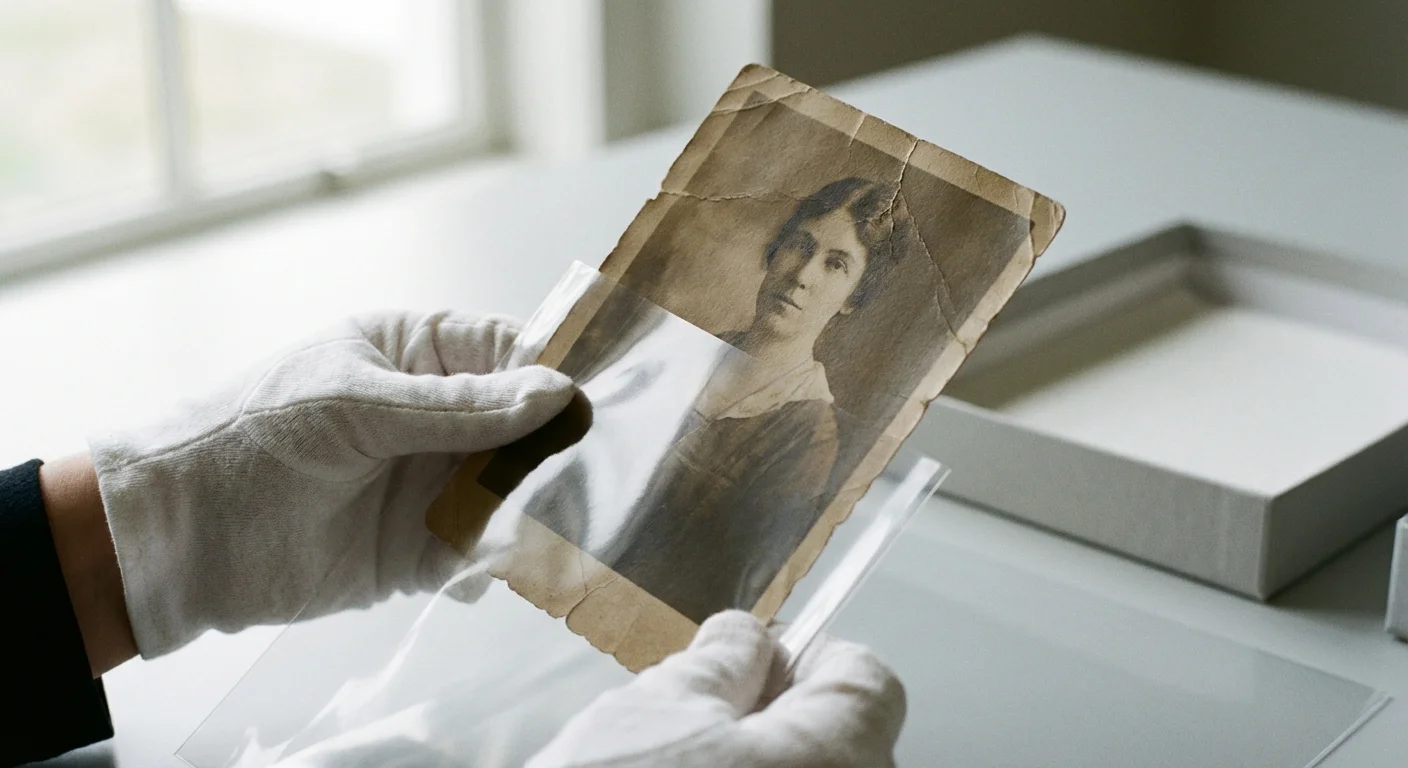
While you are focused on the digital scan, do not forget the physical safety of your memories. Textured photos from the mid-20th century are often brittle. The very “texture” you are trying to remove is part of the physical emulsion of the print. Every time you slide the photo across scanner glass, you risk microscopic abrasions.
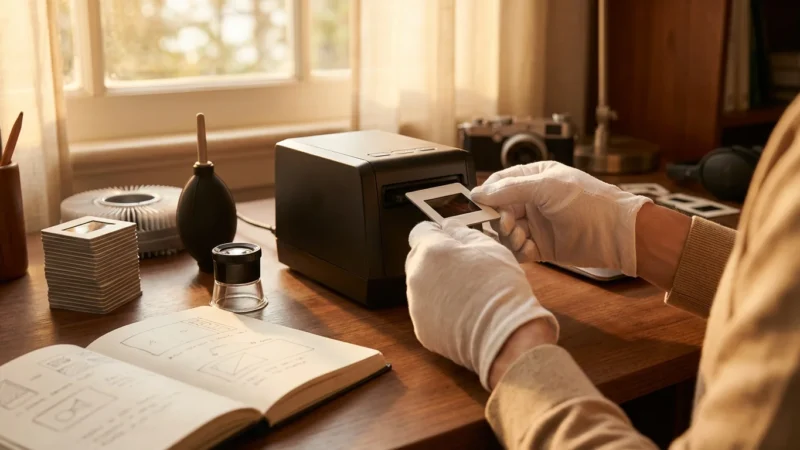
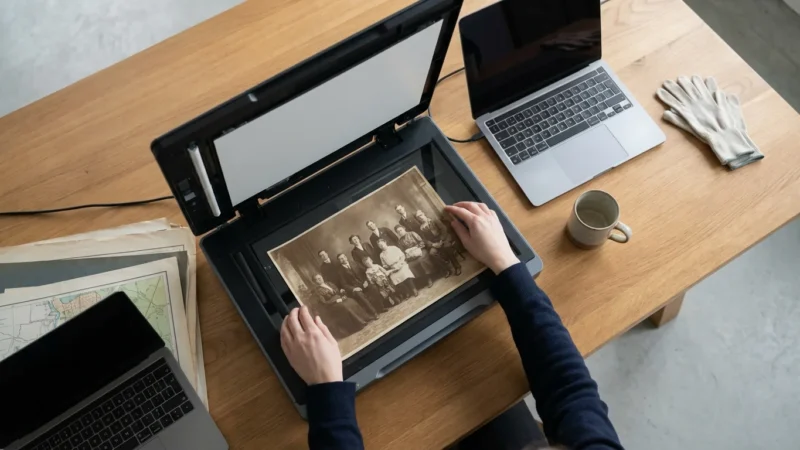
Before scanning, clean your scanner glass with a microfiber cloth and a dedicated glass cleaner. Apply the cleaner to the cloth, never directly to the glass, to prevent liquid from seeping into the scanner housing. When handling the photos, wear lint-free cotton gloves or ensure your hands are freshly washed and thoroughly dried. Oils from your skin can react with the silver halides in older prints, causing “silver mirroring” or permanent staining over time.
If a photo is severely curled, do not force it flat with the scanner lid, as this can crack the emulsion. Instead, place the photo in a clear, archival-safe Mylar sleeve. This allows you to apply gentle pressure without the photo directly touching the glass. For long-term storage after your project is complete, follow the guidelines provided by the Library of Congress: store prints in a cool, dry, dark place using acid-free folders or sleeves.
“Preserving a photo is a two-step process: creating a high-fidelity digital surrogate and ensuring the physical original survives for another century.”
Frequently Asked Questions
What is the best DPI for scanning silk-finish photos?
You should scan textured or silk-finish photos at a minimum of 600 DPI. While 300 DPI is standard for smooth prints, the higher resolution captures the nuances of the texture more clearly, which actually makes it easier for software to identify and remove those patterns during post-processing.
Why does my scanner create white dots on my old photos?
Those white dots, often called hot spots, occur because the scanner’s light source hits the raised bumps of the textured paper at a specific angle. This creates a tiny reflection—glare—on the peak of every texture grain. Flatbed scanners are particularly prone to this because their light source is very close to the surface.
Can I use a phone app to scan textured photos?
While phone apps are convenient, they often struggle with silk finishes because the phone’s flash or ambient room light creates uneven glare. For archival quality, a flatbed scanner using the rotation method or a DSLR setup with cross-polarization provides significantly better results.
Does the rotation method work for all textures?
Yes, the rotation method is highly effective for most repetitive textures like silk, honeycomb, or linen finishes. By scanning the image at different orientations and blending them, you effectively fill in the shadows created by the texture with light from the other passes.
Disclaimer: This article is for informational purposes only. When handling valuable or irreplaceable photographs, consider consulting a professional conservator. Always test preservation methods on non-valuable items first.


Leave a Reply