
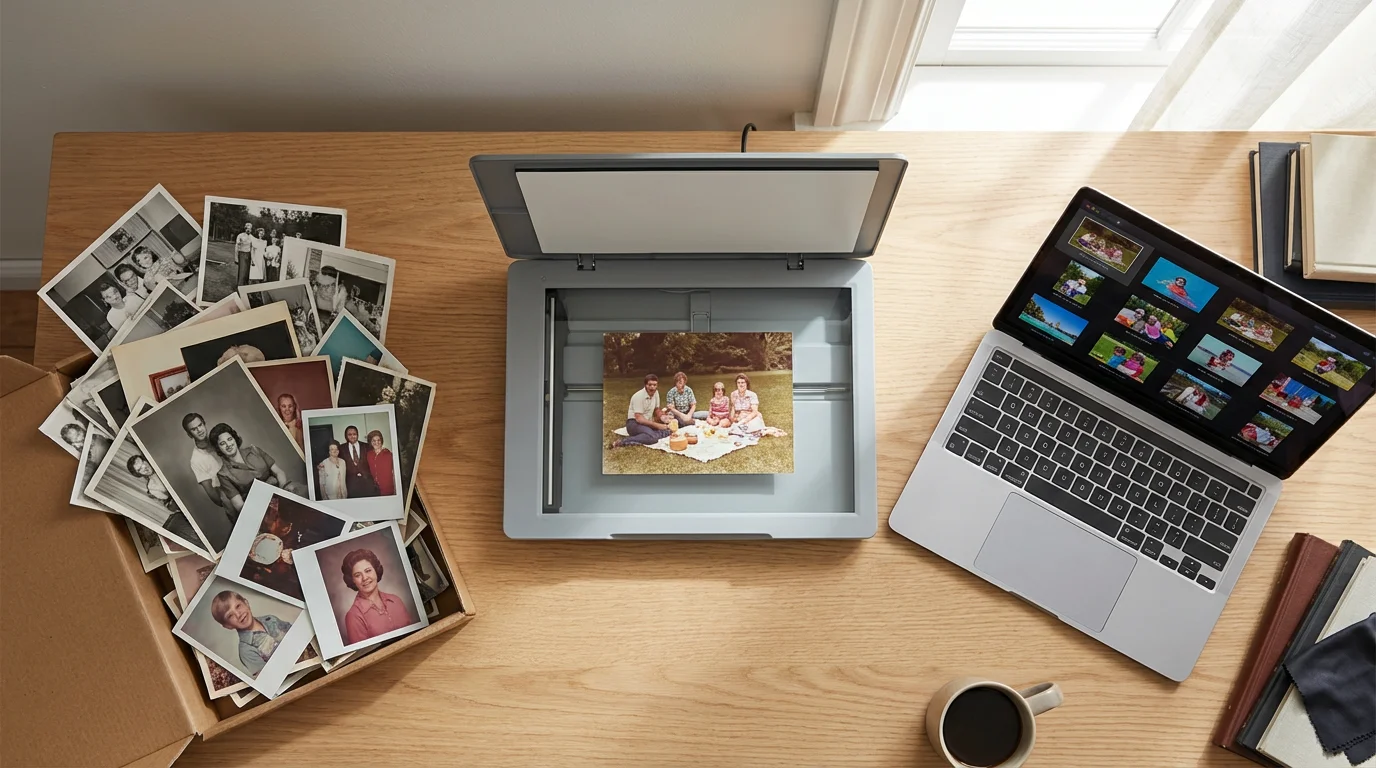
You have boxes of faded prints, aging negatives, and carousels of slides, memories waiting to be rediscovered and preserved. Perhaps your digital photo collection numbers in the thousands, sprawling across devices and cloud services, disorganized and vulnerable. The task of safeguarding your family’s photographic heritage can feel overwhelming, a mountain of work stretching ahead. Digitizing your physical photos offers a critical step in this preservation journey. It creates accessible, shareable, and enduring copies of irreplaceable moments. The central question often arises: should you tackle this extensive project yourself, or do professional photo scanning services offer a better solution?
This comprehensive guide helps you navigate the decision between a do-it-yourself approach and outsourcing your scanning needs. We will examine the benefits and drawbacks of each option, explore what professional digitization entails, and empower you with the knowledge to make the best choice for your precious photo collection.

The Imperative to Preserve Your Photo Heritage
Your old photographs are more than just paper or film. They are tangible links to your past, windows into generations, and irreplaceable artifacts of your family’s story. Unfortunately, time is not kind to these physical treasures. Prints fade, colors shift, and film degrades. Environmental factors like humidity, light exposure, and even common pollutants accelerate this decay. Natural disasters, accidental damage, or simple misplacement threaten these unique records daily. Without proper care and conversion to a digital format, these memories face eventual loss.
It is also helpful to declutter your collection beforehand, so you only spend time or money on the photos that truly matter.
Establishing a structured home photo archive ensures that your newly digitized files are curated and protected for the long term.
Digitization safeguards your visual legacy. It creates high-quality digital duplicates that resist the effects of time and environment. Once digitized, your photos become easy to organize, share with loved ones across distances, and integrate into digital memory projects. This process also provides a crucial backup, ensuring that even if the original physical photos are lost or damaged, their visual information lives on. The Image Permanence Institute emphasizes that digital files offer unprecedented opportunities for preservation, but only with proper management and storage practices. You owe it to your past and future self to secure these invaluable records.
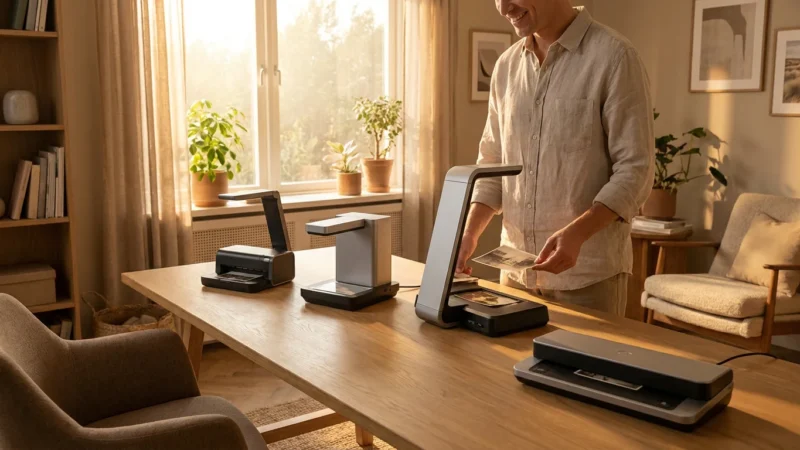
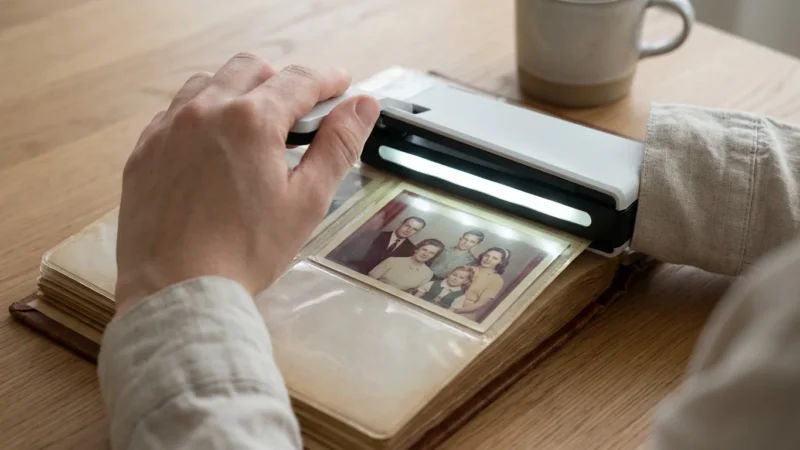
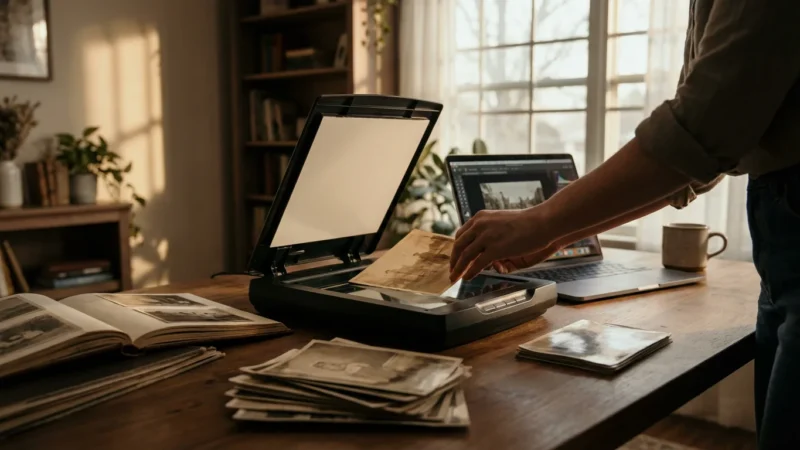
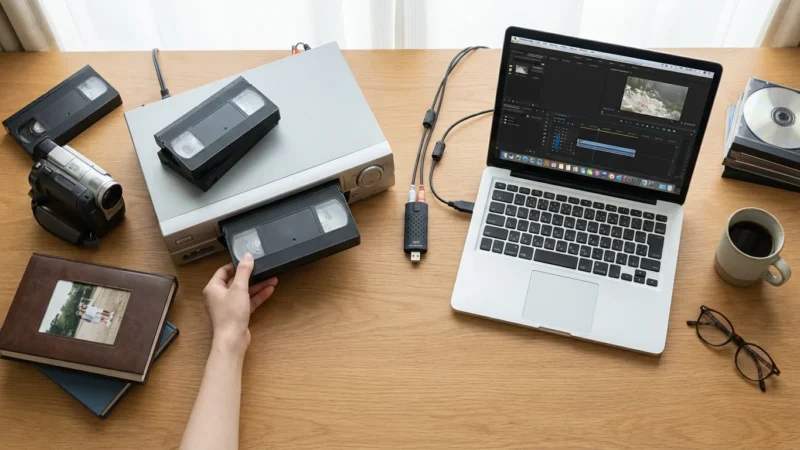
DIY Scanning: A Closer Look at the At-Home Approach
Embarking on a do-it-yourself photo scanning project can appeal to many. You maintain complete control over the entire process, work at your own pace, and avoid the cost of outsourcing. This method can feel incredibly rewarding as you personally rediscover each image. However, the DIY path requires a significant investment of time, a commitment to learning technical skills, and potentially purchasing specialized equipment.
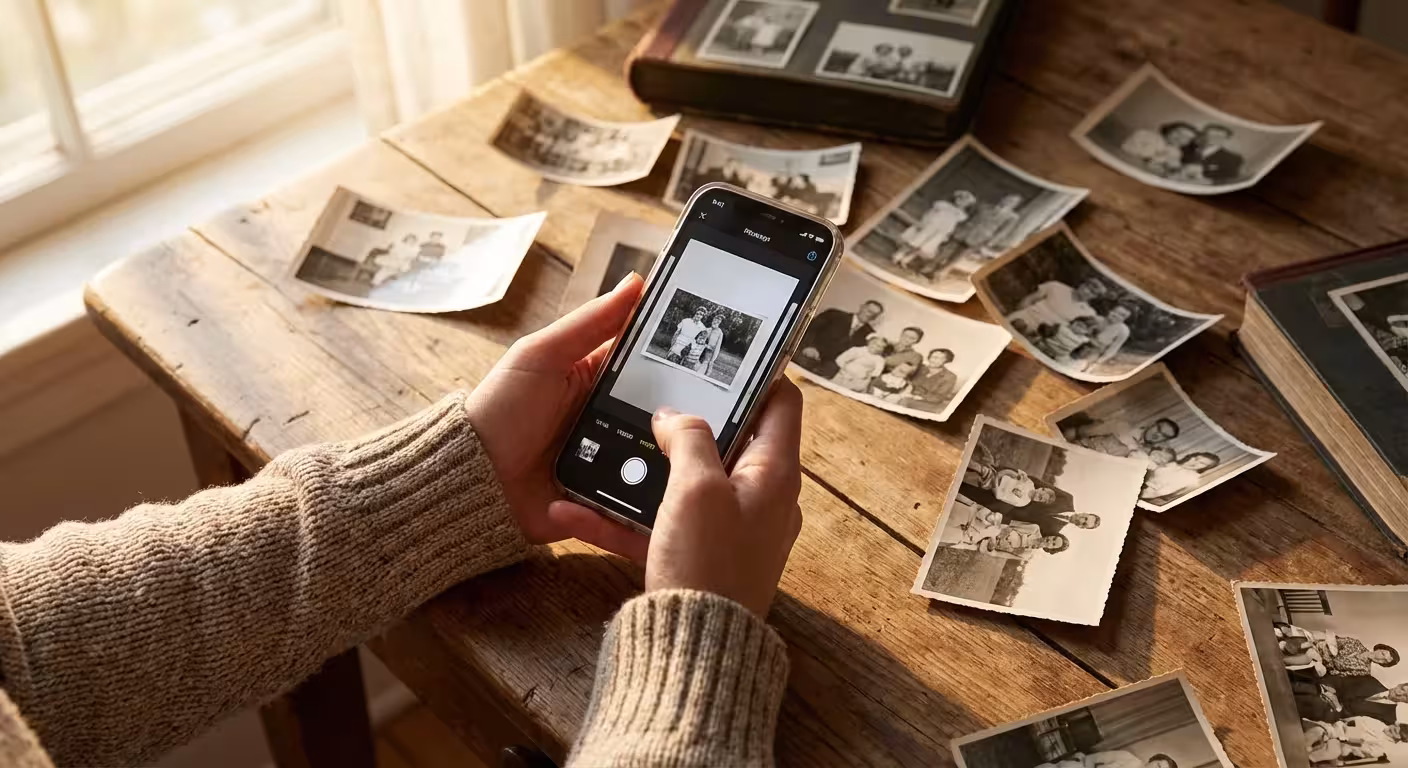
If you are looking for a more portable solution, using a smartphone scanner app can provide surprisingly good results for a few quick captures.
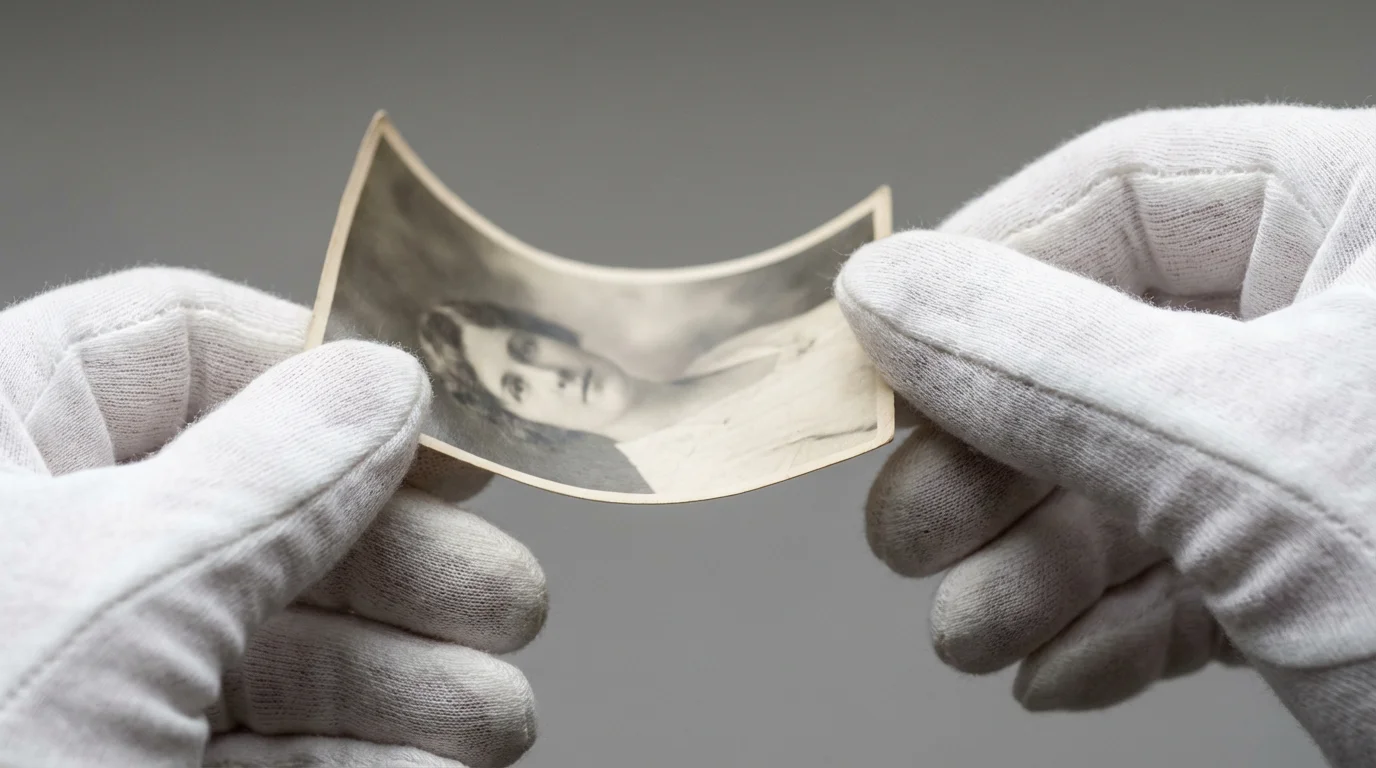
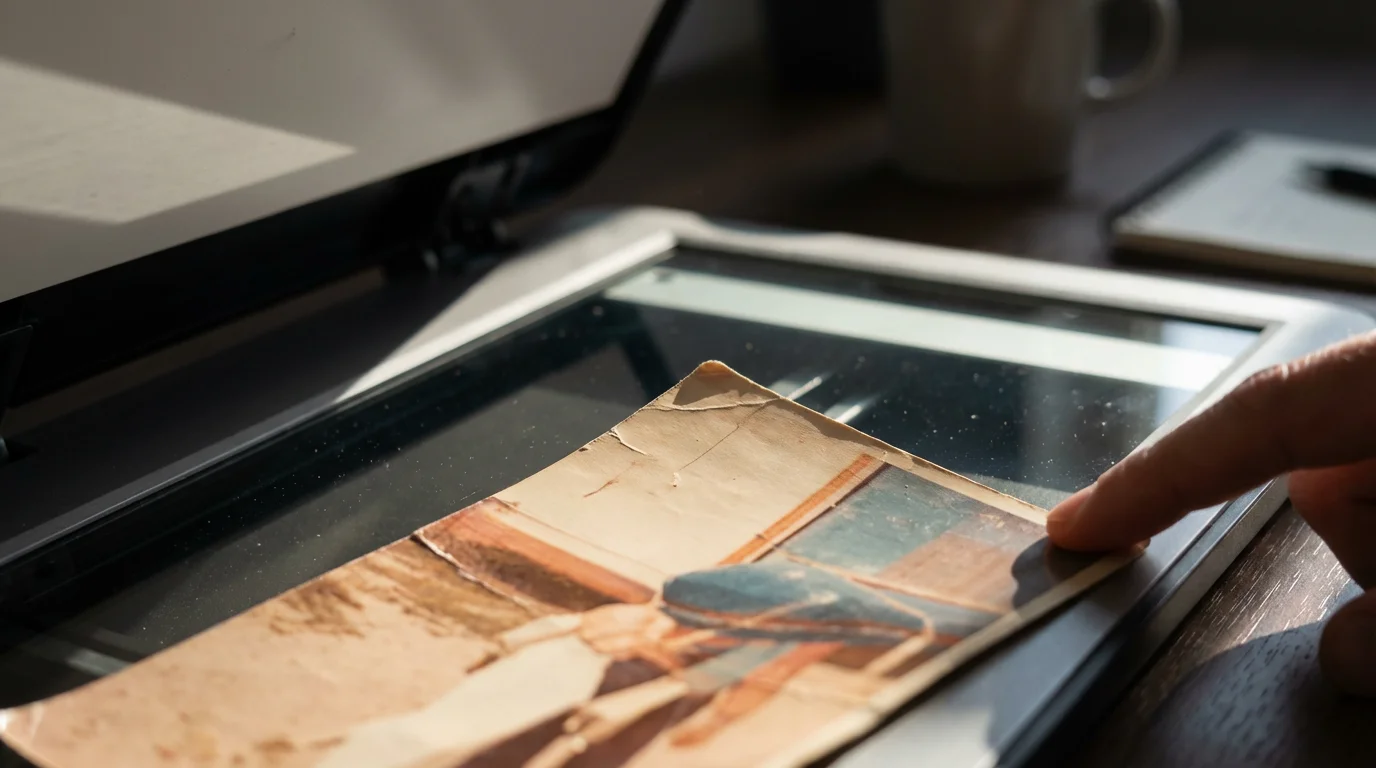
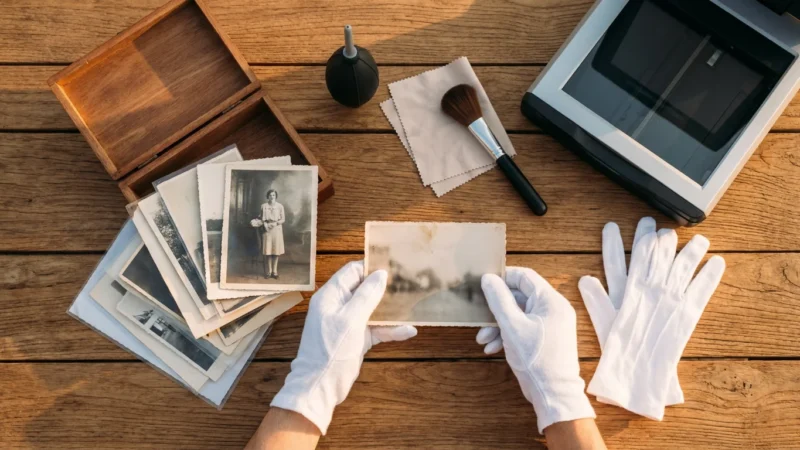
Before you begin, ensure you know how to clean and handle your physical prints to avoid scratching them during the process.
The Advantages of DIY Scanning
- Cost Savings: For smaller collections, purchasing a scanner might be a one-time expense that pays for itself compared to service fees.
- Complete Control: You dictate the resolution, file format, color adjustments, and specific handling of each image. This is invaluable for unique or fragile items.
- Privacy: Your sensitive family photos never leave your home, addressing potential concerns about privacy and security.
- Flexibility: Scan at your leisure, fitting the project into your schedule without external deadlines.
- Learning Experience: You gain a deeper understanding of digital imaging, photo editing, and archival practices.
The Challenges of DIY Scanning
- Significant Time Commitment: Scanning even a modest collection of 500 photos at high resolution, with individual cleaning and adjustments, can consume dozens of hours. A large collection might require hundreds of hours.
- Equipment Costs: Quality flatbed scanners suitable for prints, negatives, and slides can range from $200 to over $1,000. Dedicated film scanners cost even more. Cheap scanners often yield subpar results, necessitating rescan later.
- Technical Learning Curve: Achieving optimal results requires understanding concepts like DPI (dots per inch), color depth, file formats (JPEG vs. TIFF), and basic image editing software. Inconsistent quality often results from a lack of technical knowledge.
- Maintenance and Handling: Scanners require regular cleaning to prevent dust and debris from appearing on your scans. You must also handle original photos carefully to prevent damage during the scanning process.
- Limited Capabilities: Certain specialized photo types, such as large format negatives, intricate albums, or severely damaged prints, may exceed the capabilities of consumer-grade scanners and require professional equipment or expertise.
If you possess a small to medium-sized collection, enjoy technical tasks, and have ample free time, DIY scanning presents a viable and fulfilling option. Equip yourself with a good scanner, such as an Epson Perfection V600 or a similar model for general prints and film, and dedicate yourself to learning the best practices for resolution and file management.

Unpacking Professional Photo Scanning Services
For many, the sheer volume of photos, the lack of time, or the desire for superior quality makes professional photo scanning services an attractive alternative. These services specialize in transforming your physical photo collections into high-resolution digital files efficiently and with expert care. They offer solutions for nearly every type of photographic material, from standard prints to delicate negatives, slides, and even old photo albums.
What Professional Services Offer
Professional digitization services provide a tailored approach to preserving your memories, leveraging specialized equipment and trained technicians. They typically offer:
- High-Resolution Scanning: They use industrial-grade scanners capable of capturing images at very high DPI, often up to 600 DPI for prints and thousands of DPI for film, preserving fine details that consumer scanners might miss.
- Expert Handling: Technicians understand how to safely handle fragile, delicate, or damaged photos, minimizing further deterioration during the scanning process.
- Color Correction and Restoration: Many services include automatic or manual color correction to counteract fading, yellowing, or color shifts common in older photos. Some offer additional restoration services for scratches, dust, or tears.
- Dust and Scratch Removal: Advanced scanning software and hardware, often involving infrared technology (Digital ICE), automatically detect and remove dust and minor scratches without softening image details.
- Variety of Formats: They handle a wide range of materials: prints of all sizes, negatives (35mm, medium format, large format), slides, panoramic photos, and even photo albums.
- Organized Digital Files: Services often provide options to organize your scanned images into folders by date, event, or custom categories, making your digital collection immediately usable.
- Archival File Formats: You typically receive your images in both high-quality JPEG for everyday use and TIFF files, which are uncompressed, lossless formats ideal for long-term archival and future editing.
“Professional photo scanning services are not merely about converting images. They provide the expertise, equipment, and efficiency necessary to truly safeguard your visual history with archival quality, ensuring your memories endure for generations,” says a leading photo preservation expert.
Types of Professional Scanning Services
You find various models when you look into outsourcing this task:
- Mail-In Services: These are popular, large-scale operations where you ship your photos to a central facility. They offer competitive pricing for bulk orders but mean your originals are out of your possession for a period.
- Local Scanning Bureaus: Smaller, often family-owned businesses or specialized photo labs that may offer more personalized service. Your photos remain local, and you can often discuss specific needs directly.
- Specialized Archival Services: These cater to extremely rare, fragile, or historically significant collections. They employ conservators and use museum-grade equipment, often at a higher price point, offering the highest level of care and quality.
The choice of service depends on your budget, the volume and fragility of your collection, and your comfort level with shipping irreplaceable items.
When Professional Digitization Makes Sense
Deciding to invest in professional digitization is a significant choice, often driven by specific circumstances where the DIY approach falls short. Consider outsourcing your photo scanning services when any of these situations apply to you:
- Large Volumes of Photos: If you possess thousands of prints, slides, or negatives, the time commitment for DIY scanning becomes astronomical. Professional services process large batches quickly and efficiently. For example, a service can scan 2,000 prints in a few days, a task that might take you months of dedicated effort.
- Limited Time and Availability: Your busy schedule may not allow for the hundreds of hours required for a quality DIY scanning project. Outsourcing frees your time and ensures the project gets completed without procrastination.
- Desire for the Highest Quality: Professional labs use high-end, calibrated scanners that produce superior resolution, color accuracy, and detail compared to most consumer models. This is particularly important for historical photos, genealogical records, or images you plan to enlarge significantly.
- Fragile or Damaged Originals: Extremely delicate, faded, torn, or unusually sized photographs require expert handling to prevent further damage. Professional technicians know how to manage these items without compromising their integrity.
- Specialized Formats: If your collection includes less common formats like glass plate negatives, large format film, panoramic prints, or even old video tapes you wish to digitize, specialized photo scanning services have the equipment and expertise to handle them.
- Lack of Technical Skill or Interest: Not everyone enjoys the technical intricacies of scanning software, color correction, and file management. If these tasks feel daunting or uninteresting, delegating them to professionals makes sense.
- Consistency Across a Large Collection: Professional services maintain consistent quality, resolution, and color profiles across an entire batch of photos. Achieving this level of uniformity in DIY scanning requires significant skill and attention to detail.
Ultimately, if your primary goal is high-quality, efficient preservation of a substantial or complex photographic heritage, and your budget permits, professional scanning offers an invaluable service. You effectively outsource scanning tasks that would otherwise consume vast amounts of your personal resources.

What to Look for in a Professional Photo Scanning Service
Choosing the right photo scanning services requires careful consideration. Not all services offer the same quality or features. Here are key factors to evaluate when you compare providers:
- Scanning Resolution (DPI): This is critical for image quality. For standard prints, aim for at least 300-600 DPI. For negatives and slides, which contain much more detail, look for services offering 2000-4000+ DPI. Higher DPI captures more information, allowing for better enlargements and future cropping.
- File Formats: Ensure the service provides both JPEG (for easy sharing and everyday use) and TIFF files. TIFF is a lossless format that preserves all image data, making it ideal for archival purposes and any future editing or printing projects.
- Color Correction and Image Enhancement: Inquire about their standard color correction processes. Do they offer automatic or manual adjustments for faded colors, yellowing, or exposure issues? Services that include basic dust and scratch removal, often using Digital ICE technology, add significant value.
- Handling of Originals: Ask about their procedures for handling original photos. How do they prevent damage? Do they wear gloves? What is their policy for fragile or uniquely sized items? A reputable service prioritizes the safety of your irreplaceable originals.
- Turnaround Time: Understand the expected duration for your project, especially for large collections. Some services offer expedited options for an additional fee.
- Output Delivery: How will you receive your digital files? Common methods include USB drives, DVDs, or cloud downloads. Ensure the delivery method is secure and convenient for you.
- Customer Service and Communication: A good service communicates clearly about their process, provides updates, and addresses your questions promptly. Read reviews regarding their responsiveness and support.
- Pricing Structure: Compare pricing models. Some charge per photo, others offer bulk packages, and still others price based on volume tiers. Understand all potential extra fees, such as handling fragile items, specialized formats, or expedited service.
- Storage and Backup: Does the service offer temporary cloud storage for your files post-scanning? While you should always have your own backup strategy, this can be a helpful interim feature.
| Feature | DIY Scanning | Professional Scanning Services |
|---|---|---|
| Initial Cost | Scanner purchase ($200-$1000+) | Per-item or package fee (variable) |
| Time Commitment | Very High (hundreds of hours for large collections) | Low (preparation time only) |
| Image Quality | Good to Excellent (depending on scanner & skill) | Excellent to Archival (industrial-grade equipment) |
| Handling Fragile Photos | Requires extreme personal care | Expert technicians with specialized methods |
| Specialized Formats | Limited (consumer scanners) | Broad range (negatives, slides, large format) |
| Color Correction/Restoration | Manual effort with software | Often included, automated/expert manual |
| Dust/Scratch Removal | Manual editing time-consuming | Automated with Digital ICE technology |
| Privacy/Security | Photos stay in your home | Must trust service provider |
| Consistency | Can vary greatly without experience | High consistency across large batches |

Understanding Professional Photo Scanning Costs
When asking, “how much does professional photo scanning cost?“, you find that prices vary significantly based on several factors. Understanding these variables helps you budget effectively and select a service that aligns with your needs and financial considerations.
Key Factors Influencing Price:
- Volume of Photos: Most services offer tiered pricing, with lower per-scan rates for larger quantities. For instance, scanning 50 photos might cost $0.50-$1.00 per scan, while 5,000 photos could drop to $0.20-$0.30 per scan.
- Type of Media: Prints are generally the most affordable to scan. Slides and negatives, requiring specialized handling and higher resolution capture, cost more. For example, print scanning might be $0.20-$0.60 per image, while slides or negatives could range from $0.40-$1.50 per frame.
- Resolution (DPI): Higher resolution scans cost more because they take longer to process and create larger files. A standard 300 DPI scan costs less than a 600 DPI print scan or a 4000 DPI film scan.
- Included Enhancements: Basic color correction and automatic dust removal are often included. However, advanced restoration for severely damaged photos, red-eye removal, or manual scratch removal typically incurs additional fees, sometimes charged per minute or per image.
- Output Format and Delivery: Receiving files on a USB drive often costs more than a simple cloud download. TIFF files, being larger and requiring more processing/storage, might also affect the price.
- Special Handling: Photos still in albums, extremely fragile items, or odd-sized memorabilia require extra care and manual intervention, increasing costs. Services might charge an hourly rate for album scanning or a per-item fee for delicate originals.
- Turnaround Time: Expedited services almost always come with a premium.
Typical Price Ranges
While prices fluctuate, here is a general idea of what you might expect:
- Prints (Standard Size): $0.20 – $0.60 per scan for bulk orders, $0.50 – $1.00 for smaller quantities.
- Slides and Negatives (35mm): $0.40 – $1.00 per frame for bulk, $0.70 – $1.50 for smaller quantities.
- Photo Albums: Often charged hourly or per page, ranging from $1-$3 per page, or up to $50 per album depending on complexity.
- Additional Services: Restoration can range from $10-$50+ per image depending on complexity.
Always request a detailed quote from several photo scanning services before committing. Ensure the quote breaks down all costs and explains what services are included at each price point. Understanding the full scope helps you decide if you should I use a photo scanning service based on your budget and quality expectations.

Maximizing Your Investment in Photo Scanning Services
If you decide to outsource scanning for your photos, a little preparation goes a long way in ensuring you get the most value and the best results. The process does not end with scanning; smart post-scanning steps are equally crucial for long-term preservation and enjoyment.
Before You Send Your Photos: Preparation is Key
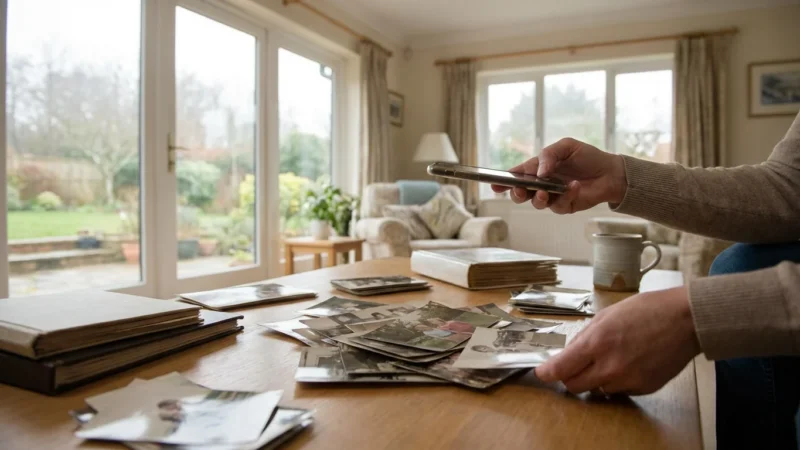
- Organize and Declutter: Before sending your photos, sort them by date, event, or theme. Remove duplicates, blurry images, or anything you do not wish to keep. This saves scanning costs and reduces the volume of digital clutter later. Many services charge per scan, so scanning only what you truly value makes financial sense.
- Clean Your Photos (Carefully): Gently brush away loose dust with a soft, clean, anti-static cloth or a photography-specific air blower. Avoid using liquids or abrasive materials, which can damage prints or film. If you have extremely dirty or damaged photos, consult with the scanning service about their restoration capabilities.
- Prioritize Fragile Items: Clearly mark any delicate or damaged photos. Discuss special handling instructions with your chosen service. Some services charge extra for individual handling of fragile items, but this investment protects your most vulnerable memories.
- Communicate Your Expectations: Be clear about your desired resolution, file formats, and any specific color correction needs. Provide examples if possible, such as a sample photo with desired color balance.
- Document Your Shipment: Create an inventory of your photos before shipping. Take pictures of the organized bundles or containers. This provides peace of mind and proof of content in case of transit issues.
- Secure Packaging: Pack your photos securely in archival-safe boxes or containers. Protect them from bending, moisture, and impact during transit.
After You Receive Your Scanned Photos: The Next Steps
Receiving your digital files is an exciting moment, but your preservation efforts must continue beyond that point:
- Review and Verify: Immediately check a representative sample of your scanned images for quality, resolution, and accuracy. Ensure all requested photos appear in your digital delivery. Report any issues to the service promptly.
- Implement a Robust Backup Strategy: Digital files are not immune to loss. Follow the “3-2-1 backup rule”: keep at least 3 copies of your data, store them on 2 different types of media, and keep 1 copy off-site. This might include an external hard drive, cloud storage (like Google Photos, Dropbox, or Backblaze), and a family server or network-attached storage (NAS).
- Organize and Tag Your Digital Collection: Create a logical folder structure by year, event, or person. Use metadata tagging to add keywords, dates, names, and locations. This makes your photos easily searchable and discoverable years down the line. Photo management software like Adobe Lightroom, Apple Photos, or Google Photos can help with this.
- Share Your Memories: Now that your photos are digitized, share them with family and friends. Create online albums, slideshows, or physical photo books. The goal of preservation is ultimately enjoyment and connection.
- Consider Archival Storage for Originals: Even after digitization, store your original physical photographs in archival-safe boxes and sleeves, in a cool, dark, and stable environment. Digitization creates a backup, but the originals retain intrinsic value. The Library of Congress provides comprehensive guidelines for the physical preservation of photographs.
Frequently Asked Questions
Are professional photo scanning services really worth the cost?
Yes, for many people, professional photo scanning services offer significant value. If you have a large collection, delicate or specialized formats, limited time, or demand the highest quality and consistency, outsourcing saves you hundreds of hours and provides superior results compared to typical DIY efforts. The investment secures your family’s visual legacy with expert care.
What is the recommended DPI for scanning old photos?
For standard photographic prints you plan to view digitally or print at the original size, 300-600 DPI is generally sufficient. For negatives and slides, which contain much more detail, professional services typically scan at 2000-4000+ DPI. This higher resolution captures maximum detail, allowing for significant enlargement or cropping without pixelation.
How long does professional photo scanning take?
The duration depends on the volume of your collection and the service provider’s workload. Mail-in services often quote 2-4 weeks for standard orders, with expedited options available for an extra fee. Local services might offer faster turnaround times for smaller batches. Always confirm the estimated completion time with your chosen service.
What should I do with my original photos after they are scanned?
Even after professional digitization, your original physical photographs still hold sentimental and potentially historical value. Store them in archival-safe, acid-free boxes and sleeves in a cool, dark, and dry environment. This protects them from further degradation and preserves their tangible presence, even if you primarily use the digital versions.
Can professional scanning services restore damaged photos?
Many professional photo scanning services offer basic image enhancement and color correction as part of their standard package. More extensive restoration for severe damage, such as tears, significant fading, or missing sections, often falls under a separate, additional service. Discuss your specific restoration needs with the provider for a custom quote.
Making Your Decision: DIY or Professional?
The decision to use photo scanning services or tackle the project yourself ultimately rests on your unique circumstances. You have considered the effort involved in DIY scanning versus the cost and convenience of professional options. No single answer fits everyone, but by weighing your priorities, you can confidently choose the best path forward for your precious memories.
Consider your available time. Do you have dozens or hundreds of hours to dedicate to careful scanning, editing, and organizing? Factor in your budget. Are you comfortable with an upfront investment in equipment or prefer to pay for a service? Evaluate the size and condition of your collection. A small box of well-preserved prints might be a manageable DIY project, but thousands of fragile slides strongly suggest professional intervention. Lastly, think about your desired quality. If archival quality and impeccable results are paramount, professional outsource scanning often delivers a superior outcome.
Your photographic heritage deserves to be preserved and celebrated. Whether you choose the hands-on journey of DIY scanning or the expert care of professional digitization, taking action ensures these invaluable visual stories continue to enrich your life and the lives of future generations. Choose the method that empowers you to protect your legacy effectively and enjoy your memories for years to come.
Disclaimer: This article is for informational purposes only. When handling valuable or irreplaceable photographs, consider consulting a professional conservator. Always test preservation methods on non-valuable items first.


Leave a Reply