You hold a treasure in your hands, a panoramic photograph of your grandparents’ wedding, a cherished family tree meticulously drawn on an oversized sheet, or an antique map charting your ancestors’ journey. These large format memories offer unique glimpses into your past. However, their size often presents a significant challenge for digital preservation. Standard home scanners simply cannot accommodate them, leaving many people feeling stuck. You need a practical approach to protect these valuable items.
For a broader overview of the digitizing process, you may want to start with our complete guide on how to scan old photos at home.
This guide equips you with the knowledge and actionable steps to digitize your oversized photos and documents effectively. You will learn various methods, from clever techniques using your existing flatbed scanner to professional solutions, ensuring your large memories survive for future generations.
Understanding the Challenge of Oversized Scanning
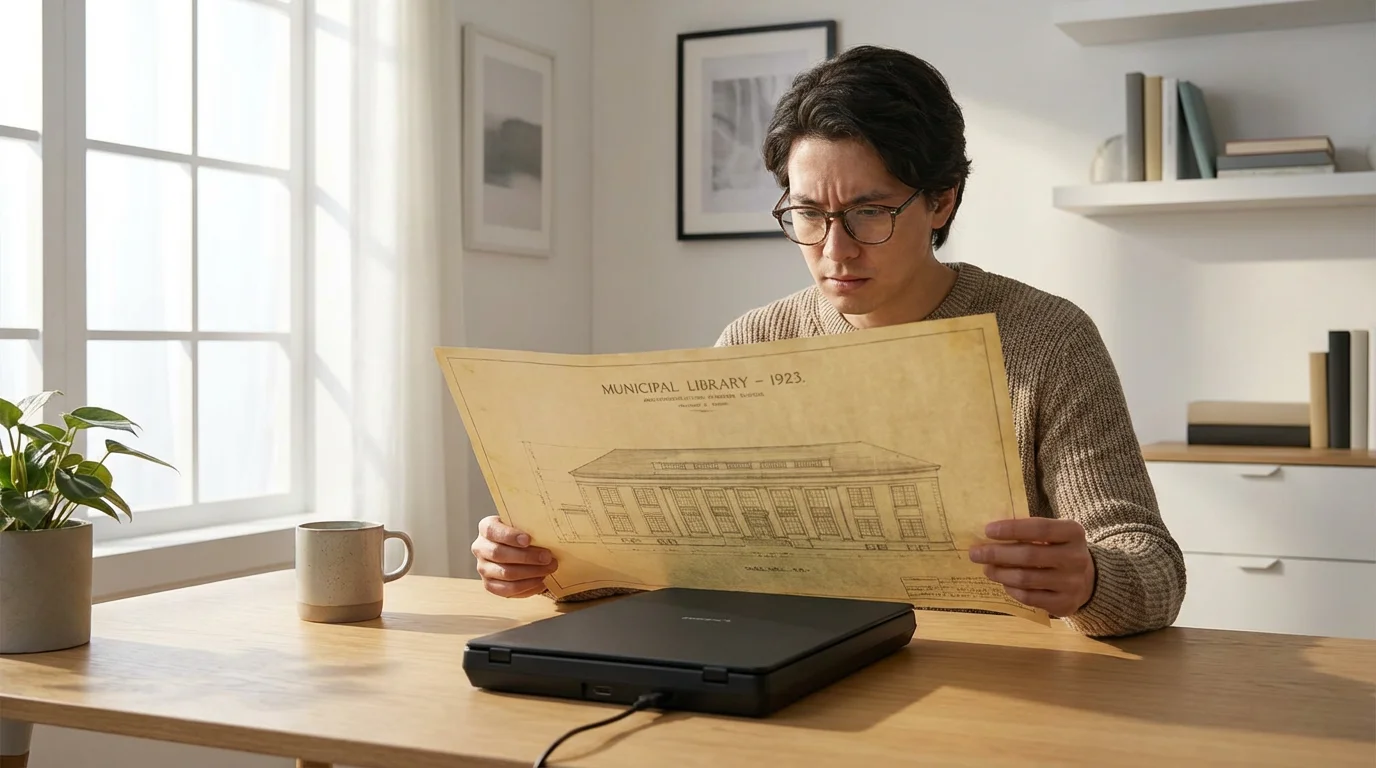
Oversized photographs and documents require special attention because their physical dimensions exceed the capabilities of most consumer-grade scanners. You typically find flatbed scanners with an 8.5 x 11 inch or 8.5 x 14 inch scanning area. Items like panoramic photos, large family trees, architectural blueprints, newspaper broadsheets, or detailed maps easily surpass these limits. Trying to force these items onto a small scanner risks damage to your precious originals, yields incomplete scans, or produces low-quality digital images.
The variety of oversized items you might encounter means different challenges. Panoramic photos often feature delicate paper and a long, narrow format. Maps and blueprints, conversely, might be large and thick, sometimes with folds or tears. Old newspaper clippings can be brittle and yellowed, prone to flaking. Each type demands a thoughtful approach to ensure successful large photo digitization and preservation. Your goal remains to capture every detail without harming the original, creating a faithful digital reproduction. This process extends the life of these unique historical artifacts, ensuring their stories continue for generations.

Essential Preparations Before You Scan
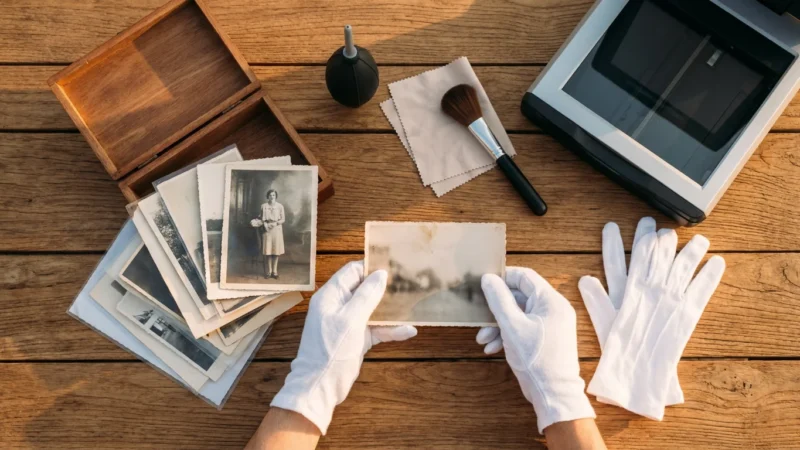
Proper preparation is crucial for protecting your oversized originals and achieving high-quality scans. Treat these items with the respect they deserve as irreplaceable family heritage. Careful handling minimizes damage and ensures a smooth digitization process.
If you have a mixed collection, you might also want to learn how to digitize large photo collections to streamline your workflow for standard-sized prints.
Gather Your Tools and Set Up Your Workspace
- Clean, Flat Surface: Designate a spacious, clean, and well-lit area. Clear away food, drinks, and anything that could spill or scratch your items.
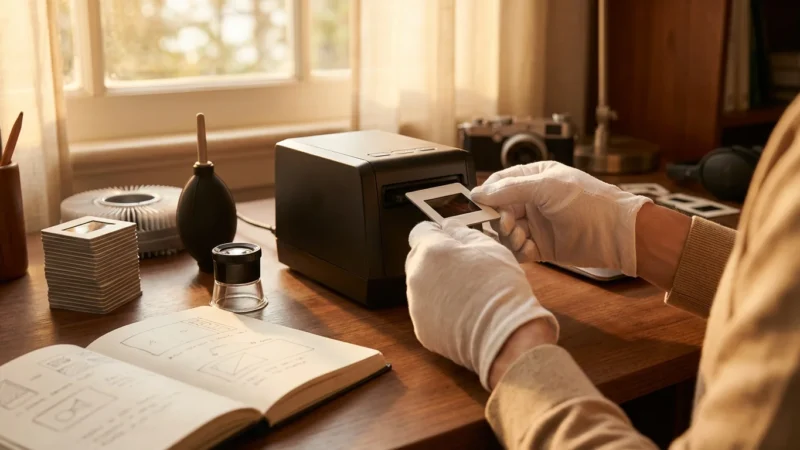
- White Cotton Gloves: Wear white cotton gloves to prevent transferring oils and dirt from your hands to the photos or documents. Fingerprints can leave permanent marks and attract dust. You can find archival-quality gloves online or at photography supply stores.
- Soft Brush or Lint-Free Cloth: Use a very soft brush, like a clean, natural-bristle paintbrush, or a microfiber cloth to gently remove surface dust and debris. Do not use chemical cleaners or wet wipes on your originals.
- Archival Sleeves or Folders: If your items are fragile, consider placing them in clear, archival-safe polyester sleeves before handling. This offers an extra layer of protection during manipulation. The Library of Congress Preservation division offers extensive resources on proper handling and storage for archival materials, emphasizing the importance of protective enclosures.
- Reference Ruler or Tape Measure: You will need this for accurate measurements if you plan to stitch multiple scans together.
Inspect and Prepare Your Originals
Thoroughly inspect each oversized item before scanning. This helps you anticipate challenges and plan your approach.
- Flatten Carefully: Many oversized documents and panoramic photos come folded or rolled. Carefully flatten them by placing them under heavy, flat objects for a few days, such as books or archival boards. Do not force them flat, especially if they feel brittle, as this can cause cracking. You can also use archival paper weights.
- Address Tears and Fragility: If an item has tears, use archival document repair tape on the back of the item, applied sparingly and only if necessary to prevent further damage during scanning. This tape is acid-free and reversible. If items are extremely fragile or actively deteriorating, consult a professional conservator. They possess the expertise and tools to stabilize delicate materials.
- Note Specific Features: Observe details like texture, gloss, fading, or subtle colors. This helps you determine optimal scanning settings later.
“Always handle historical documents and photographs with extreme care. Think of them as unique artifacts. Any action you take during digitization should prioritize the long-term preservation of the original.”
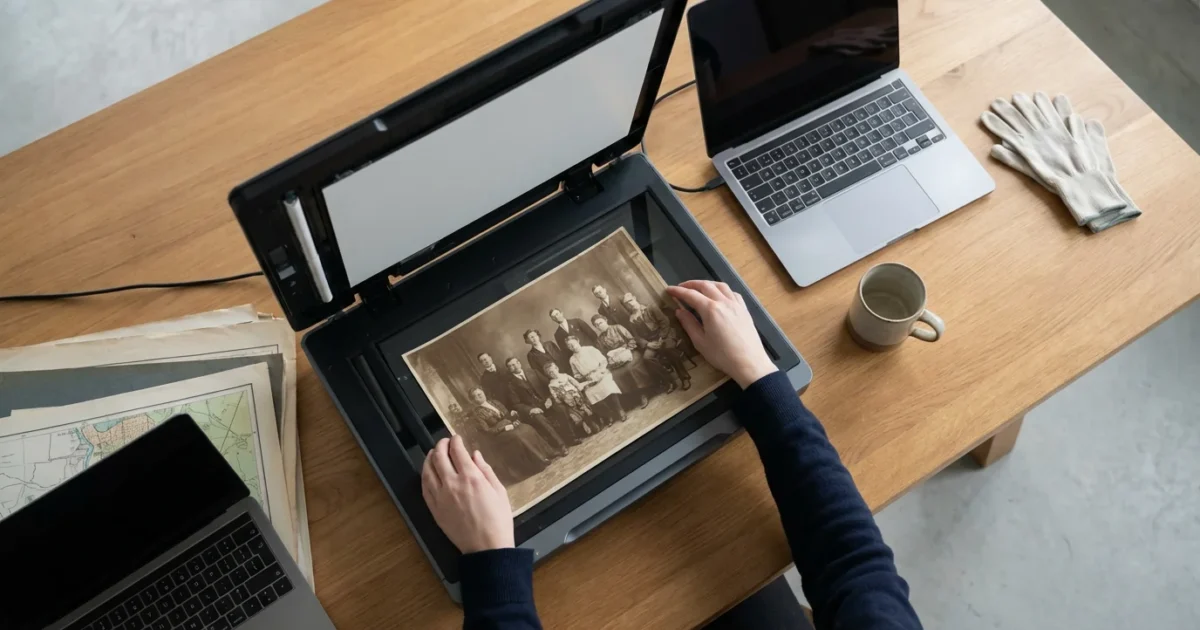
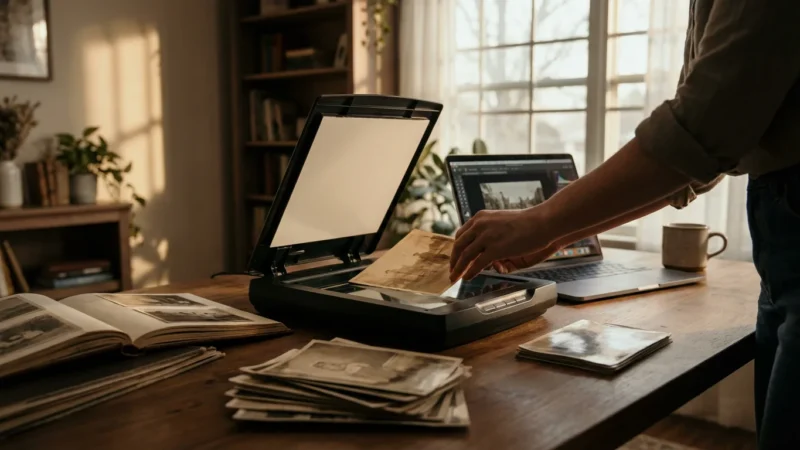
Method 1: Stitching with a Flatbed Scanner
Stitching multiple scans together is the most common and accessible method for scanning oversized photographs and documents when you only have a standard flatbed scanner. This technique involves scanning your large item in overlapping sections and then using image editing software to seamlessly combine them into a single, complete digital image. It requires patience and precision but yields excellent results.
If you find your current equipment lacking, you might explore the best photo scanners for home use to find models with larger scanning beds or higher resolution capabilities.
Step-by-Step Guide to Stitching
- Prepare Your Scanner:
- Clean the scanner bed thoroughly with a lint-free cloth and a specialized glass cleaner. Even small dust particles become glaring flaws in a high-resolution scan.
- Ensure the scanner lid closes properly, or use a dark cloth to cover the item and prevent light leakage if the lid cannot close fully.
- Configure Scanner Settings:
- Resolution (DPI): Set a high resolution, typically 300 DPI for documents and 600 DPI or higher for photos. Higher DPI captures more detail, crucial for later editing and potential enlargements. For very detailed items like blueprints, consider 1200 DPI.
- Color Mode: Scan in “Full Color” (24-bit or 48-bit) even for black and white photos. This captures the full tonal range and any subtle color shifts that may exist.
- Output Format: Choose TIFF as your output format. TIFF is a lossless format, meaning it retains all image data without compression artifacts. You can convert to JPEG later for sharing or web use.
- Disable Automatic Adjustments: Turn off any automatic color correction, sharpening, or dust removal features in your scanner software. You want a raw, unadulterated scan to give you maximum control in post-processing.
- Place the Item and Scan the First Section:
- Carefully place one section of your oversized item onto the scanner bed. Ensure it lies as flat as possible. Position it so that a significant portion (20-30%) of the item extends beyond the scanner’s edge. This overlap is critical for successful stitching.
- Make a mental note or even a physical mark (with sticky notes on the scanner frame, not the photo) of where the overlap begins.
- Initiate the scan for this section.
- Move and Scan Subsequent Sections:
- After the first scan completes, gently slide the item to scan the next section. Overlap this new section with the previously scanned area by at least 20-30%.
- Maintain consistent orientation. Do not rotate the item between scans.
- Continue this process until you have scanned the entire oversized item in multiple, overlapping sections.
- For extremely long items like panoramic photos, you might need many sections.
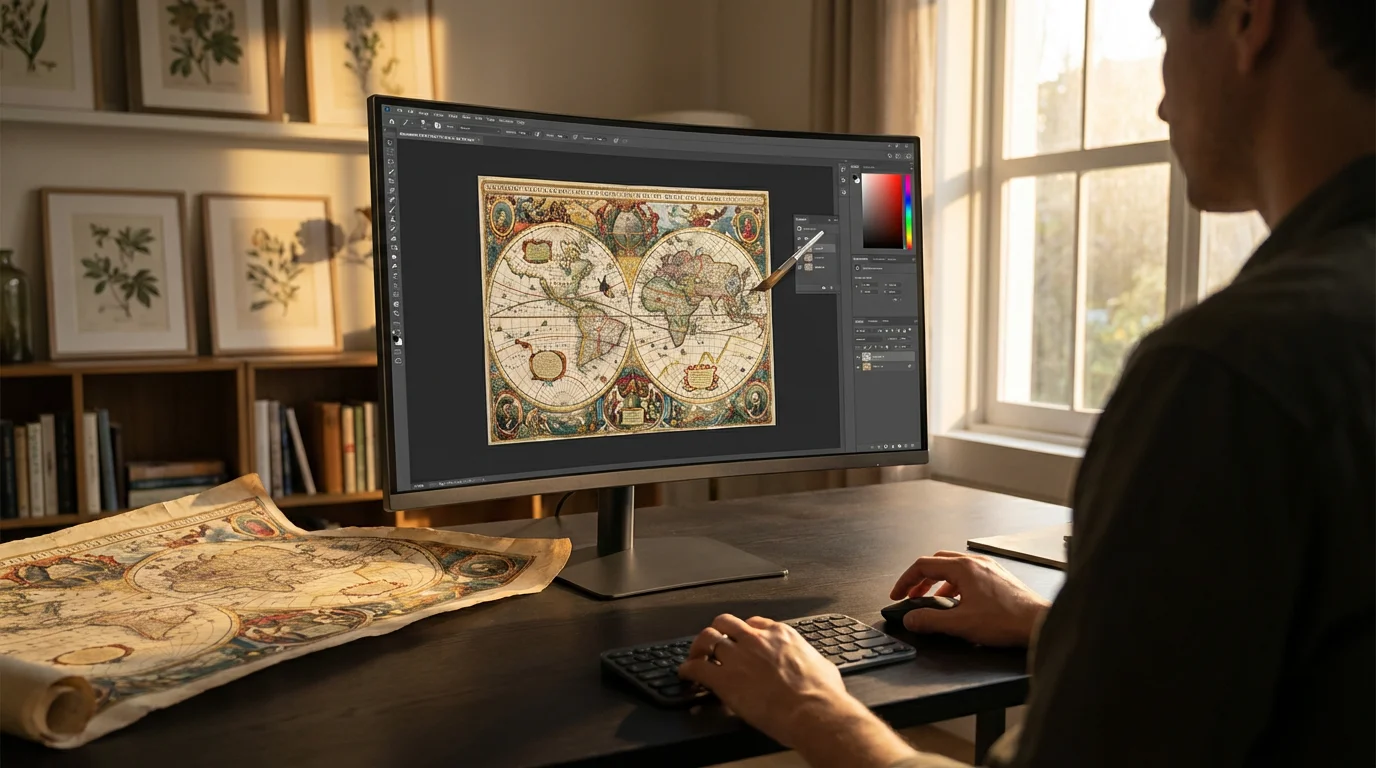
- Stitch the Images in Software:
- Import all your scanned sections into image editing software. Popular options include Adobe Photoshop, Affinity Photo, GIMP (free), or Microsoft ICE (Image Composite Editor, free).
- Most modern image editors offer an “Auto-Align Layers” or “Photomerge” feature. Select all your scanned images and activate this function. The software analyzes the overlapping areas and stitches them together.
- Carefully review the stitched image for any misalignments, seams, or color inconsistencies. You may need to manually adjust layers or use cloning tools to perfect the joins.
- Crop the final image to remove any excess white space or uneven edges from the scanning process.
- Save and Archive:
- Save your final stitched image as a high-resolution TIFF file. This creates your archival master.
- You can then create derivative JPEGs for sharing, web use, or smaller prints.
This method, while time-consuming for very large items, gives you control over the entire process and typically produces excellent results for how to scan photos larger than scanner bed. The key lies in precise placement, consistent settings, and skillful use of your image editing software.
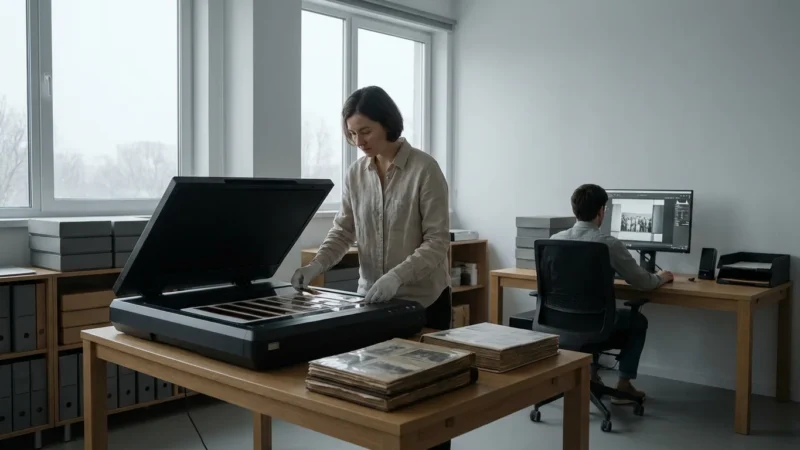
Method 2: Using a Large Format Scanner or Professional Service
When stitching multiple scans seems too daunting, the original item is too fragile for repeated handling, or you need absolute top-tier quality, consider dedicated large format scanners or professional digitization services. These options offer significant advantages for oversized scanning.
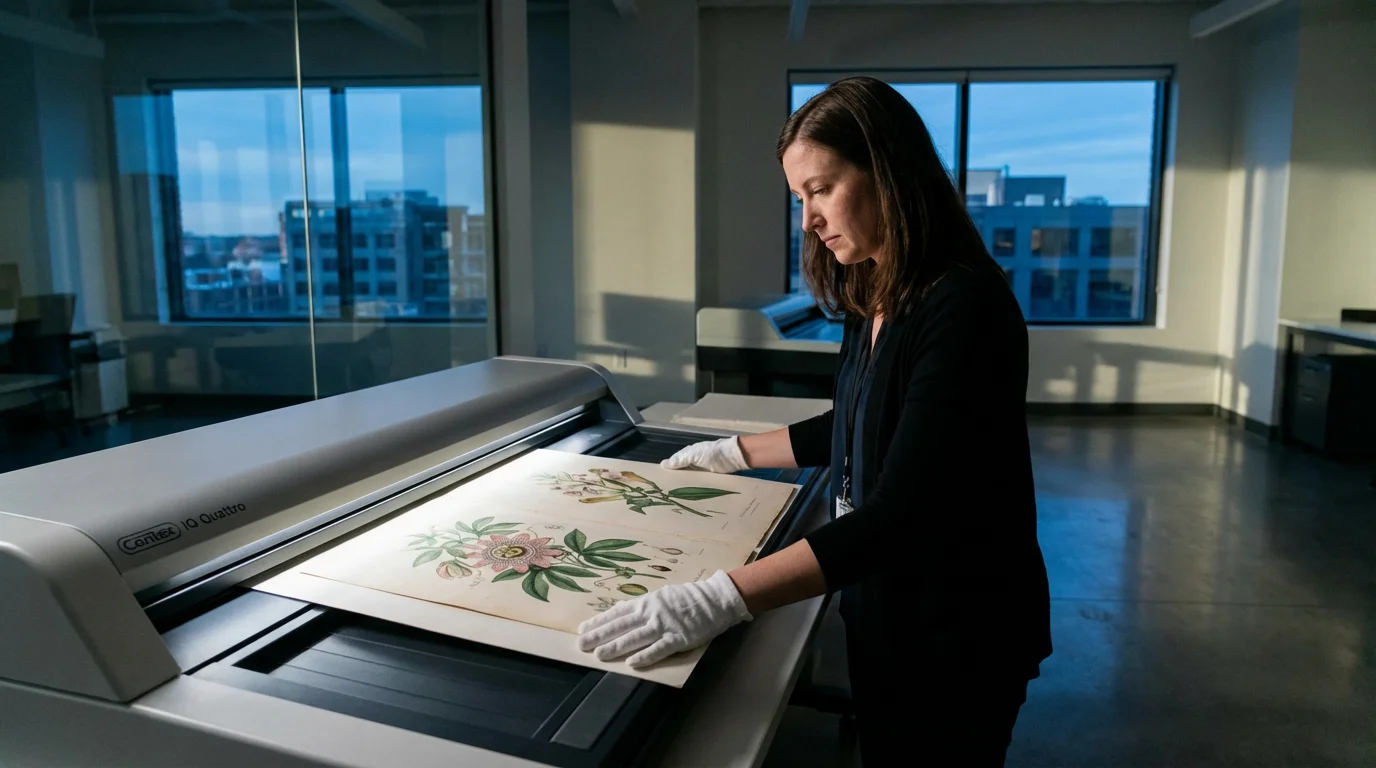
Dedicated Large Format Scanners
Large format scanners exist for exactly this purpose. These machines come in various forms:
- Large Flatbed Scanners: Some specialized flatbed scanners offer scanning areas significantly larger than standard models, often up to 12×18 inches or even larger. These are ideal for preserving larger photos, artwork, and documents that fit their expanded bed. They operate similarly to home flatbeds but on a grander scale.
- Sheet-Fed Scanners (for flexible items): For very long, flexible documents like maps, architectural drawings, or banners, large format sheet-fed scanners are effective. These machines feed the document through rollers, capturing the entire length in a single pass. However, they are not suitable for delicate photos or brittle documents, as the feeding mechanism can cause damage.
- Overhead Scanners (Book Scanners): These scanners feature a camera mounted above a flat platen, allowing you to place items on a flat surface without a lid pressing down. They are excellent for delicate items, bound books, and art, minimizing physical stress on the original.
Purchasing a large format scanner represents a significant investment, often costing thousands of dollars. This makes them a more practical choice for institutions, businesses, or individuals with a continuous, high volume of oversized items to scan.
Professional Digitization Services
For most individuals, engaging a professional digitization service offers the best balance of quality, convenience, and cost-effectiveness for unique or highly valuable oversized items. These services possess:
- Specialized Equipment: They utilize high-end large format scanners, including drum scanners for maximum detail on film, and professional overhead camera systems, ensuring superior image quality.
- Expertise in Handling: Professional technicians have extensive experience handling fragile, delicate, or unusually sized materials. They understand archival best practices and minimize the risk of damage.
- Advanced Software and Color Management: Professionals use sophisticated software for optimal color accuracy, image restoration, and output consistency.
- Time Savings: Outsourcing frees your time, especially for complex projects involving many oversized pieces.
When to Consider a Professional Service:
- Extremely Fragile or Valuable Items: If your oversized photo or document is irreplaceable, brittle, or requires specialized handling, professionals offer the safest solution.
- High Volume of Oversized Items: Digitizing many large pieces yourself becomes incredibly time-consuming.
- Desire for Museum-Quality Scans: Professionals often achieve a higher level of detail, color accuracy, and overall image quality than you can typically produce at home.
- Lack of Appropriate Equipment: If you do not own a suitable scanner or camera setup for large photo digitization, professionals offer a cost-effective alternative to purchasing new equipment.
When selecting a service, research their experience with similar materials, review sample work, and inquire about their preservation protocols and data handling. Ensure they provide high-resolution, archival-quality files, typically TIFF, as their primary output.
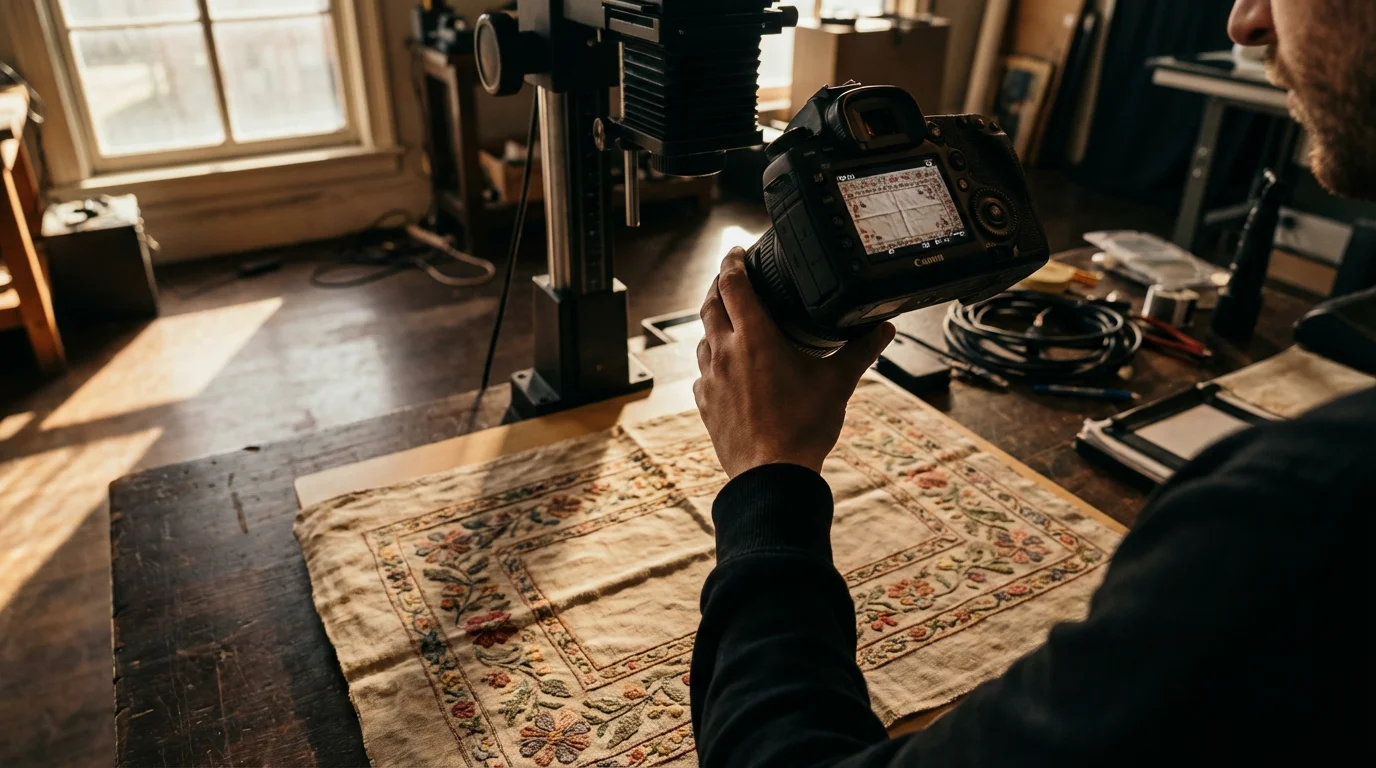
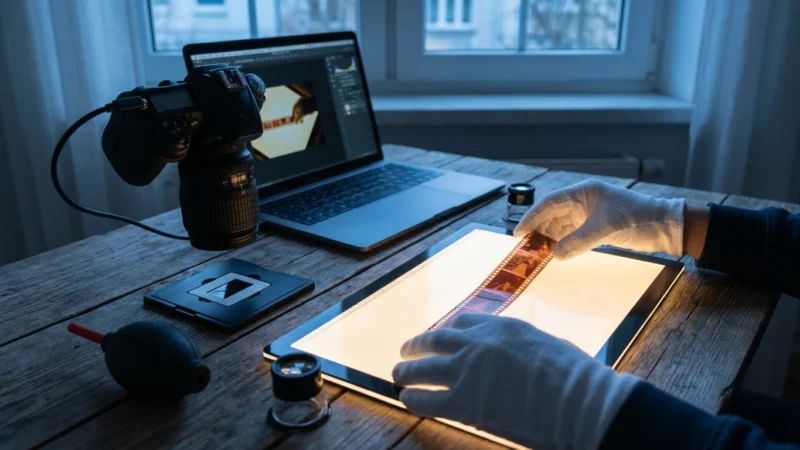
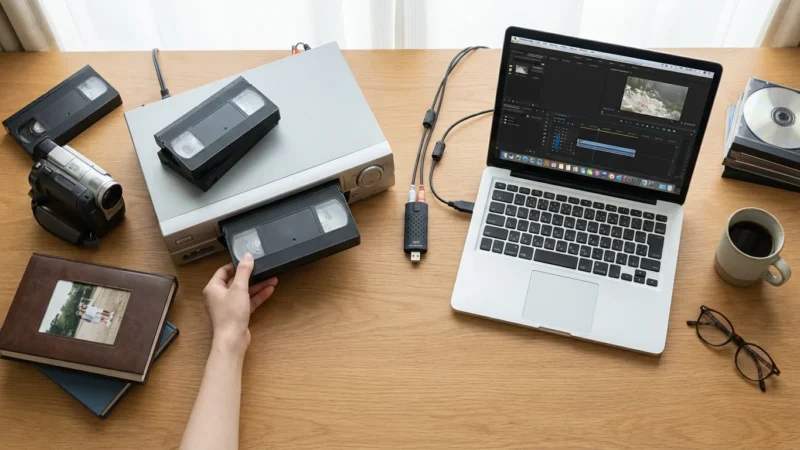
Method 3: Digital Photography (Camera Scanning)
Digital photography, also known as camera scanning, provides a versatile and often superior alternative to traditional scanning for oversized items, especially when objects are three-dimensional, extremely fragile, or simply too large for any flatbed scanner. You use a digital camera to photograph the item, essentially creating a high-resolution digital copy. This method proves particularly effective for historical documents, artwork, textiles, and even large maps.
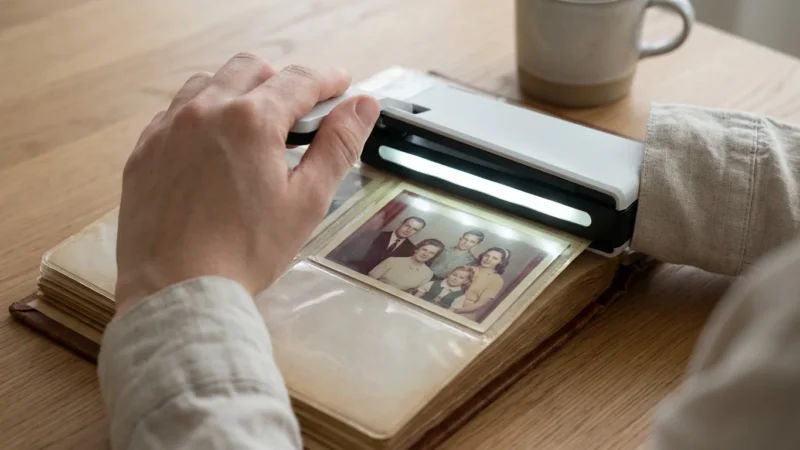
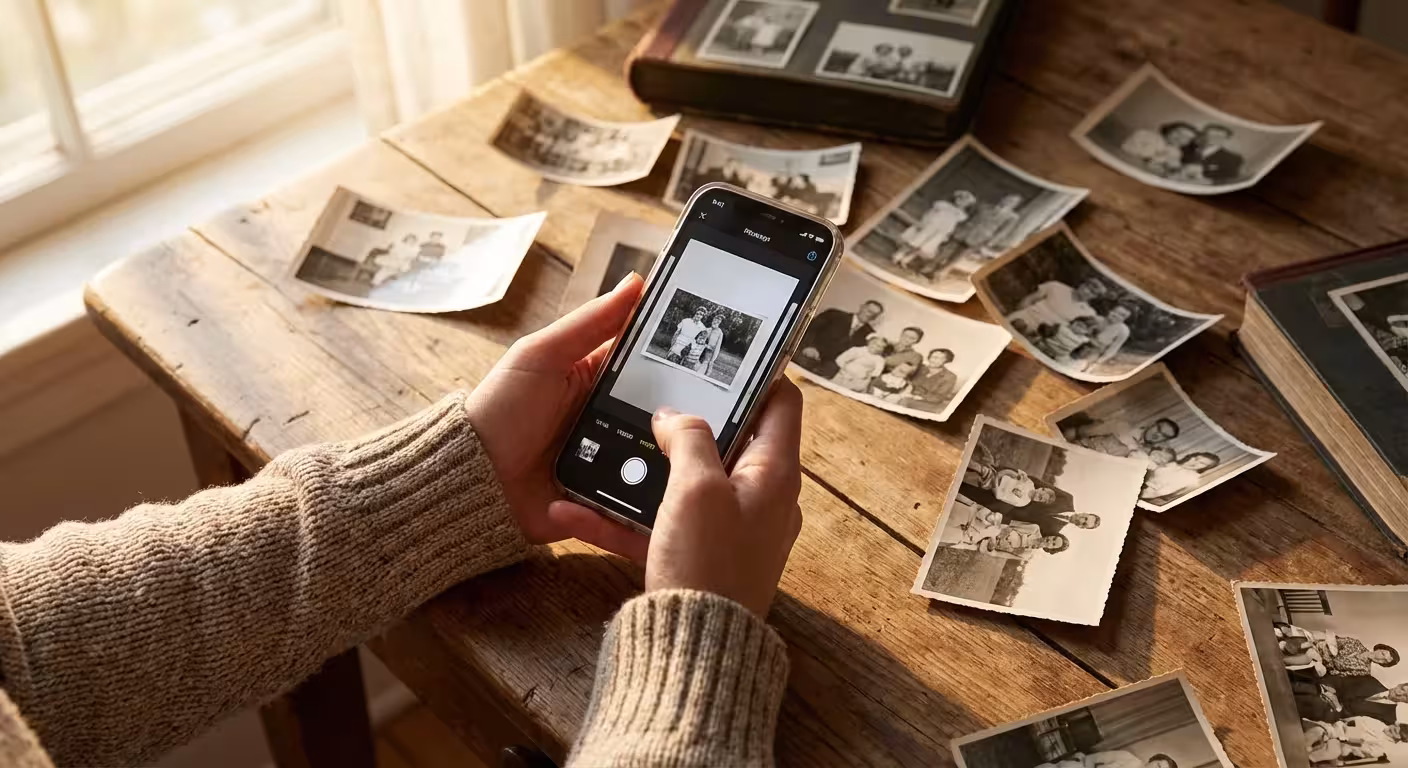
While a dedicated camera setup is preferred, certain smartphone scanning apps can also be used to capture large documents quickly using perspective correction features.
In some cases, scanning photos with your smartphone can be a quick alternative if you lack a high-end camera setup.
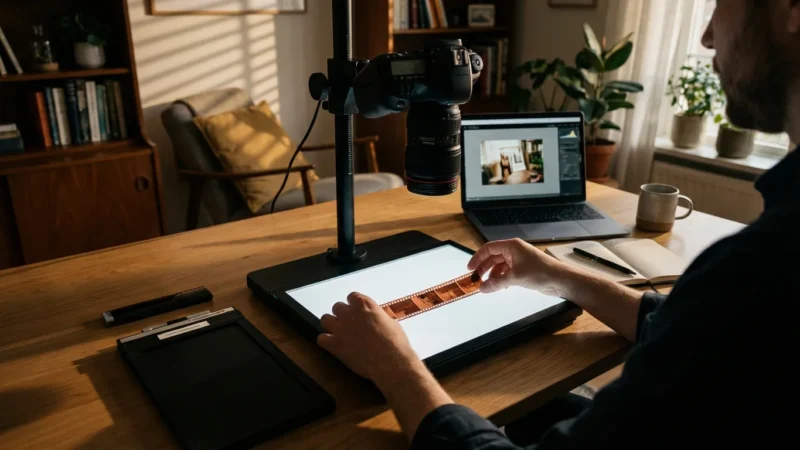
Setting Up Your Camera Scanning Rig
A successful camera scan relies on a stable setup and controlled lighting.
- Camera and Lens:
- Camera: Use a DSLR or mirrorless camera with manual controls. Full-frame sensors generally offer better image quality and lower noise, but APS-C cameras can also produce excellent results.
- Lens: A macro lens or a high-quality prime lens (e.g., 50mm or 85mm) works best. These lenses minimize distortion and provide sharp detail across the frame. Avoid wide-angle lenses, which can introduce barrel distortion, making straight lines appear curved.
- Copy Stand or Tripod:
- Copy Stand: This is the ideal solution. It positions your camera perfectly perpendicular to the item, ensuring consistent distance and parallel alignment.
- Tripod: If you do not have a copy stand, a sturdy tripod with a horizontal arm attachment can work. Ensure your camera points directly down at the item, absolutely parallel to the surface, to avoid keystone distortion.
- Lighting:
- Even Illumination: Use two continuous light sources (e.g., LED panels, studio strobes) placed at 45-degree angles to the item, equidistant from the center. This setup eliminates harsh shadows and provides even illumination across the entire surface.
- Color Temperature: Use lights with a consistent color temperature (e.g., 5500K daylight balanced) to ensure accurate color reproduction.
- Avoid Glare: Position lights to avoid specular highlights or reflections, especially on glossy surfaces.
- Background:
- Place your oversized item on a clean, flat, neutral-colored background, preferably black or dark gray, to prevent light reflection or color spill onto your subject.
Executing the Camera Scan
- Secure the Item: Place your oversized photo or document flat on the background. Use archival weights or magnets (with a metal background) to keep it perfectly flat, especially if it tends to curl.
- Camera Settings:
- ISO: Keep ISO as low as possible (e.g., 100 or 200) to minimize noise and maximize detail.
- Aperture: Set your aperture to achieve maximum sharpness and depth of field, usually around f/8 to f/11. This ensures the entire item remains in sharp focus.
- Shutter Speed: Adjust shutter speed to achieve correct exposure, based on your ISO and aperture. Use a remote shutter release or your camera’s self-timer to prevent camera shake.
- White Balance: Set a custom white balance using a neutral gray card placed next to your item. This ensures accurate colors.
- File Format: Shoot in RAW. RAW files contain unprocessed image data, giving you the most flexibility for post-processing and color correction without quality loss.
- Focus and Capture:
- Manually focus your lens for precise sharpness. Alternatively, use your camera’s live view and zoom to achieve critical focus.
- Take multiple shots if necessary, especially for very large items that exceed your camera’s field of view. Just like flatbed stitching, ensure ample overlap for combining later.
- Check your camera’s histogram after each shot to confirm proper exposure without clipping highlights or shadows.
- Post-Processing for Camera Scans:
- Stitching (if multiple images): Use software like Adobe Lightroom, Photoshop, or other panorama stitching tools to combine multiple camera shots into a single image.
- White Balance and Color Correction: Adjust white balance, exposure, contrast, and saturation using your RAW files. Aim for an accurate representation of the original.
- Perspective Correction: If you have any keystone distortion, correct it using software tools.
- Cropping and Sharpening: Crop to the edges of your item and apply subtle sharpening as needed.
- Dust and Spot Removal: Carefully remove any dust spots or blemishes.
Camera scanning offers incredible flexibility for scanning oversized photographs of various types. It captures textures and dimensions that flatbed scanners might miss, making it an excellent choice for a wide range of preservation projects.
Optimizing Your Scans for Archival Quality
Digitizing your oversized photos and documents is only the first step. You must optimize the digital files for long-term preservation, ensuring they retain their quality and accessibility for decades. This involves selecting appropriate settings, careful post-processing, and meticulous metadata application.
Resolution and File Formats
Your choices here directly impact the usability and longevity of your digital files.
- Resolution (DPI):
- For general archival purposes of photos and documents with moderate detail, 300-600 DPI (dots per inch) is a good starting point.
- For highly detailed items like maps, blueprints, or documents with very small text, or if you anticipate significant cropping or enlargement, aim for 600 DPI to 1200 DPI.
- Consider the original size and desired output. A smaller original scanned at 600 DPI can provide more detail than a large original scanned at the same DPI if you need to enlarge it significantly. The Image Permanence Institute provides detailed guidelines on resolution based on item type and intended use.
- File Formats:
- TIFF (Tagged Image File Format): This is the industry standard for archival images. TIFF is a lossless format, meaning it retains all original image data without compression. It supports high bit depths (e.g., 48-bit color), which captures a wider range of tones and colors. Always save your primary, master archival copies as TIFFs.
- JPEG (Joint Photographic Experts Group): JPEG is a lossy compressed format. While excellent for sharing and web use due to smaller file sizes, repeated saving and editing of JPEGs can introduce artifacts and degrade image quality. Only use JPEG for derivative copies, not your archival masters.
- PNG (Portable Network Graphics): A lossless format often used for web graphics, particularly good for images with transparent backgrounds or sharp lines. It is suitable for archival purposes, especially for documents, but TIFF generally offers broader professional compatibility for photographic archives.
Post-Processing Essentials
Even with optimal scanning, some post-processing ensures the best possible digital representation.
- Color Correction and White Balance:
- Adjust white balance to accurately reflect the original’s colors. Use a neutral gray point if you included a gray card during scanning or photography.
- Correct color shifts or fading, common in older photos. Aim for a natural, unbiased appearance.
- Exposure and Contrast:
- Fine-tune exposure to ensure details are visible in both highlights and shadows.
- Adjust contrast to give the image appropriate depth and clarity without making it too harsh.
- Cropping and Straightening:
- Crop away any unwanted edges, scanner bed, or background from your digital file.
- Use straightening tools to ensure horizontal and vertical lines are perfectly aligned. This is especially important for architectural drawings and panoramic photos.
- Dust and Scratch Removal:
- Even after cleaning, dust and minor scratches can appear. Use your image editing software’s spot healing brush, clone stamp, or dust removal tools to meticulously clean the image. Avoid overdoing it, which can make the image look unnatural.
- Sharpening:
- Apply subtle sharpening as a final step to enhance fine details. Over-sharpening introduces artifacts and an artificial look.
Metadata: The Invisible Protector
Metadata, data about your data, is crucial for future accessibility and understanding. Embed this information directly into your digital files.
- Basic Identification: Include the original item’s title, creation date, and subject.
- Creator/Photographer: Note who created the original photo or document.
- Scanner/Digitizer Information: Record who digitized the item, the date of digitization, and the equipment used.
- Keywords/Tags: Add descriptive keywords to make your files searchable (e.g., “family reunion, 1950, Johnson family, panoramic”).
- Physical Location: Note where the original physical item is stored.
- Condition Notes: Document any original damage or unique characteristics.
Using a program like Adobe Bridge or Lightroom, you can easily embed this information into the IPTC (International Press Telecommunications Council) fields of your TIFF and JPEG files. This ensures that even if files become separated from their folder structure, their essential information remains intact.
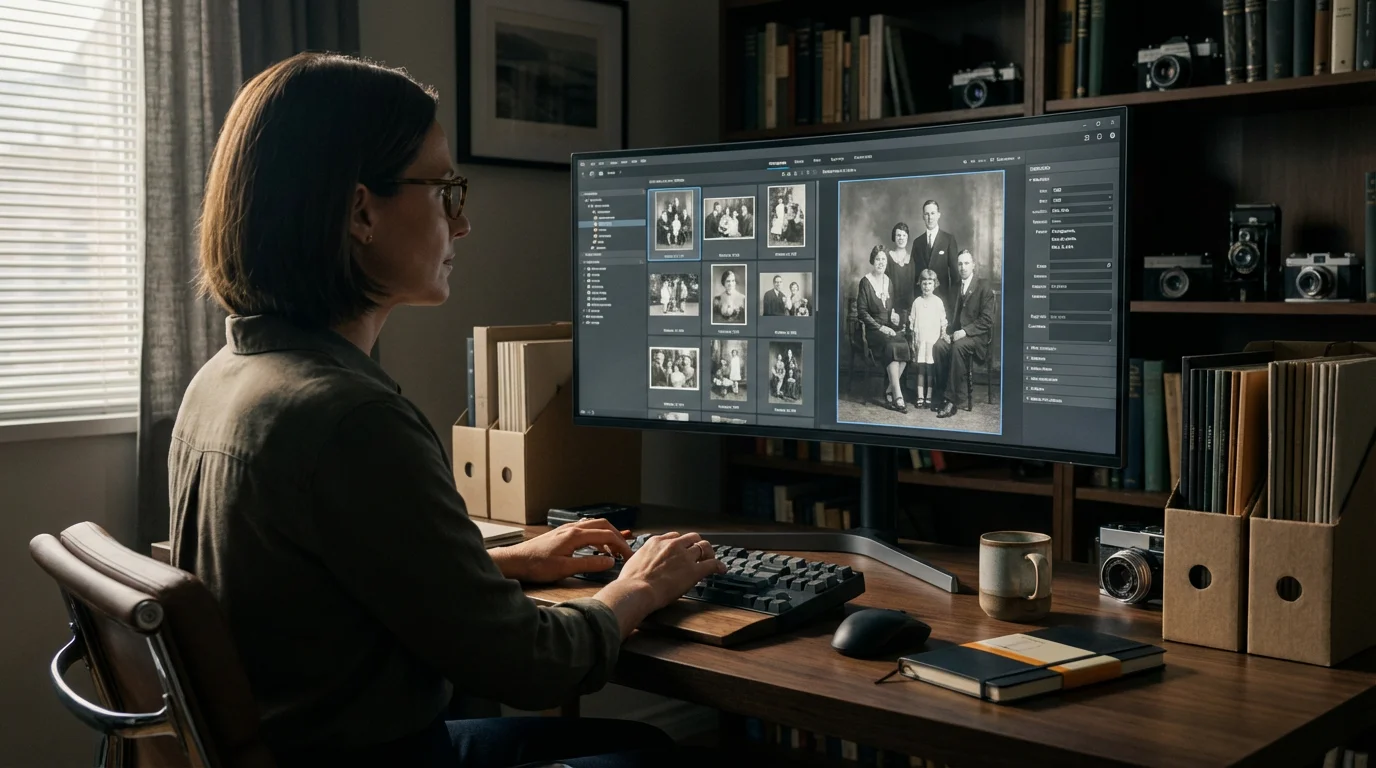
Organizing and Storing Your Digitized Oversized Files
Digitizing your oversized photos and documents is only effective if you can find them later and protect them from loss. A robust organization and storage strategy ensures your efforts lead to lasting preservation.
Integrating these large files into a broader home photo archive ensures your entire family history is organized and protected in one central digital location.
Once your large documents are safely digitized, you can begin organizing your photos for a family history project to preserve the stories behind these important records.
Develop a Naming Convention
A consistent file naming system makes your files easy to locate and understand, regardless of where they are stored. Avoid generic names like “Scan001.tif.”
| Element | Description | Example |
|---|---|---|
| Date (YYYYMMDD) | Creation date of original item or digitization date | 20240315 |
| Subject/Event | Brief description of content | GrandparentsWedding |
| Family Name | Relevant family or group name | JohnsonFamily |
| Item Type | Photo, Document, Map, Blueprint, Panoramic | PanoramicPhoto |
| Unique Identifier | Sequential number for similar items, if needed | _001 |
Example File Name: 20240315_GrandparentsWedding_JohnsonFamily_PanoramicPhoto.tif
This structure ensures your files sort logically by date and provides immediate context.
Create a Logical Folder Structure
Organize your digital files into a hierarchical folder structure that mirrors how you might think about your physical collection.
- Top-Level Folder:
PhotoMemoryHub_Archive - Sub-Folders by Decade/Year:
1950s,1960s,2020s(or by Family Name if you prefer) - Specific Event/Subject Folders:
GrandparentsWedding_1958,SmithFamilyReunion_1972,HistoricalMaps_Townsville - Within Event Folders:
Original_Scans_TIFF(for your master archival files)Derivative_JPEGs_for_Sharing(for smaller, compressed copies)Metadata_Text_Files(optional, for extensive notes)
This structure allows you to quickly navigate your collection and locate specific items.
Implement a Robust Backup Strategy
Digital files are vulnerable to hardware failure, accidental deletion, and cyber threats. Follow the 3-2-1 backup rule for comprehensive protection:
- 3 Copies of Your Data: Keep your files in three places. This includes your working copy on your computer.
- 2 Different Media Types: Store your backups on at least two different types of storage media. This could be an external hard drive, cloud storage, or a network-attached storage (NAS) device.
- 1 Offsite Copy: Keep at least one copy of your data physically separated from your home or primary location. Cloud storage fulfills this requirement automatically.
- External Hard Drives: Affordable and reliable. Choose high-capacity, name-brand drives. Periodically check their integrity.
- Cloud Storage Services: Solutions like Google Drive, Dropbox, Microsoft OneDrive, or specialized photo backup services offer convenience and offsite storage. Ensure you understand their terms of service regarding data privacy and accessibility.
- Network-Attached Storage (NAS): A personal cloud solution, a NAS allows you to create your own robust, redundant storage system at home.
Regularly check your backups to ensure data integrity. Schedule periodic reviews of your entire digital archive, perhaps annually, to confirm all files are accessible and correctly stored. Digital preservation requires ongoing commitment, but the reward is a protected legacy for your family.
Frequently Asked Questions
What is the best way to scan a large, fragile map?
For a large, fragile map, camera scanning (digital photography) is often the best method. Place the map flat on a clean, dark surface, using archival weights to gently flatten it without causing stress. Position your camera on a copy stand or tripod directly overhead, ensuring it is parallel to the map. Use even, diffused lighting from two sources positioned at 45-degree angles to avoid shadows and glare. Capture the map in high-resolution RAW format, taking multiple overlapping shots if the map exceeds your camera’s field of view. Then, stitch the images together in post-processing software. This method minimizes physical handling and captures intricate details without risking damage from a flatbed scanner.
Can I use my smartphone camera to digitize oversized documents?
While you can use a smartphone camera for quick captures, it generally lacks the quality, control, and optical capabilities needed for archival-grade digitization of oversized documents. Smartphone lenses often introduce significant distortion, especially at the edges of the frame, and their sensors may not capture the fine detail and dynamic range of a dedicated camera. For casual sharing or reference, a smartphone is acceptable. However, for preserving precious oversized photos and documents, a DSLR or mirrorless camera setup on a copy stand, or a dedicated large format scanner, provides superior results crucial for long-term preservation.
What DPI should I use for scanning oversized documents?
The optimal DPI depends on the original item’s detail and your intended use. For archival preservation of detailed oversized documents like maps or blueprints, aim for at least 300 DPI, and often 600 DPI provides better detail capture. If you plan to print enlargements or crop significantly, even higher resolutions, such as 1200 DPI, can be beneficial. Always consider the file size implications when choosing higher resolutions. TIFF files at high DPI can be very large, requiring ample storage. For simple text documents, 300 DPI usually suffices, but for visuals or intricate details, higher DPI preserves more information.
How do I prevent reflections when scanning glossy oversized photos?
Preventing reflections on glossy oversized photos requires careful lighting control, especially with camera scanning. When using a flatbed scanner, ensure the lid is fully closed or cover the item with a dark cloth to block external light. For camera scanning, use two diffused light sources positioned at 45-degree angles to the item, equidistant from the center. This cross-lighting technique minimizes direct reflections. You can also use polarizing filters on your lights and camera lens, rotated to reduce glare. Experiment with light placement and intensity to find the optimal setup that eliminates reflections while providing even illumination across the entire glossy surface.
Is it better to scan black and white oversized photos in color or grayscale?
Always scan black and white oversized photos in full color (24-bit or 48-bit color mode), not grayscale. While they appear black and white, old photographs often possess subtle tonal variations, sepia tones, or other color casts introduced by age or processing. Scanning in color captures this full tonal range and any underlying hues, providing a more faithful digital representation. You retain the flexibility to convert to true grayscale in post-processing if desired, or to correct any color shifts. Scanning in grayscale permanently discards this valuable color information, which you cannot recover later.
You now possess the tools and knowledge to tackle your oversized photo and document digitization projects. Whether you choose the meticulous process of stitching scans, the precision of camera scanning, or the expertise of a professional service, your efforts safeguard invaluable family heritage. Begin today, one oversized memory at a time, and ensure these important pieces of your past continue to tell their stories for future generations.
Disclaimer: This article is for informational purposes only. When handling valuable or irreplaceable photographs, consider consulting a professional conservator. Always test preservation methods on non-valuable items first.
If your large images have faded over time, you can also apply color correction tips for scanned photos during the editing phase.
Leave a Reply