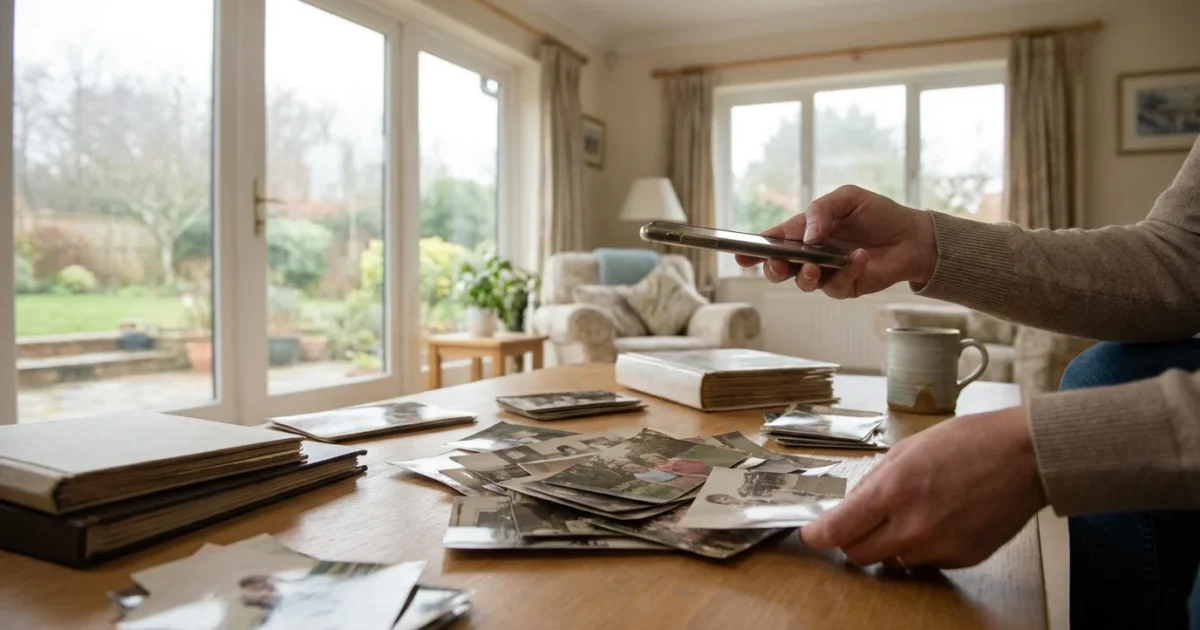
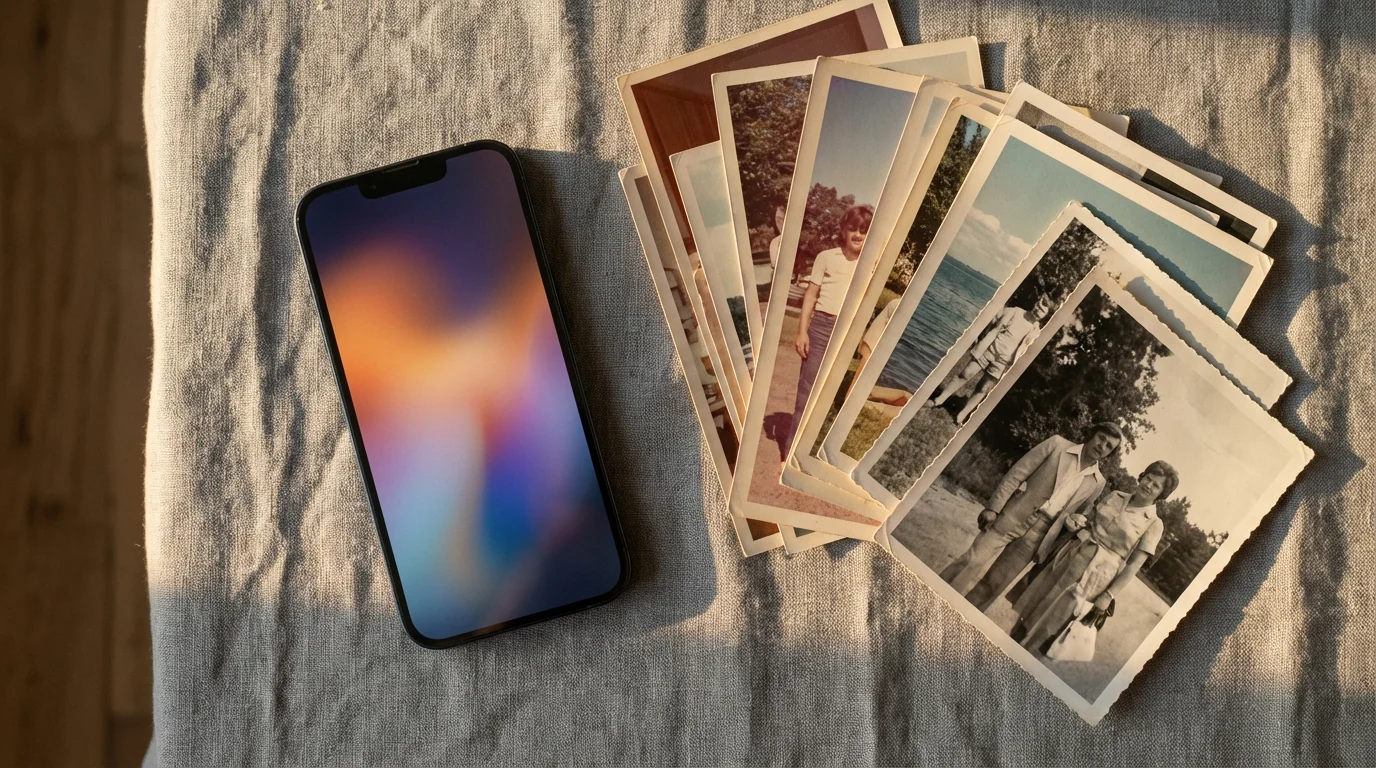
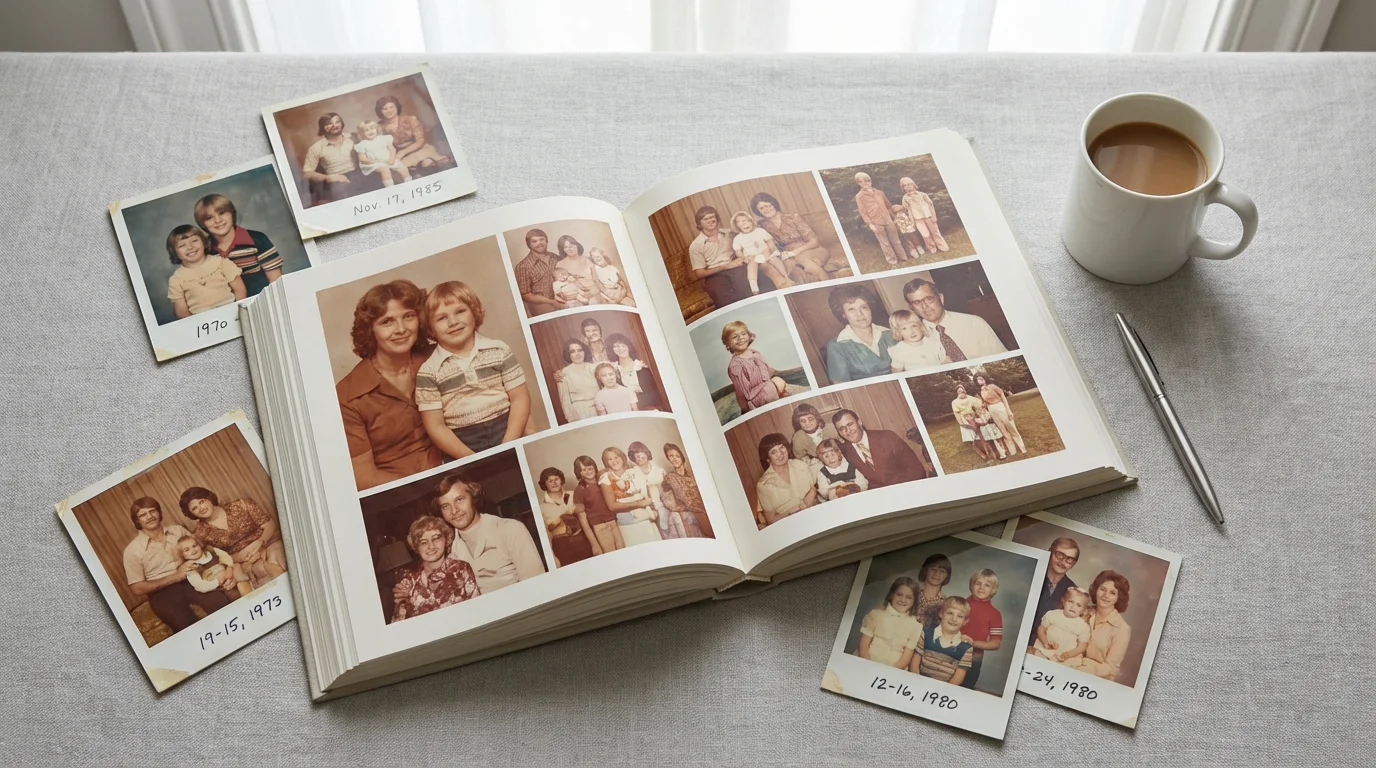
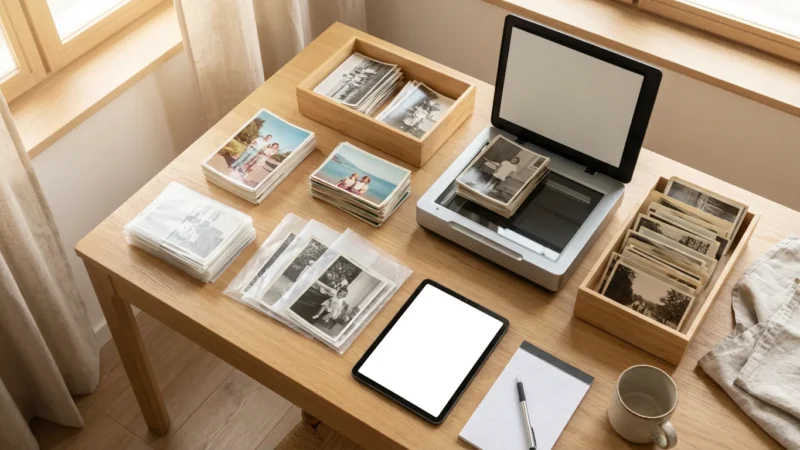
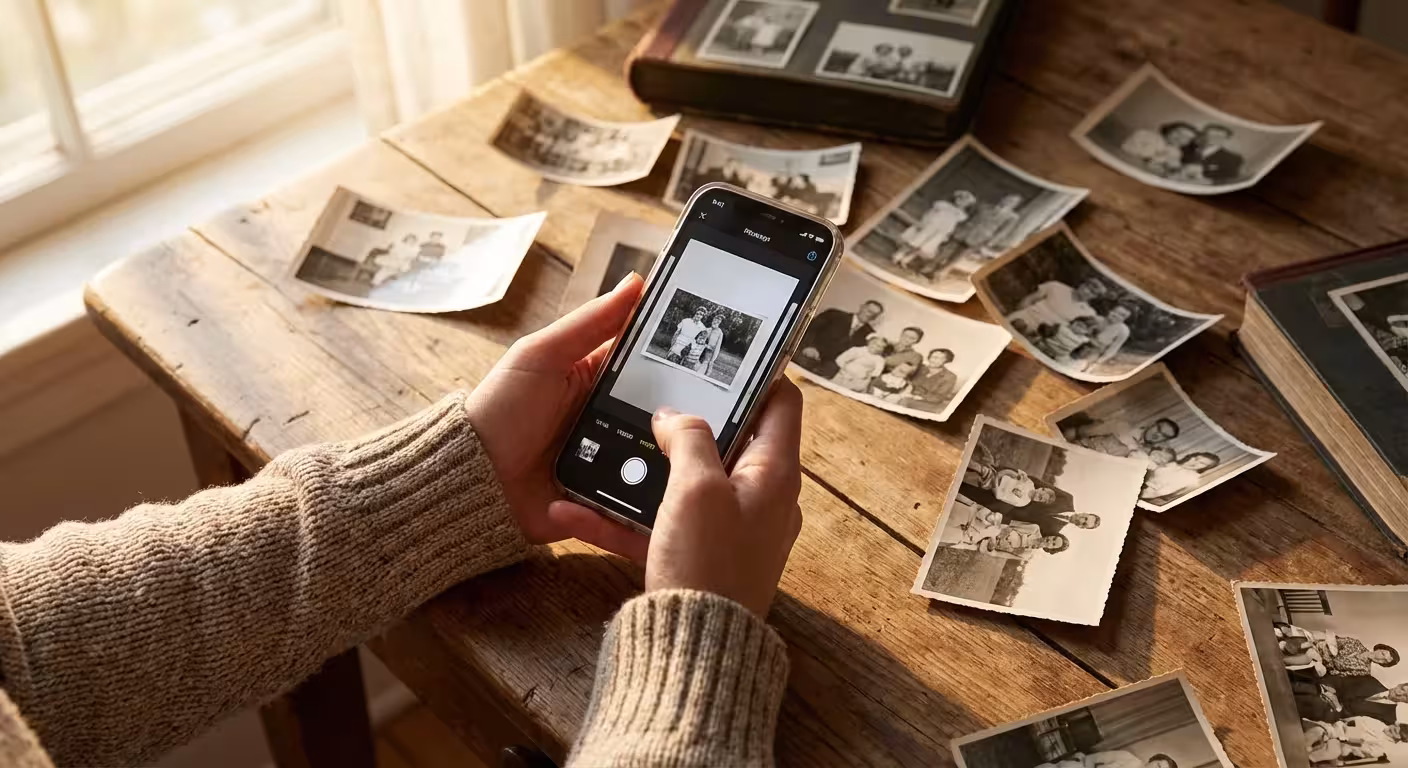
Your boxes of old family photos hold invaluable stories, faces, and moments. Digitizing these tangible memories protects them from time, damage, and loss, ensuring future generations can experience your family’s history. While professional scanning services offer high-end solutions, your smartphone provides a powerful, accessible tool for digitizing your photo collection right from home. You can transform stacks of physical prints into a thriving digital archive with the right apps and techniques.
Once you have digitized your prints, following creating a home photo archive best practices will help ensure your digital library remains accessible for years to come.
This guide will show you how to leverage your smartphone’s camera to create high-quality digital versions of your cherished photographs. You will learn about preparing your photos, selecting the best scanning apps, mastering practical scanning methods, and effectively organizing your new digital collection.
Why Smartphone Scanning Makes Sense for Your Photo Collection
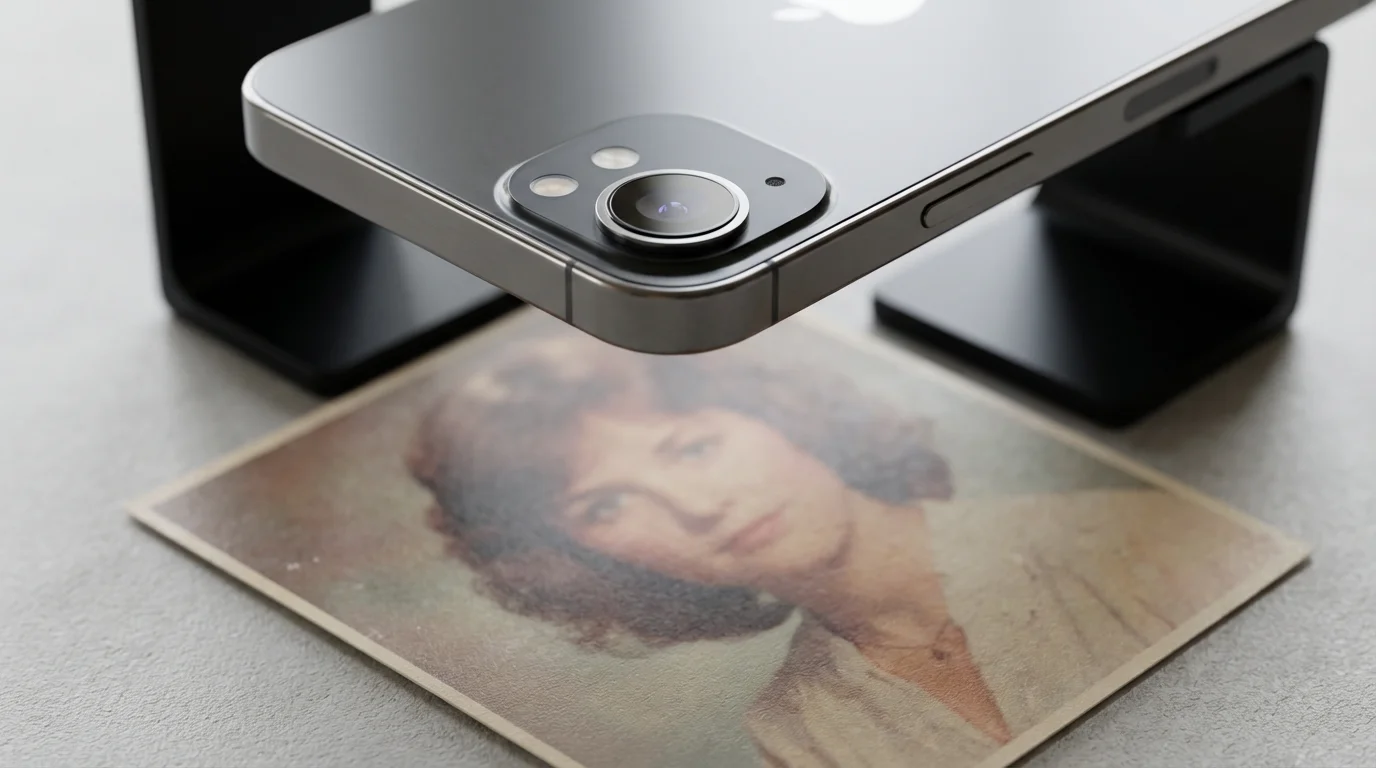
You might wonder if your smartphone’s camera is truly up to the task of digitizing old photographs. The answer is a resounding yes, especially for everyday photos and sharing. Modern smartphones feature high-resolution cameras, advanced image processing, and a user-friendly interface. These capabilities make them ideal for quick, efficient, and surprisingly high-quality `mobile digitization`.
This mobile approach reinforces the importance of backing up physical photos digitally to prevent permanent loss from environmental factors.
For a broader look at all your DIY options beyond mobile devices, see our complete guide to scanning old photos at home.
Consider the benefits:
- Accessibility: You already own a powerful scanning device. You do not need to purchase expensive equipment or schedule appointments with scanning services. You can start scanning immediately.
- Convenience: Scan photos at your own pace, whenever you have a few spare minutes. You can digitize memories during a quiet evening, on a weekend, or even while visiting family.
- Cost-Effectiveness: Most photo scan apps offer free versions or low-cost subscriptions, making this a budget-friendly solution for preserving your heritage.
- Immediate Results: See your digitized photos instantly. You can share them with family and friends within minutes of scanning, bringing old memories to life on social media or in digital photo albums.
- Decent Quality: While not a replacement for professional archival scanning, smartphone scanning produces images perfectly suitable for sharing, printing in small to medium sizes, and creating digital archives.
Your goal is to safeguard these memories from the ravages of time and physical degradation. Dust, light, moisture, and temperature fluctuations all take a toll on physical prints. Digitizing your collection creates a digital twin, a backup copy that will last for generations, independent of the physical original.
Preparing Your Physical Photos for Optimal Smartphone Scanning
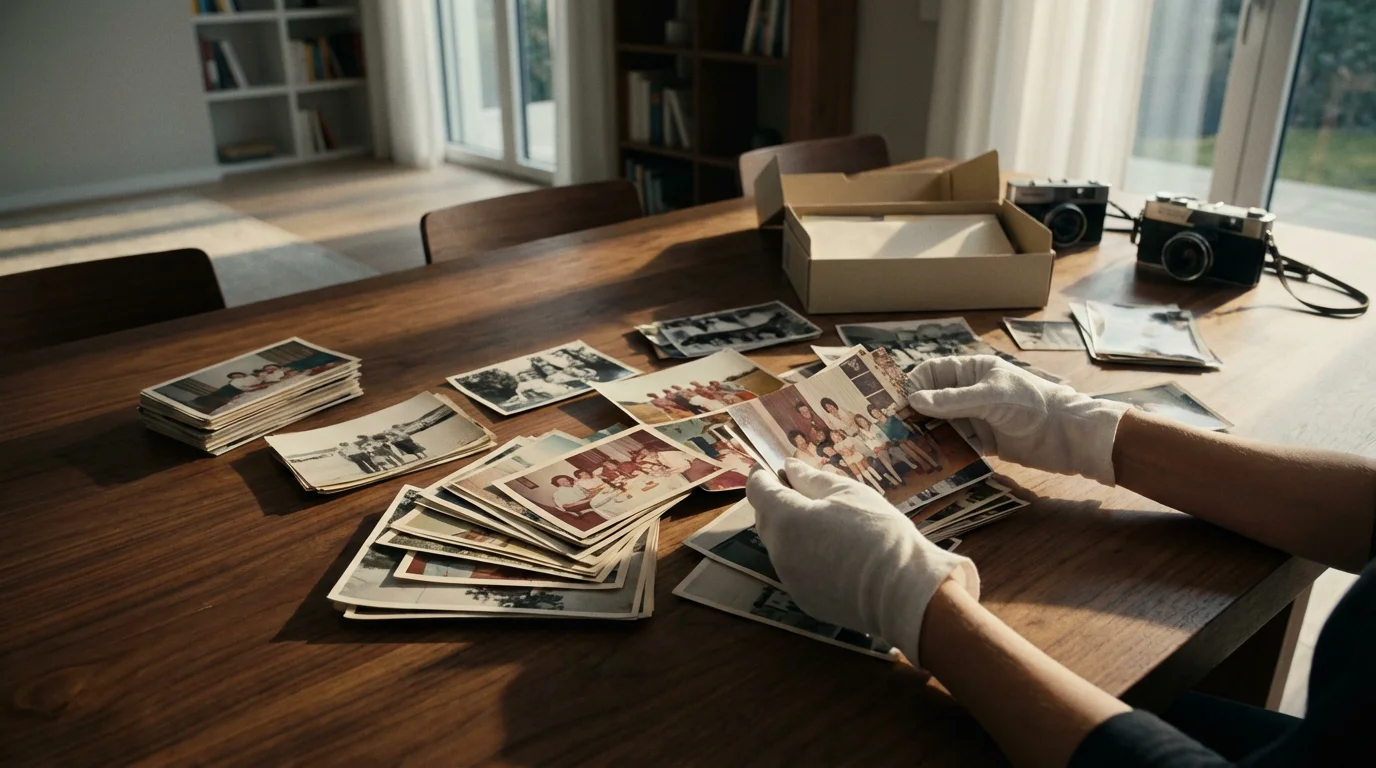
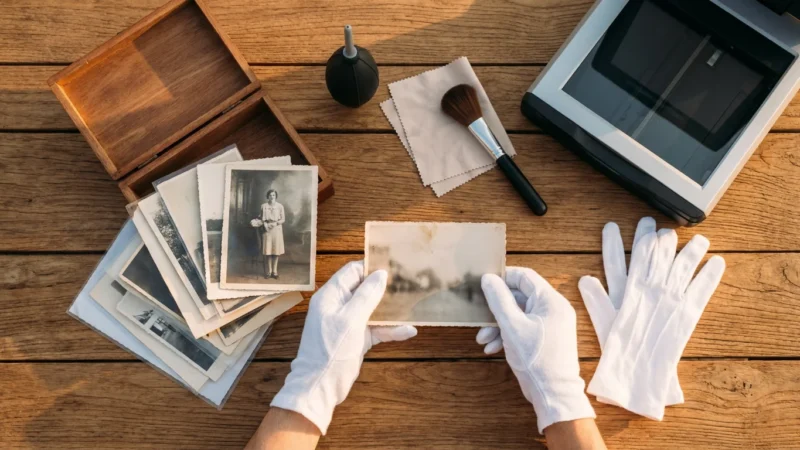
Achieving the best possible results from your `smartphone scanning` efforts begins before you even open a `photo scan app`. Proper preparation of your physical prints is crucial. Think of your old photographs as delicate artifacts. Handle them with care to prevent damage during the scanning process.
If your photos are part of a larger layout, you may need specific strategies for scanning and preserving old photo albums page by page to maintain the original context.
Gather and Organize
Start by organizing your photos. Sort them by date, event, or person. This preliminary organization streamlines the scanning process and makes it easier to name and tag your digital files later. Grouping similar photos together also helps maintain consistency in your scanning setup.
Clean Your Photos Gently
Dust and fingerprints become magnified when digitized. Use a soft, lint-free microfiber cloth or a can of compressed air to gently remove surface dust from each photo. Hold the compressed air can upright and spray in short bursts to avoid propellant residue. Avoid using liquid cleaners unless specifically designed for photographic materials and only after testing on a non-valuable photo. Rough handling or abrasive materials can scratch the photo emulsion, causing irreversible damage.
“When preparing old photographs for digitization, remember that every physical touch carries a risk. Always handle prints by their edges, wear cotton gloves if you have them, and prioritize gentle, dry cleaning methods to protect the image surface.”
Ensure a Flat, Clean Scanning Surface
Place your photo on a clean, flat, non-reflective surface. A white or neutral-colored background works best, as it helps your app’s edge detection feature. An ironing board, a kitchen counter, or a sturdy table can work. Ensure the surface is free of crumbs, dust, or textures that might show through transparent sections of a photo or confuse the scanning app.
Optimize Your Lighting Environment
Good lighting is paramount. You need bright, even, diffused light to minimize shadows and glare. Avoid direct sunlight or harsh overhead lights, which create hotspots and reflections on glossy photos. Ideal lighting comes from two soft, diffused light sources positioned on either side of your photo, or from a bright, overcast window. If you use artificial lights, ensure they are of the same color temperature to prevent color casts. Turn off any overhead room lights that might cast shadows from your phone or hand.
Choosing the Best Photo Scan Apps for Your Smartphone
The market offers numerous `photo scan apps`, each with its unique features and strengths. Selecting the `best app for scanning old photos with phone` depends on your specific needs, your phone’s operating system, and the types of photos you are digitizing. Here, we highlight a few popular and effective options:
While mobile apps are incredibly convenient, you may also want to compare their output against the best photo scanners for home use for larger archival projects.
Google PhotoScan
Google PhotoScan stands out for its intelligent glare removal feature. It prompts you to move your phone over four points on the photo, taking multiple exposures. It then stitches these images together, effectively eliminating glare and reflections. This app is completely free, easy to use, and available on both iOS and Android. It automatically detects edges, crops, and rotates images, making the process very efficient. Google PhotoScan excels at flat, uncreased photos, especially those with glossy finishes.
Photomyne
Photomyne offers a powerful solution for batch scanning multiple photos simultaneously. You can lay out several photos on a flat surface, and the app scans them all at once, automatically detecting and separating individual pictures. It also provides advanced editing tools, colorization options for black and white photos, and an integrated cloud backup service. Photomyne offers a free trial, with subscription plans unlocking its full suite of features. Many users find its batch scanning capability significantly speeds up the digitization of large collections.
Microsoft Lens (formerly Office Lens)
While primarily designed for documents and whiteboards, Microsoft Lens handles photos surprisingly well. It offers automatic cropping, perspective correction, and allows you to save images as various file types, including JPG and PDF. It does not have the same sophisticated glare removal as Google PhotoScan, but its simplicity and integration with Microsoft services make it a solid choice for straightforward scans. Microsoft Lens is free and available on both major platforms.
Other Notable Apps
- Adobe Scan: Excellent for documents, but also offers good photo scanning with robust editing features, particularly if you are already in the Adobe ecosystem.
- CamScanner: Popular for document scanning, CamScanner also includes photo features, but be mindful of its premium features and potential watermarks in the free version.
- Dedicated Camera Apps (e.g., Halide, ProCamera): For users who want maximum control over their phone’s camera settings (manual focus, white balance, exposure), these apps allow you to capture a high-quality initial image before importing it into a separate photo editor.
We recommend downloading a couple of these `photo scan apps` and testing them with a few less important photos. Evaluate which app feels most intuitive and delivers the best results for your specific types of prints.

Step-by-Step Guide: How to Scan Photos Using Your Smartphone
Now that you have prepared your photos and chosen your app, you are ready to start scanning. Follow these steps for an efficient and high-quality `how to scan photos using smartphone` workflow:
For items that are too large for a single frame, you can use specialized techniques for scanning oversized photos and documents to capture every detail.
If your photos are fragile or stuck to the backing, check out our tips for scanning photos from albums without removing them to avoid damage.
- Set Up Your Scanning Station:
- Place your clean photo on a flat, neutral-colored surface.
- Ensure your lighting is even and diffused, minimizing glare and shadows. Use a tripod or phone stand if you have one to maintain a consistent distance and angle.
- Wipe your phone’s camera lens with a microfiber cloth to ensure a clear capture.
- Open Your Chosen Scan App:
- Launch the `photo scan app` you selected, such as Google PhotoScan or Photomyne.
- Familiarize yourself with its interface, especially the capture button and any specific instructions it provides.
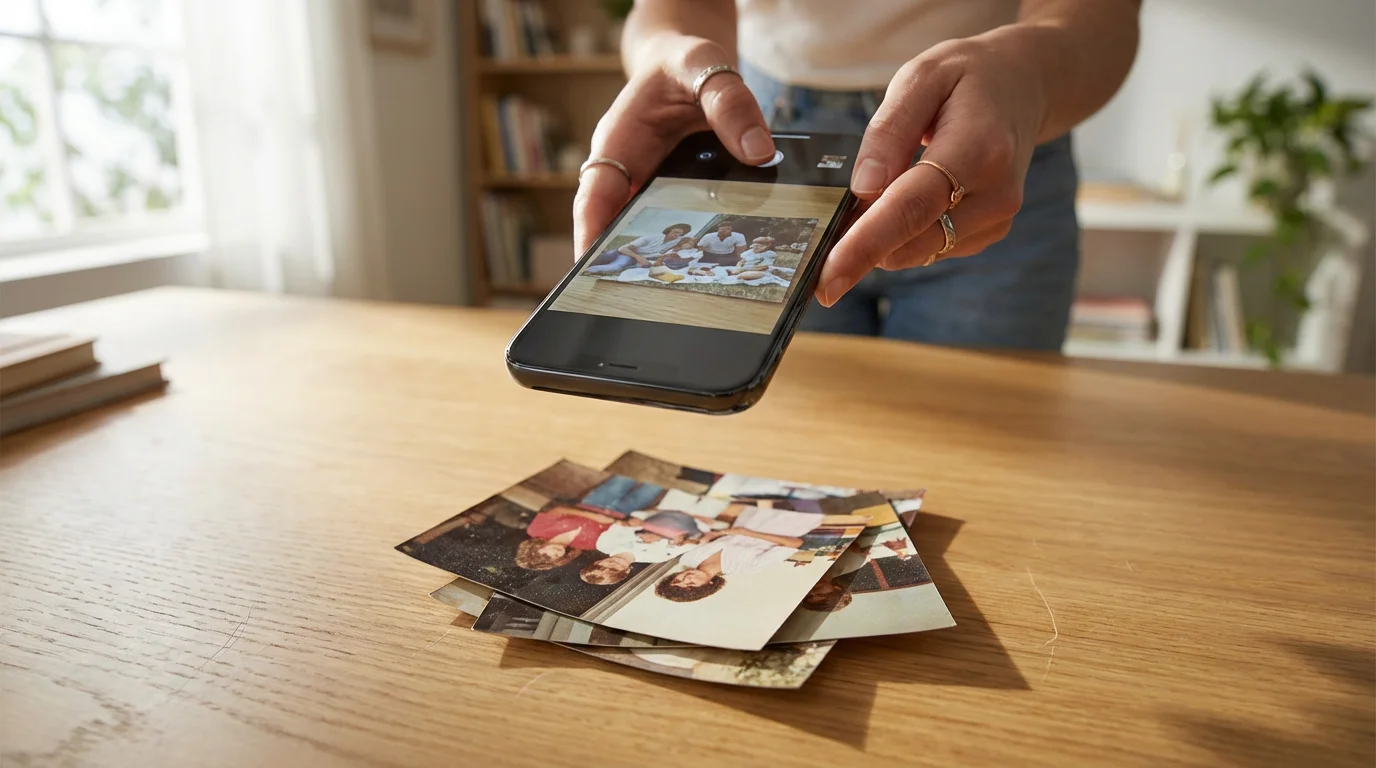
- Position Your Smartphone:
- Hold your phone directly above the photo, parallel to the surface. Avoid tilting your phone, as this causes perspective distortion.
- Fill the frame with the photo. The app will usually provide guidelines or a detection box. Leave a small border around the photo for the app’s auto-cropping feature to work effectively.
- Maintain a consistent distance from the photo for uniform results. A phone stand helps immensely here.
- Capture the Image:
- Tap the capture button. If you are using an app like Google PhotoScan, it will guide you to move your phone to capture from multiple angles to remove glare. Follow the on-screen prompts precisely.
- For other apps, ensure your hands are steady during capture.
- Avoid zooming digitally with your phone, as it reduces image quality. Move the phone closer or further away instead.
- Review and Edit (In-App):
- After capturing, most apps automatically detect edges, crop, and correct perspective. Review the result.
- If the automatic crop is incorrect, manually adjust the corners to precisely frame the photo.
- Some apps offer basic editing tools like rotation, brightness, contrast, and color adjustments. Make minor tweaks as needed, but avoid heavy editing in the scanning app. You can do more advanced editing later.
- Save Your Scans:
- Save your digitized photo. Most apps save to your phone’s photo gallery by default.
- Consider renaming files immediately to descriptive names (e.g., “Family Picnic 1985_001.jpg”) if the app allows it. This simplifies organization later.
- Repeat the Process:
- Move to the next photo. Consistent repetition of these steps will make the `mobile digitization` process faster and more efficient.
Advanced Techniques to Improve Your Mobile Digitization Results
Basic `smartphone scanning` provides good results, but you can elevate the quality significantly with a few advanced techniques. These methods address common challenges like sharpness, color accuracy, and consistency.
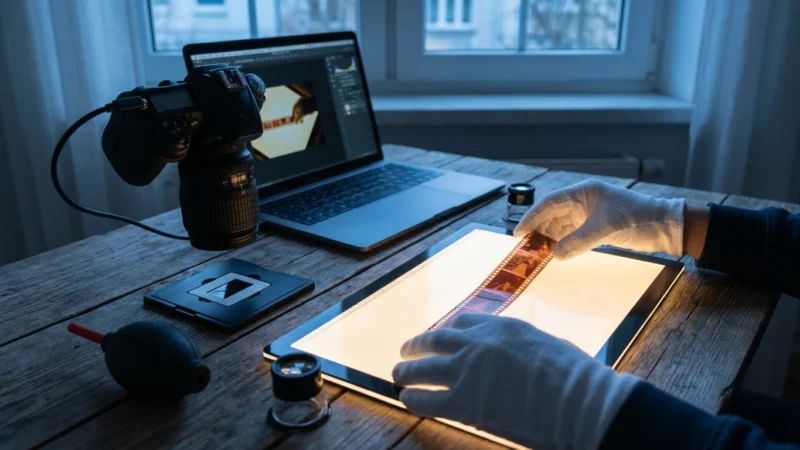
If you discover film along with your prints, you can also learn how to digitize 35mm film negatives at home using similar mobile-friendly setups.
Use a Tripod or Phone Stand for Stability
Handholding your phone introduces tiny movements that reduce sharpness. A smartphone tripod or a simple phone stand provides crucial stability. This ensures your phone remains perfectly parallel to the photo, preventing keystoning (perspective distortion) and making every scan consistently sharp. You can purchase these inexpensive accessories online or at electronics stores.
Implement Consistent, Diffused Lighting
While we discussed good lighting earlier, refining it further makes a difference. Create a small “light box” setup if possible. You can use two desk lamps with white diffusion material (like parchment paper or white cloth) placed on either side of the photo, angled at about 45 degrees. This setup illuminates the photo evenly, minimizing shadows and reflections. You want a soft, shadowless environment. Avoid fluorescent lights as they can introduce a green color cast.
Calibrate Your Phone’s Camera and Monitor
For more accurate colors, ensure your phone’s screen is calibrated, if possible, or at least set to a neutral color profile. Some advanced camera apps let you manually set white balance. Before scanning a batch of photos, take a picture of a neutral gray card or a white sheet of paper under your scanning light. Use this as a reference point to adjust the white balance in your camera settings for more accurate color rendition across all your scans.
Utilize External Lenses (Optional)
While not strictly necessary, some clip-on macro lenses for smartphones can slightly improve detail capture for very small photos. Be cautious, as cheaper lenses can introduce distortion or chromatic aberration. Research reputable brands if you explore this option. Ensure the lens does not vignette (create dark corners) your image.
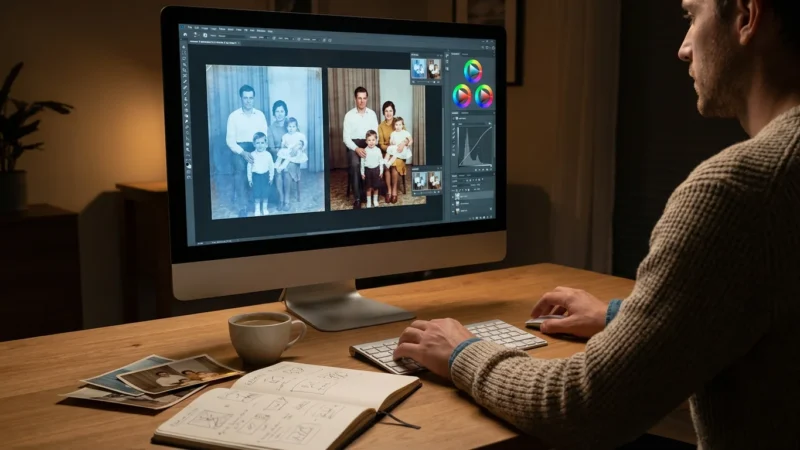
Perform Post-Processing in a Dedicated Editor
While `photo scan apps` offer basic edits, dedicated photo editing software (like Adobe Lightroom Mobile, Snapseed, or even your phone’s built-in photo editor) provides more control. After scanning, transfer your images to one of these apps. You can:
- Crop precisely: Remove any remaining unwanted borders.
- Adjust exposure and contrast: Brighten faded photos and bring back lost detail.
- Correct color balance: Remove color casts, especially from older photos that have yellowed over time.
- Sharpen: Carefully apply sharpening to bring out fine details, but avoid over-sharpening, which can create unnatural halos.
- Remove dust and scratches: Use healing or cloning tools to meticulously clean up any lingering imperfections.
Remember to save edited versions as new files, preserving your original scan. This non-destructive editing workflow is a best practice in `digital photography`.

Organizing and Protecting Your Newly Digitized Smartphone Scans
Scanning your photos is only the first step. Proper organization and robust protection strategies are critical to ensuring your `mobile digitization` efforts last a lifetime. Without a solid system, your digital collection can quickly become overwhelming and vulnerable to loss.
To protect your progress, consider setting up automatic photo backup from your phone so every new scan is instantly synced to the cloud.
Before you begin saving your files, it is important to understand which file formats for scanned photos offer the best balance between quality and storage space.
Implement a Consistent Naming Convention
As you scan, rename your files immediately or soon after. A consistent naming convention makes searching and organizing much easier. Consider including:
- Date: (e.g., YYYY-MM-DD or YYYY-Event)
- Event/Subject: (e.g., FamilyVacation, BirthdayParty, GrandmaMary)
- Sequential Number: (e.g., 001, 002)
Example: `1985-07-04_SmithFamilyPicnic_001.jpg` or `1972-Christmas_GrandmaMary_003.jpg`. This structure provides clarity and chronological order.
Create a Logical Folder Structure
Organize your digitized photos into a hierarchical folder system on your computer or cloud storage. A common approach involves creating top-level folders for years, then sub-folders for events or specific people.
Example:
- `Photos (Digitized)`
- `1980s`
- `1985`
- `1985-07-04_SmithFamilyPicnic`
- `1985-12-25_ChristmasAtGrandmas`
- `1985`
- `1990s`
- `1980s`
This structure mirrors how you might organize physical albums, making it intuitive to navigate.
Add Metadata for Enhanced Searchability
Metadata, such as keywords, dates, and descriptions, gets embedded into your digital image files. This data allows you to search for specific photos even if you forget their exact file name or location. Many photo management software programs (like Google Photos, Apple Photos, or Adobe Lightroom) allow you to easily add and edit metadata. Tagging individuals, locations, and events significantly increases the discoverability of your photos.
Implement the 3-2-1 Backup Strategy
Your digital photos are only as safe as your backup plan. We strongly recommend the 3-2-1 backup rule:
- 3 Copies: Keep at least three copies of your data. This includes your primary copy (on your computer or phone) and two backups.
- 2 Different Media Types: Store your backups on at least two different types of media. For example, an external hard drive and cloud storage.
- 1 Offsite Copy: Keep at least one backup copy in an offsite location. This protects against local disasters like fire or theft. Cloud storage services (Google Drive, Dropbox, iCloud, Amazon Photos) are excellent for offsite backups.
Regularly check your backups to ensure they are working correctly. Data corruption can happen, so periodic verification is key. The Image Permanence Institute offers valuable insights into digital preservation standards, which you can apply to your personal archiving.
Creative Ways to Share and Enjoy Your Digitized Photo Memories
After all your diligent `mobile digitization` work, you have a rich collection of digital memories. The next step is to bring them to life. Do not let these digital treasures sit forgotten on a hard drive. Here are some creative and meaningful ways to share and enjoy your newly preserved family history:
Design Custom Photo Books
Transform your digital scans into beautiful, custom-printed photo books. Services like Shutterfly, Mixbook, or Blurb allow you to design professional-looking albums that tell a story. Organize photos chronologically, by event, or by individual. Add captions, anecdotes, and dates to create a tangible legacy you can pass down.
Create Digital Slideshows or Video Compilations
Use simple video editing software (even free options on your phone or computer) to create dynamic slideshows. Add background music, transitions, and text overlays to narrate your family’s journey. These are wonderful for family gatherings, anniversaries, or sharing with relatives far away.
Display on Digital Photo Frames
Digital photo frames provide a continuous, evolving display of your favorite memories. Load your digitized photos onto a frame and set it to shuffle. This allows you and your family to constantly revisit precious moments without needing to open an album or phone. Look for frames with good screen resolution and Wi-Fi connectivity for easy updates.
Share on Private Family Sharing Platforms
Instead of public social media, consider private family sharing apps or cloud albums. Platforms like Google Photos, Apple Photos shared albums, or private Facebook groups allow you to share your digital scans with invited family members. Everyone can view, comment, and even contribute their own memories to the collection. This fosters a collaborative environment for preserving family history.
Craft Personalized Gifts
Your digitized photos make incredibly thoughtful personalized gifts. Print a favorite old family photo on a mug, a canvas print, a jigsaw puzzle, or even a custom blanket. These unique items bring joy and keep memories alive in everyday life.
Document Your Family Tree
Integrate your digitized photos into genealogy platforms like Ancestry.com or MyHeritage. Attaching faces to names on a family tree makes history come alive. This offers a powerful way for relatives to connect with their heritage and discover new family stories.
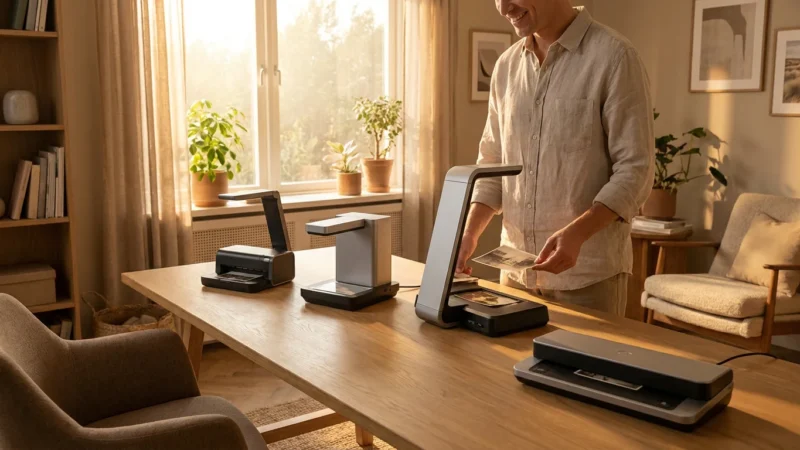
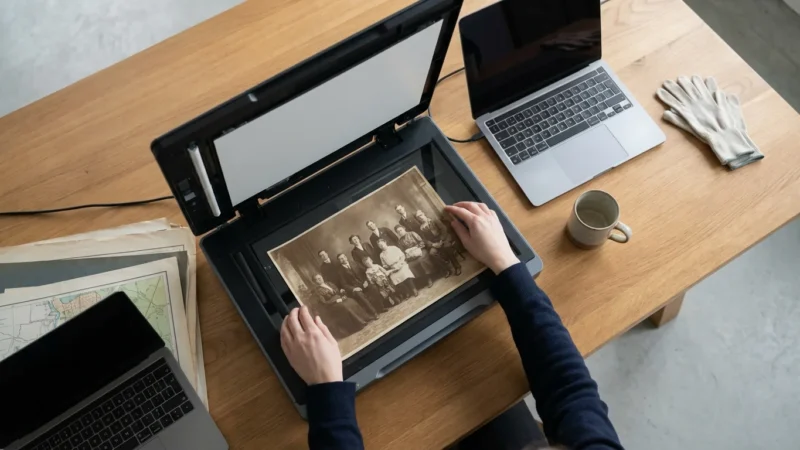
When to Consider Professional Scanning Services Instead
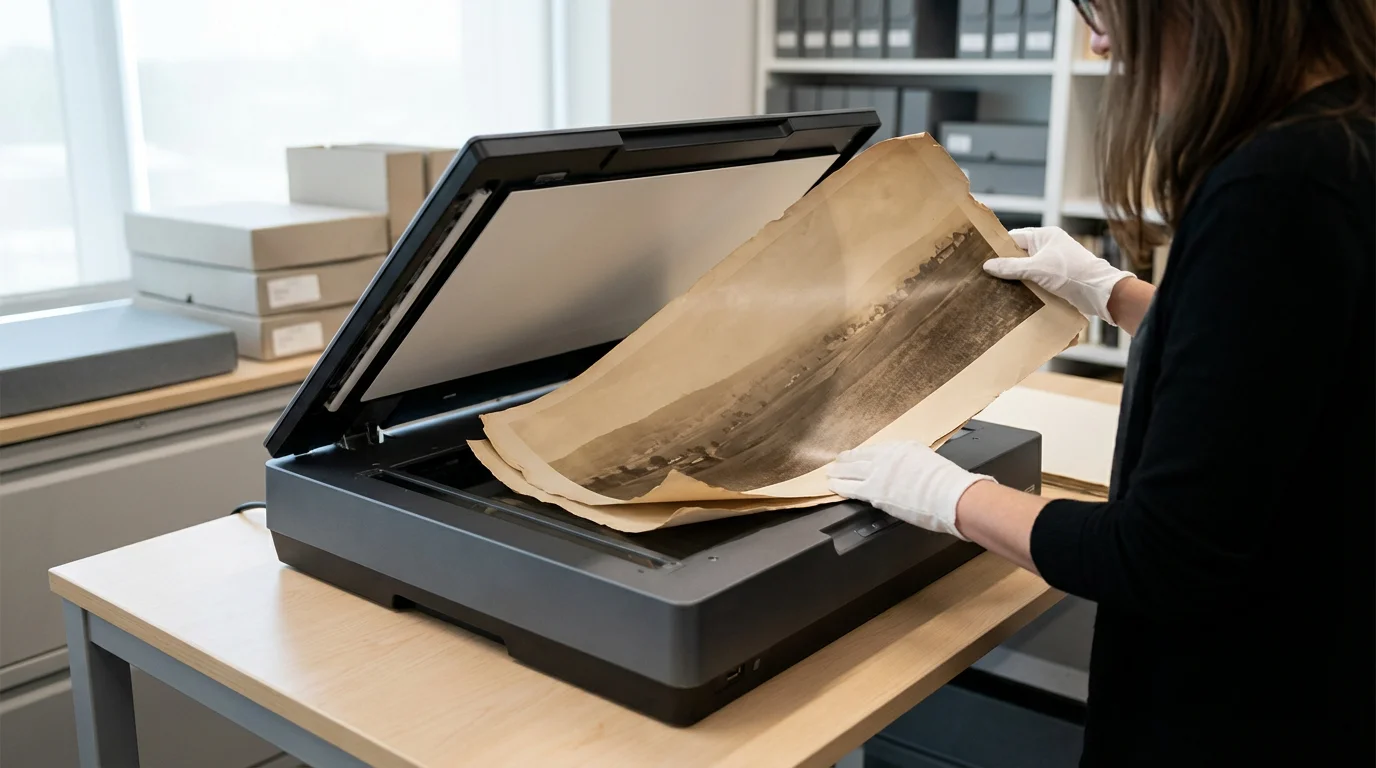
While `smartphone scanning` offers incredible convenience and accessibility, it has limitations. Certain situations call for the specialized equipment and expertise of professional scanning services. Knowing when to escalate your digitization efforts ensures you achieve the best possible quality for your most valuable or challenging items.
Large-Format or Irregularly Sized Photos
Smartphones excel with standard 4×6 or 5×7 prints. If you have oversized prints, panoramas, or uniquely shaped photos, a professional service with a large-format flatbed scanner can capture them completely and accurately. Your phone might struggle to get the entire image in one distortion-free shot.
Fragile, Damaged, or Extremely Old Photos
Photos that are brittle, torn, faded, stuck to album pages, or show signs of mold require delicate handling. Professionals possess the tools and knowledge to handle these sensitive materials without causing further damage. They can often meticulously restore faded colors, repair minor tears digitally, and clean images without harming the original. Consult resources like the Library of Congress Preservation for guidance on handling delicate archival materials.
Negatives, Slides, or Film Rolls
While some smartphone apps attempt to scan negatives, the results are generally inferior to dedicated film scanners. Professionals use high-resolution film scanners designed to capture the full dynamic range and color information from negatives and slides, producing superior quality images compared to a phone’s camera.
Archival Quality and Maximum Resolution
If your primary goal is true archival preservation, requiring the highest resolution, color accuracy, and detail for future generations or large-scale reproductions, professional scanning is the superior choice. Professional scanners can capture images at 1200 DPI or higher, providing an abundance of data for extensive editing, large prints, and long-term security. Your smartphone, while good, cannot match this level of raw capture quality.
Time Constraints and Very Large Collections
Digitizing thousands of photos with a smartphone can be a time-consuming endeavor. If you have an exceptionally large collection and limited time, professional services offer batch scanning capabilities that process vast quantities of photos efficiently. They also handle the necessary quality control and organization.
Consider smartphone scanning your excellent first step for accessibility and general use. For your most precious, fragile, or unique photos, a professional service acts as an invaluable investment in preserving your family’s visual heritage at the highest possible standard.
Frequently Asked Questions
How long does it take to scan a photo collection using a smartphone?
The time required for smartphone scanning varies significantly based on the number of photos, your setup, and the app’s efficiency. With a good setup and practice, you can scan several dozen photos per hour. Dedicated apps like Photomyne often streamline the process by allowing batch scanning of multiple photos at once, further increasing your efficiency. For a collection of a few hundred photos, plan for several focused sessions over a few days or weeks to ensure quality results without rushing.
Can I use my smartphone to scan photo negatives or slides?
While specialized apps and accessories exist, smartphone scanning of negatives and slides often yields limited quality compared to dedicated film scanners. Your phone camera captures reflections from the film surface more easily, and accurately converting negative colors to positive images requires sophisticated software. For crucial negatives or slides, consider a dedicated film scanner or professional digitization services to achieve the best possible results and preserve detail.
What is the optimal resolution for smartphone photo scans?
Most smartphone scanning apps automatically capture photos at a resolution suitable for digital viewing and sharing. This typically translates to 300-600 Dots Per Inch (DPI) when considering the original photo size. For general preservation and future use, aim for at least 300 DPI. If you plan to make large prints or perform extensive edits, a higher resolution scan, if the app allows it, provides more detail to work with. Remember that your phone’s camera resolution is the ultimate limiting factor.
How do I remove glare from photos when scanning with my phone?
Glare presents a common challenge when scanning glossy photos. Avoid direct overhead lighting and use indirect, diffused light sources from multiple angles. Position your phone to minimize reflections you see on the screen. Many advanced photo scanning apps, such as Google PhotoScan, address glare by taking multiple images from slightly different angles and then intelligently combining them to remove reflections. Experiment with different lighting angles and app features to find what works best for your specific photo.
Is smartphone scanning sufficient for archival preservation?
Smartphone scanning offers an excellent and accessible first step for digitizing your memories, making them readily viewable and shareable. For true archival preservation, however, it serves as a good immediate solution. Professional flatbed scanners or high-resolution dedicated photo scanners often capture more detail, color accuracy, and dynamic range, especially from fragile or large formats. Always back up your smartphone scans in multiple locations and consider higher-quality digitization for your most precious or unique images in the long term.
Disclaimer: This article is for informational purposes only. When handling valuable or irreplaceable photographs, consider consulting a professional conservator. Always test preservation methods on non-valuable items first.

Leave a Reply