
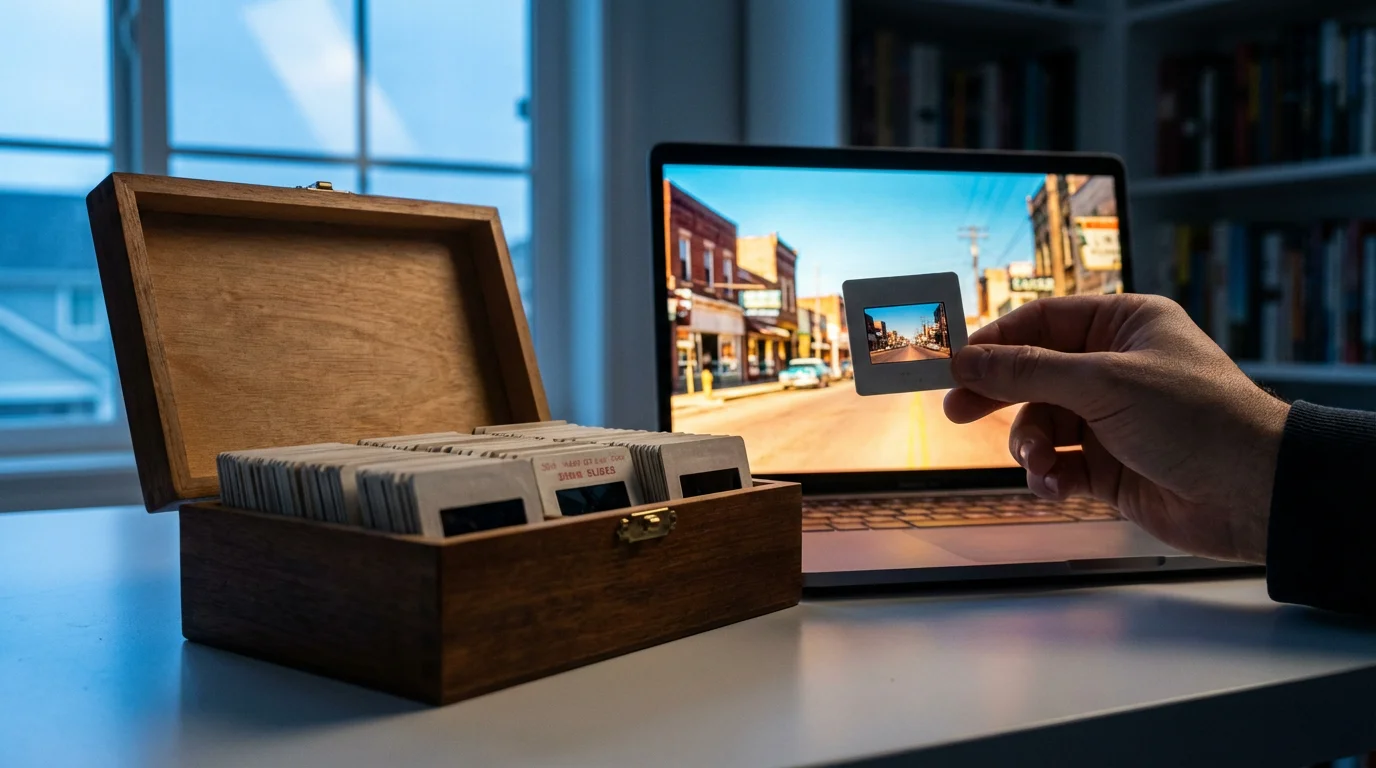
Your old slide collections hold irreplaceable family histories, vivid memories, and significant moments frozen in time. These tiny transparencies, often tucked away in carousels or storage boxes, represent a rich part of your photographic heritage. However, their physical format makes them vulnerable to deterioration and difficult to share or view in today’s digital world. Fortunately, you can easily bridge this gap by converting your slides into digital files. This guide empowers you to understand the equipment and techniques for effective slide digitization, ensuring your precious images endure for generations.
If you also have a collection of physical prints to preserve, our guide on scanning old photos at home offers a comprehensive look at the process.
The Value of Digitizing Your Slides
Transforming your physical slides into digital images offers numerous practical advantages. First, it safeguards your memories against the inevitable degradation of film. Slides can fade, suffer from color shifts, attract dust, and become scratched over time. Digitization creates a permanent, pristine copy. Second, digital files offer unparalleled accessibility. You can view them on computers, tablets, and phones, share them instantly with family across the globe, or integrate them into digital photo albums and creative projects. Finally, it simplifies organization and backup, protecting your memories from physical disasters like fires or floods.
“Digitizing your photographic heritage is not merely a technical task. It is an act of historical preservation, ensuring that stories, faces, and moments from the past remain vibrant and accessible for future generations.”
Understanding Slide Scanner Types
When you decide to embark on a slide scanning project, your initial step involves selecting the right equipment. Several types of slide scanners are available, each offering distinct advantages and disadvantages regarding cost, speed, and image quality.
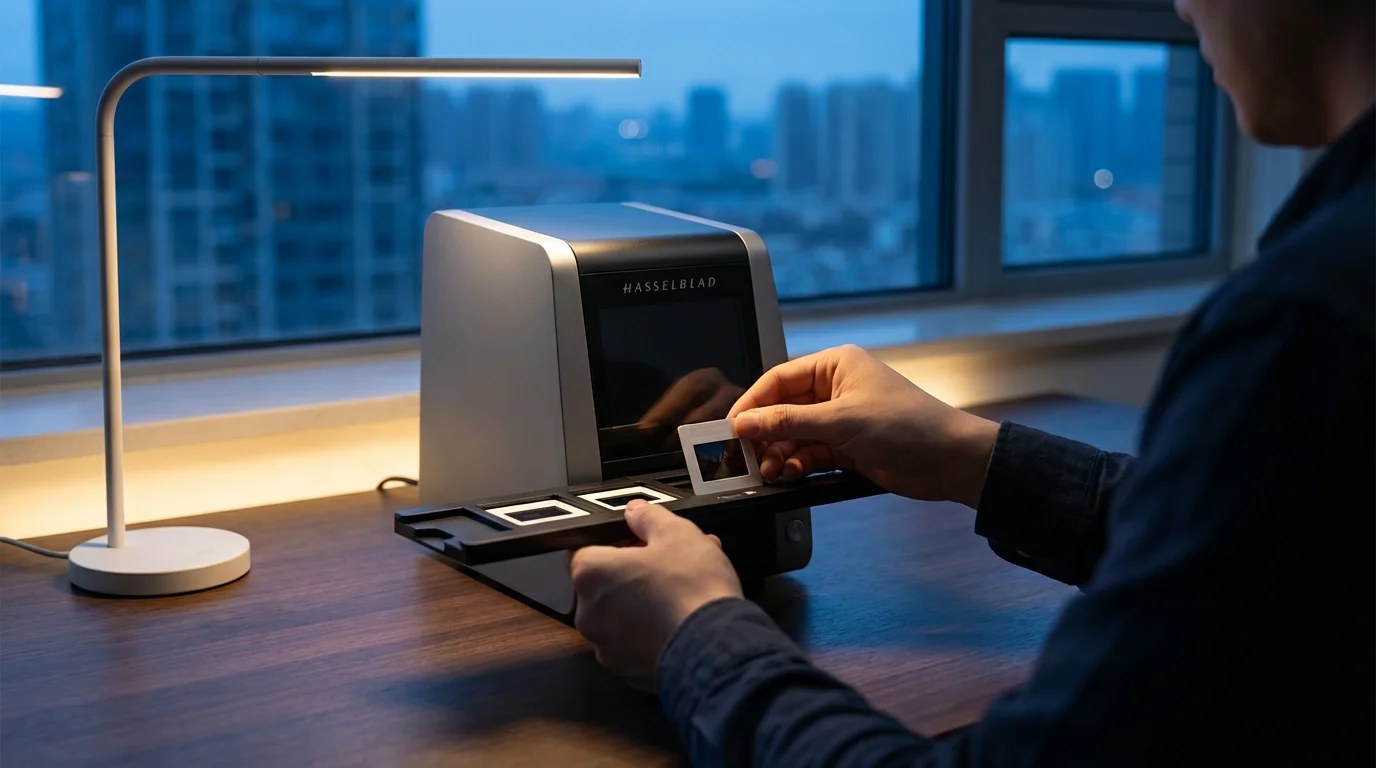
Dedicated Film and Slide Scanners
Dedicated film scanners represent the gold standard for high-quality slide digitization. These devices are purpose-built to scan transparent media. They typically feature specialized optics and light sources optimized for film, yielding superior resolution, color accuracy, and dynamic range compared to other methods. Many dedicated models also incorporate infrared dust and scratch removal technologies, such as Digital ICE (Image Correction and Enhancement), which automatically detects and removes imperfections without softening image detail. While these scanners often come with a higher price tag and can be slower for large volumes, their output quality is generally unmatched for preserving fine details and accurate colors from your old slides to digital format.
- Pros: Excellent image quality, high resolution, superior color depth, often includes automatic dust/scratch removal.
- Cons: Higher cost, can be slower, requires dedicated space.
- Best for: Enthusiasts, professional photographers, or anyone with a relatively small collection of highly valuable slides demanding the absolute best quality.
Flatbed Scanners with Transparency Adapters
Many modern flatbed scanners include a transparency adapter or a built-in light source in the lid, allowing them to scan slides and negatives. These are versatile devices that can handle various types of documents and photographs in addition to film. While they offer convenience and lower cost, their performance for slide scanning typically falls short of dedicated film scanners. They often provide lower optical resolution for film, and their light source might not be as uniform or bright as a dedicated unit, impacting color accuracy and dynamic range. Expect acceptable results for general viewing and sharing, but perhaps not for large prints or detailed archival purposes.
- Pros: More affordable, versatile (scans documents and prints), relatively fast for a few slides.
- Cons: Lower image quality for film compared to dedicated scanners, less effective dust/scratch removal, limited resolution for transparencies.
- Best for: Individuals with a mixed collection of prints and slides, a limited budget, or those needing good enough quality for digital sharing.
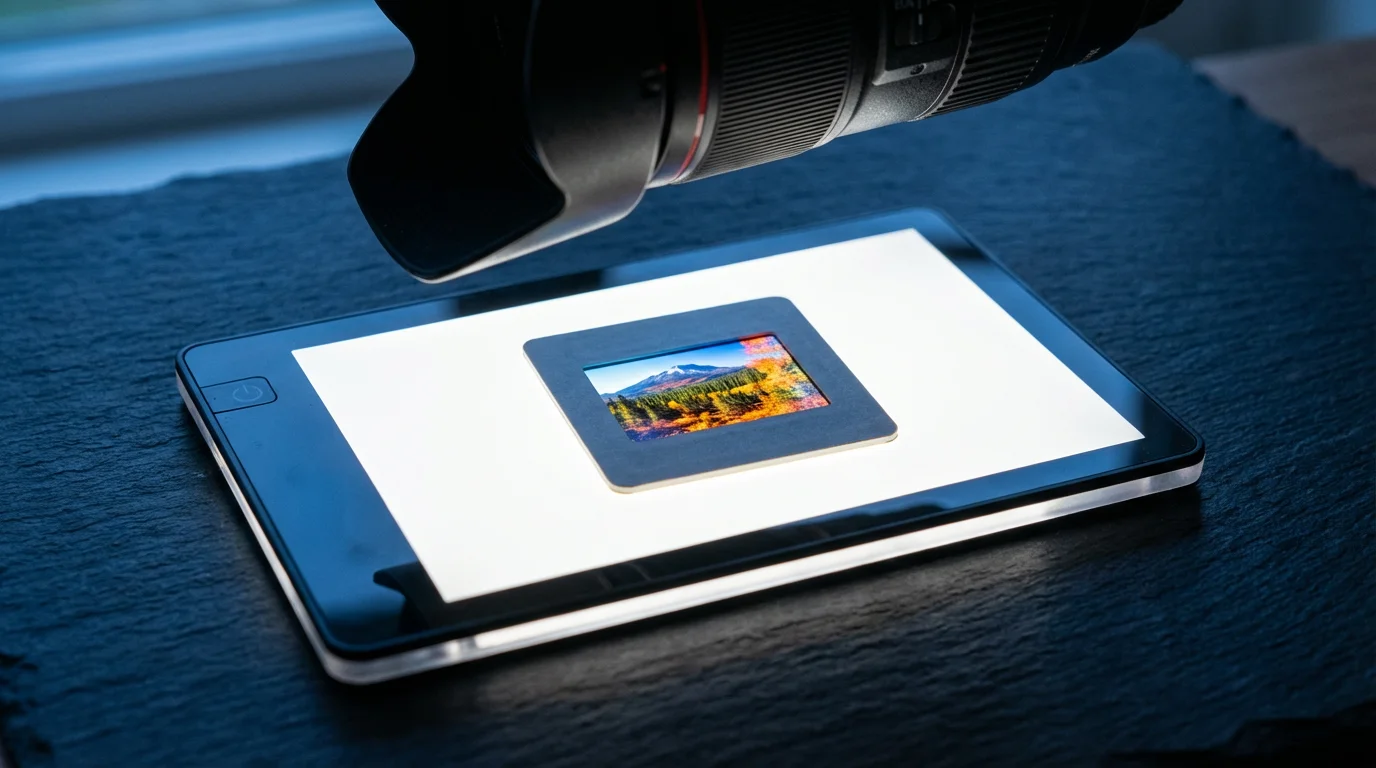
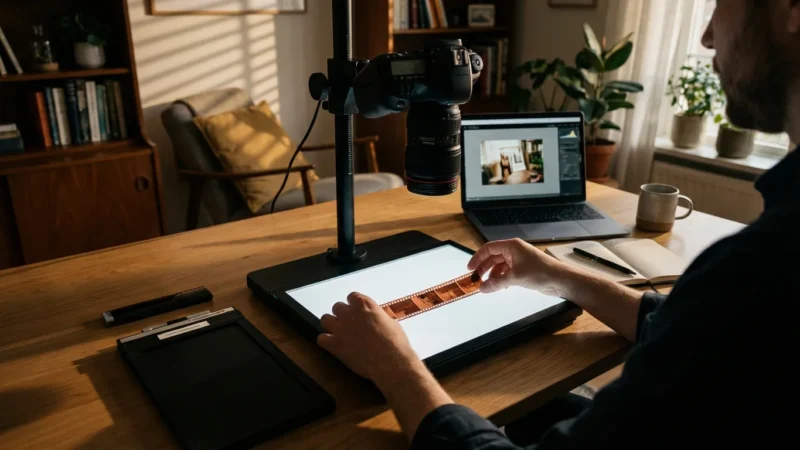
DSLR Scanning Rigs
An increasingly popular method involves using your existing DSLR or mirrorless camera with a macro lens, a light source (like an LED light panel or flash), and a slide duplicator or copy stand. This approach bypasses traditional scanning entirely. You essentially re-photograph your slides. A DSLR scanning rig can offer incredibly fast capture speeds, especially if you have a large volume of slides, and often delivers excellent resolution. The quality depends heavily on your camera, lens, and lighting setup. This method requires some technical proficiency and initial setup, but it can be highly cost-effective if you already own the camera equipment.
- Pros: Extremely fast, excellent resolution (depending on camera/lens), leverages existing photography equipment, potentially high-quality results.
- Cons: Requires technical knowledge, initial setup can be complex, color accuracy depends on lighting, no automatic dust removal.
- Best for: Experienced photographers, those with very large slide collections, or individuals seeking maximum speed and flexibility.
Choosing the Best Slide Scanner for Your Needs
Selecting the right slide scanner depends on your specific circumstances. Consider these factors:
If the time required for a DIY project is too daunting, you may find that professional photo scanning services are a worthwhile investment for high-quality results.
Volume of Slides
If you possess hundreds or thousands of slides, speed becomes a critical factor. Dedicated scanners with automatic feeders or DSLR rigs excel here. Flatbed scanners, while versatile, become tedious for high volumes due to their slower, manual loading process. A dedicated film scanner might process 4-6 slides at a time, taking minutes per batch, while a DSLR setup can capture a slide in seconds.
Desired Image Quality
Are you aiming for archival-grade scans suitable for large prints, or do you simply need good enough quality for social media and casual viewing? For top-tier quality, including rich color, fine detail, and excellent dynamic range, dedicated film scanners are the premier choice. For everyday sharing, a good flatbed scanner or a well-configured DSLR setup can suffice. Realistically, an optical resolution of 4000 dpi on a dedicated film scanner provides incredible detail, far surpassing what most flatbeds achieve for transparencies.
Budget
Slide scanners range widely in price. Entry-level flatbeds with transparency adapters start around $100-$200. Mid-range dedicated film scanners typically cost $300-$800. High-end professional film scanners and advanced DSLR setups can easily exceed $1,000, though a DSLR setup leverages gear you might already own, potentially saving money upfront. Evaluate the value of your memories against the investment.
Ease of Use and Software
Some scanners feature user-friendly interfaces and automated settings, making the process straightforward for beginners. Others require more technical input and familiarity with advanced scanning software. Look for software that offers features like dust reduction, color correction, and exposure adjustments. Read reviews to assess the learning curve and overall user experience. For many home users, finding the best slide scanner for home use involves balancing quality with simplicity.

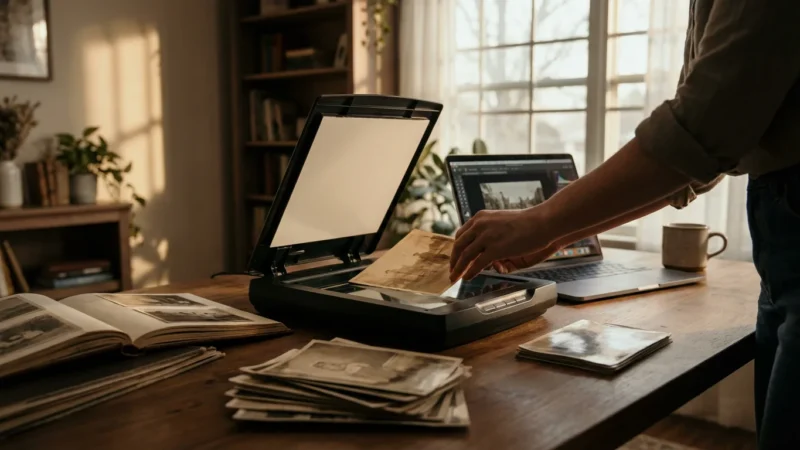
Preparing Your Slides for Scanning
Proper preparation is crucial for achieving high-quality scans and protecting your precious originals. Think of it as laying the groundwork for digital success.
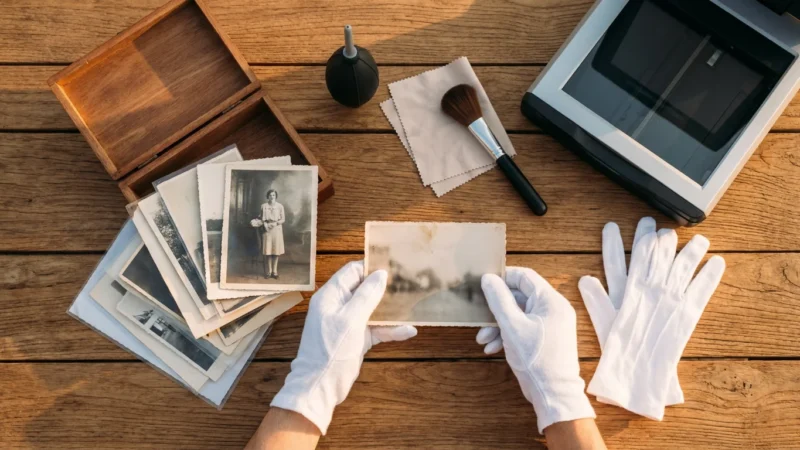
Cleaning Your Slides
Dust, fingerprints, and smudges are the enemies of a clean scan. They appear as distracting spots and imperfections on your digital images. Follow these steps:
- Air Blower: Use a can of compressed air or, preferably, a hand-powered air blower (like a Giottos Rocket Blaster) to gently remove loose dust particles. Hold the slide by its edges.
- Microfiber Cloth: For stubborn smudges or fingerprints, lightly wipe the film surface with a clean, lint-free microfiber cloth designed for optics. Apply minimal pressure.
- Film Cleaner: In rare cases of significant grime, use a specialized film cleaning solution and an archival-grade cotton swab. Apply the cleaner to the swab, not directly to the slide, and wipe gently. Test this on a less important slide first.
Always handle slides by their edges or frame to avoid leaving new fingerprints on the film emulsion.
Organizing Your Slides
Before you begin scanning, organize your slides logically. Group them by date, event, or subject matter. This saves time during the scanning process and makes it easier to organize your digital files later. Labeling carousels or storage boxes helps immensely. For example, creating batches like “Summer Vacation 1985” or “Grandma’s 70th Birthday” provides a clear framework.

Essential Scanning Techniques for Optimal Results
Executing your scans with the right techniques significantly impacts the final quality. This section walks you through how to scan old slides to digital effectively.
Resolution Settings
Resolution, measured in dots per inch (dpi), determines the level of detail your digital image captures. For slides, aim for a minimum of 2400 dpi for general viewing and sharing. For archival quality, large prints, or significant cropping, 3200 dpi to 4000 dpi is ideal. Be aware that higher resolutions create larger file sizes and take longer to scan. For instance, a 35mm slide scanned at 4000 dpi can produce an image equivalent to approximately 20-24 megapixels, offering ample detail.
Color Depth and Dynamic Range
Scan in the highest bit depth available, typically 24-bit or 48-bit color. While 24-bit (8 bits per channel) is standard, 48-bit (16 bits per channel) captures significantly more color information and dynamic range, offering greater flexibility for post-processing without introducing banding or posterization. This is especially beneficial for slides with subtle color gradients or wide variations between light and shadow.
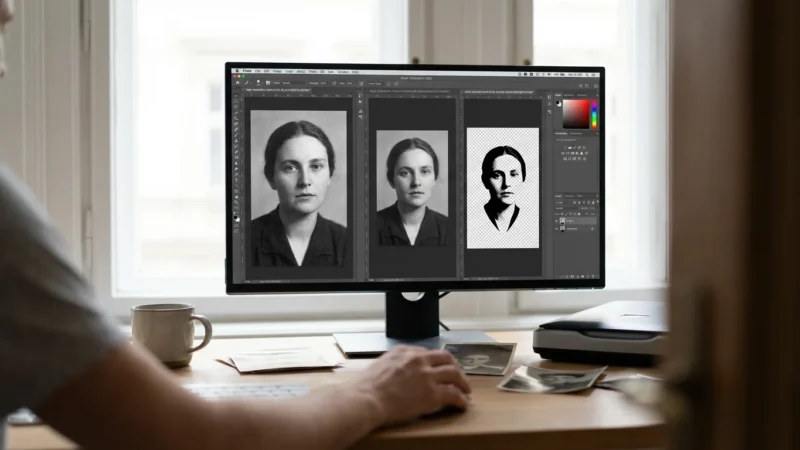
Dust and Scratch Removal (Digital ICE)
Many dedicated film scanners include infrared-based dust and scratch removal technology, often called Digital ICE or a similar proprietary name. This technology uses an infrared light pass to detect physical imperfections on the film surface, then intelligently removes them from the visible light scan. Activating this feature can dramatically reduce the time you spend manually retouching in post-processing. It works exceptionally well on color slides, but use caution with black and white slides, as the silver halide particles can sometimes be misinterpreted as dust.
Exposure and Color Correction
Most scanning software offers basic exposure and color correction tools. Start with the scanner’s auto-correction features, then make fine adjustments as needed. Aim for a neutral color balance that accurately reflects the original scene. Over time, slides can develop color shifts, often leaning towards magenta or blue. Your goal is to restore these colors to their original vibrancy. Some software allows you to preview adjustments in real-time.
File Formats: TIFF vs. JPEG
When saving your scans, choose the appropriate file format:
- TIFF (Tagged Image File Format): This lossless format preserves all image data without compression artifacts. It produces much larger file sizes but is ideal for archival purposes and any image you plan to edit extensively. It captures every detail from your slide digitization efforts.
- JPEG (Joint Photographic Experts Group): This lossy format compresses image data, resulting in smaller file sizes. It’s excellent for sharing online, email, or casual viewing. However, repeated saving and editing of JPEGs can degrade image quality. If you use JPEG, choose the highest quality setting available (e.g., 90-100%).
For best practice, save a master copy as TIFF and then create JPEG versions for sharing and everyday use.

Post-Scanning Workflow: Organizing and Protecting Your Digital Collection
Your work does not end once the scanning is complete. A robust post-scanning workflow ensures your newly digitized memories remain organized, accessible, and protected.
Once your files are ready, follow these best practices for creating a home photo archive to ensure your collection remains organized and secure.
Consistent Naming Conventions
Implement a clear and consistent naming convention for your scanned files. This helps you quickly locate specific images. Consider including the date, event, and a brief description. For example: “1978-07-15_GrandCanyon_FamilyTrip_001.tif”. Tools like Adobe Bridge or free file renaming utilities can streamline this process for large batches.
Logical Folder Structure
Organize your digital files into a logical folder structure on your computer. You might use a hierarchical system based on year, then month, then event. For example: “Photos > 1980s > 1985 > 1985-08_BeachVacation”. A well-planned structure simplifies navigation and long-term management of your digitized slide collection.
Backup Strategies
A single copy of your digital files is no copy at all. Implement a robust 3-2-1 backup strategy:
- Three copies of your data: Your primary working copy and at least two backups.
- Two different types of media: For example, your computer’s hard drive and an external hard drive.
- One copy off-site: Such as a cloud storage service (Google Drive, Dropbox, iCloud) or a physically separate location for an external drive.
This multi-faceted approach protects your irreplaceable memories from hardware failure, accidental deletion, or disaster.
Basic Editing and Enhancement
Even with careful scanning, some images may benefit from basic post-processing. Adjustments like cropping, straightening, minor color correction, and contrast adjustments can significantly enhance their appearance. Use non-destructive editing software where possible, preserving your original scan. Remember to apply edits subtly, aiming to restore the image, not over-process it.
Advanced Tips for Superior Slide Digitization
For those seeking the absolute best quality from their slide digitization efforts, consider these advanced techniques.
Color Calibration
A properly color-calibrated monitor is essential for accurate color assessment during scanning and editing. Without it, the colors you see on your screen might not match the actual colors of your digitized slides or prints. Use a hardware calibrator to create an accurate color profile for your display. This ensures that when you correct colors, you are seeing a true representation of the image.
Understanding Dynamic Range
Slides, especially Kodachrome and Ektachrome, can have a very high dynamic range, meaning they capture a wide spectrum from very bright highlights to deep shadows. High-quality film scanners excel at capturing this detail. Pay attention to your scanning software’s histogram. Avoid clipping highlights (pure white) or shadows (pure black), which lose detail. Adjust the exposure or use multi-exposure scanning if your scanner supports it to capture the full range of tones.
Software-Specific Features
Delve into your scanner’s bundled or third-party scanning software. Programs like VueScan or SilverFast offer extensive control over every aspect of the scanning process, from gamma correction and sharpening to advanced color management. Learning these features unlocks the full potential of your scanner and allows you to fine-tune your results far beyond basic auto-settings.
Frequently Asked Questions
What resolution should I use for scanning 35mm slides?
For most purposes, including viewing on screens and small prints, 2400-3200 dpi provides excellent quality. If you plan to make large prints (e.g., 8×10 inches or larger) or anticipate significant cropping, aim for 4000 dpi or higher. Remember, higher resolutions create larger file sizes.
Can I scan black and white slides with Digital ICE?
Digital ICE (and similar infrared dust removal technologies) generally works best with color slides and negatives. It uses an infrared channel to detect physical imperfections. However, the silver halide particles in traditional black and white film can interfere with the infrared light, sometimes leading to blurry results or false positives. For black and white slides, manually cleaning the slides and using software spot removal is often more effective.
How long do digitized slides last?
Digitized slides, when properly managed, can last indefinitely. The key is implementing a robust backup strategy, such as the 3-2-1 rule. This includes storing copies on multiple types of media and at least one off-site location (like cloud storage). Digital files themselves do not degrade, but storage media can fail, making backups essential.
Is it better to scan slides myself or use a professional service?
Scanning slides yourself offers control over quality, resolution, and cost per slide, especially for large collections. It requires an investment in equipment and time. Professional services provide convenience and often deliver high-quality results without the need for personal equipment or learning curve, but they can be costly for extensive collections (often $0.30-$1.00+ per slide). Your decision depends on your budget, time commitment, and desired level of involvement.
Disclaimer: This article is for informational purposes only. When handling valuable or irreplaceable photographs, consider consulting a professional conservator. Always test preservation methods on non-valuable items first.
For those dealing with thousands of images, using batch scanning methods can dramatically speed up the process.
If the technical requirements of DIY digitizing feel daunting, you might want to investigate if professional photo scanning services are a better fit for your needs.


Leave a Reply