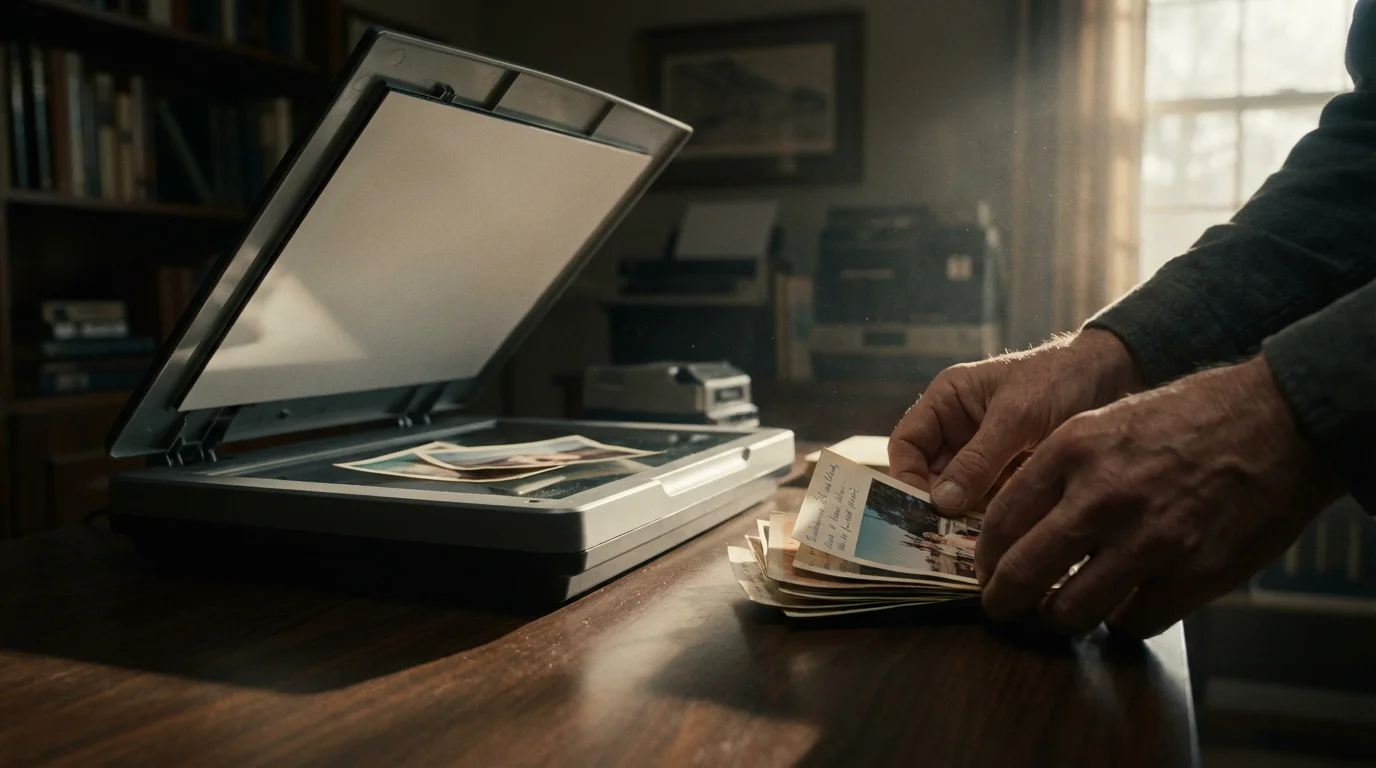
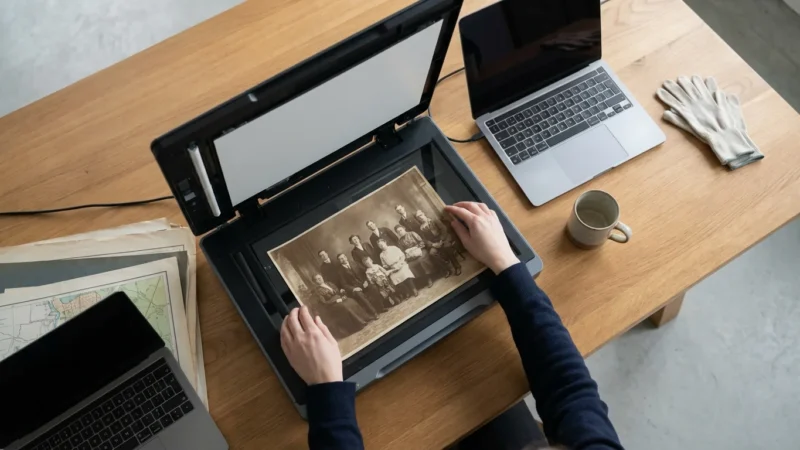
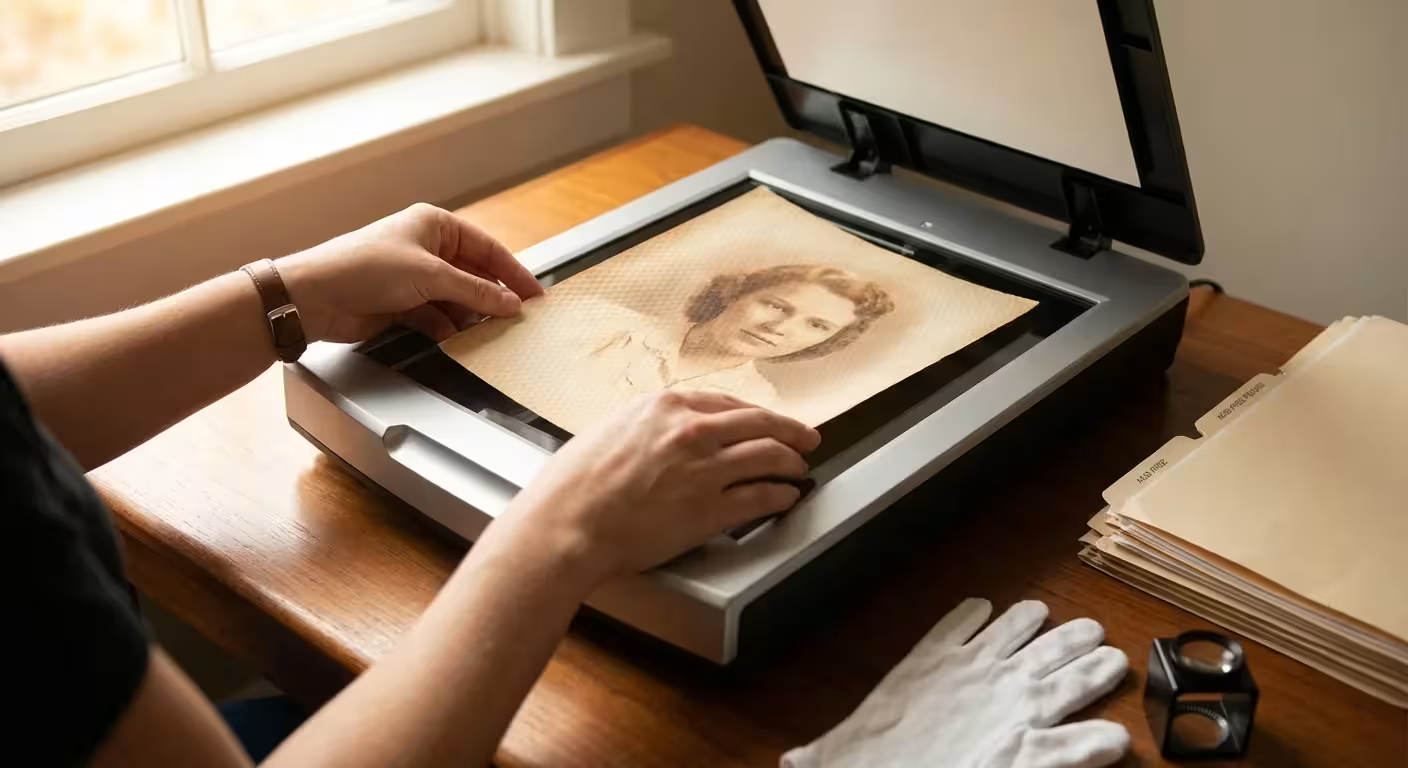
Your boxes of faded family photographs, the albums filled with snapshots from decades past, and even the rolls of forgotten negatives represent an irreplaceable legacy. These images tell your family’s story, preserving moments and memories that connect generations. Yet, physical photos are fragile, susceptible to damage from light, moisture, and time. Digitizing these precious artifacts ensures their survival, making them easy to share, organize, and enjoy for years to come. Choosing the right photo scanner for your home is the critical first step in this preservation journey.
Before diving into specific hardware, it is helpful to review the steps to scan old photos at home to ensure your project stays organized from start to finish.
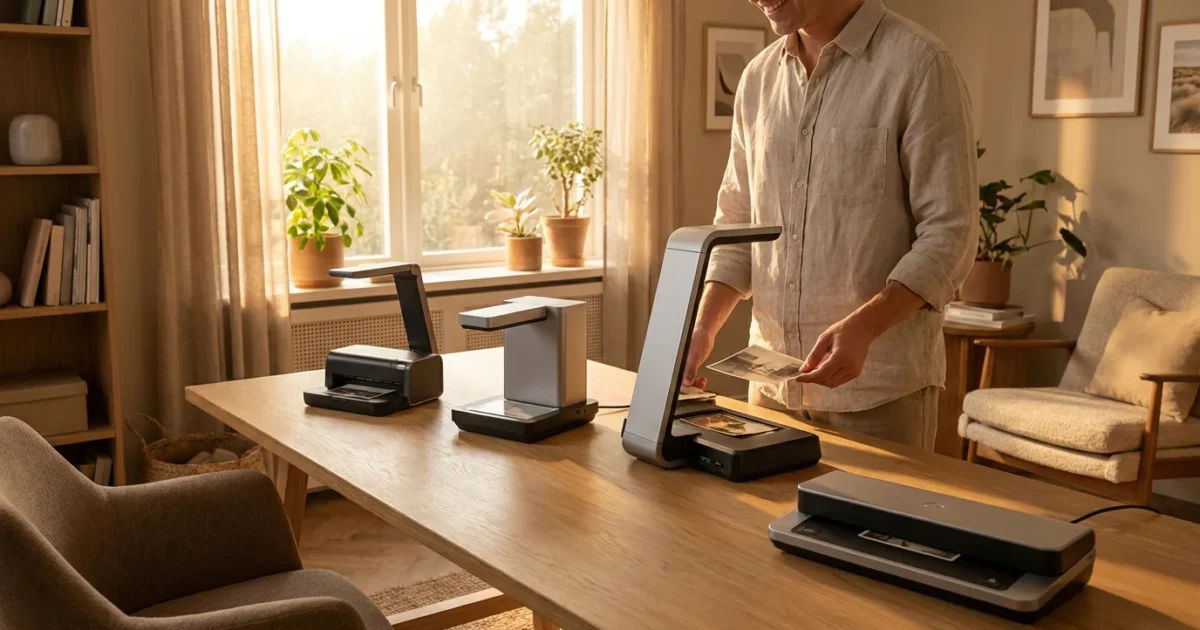
Navigating the options for photo scanners can feel overwhelming. You need a device that delivers high-quality digital reproductions, handles delicate originals with care, and fits your specific needs and budget. This comprehensive guide helps you understand the different types of scanners available in 2025, details the key features to prioritize, and recommends top-rated models that empower you to preserve your photographic heritage effectively.
Why You Need a Dedicated Photo Scanner
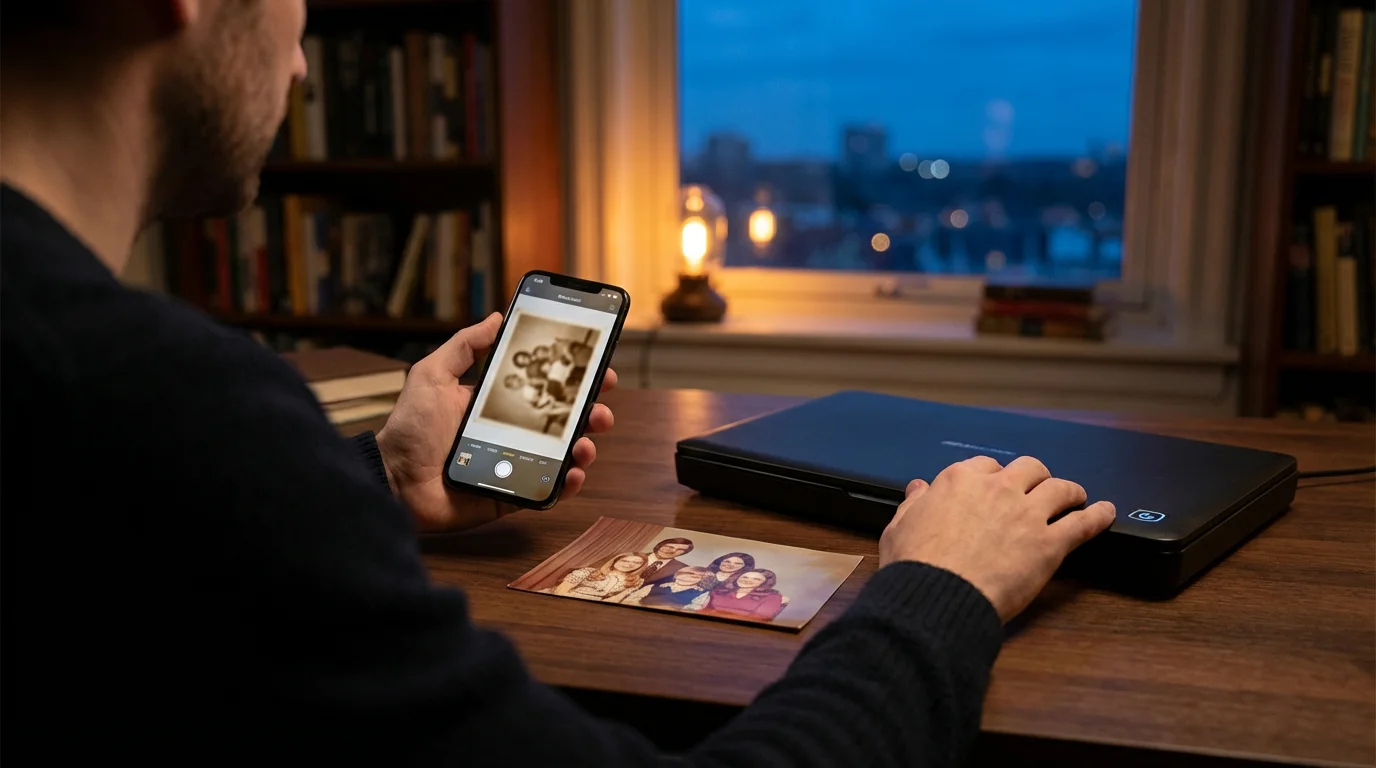
Many people consider using their smartphone camera or a general-purpose all-in-one printer scanner for digitizing old photos. While these tools offer convenience, they often fall short when preserving the true quality and detail of your precious memories. A dedicated photo scanner provides superior resolution, color accuracy, and handling capabilities crucial for archival-grade digitization.
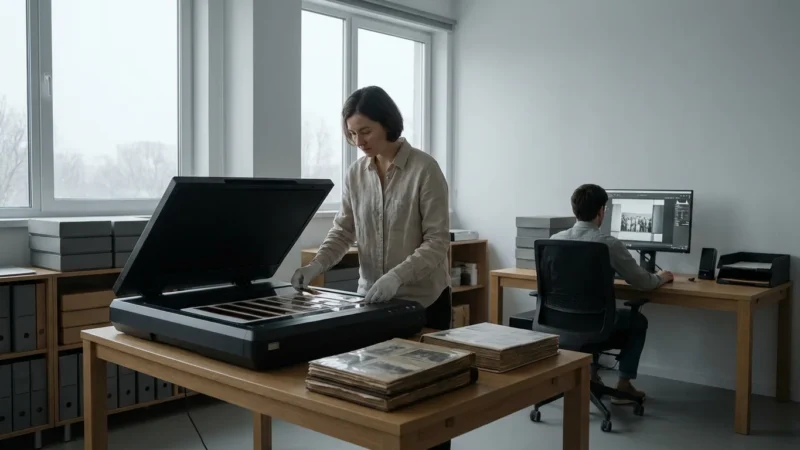
If the sheer volume of your collection feels daunting, it is worth exploring if professional photo scanning services are a better alternative for your project.
Smartphone cameras, for instance, introduce perspective distortion, glare from ambient light, and can struggle with consistent focus across an entire print. Even the best smartphone cameras cannot capture the subtle nuances or handle the dynamic range present in physical photographs as effectively as a specialized scanner. General-purpose flatbed scanners bundled with printers typically offer lower optical resolutions and basic software, making them adequate for documents but insufficient for high-fidelity photo reproduction. They often lack the specific features, such as film adapters or advanced dust removal, essential for quality photo scanning.
Investing in a purpose-built photo scanner ensures you capture images with sufficient detail for future generations. You gain control over critical parameters like resolution, color depth, and exposure, allowing you to create digital files that truly honor your originals. This careful approach means your digital copies will withstand the test of time, allowing for future enhancements, enlargements, and display without noticeable loss of quality.
Understanding Photo Scanner Types for Home Use
The market offers several types of photo scanners, each suited for different scanning tasks. Understanding their strengths helps you select the ideal tool for your collection.
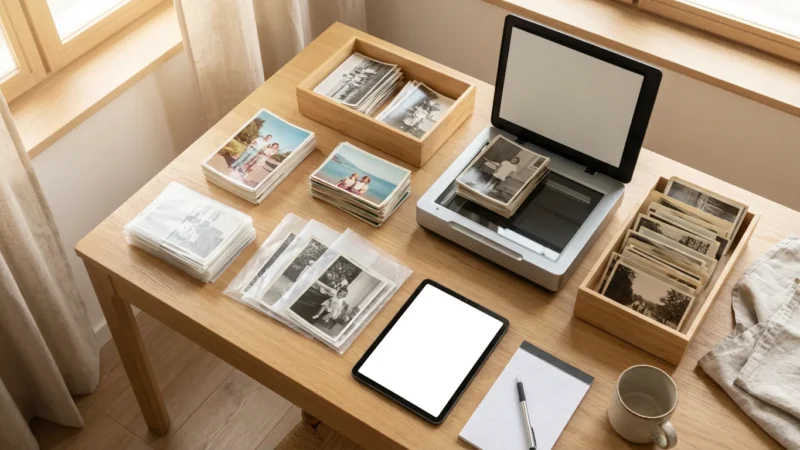
If you have a massive archive, understanding efficient batch scanning techniques can save you weeks of work when using sheet-fed or flatbed models.
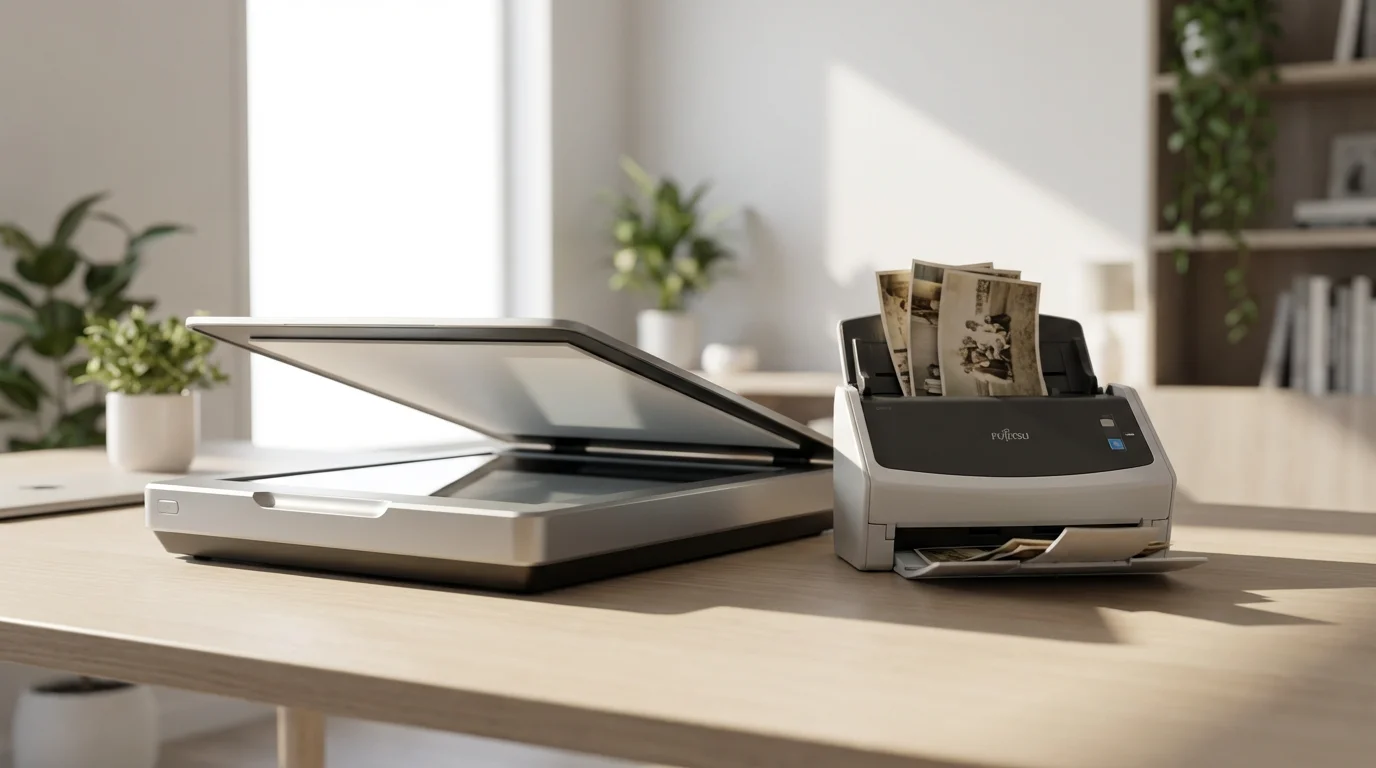
- Flatbed Scanners: These are the most versatile home scanners. They feature a flat glass platen where you place your photos, documents, or even small 3D objects. Many flatbed scanners designed for photos include a Transparent Materials Adapter (TMA) in the lid. This adapter allows you to scan film negatives and slides, making them a great all-in-one option for diverse collections. Flatbeds excel at handling delicate or irregularly sized prints without risk of damage, as the items remain stationary during the scan.
- Film Scanners (Dedicated Film Scanners): As their name suggests, these scanners focus exclusively on 35mm film strips, mounted slides, and sometimes medium format film. They offer superior optical resolution and dynamic range compared to flatbed scanners with TMAs, capturing maximum detail from dense film emulsions. If your primary goal is digitizing a large collection of negatives and slides, a dedicated film scanner provides the highest quality results.
- Sheet-fed Scanners: These scanners process multiple prints or documents rapidly by feeding them through an automatic document feeder (ADF). While incredibly fast for bulk scanning, sheet-fed scanners are generally best for prints in good condition. They carry a slight risk of bending or scratching very old, fragile, or torn photos. Some models include a flatbed component, offering a hybrid solution for both bulk and delicate items.
Key Features for Your Home Photo Scanner
When you evaluate photo scanners, several technical specifications and features directly impact the quality and efficiency of your digitization efforts. Focus on these aspects to make an informed decision:
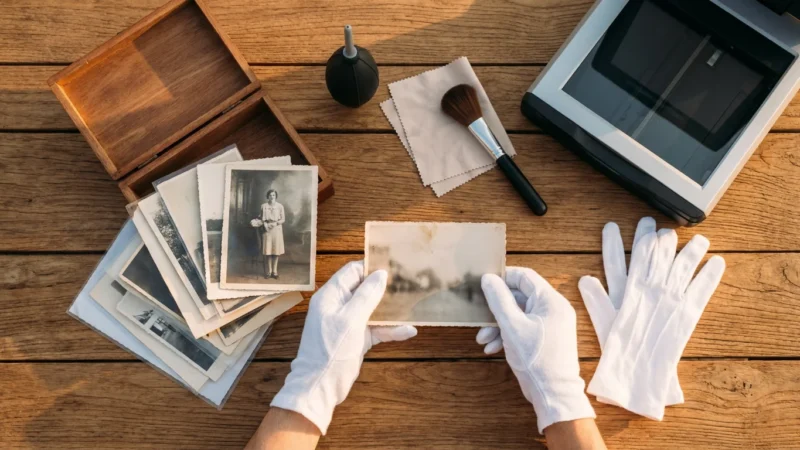
Regardless of the scanner you choose, you should always prepare and clean your photos properly to ensure the best possible digital capture.
Optical Resolution (DPI)
Resolution, measured in dots per inch (DPI), determines the level of detail your scanner captures. A higher DPI means more pixels in your digital image, translating to finer detail and the ability to crop or enlarge without pixelation. For prints, a minimum optical resolution of 600 DPI is a good starting point for general use. For archival purposes, especially if you plan large prints or significant cropping, consider 1200 DPI. When scanning film negatives and slides, aim for at least 2400-4800 DPI, as the information density on film is much higher than on prints. Always distinguish between optical resolution (true hardware capability) and interpolated resolution (software-enhanced, not true detail), prioritizing optical DPI.
Color Depth
Color depth, measured in bits, indicates how many colors the scanner can detect and reproduce. Most modern photo scanners offer 24-bit (16.7 million colors) or 48-bit (billions of colors) color depth. Higher bit depths capture more subtle color variations and tones, which is particularly beneficial for old, faded photos that you might restore later. Scanning at a higher bit depth provides more flexibility during post-processing without introducing banding or posterization.
Dynamic Range (Dmax)
Dynamic range, or Dmax, is crucial when scanning film. It measures a scanner’s ability to differentiate between the darkest and lightest areas of a transparent original. Film often has a very wide dynamic range, with deep shadows and bright highlights. A higher Dmax rating (e.g., 3.6 or higher) means the scanner can capture detail in both these extreme areas, preventing “blocked-up” shadows or “blown-out” highlights. This preserves the full tonal information of your negatives and slides.
Scan Speed
If you have hundreds or thousands of photos, scan speed becomes a practical consideration. Some scanners can digitize a 4×6 print in seconds, while others take significantly longer. Dedicated sheet-fed scanners are fastest for prints. For film, dedicated film scanners typically offer faster scanning than flatbeds with TMAs due to optimized mechanisms. Balance speed with quality requirements. Rushing through scans at lower settings often leads to re-scanning later, defeating the purpose of speed.
Software Features
The included scanning software profoundly impacts your user experience and final image quality. Look for software that offers:
- Digital ICE (Image Correction and Enhancement) or similar: This hardware-based dust and scratch removal technology uses an infrared light pass to identify and mask imperfections. It works exceptionally well on film and often saves hours of manual retouching.
- Color Restoration: Some software can automatically detect and correct faded colors in old prints, bringing them closer to their original vibrancy.
- Grain Reduction: For film, this feature helps smooth out film grain, especially noticeable in older or higher ISO films.
- Image Editing Tools: Basic tools for cropping, rotation, and exposure adjustments within the scanning software streamline your workflow.
Connectivity
Most modern scanners connect via USB to your computer. USB 3.0 or higher ensures faster data transfer, which is beneficial for large, high-resolution scans. Some scanners offer Wi-Fi connectivity for wireless scanning, adding convenience if your computer is not physically close to your scanning station.
Top-Rated Flatbed Photo Scanners for Prints
Flatbed scanners with high optical resolution and good color depth are excellent choices for digitizing prints of all sizes, photo album pages, and even delicate, fragile items. Many also include features for scanning film.
Epson Perfection V600 Photo Scanner
The Epson V600 remains a perennial favorite among home users and enthusiasts due to its robust feature set and excellent image quality for its price point. It offers an optical resolution of 6400 DPI, making it suitable for both prints and film. The included Digital ICE technology is a standout feature, effectively removing dust and scratches from film and even some types of prints. Its ability to handle various film formats (35mm slides, negatives, and medium format film) through its built-in TMA makes it a versatile workhorse. Users consistently praise its color accuracy and dynamic range, producing scans that require minimal post-processing. Its scanning software is intuitive, offering both simple one-touch options and advanced controls for power users.
Canon CanoScan LiDE 400
For those seeking a more budget-friendly option primarily for prints, the Canon LiDE 400 offers impressive value. It features a 4800 x 4800 DPI optical resolution, which is more than sufficient for most print scanning needs. Its key advantage is speed; the LiDE 400 can scan a letter-sized color document in about 10 seconds. The scanner also boasts a Z-lid, allowing you to scan thicker items like books and magazines. While it lacks film scanning capabilities and advanced dust removal, its compact design, USB-powered operation, and excellent image quality for prints make it a strong contender for anyone with a large collection of physical prints. Its simple interface makes it accessible for beginners.
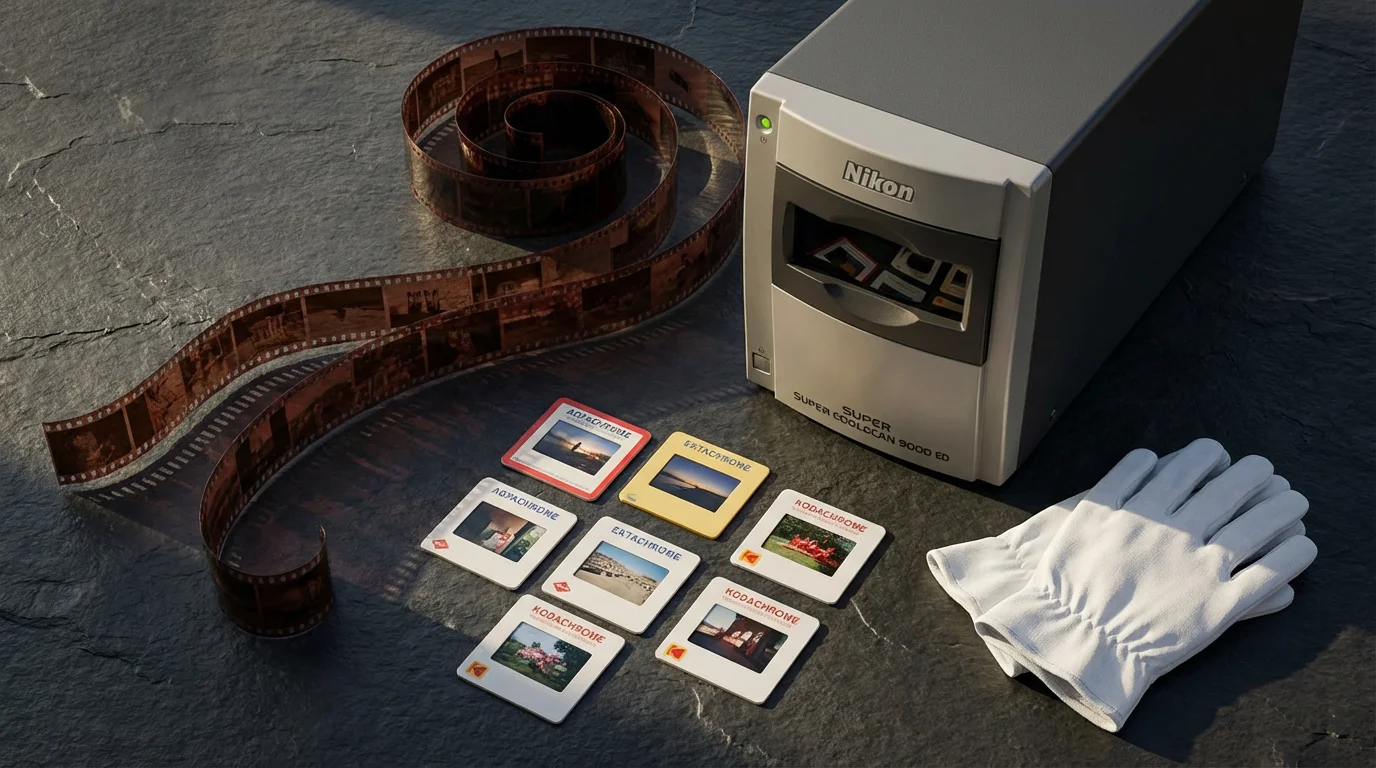
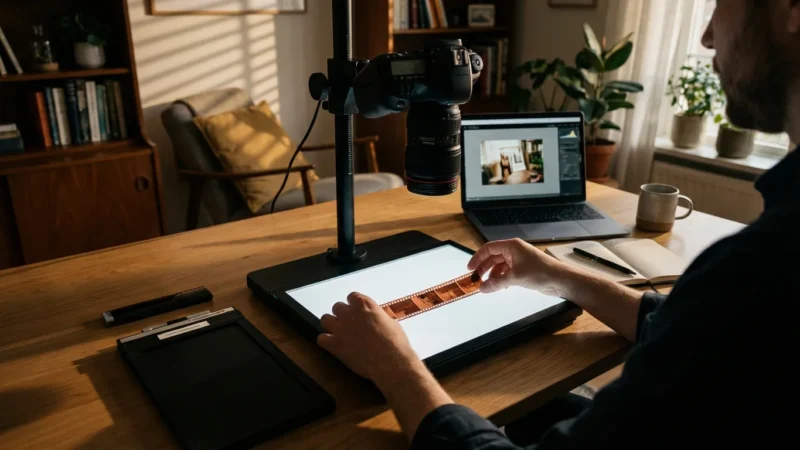
Best Scanners for Negatives and Slides
Dedicated film scanners offer unparalleled detail and dynamic range when your collection primarily consists of 35mm negatives and slides. These specialized devices extract the maximum information from your film stock.
Plustek OpticFilm 8200i Ai
The Plustek OpticFilm 8200i Ai is a high-end dedicated film scanner designed for serious enthusiasts and professionals. It provides an impressive 7200 DPI optical resolution and a high dynamic range, capturing incredible detail from even challenging film types. The “i” in its name signifies the built-in infrared channel for Digital ICE technology, which automatically removes dust and scratches from film. It comes bundled with SilverFast Ai Studio software, known for its advanced features like Multi-Exposure for improved dynamic range and NegaFix for precise negative film profiles. While it has a steeper learning curve than some other scanners, the image quality it produces from 35mm film is exceptional, making it a worthwhile investment for preserving valuable film archives. Its robust build and consistent performance deliver professional-grade results.
“Digitizing your film not only protects it from physical degradation but also unlocks its full potential for modern display and sharing. A dedicated film scanner, with its specialized optics and software, is an indispensable tool for truly preserving the nuances of analog photography.”
Epson Perfection V850 Pro
While technically a flatbed, the Epson V850 Pro deserves a mention here for its outstanding film scanning capabilities, often rivaling dedicated film scanners. It offers an optical resolution of 6400 DPI, but its real strength lies in its dual-lens system, which optimizes focus for both reflective (prints) and transmissive (film) scanning. The V850 Pro comes with high-quality film holders that provide precise positioning and anti-Newton ring glass to prevent unwanted artifacts. It includes two sets of film holders for 35mm slides, 35mm film strips, 120/220 medium format, and 4×5 large format film. Like the V600, it features Digital ICE technology. Bundled with SilverFast SE Plus and Epson Scan software, it caters to a wide range of users, from those seeking simple operation to those needing advanced control. Its versatility makes it an excellent choice if you have a significant collection of both prints and various film formats.
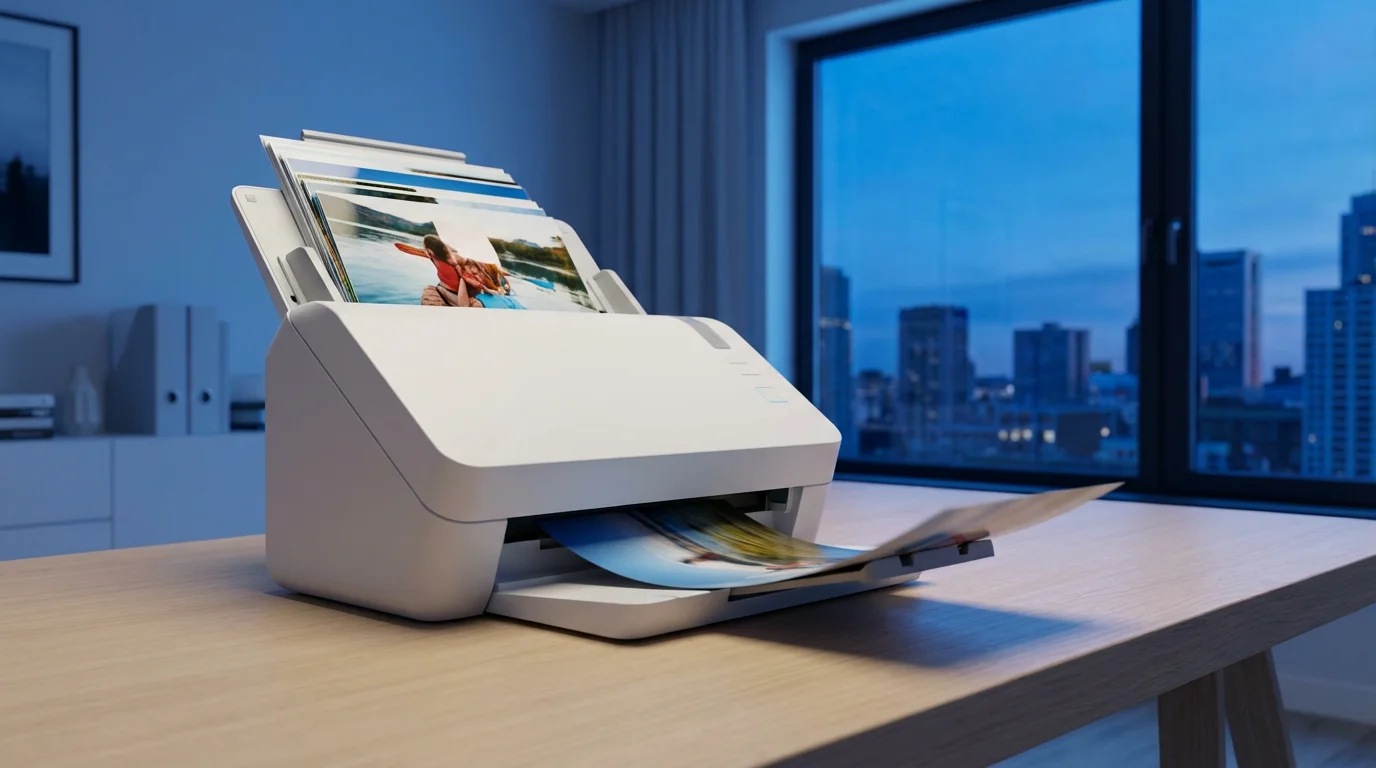
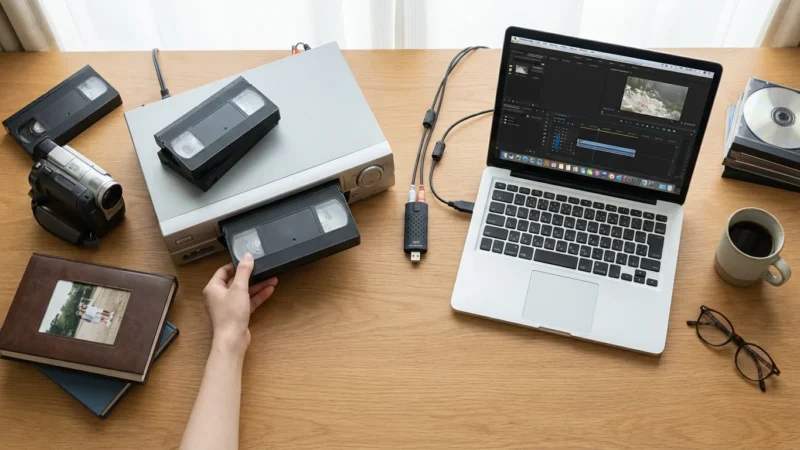
Sheet-Fed Scanners: A Solution for Bulk Scanning
If your primary challenge is digitizing thousands of standard-sized prints quickly, a sheet-fed photo scanner can dramatically speed up the process. These devices automate the feeding of multiple photos, saving you considerable time compared to placing each print manually on a flatbed.
To handle large volumes effectively, consider mastering batch scanning techniques to save time and effort.
Epson FastFoto FF-680W
The Epson FastFoto FF-680W is specifically designed for high-speed photo scanning. It can scan thousands of photos, from wallets to 8×10 inches, at speeds as fast as one photo per second at 300 DPI. It supports various paper types, including postcards and polaroids, and can even scan both sides of a photo simultaneously to capture handwritten notes on the back. The FastFoto software is intuitive, offering automatic enhancement features such as red-eye reduction, color restoration, and auto-cropping. It also includes archival output settings and easy cloud upload options. While it excels at speed and convenience for large batches of prints, it does not scan film and may not be suitable for extremely fragile or irregularly shaped photos due to the feeding mechanism. You should always inspect your photos before feeding them to ensure they are free of debris or tears that could cause jamming or damage.
Setting Up Your Scanner and Optimizing Scan Quality
Purchasing a top-rated photo scanner is only half the battle. Proper setup and scanning techniques are crucial for achieving the best possible digital reproductions of your memories.
For a step-by-step walkthrough on the entire process, refer to our complete guide on scanning photos at home.
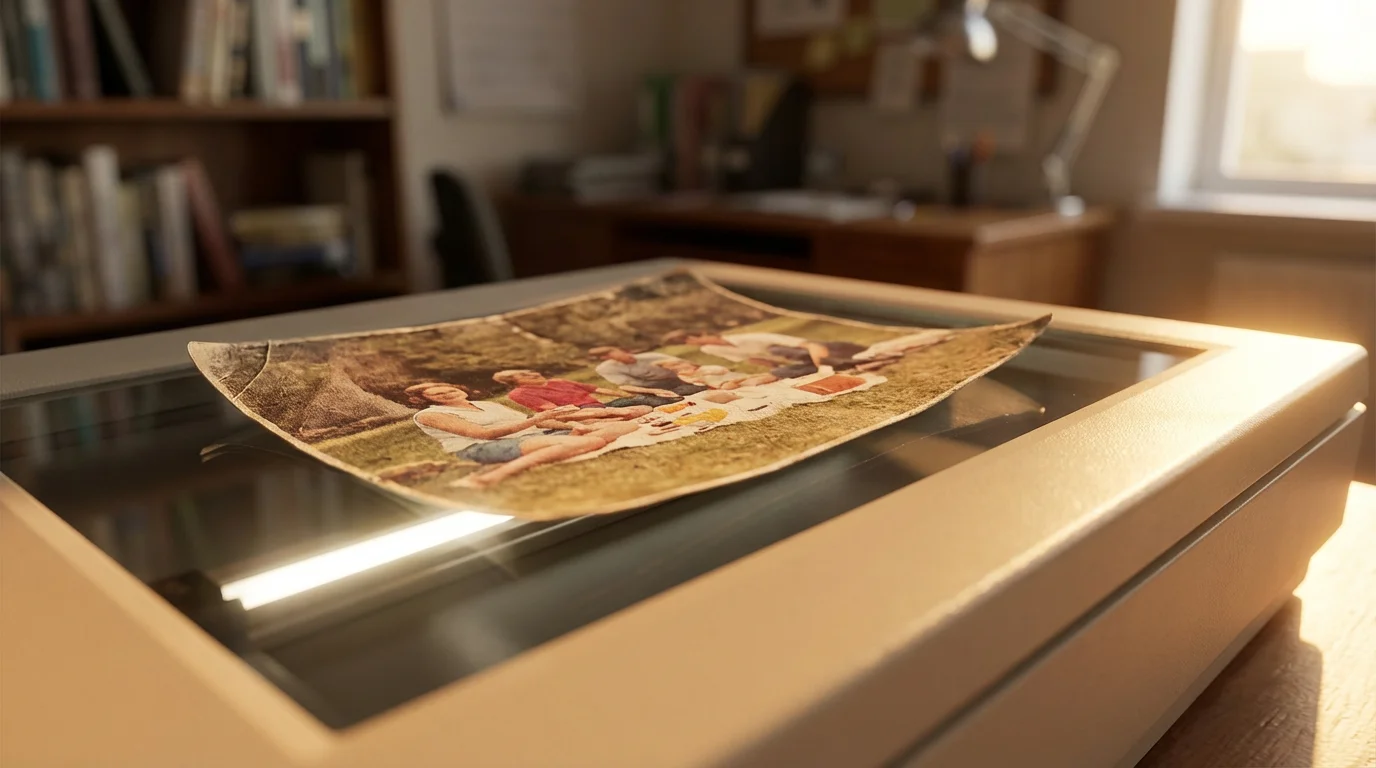
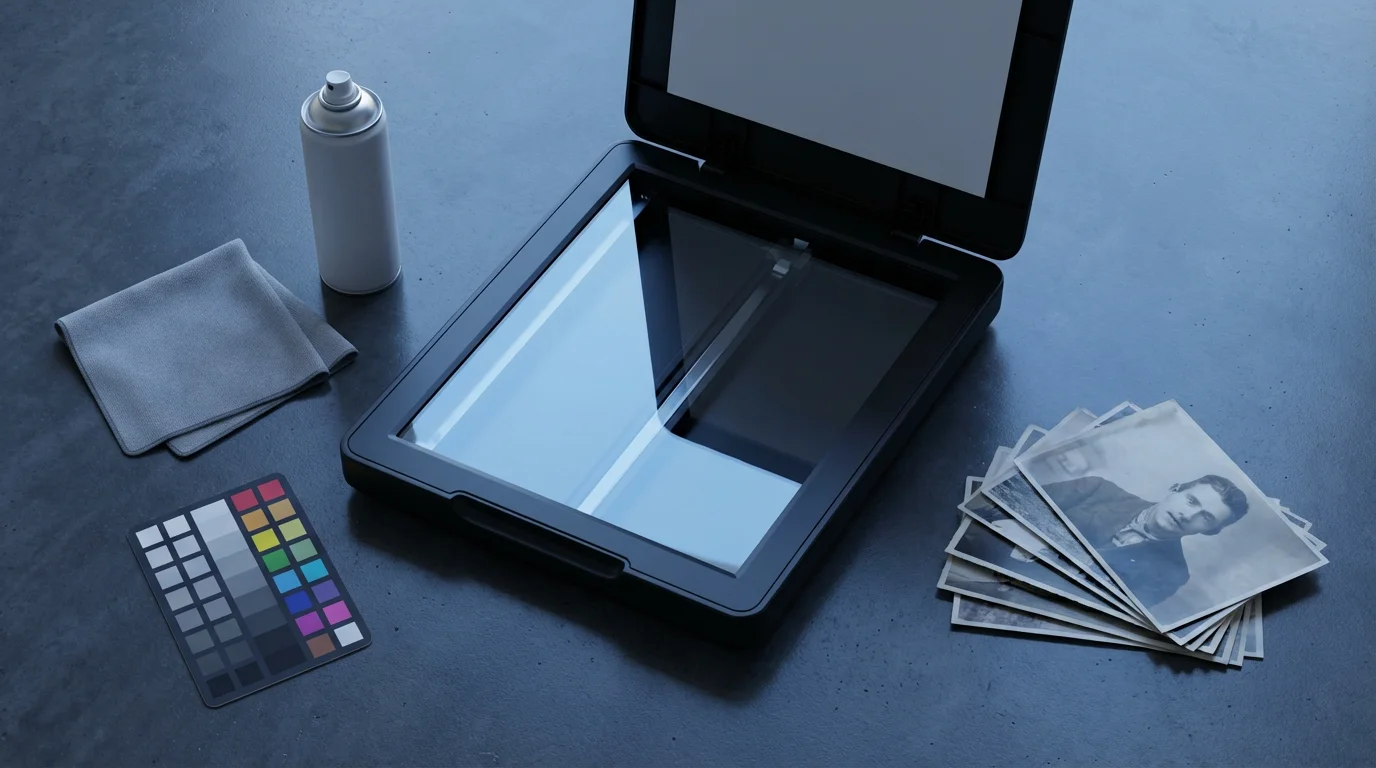
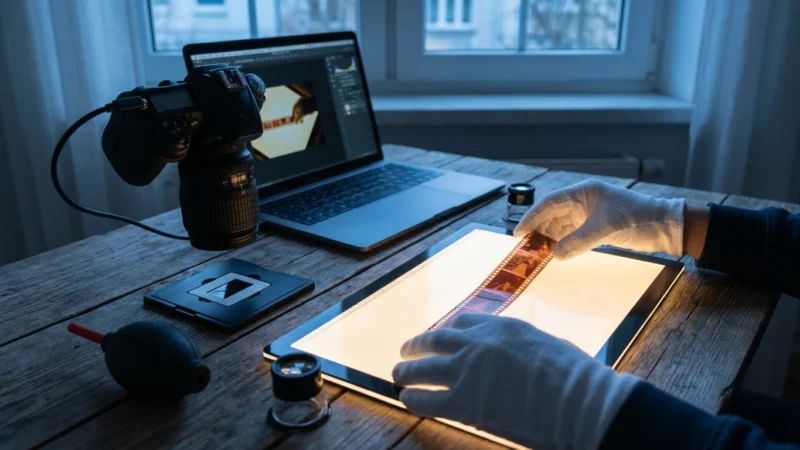
- Clean Your Equipment: Dust is the enemy of good scans. Before each session, use a soft, lint-free cloth and a specialized glass cleaner to wipe the scanner’s platen. For film scanners, also clean the film holders. Use an air blower to remove loose dust from your photographs and film before placing them on the scanner.
- Install and Update Software: Always install the latest drivers and scanning software from the manufacturer’s website. Updates often include performance improvements, bug fixes, and compatibility enhancements.
- Choose the Right Resolution: Do not simply scan everything at the highest possible DPI. For prints, 600 DPI is often sufficient for sharing and modest enlargements. For film, 2400-4800 DPI is generally recommended for archival purposes. Higher resolutions create larger file sizes and take longer to scan, so balance quality with practicality.
- Select Proper Color Depth: Scan in 48-bit color mode (if available) for prints and film. This captures the maximum color information, providing more flexibility for color correction and restoration in post-processing. Save your final images as 24-bit JPEGs for sharing, but keep the 48-bit TIFF originals for archival purposes.
- Utilize Dust and Scratch Removal: If your scanner features Digital ICE or a similar infrared dust removal technology, enable it for film and suitable prints. This dramatically reduces the need for manual retouching. Remember that Digital ICE does not work on traditional silver halide black and white film.
- Perform Pre-Scan Adjustments: Use the scanner software’s preview function to check cropping, orientation, and basic exposure. Make minor adjustments to brightness or contrast in the software rather than waiting for post-processing. However, avoid aggressive automatic color corrections during the scan, as these can be destructive. Aim for a neutral scan and perform detailed color work in dedicated image editing software.
- Scan Negatives as Negatives: When scanning film, ensure your software is set to scan negatives as negatives, not positives. The software then inverts the image and applies the correct color profile, resulting in accurate color rendition.
Remember that the goal is to capture the most accurate representation of your original photograph or film. By following these steps, you lay a strong foundation for a high-quality digital archive.

Preserving Your Digitized Memories
Digitizing your photos is a crucial first step, but it is not the final one in preservation. Once your photos are digital, you must safeguard these new files. Implement a robust digital preservation strategy:
- Redundant Backups: Follow the 3-2-1 backup rule: keep three copies of your data, on two different types of media, with one copy off-site. For example, store one copy on your computer, another on an external hard drive, and a third in a cloud storage service.
- Archival File Formats: Save your master scans in high-quality, uncompressed, or minimally compressed formats such as TIFF for maximum fidelity. For everyday viewing and sharing, create JPEG copies.
- Descriptive File Naming: Adopt a consistent naming convention that includes dates, subjects, and locations. This makes finding specific photos much easier.
- Metadata: Add descriptive metadata (keywords, dates, names) to your digital files. This embedded information travels with the image and improves searchability and organization.
- Regular Checks: Periodically check your backup drives and cloud storage to ensure files are accessible and not corrupted. Digital obsolescence is real; migrate your files to new storage media or formats as technology evolves.
The Library of Congress offers comprehensive guidelines on personal digital archiving, providing valuable insights on long-term digital preservation strategies. You can find detailed recommendations and best practices on their website.
For more detailed information on creating an effective digital preservation plan, you can refer to resources from institutions like the Library of Congress Preservation.
Frequently Asked Questions
Can I use my smartphone to scan old photos instead of buying a scanner?
While smartphones offer convenience, they generally do not match the quality, resolution, and color accuracy of a dedicated photo scanner. Smartphone scans often suffer from glare, perspective distortion, and lower detail capture. For truly archival-quality digital copies, especially for precious old photographs or film, a dedicated scanner is a superior choice. It captures finer details and better handles fading and color shifts.
What is the ideal DPI for scanning old prints for archival purposes?
For most old prints, scanning at an optical resolution of 600 DPI provides excellent detail for archival purposes, allowing for moderate enlargement and future restoration. If you anticipate making very large prints or performing significant cropping, consider 1200 DPI. Always use the scanner’s optical DPI, not interpolated DPI, to ensure genuine detail capture.
Do I need separate scanners for prints and negatives/slides?
Not necessarily. Many high-quality flatbed photo scanners, such as the Epson Perfection V600 or V850 Pro, include a Transparent Materials Adapter (TMA) in their lid. This allows you to scan both prints and various film formats. However, if you have a very large collection of negatives and slides and prioritize the absolute highest quality for film, a dedicated film scanner like the Plustek OpticFilm 8200i Ai will often provide superior results for film due to its specialized optics and higher dynamic range.
What should I do after scanning my photos to ensure their long-term preservation?
After scanning, implement a robust digital preservation strategy. Save your master scans in an uncompressed format like TIFF. Create redundant backups, following the 3-2-1 rule: three copies, on two different media types, with one copy off-site. Organize your files with consistent naming conventions and add metadata. Periodically check your backups and migrate files to new storage solutions as technology evolves. Consulting resources from organizations like the National Archives Preservation can offer further guidance.
How can I clean old photos before scanning them without causing damage?
Handle old photos with extreme care. Use lint-free white cotton gloves to avoid transferring oils from your skin. For loose dust, use a soft, dry camel-hair brush or a can of compressed air (holding it upright and at a distance to prevent propellant discharge). Never use water, cleaning solutions, or abrasive materials directly on the photos. If photos have persistent dirt or sticky residue, consult a professional conservator. Remember to clean the scanner’s glass platen frequently as well.
Selecting the best photo scanner for your home is an investment in your family’s history. By carefully considering your specific needs, prioritizing key features, and following best practices for scanning and digital preservation, you empower yourself to safeguard countless cherished memories. Your diligent efforts ensure these moments endure, ready to be rediscovered and shared by generations to come.
Disclaimer: This article is for informational purposes only. When handling valuable or irreplaceable photographs, consider consulting a professional conservator. Always test preservation methods on non-valuable items first.
Before you begin your first batch, decide on the best file formats for scanned photos to ensure your digital legacy remains high-quality and accessible.

Leave a Reply