
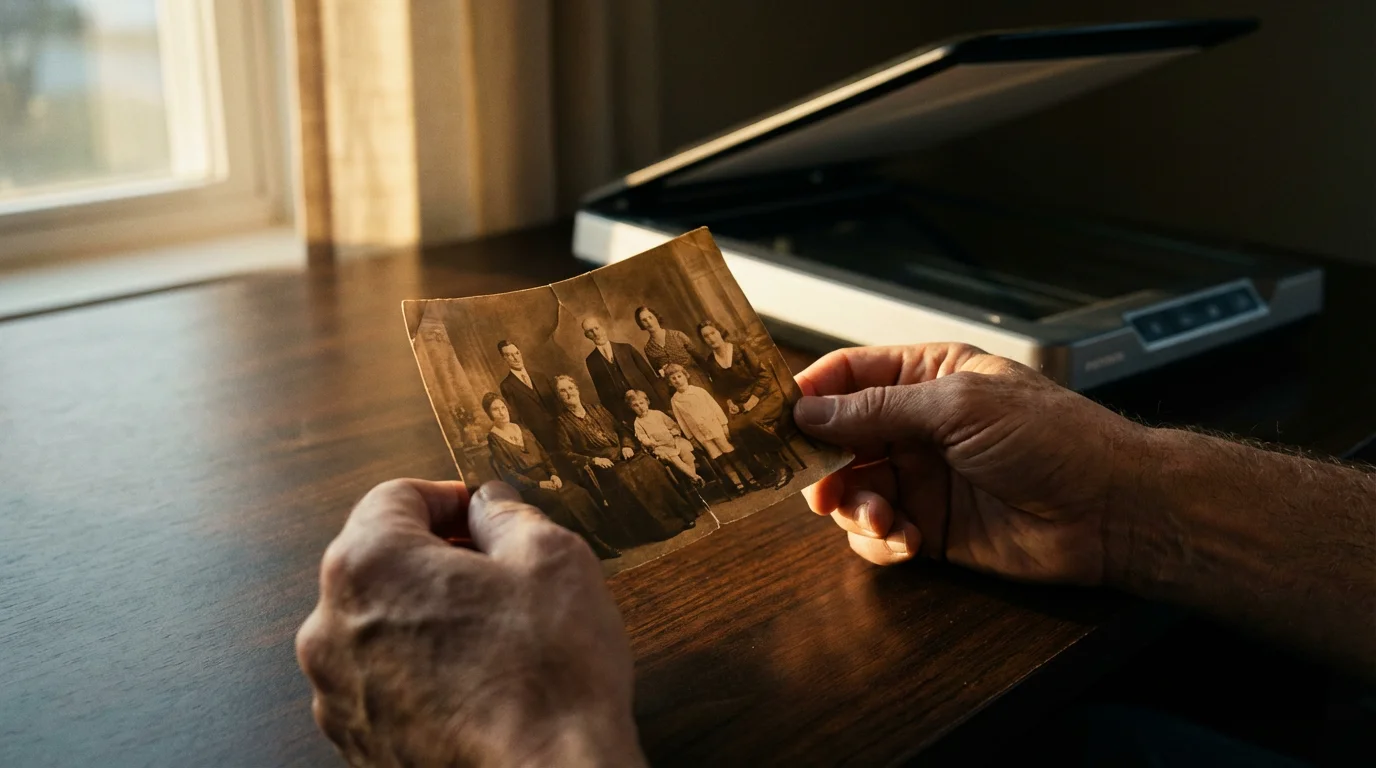
You have a treasure trove of family memories, perhaps carefully stored in albums, tucked away in shoeboxes, or even inherited as a collection spanning generations. These old photographs represent irreplaceable moments, faces, and stories. Digitizing them offers a powerful way to preserve their legacy, share them widely, and protect them from further deterioration. But as you prepare to embark on this important project, a critical question often arises: “What DPI should I use when scanning photos?”
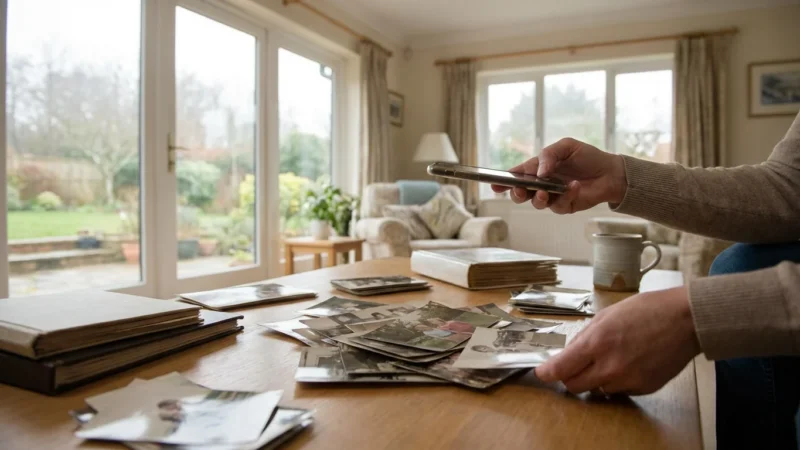
While dedicated hardware is ideal, scanning photos with your smartphone can be a convenient alternative for quickly digitizing individual shots for sharing.
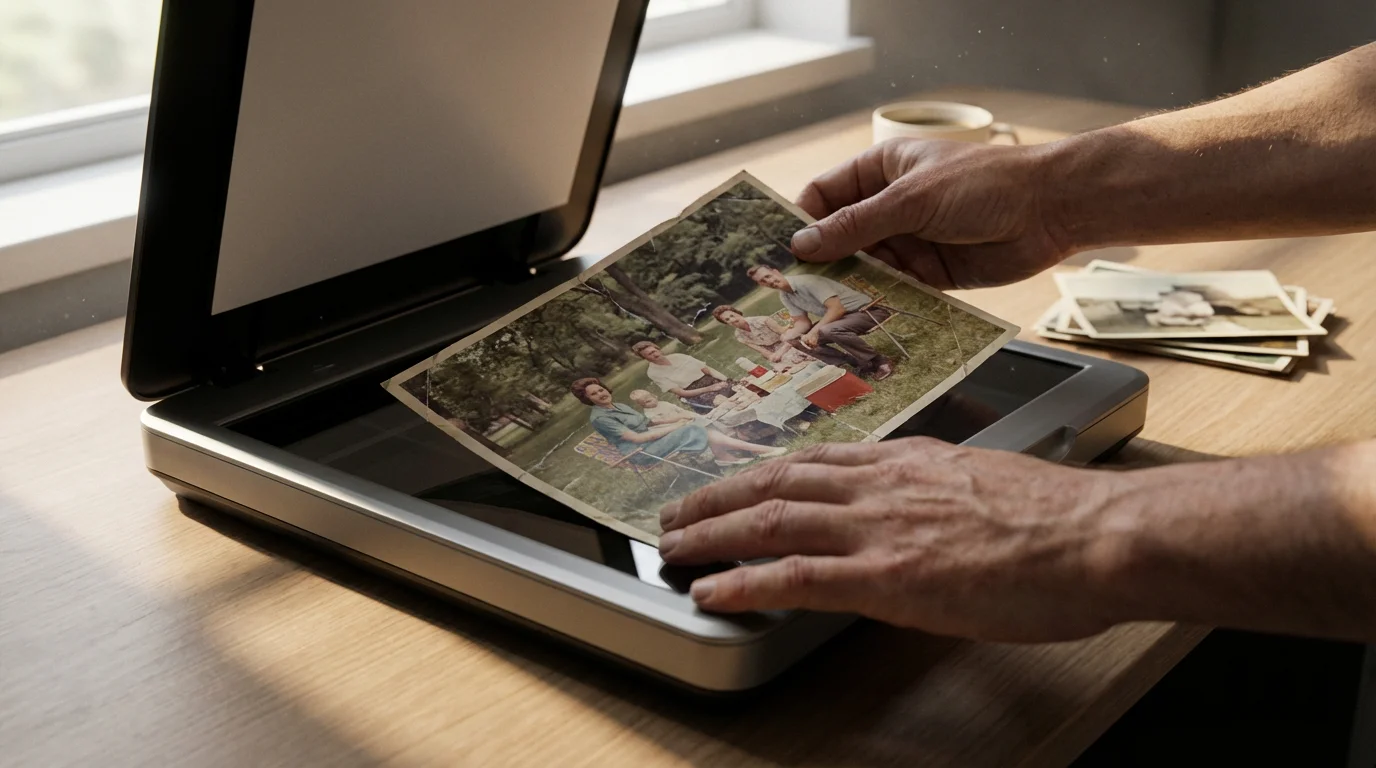
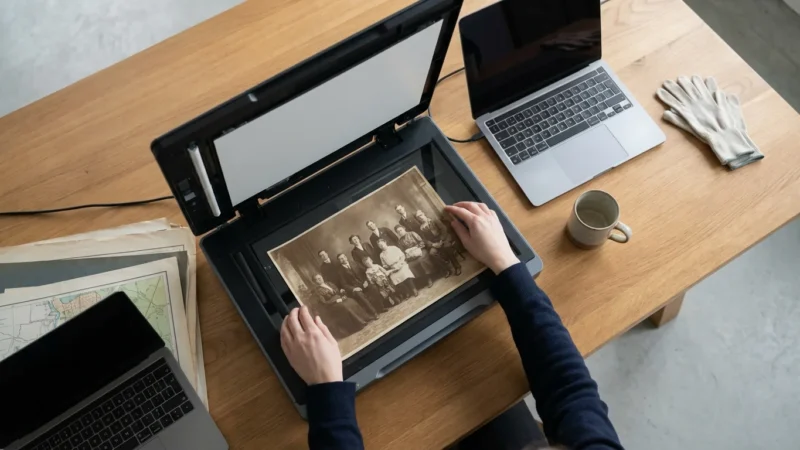
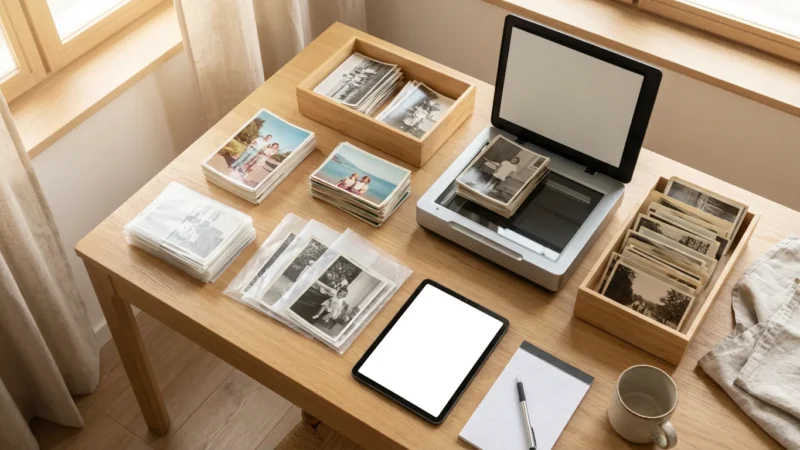
This process starts with proper preparation, including essential cleaning and handling tips to prevent dust from affecting your digital image quality.
Before you begin, it is helpful to review our complete guide on how to scan old photos at home to ensure your workspace is properly configured.
The resolution settings you choose for scanning, specifically the Dots Per Inch (DPI), directly impact the image quality, file size, and potential uses of your digital scans. Selecting the best resolution for scanning old photographs means striking a balance between capturing sufficient detail for future needs and managing practical considerations like storage space and scanning time. This guide delivers practical, actionable insights to help you make informed decisions, ensuring your digital archives truly honor your family’s photographic heritage.
Understanding DPI and Its Impact on Your Digital Photos
DPI, or Dots Per Inch, is a fundamental concept in digital imaging, especially crucial when you convert physical photographs into digital files. Essentially, DPI measures the spatial resolution of an image, telling you how many individual dots or pixels a scanner captures for every inch of the original photograph. A higher DPI means your scanner captures more detail per inch, resulting in a digital image with more pixels. This directly translates to higher image quality and a larger file size.
Your choice of file formats for scanned photos also plays a significant role in managing these file sizes and overall image longevity.
Imagine a tiny square inch of your photograph. If you scan it at 300 DPI, the scanner captures 300 pixels horizontally and 300 pixels vertically within that square inch, totaling 90,000 pixels (300×300). If you scan the same inch at 600 DPI, it captures 600 pixels horizontally and 600 pixels vertically, yielding 360,000 pixels (600×600). The 600 DPI scan clearly contains significantly more information.
This increased information offers several advantages. A higher DPI scan produces a digital image that retains more of the original’s fine details, textures, and subtle color gradations. This becomes particularly important if you plan to enlarge the image or crop it significantly. With more data points, the image tolerates manipulation better without appearing pixelated or blurry. Consider a small 2×2 inch photo: scanned at 300 DPI, it becomes a 600×600 pixel image. Scanned at 600 DPI, it becomes a 1200×1200 pixel image. If you then wanted to print that 2×2 inch photo as an 8×8 inch enlargement, the 600 DPI scan provides 150 pixels per inch for the print, a decent quality. The 300 DPI scan would only offer 75 pixels per inch, which would look noticeably blocky.
Conversely, higher DPI settings also create much larger file sizes. A 600 DPI scan requires four times the storage space of a 300 DPI scan of the same physical dimension. This increased file size impacts storage requirements, scanning speed, and how quickly you can share or upload your images. Understanding this trade-off is key to selecting the appropriate resolution settings for your project.
Why DPI Matters for Preserving Your Precious Photo Memories
When you digitize old photographs, you are not simply creating a copy, you are creating a digital “master” from which all future versions will derive. The DPI you choose at this initial scanning stage is a one-time decision with long-term consequences for your photo preservation efforts. You cannot add resolution later; you can only downsample or interpolate, neither of which genuinely adds detail that was not captured initially. Therefore, scanning at an appropriate resolution is foundational to successful digital preservation.
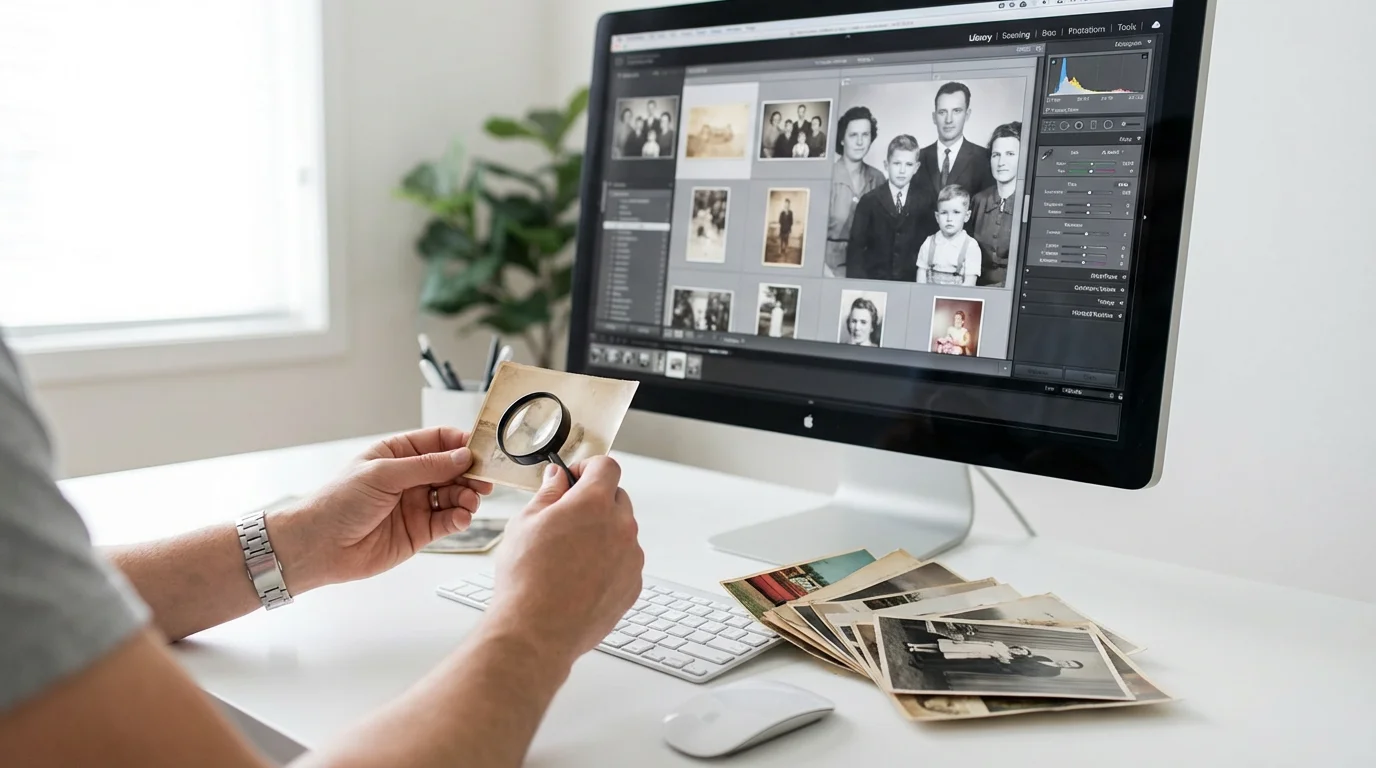
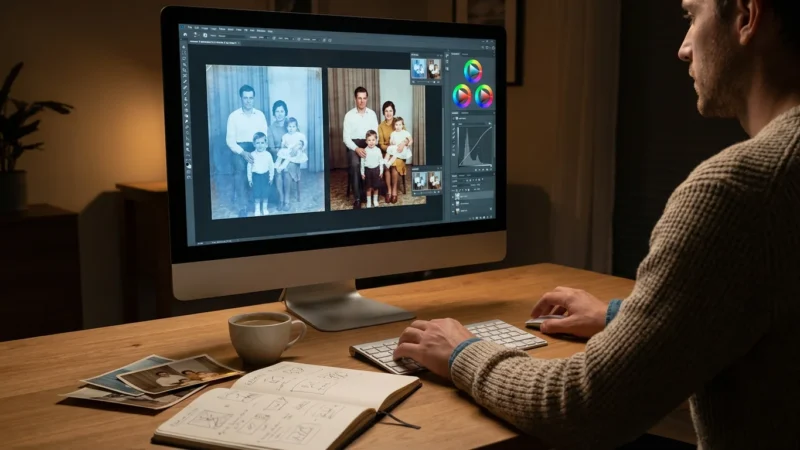
Once you have captured a high-resolution scan, you may want to remove scratches and dust from the image using digital restoration techniques.
Think of it this way: your old physical photos are slowly fading, potentially discoloring, and suffering from physical wear and tear. Scanning them captures their current state, freezing a moment in time before further degradation occurs. If you scan at too low a DPI, you effectively “throw away” valuable visual information, details that represent parts of your family history. Imagine an old portrait where a specific piece of jewelry or a subtle background element holds significant sentimental value. A low-resolution scan might render these details as blurry smudges, effectively erasing them from your digital record.
Furthermore, scanning at a sufficient DPI future-proofs your digital images. Technology evolves rapidly. Today’s standard display resolutions or print sizes might seem quaint in a decade or two. By capturing ample detail now, you ensure your digital images remain usable and high-quality for future generations, regardless of how they choose to view, share, or print them. For instance, a scan made at 600 DPI provides ample flexibility for future enlargements or cropping without significant loss of quality, a capability a 300 DPI scan simply cannot match for demanding applications.
“When digitizing irreplaceable historical materials, conservators prioritize capturing the maximum practical detail. This ensures that the digital surrogate can serve as a long-term informational resource, reflecting the original as closely as possible and supporting diverse future research and display needs.”
This principle applies to your family photos too. You are creating an archival record. Choosing the right DPI ensures that record is robust, detailed, and capable of fulfilling multiple roles, from casual online sharing to creating heirloom-quality prints for future family members. It empowers you to protect and enjoy your photographic heritage for decades to come.
Factors Determining Your Ideal Scanning DPI
Determining the “perfect” scanning DPI involves weighing several practical considerations. No single DPI setting applies universally to every photograph or every situation. You need to consider the specifics of your originals and your intentions for the digital files. Here are the key factors influencing your choice of resolution settings:
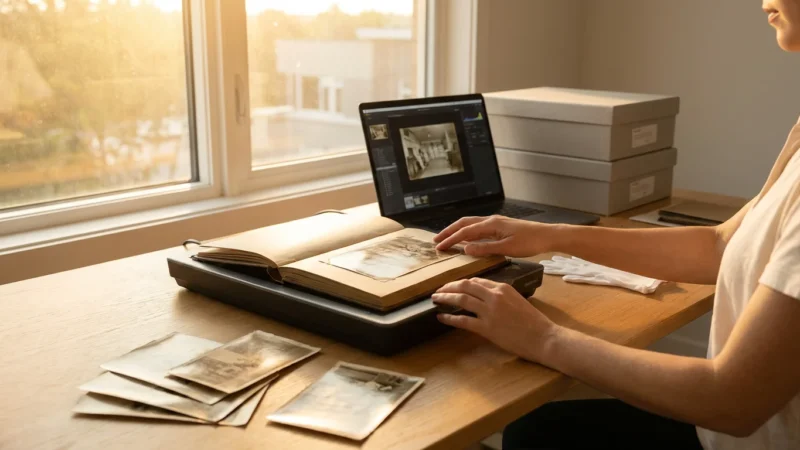
If your photos are fragile or permanently fixed, you may need to learn how to scan photos from albums without removing them to ensure they stay protected during the process.
If you find that your originals are too large for a standard scanner bed, consider our techniques for scanning oversized photos and documents without losing quality.
If you are dealing with thousands of images, you may want to learn about batch scanning large photo collections efficiently to save time.
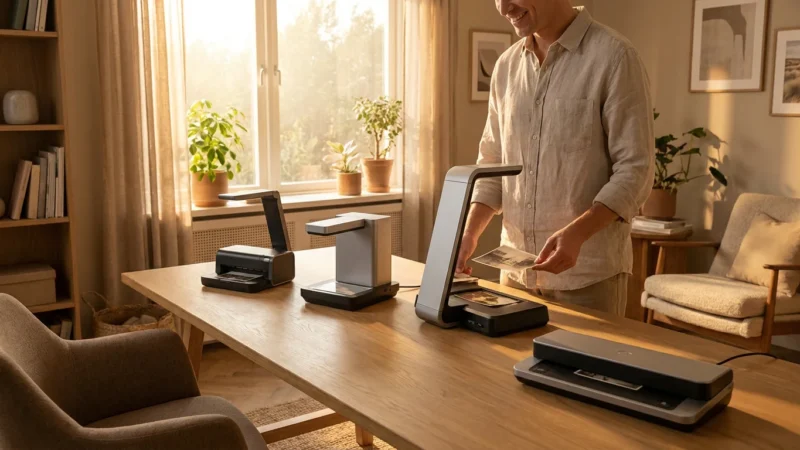
Using one of the best photo scanners for home use will ensure you have the hardware capable of reaching these high-resolution benchmarks.
- Original Photograph Size: Smaller originals typically benefit from higher DPI scans. A 1×1 inch photo scanned at 300 DPI produces a tiny 300×300 pixel image. To get a usable digital file with sufficient detail, you would ideally scan a 1×1 inch photo at 600 DPI or even 1200 DPI. Larger photos, like an 8×10 inch print, provide more physical area, so a 300 DPI scan creates a substantial 2400×3000 pixel image, often more than adequate for many purposes.
- Intended Use of the Scans: How will you use these digital images?
- Web or Email Sharing: Lower resolutions (e.g., 72 DPI, 150 DPI) are often sufficient for online viewing, as most screens do not display ultra-high resolutions. However, you should still scan at a higher resolution for archival purposes and then create lower-resolution copies for sharing.
- Standard Prints (e.g., 4×6, 5×7, 8×10): Most print services recommend 300 DPI for high-quality output. So, if you scan an original 4×6 photo at 300 DPI, it will print beautifully at its original size. If you plan to enlarge a 4×6 photo to an 8×10 print, you need to scan at least 600 DPI to maintain 300 DPI resolution at the larger print size.
- Large Prints or Art Prints: For significant enlargements (e.g., posters, wall art) or fine art reproduction, you may need 600 DPI or even higher, depending on the desired final print size and viewing distance.
- Archival Preservation: This is often the most critical use. For pure archival quality, where you want to capture as much detail as possible for future use, 600 DPI is a common recommendation, with 1200 DPI for very small or highly detailed originals.
- Level of Detail in the Original: Does the photo contain intricate patterns, tiny text, or subtle facial features? If so, higher DPI settings help capture these nuances. A simple landscape might look fine at a lower DPI, but a group photo with many faces or a document embedded in the picture benefits from greater detail capture.
- Storage Capacity: Higher DPI means larger files. A single 4×6 inch photo scanned at 300 DPI might be around 5-10 MB (depending on compression and color depth), while the same photo at 600 DPI could be 20-40 MB. If you have hundreds or thousands of photos, these file sizes add up quickly, potentially requiring significant external hard drive space or cloud storage.
- Scanning Time: Scanning at higher DPI takes longer. Each pass of the scanner head captures more data, which increases the processing time for each image. If you have a massive collection and limited time, you might need to balance ideal resolution with practical throughput.
Recommended DPI Settings for Common Scanning Scenarios
Based on the factors above, here are practical recommendations for scanning DPI, categorized by common scenarios you might encounter with your family photographs. These are starting points; you can adjust them based on your specific needs and equipment.
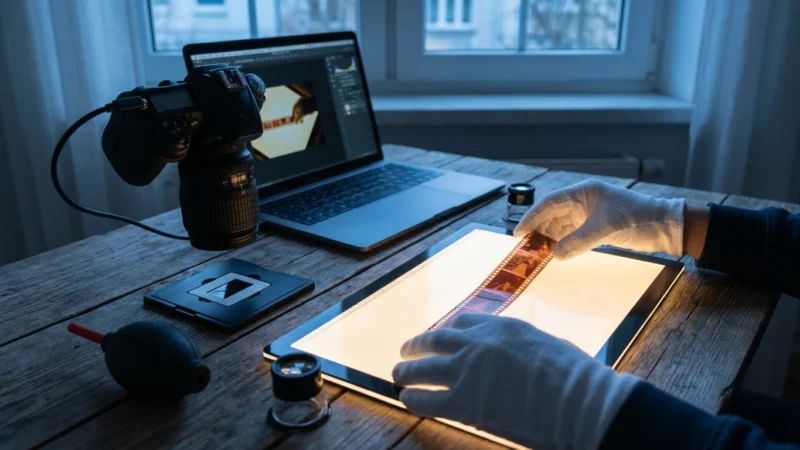
If you are working with film specifically, you can find more specialized advice on how to digitize 35mm film negatives to capture every bit of information.
For Archival Preservation and Future Flexibility: 600 DPI
If you want to create a robust digital archive that future-proofs your images and allows for significant enlargement or cropping without quality loss, 600 DPI is the widely recommended standard. This resolution captures a substantial amount of detail, making it suitable for:
- Most 4×6 inch or larger photographs that you might want to enlarge to an 8×10 inch or larger print.
- Images where you anticipate needing to crop tightly to focus on a specific subject.
- Photos with intricate details, small text, or delicate patterns.
A 4×6 inch photo scanned at 600 DPI results in a 2400×3600 pixel image, providing ample data. Many cultural heritage institutions use 600 DPI as a baseline for general photographic digitization.
For Smaller Originals (e.g., Wallet Size, Slides, Negatives): 1200 DPI or Higher
Small physical originals, like wallet-sized prints (2×3 inches or smaller), 35mm slides, or film negatives, contain a surprising amount of detail packed into a small area. To extract this detail and make them usable for larger prints or detailed viewing, you need a much higher DPI:
- Wallet-sized prints: Scan at 1200 DPI. A 2×3 inch print at 1200 DPI yields a 2400×3600 pixel image, comparable to a 4×6 at 600 DPI, giving you excellent flexibility.
- 35mm Slides and Negatives: These require specialized film scanners and typically need very high resolutions, often 2400 DPI, 3200 DPI, or even 4000 DPI. Film inherently holds much more detail than a print of the same size. Consider a 35mm negative to be roughly 1×1.5 inches. Scanning at 3200 DPI creates a 3200×4800 pixel image, delivering significant detail.
The principle here is to oversample the small original to create a digital file large enough to be useful. Smaller originals demand higher scanning DPI to achieve a comparable pixel dimension to larger prints scanned at lower DPI.
For General Use and Standard Prints (e.g., 4×6, 5×7, 8×10): 300 DPI
If your primary goal is to create digital files for viewing on screen, sharing via email, or printing at their original size or slightly larger (up to 8×10 inches from a 4×6 original), 300 DPI often suffices. This is a common resolution for modern printing and offers a good balance between image quality and manageable file size for everyday use.
- A 4×6 inch print scanned at 300 DPI yields a 1200×1800 pixel image, perfectly adequate for a 4×6 print and decent for a 5×7.
- Use this setting if storage space is a significant concern and you do not anticipate needing large enlargements or heavy cropping.
While 300 DPI is acceptable for these specific uses, PhotoMemoryHub.com generally recommends 600 DPI for archival scans to provide greater flexibility and future-proofing, if your storage and time allow.

Scanning for Different Output Needs: Print, Web, and Archival
Your ultimate goal for the digitized photos heavily influences the optimal scanning DPI. Understanding the distinct requirements for print, web, and archival use helps you make an informed decision for each photo or batch.
If achieving archival quality at home feels too technical, it may be worth considering if professional photo scanning services are worth it for your specific collection.
Archival Quality: The Foundation for Everything Else
For your primary, preservation-focused scans, aim for the highest practical DPI you can manage, typically 600 DPI for standard prints and 1200 DPI or higher for small originals like wallet photos, slides, or negatives. This “master file” serves as your digital backup and contains the maximum detail your scanner can reasonably extract without excessive interpolation (where the scanner “guesses” pixels, rather than capturing real data). These files are your insurance against future degradation of the physical original and provide the most flexibility for any future use. Store these masters uncompressed (TIFF format is ideal) or with lossless compression (like PNG).
Consider the long-term view. The value of your family photos often increases with time. You might not foresee the need for a large print or an intricate detail today, but capturing that information now prevents future regrets. This investment in high-resolution scanning pays dividends for generations.
Printing Your Memories: Matching DPI to Output Size
When you print a digital photo, you want the final print to look sharp and clear, not pixelated. Print quality generally relies on having at least 200-300 pixels per inch (PPI) at the final print size. Since your scanner produces DPI, it’s essentially creating the PPI for your digital image. Use this simple calculation:
Required Scan DPI = (Desired Print PPI) x (Enlargement Factor)
For example, if you have a 4×6 inch original and want to make an 8×10 inch print (an enlargement factor of 2x for the shorter side, 1.67x for the longer side, so use the larger factor for safety), and you want 300 PPI for the print:
- To print an 8×12 (2x original size for a 4×6): You need 300 PPI x 2 = 600 DPI scan.
- A 4×6 inch photo scanned at 300 DPI: Results in a 1200×1800 pixel image. This prints a 4×6 inch photo at 300 PPI. If you try to print it at 8×12 inches, you only get 150 PPI, which might look noticeably less sharp.
- A 4×6 inch photo scanned at 600 DPI: Results in a 2400×3600 pixel image. This allows you to print an 8×12 inch photo at 300 PPI, achieving excellent print quality.
Always scan for the largest print you anticipate making. You can always downsample for smaller prints, but you cannot “upsample” effectively for larger ones.
Sharing Online and Via Email: Optimized for Speed and Viewing
For sharing images on social media, emailing to family, or displaying in online galleries, you typically do not need the high resolution of your archival scans. High-resolution files are slow to upload, consume bandwidth, and load slowly on screens. Most web platforms also automatically compress and resize images, potentially degrading your high-quality files anyway.
After you create your high-resolution archival master, create separate, smaller versions specifically for online use. A common practice involves resizing images to around 1000-2000 pixels on their longest side, and setting the resolution to 72 DPI (which is primarily a metadata tag for screen display, not a true measure of quality for digital images). Use JPEG format with moderate compression for a good balance of quality and small file size. This strategy protects your valuable high-resolution masters while making your memories easily shareable.

Practical Tips for Optimizing Your Scanning Workflow and Resolution Settings
A well-organized scanning workflow not only saves you time but also ensures consistency and quality in your digital photo collection. Implementing these tips will help you maximize your scanning efforts and make the most of your chosen resolution settings.
Once your high-resolution files are saved, the next step in your workflow should be organizing photos by event, date, or people to make your digital archive searchable.
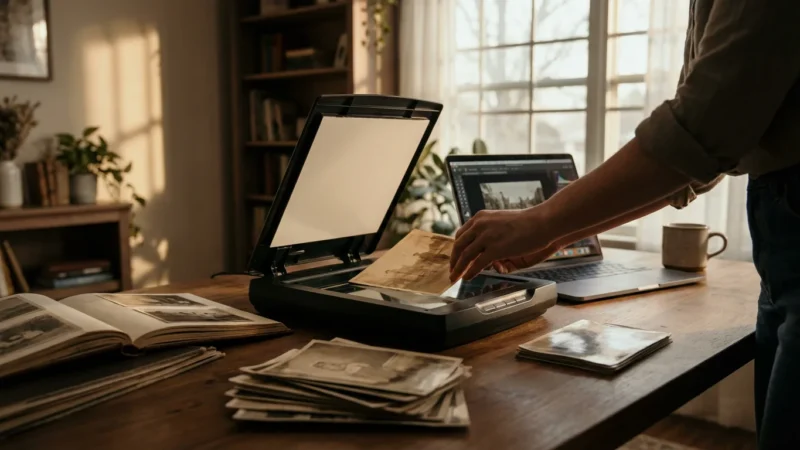
- Clean Your Photos and Scanner Bed: Before scanning, gently clean your physical photos with a soft, lint-free cloth. Use compressed air to remove dust. Similarly, clean your scanner’s glass bed with a microfiber cloth and glass cleaner (apply to the cloth, not directly to the glass). Dust and smudges on either the photo or the scanner glass will appear as distracting artifacts in your high-resolution scans. This simple step dramatically improves image quality.
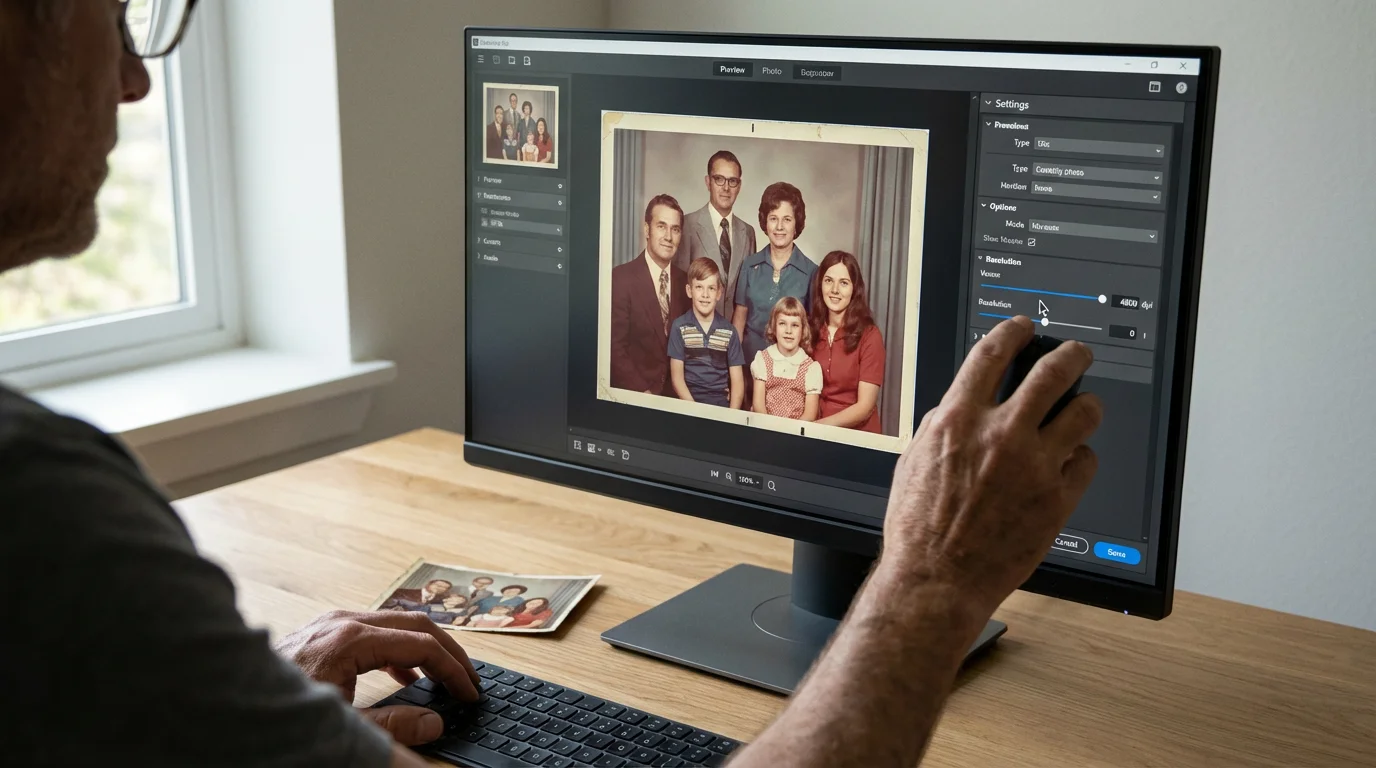
- Use Your Scanner’s Native Software: While third-party scanning software exists, your scanner’s bundled software often provides the best control over its specific hardware, including crucial resolution settings. Familiarize yourself with options like DPI, color depth (24-bit for most color photos, 48-bit if your scanner supports it and you want maximum color information for editing), and output format (TIFF for archival, JPEG for general use).
- Scan in TIFF for Archival Masters: For your high-resolution archival scans, always choose TIFF (Tagged Image File Format). TIFF is a lossless format, meaning it preserves all image data without compression artifacts. While TIFF files are significantly larger than JPEGs, they are the gold standard for long-term preservation. You can always convert TIFFs to JPEGs later for sharing or smaller prints. Avoid scanning directly to JPEG for your masters, as JPEG uses lossy compression, permanently discarding some image data.
- Implement a Consistent Naming Convention: Before you even begin scanning, decide on a clear and consistent file naming system. This is crucial for organizing your thousands of images. Include elements like date (YYYY-MM-DD), subject, people, and a sequential number. For example: “1985-07-14_FamilyVacation_GrandmaBetty_001.tif”. Consistent naming makes finding specific photos in your digital archive infinitely easier.
- Batch Scan When Possible: If your scanner allows for batch scanning multiple photos simultaneously (e.g., using a document feeder, if safe for delicate photos, or placing multiple small photos on the platen), take advantage of it. However, always ensure each photo is properly aligned and clean. Most flatbed scanners require you to scan each photo individually for optimal results.
- Perform Test Scans: Do not just jump into scanning your most precious photos. Take a few less critical photos and experiment with different DPI settings. Scan one at 300 DPI, another at 600 DPI, and perhaps a small one at 1200 DPI. Examine the resulting file sizes and image quality on your computer screen. Print a test image to see how it looks. This experimentation helps you confidently select the best resolution for scanning old photographs for your specific needs.
- Organize as You Go: As you scan, immediately place your new digital files into organized folders. Structure your digital archive logically, perhaps by decade, event, or family branch. This prevents the overwhelming task of organizing thousands of unsorted files later.
Common Scanning Mistakes to Avoid When Choosing Resolution Settings
While the process of digitizing your photo collection is rewarding, some common pitfalls can compromise the quality of your efforts. Awareness of these mistakes, particularly concerning resolution settings, helps you achieve the best possible results.
- Scanning at Too Low a DPI for Archival Purposes: This is arguably the most significant mistake. If you scan at 72 DPI or 150 DPI to save space or speed up the process, you capture insufficient detail for future flexibility. You effectively “throw away” visual information that you can never recover from the digital file. While low DPI is fine for quick shares, it is detrimental for your archival masters. Always prioritize a higher DPI (600 DPI for prints, 1200+ for small originals) for your primary scans.
- Relying on “Automatic” Settings Too Heavily: Many scanners offer “auto” settings for resolution. While convenient, these often err on the side of lower DPI to produce smaller files quickly. Manually select your desired DPI. Take control of your scanning process to ensure you capture the necessary detail.
- Forgetting About Original Size: A 300 DPI scan of an 8×10 inch photo produces a large, detailed digital file. The same 300 DPI scan of a 1×1 inch photo produces a tiny, almost unusable file. Always consider the physical dimensions of the original photograph when choosing your resolution settings. Smaller originals require disproportionately higher DPI to yield useful digital images.
- Scanning Only for Current Needs: It is easy to think, “I only want to view these on my phone.” However, your needs will change. You might want to create a photo album, a large print for a gift, or share the images with family members who have higher display standards. Scanning with a forward-thinking approach, aiming for archival quality, future-proofs your memories.
- Ignoring Color Depth and Bit Rate: While DPI is about resolution, color depth is about color information. Most scanners offer 24-bit color (millions of colors), which is sufficient for most old photographs. If your scanner offers 48-bit color, it captures even more color nuances, which can be beneficial for editing, especially with faded photos. While it creates larger files, it also provides more data to work with during restoration. Do not neglect this setting if you have the option and desire maximum editing flexibility.
- Over-reliance on Software Interpolation: Some scanning software offers “enhanced resolution” or “interpolated DPI” settings that claim to increase resolution beyond the scanner’s optical capability. This is artificial. The software “guesses” new pixels based on existing ones. While it might make an image physically larger, it does not add genuine detail and often introduces softness or artifacts. Always use your scanner’s true optical DPI for the best image quality.
Frequently Asked Questions
What is the difference between DPI and PPI?
DPI, or Dots Per Inch, refers to the resolution of a physical input or output device, such as a scanner or a printer. It describes how many physical dots a device can produce or capture per inch. PPI, or Pixels Per Inch, refers to the resolution of a digital image on a screen or within a file. It describes how many pixels are contained within one inch of a digital image. When you scan a photo, the scanner’s DPI setting determines the PPI of the resulting digital image. A higher DPI scan yields a higher PPI digital image.
Is 600 DPI enough for archival scanning?
Yes, 600 DPI is generally considered an excellent resolution for archival scanning of most standard-sized photographs (e.g., 4×6 inches or larger). This setting captures a significant amount of detail, allowing for high-quality enlargements, detailed cropping, and robust digital preservation. For very small originals like wallet photos, slides, or negatives, 1200 DPI or higher is often recommended to capture sufficient detail from their tiny physical size.
Can I scan photos at a very high DPI, like 2400 or 4800, for better quality?
While some scanners offer very high DPI settings, usually up to 4800 or 6400 DPI, these ultra-high settings often refer to the scanner’s interpolated resolution, not its true optical resolution. Scanning at excessively high interpolated DPI provides diminishing returns in genuine image quality and significantly increases file sizes without adding real detail. Stick to your scanner’s maximum optical DPI, typically around 600 DPI or 1200 DPI for flatbed scanners, or higher for specialized film scanners, for the best balance of quality and practicality.
How does DPI affect the file size of my scanned photos?
DPI has a direct and exponential impact on file size. Doubling the DPI quadruples the file size. For example, a 4×6 inch photo scanned at 300 DPI might be around 5-10 MB. The same photo scanned at 600 DPI would be approximately 20-40 MB. This is because the scanner captures four times as many pixels at 600 DPI compared to 300 DPI. Larger file sizes require more storage space and take longer to scan, upload, and download.
Should I save my scanned photos as JPEG or TIFF?
For your archival master scans, always save them as TIFF (Tagged Image File Format). TIFF is a lossless format, meaning it preserves all image data without any compression artifacts, making it ideal for long-term preservation and future editing. For sharing online, emailing, or creating smaller versions for everyday use, you can convert your TIFF masters to JPEG. JPEG uses lossy compression, which discards some image data to create smaller files, so it is not suitable for your primary archival copies.
Disclaimer: This article is for informational purposes only. When handling valuable or irreplaceable photographs, consider consulting a professional conservator. Always test preservation methods on non-valuable items first.
Leave a Reply